


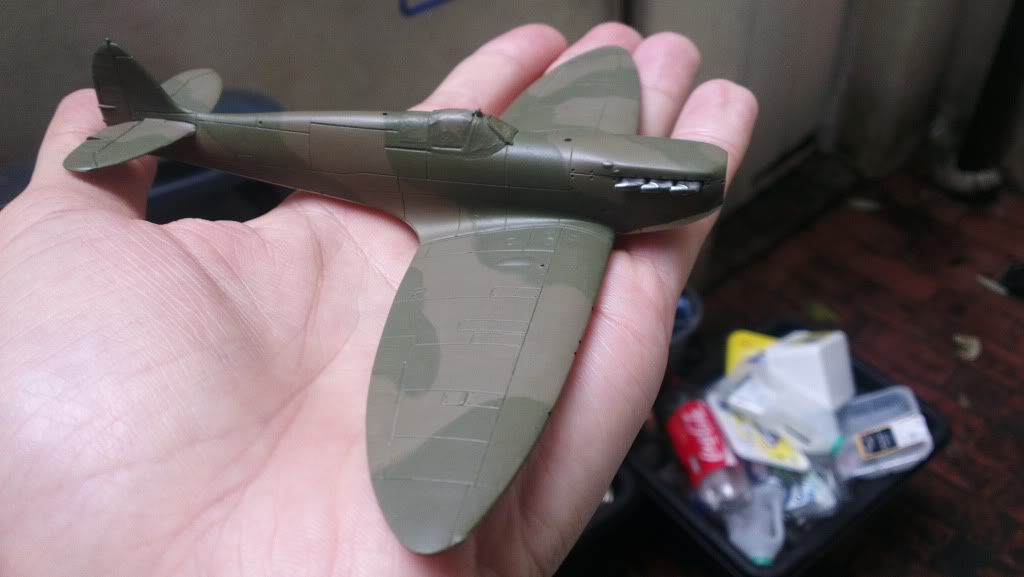
As the title suggests, this is going to be my first ever aeroplane build and it's going to be one of the most iconic fighters of WWII, the Supermarine Spitfire Mk1a.
Without further delay, below you'll see my little desk setup, with the sprues out and the box all cut up. I cut the box front and back off simply because I ripped it in my hurry to look at the aircraft. You'll also notice my Razer Deathadder mouse and mouse mat, yes, I am a geeky gamer too and due to living in a shared house with Anne's (girlfriends) friends who are all filipino (so is she lol) I don't have a spare area to model in, so I have to do it at my PC desk in the bedroom. I have a tea towel under the mat to stop it sliding around the desk, I do plan to get a rubber mat when I see one, but thought we used tea towels for chopping boards in the kitchen, I don't see why it wouldn't work for a cutting mat.

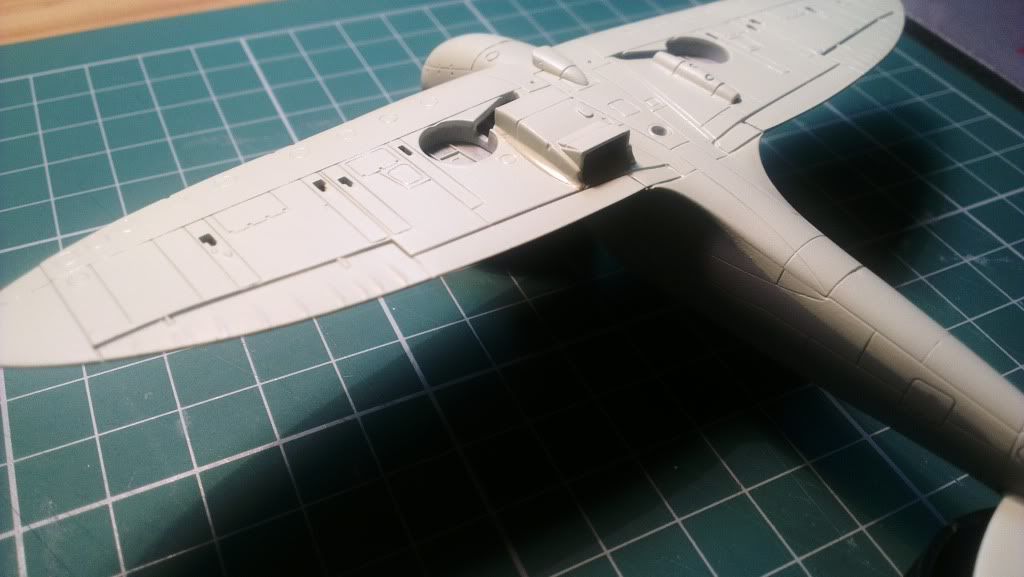
The first thing I did as told by the instructions was to clip out the cockpit sections off the sprue and then I cleaned them up, which I'd had a bit of practice doing last night when I found some of my old GW Beastmen Gor Herd models (I'll be doing a W.I.P of these for painting figures). The image below is of them pre-cleaned before anyone points out there is still pieces of sprue attached to them.

Once they were all clean up I decided I'd be a devil and put the cockpit together, not including the pilot as I'm not a fan seeing pilots in aircraft models, but that's just my personal preference. Plus, the pilot in the spitfire kit looks like my nan when she's sitting on the sofa waiting for a cuppa. At this stage of my career I don't really know what I can leave un-built, paint and then add, and what can go together at the same time, I'm assuming the cockpit can be painted and then glued but we'll see. The only issue I had was the joystick wouldn't go in so I had to take my hobby knife and scrap away at the hole so it would fit...

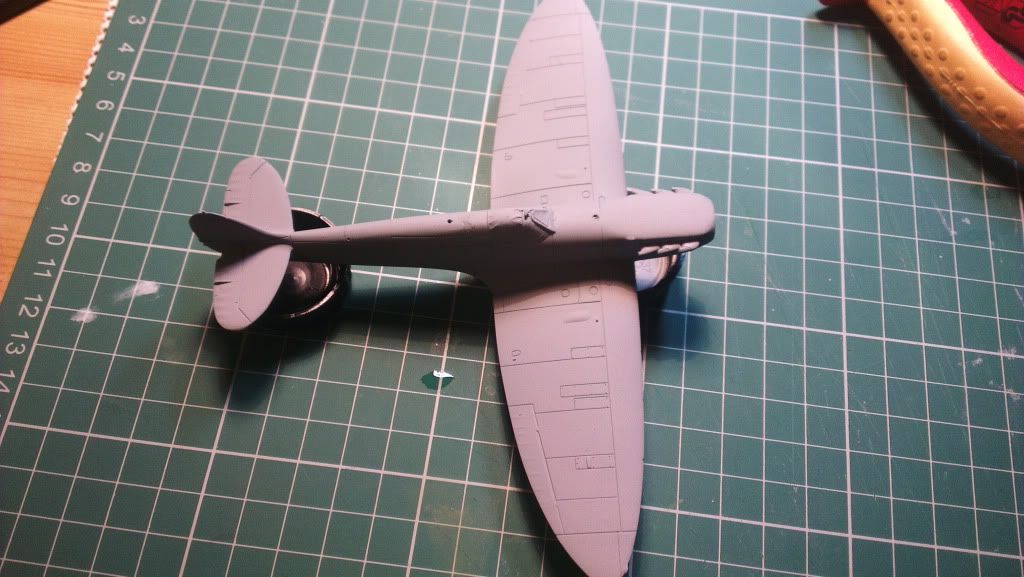
Once the cockpit was all together I decided instead of painting it straight away I'd need to sort out the fuselage first, meaning I didn't need to rush it. So as you can imagine I set to work getting the fuselage off the sprue and this is where I ran into my first 'Well that was stupid' moment. I know from playing Warhammer 40k years ago, and reading up recently that you cut away from the model on the sprue and leave 1-2mm gap so not to cause cut-ins on the model, and that's what I thought I was doing. Apparently not, on the top part of the fuselage, near the tail I spotted a 2mm piece of sprue, but also a 'chipped' section next to it, I must have not been paying enough attention when cutting. I assume it'll be a simple case of putty filling later on and to me it looks HUGE as I'm new and learning, but honestly in reality its a small gap on a small model.

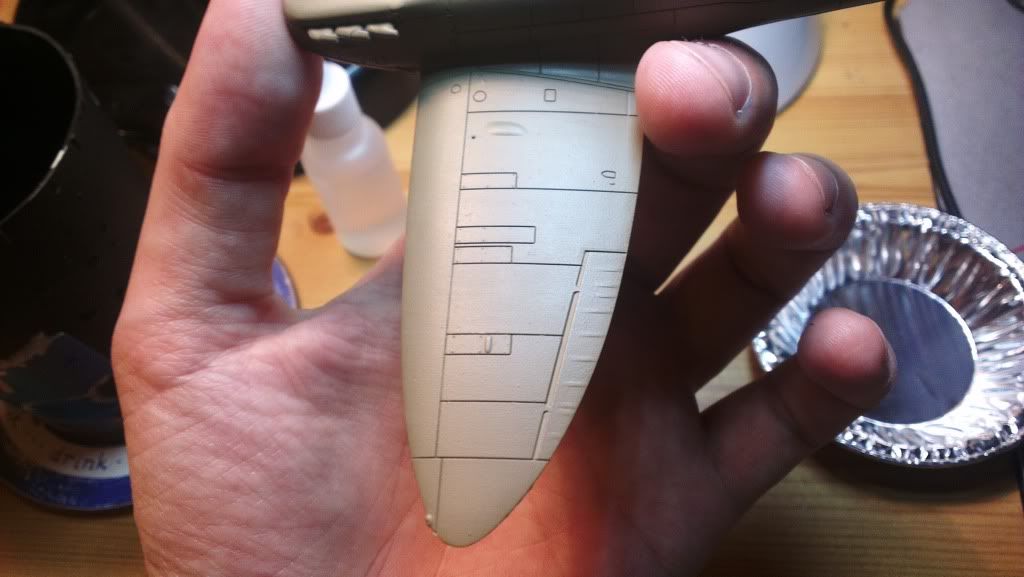
I then went around cleaning up the sprue and little pieces of flash that were mostly on the tail sections and quite small, however I thing I may have taken a little too much off the top of a wing while doing it. I haven't a picture, but when it's inspected next session we'll see.
If you've built this kit you'll know the fuselage is meant to 'click' together with these little pin tabs on the inside and for me they were a bit hit and miss. Some of them were fine, others with a little tight fitting and the one on the tail just didn't want to click together at all. What's worse is that when all but the tail were in and lined up there was a lip/ledge around the fuselage. Here's a picture of the gap in the tail caused by the pin:

I thought to myself 'I'm not having this' and snipped them all off. Once operation 'Pin Removal' was complete I didn't have such an issue with the tail, there is a small gap but this could be a common trait with WW2 aeroplanes, I'm new I don't know. In the next picture you'll be able to see the reduction in the tail gap, and the gouge in the fuselage caused by my heavy handedness.

I also took note of how the fuselage seemed to fit better once the pins were removed, and there wasn't so much of a lip; this was of course if I could stop the bloody thing slipping out of my hands when trying to hold the two halves together.
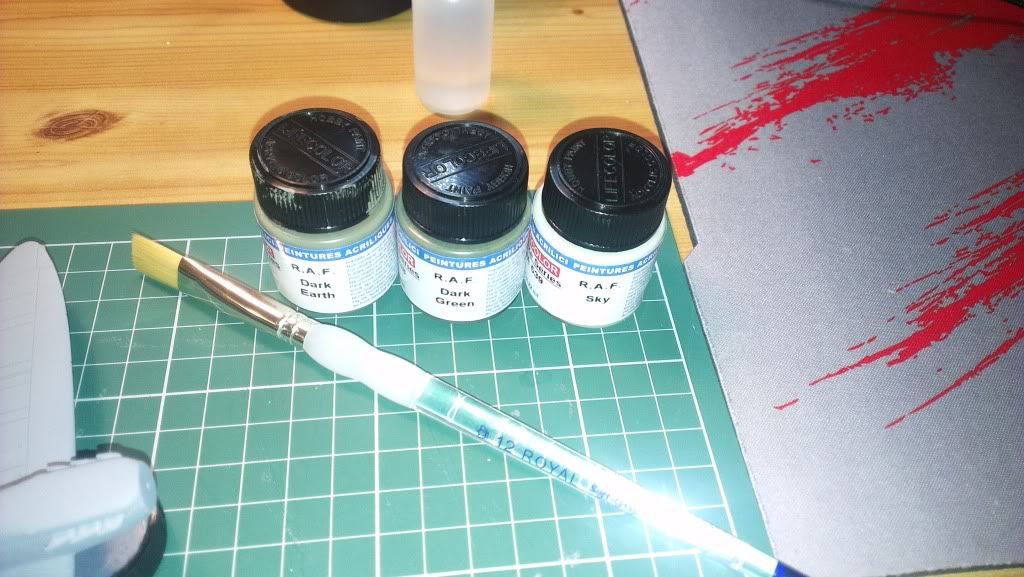
Well guys, that's the end of Session One for me, I learnt a bit along the way, and it was really enjoyable and I'm looking forward to getting to grips with painting the cockpit and other parts on the wings. Once done I think it'll be a case of filling gaps, sanding and possibly re-scribing the fuselage not that I have a scribing tool... does anyone thing a hobby knife would work, or too cumbersome?
Anyway, thanks for taking the time to look over my progress so far, I hope you tune in for the next episode of 'How to be a Newbie'.


