Here are my final entry photos into the D-Day 70th Anniversary Group Build for my Airfix 1/72 scale Douglas C-47 Skytrain that is part one of a thee part build series in commemoration of my Father-In-Law's service as a 101st Airborne Paratrooper with the 2/327th GIR "E" company during WWII. I have also included a link at the end of this thread to my YouTube account "Final Reveal" video. If you haven't seen it, please watch and leave comments, including constructive criticism which is most welcomed. Also, if you subscribe and you have a YouTube account, I'll subscribe to you and we are then automatically alerted with each others latest update videos that we post!
Hope you enjoy?!
Following on from where build update # 4 left off I gave the painted model a gloss clear coat in preparation for decaling;
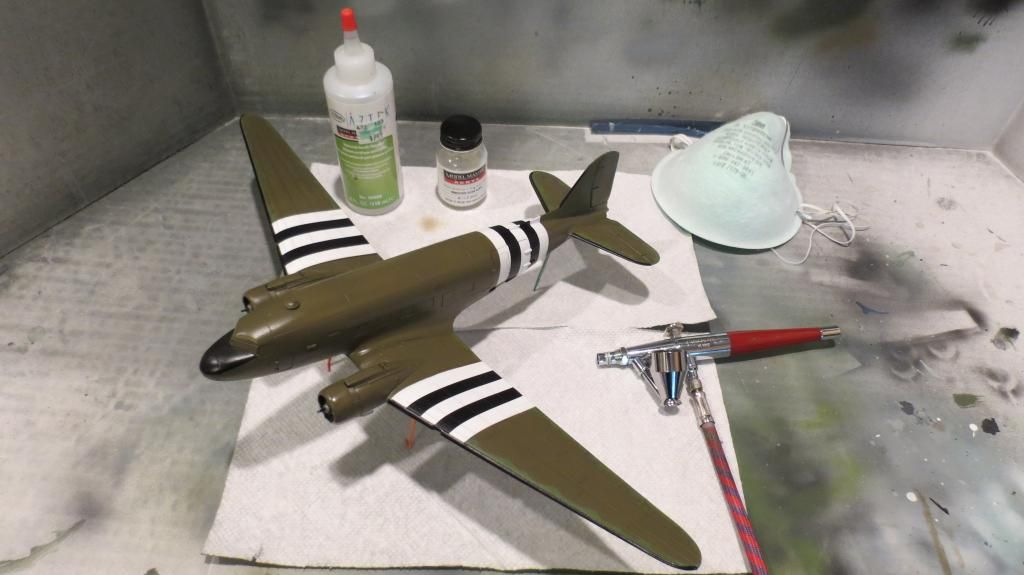
Decals were then applied:
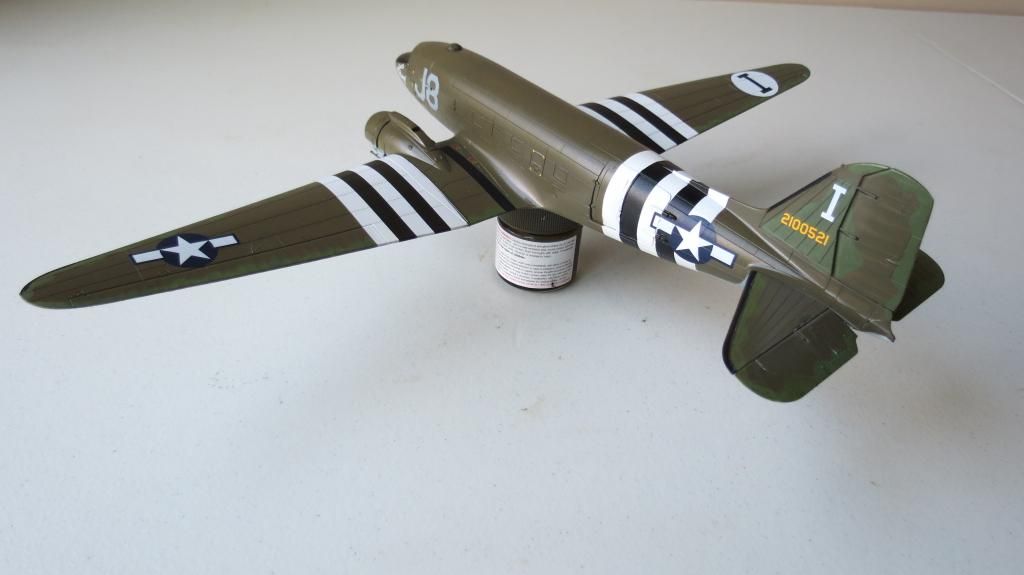
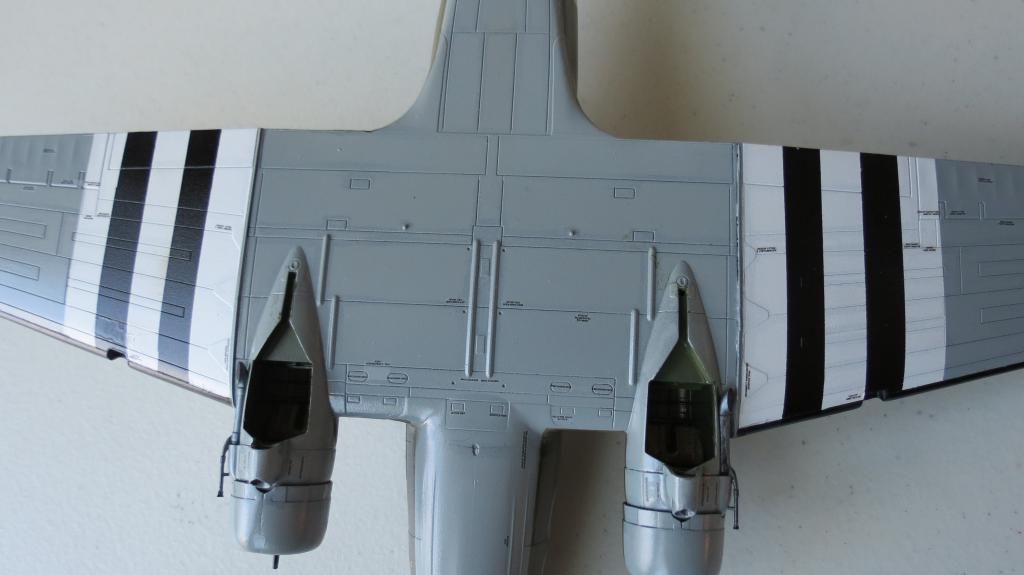
Another gloss clear coat was applied to seal the decals prior to weathering;
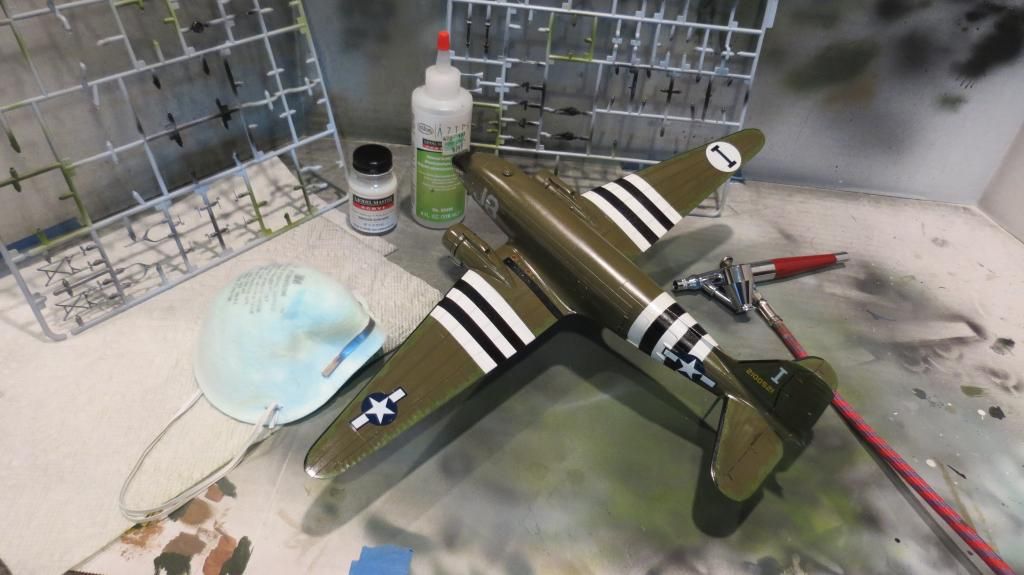
Panel Highlighting washes were applied to the underside first followed by the top-side;
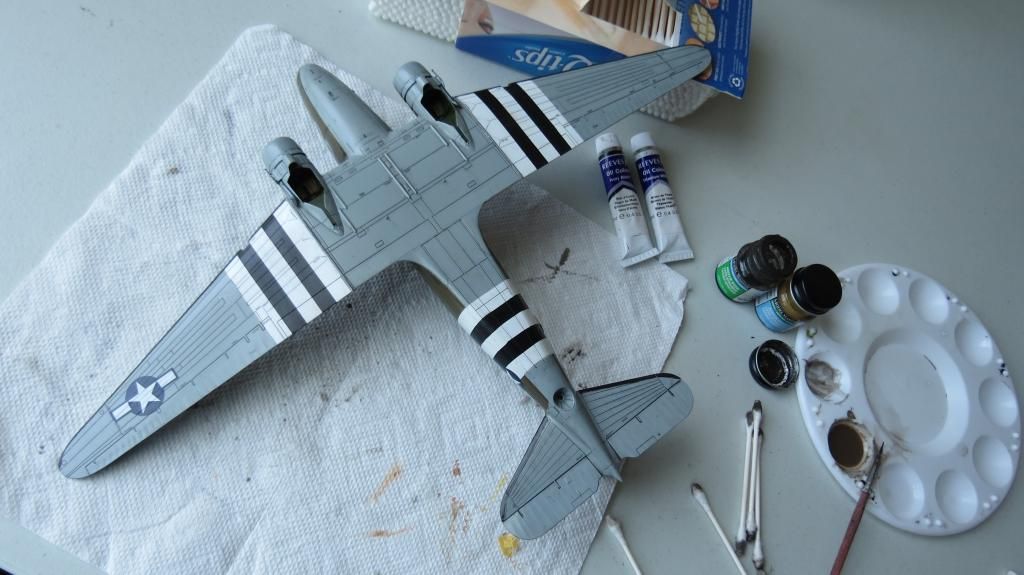
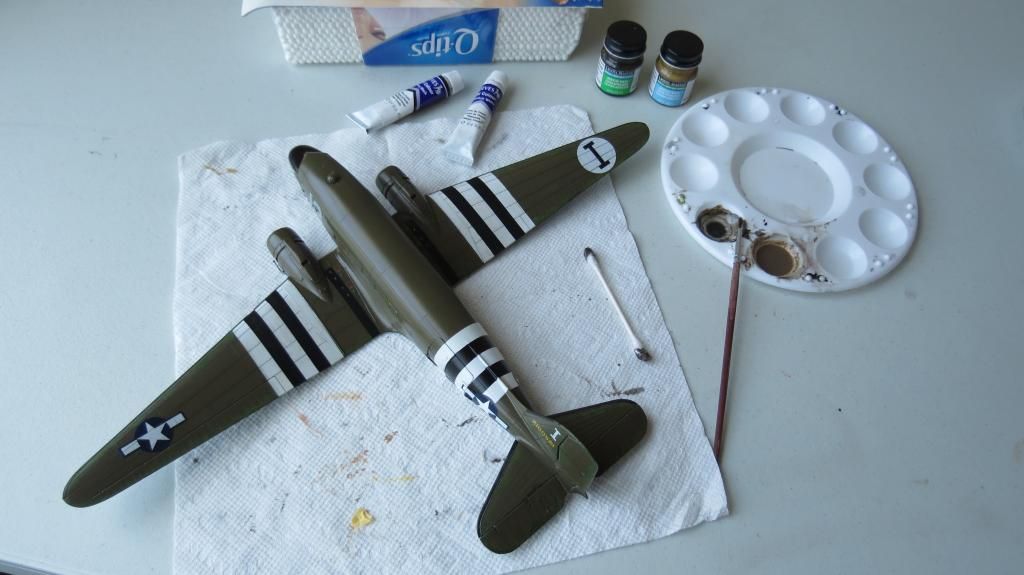
Tonal/bleaching variations were applied along with subtle chipping and wear;
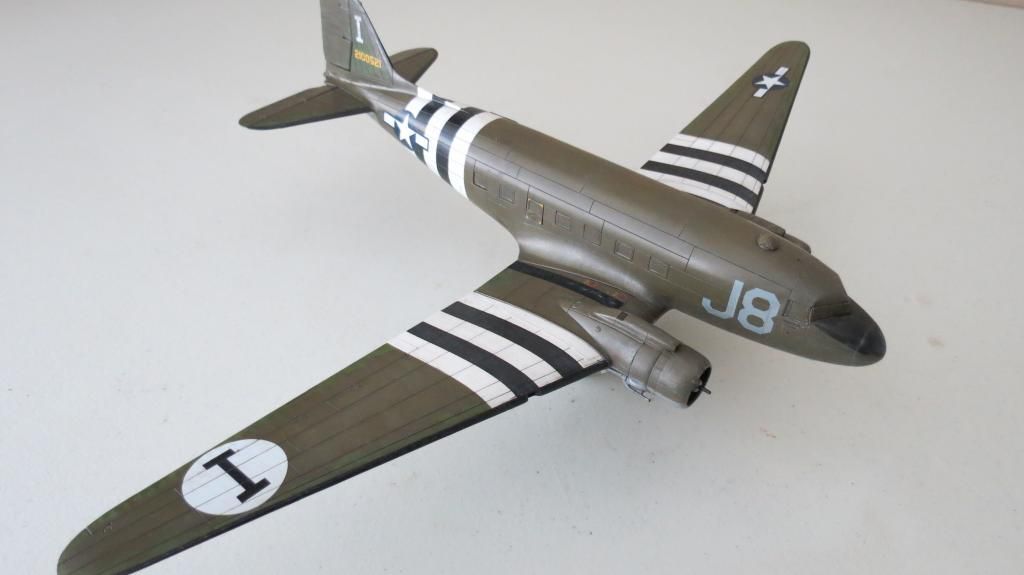
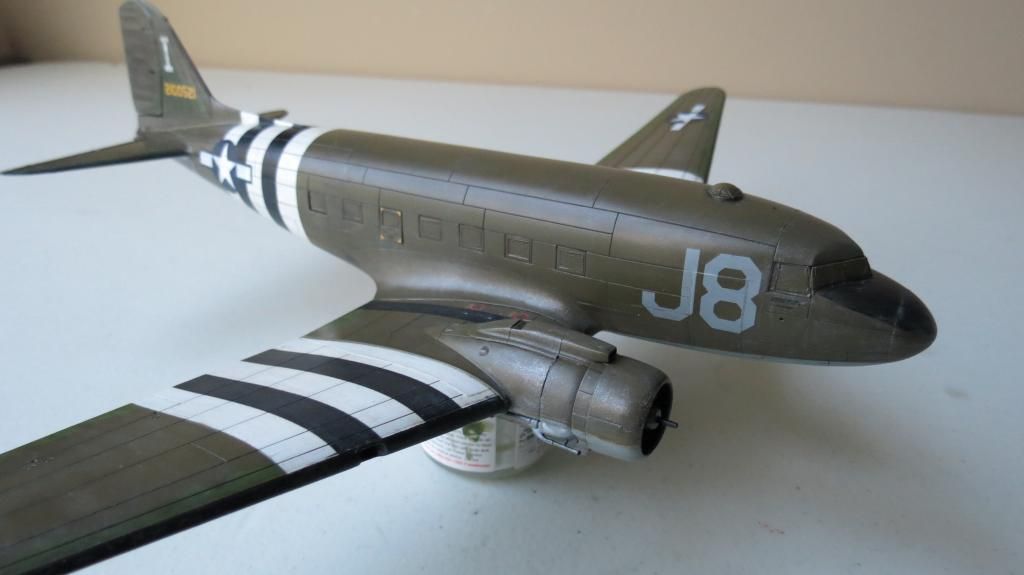
This was followed by adding exhaust, oil and fuel stains;
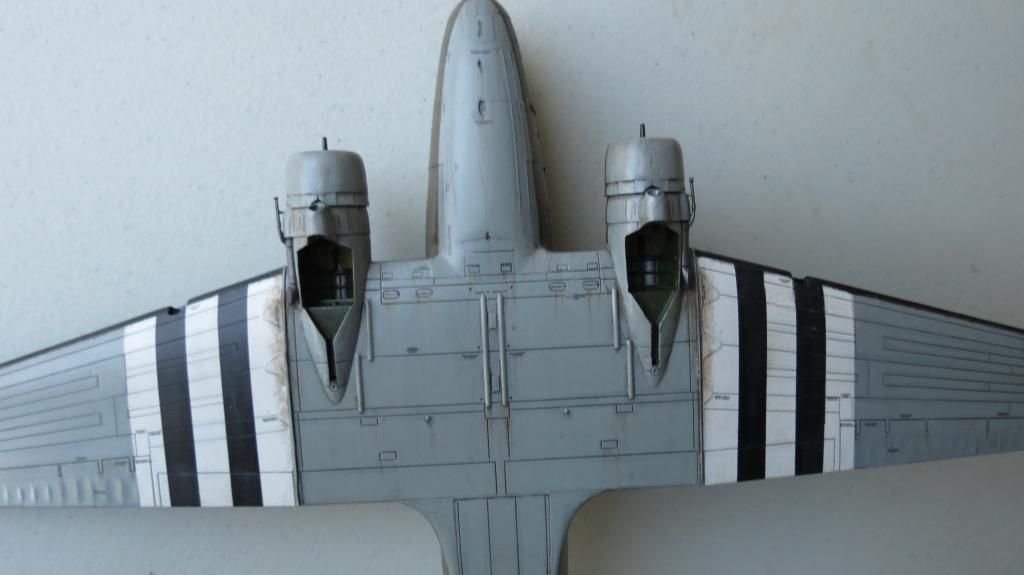
After the weathering was completed, I fitted the wheel assemblies, rear wheel, propellers, aerials, antennas and pitot tubes;
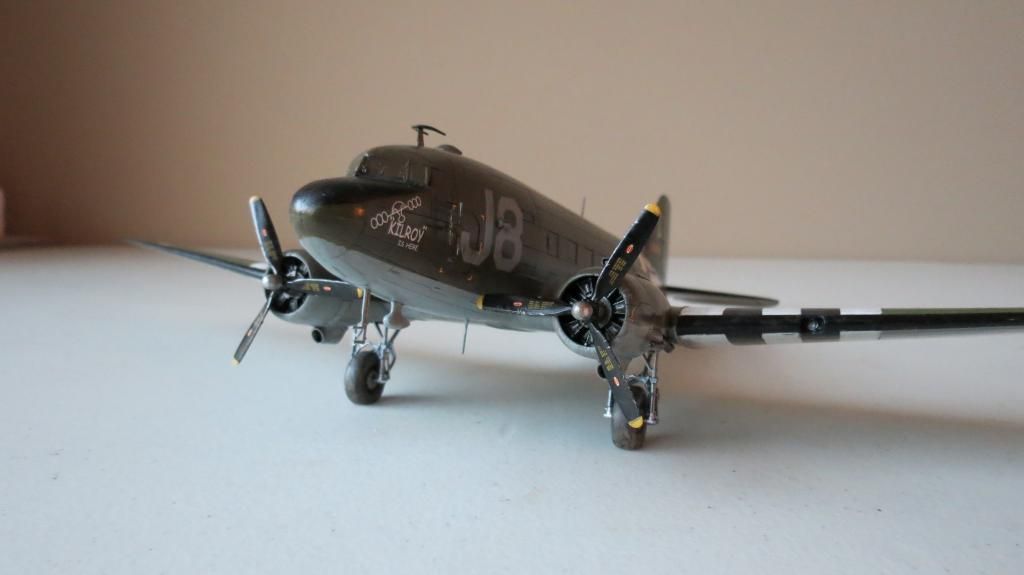
All that was needed now to complete her was to add a couple of coats of matte/flat clear, remove the masking from the canopy and fuselage windows and the leading wing edge navigation light locations. Then the leading edge navigation light lenses were fitted into place and a antenna cable was added from the tail to the upper fuselage dorsal aerial. I used black thread which looked okay with my poor naked eyesight, but after making my YouTube video and seeing the images on a larger screen, I wasn't happy with the "hairy" frayed appearance that it had. Therefore, this will be removed when I get delivery of EZ-Line.
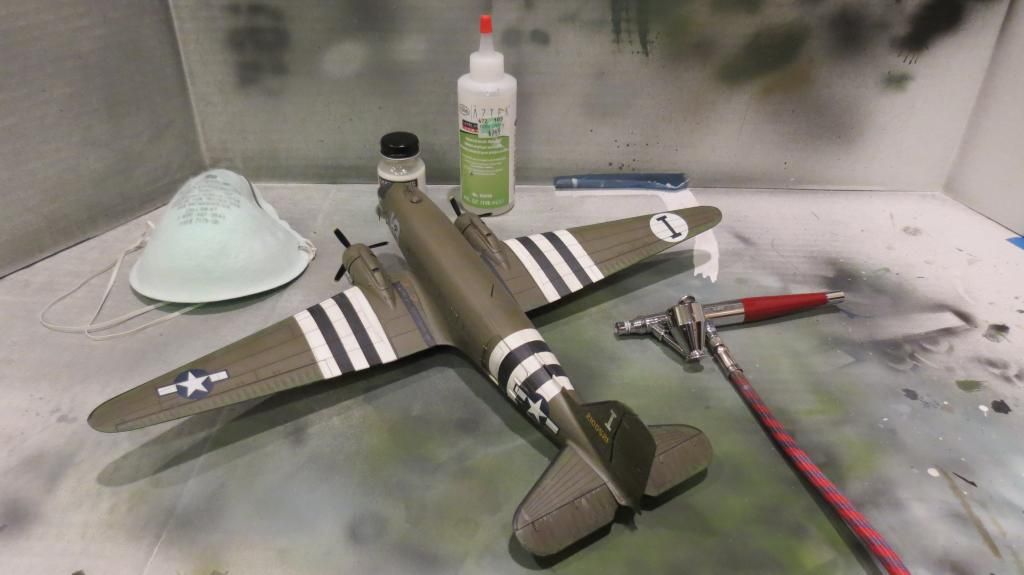
Enjoy the rest of the final reveal photos:
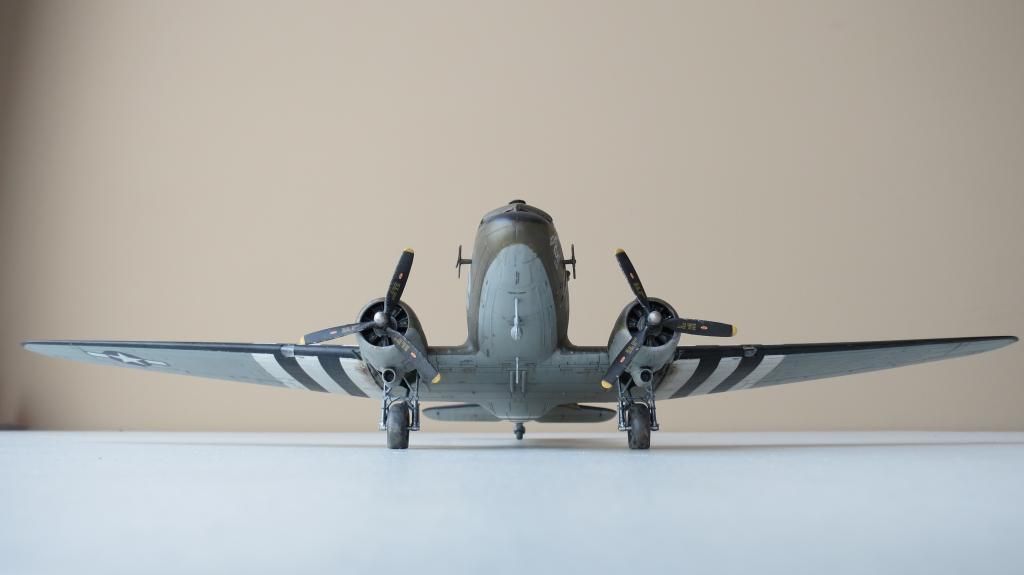
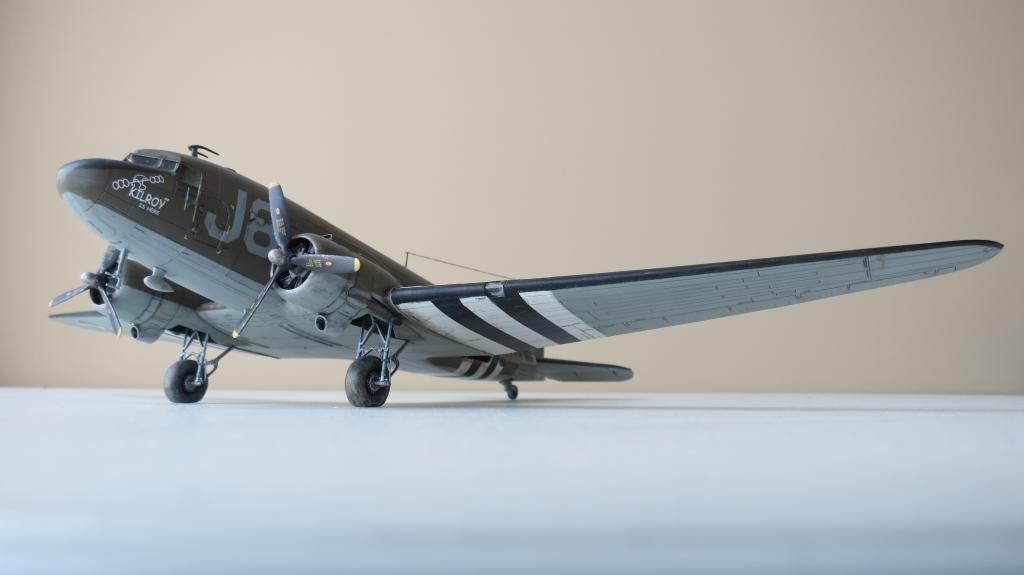
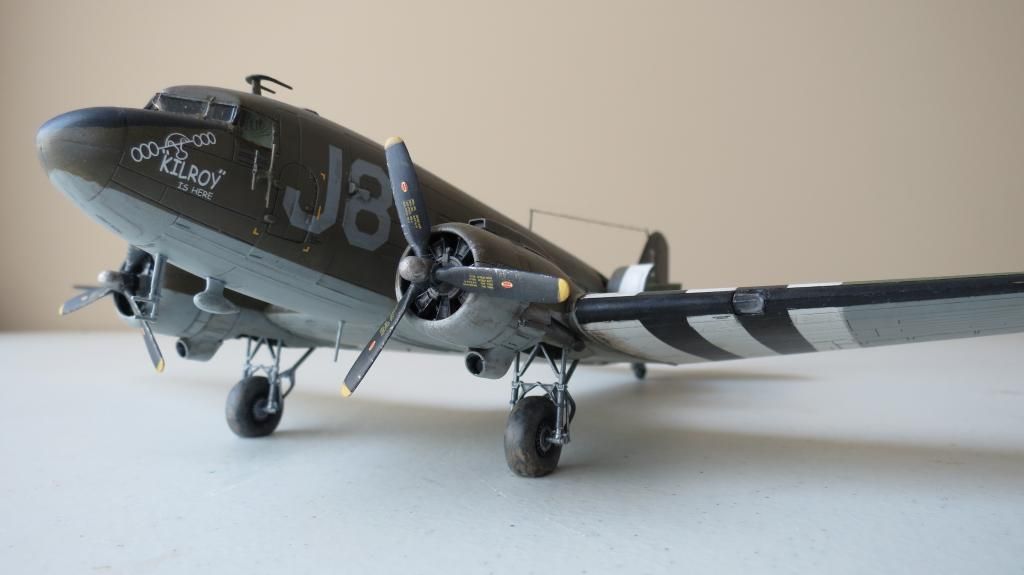
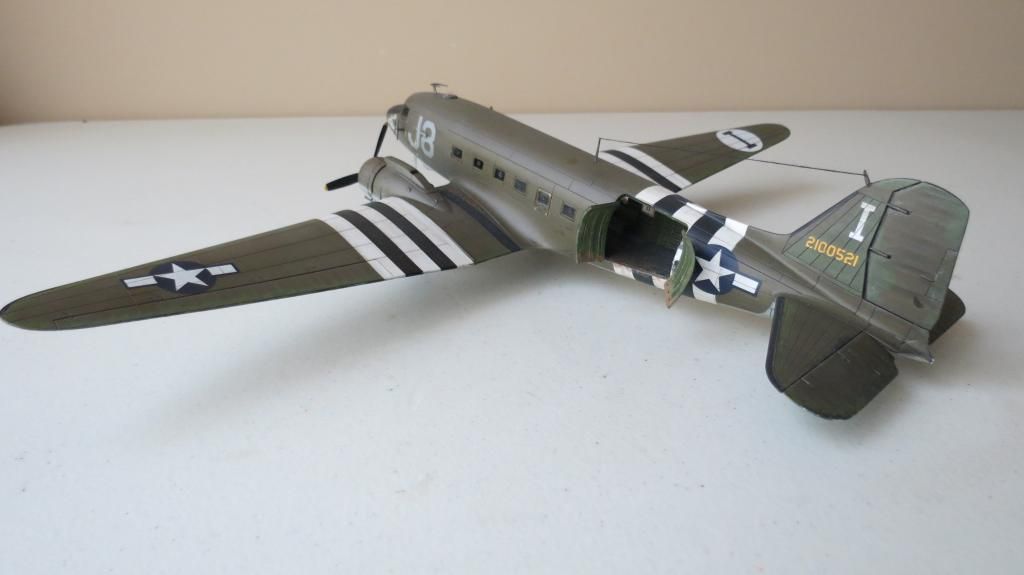
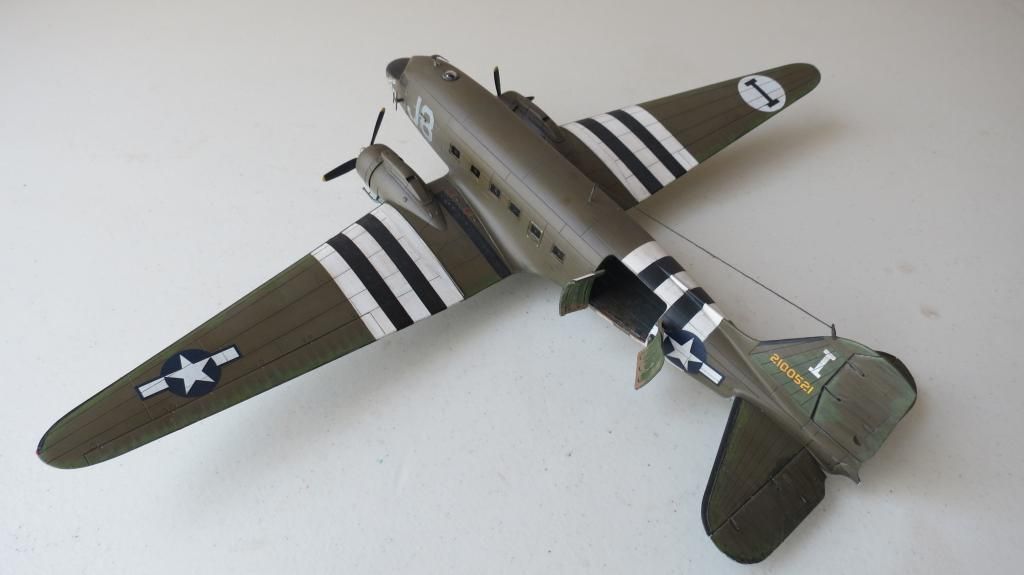
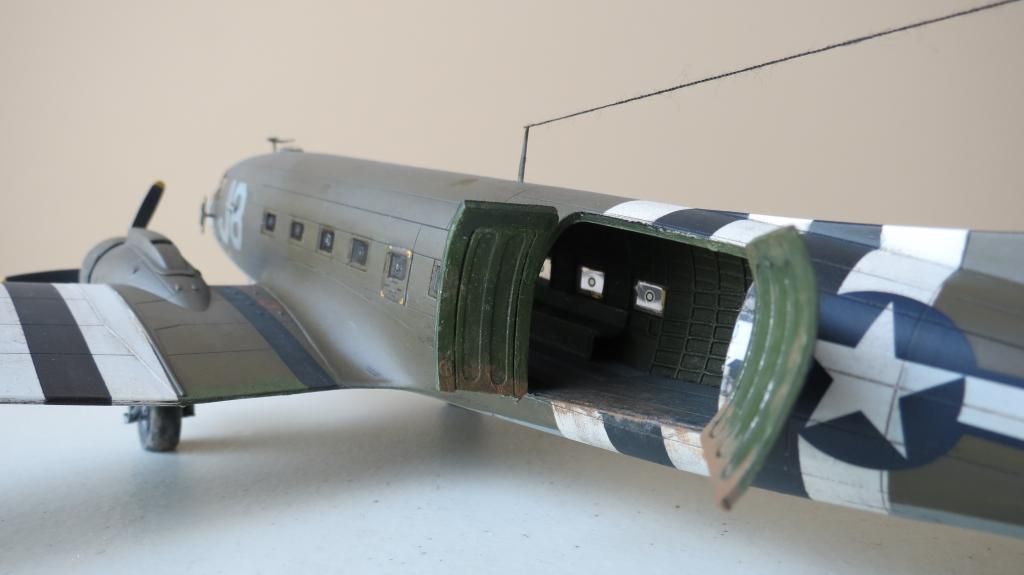
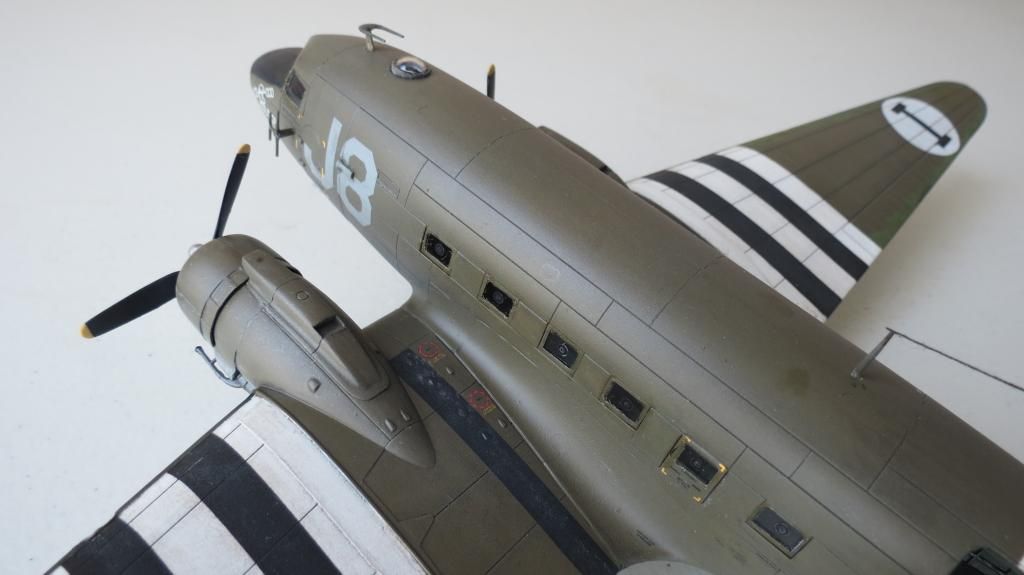
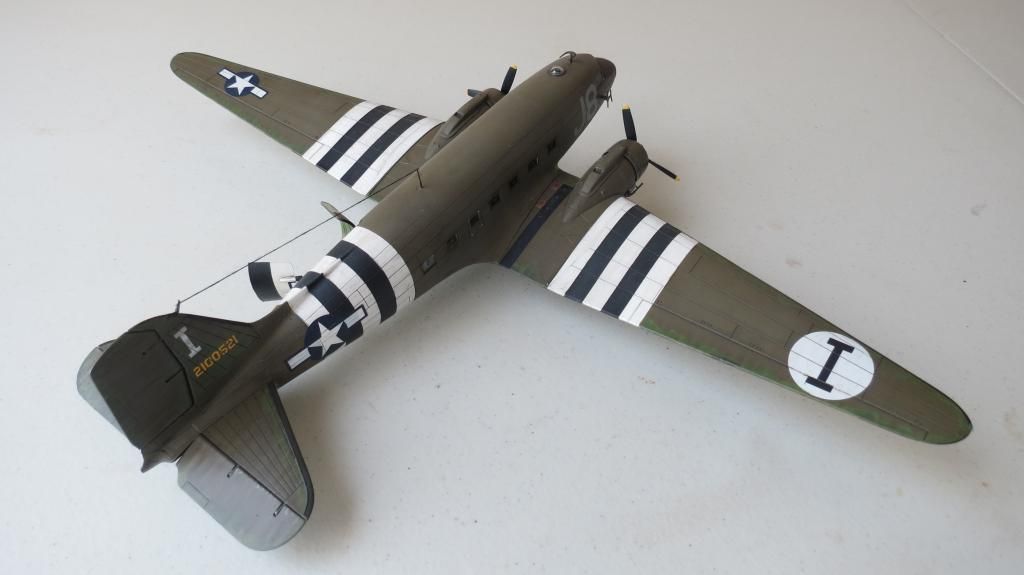
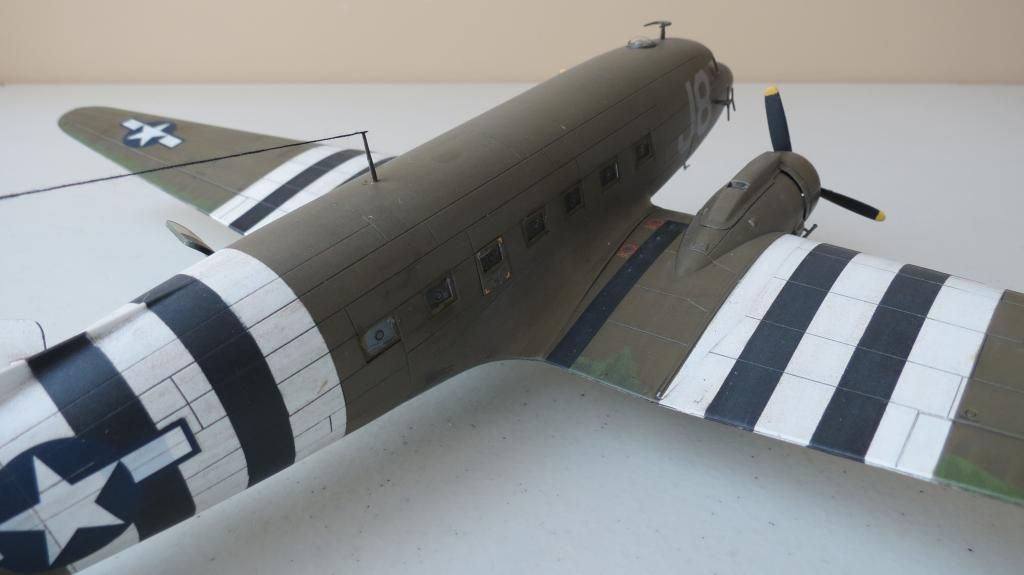
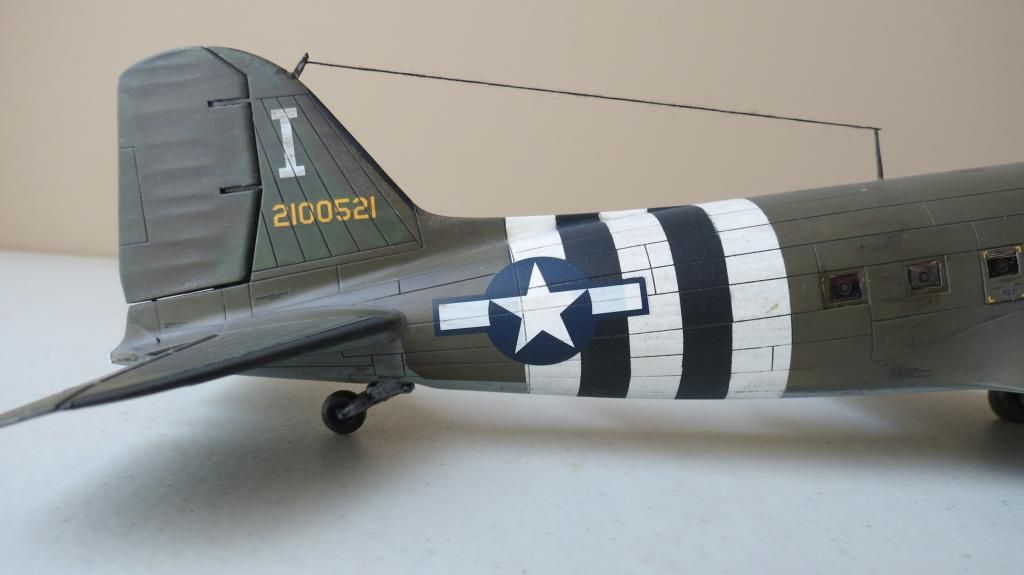
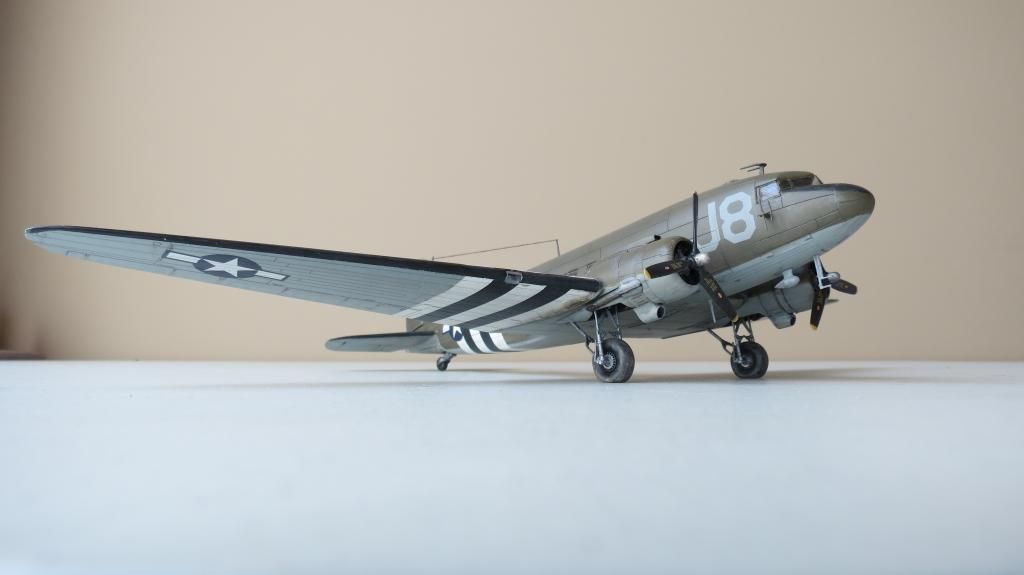
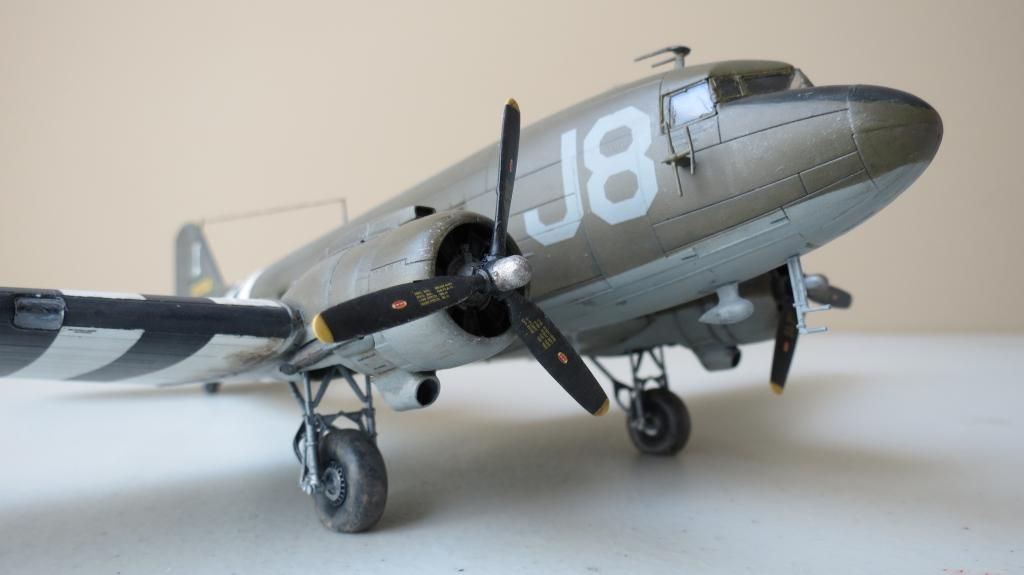
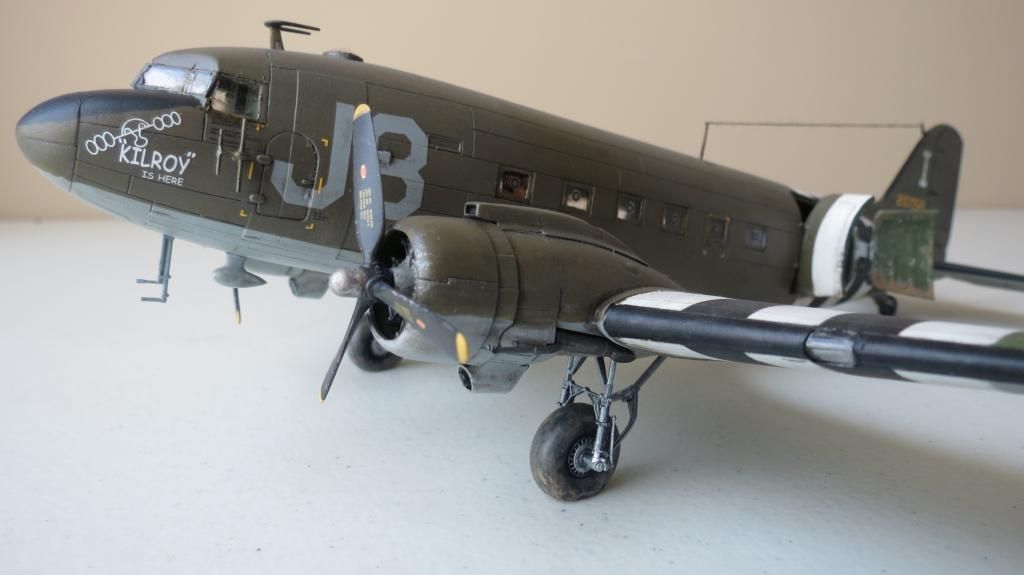
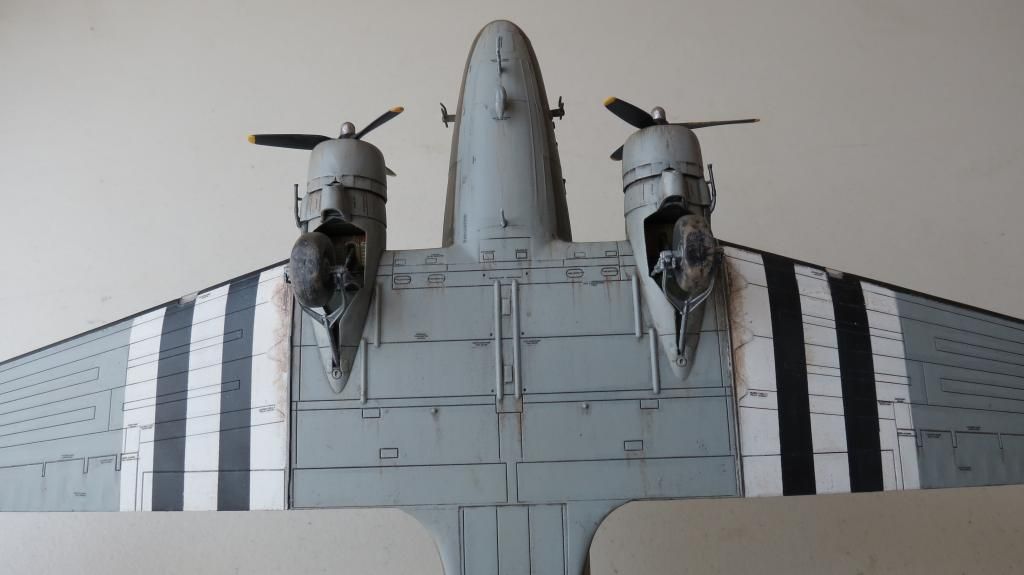
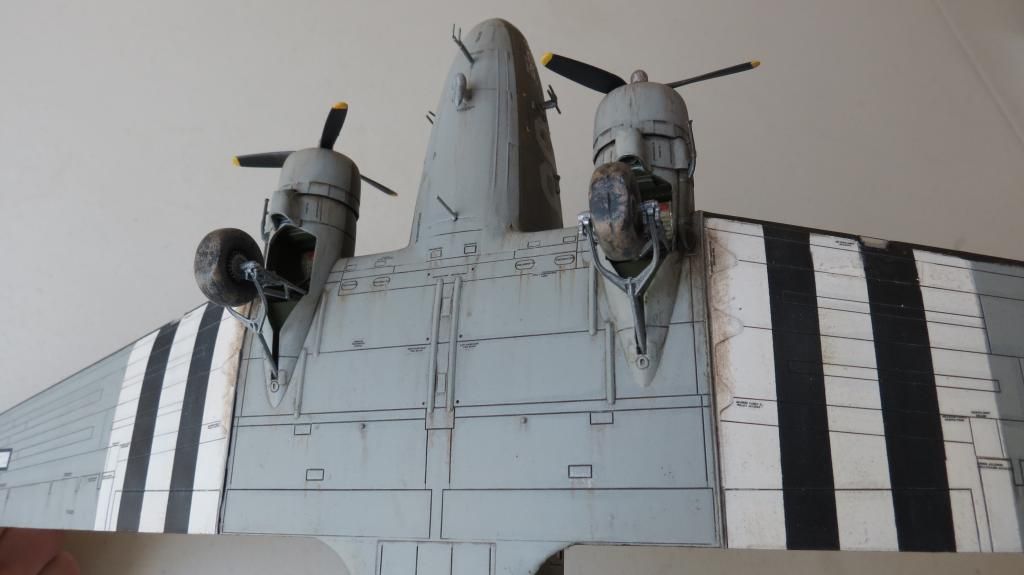
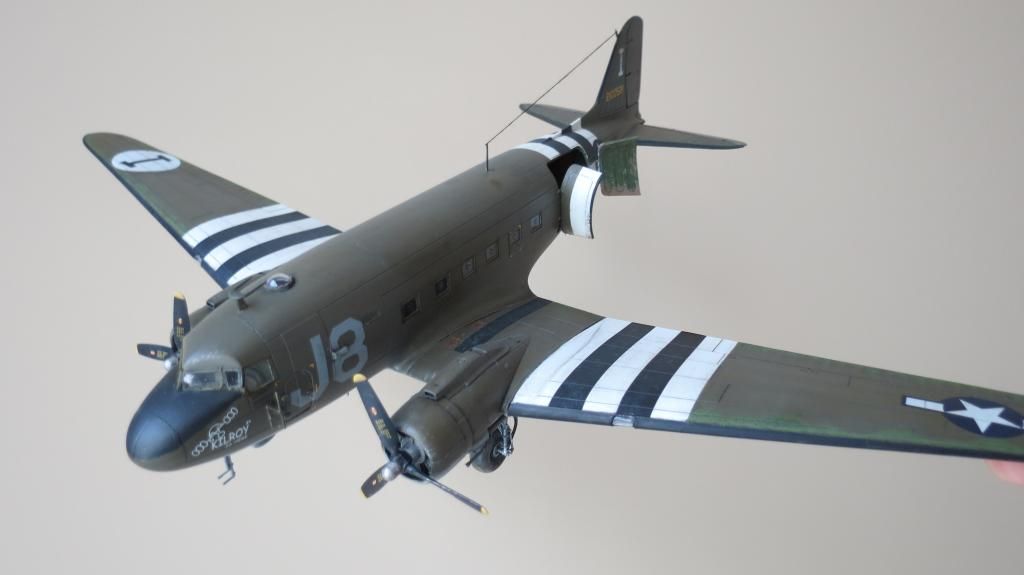
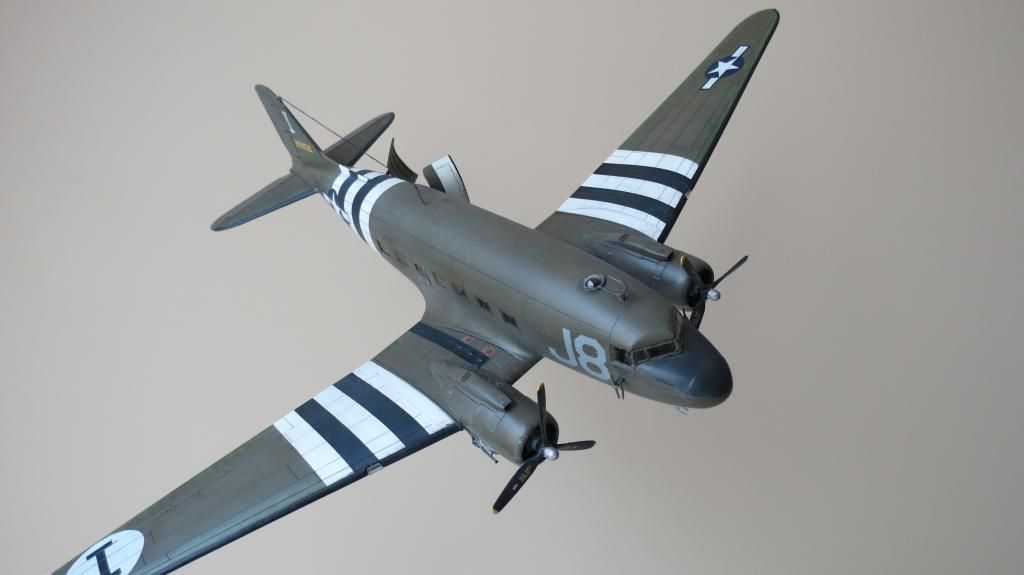
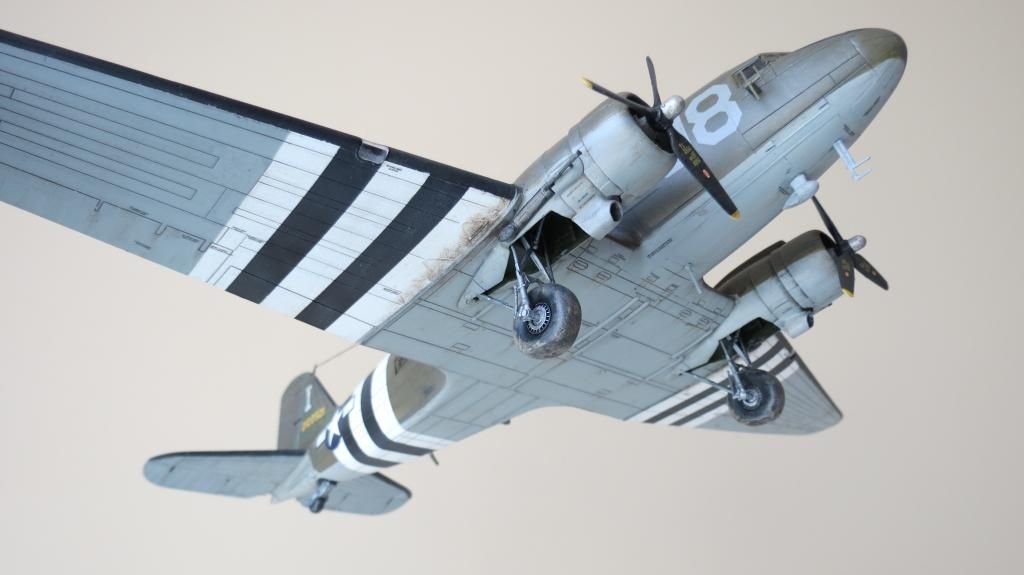
Well....there she is!
I hope you enjoyed the photos, and, forgive me for posting so many, but as always, it was difficult to choose my favorite photos.
Overall conclusions: The molded parts were very clean and crisp, flash free(which one would expect from new tooling), no sink marks, no ejector pin stress marks on visual surfaces, no short shots, blemishes, splays etc and, nicely recessed panel lines for pre-shading and highlighting, although deeper and wider than one would find on other manufacturers kits. There are no rivet details, but I guess that is because it is a 1/72 scale? The clear molded canopy, fuselage windows and light lenses were very clear and unblemished, too, and they fitted very well.
I give this kit 7 out of 10 or 3 1/2 out of 5 stars, based on finding two fit issues during the build along with a third issue that was regarding the fuselage D-Day Stripes location. The first issue was that there are "fillet" sections that fit between the wing root and fuselage on either side of the plane. These, when dry fitted into their locations, were proud of the surrounding surfaces and therefore required careful filing of the rear edges, a bit at a time until they fit flush. Once flush the fit was nice and there were no gaps requiring filling. In fact, no filler whatsoever was required on this build.
The second issue was that when fitting the lower wing sections to the upper wing sections, there is a substantial gap at the area closest to the engine nacelles. This gap is caused by the internal faces of the wing sections fouling with the inner wing braces/spars that the upper wings are fitted to first. This was overcome simply by filing down the top faces of the inner wing braces until the lower wings sat flush and the gap closed up.
The third issue came to light when I had completed painting the aircraft and the next stage was to apply the decals. I looked at the decal instruction guide and thought to myself "Why are the fuselage star and bar decals partly on the D-Day Stripes and partly off?" I thought that it looked unusual, so I checked for images of this aircraft and discovered that there was an error by Airfix. Their paint instructions show that the first white stripe covers the first fuselage door, when in actual fact, photos of the aircraft indicate that the first door is Olive Drab and the first white stripe starts on the second door...the one closer to the tail. The Star and Bars on the actual aircraft fall within the D-Day stripes. This was highlighted in my Build Update Report # 4 for those that didn't see that update.
Apart from the above three issues, the kit builds well, is a decent representation of the C-47, the decals went on great and the overall finished product is a pleasing looking addition to ones collection of aircraft.
The kit does offer two versions of aircraft to build, but I chose to do the D-Day version.
Below are my scores/ratings for this kit;
Quality of molded product = 9/10 The molded parts are excellent quality, but the recessed panel lines are wider and deeper than those one finds at 1/48 scale
Quality of assembly instructions = 9/10
Quality of painting instructions = 6/10 These are the usual color instructions that one finds with Airfix which are nice, but, if Airfix offered the color conversion alternatives of other paint suppliers, that would be much preferred. Also, I believe Airfix made a huge mistake by indicating where the Fuselage D-Day Stripes are located, as discussed above.
Quality of Decals = 10/10 These were nice and thin, matted and reacted well to the Walthers Decal Setting Solution that I used, conforming to raised and recessed details nicely.
Quality of packaging and box artwork = 8/10 The box artwork is very nice, but all the grey sprues are in one large bag with a smaller bag containing the clear parts within the large bag.
Quality of fits = 8/10 It would have been 10/10 except for the two fitting issues discussed above.
No filler was required throughout the whole build!
Quality of details of molded product including options = 8/10....There are only two options of aircraft markings offered, but there are some reasonable internal details which sadly cannot be seen once the fuselage halves are closed together. If one leaves the fuselage side doors open, like I chose to do, one can see the internal wall ribbing structure and seats that come with the kit. The radial engines are reasonably detailed, along with the wheel assemblies in wheel wells.
For those who have been or are thinking of buying this model, I highly recommend it, just be aware of the three issues highlighted in this commentary.
Here is the link to the video of the Final Reveal of this build...please leave comments and subscribe!
[youtube]K5A1x8WIeKs[/youtube]
...and here is the link to the build thread within this forum, if you haven't already seen it. Included within this build thread are the links to my 4 build update videos on YouTube: http://intscalemodeller.com/viewtopic.php?f=258&t=8349
Thanks to those that have made comments on this thread and the build update videos, and I thank you for taking your time to read, look at the photos and do that when you could be doing something else, greatly appreciated!
Happy modeling!
Martin


