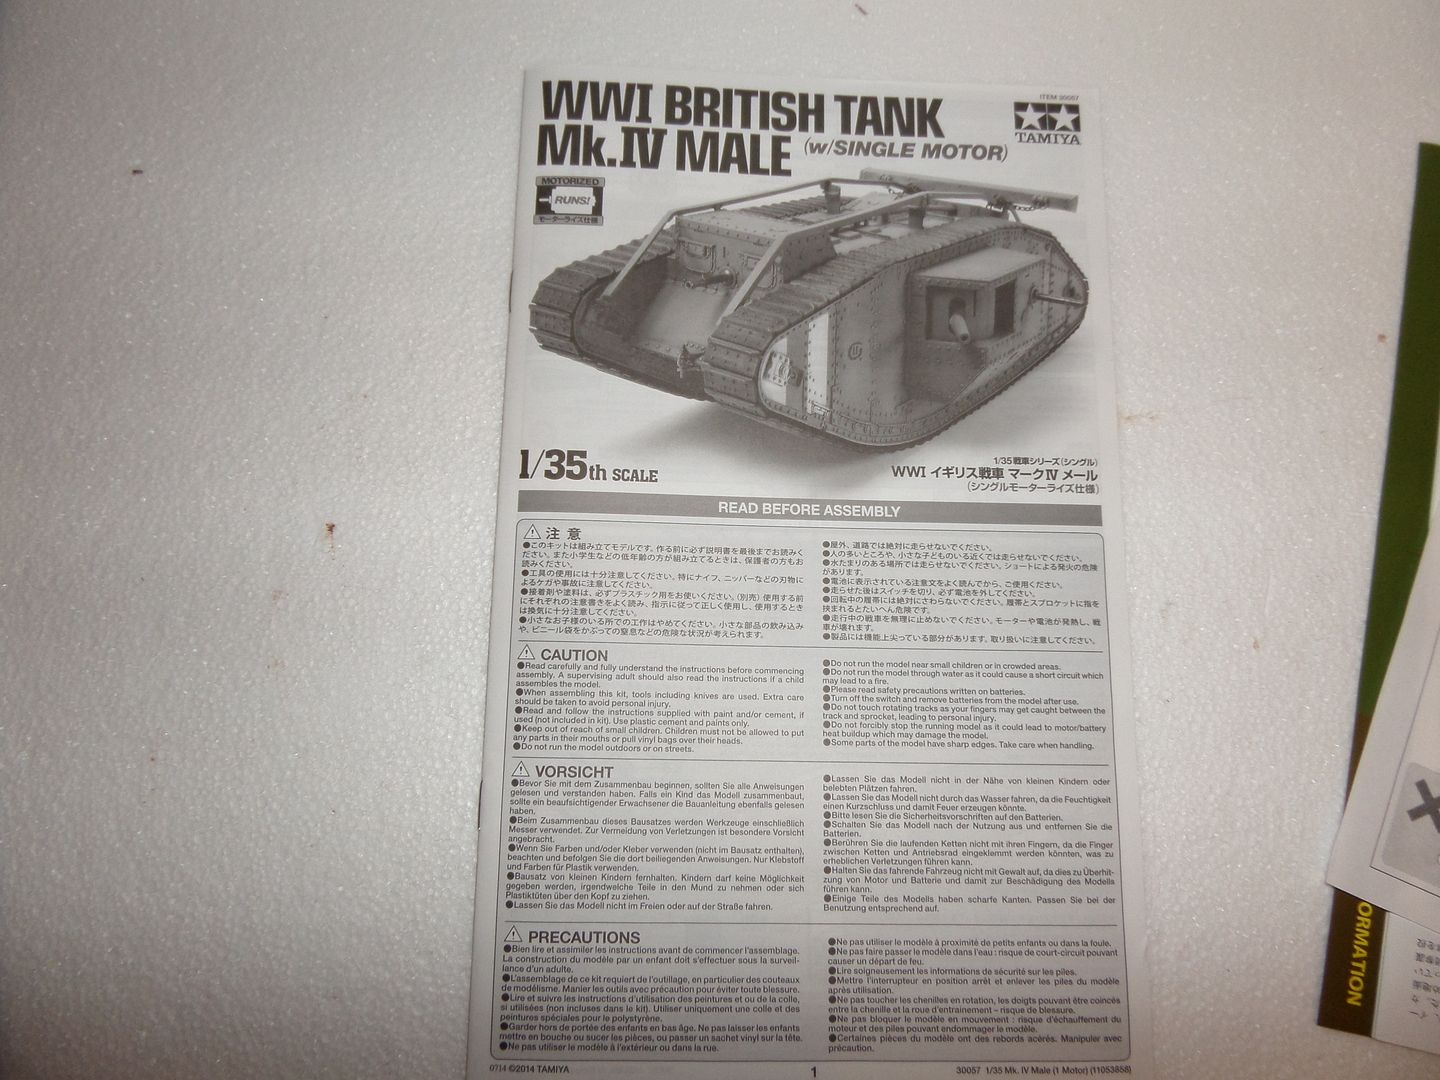
Ok It is time to start this ...
Time to unbox the kit and see what's inside ...

Instructions :
Warning on how to make the Drive sprockets
Nice technical documentation , some short resume on WWI History and how it all begins ...impressive to know that suddenly everybody was involved on a war almost without really knowing how and really with such great consequences and losses ...
Also some mention on development and how all the 'tank' history begin ...funny stuff , they are called tanks due that the British called this a tank (Like water tank) only to deceived Spyies , the name still is used

History on the first Tank Battle where a MArk IV encountered and knocked out an German A7V , well I remember to saw Discovery ( I think) Docs on tanks and there it is mention that Two Female MK IV and One Male encouter three A7V and not only one as mention , but the end result was the same , a victory for the British by K.O .
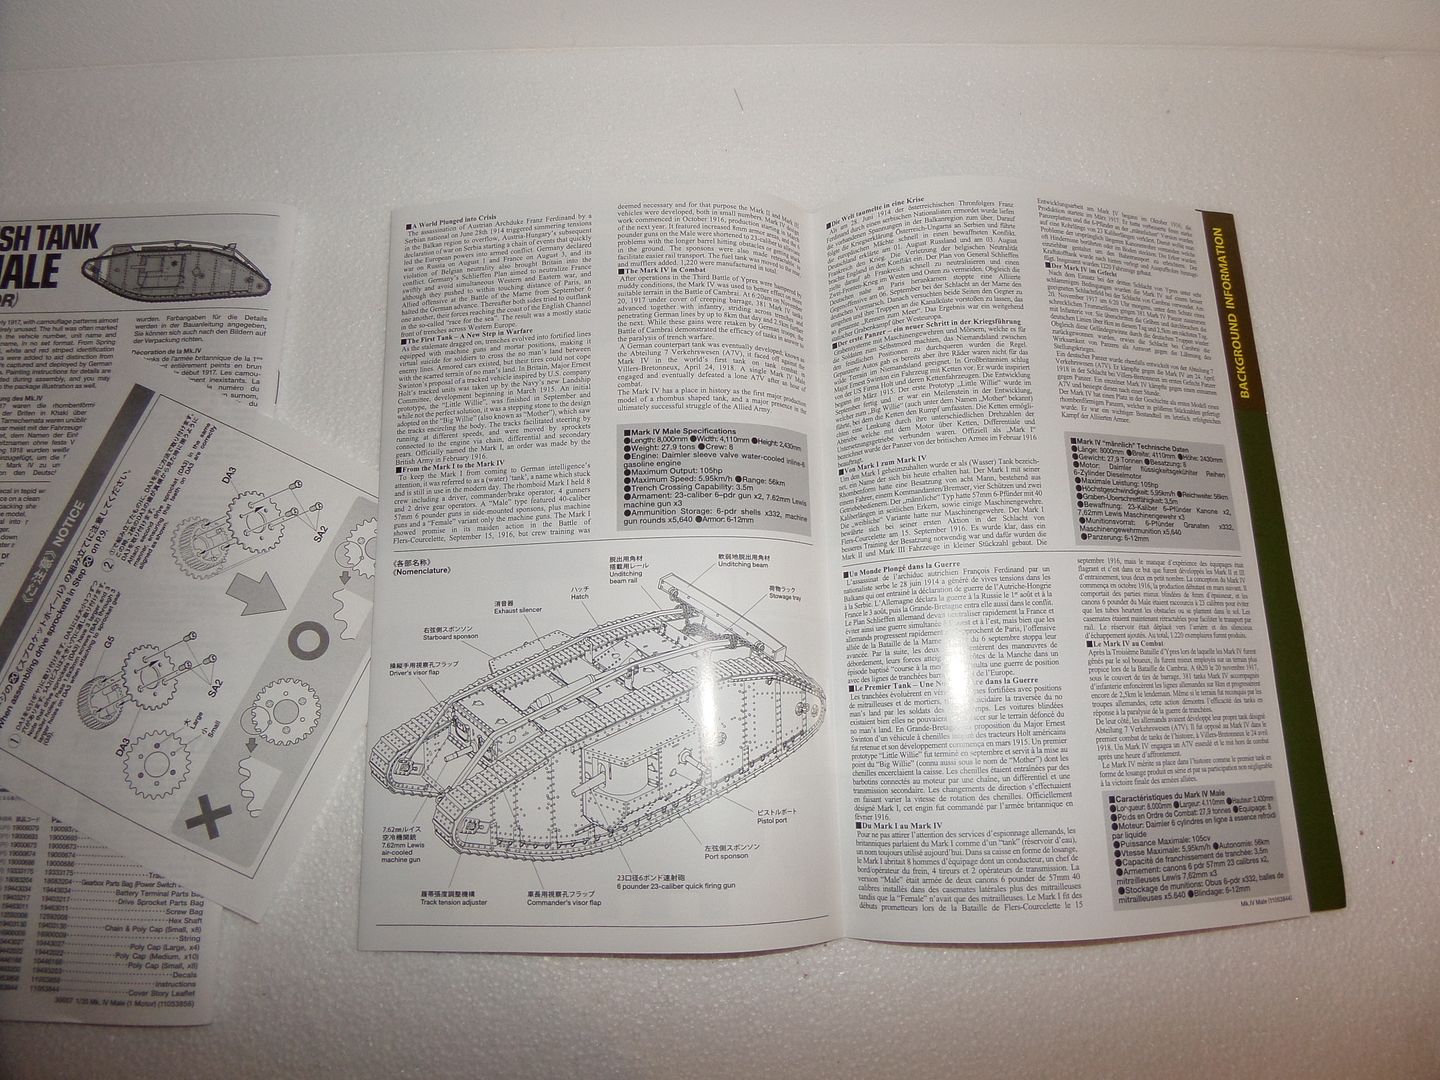
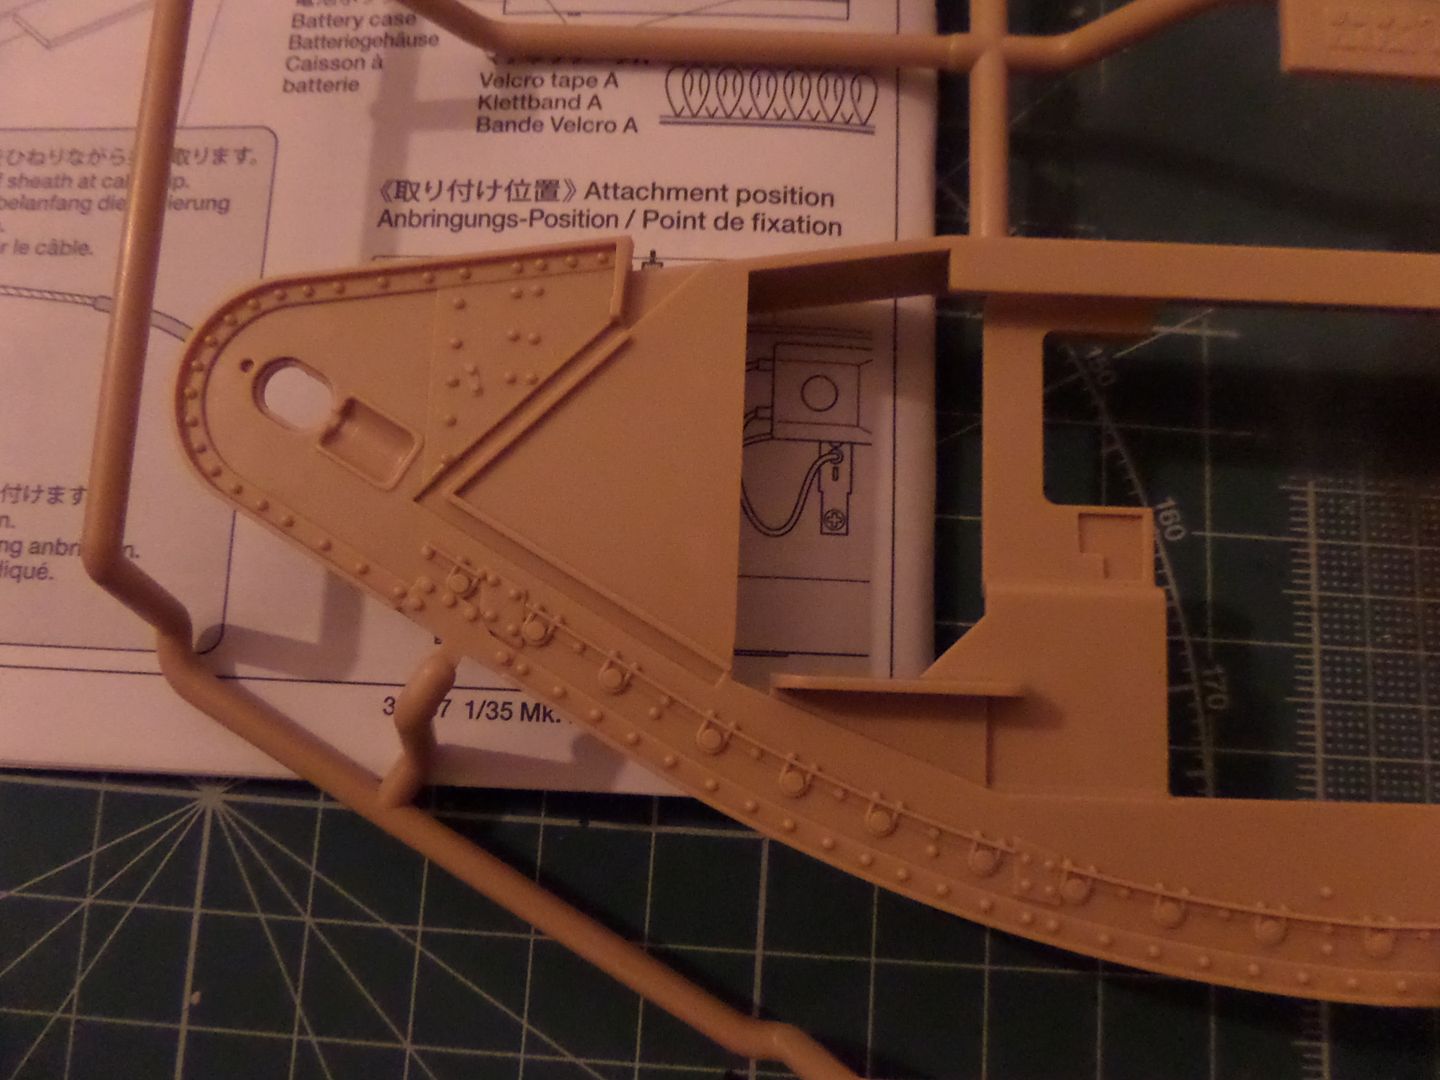
The tank figure has some indications of the stuff in the tank , Liked the UnDitching Beam , well you will see the only photo I had on the version that I will choose that they seemed to not have use it in Cambrai Battle

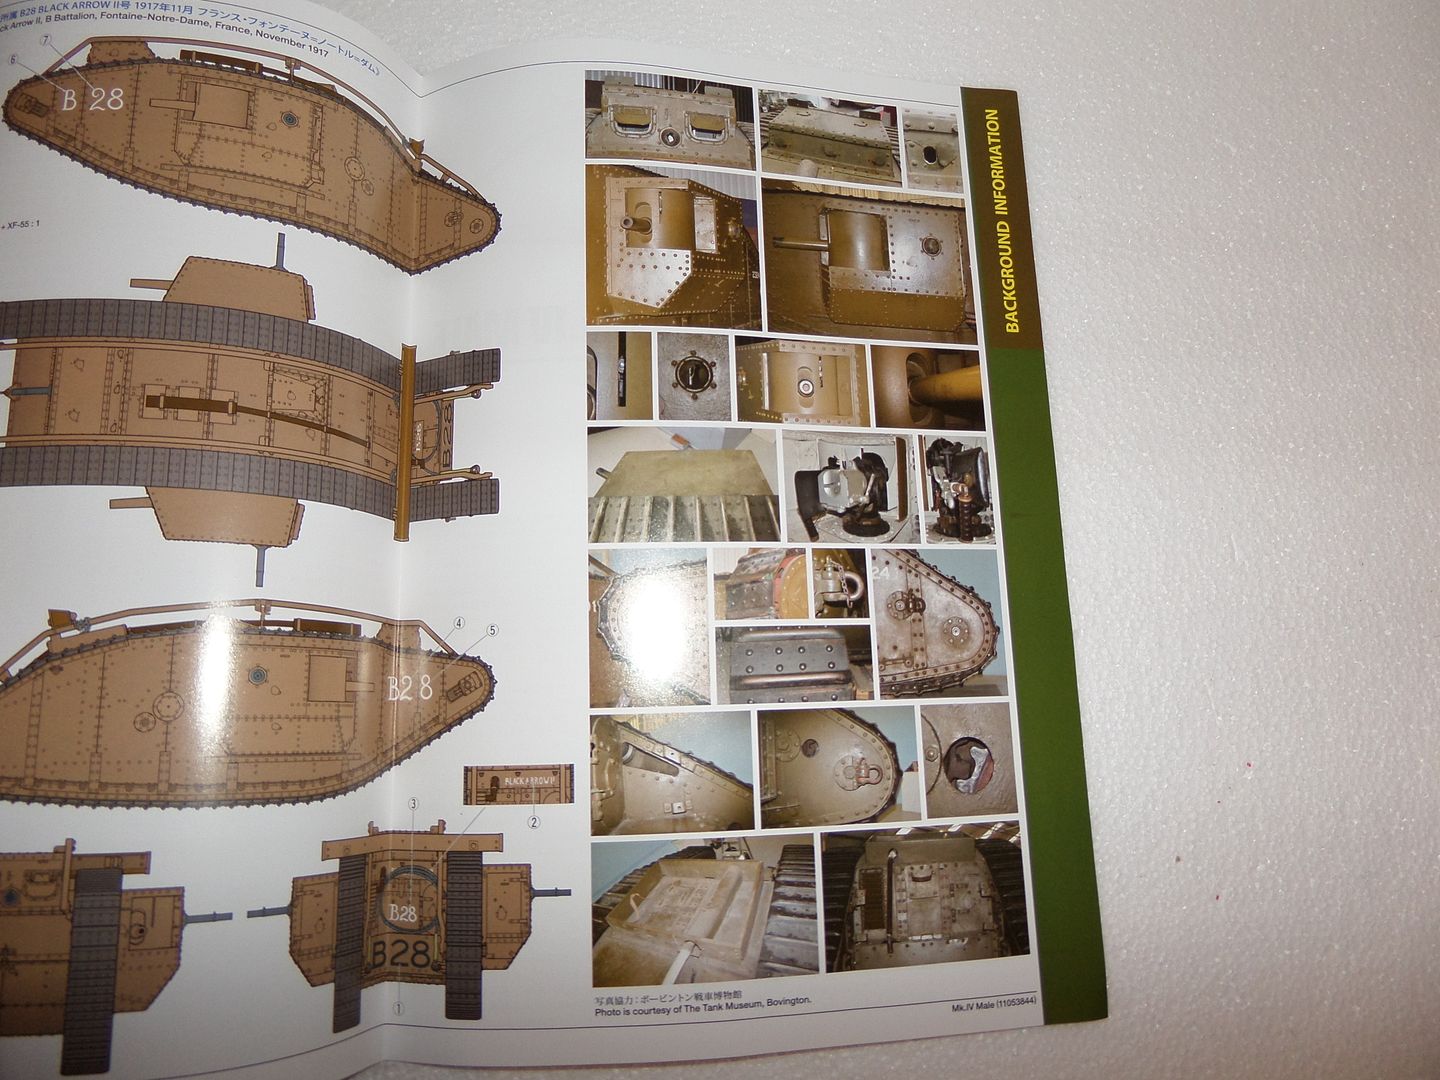
Nice Photos from the MArk IV that is in Bovington tank museum ( would like to go there one day ...)
Nice reference for the build
Color schemes :
three option :
First on the left with the White and red stripes in the front 'Glamorgan ' G Battalion from 1918 theses were painted to distinguish from the German MK IV that meanwhile were captured and used aginst their creators ( some Frankenstein stuff I think )
Middle one is the Hyacinth used in November 1917 in the Battle of Cambrai 'H45 Hyacinth' H Battalion , the names usually had the first letter from the Battalion Name H Battalion , Hyacinth or Helen or Head over wheels or something ...
Right one 'B28 - Black Arrow II' , yes B Battalion also November 1917 Cambrai Battle ...
Will go for Hyacinth version ...
Usually everybody put here some History on the Models and pilots, I discover this page , it is some genealogy page about a soldier that died in Cambrai battle and is mentiones in Cambrai War MEmorial , also this page is an iteresting piece of History and a real Tribute to all those that fought in the Tank Corps and WWI , This Buidl will be also my tribute to all those who fought in this Bloody War ...
http://freepages.genealogy.rootsweb.anc ... hurff.html
Unboxing ...
Decals and warning stickers :
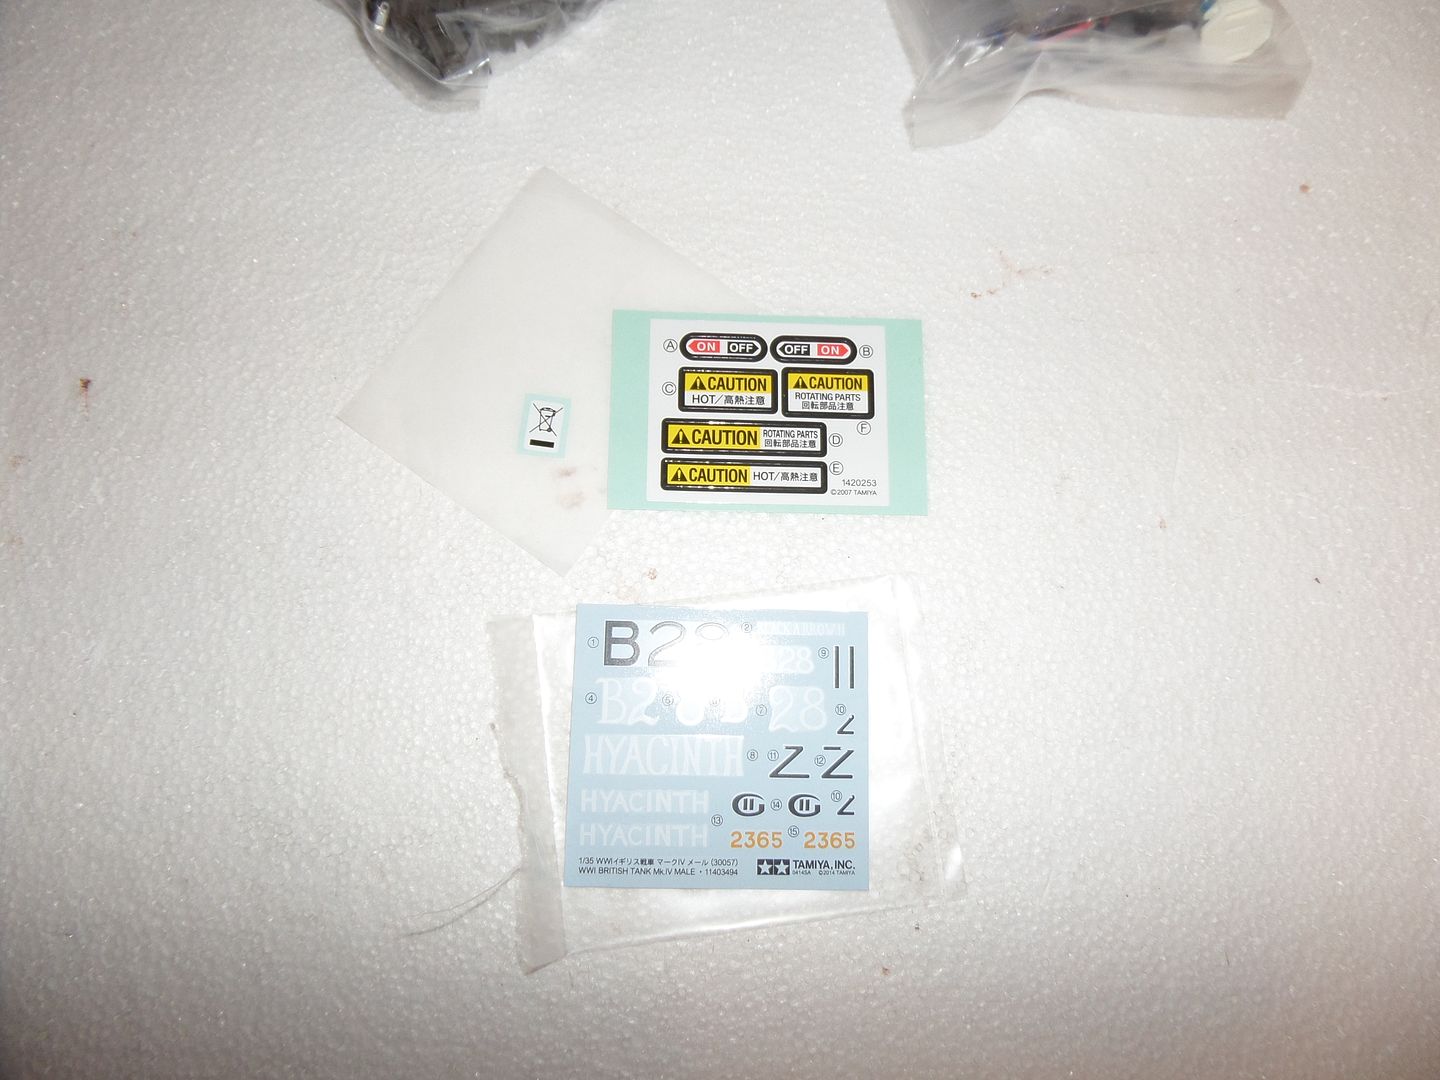
I will talk lately on this 'warning stickers' , Tamiya must have to have this , but as we will see in the instructions ...the places were they should be ..welll will see

Tracks :
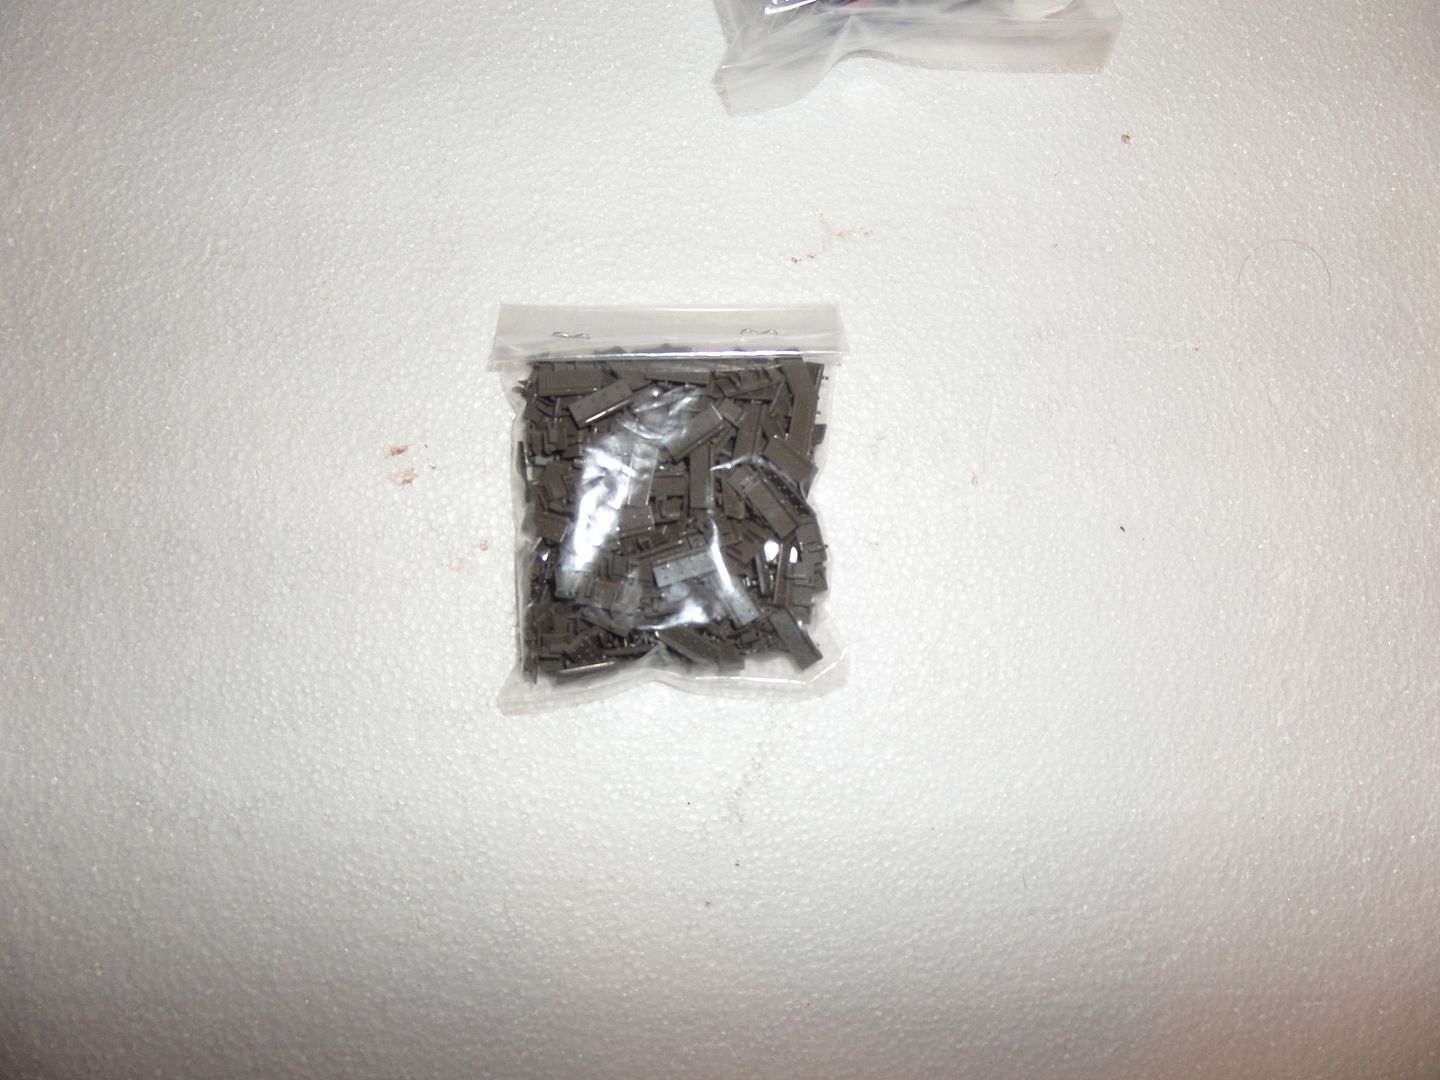
174 pieces to be linked one by one ! Seem that Tamiya make it right , they are easy to link and great result in the end , very nicely detailed !
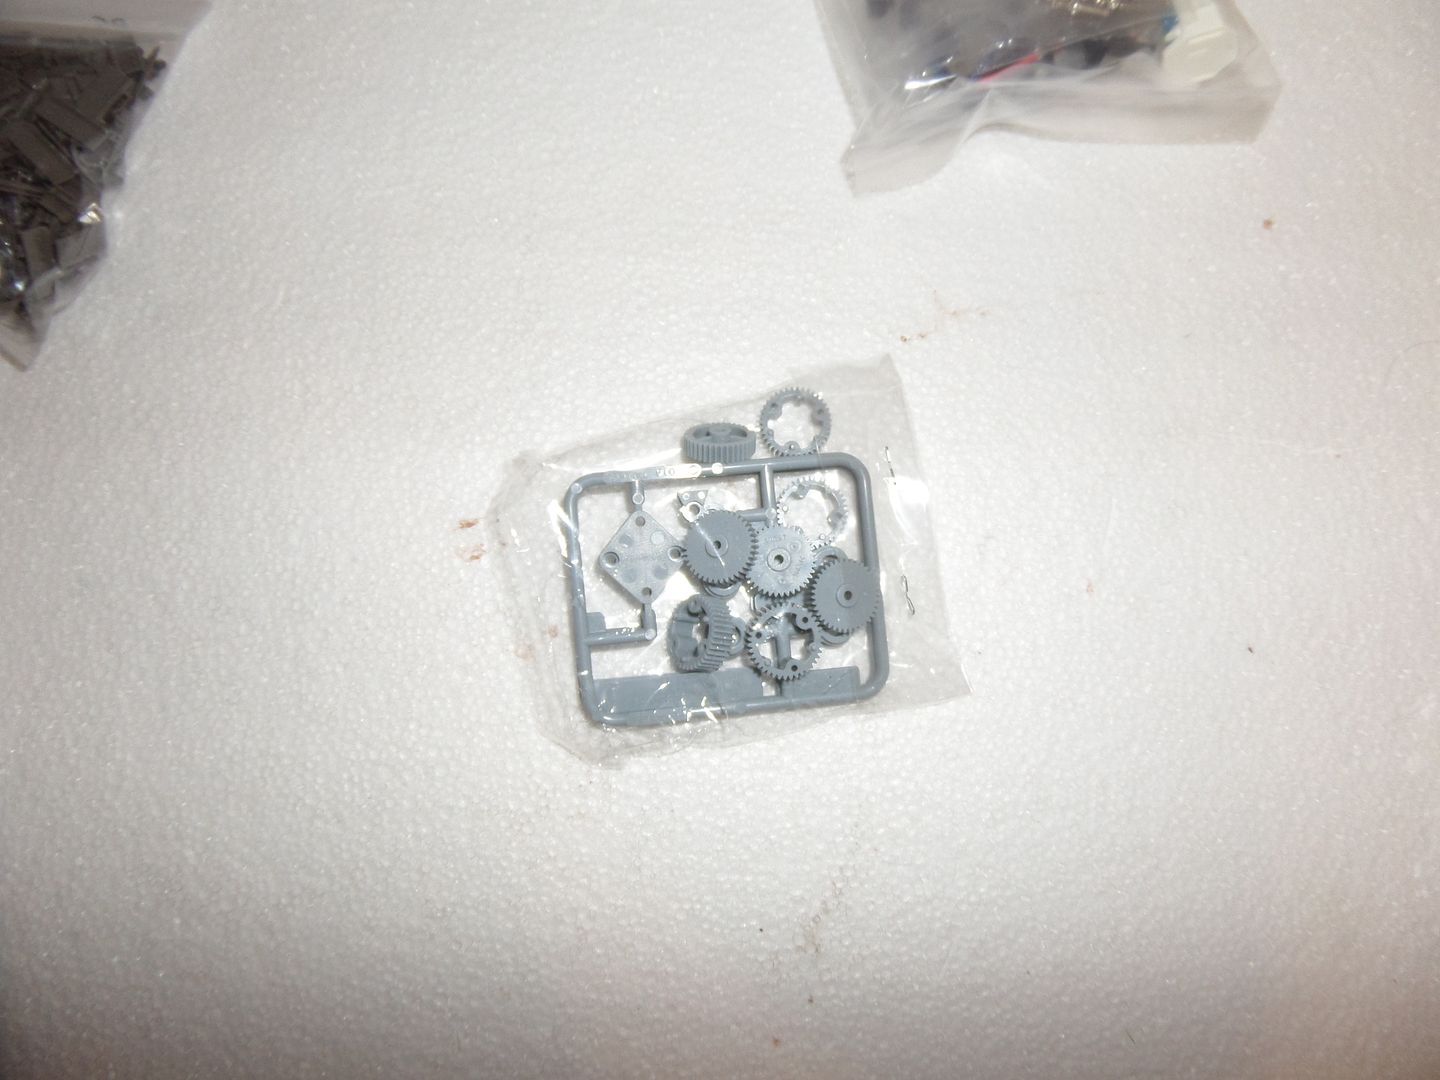
Drive sprockets (seems to)
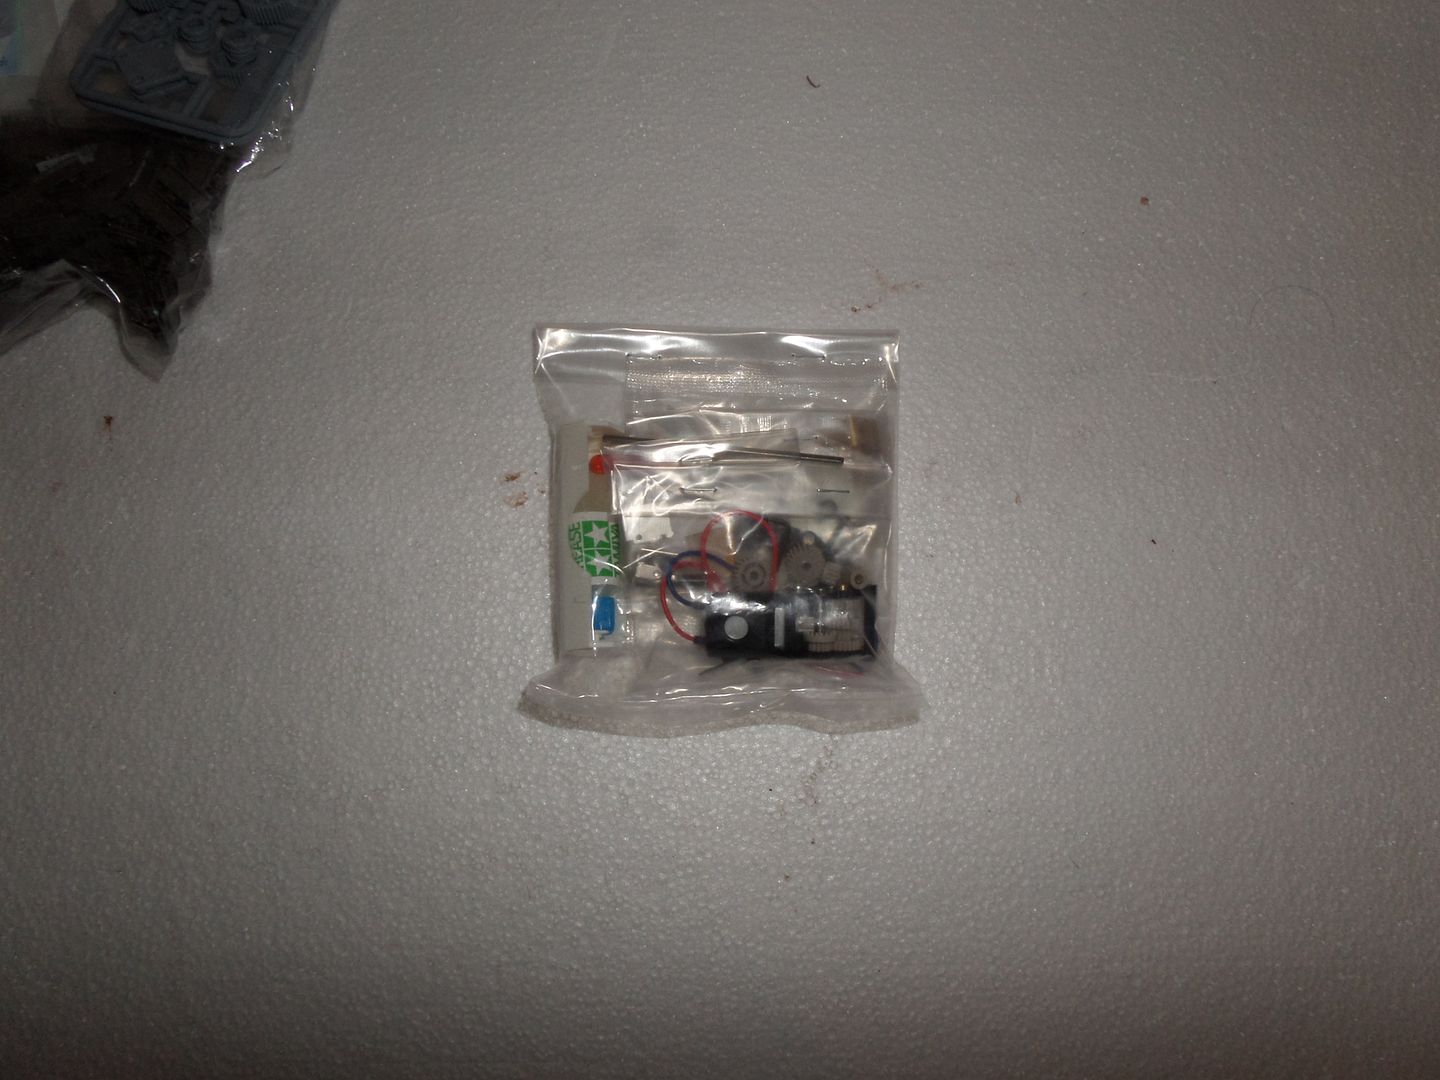
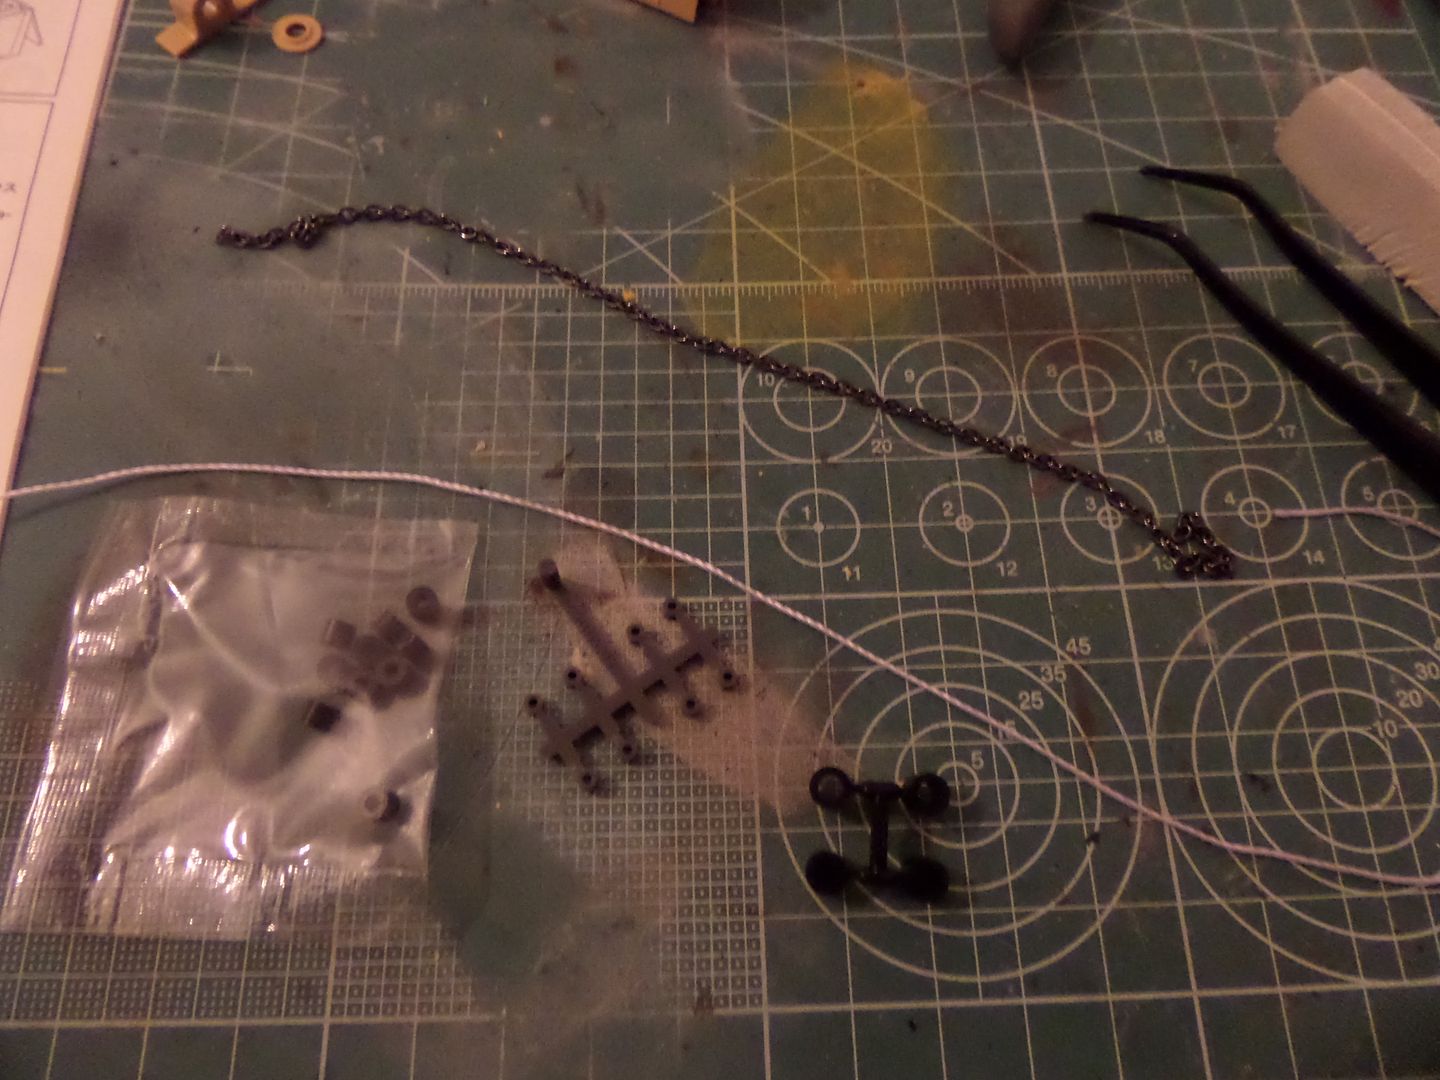
Engine, grease, a lot of stuff for the build , screws , PVC tube , metal chain , Battery Holder, Velcro tape , stuff , stuff , a lot of stuff in this kit !
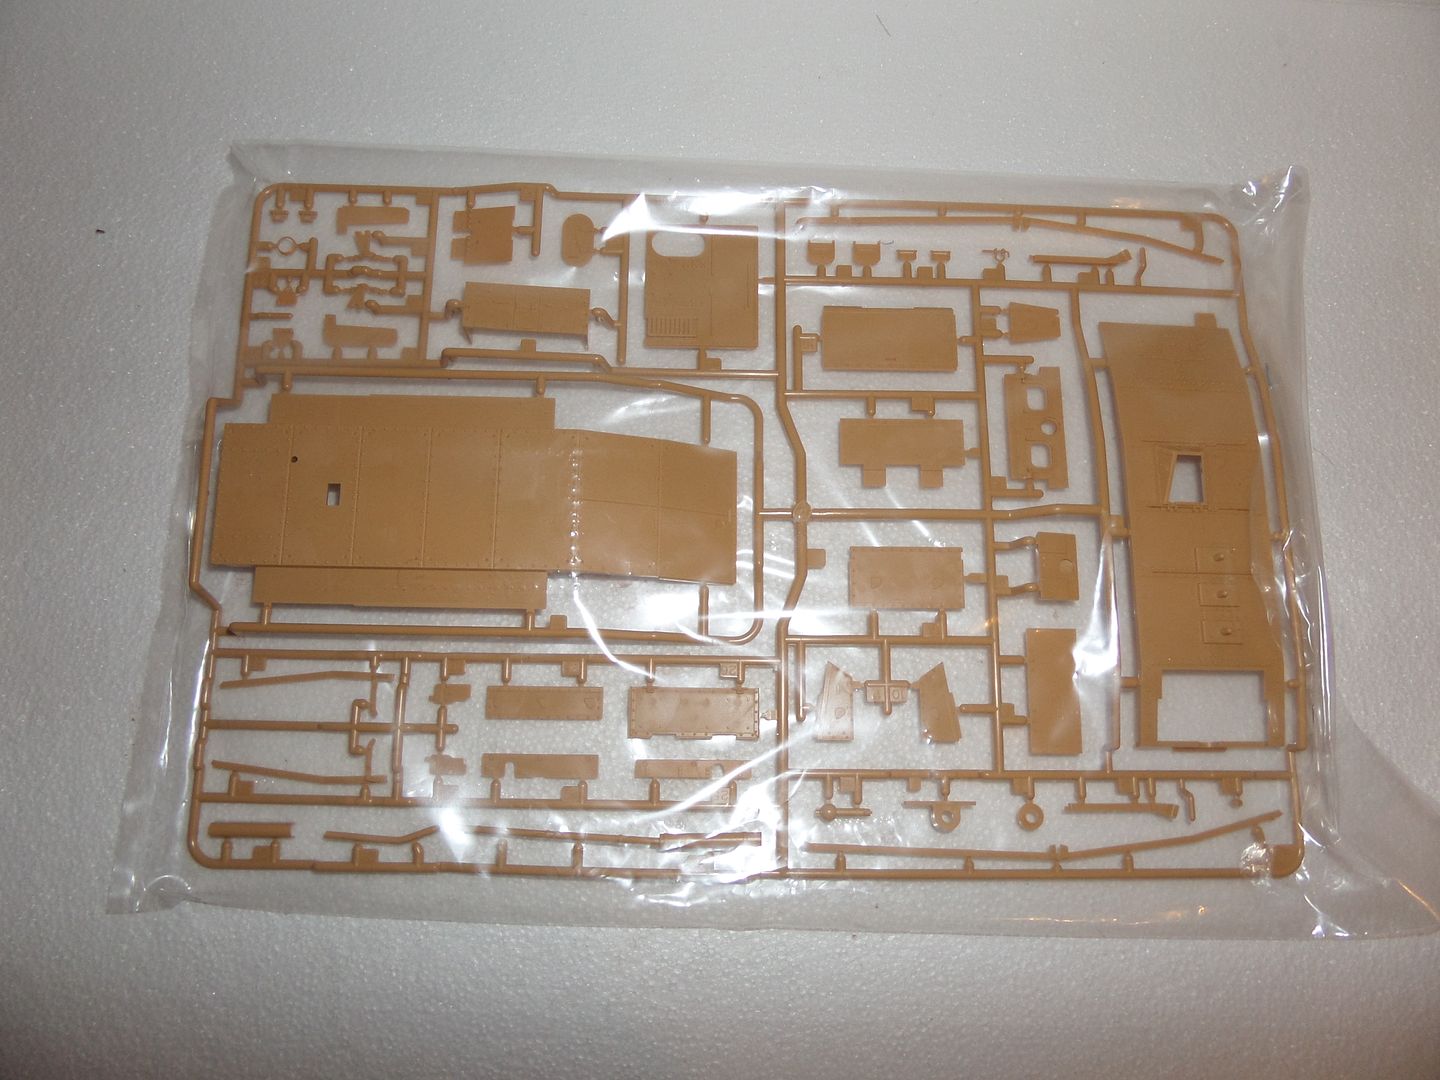
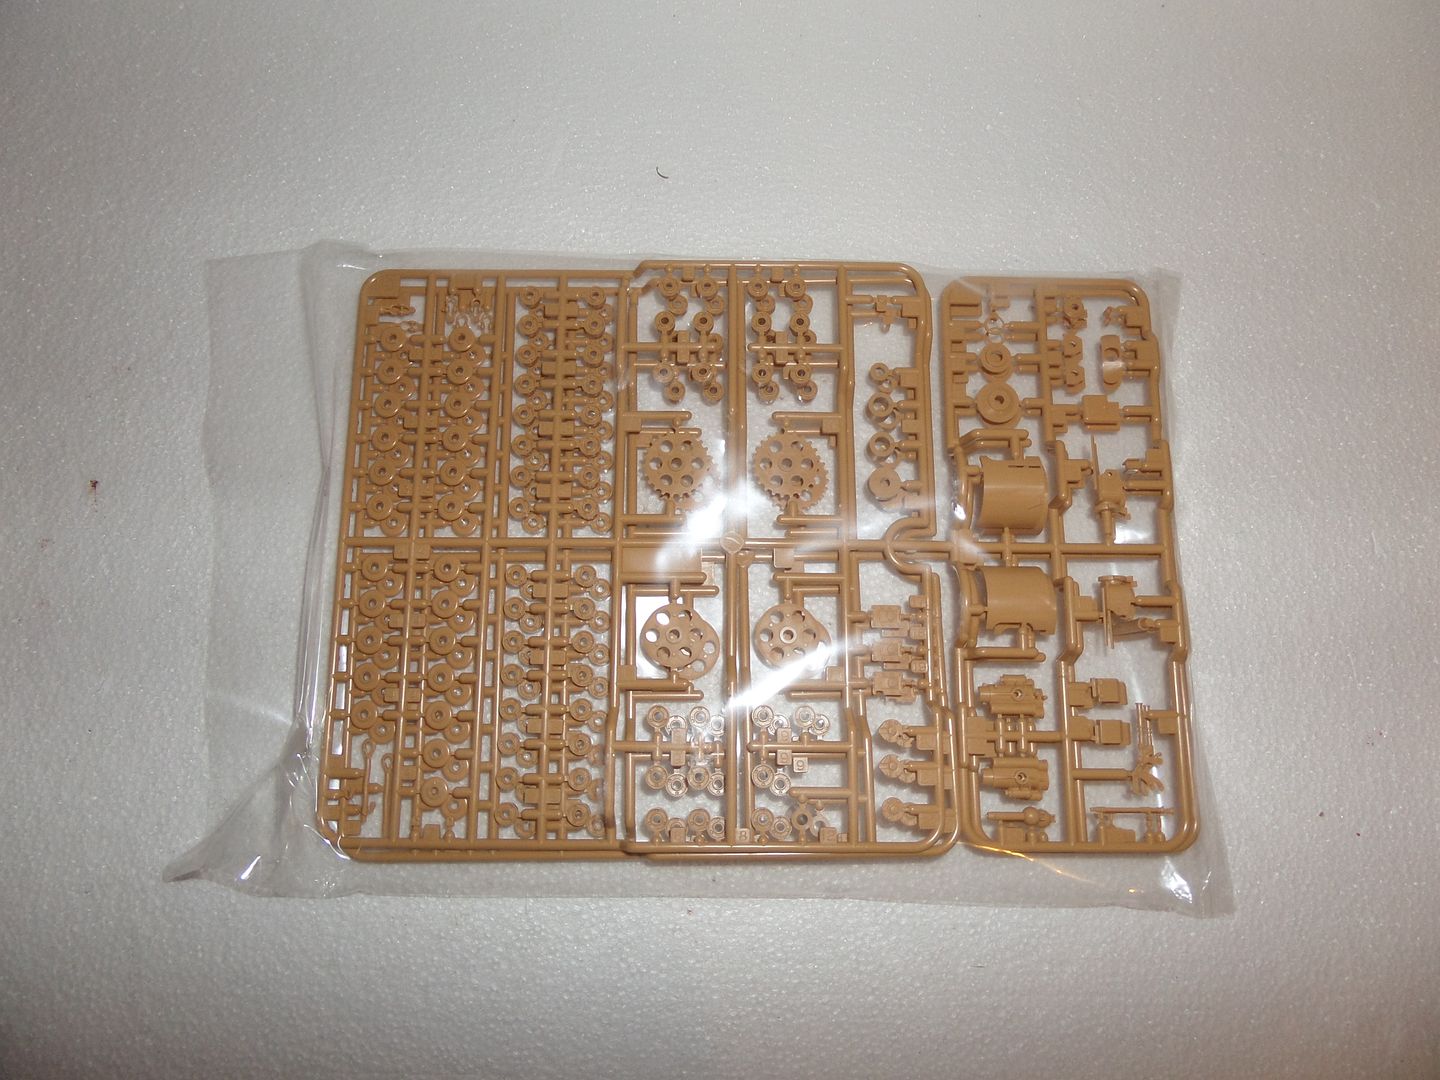
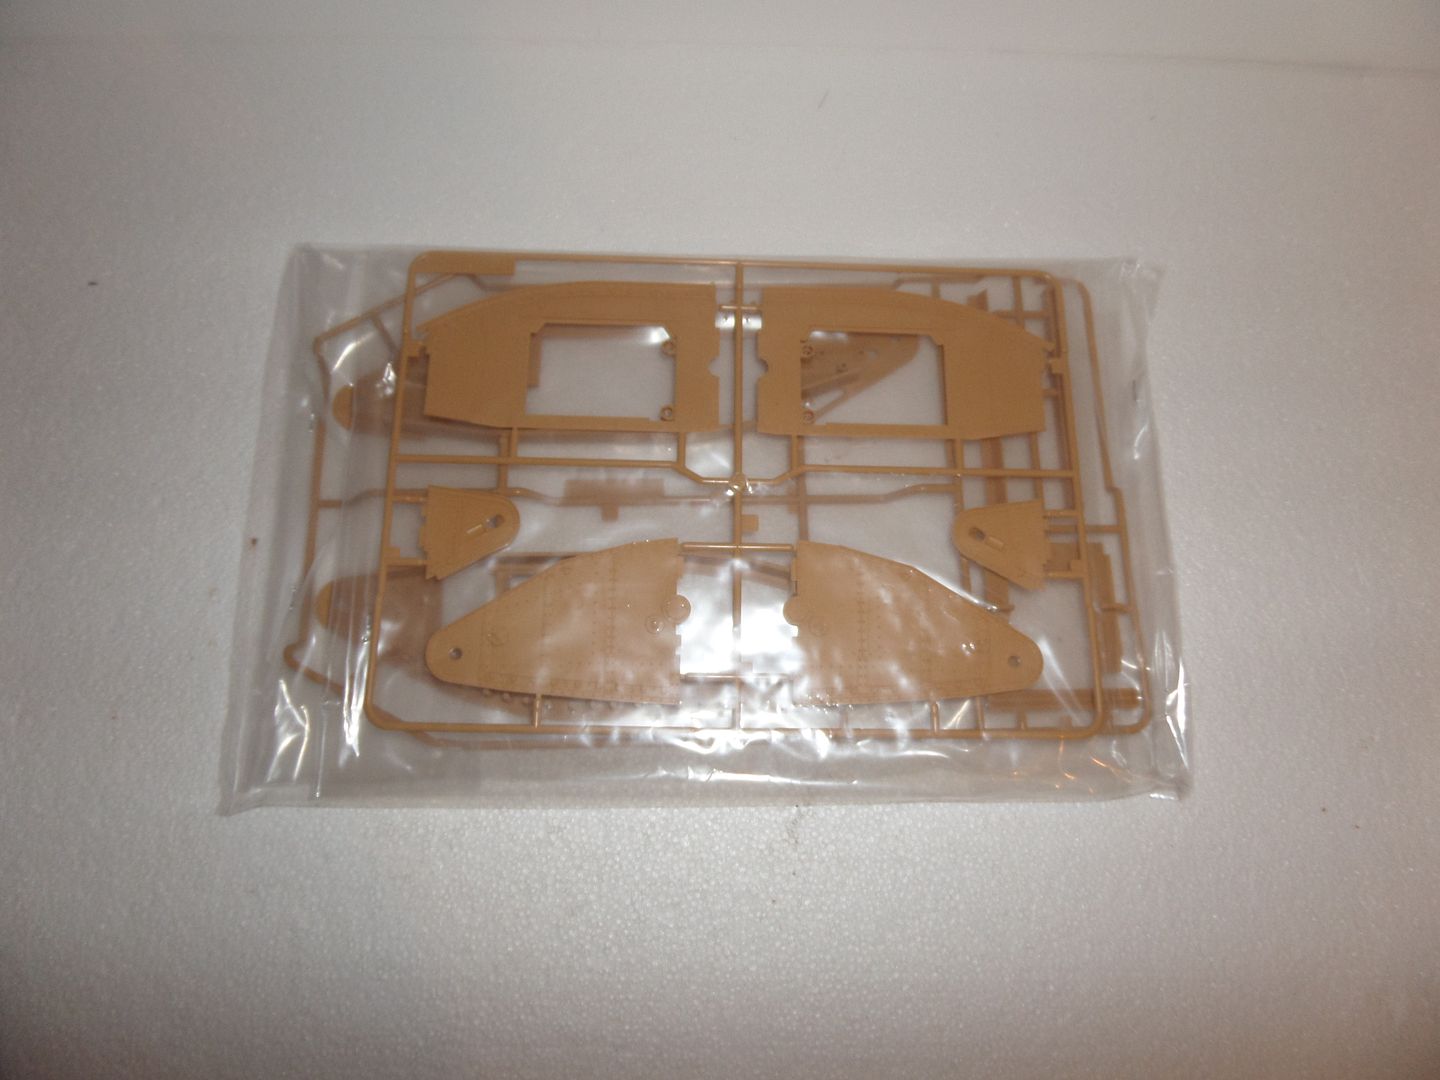
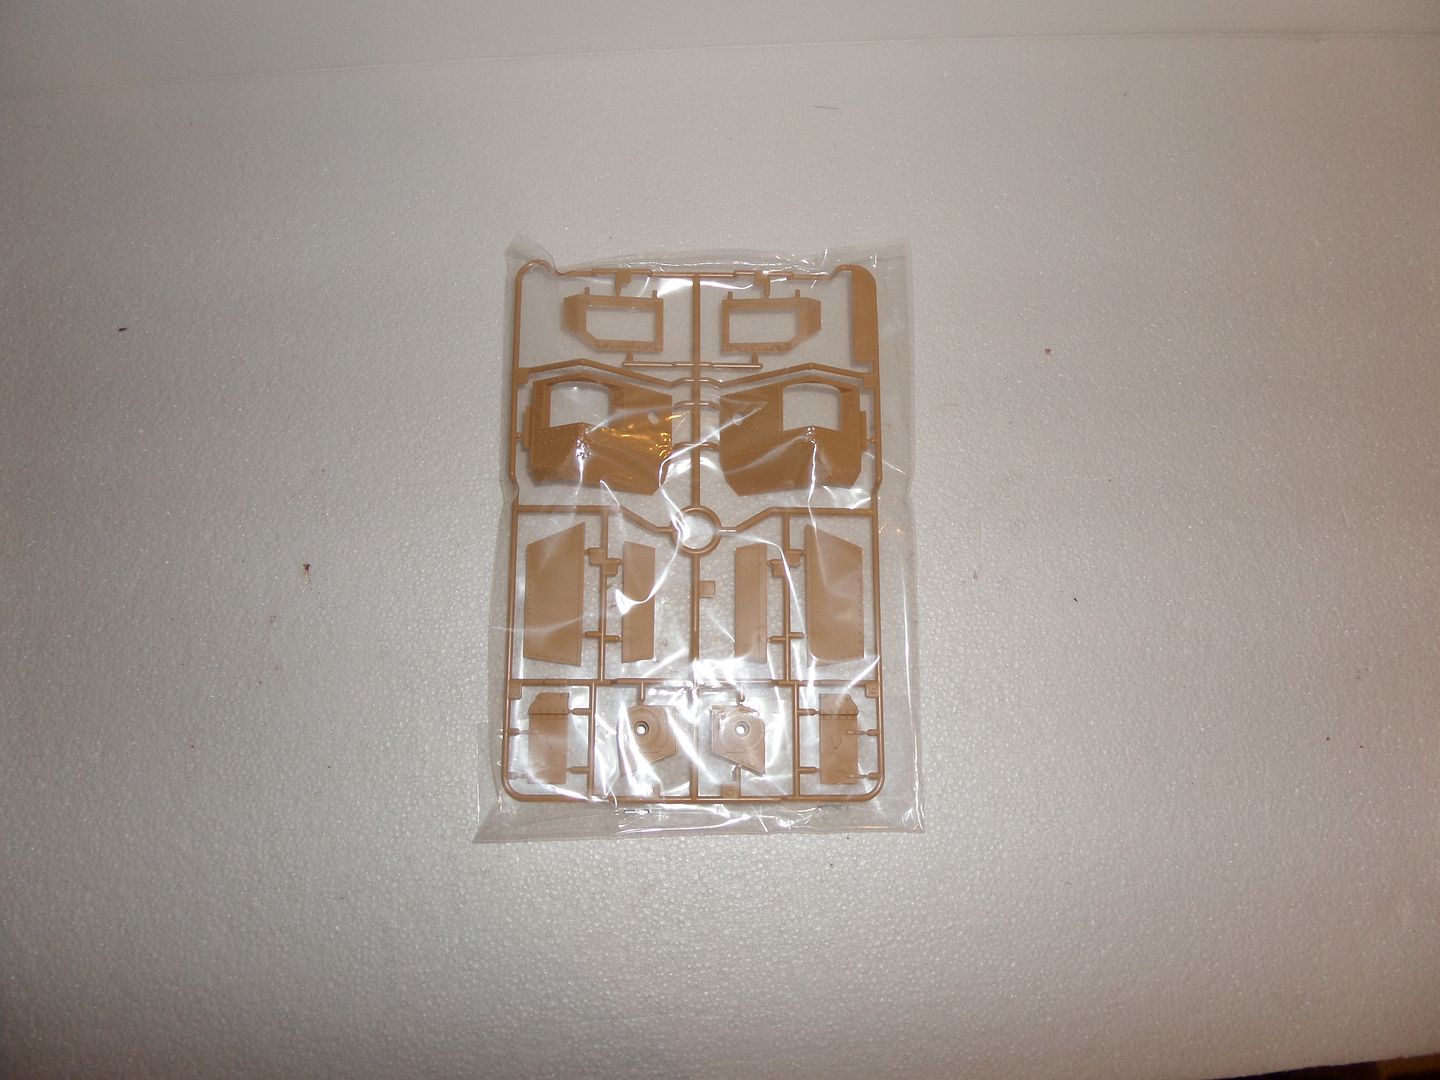
Sprues :
Wheels ( Sweet Jesus ....what I've decided to do ....

)
The fuselage ...

Gun 'Bunkers '
Ok , enough ...only some info , seems that there is an export version that includes the Infantry , My version coem from Japan , so I buy the Infantry also , if interested and buiying this , see if you are buying the 'esport version ' as already include the Infantry kit also ...
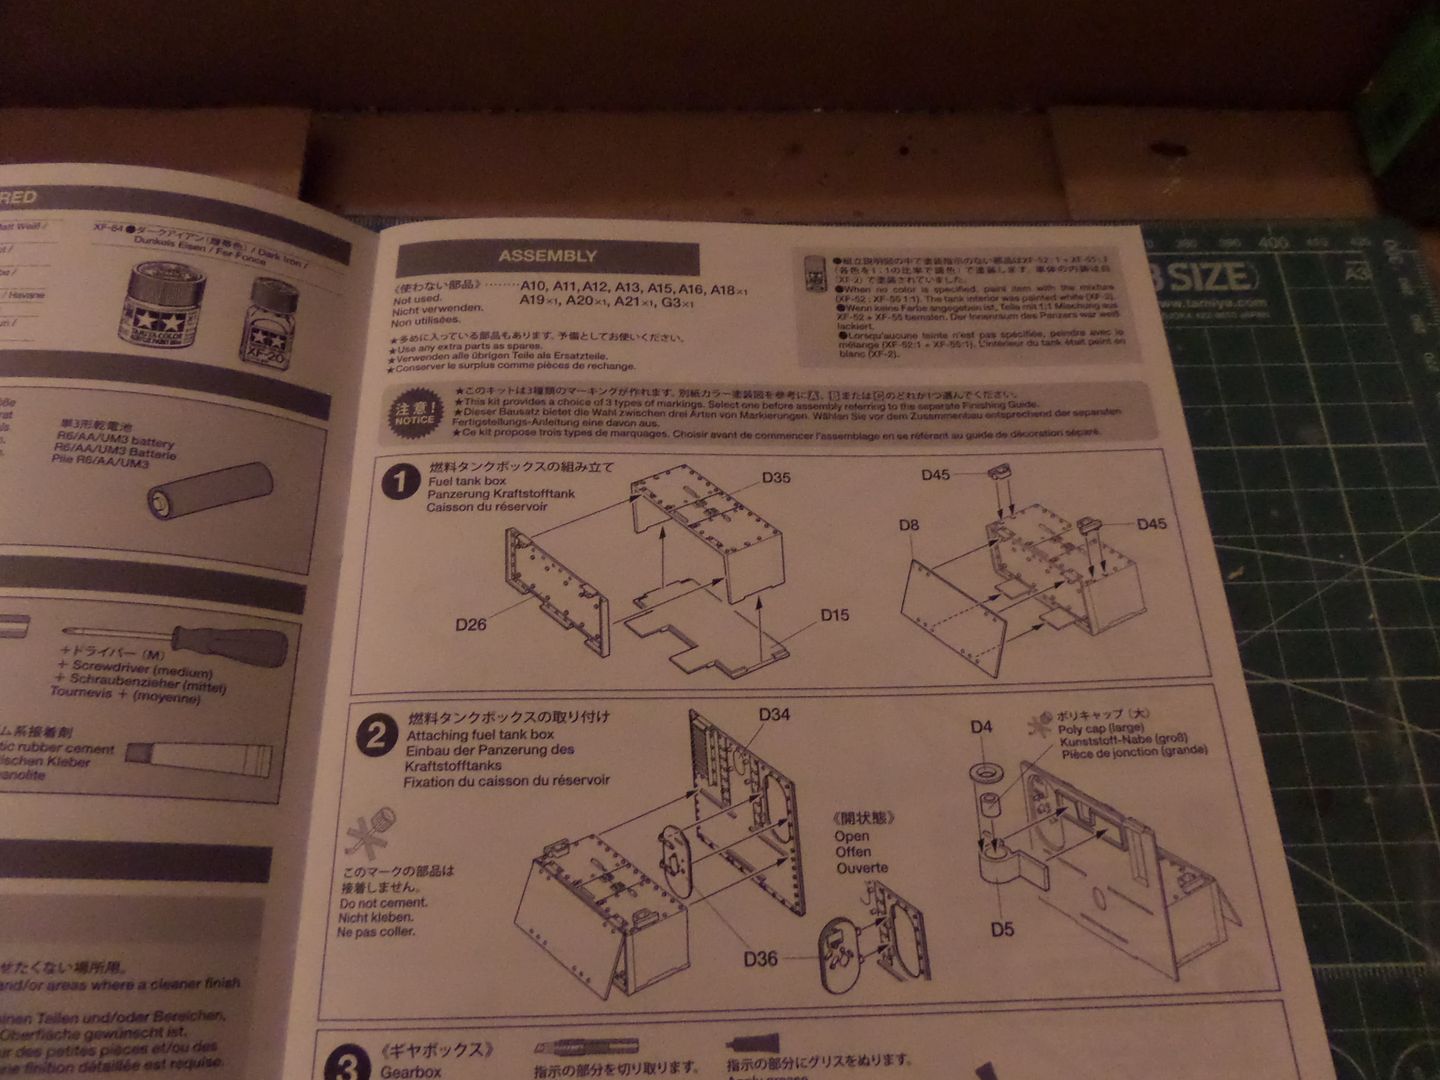
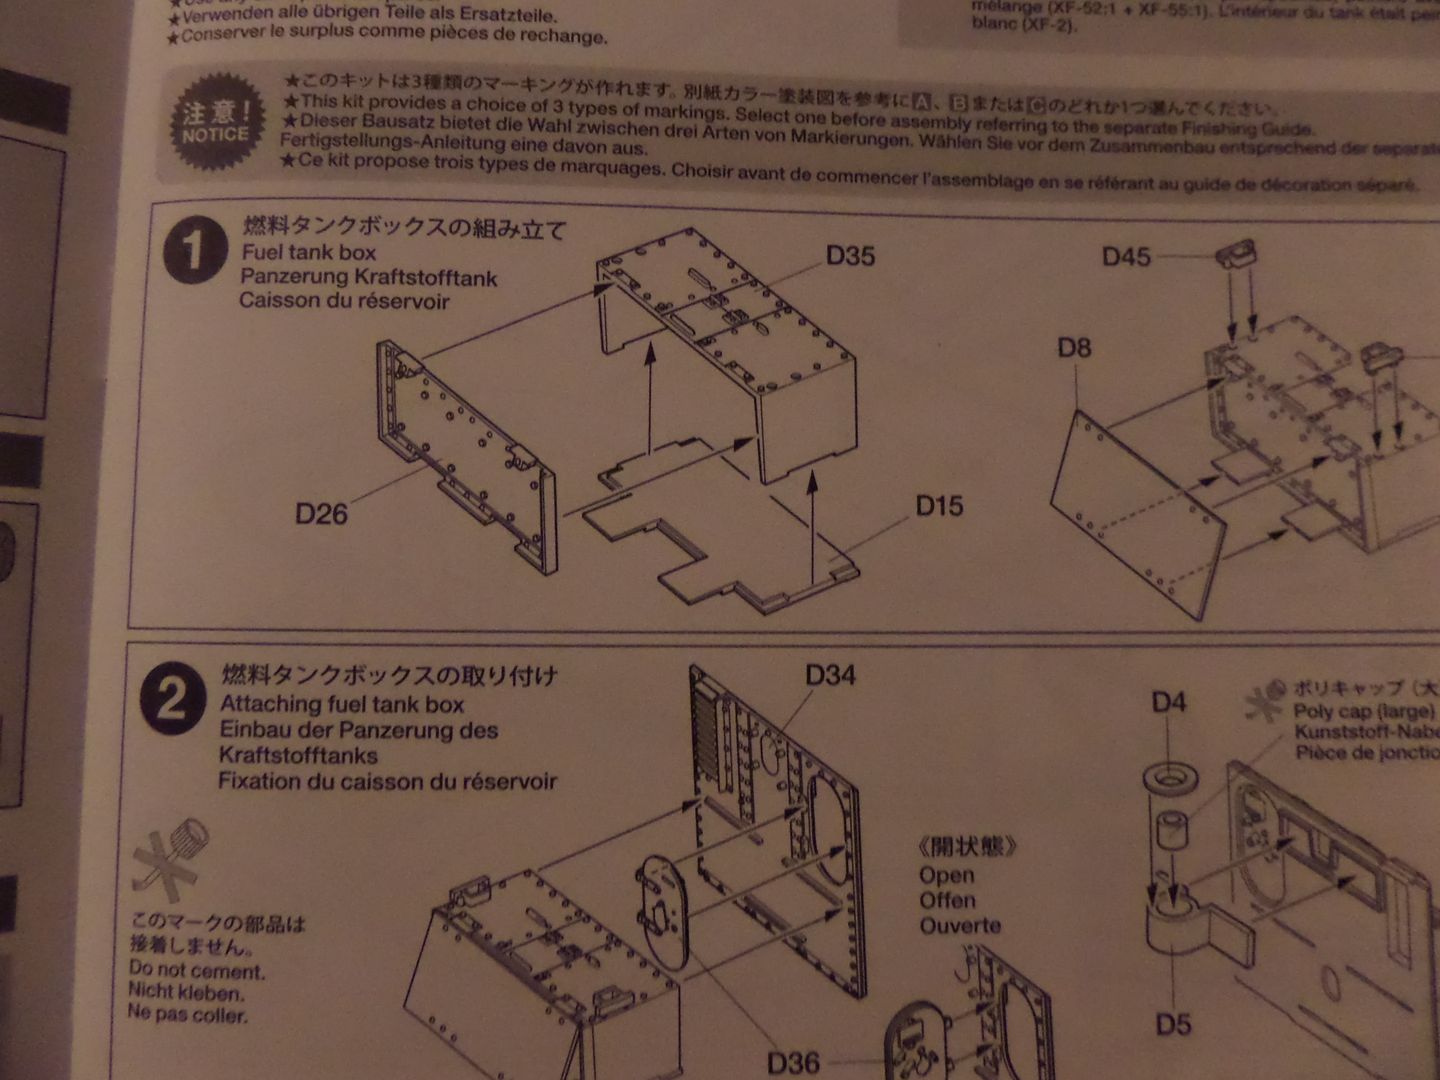
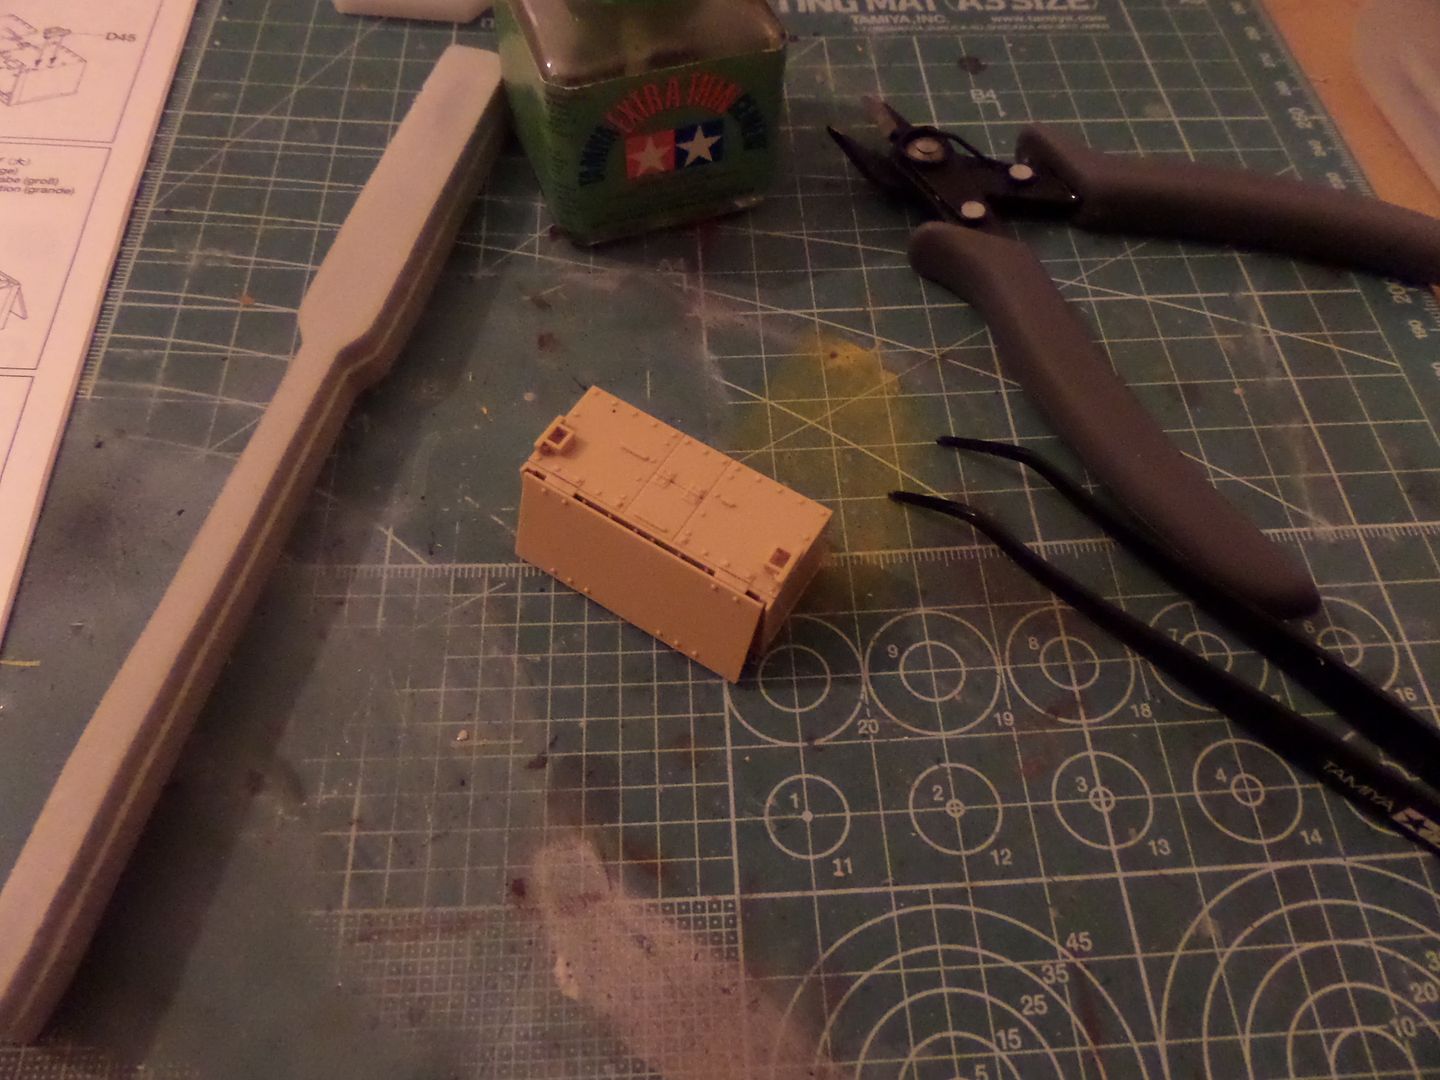
Starting to build we se that the first step is to build the Fuel Tank Box :
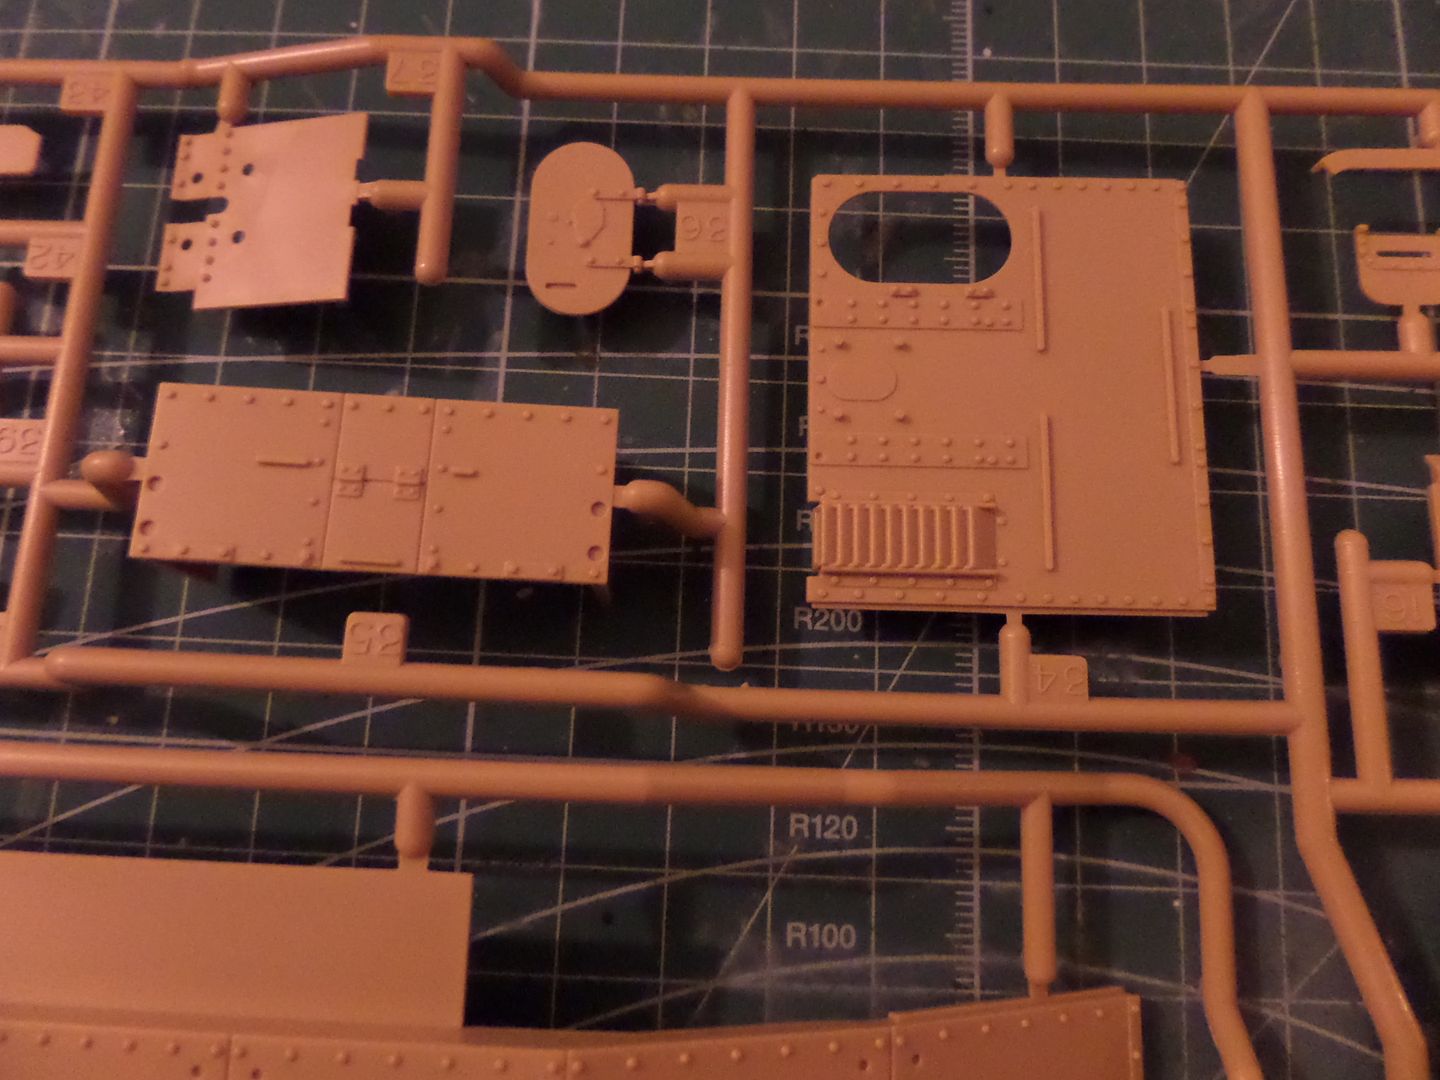
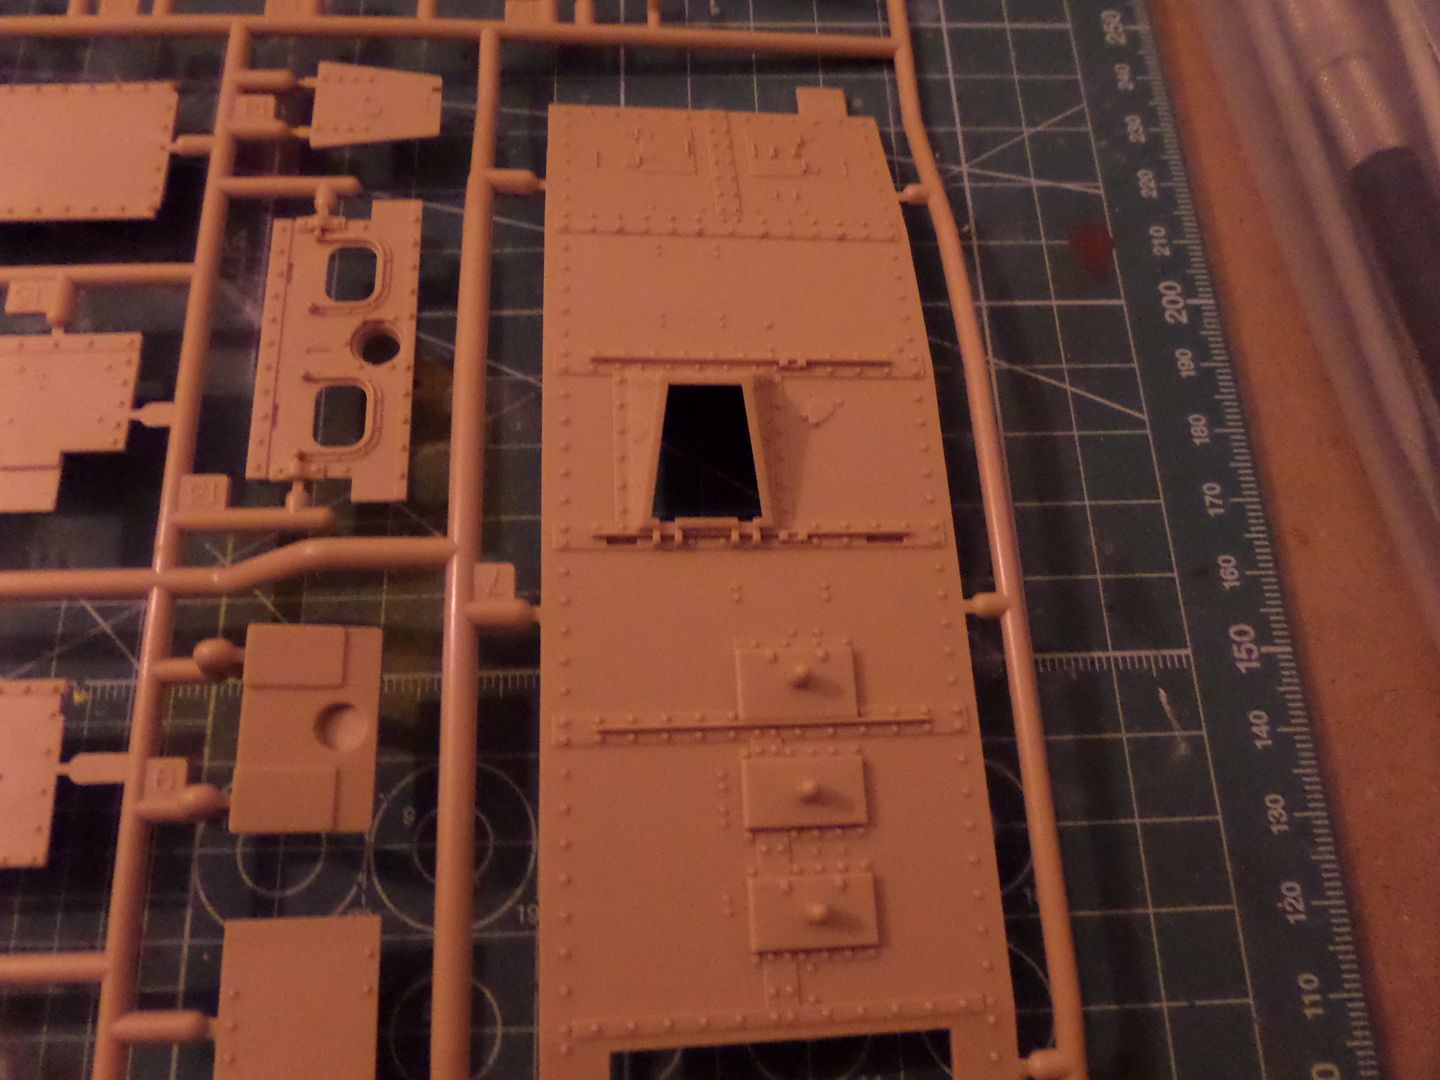
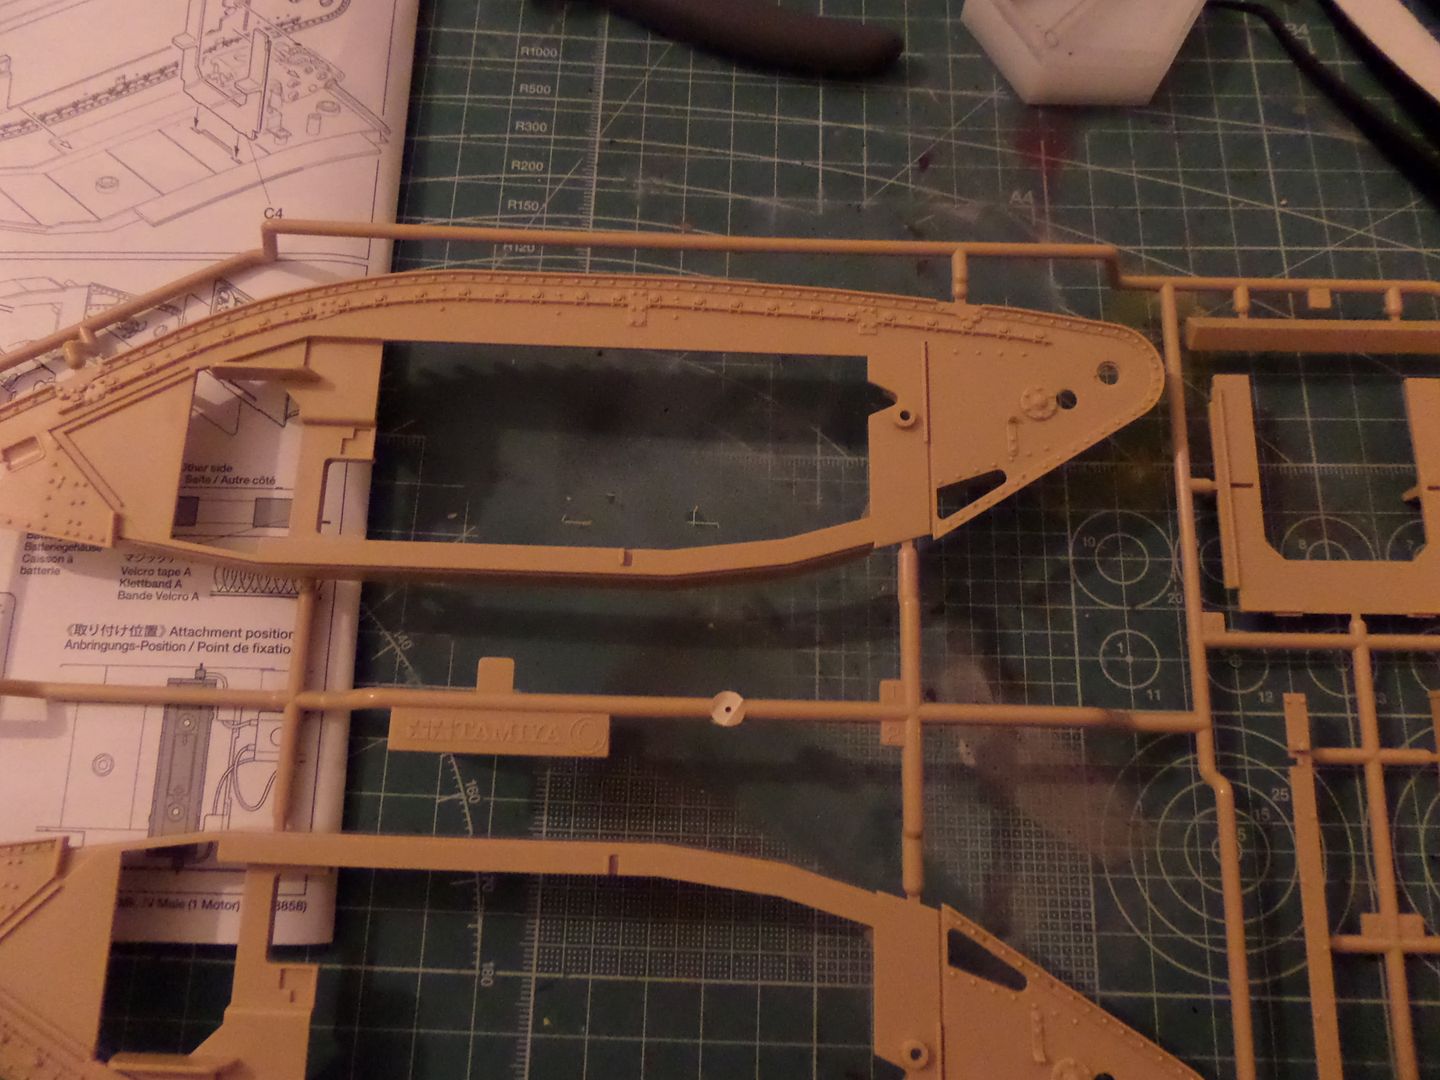
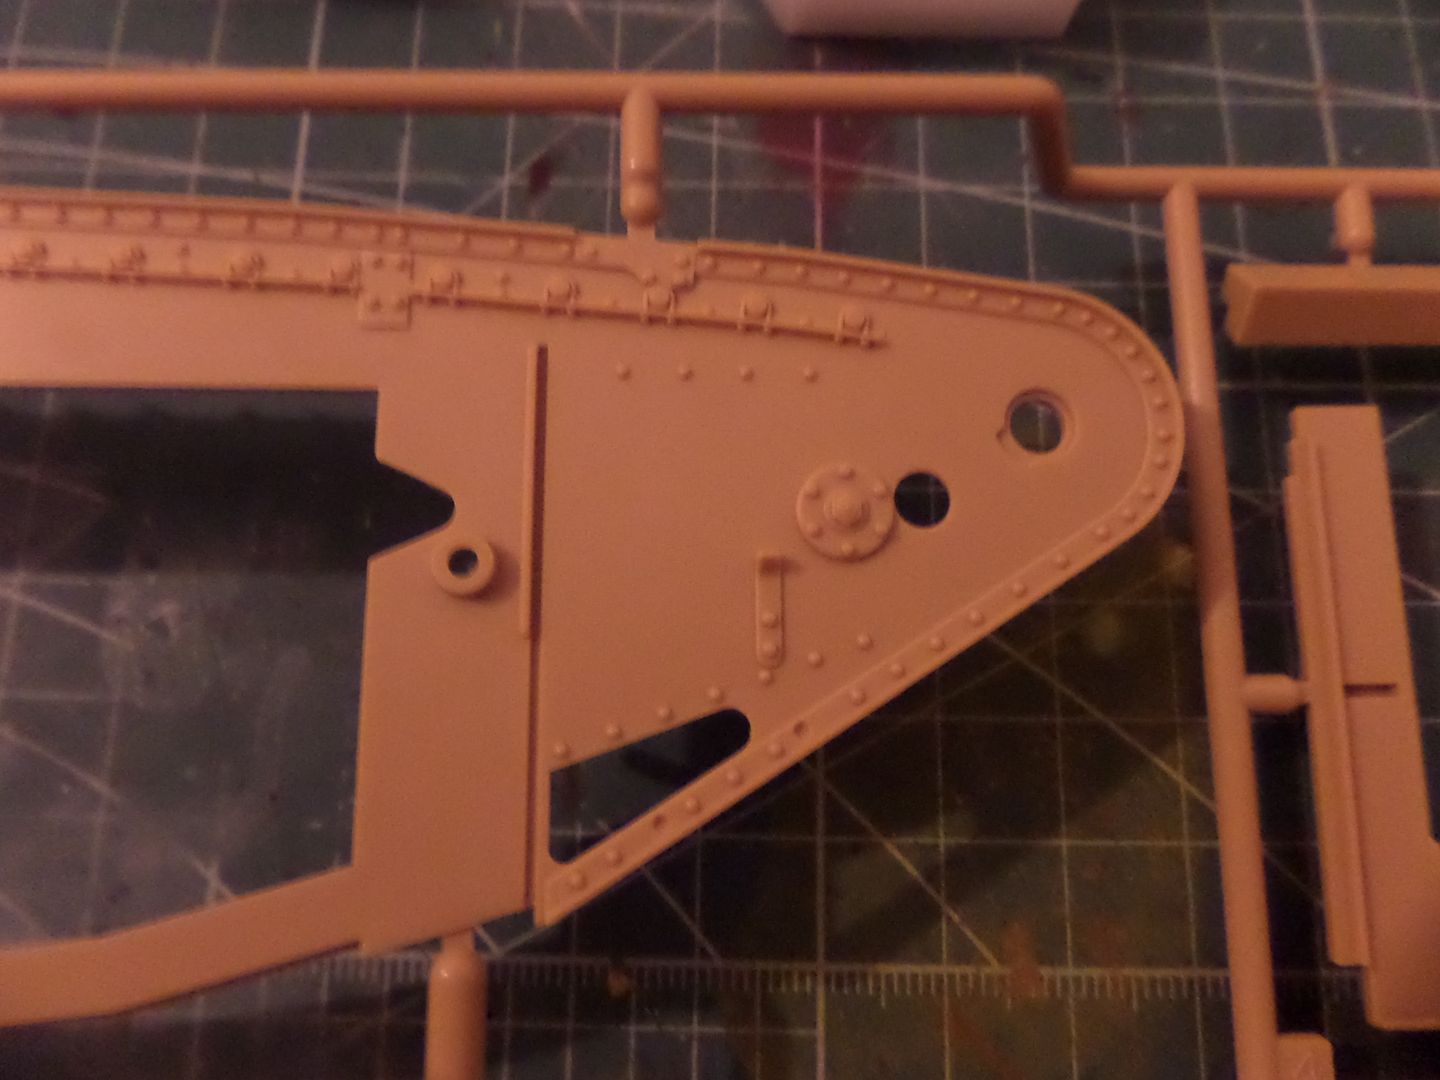
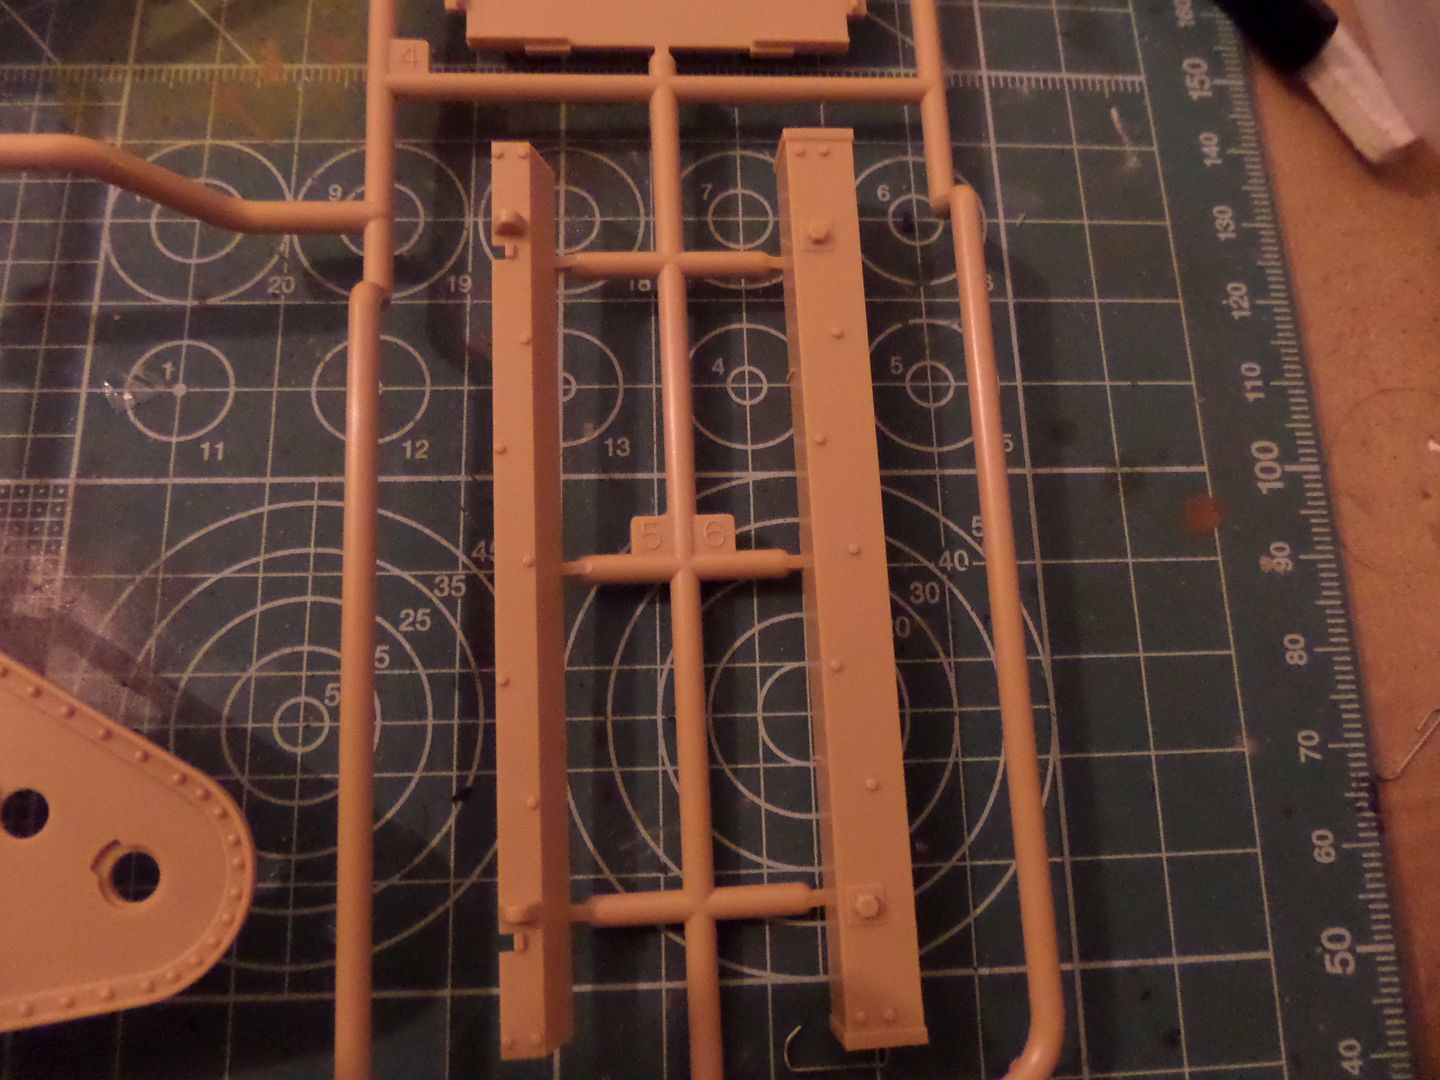
Let's do some cutting on the sprues ...firt let's see the real nice detail on this kit , very crisp and nice detail :

The hole is for the switch for the motorised version ( will do the motorised version , decided that , it will be funny to see a model going around the house ...)
Riveting detail is very nice, lot of possibilities for weathering ( streaking and rusting this Beautifull kit ) :
and here we have the first step done .Let me tell you it is a kit whereyou ear 'click' soem times , when a piece conects to the other ...perfect fit !
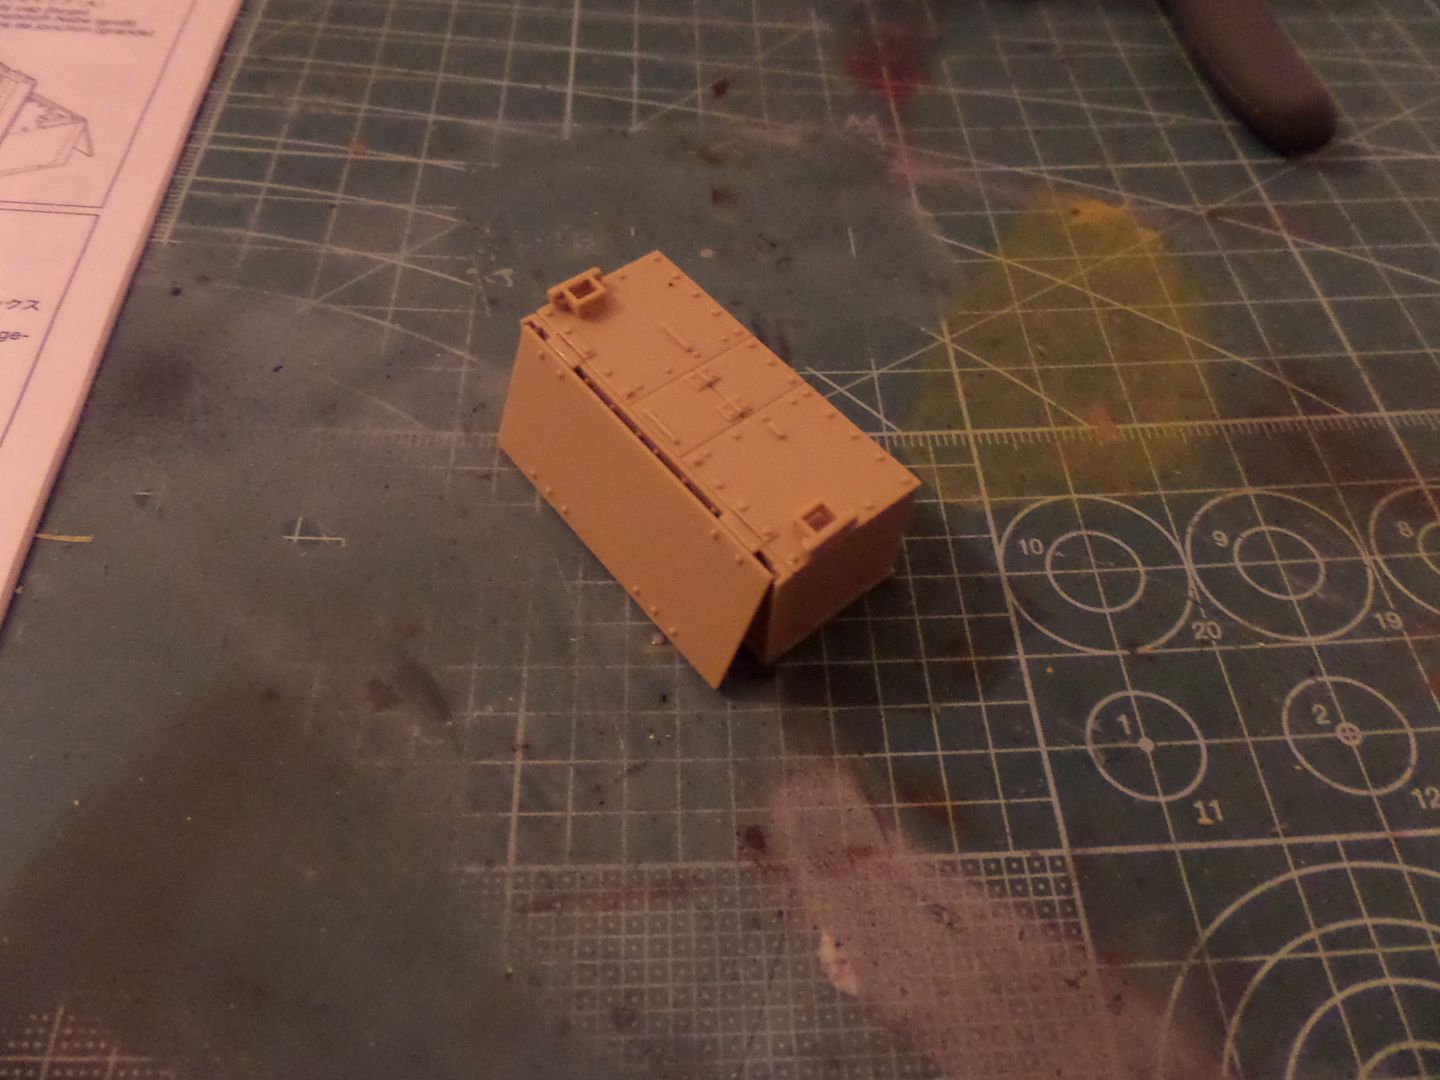
Tamiya Extra Thin cement and Ultimate sanders make wonders on this build !
Step 2 is to atach fueltank box ...
Done , sorry forget the Photo , but no Big deal ...we will see it lately already in the tank ...
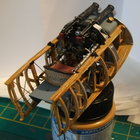
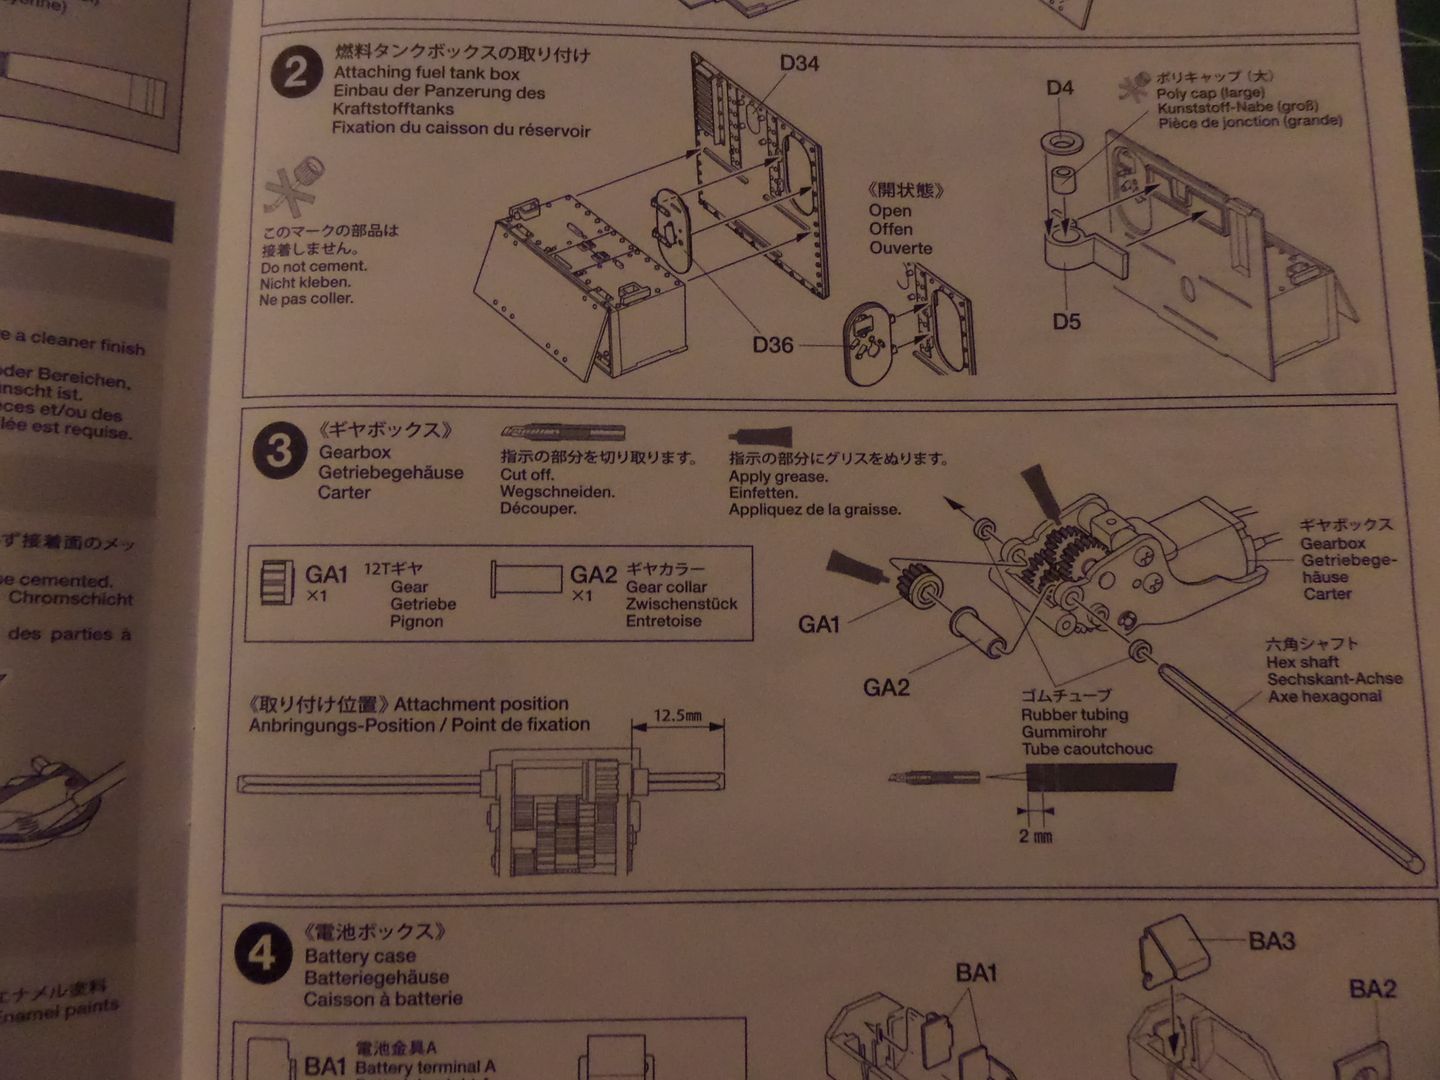
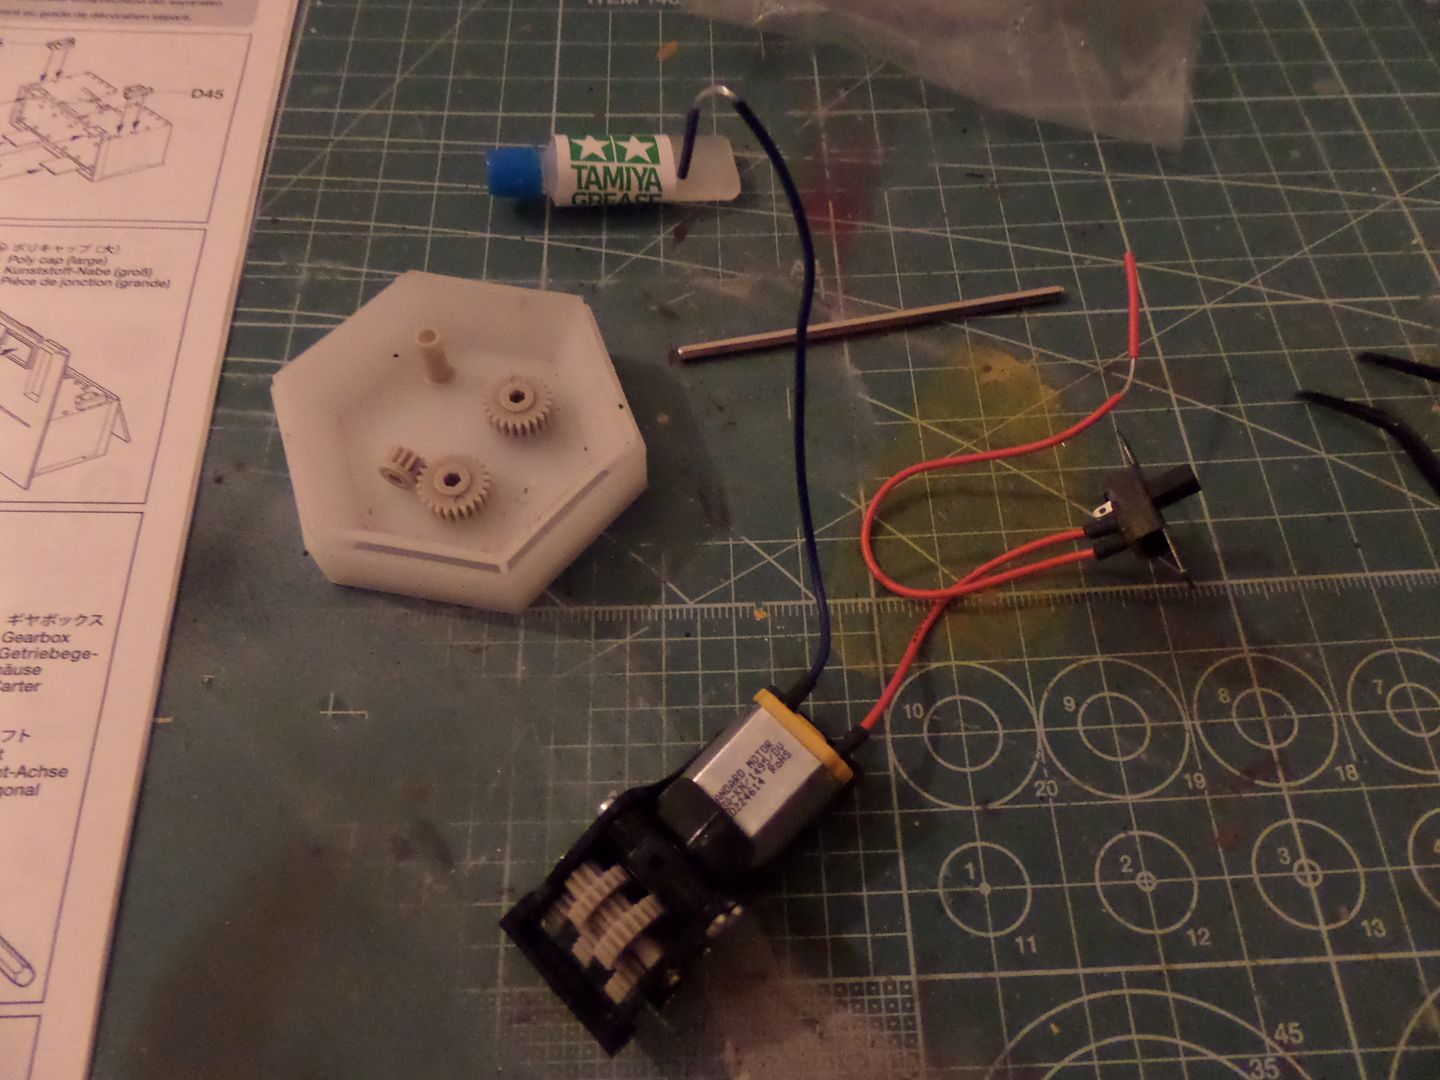
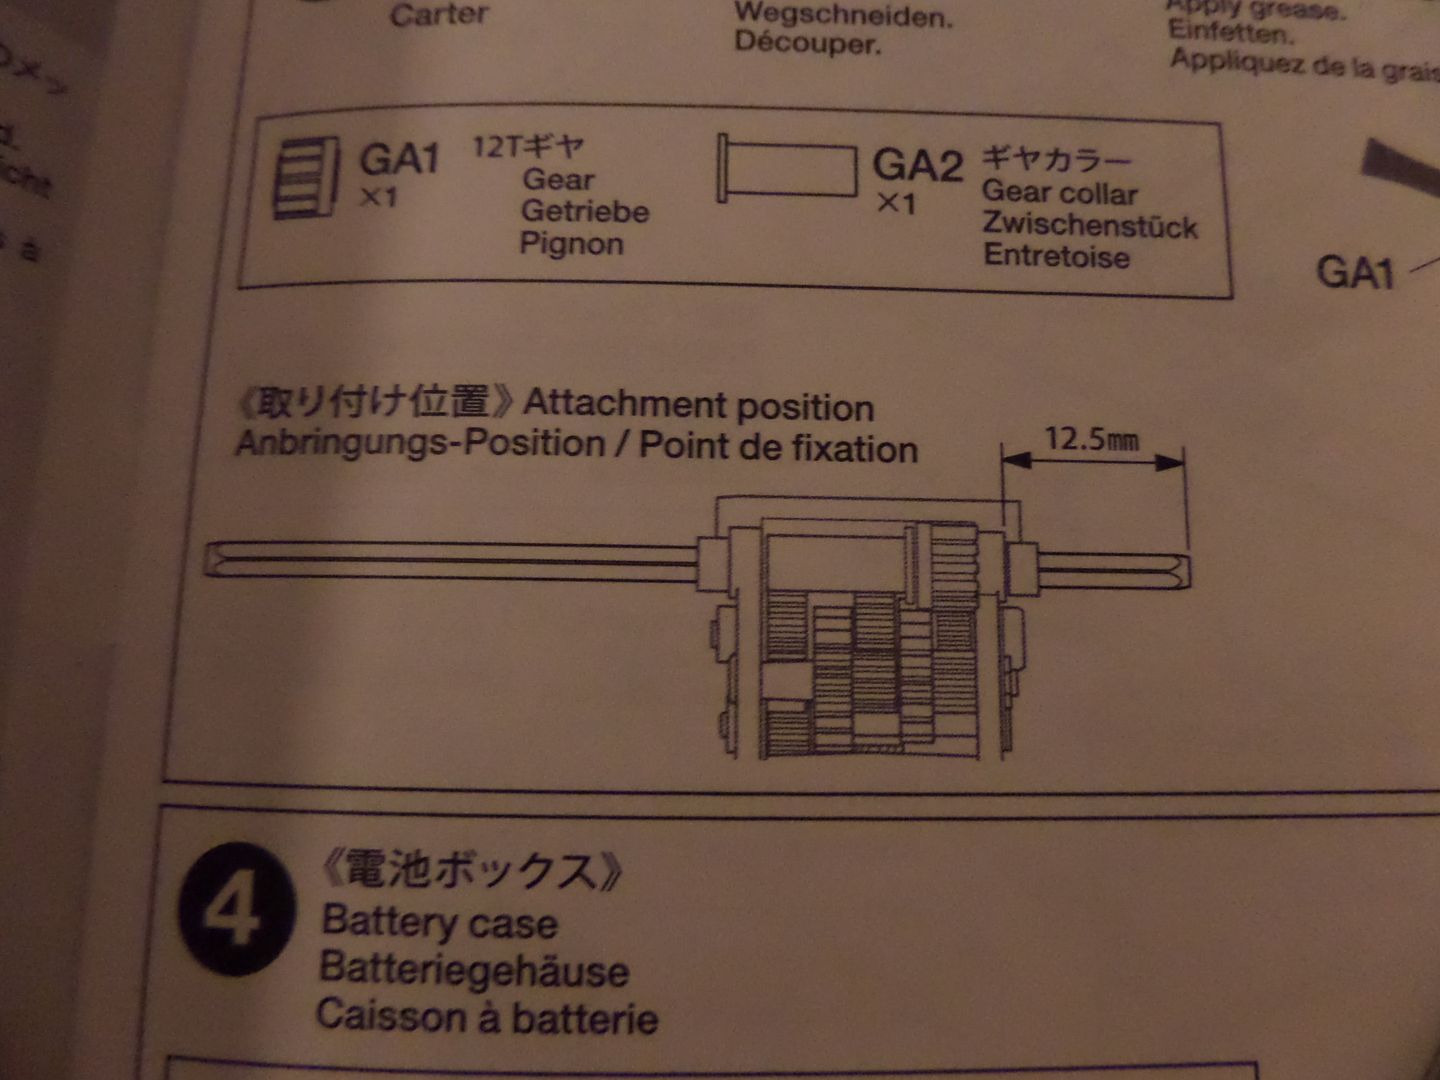
Step 3 ...engine :
All this stuff was in the bag
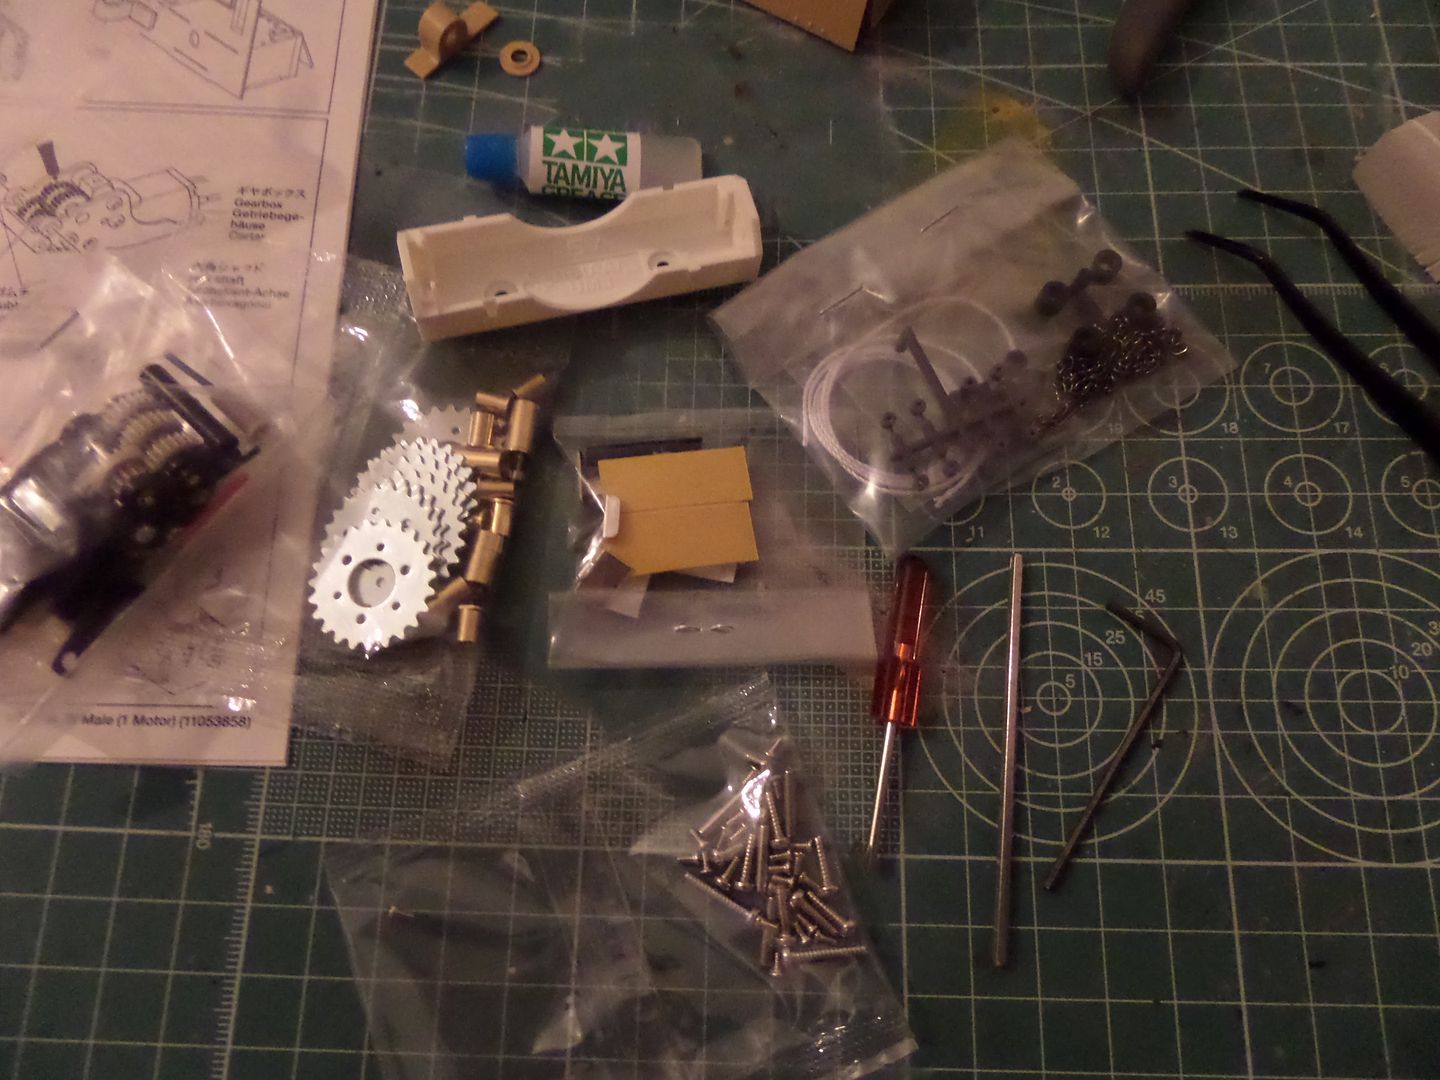
This also :
Engine , tools ...Grease for the gears ...
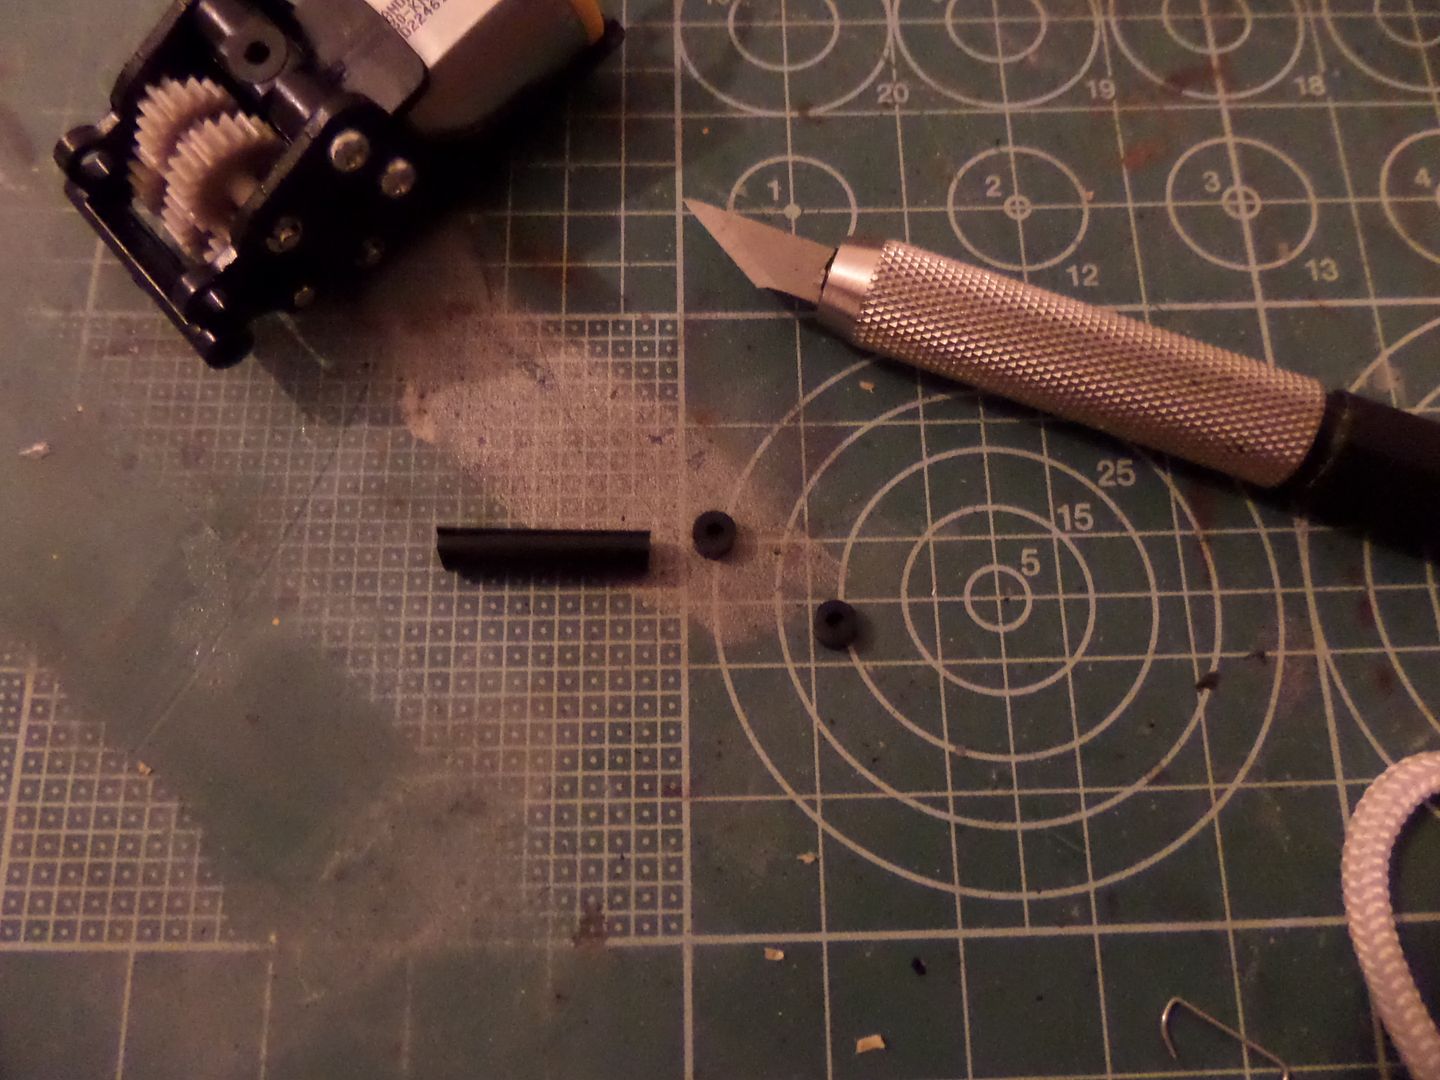
First must cut some pieces from the cautchou tube ( it is supplied ...I took some minutes to see whre it was ...)
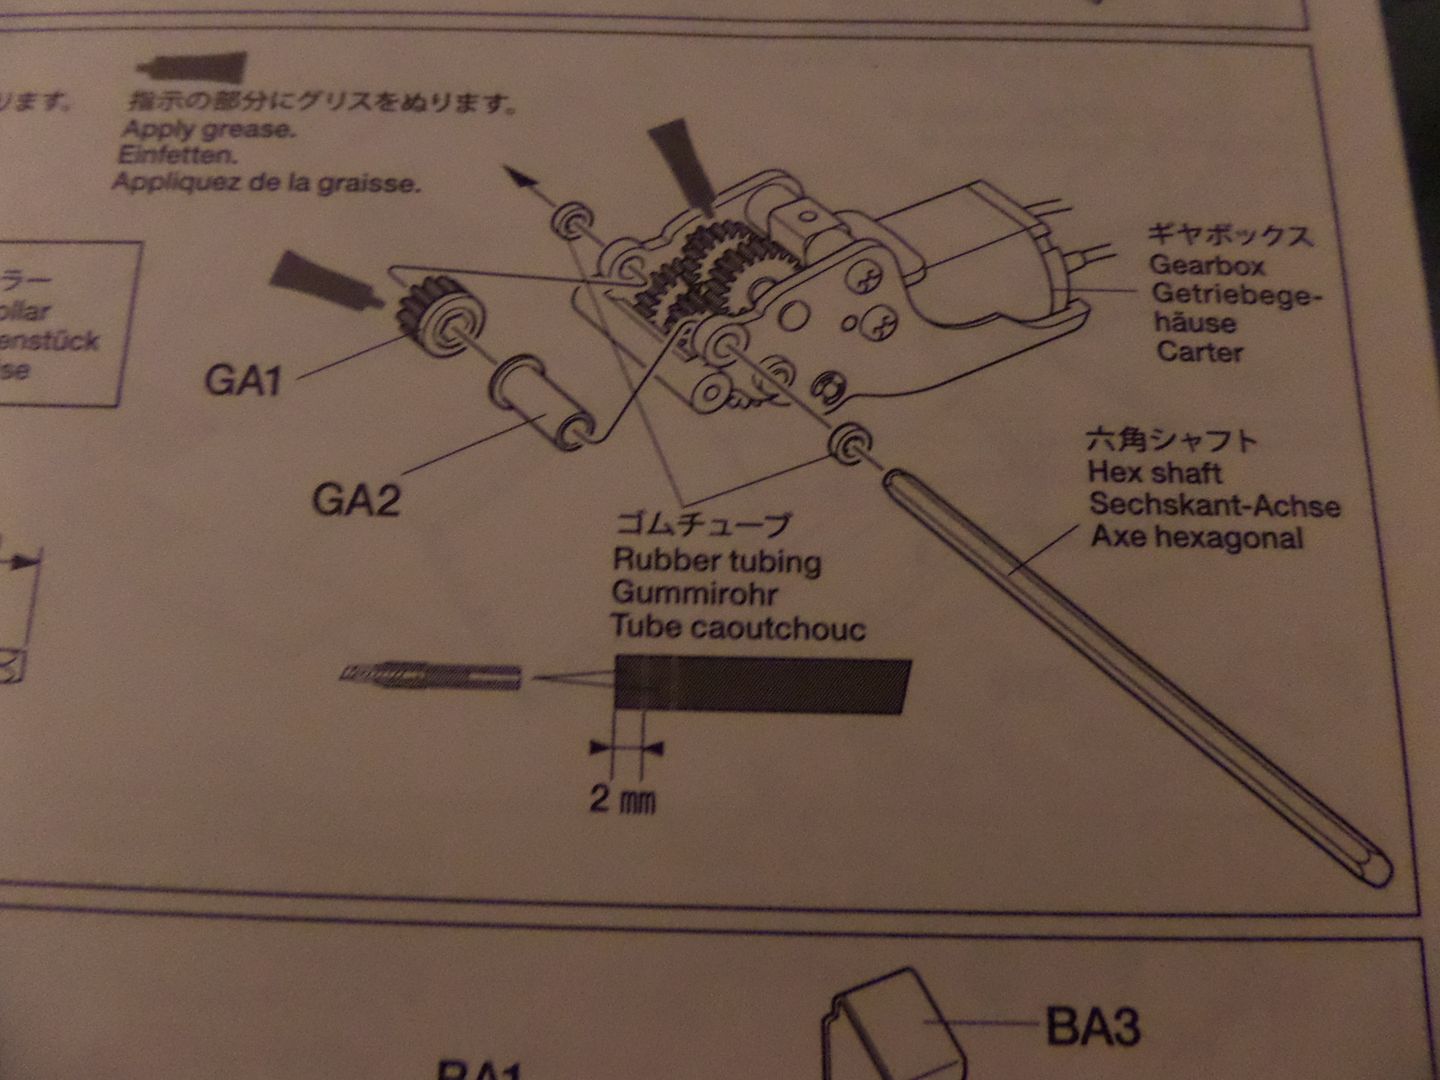
There it is :
Cut two small pieces as mention :
Attention to the position :
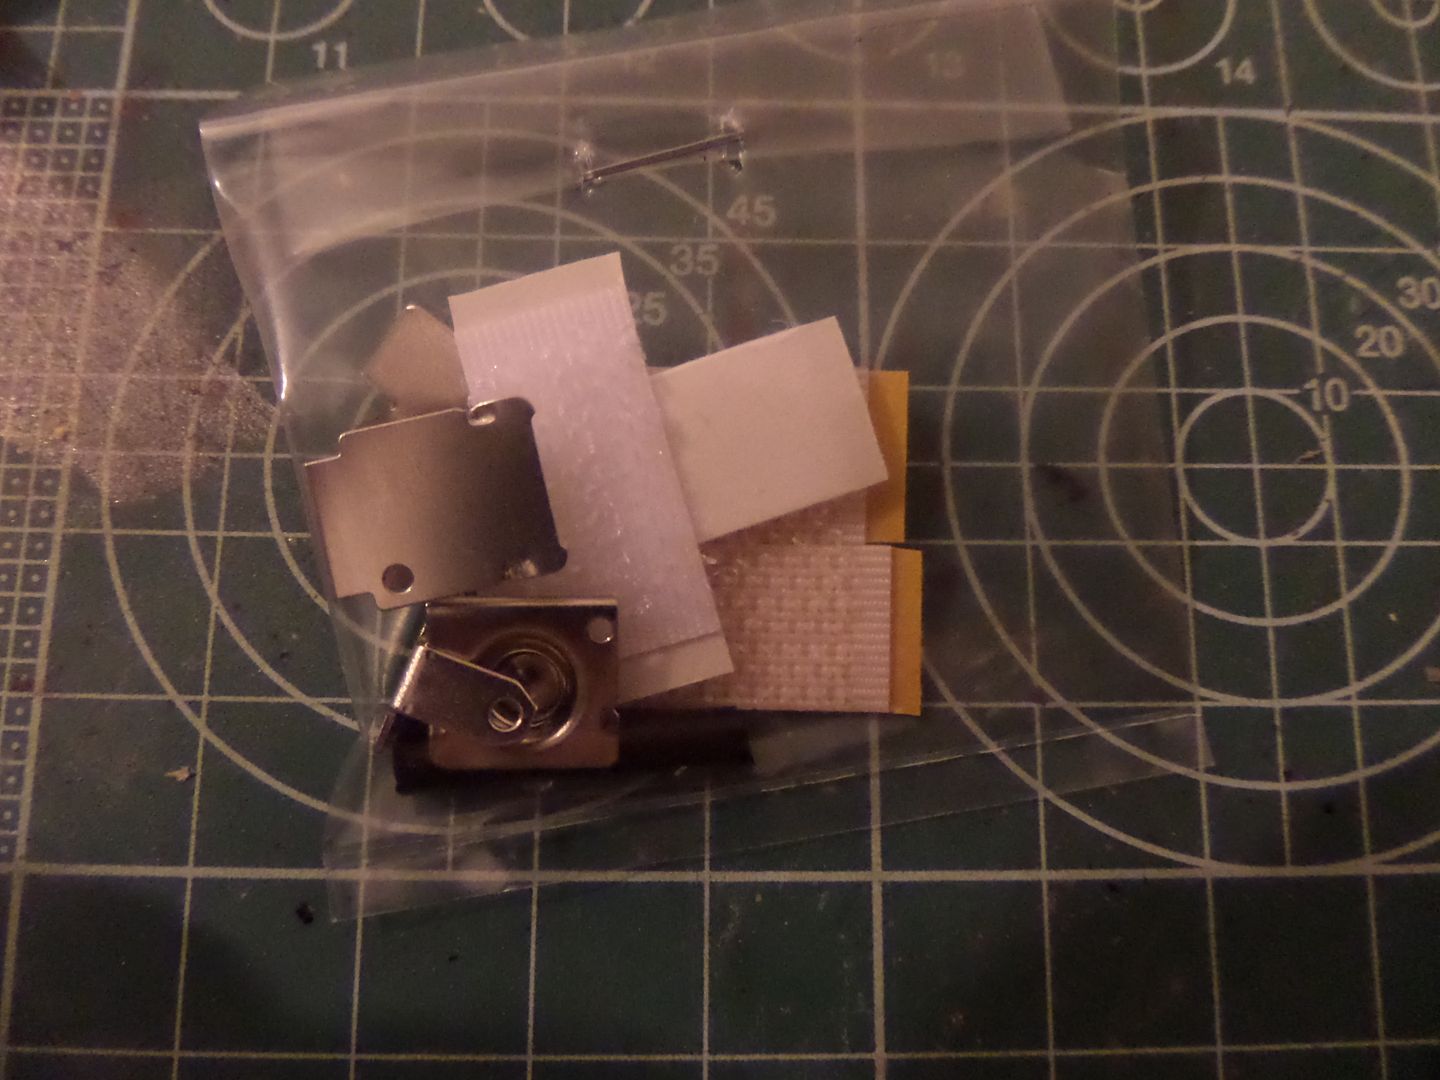
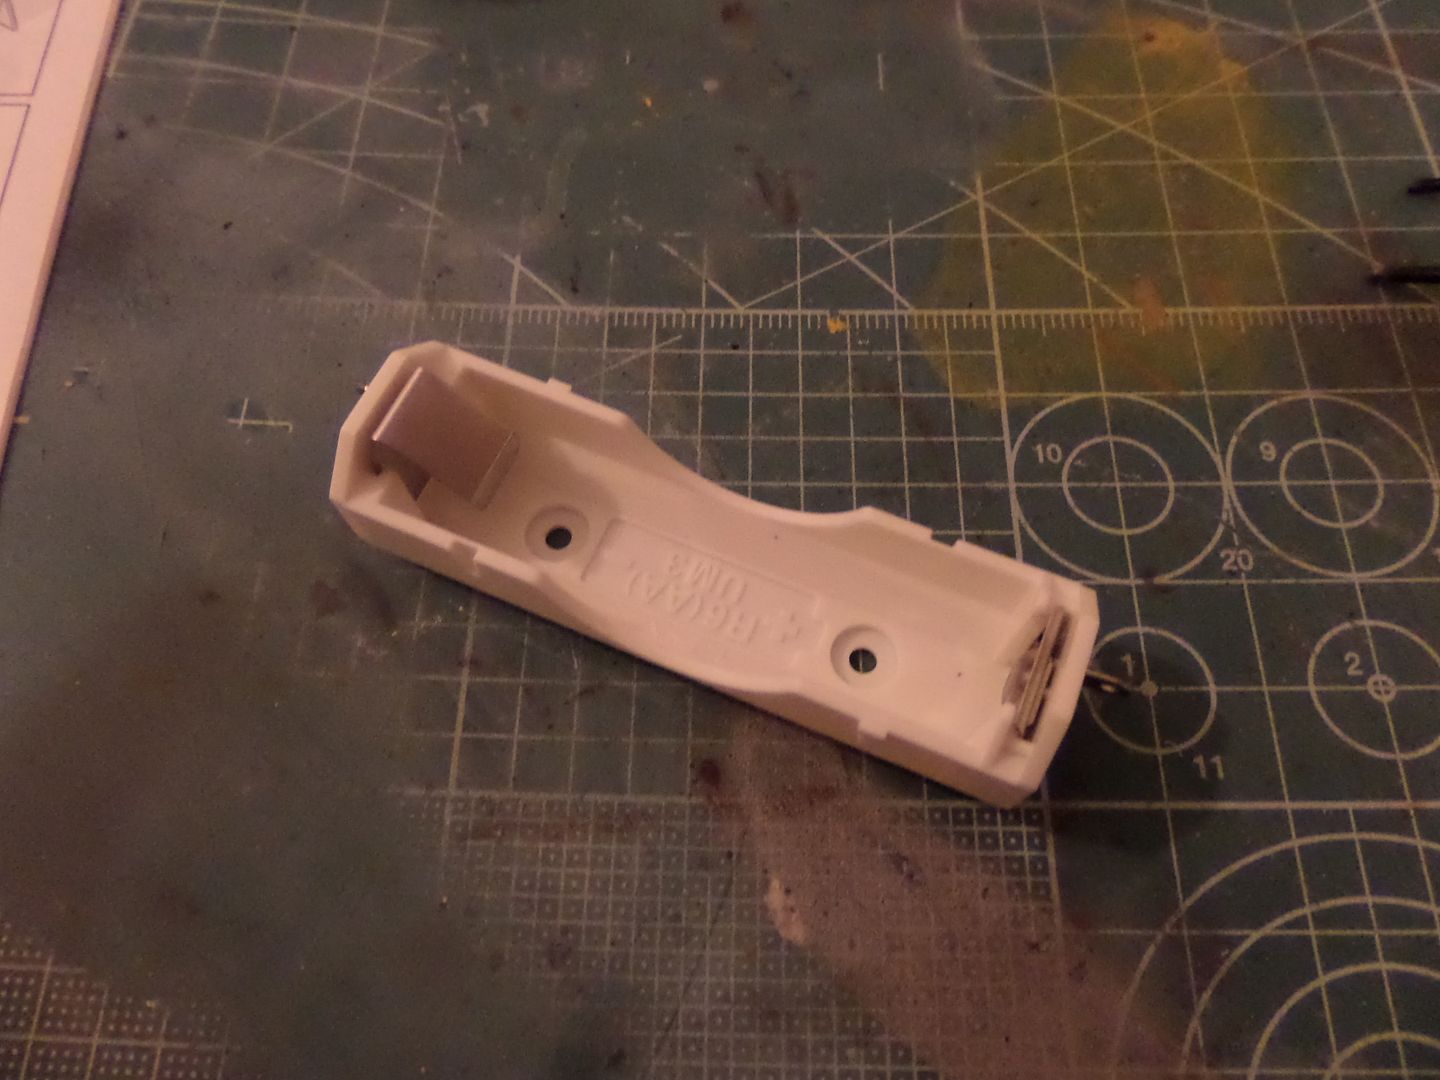
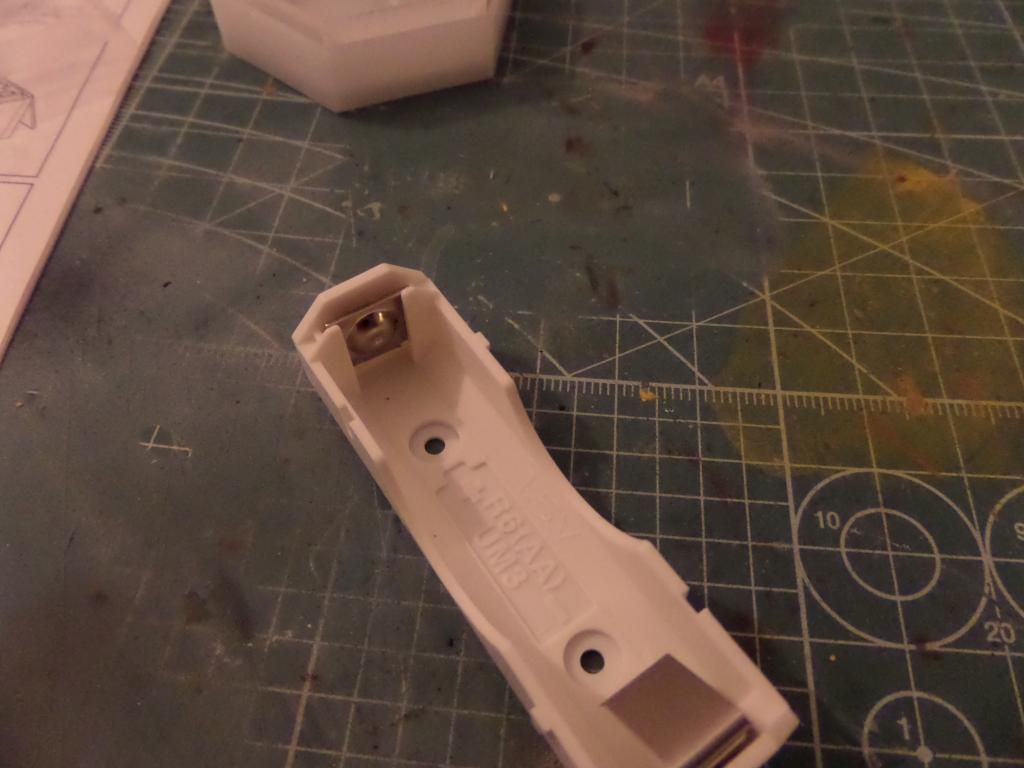
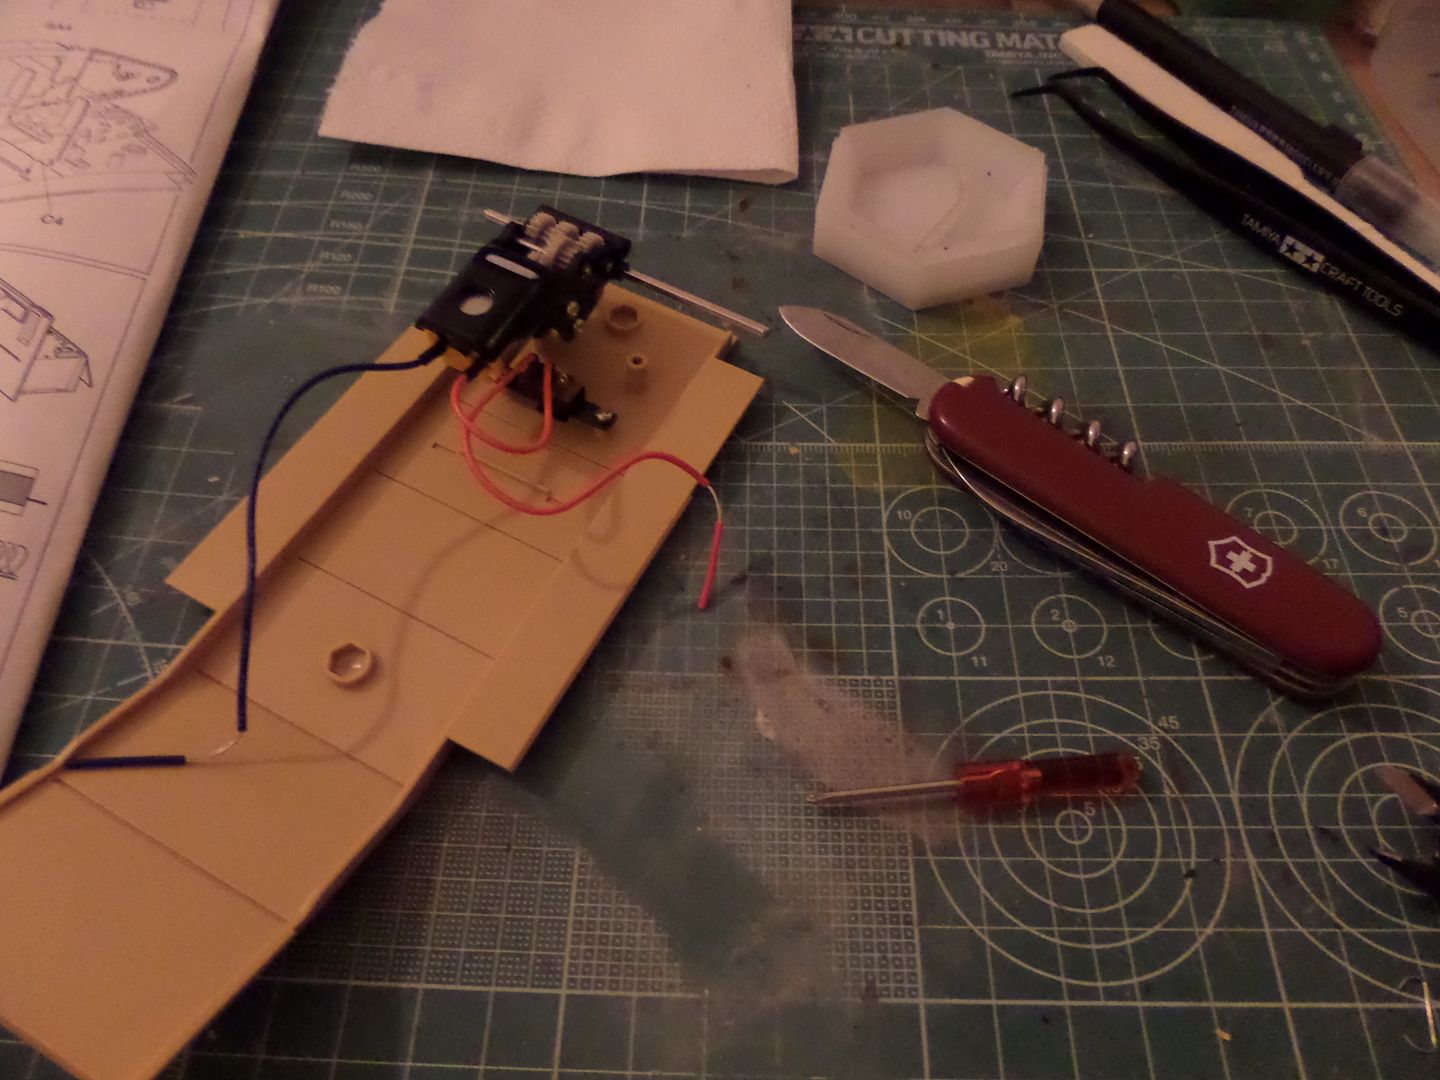
Step 4 is the Battery Holder
All the stuff needed :
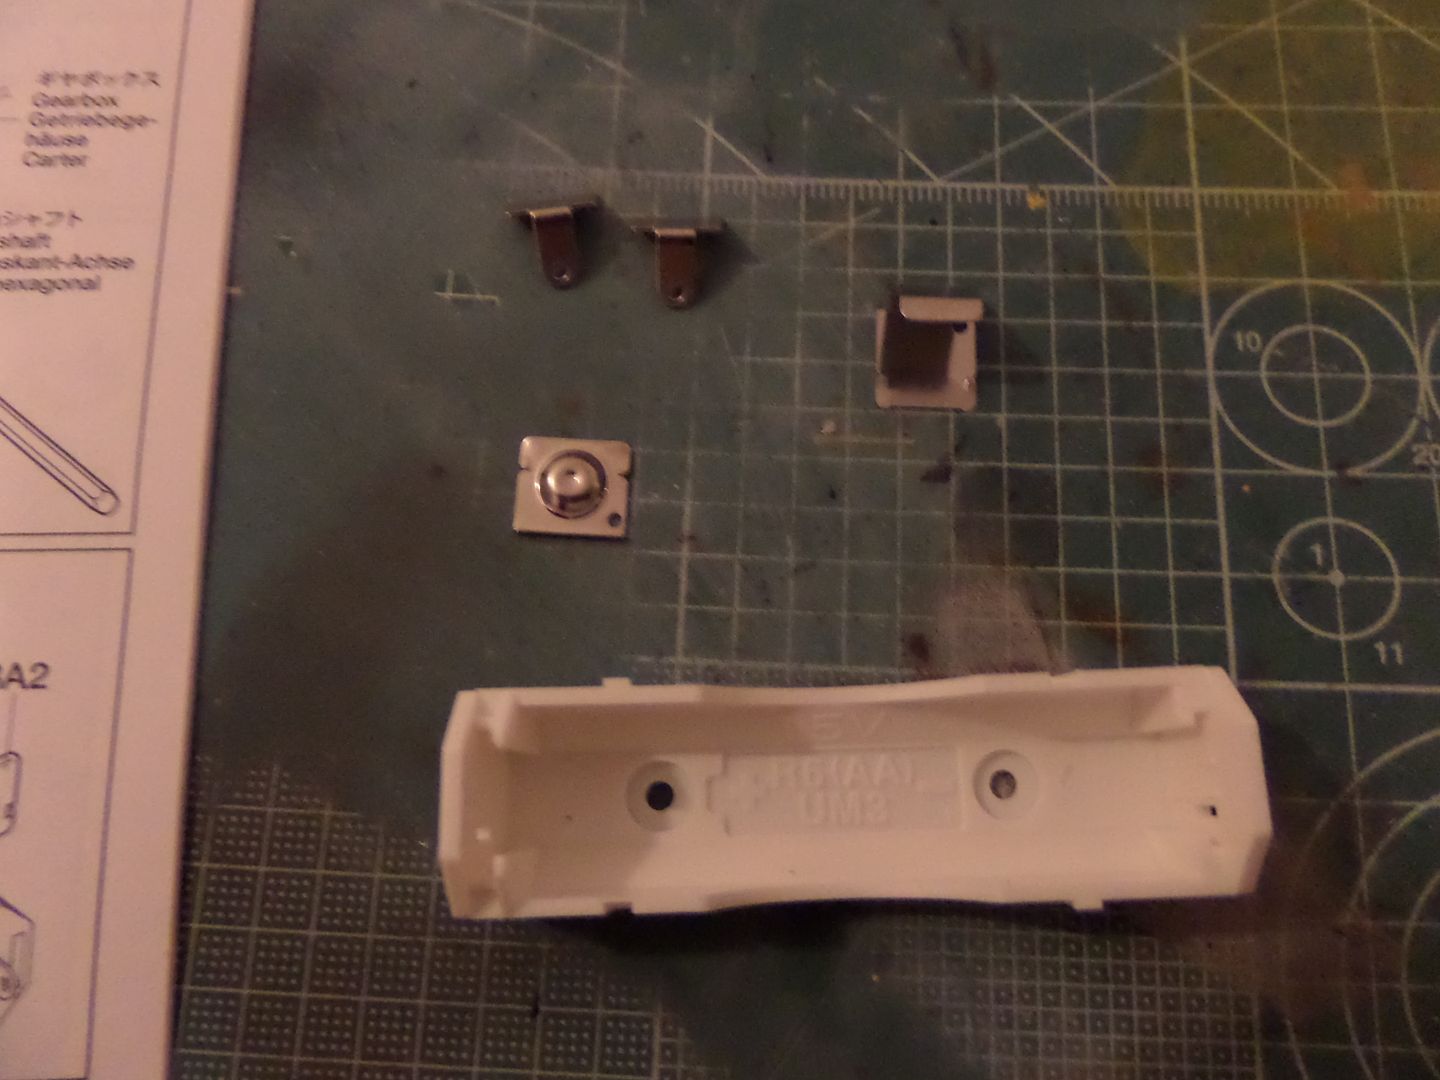
Done ! Attention to +/- metal pieces to use in the right place !
Now step 5 toplace the engine in the bottom structure :

Again , attention to what screws to use ! See upper Instructions figure !
Done also , the tool suplied doesnt match my Swiss Army Knife !

Step 6 , placing battery holder
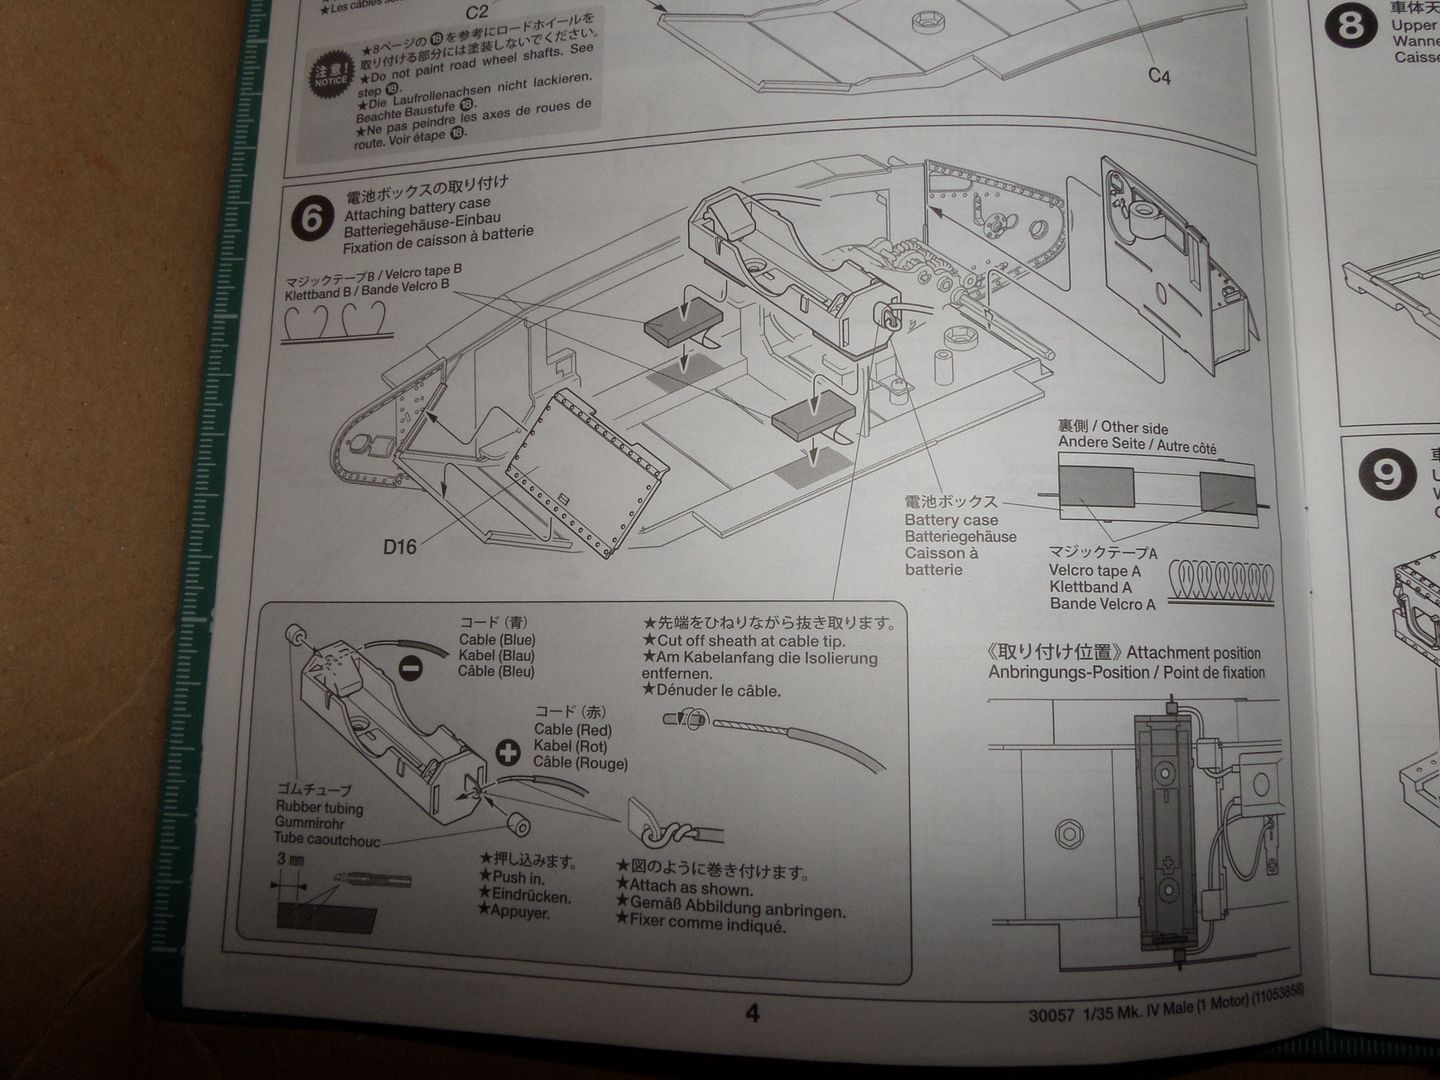
A look on the side structure ( will place it first )
Detail on the unditching bar
Ok that's it for today , and a long thread this was , sorry , I'm trying to give you all my impressions building this kit , seem that the tamk wouldn't be hard to build , This is Tamiya at its best ! Instructions very clear ! This Motorised issue , Some Love it , some hate it ...read somewhere that Tamiya do this motorised version honoring also their firt RC model that was a tank , and they comemorate this also this year , seems to ...I decided to build the motorised version because it will be nice to see the tank crawling arond after finish it , and it issnt because of that that it can't be in a diorama , let's see the end result !
Ufff ...time to rest for tomorrow to go with this build , promise to do osme more little threads guys !
Hope that you like so far , a lot of photos , not much work !