The model is Revell's tiny snow speeder. The molding and fit are quite good, just like all of those small kits. (I've already built two of them: Tie Fighter and Tie Interceptor)
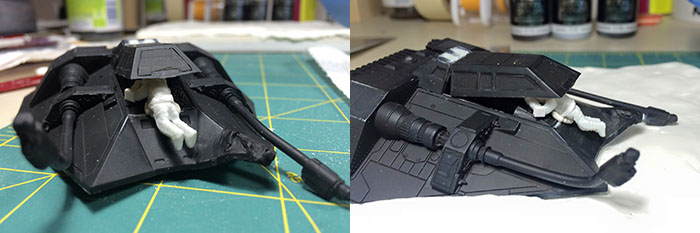
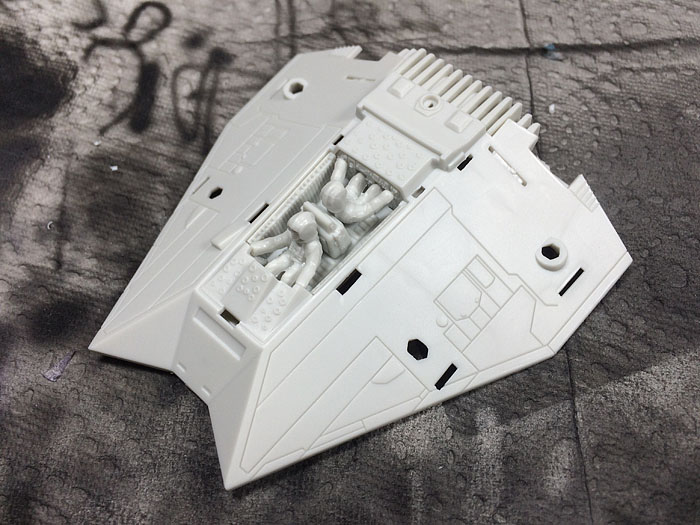
Here is a first dry fit of the cockpit and the upper hull.
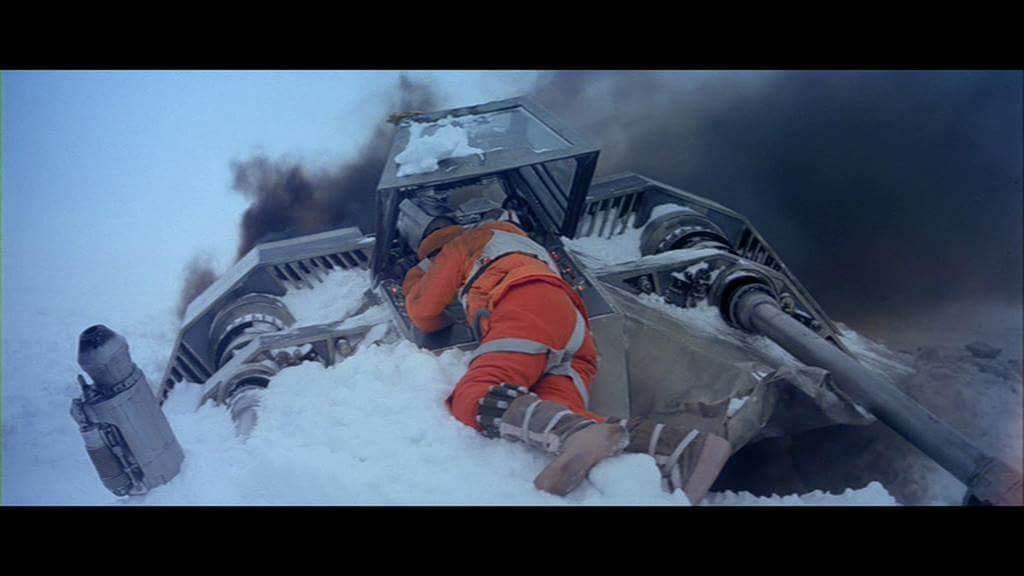
During the building of this thing and while watching Ep. 5 again, I got the initial idea to do a diorama out of it.
After discussing the idea with Stuart (Primus1), he practically forced me to go through with it.
So, this is the scene I will build, but we'll get to that later.

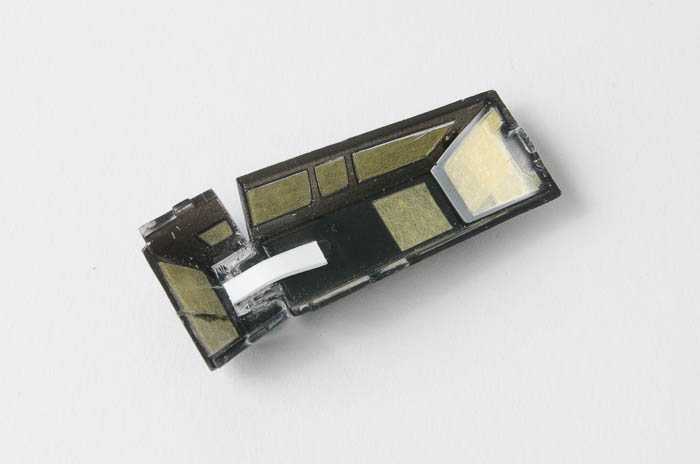
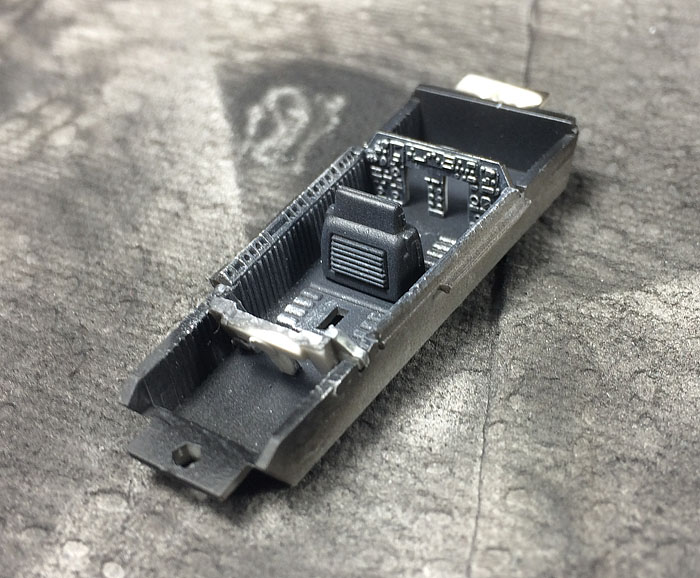
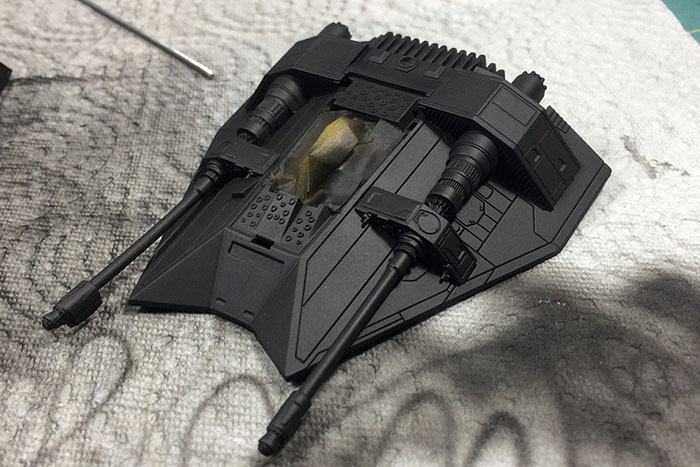
Of course the build started with the cockpit. I didn't do anything fancy here.
It was primered with black Ultimate primer, slightly drybrushed with silver and then I gave it
a wash with overthinned Vallejo MA USAF light grey (to kind of simulate the Ultimate concrete wash, which I don't have).
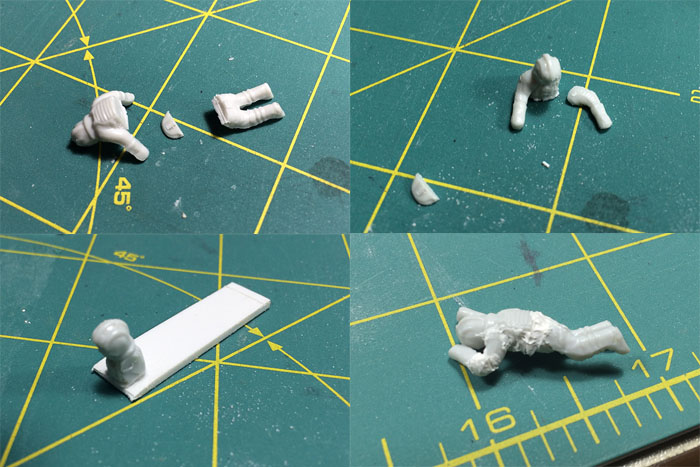
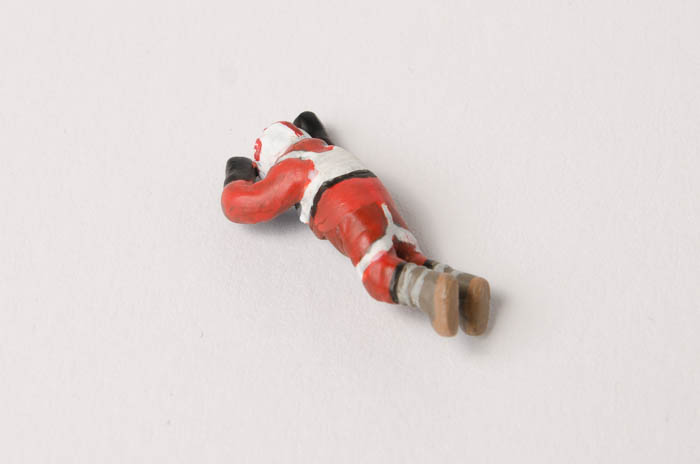
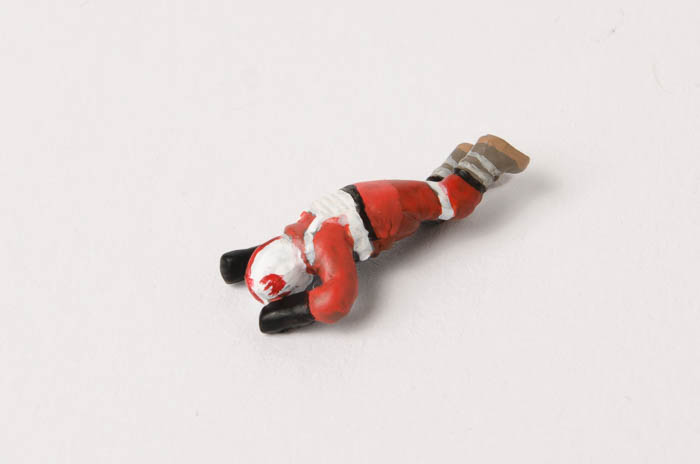
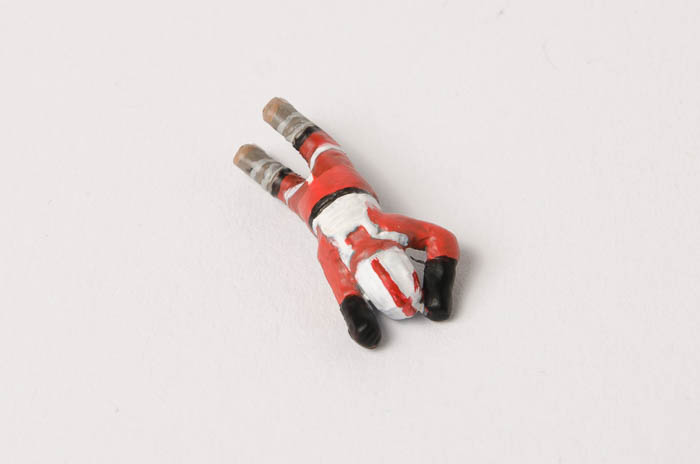
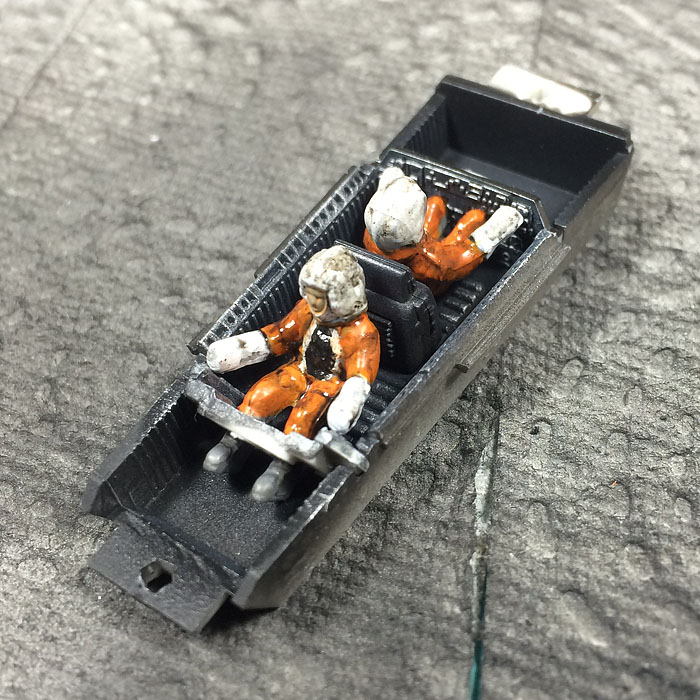
The pilots where primered by hand (Ultimate grey primer) and then hand painted. That could have gone better,
I just don't have that much experience with figure painting.

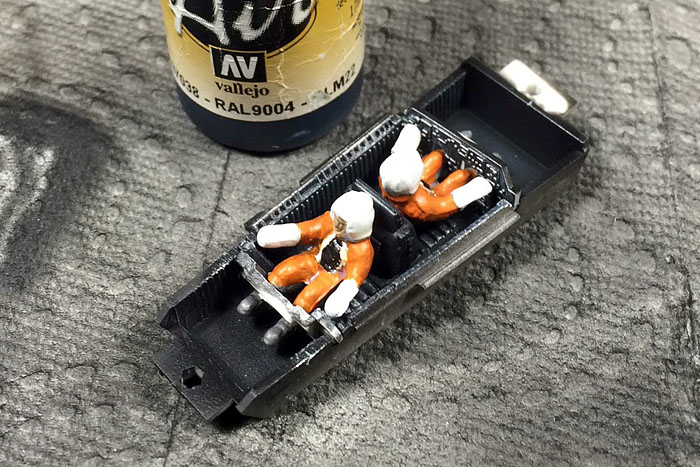
The cockpit was finished up by Vallejo brown wash on the pilots to rough them up a bit.
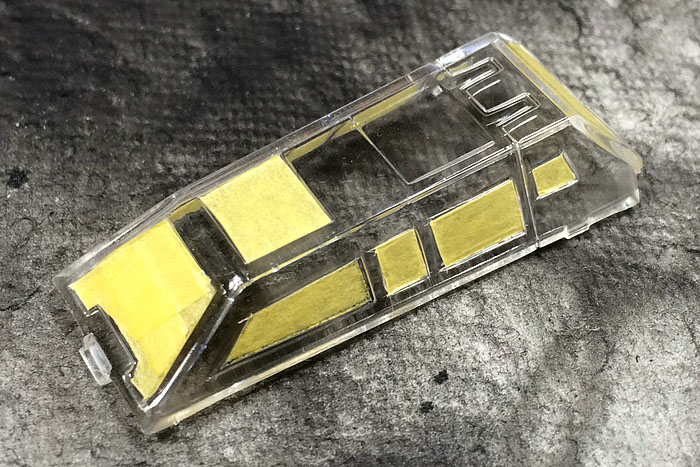
Next was masking the canopy. This also could have gone better. I scratched the clear plastic
on a few spots when my hobby knife slipped. But like every other mistake I make on this model,
I will use it to my advantage in the end.
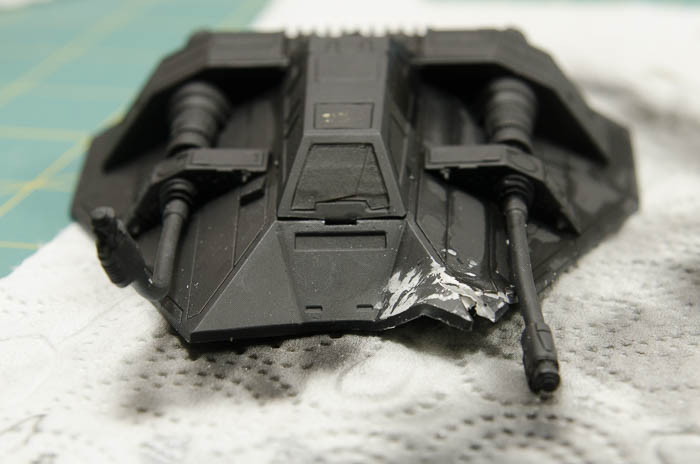
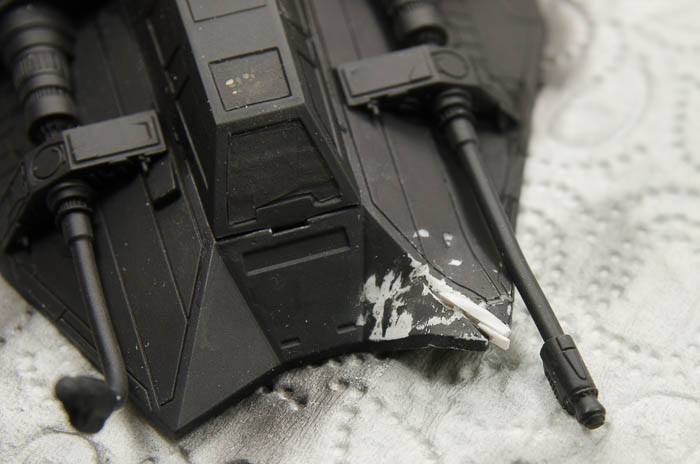
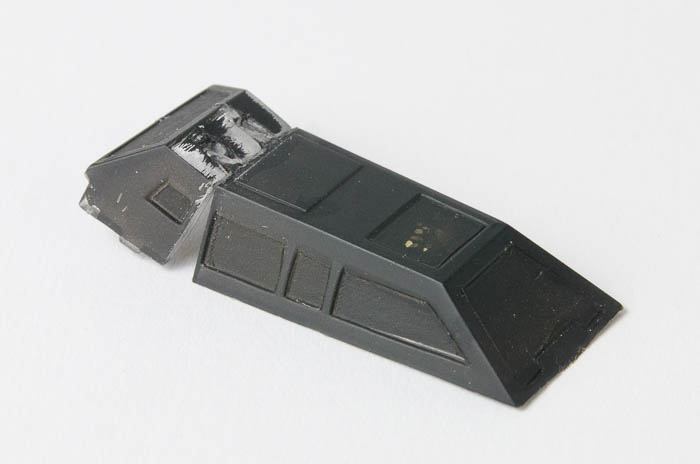
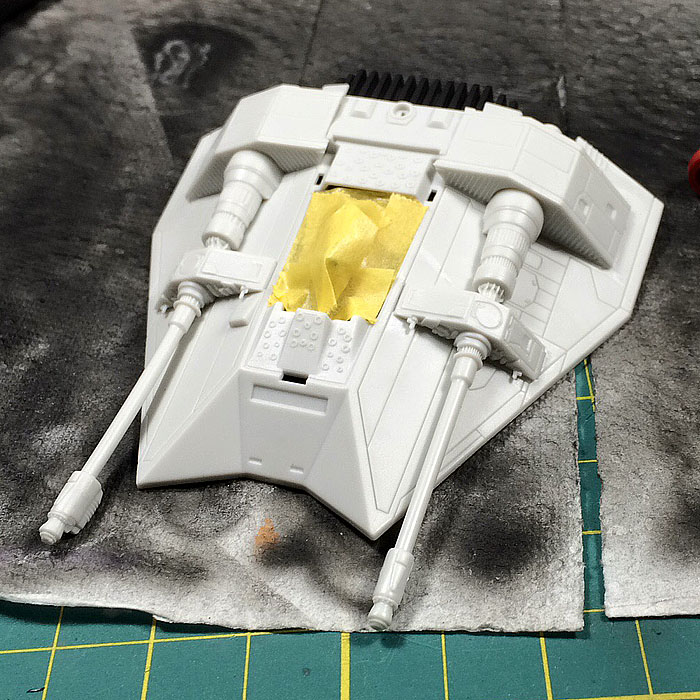
The building stage is now finished. I had to use some filler on the bottom where the two hull parts meet but
that was entirely my fault because I forgot to remove some ejection marks that prevented a tight fit ...
I then covered up the cockpit with some tape and now it's ready for primer.
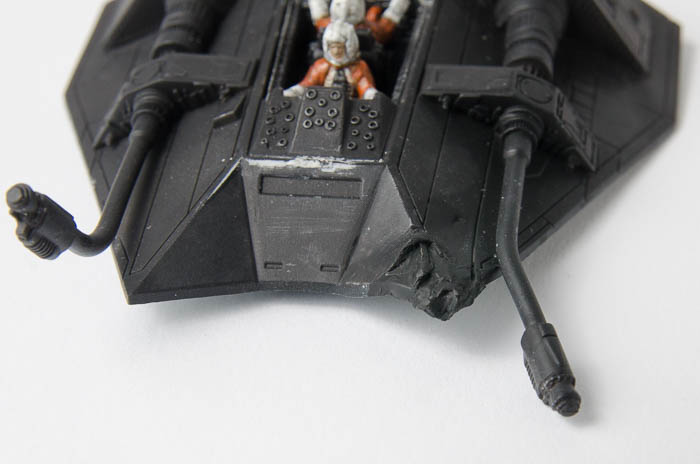
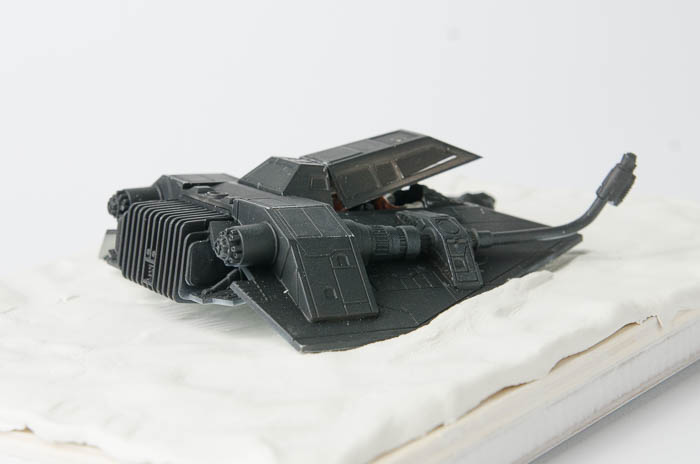
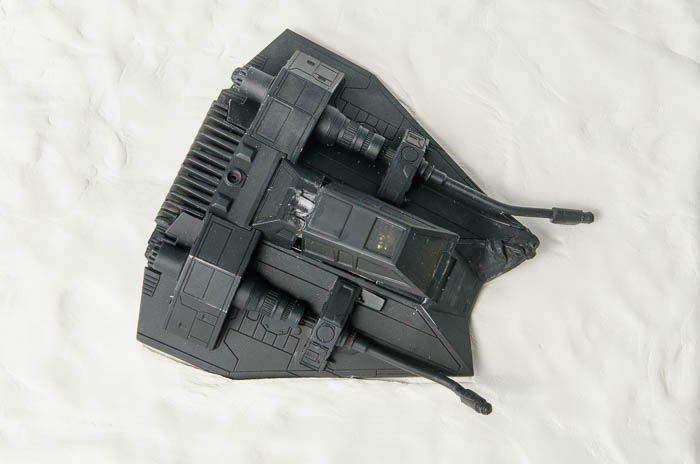
All primered up with Ultimate black primer. And it's true, what they say: everything looks badass in black primer.
For the color coat I wanted to try something new. I used "black basing" a couple of times before as a simple preshading without
overdoing panel lines. But for the snow speeder I want to do a really worn look and get more tonal variation in the top coat.
So I started to do a marble coat with very thin paint and low pressure and working really close to the surface. That might have worked
better with laquer paint or properly thinned tamiya paint, but all I had available was the same Vallejo model air USAF light grey
that I had already used as a wash on the cockpit. I thinned it with Ultimate thinner roughly 50/50 but that led to tip dry very fast so I
had to wipe off the needle nearly every 10 seconds. Due to the tip dry the spray pattern is not consistent over the whole surface.
Next time I will try to use a bit of retarder in the mix.
If anyone has a tip on how to use Vallejo model air for this kind of "detail" work (i.e. spraying small and in thin coats), I would be glad to hear it.
BTW, I used my H+S Evolution with the 0.2mm needle for this.
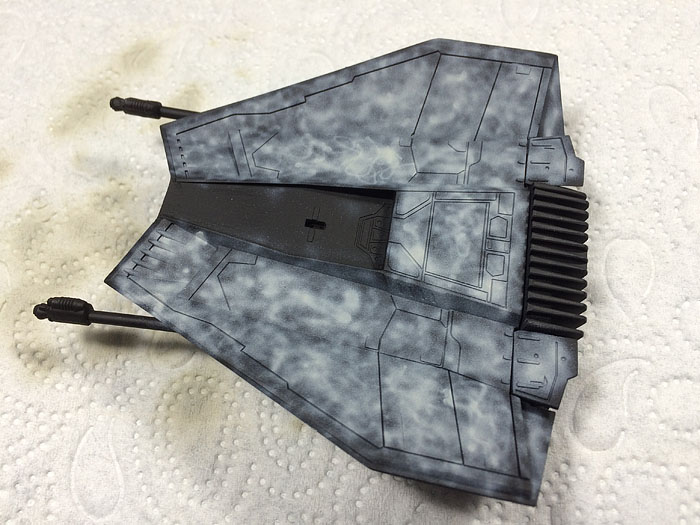
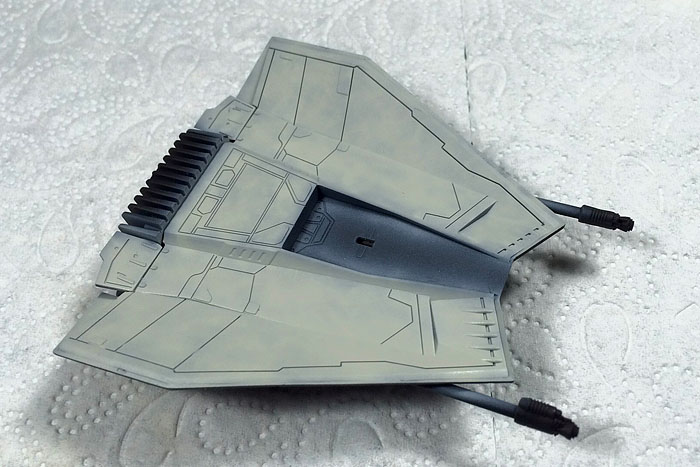
After I had the surface covered I sprayed more coats with the same paint until I had the coverage that I wanted.
And that is also where the model itself stands for now.
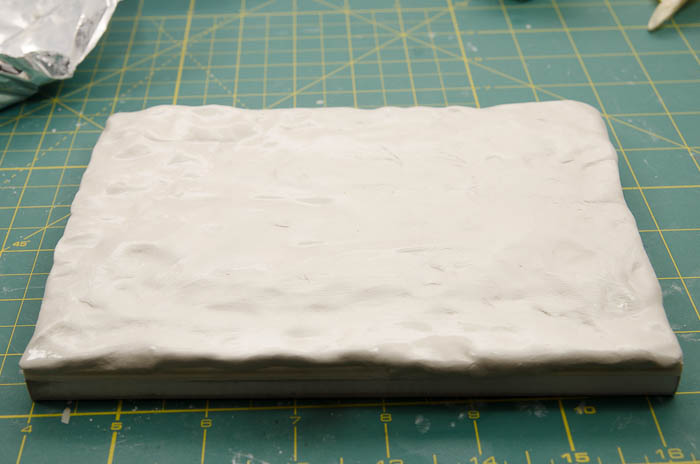
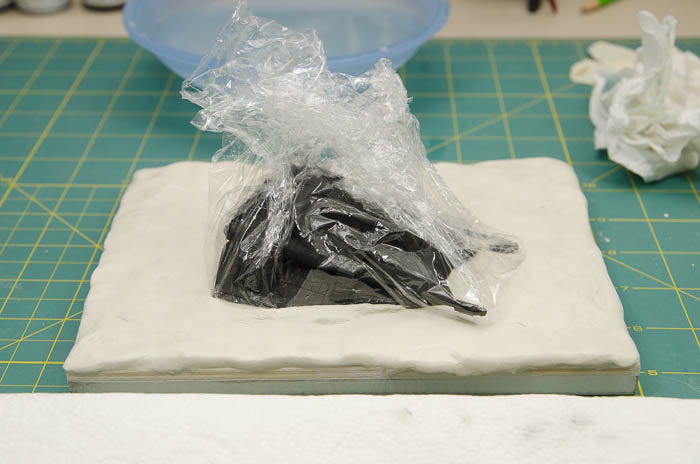
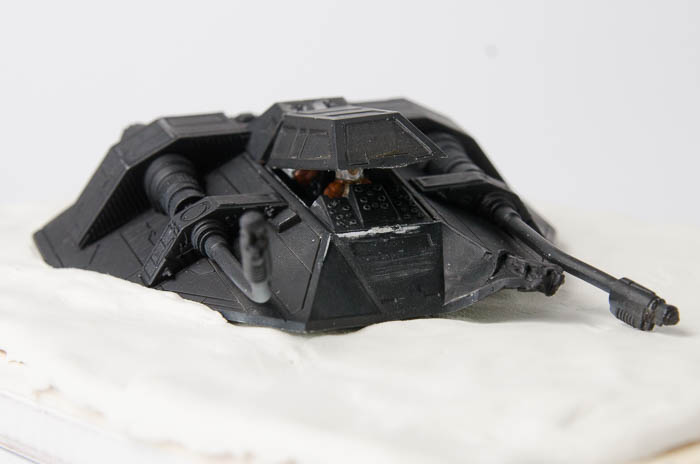
In the meantime I did some layouting for the diorama and prepared a base for it.
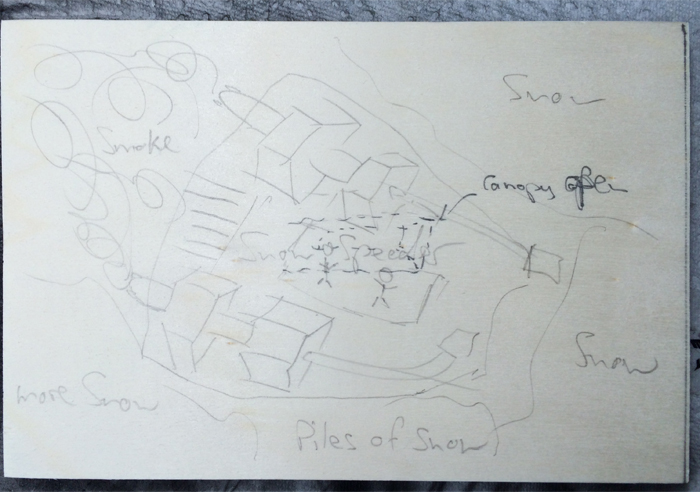
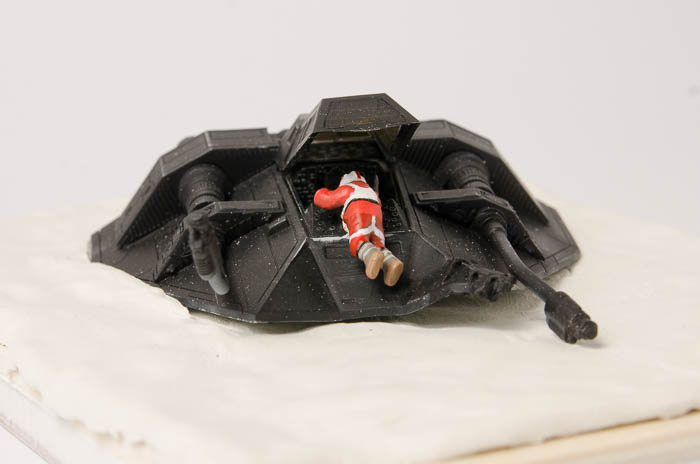
Here's a rough mock-up of how it might look in the end.
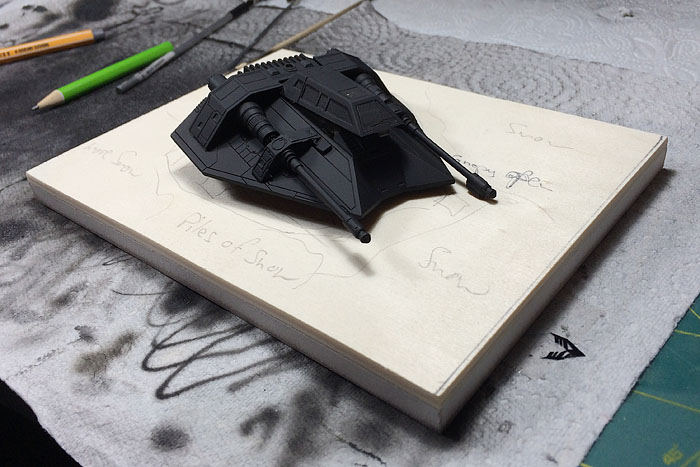
Now I need to do some experimenting and finding a way to properly represent snow and smoke.
Thanks for looking.