Well the weekend here in Portugal was good for doing some modelling ...and a very rainy Sunday was a great excuse to do a lot of work in my figure ...
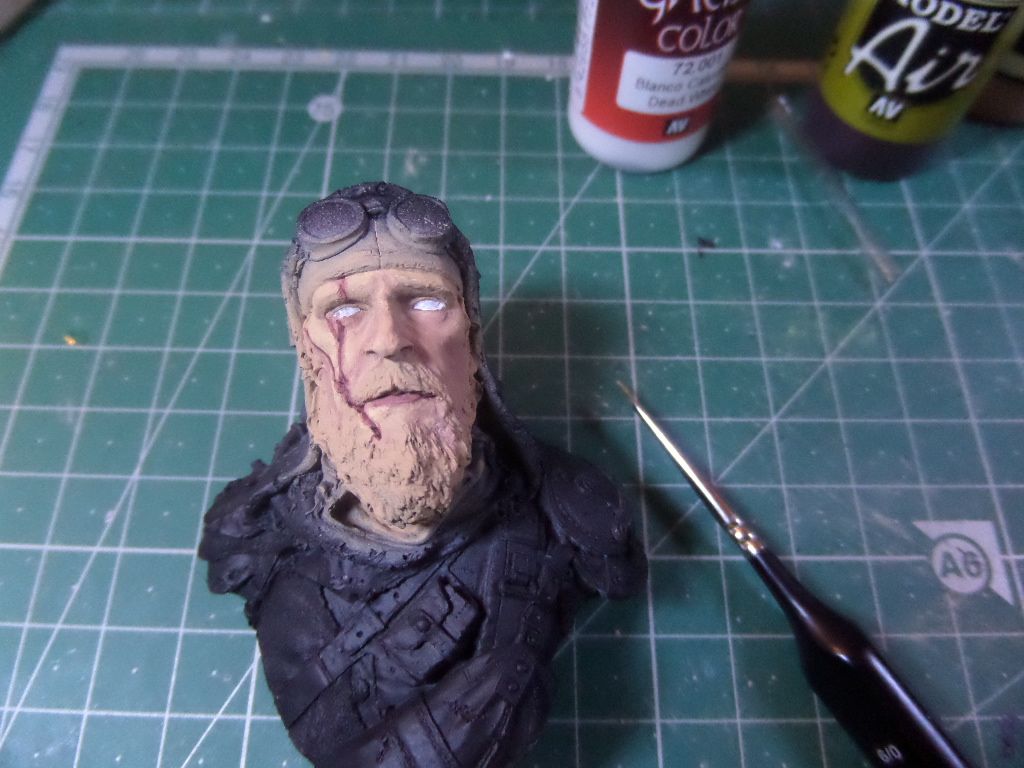
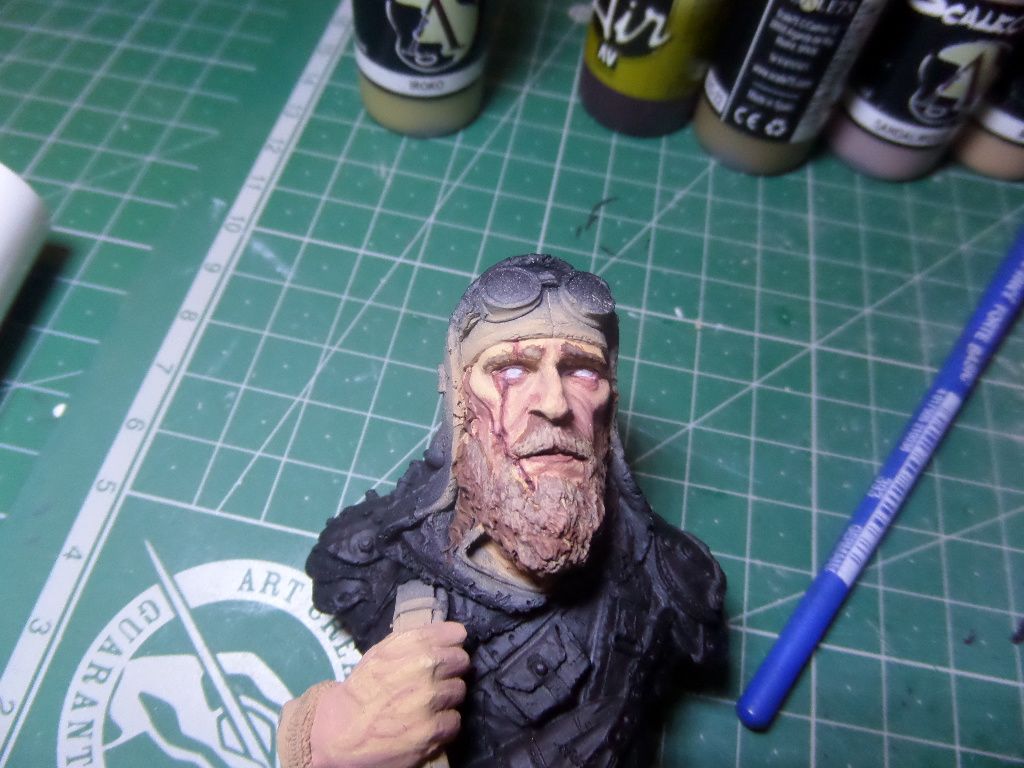
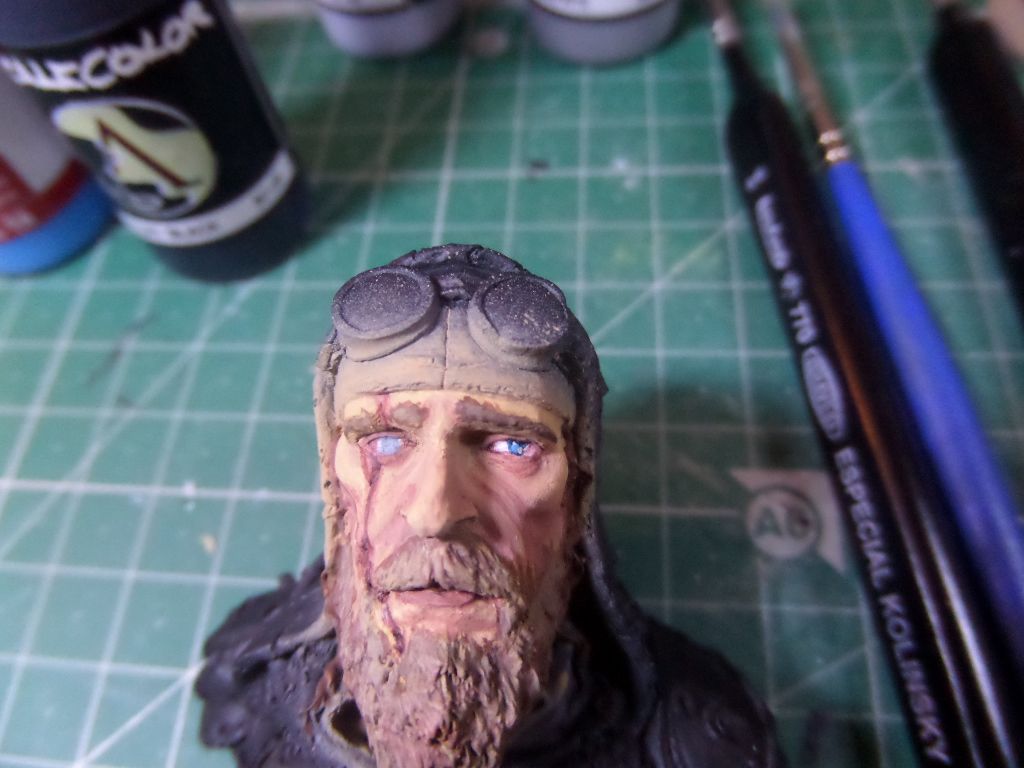
I decided to go to the eyes next
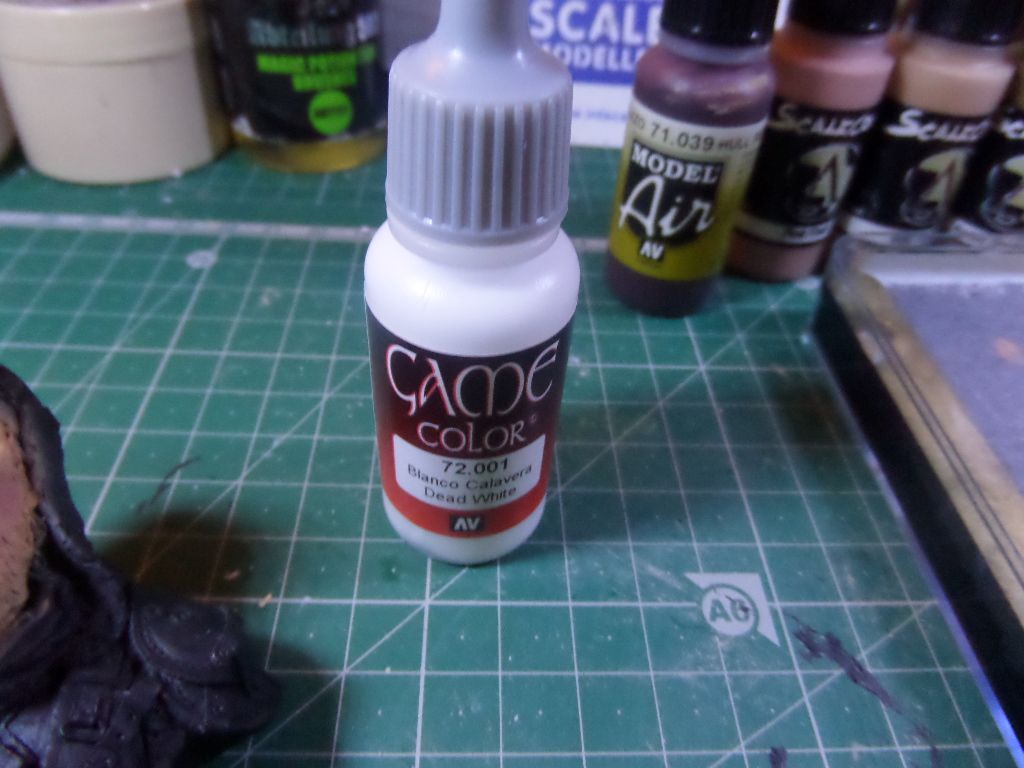
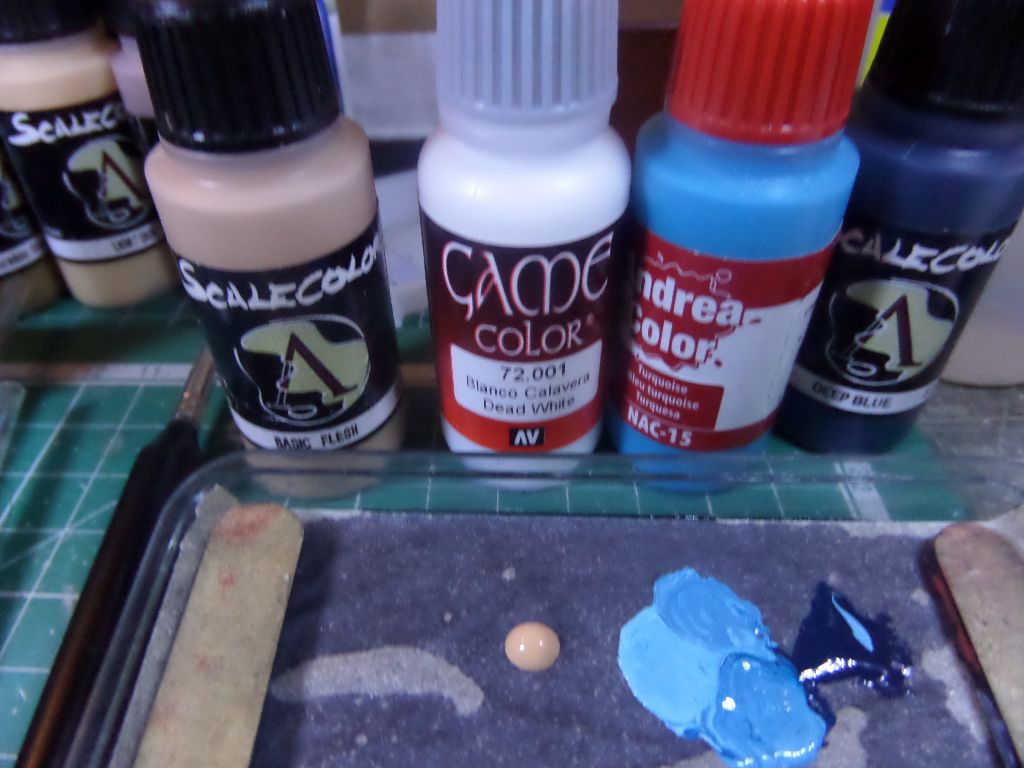
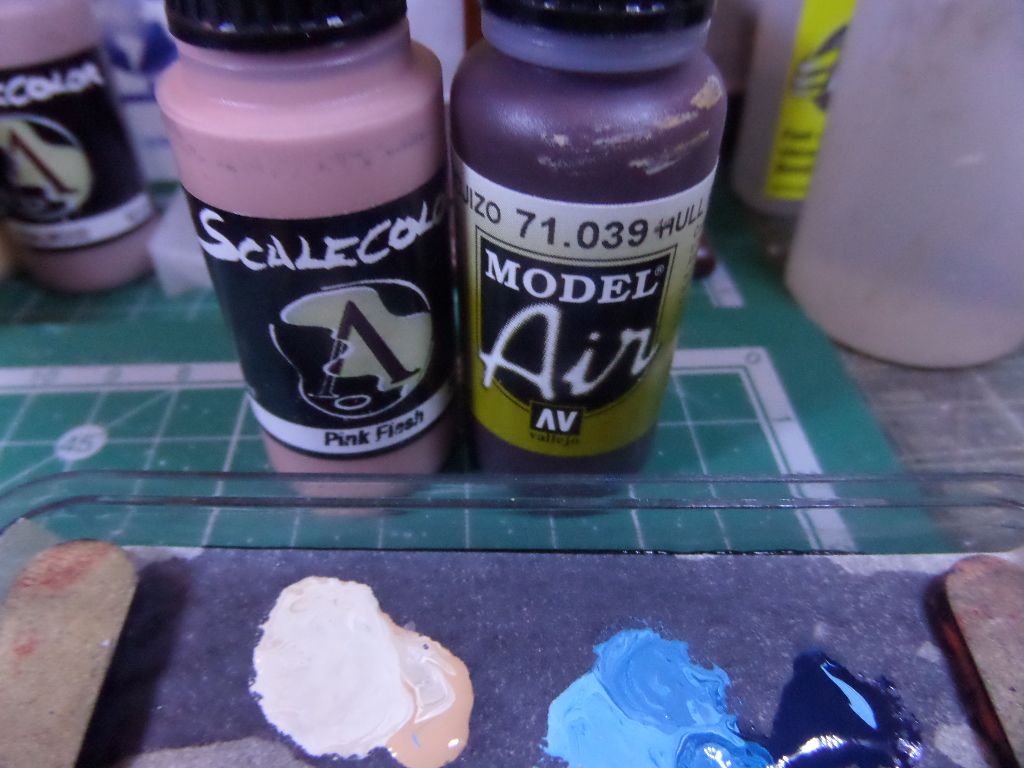
I use some Dead white from Game Colour , and for me one of the best whites of this type of paints ...here I must mention that sometimes it isn't correct to use plain white , I use , I after do some wash in the eyes so not to give that pure white feeling ...I use here a 6/0 brush for painting the eye
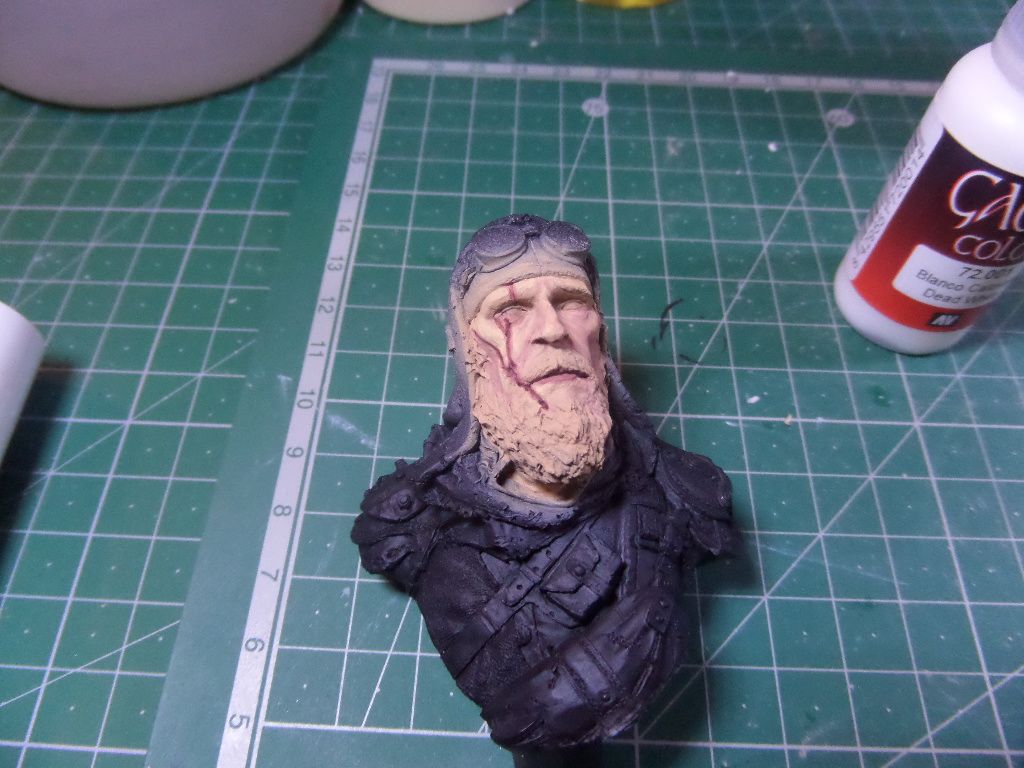
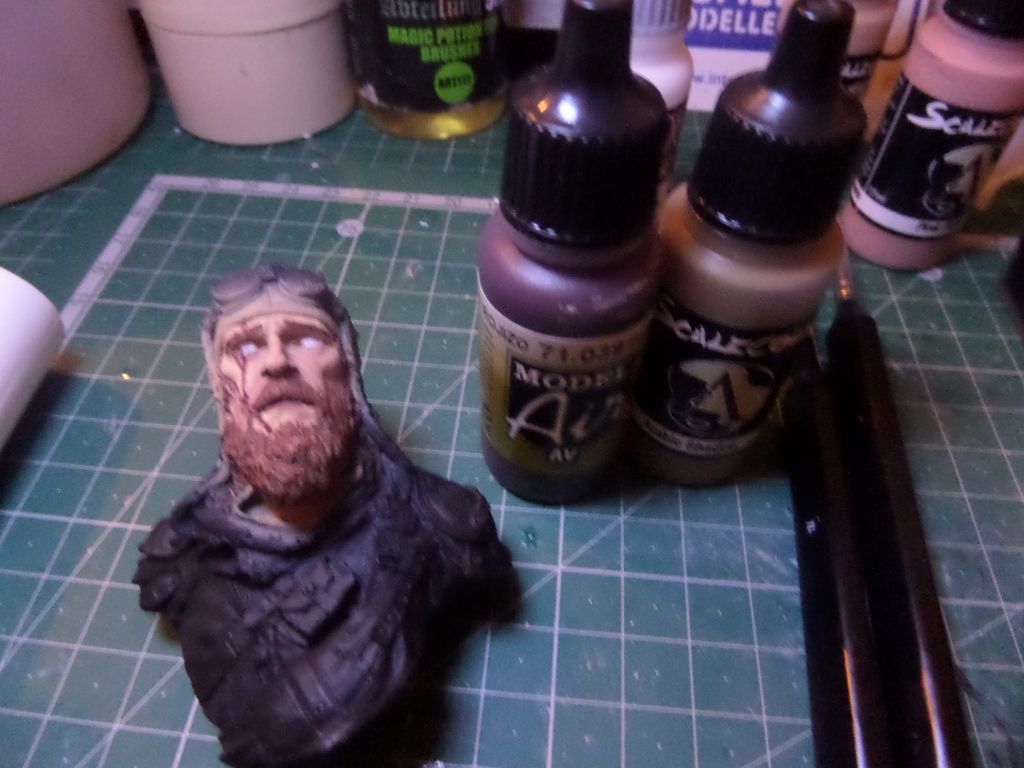
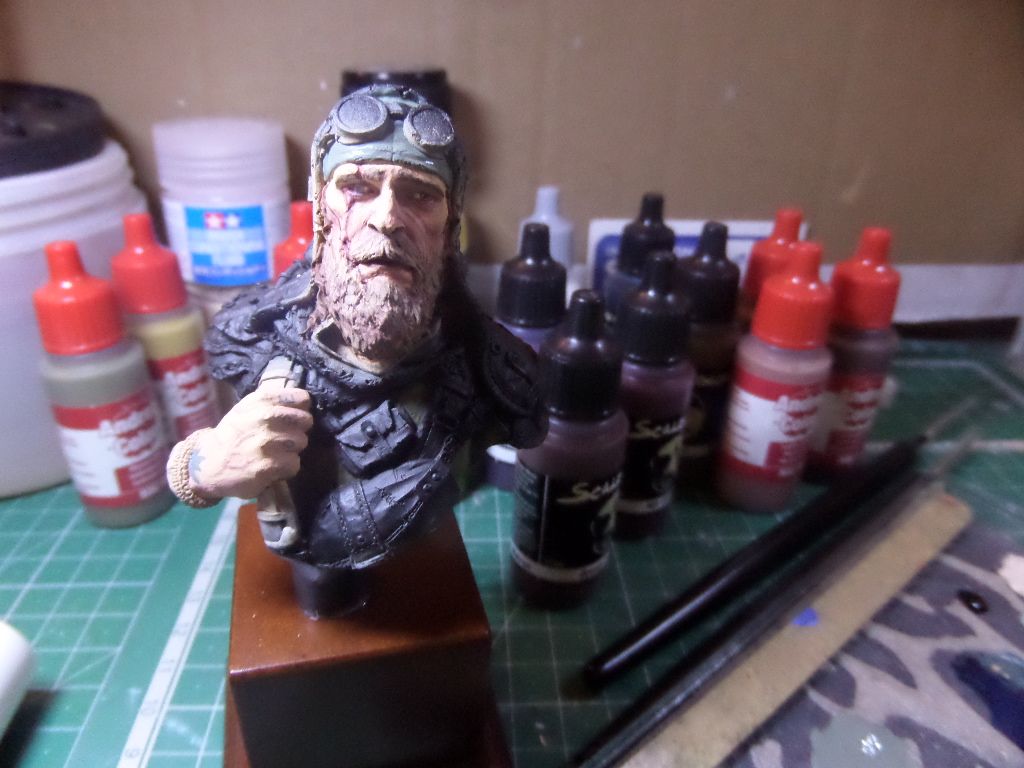
After I paint the Shadows and highlights in the figure face , I use different Flesh tones , you could even for your first time and if you can afford , a set paint for flresh tones , even I like more to use different flesh tones , some for the sets , but always to add for the shadows some Hull Red from Vallejo model air , and in this I can't really explain how you do it , there are a lot of videos on you tube and you can learn a lot seeig those videos , also to try and try and try again ...at first you do not have maybe very nice results , but go easy and check where the lights and shadows are in the figure ...
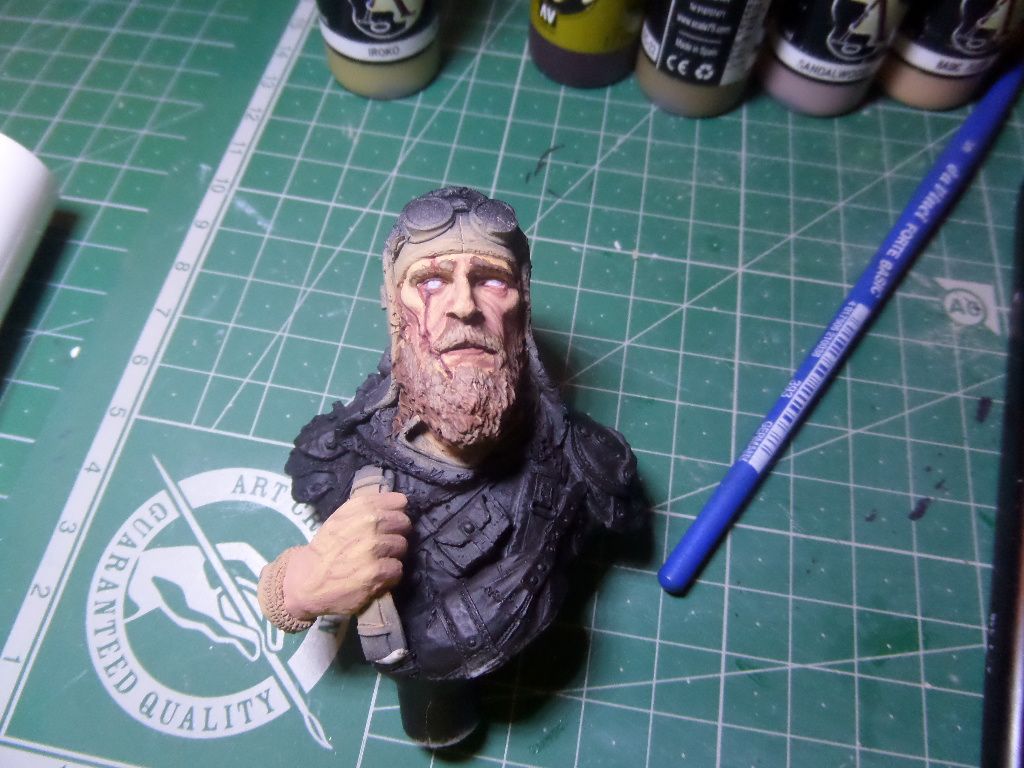
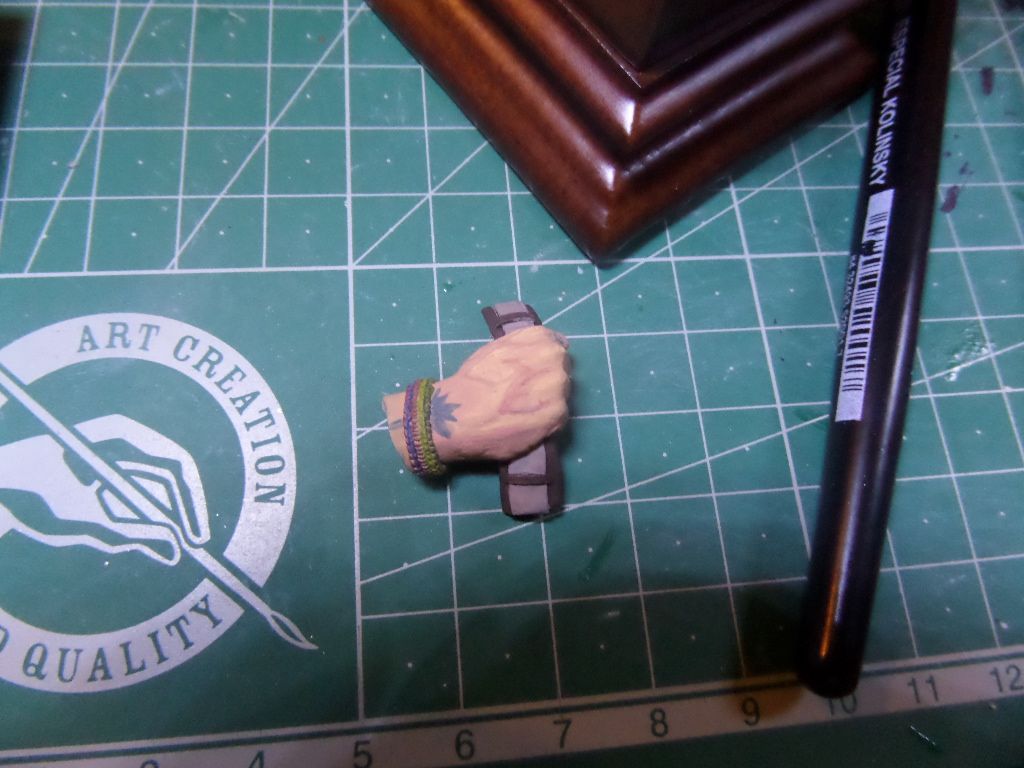
In the hand and wit very diluted Hull Red and some drops of scale 75 Pink flesh I try to do the veins in the hand some enhance
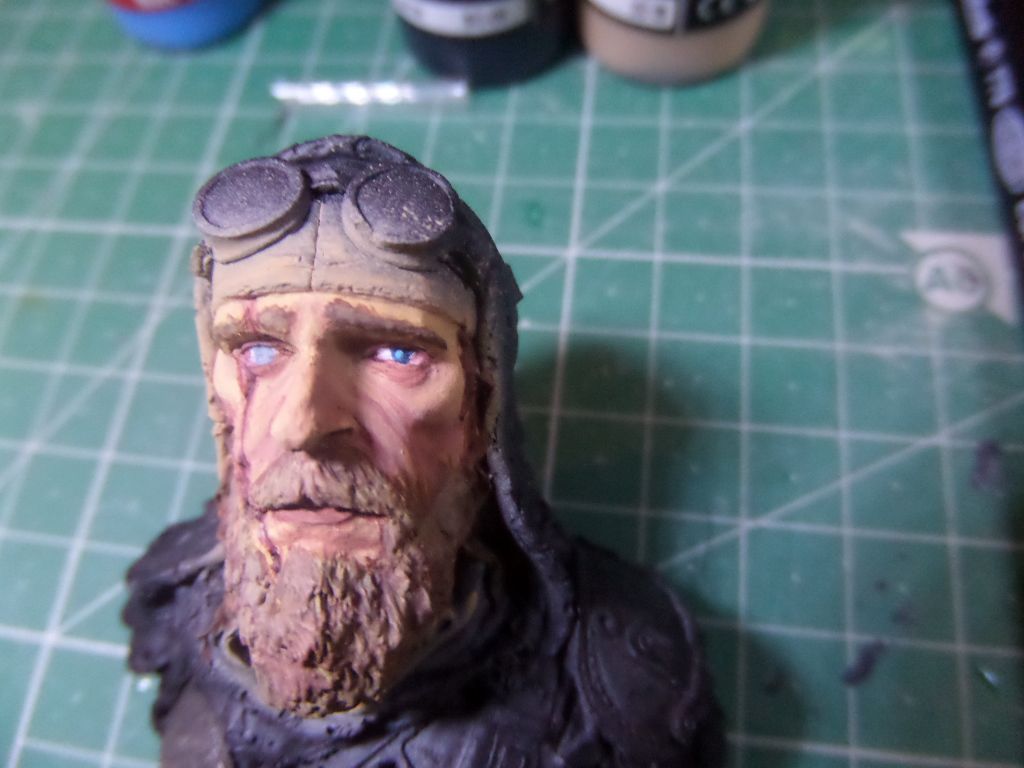
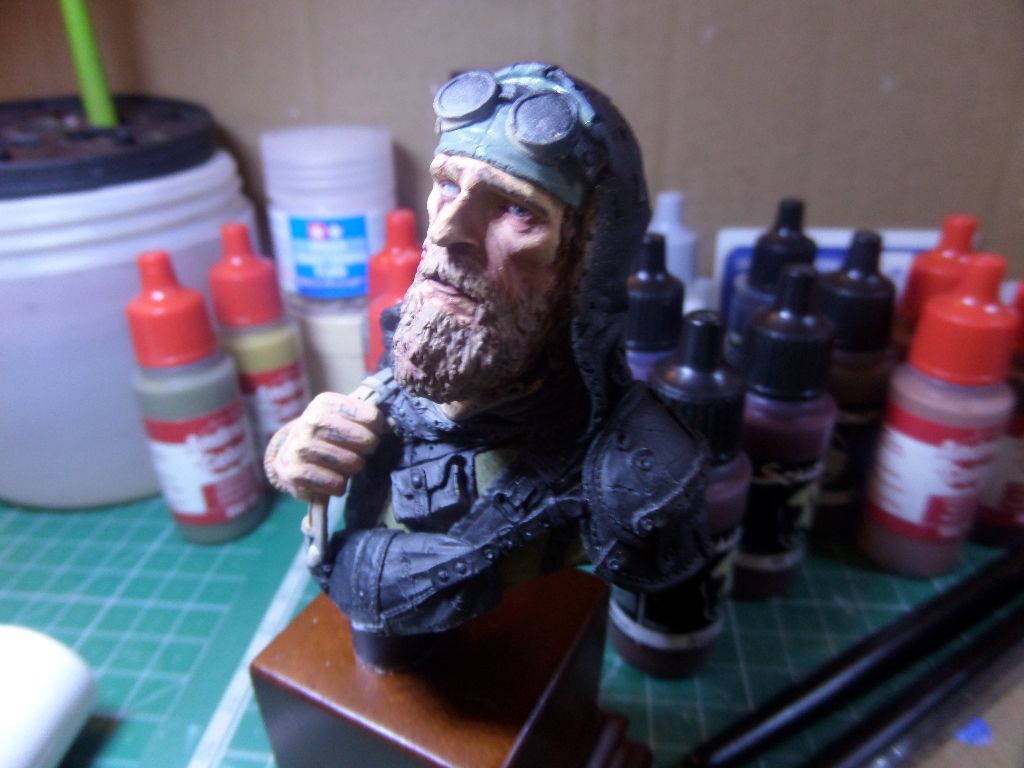
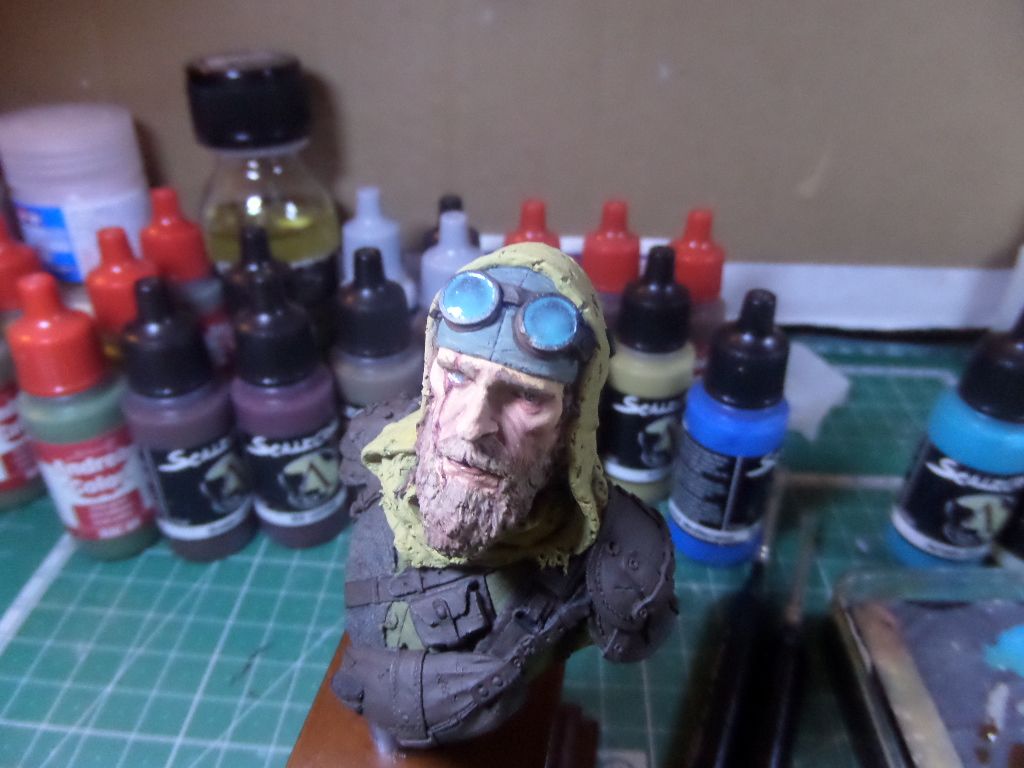
At this point I looked at the right eye of the figure and thought would be a good idea to have that eye a blind eye effect , so , and thi sis something about figure painting ...I experiment with some grey tones and mixed this two colours
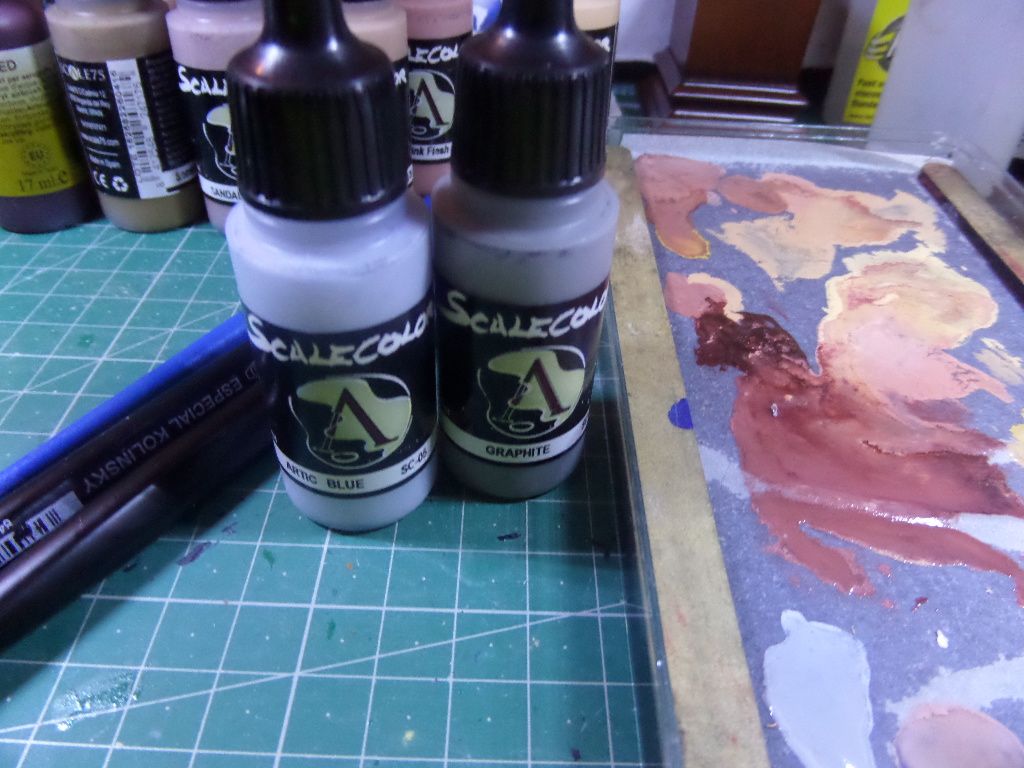
The result in the white is almost not visible ..
So a little turquoise blue this time ...
And on top of it some of that grey mix from before...in my view perfect ! This is the funny stuff about painting figures , to try different stuff

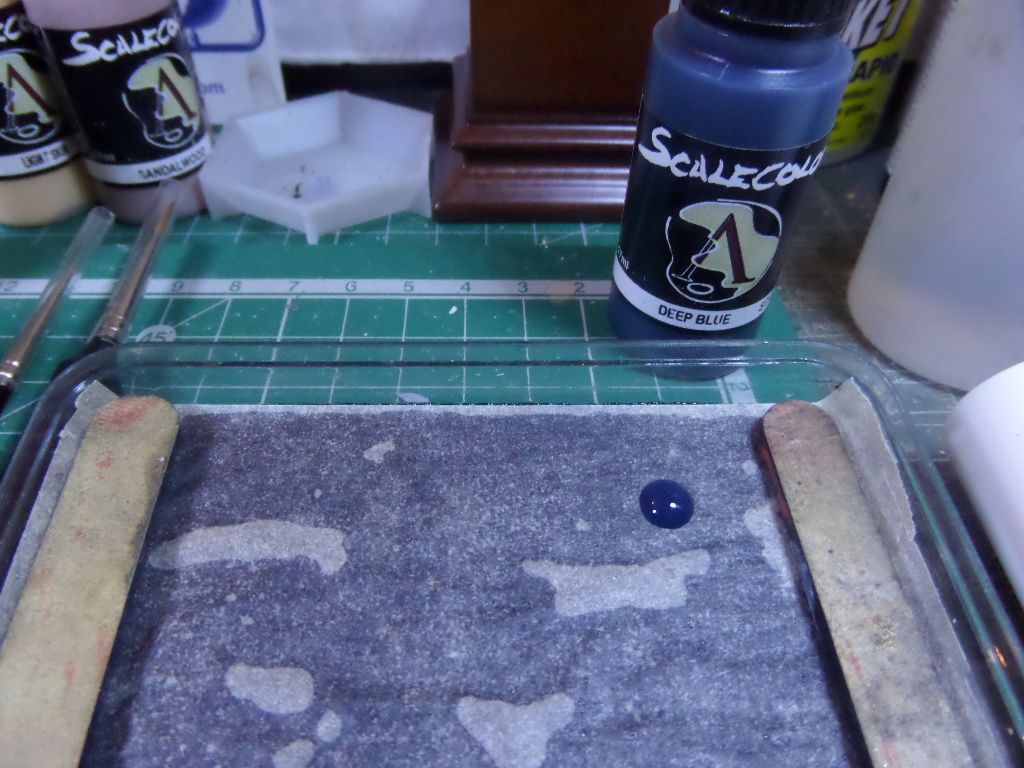
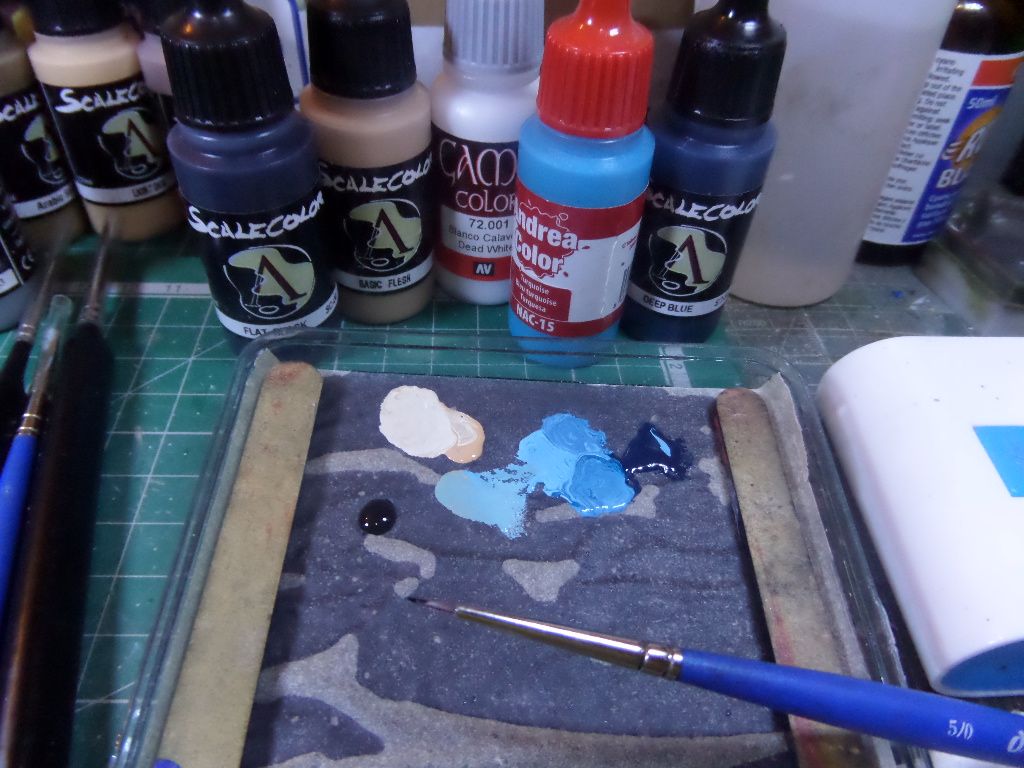
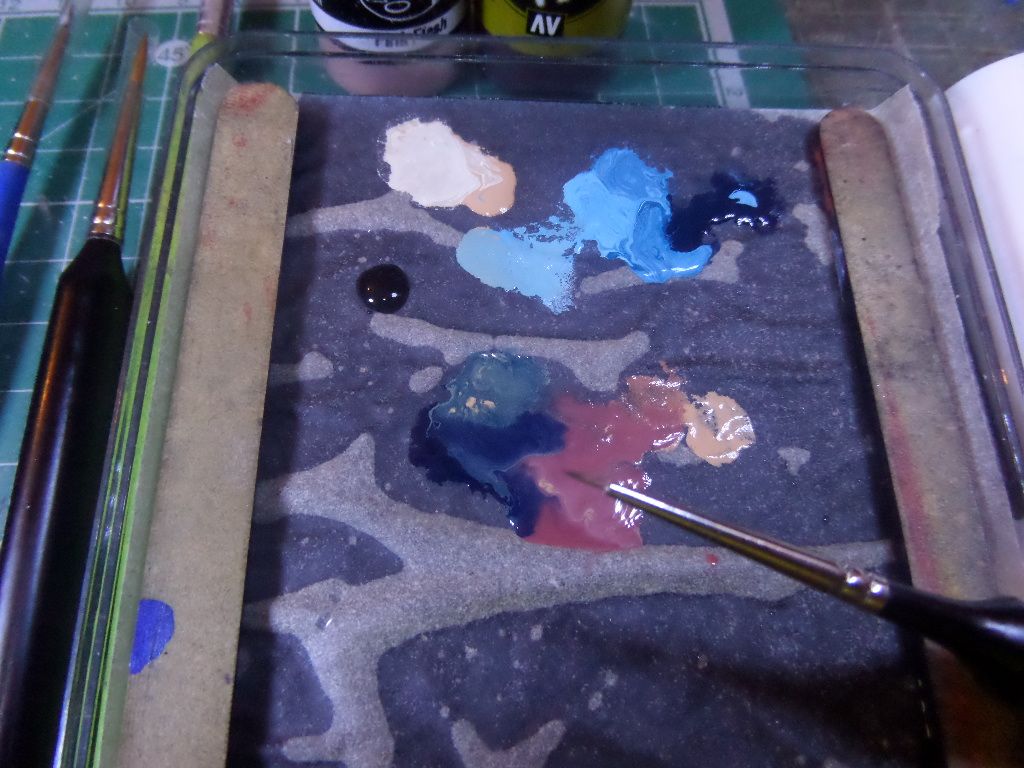
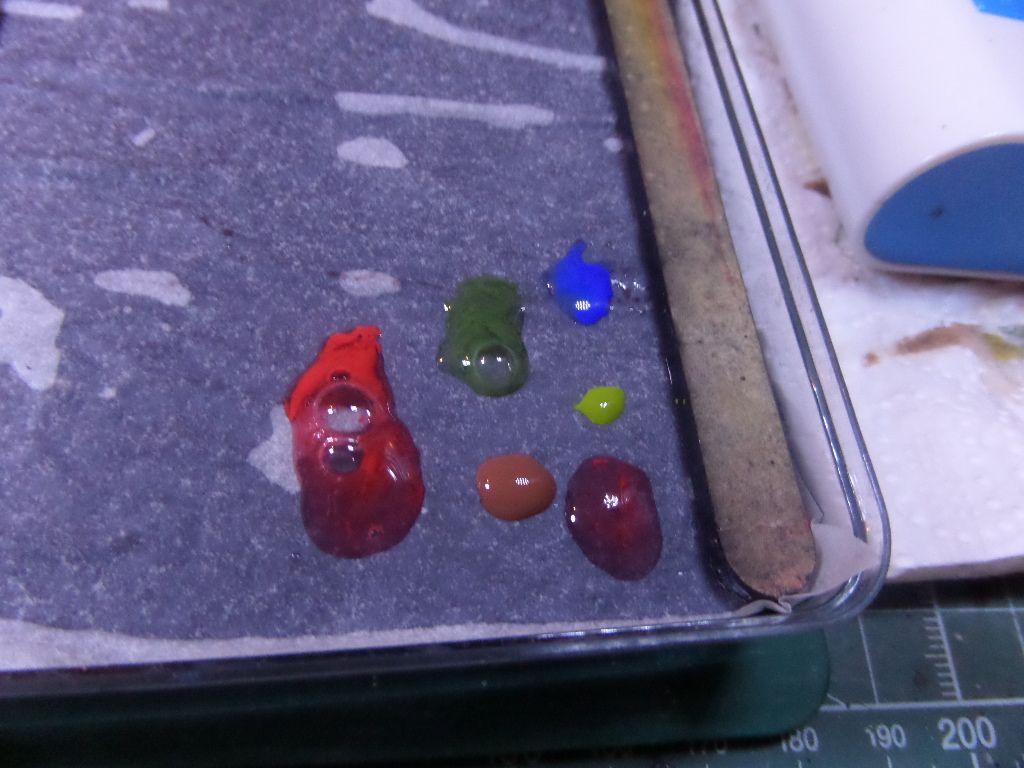
For the other eye , It will be a blue eye ...I sorted this paints ...
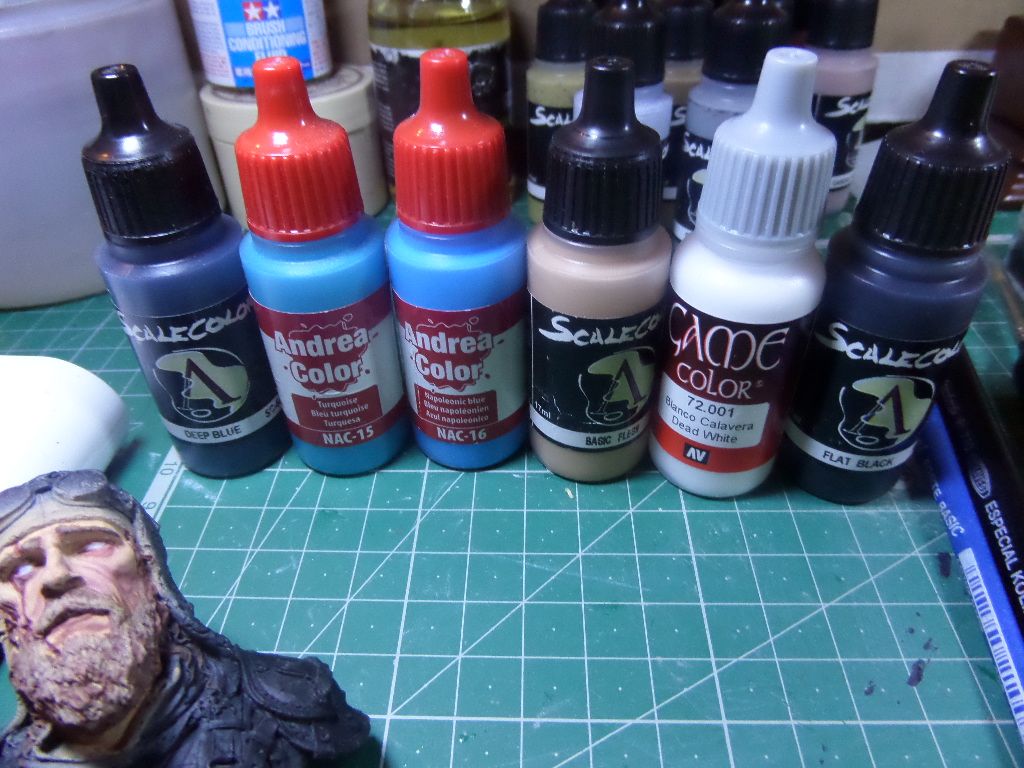
Deep blue for the base of the Iris ...Turqouise or Napoleonic Blue for the Iris , Flat blac for the pupil , White and Base Flesh for the eye reflections ...
This an human eye ...
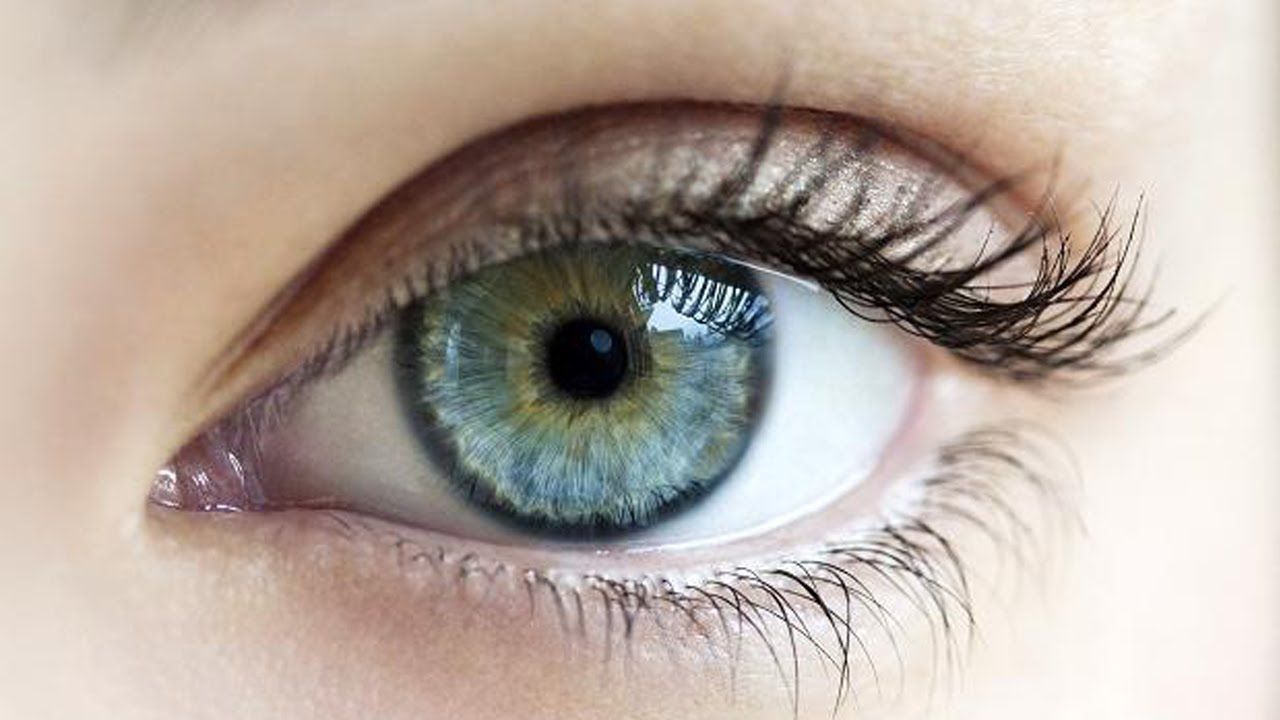
So we must paint it like this , or try to do something similar
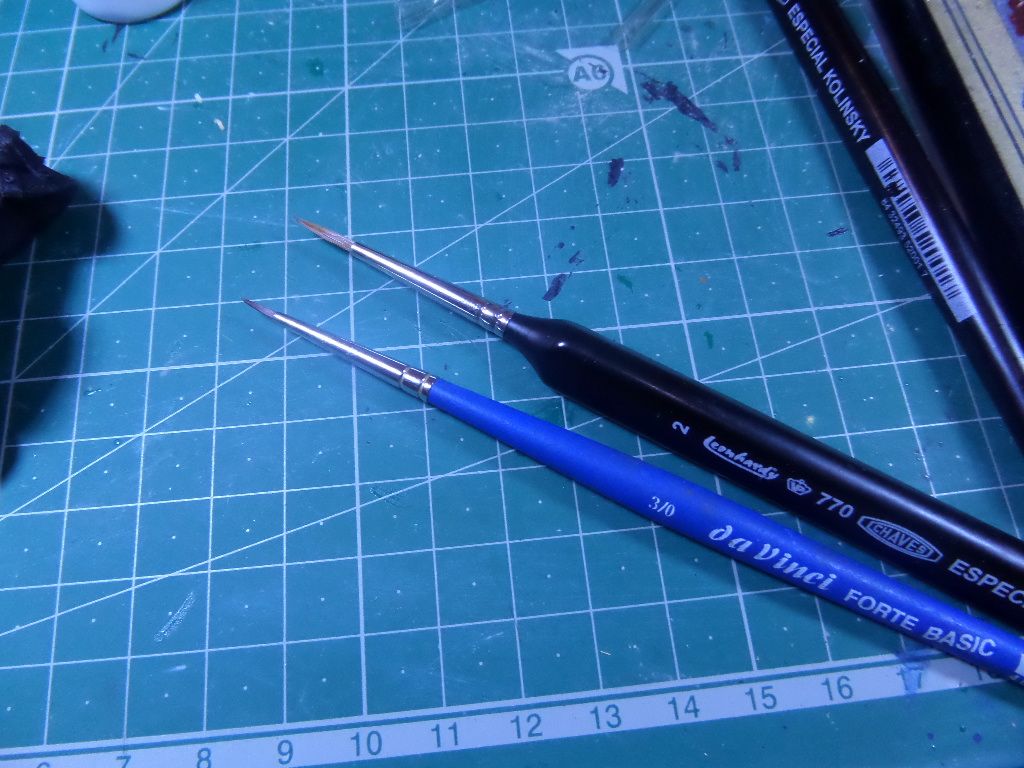
For doing the eye , I prefer, and this is my preference... , a different brush ..the ones that I use for painting the figure are long bristle brushes , for doing this I need a more round brush and not taht long, the idea will be to get a more round spot ...
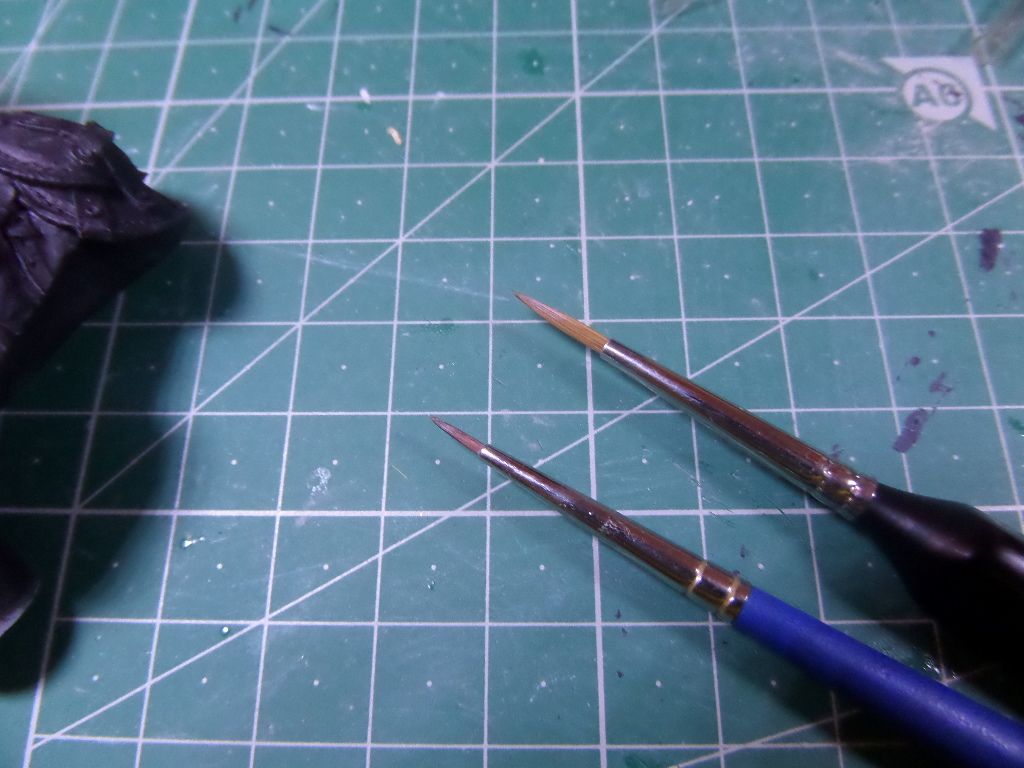
I usually use this 3/0 brush , this is a DaVinci , but a more cheap brush , but I have it in a near art store and they work ok in this type of job ...
Base of the Iris ...do not thin much this time , if not too diluted and the paint will go trough all the white !
And a small spot on the figure eye ! Important to see the eyes direction ..with both eyes try to see the zenith direction of both ...so not to have the figure look like a chameleon reptile , Lol ...
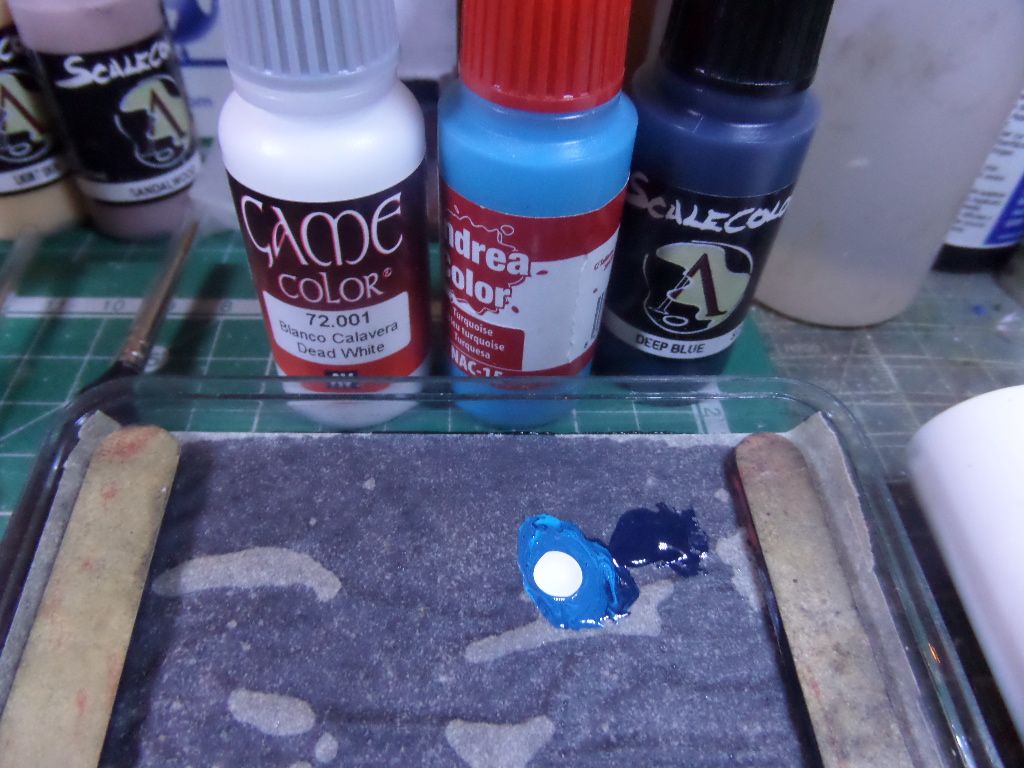
Next for the Iris ...a little Turquoise Blue mixed with the base blue and some white
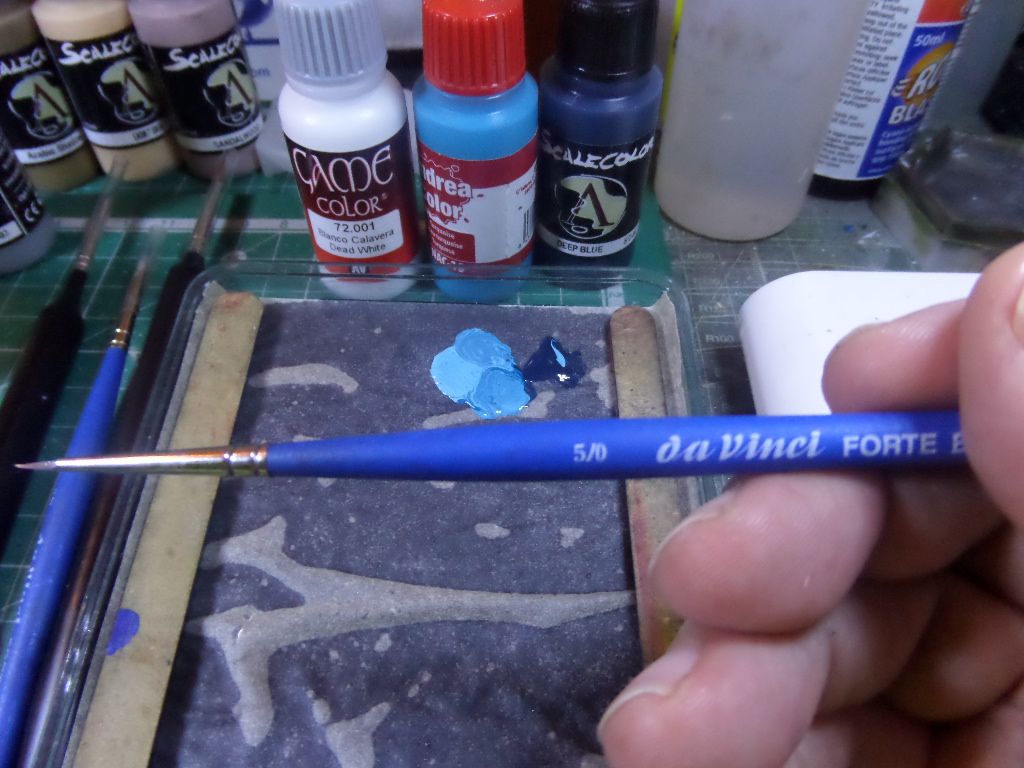
now I use a 5/0 Brush , a samll spot inside the first circle
Now , some Basic flesh
and some white ...to do the eyes reflections ...
where you see the light coming try to place the reflections...a litlle on the right bottom side , and a little on the left upper side ..., here I do this before doing the pupil , advise to paint first the pupil
Black then for the pupil
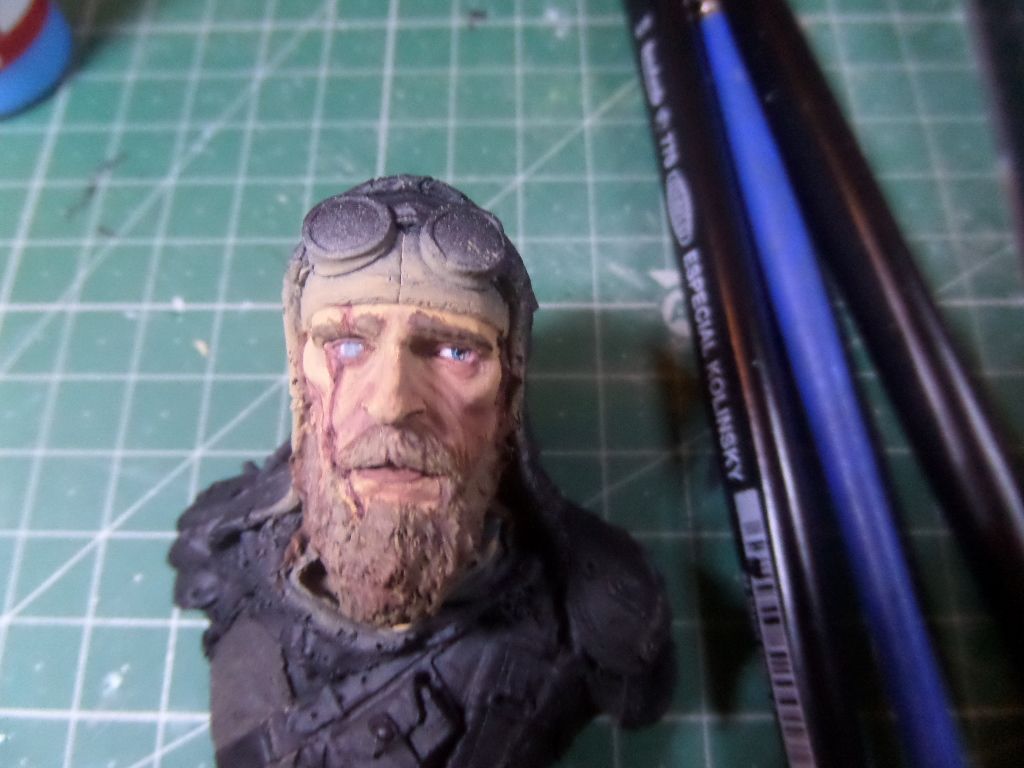
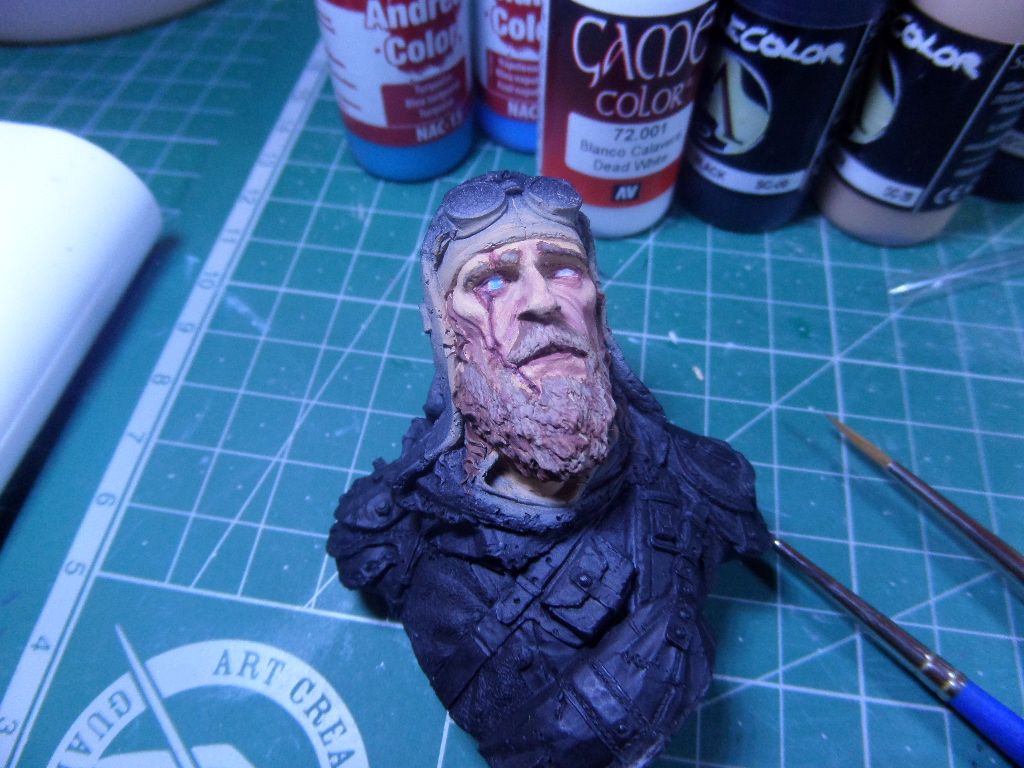
and eyes almost done...
For that I told you before , a slight drop of flesh and some Hull red very dilutes ( as a wash) and paint very carefully the eyes ends , to give that 'bllod' impression on the eyes that we all have , do not cover all the white ...
after dry , a littel of gloss varnish form Andrea or Vallejo gives the eyes a bright normal in all human eyes !
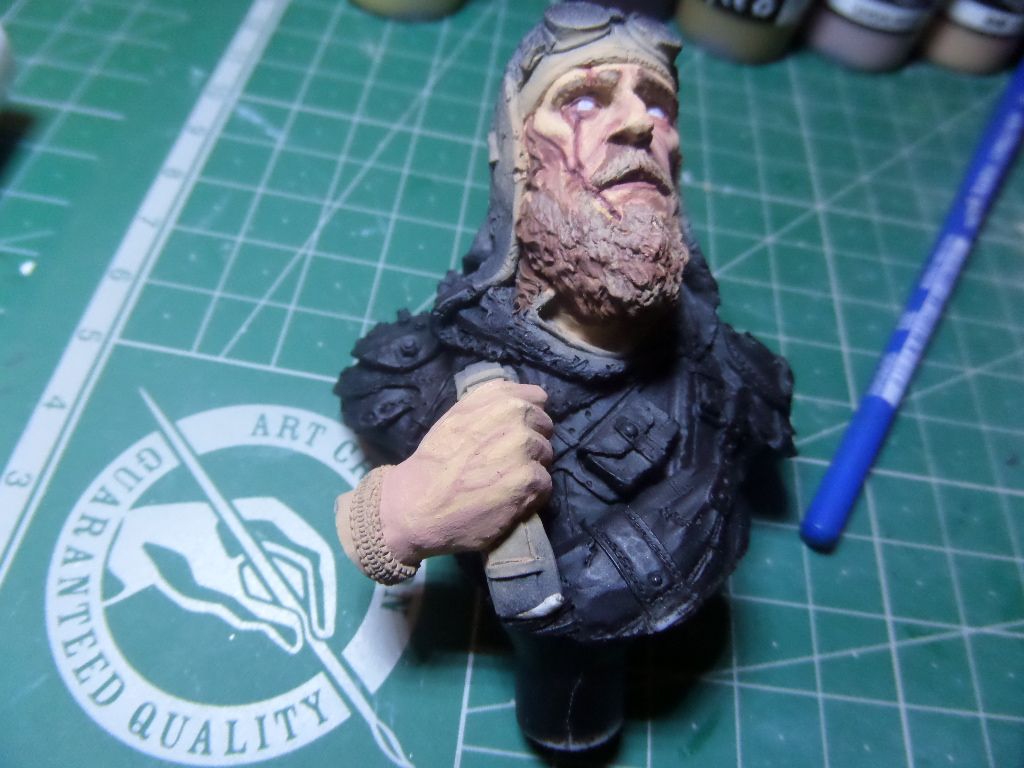
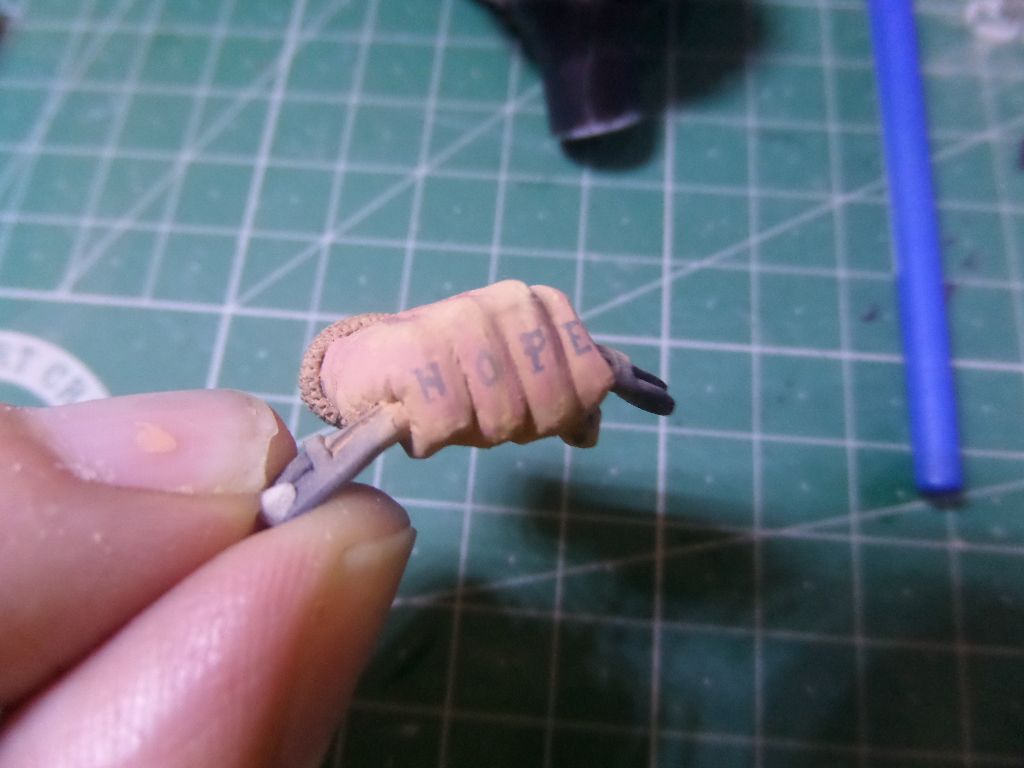
I decided to do a tattoo in the hand of the figure , so again I try to mix some colours ...the deep blue mixed with the mix that I use before for the eye give me a very dilutes almost ink tone colour that i think will be perfect for a tattoo paint ...in this I be honest , I copy the box cover form the figure, the artist place the word Hope in the fingers...decided to try do the same
I use the more light Blue tone
Very happy with the result !
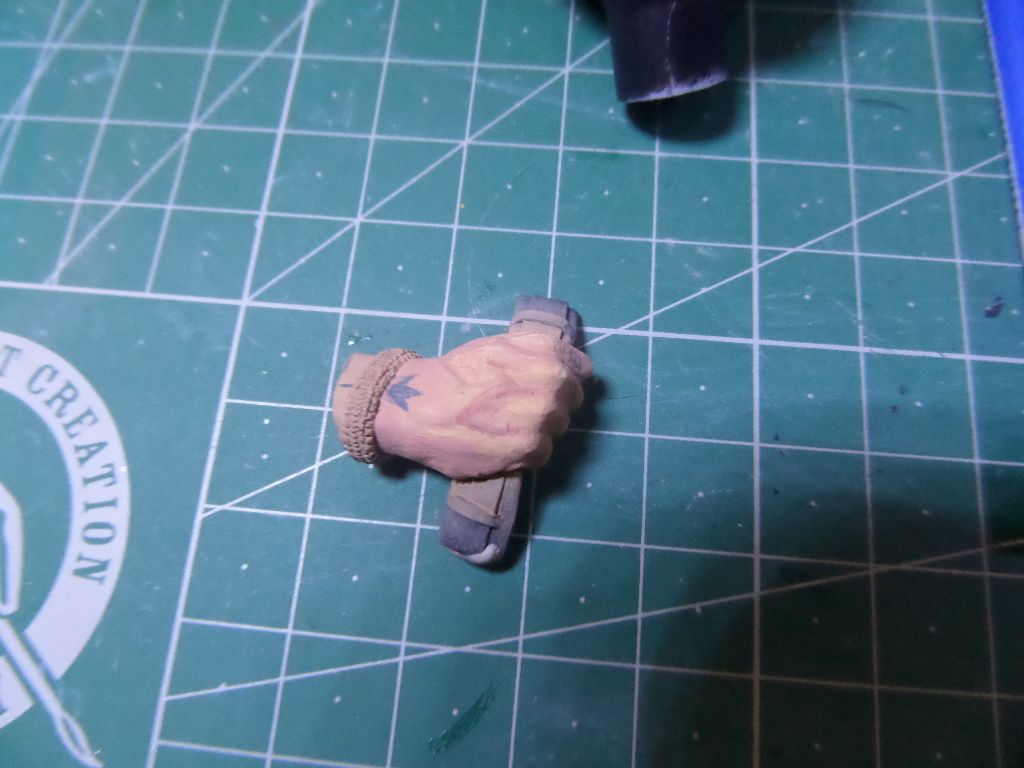
Also I draw something in the back of the hand
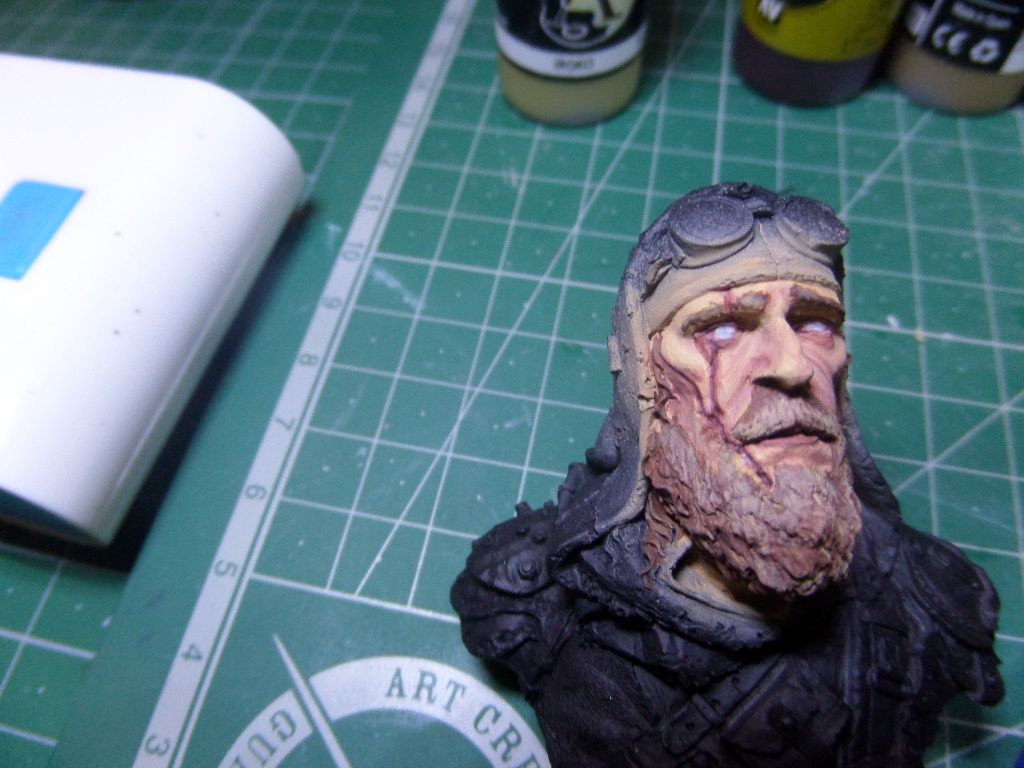
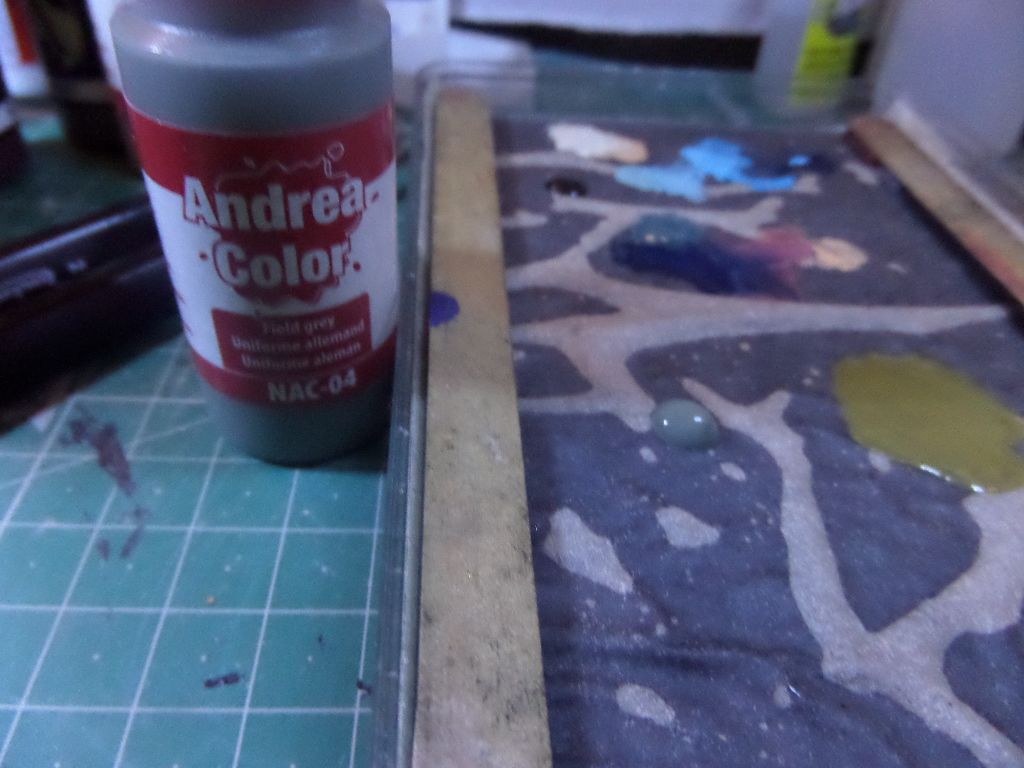
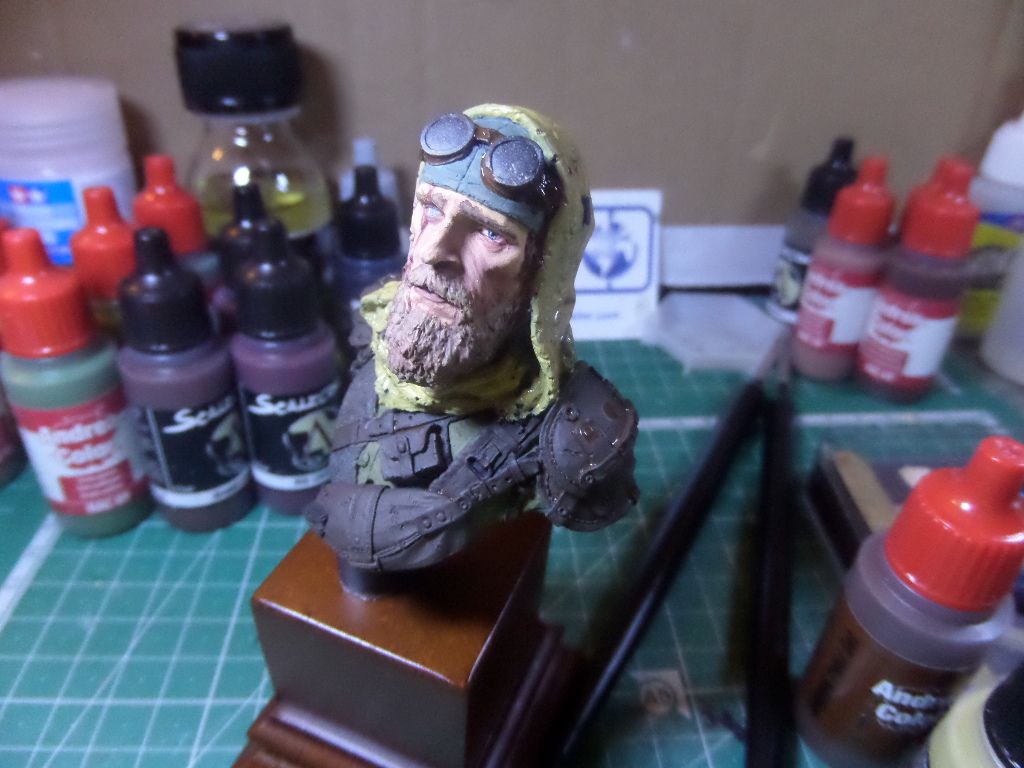
I painted the inner cloth with some ardennes Green from Andrea and the hat with some field grey from Andrea
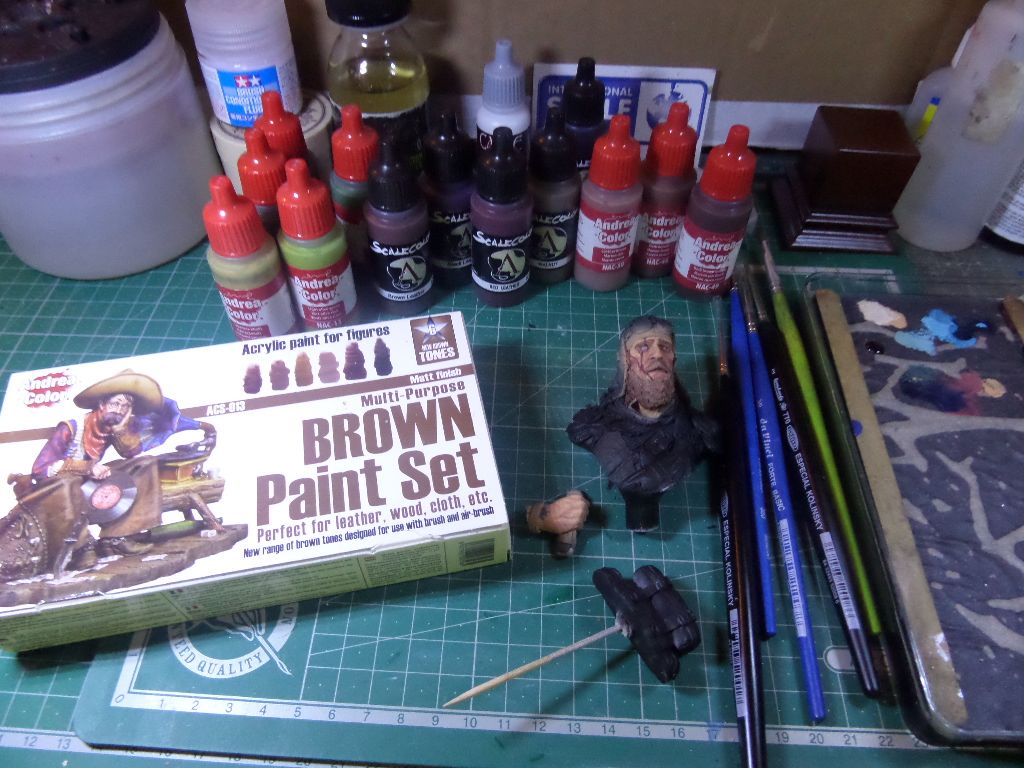
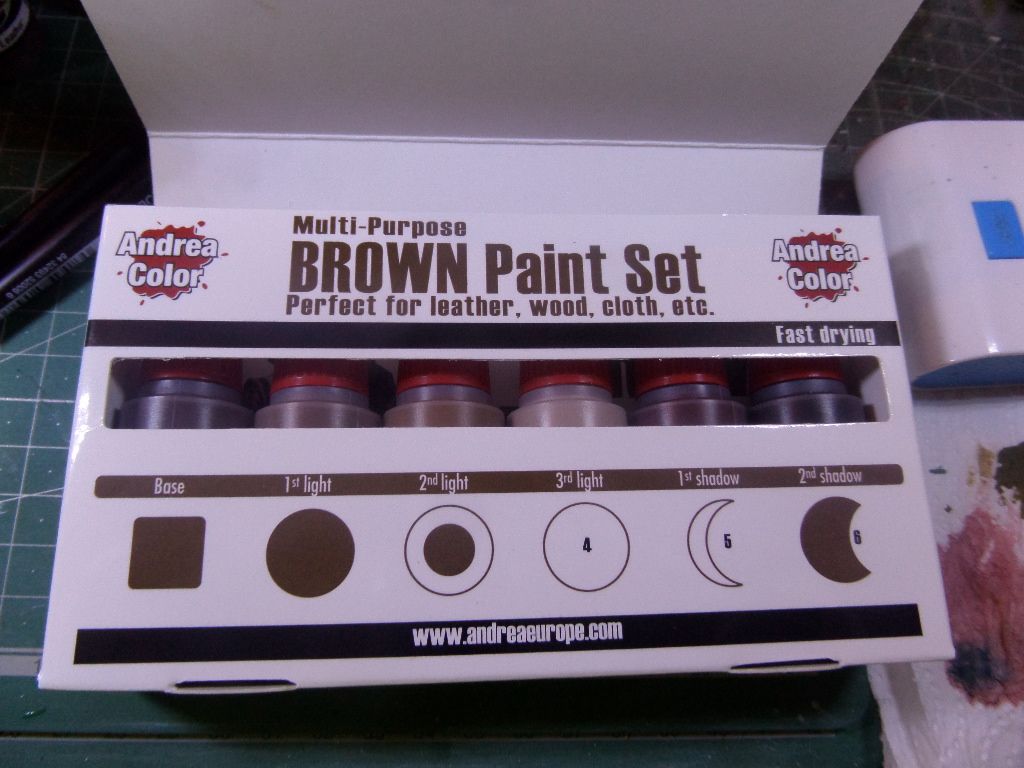
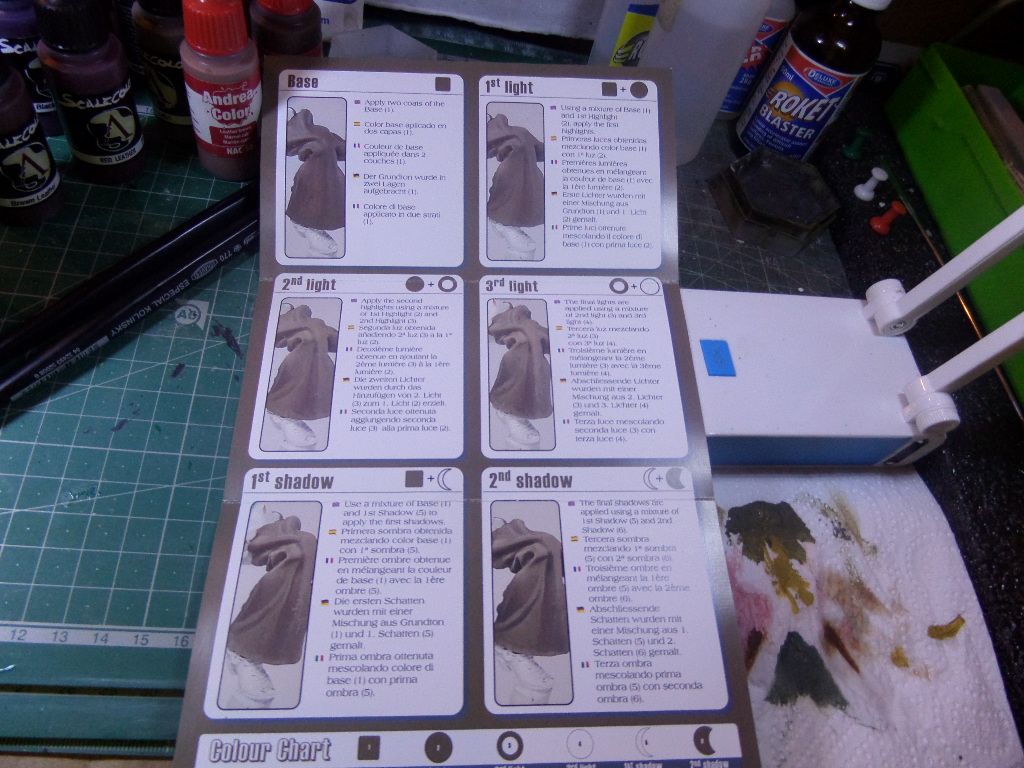
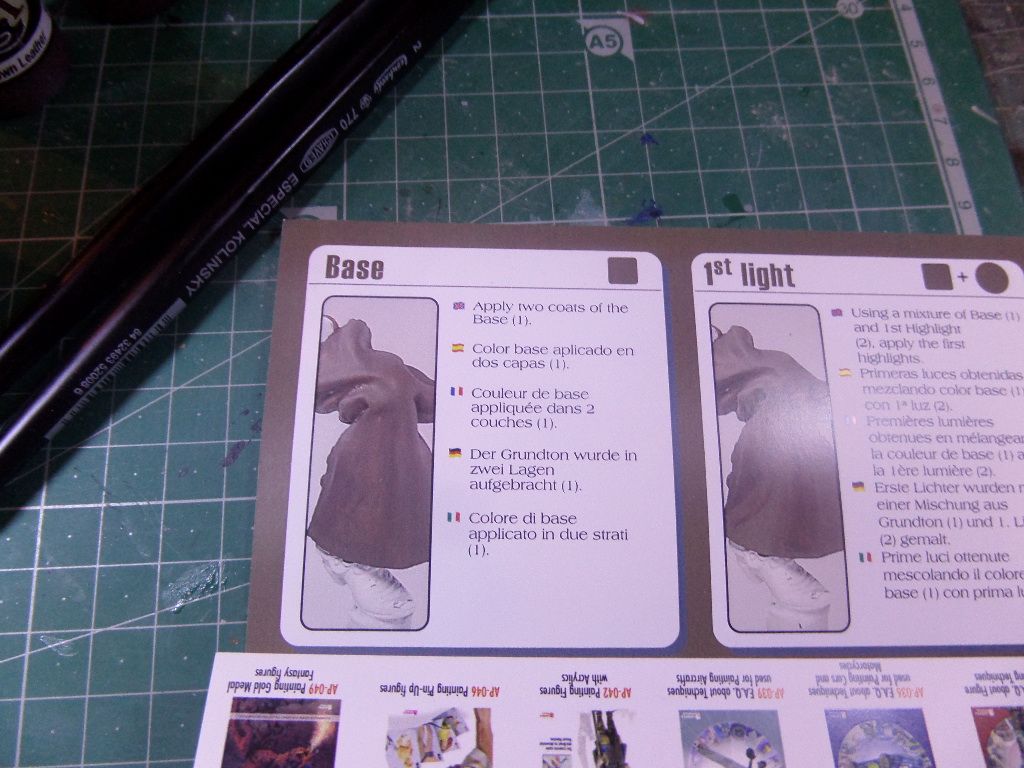
For all the leather from the jacket/armour I will use the Andrea Brown set ...this sets are easy to use as they already come with all the mixes for doing a base , highlights and shadows , and if you follow the instructions you could have some nice results
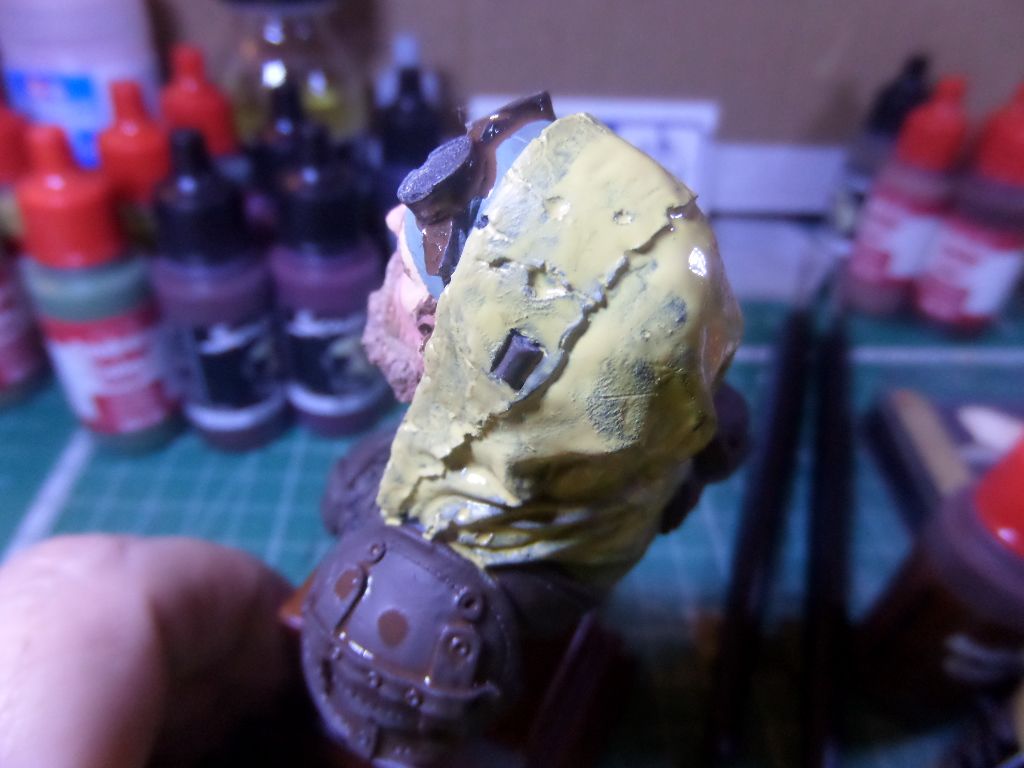
For the head cover decided to use this yellow colour
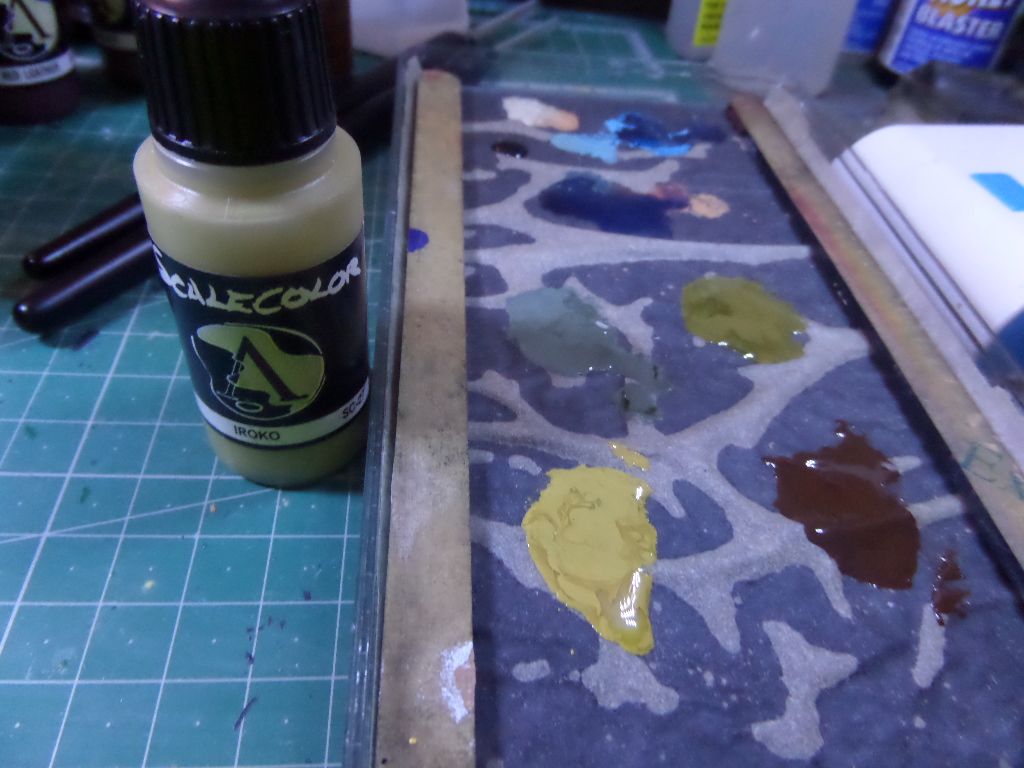
Here the colours apllied , also the brown base
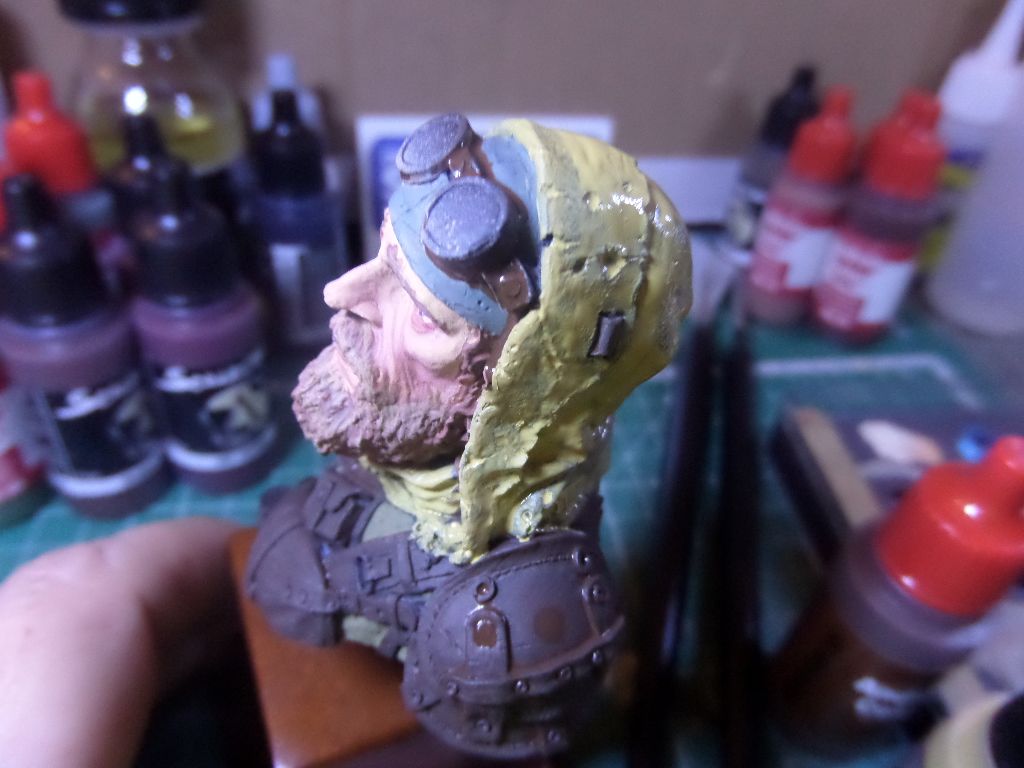
This yellow paint must be painted more than one or two times ...
Colours for the bracelet
For the lenses of the googles tried this one ...
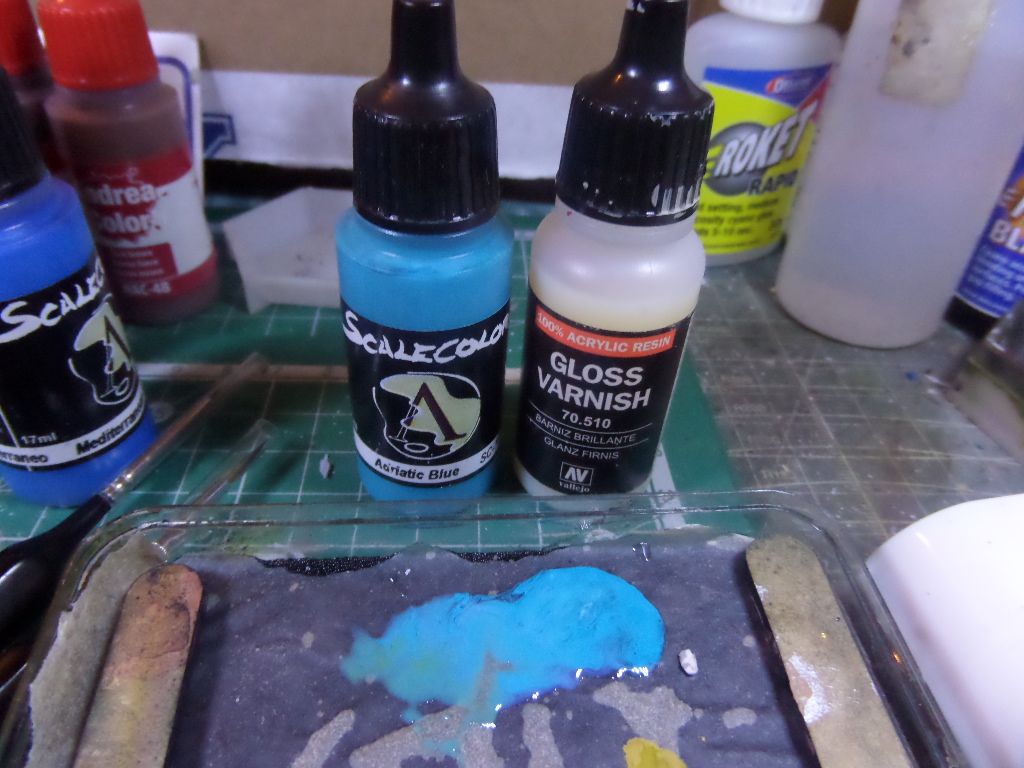
well ...think ok ...the blue mixed woth the gloss varnish give a little shine to the lenses
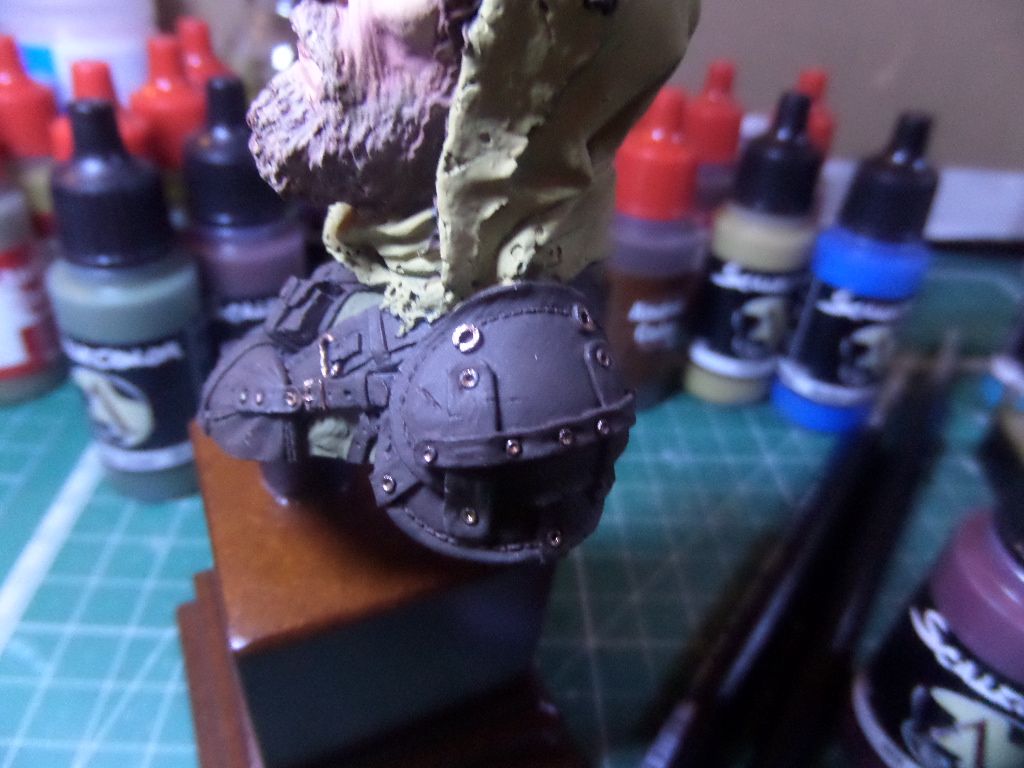
Red leather was used from some of the cloth ...and cooper for all mettalic stuff in the leather armour ...again here I did this a littel earliear ...
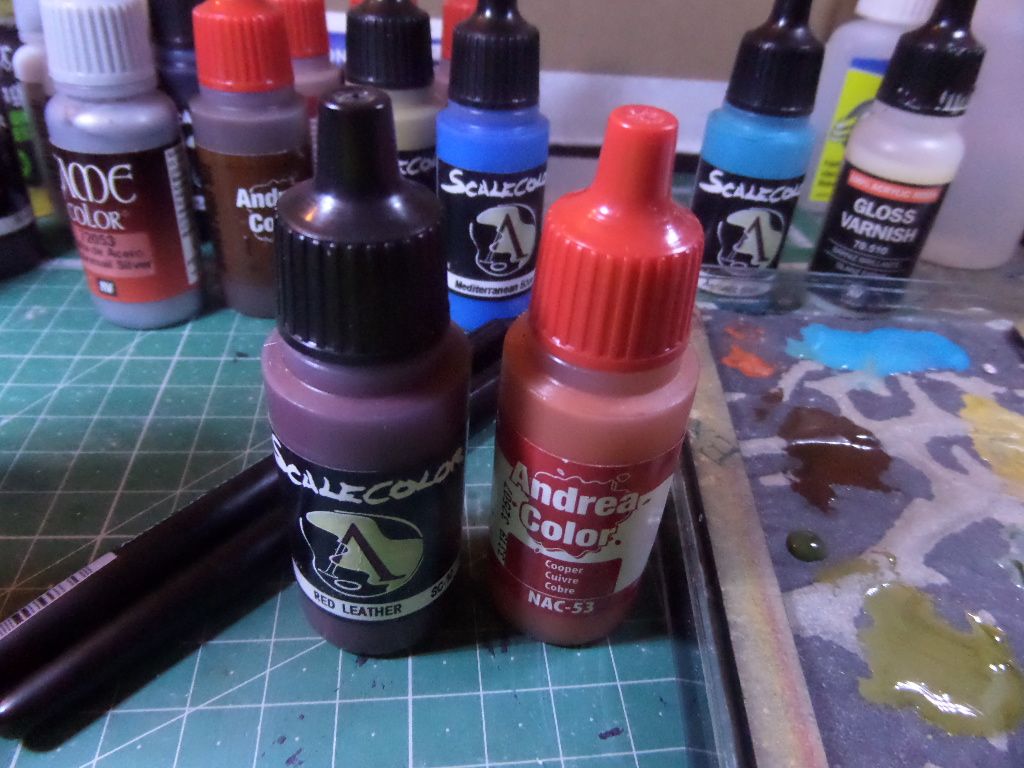
Red leather
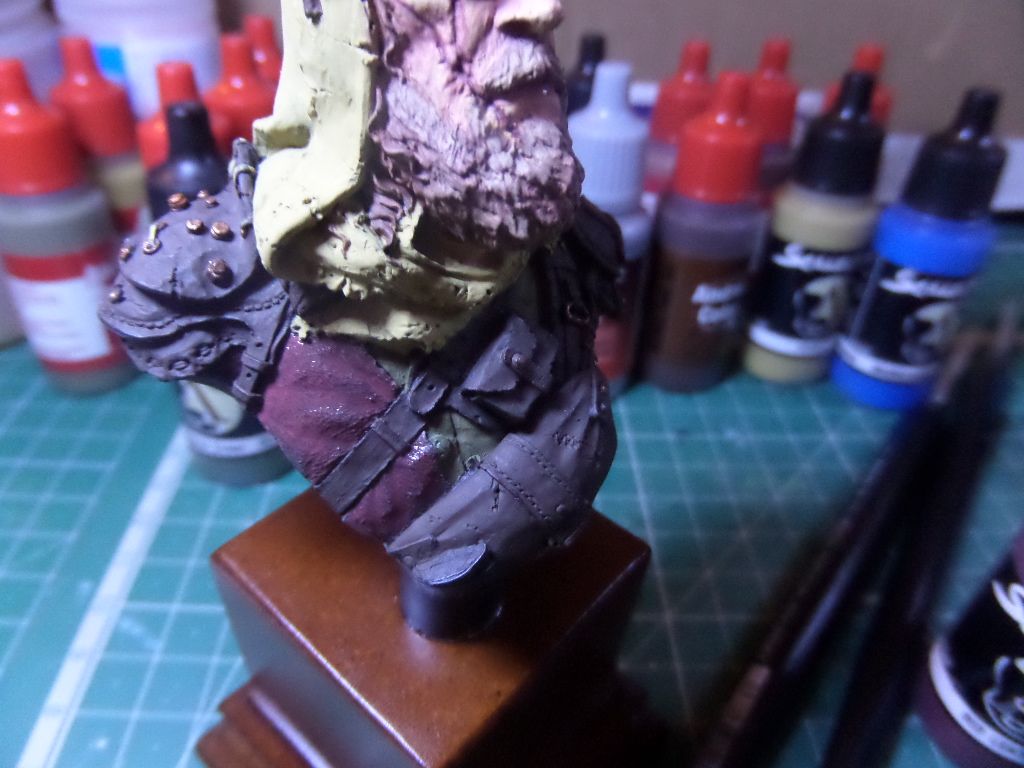
cooper in all mettalic aplications ...