Tamiya 1/35 WWI British Tank Mk.IV Male and WWI British Inf.
-
martin57
- Command Sergeant Major

- Posts: 897
- Joined: Tue Apr 01, 2014 8:44 pm
- Location: oundle, east northants.
Re: Tamiya 1/35 WWI British Tank Mk.IV Male and WWI British
good job so far , i like the look of this kit and i must admit i like the idea of it being motorized 
-
rodrant

- Chief Warrant Officer 2

- Posts: 1774
- Joined: Wed Feb 19, 2014 9:22 pm
- Location: Maia - Portugal

Re: Tamiya 1/35 WWI British Tank Mk.IV Male and WWI British
Thank you for watching and comment Martin , Yes I agree with you it would be nice to see the end result , still I guess that even with all these 'mechanical/electronic stuff' inside and that some arts must be 'open' to access these components doesn't help to make some realistic diorama , maybe ...let's see the end result , all snaps toghether easily so in the end perhaps there aren't too much gaps ,martin57 wrote:good job so far , i like the look of this kit and i must admit i like the idea of it being motorized
Cheers ,
António
On the Bench
a lot of stuff right now
António
On the Bench
a lot of stuff right now

-
rodrant
- Chief Warrant Officer 2
- Posts: 1774
- Joined: Wed Feb 19, 2014 9:22 pm
- Location: Maia - Portugal
Re: Tamiya 1/35 WWI British Tank Mk.IV Male and WWI British
Ok , time for another update on this build , promise that wouldn't take too much time today ... 
So Next step
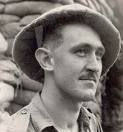
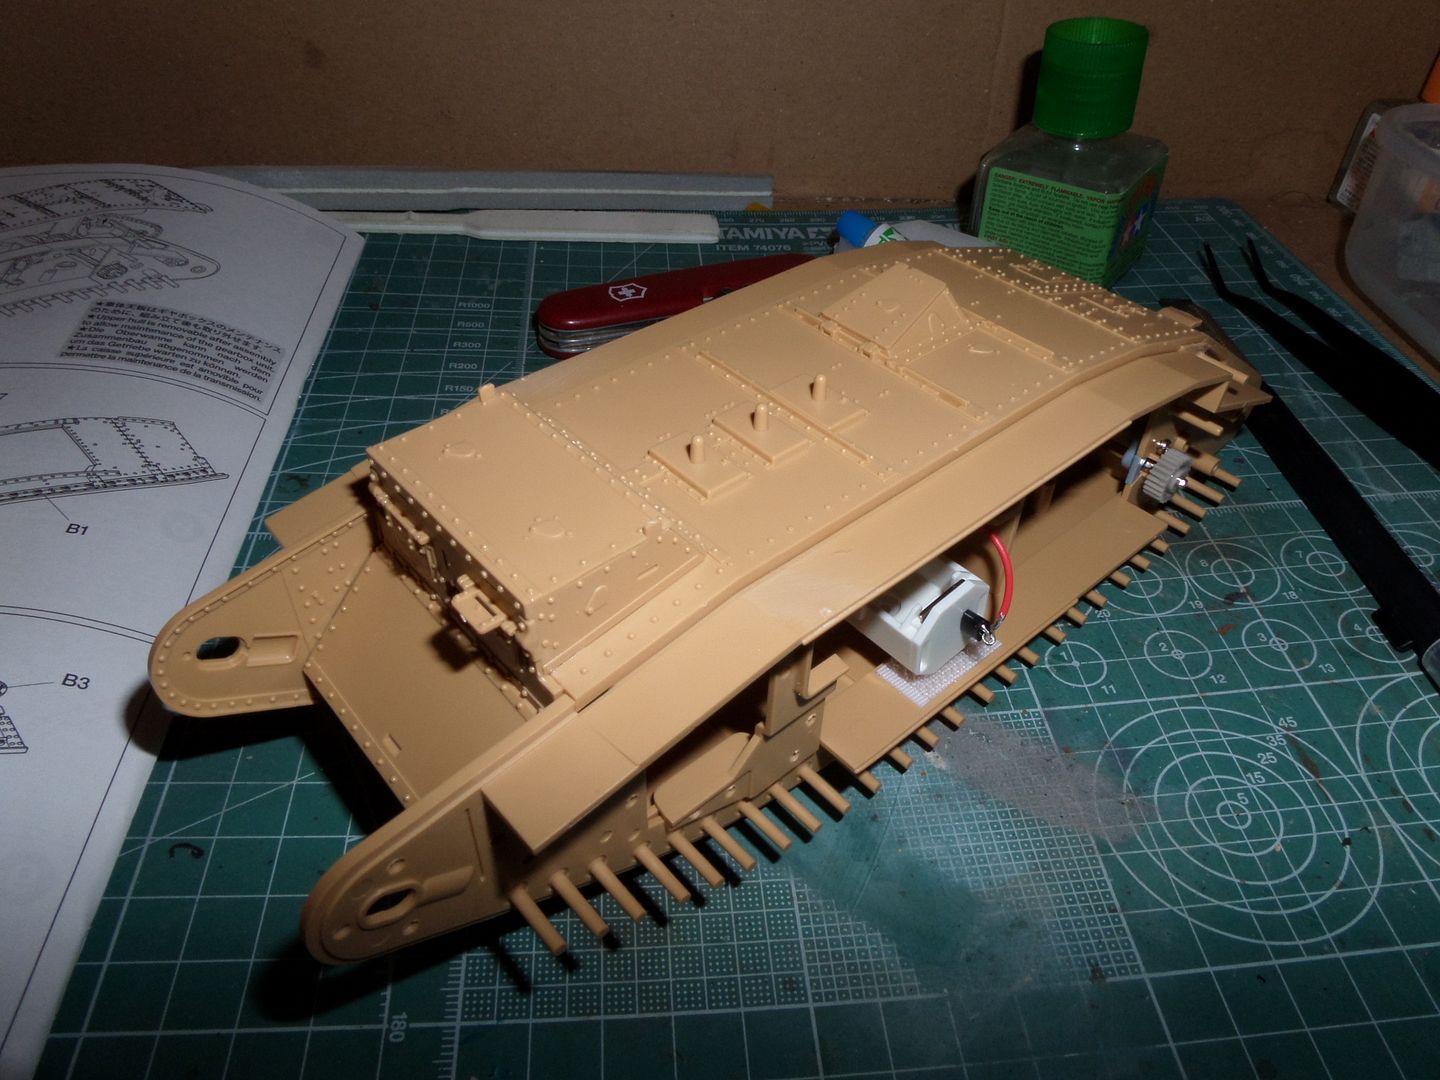
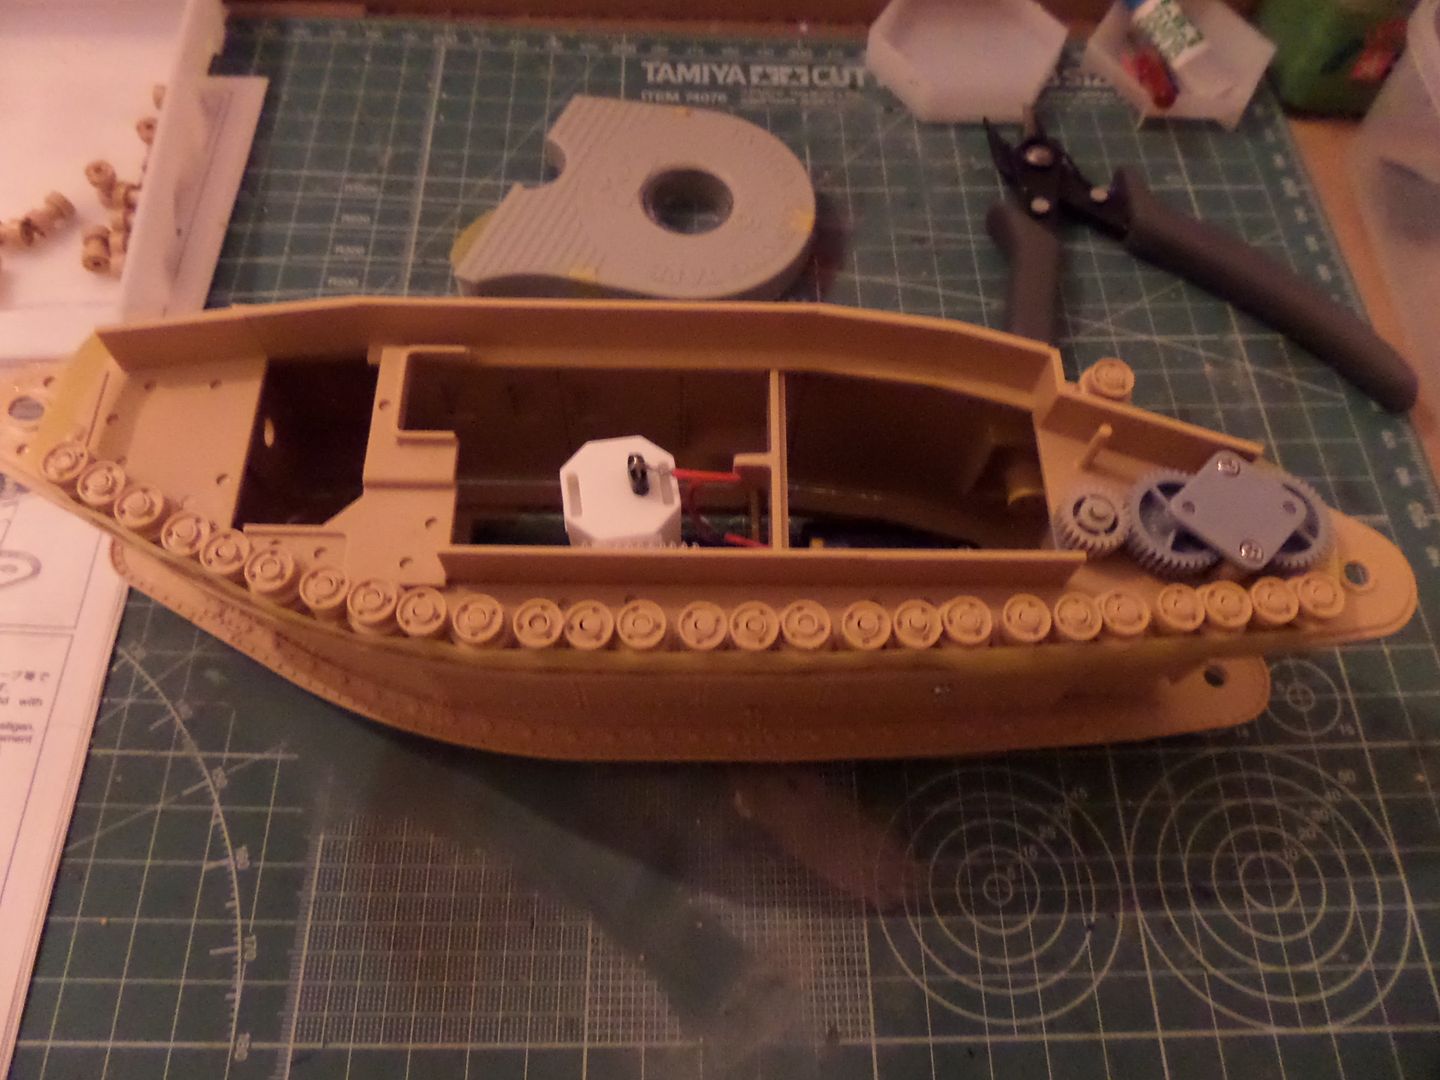
I placed the battery container :
Some velcro given to make the fixation and to remove it when necessary
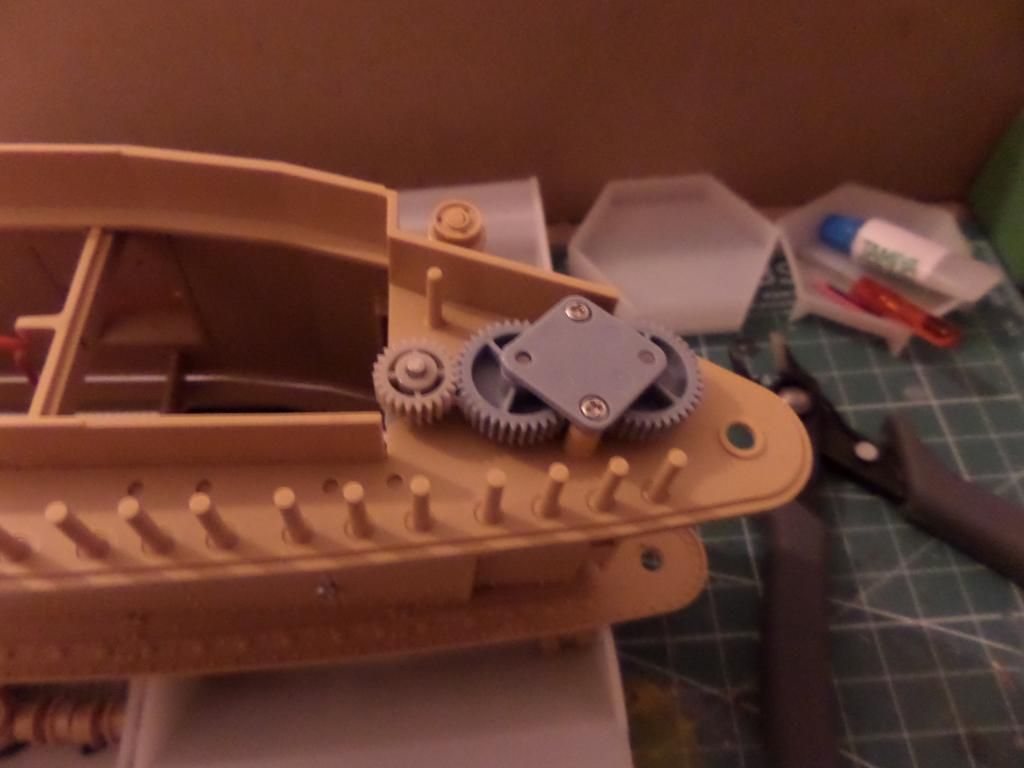
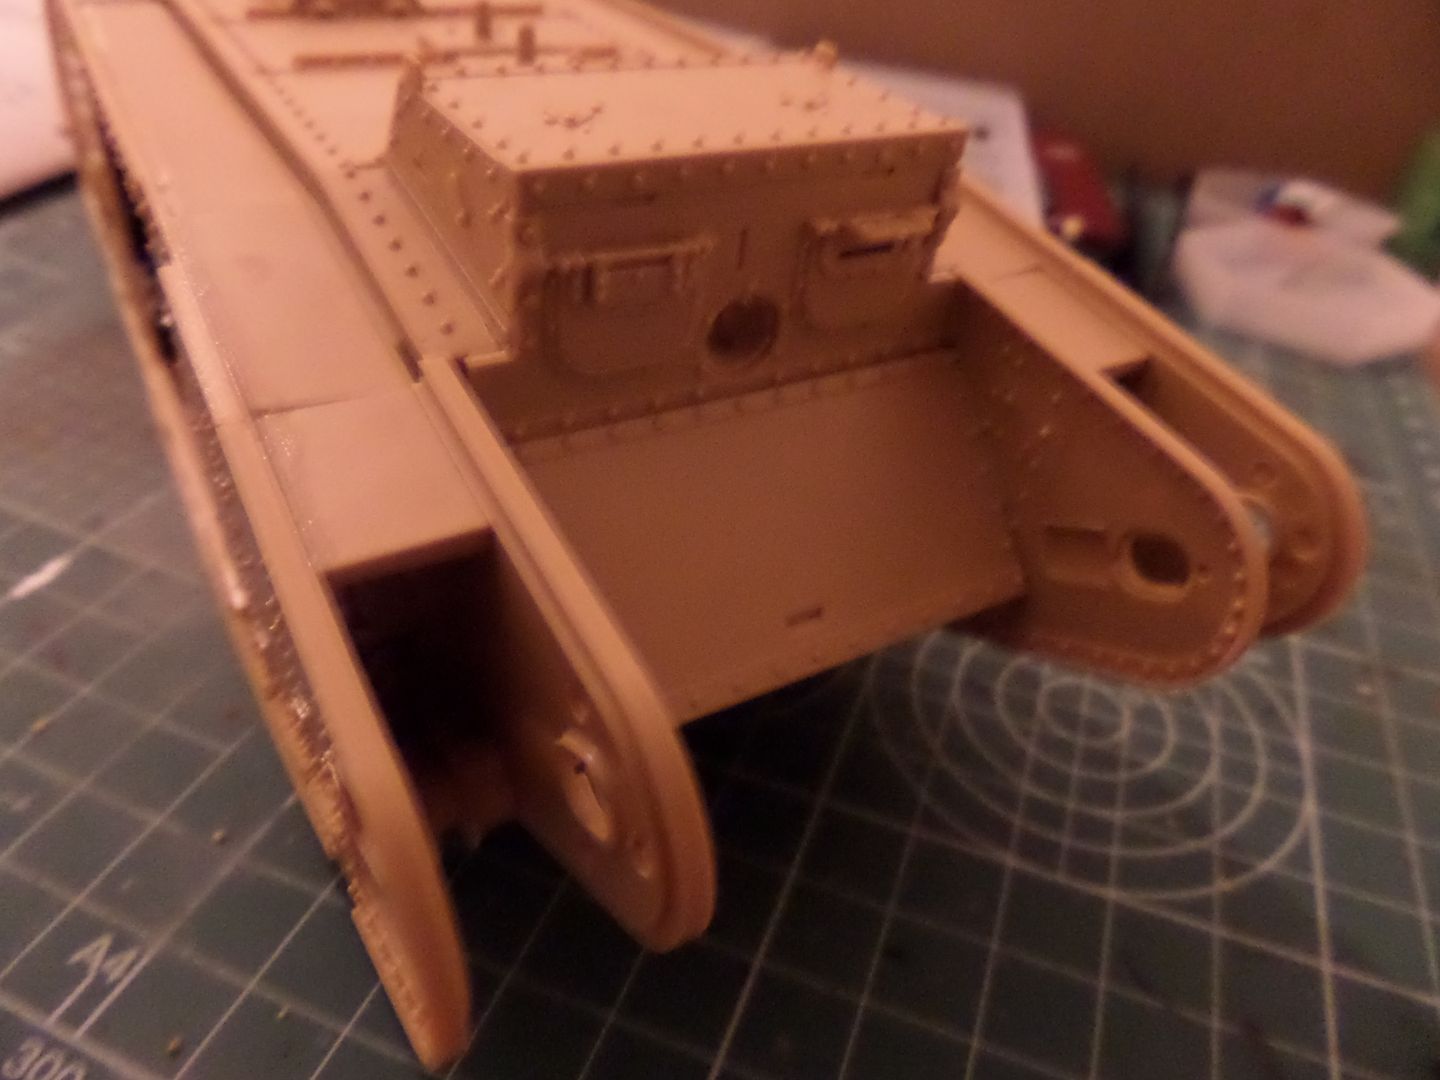
At this point also should start to place the tank structure :

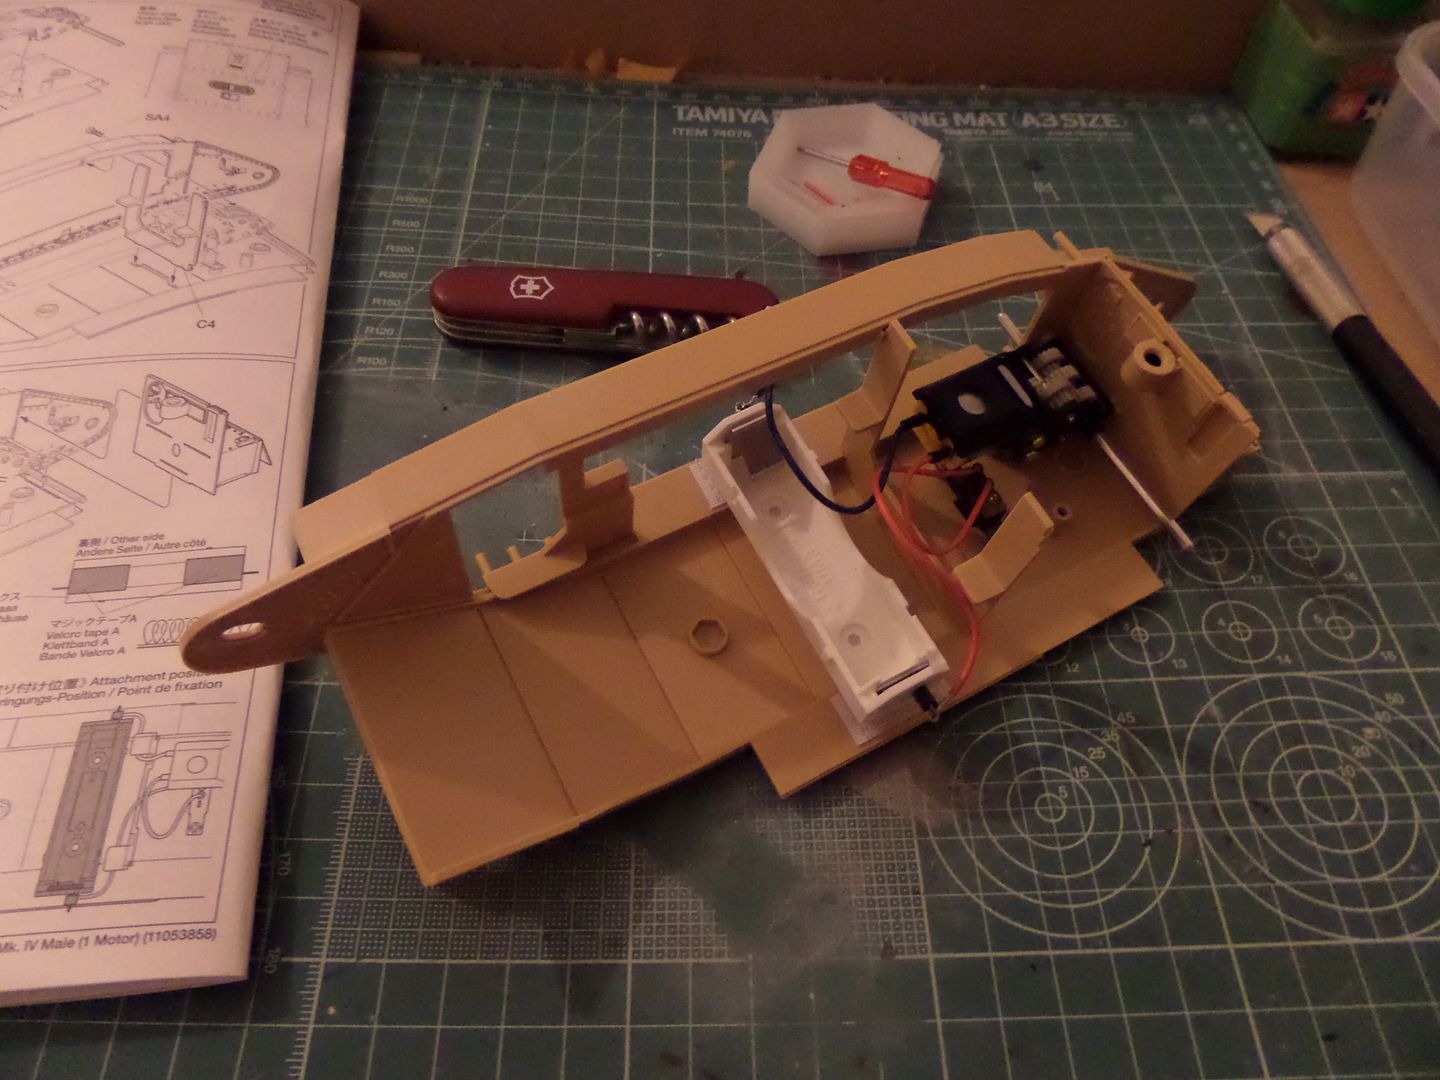
Time to put the left structure and start to placing the rear gear wheels
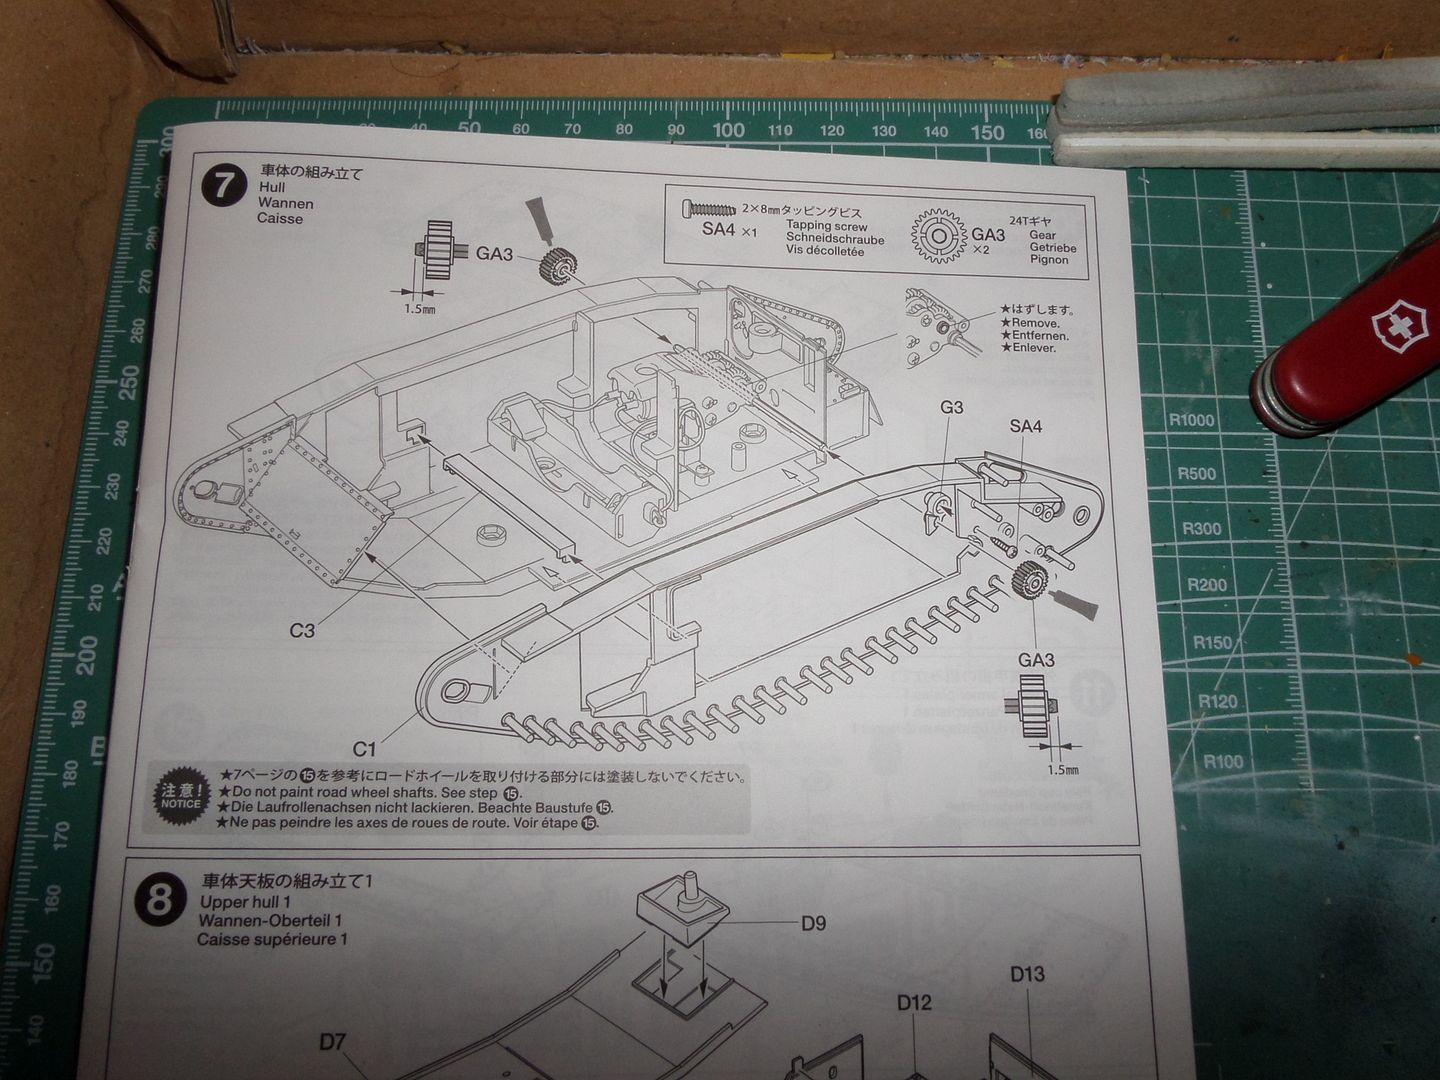
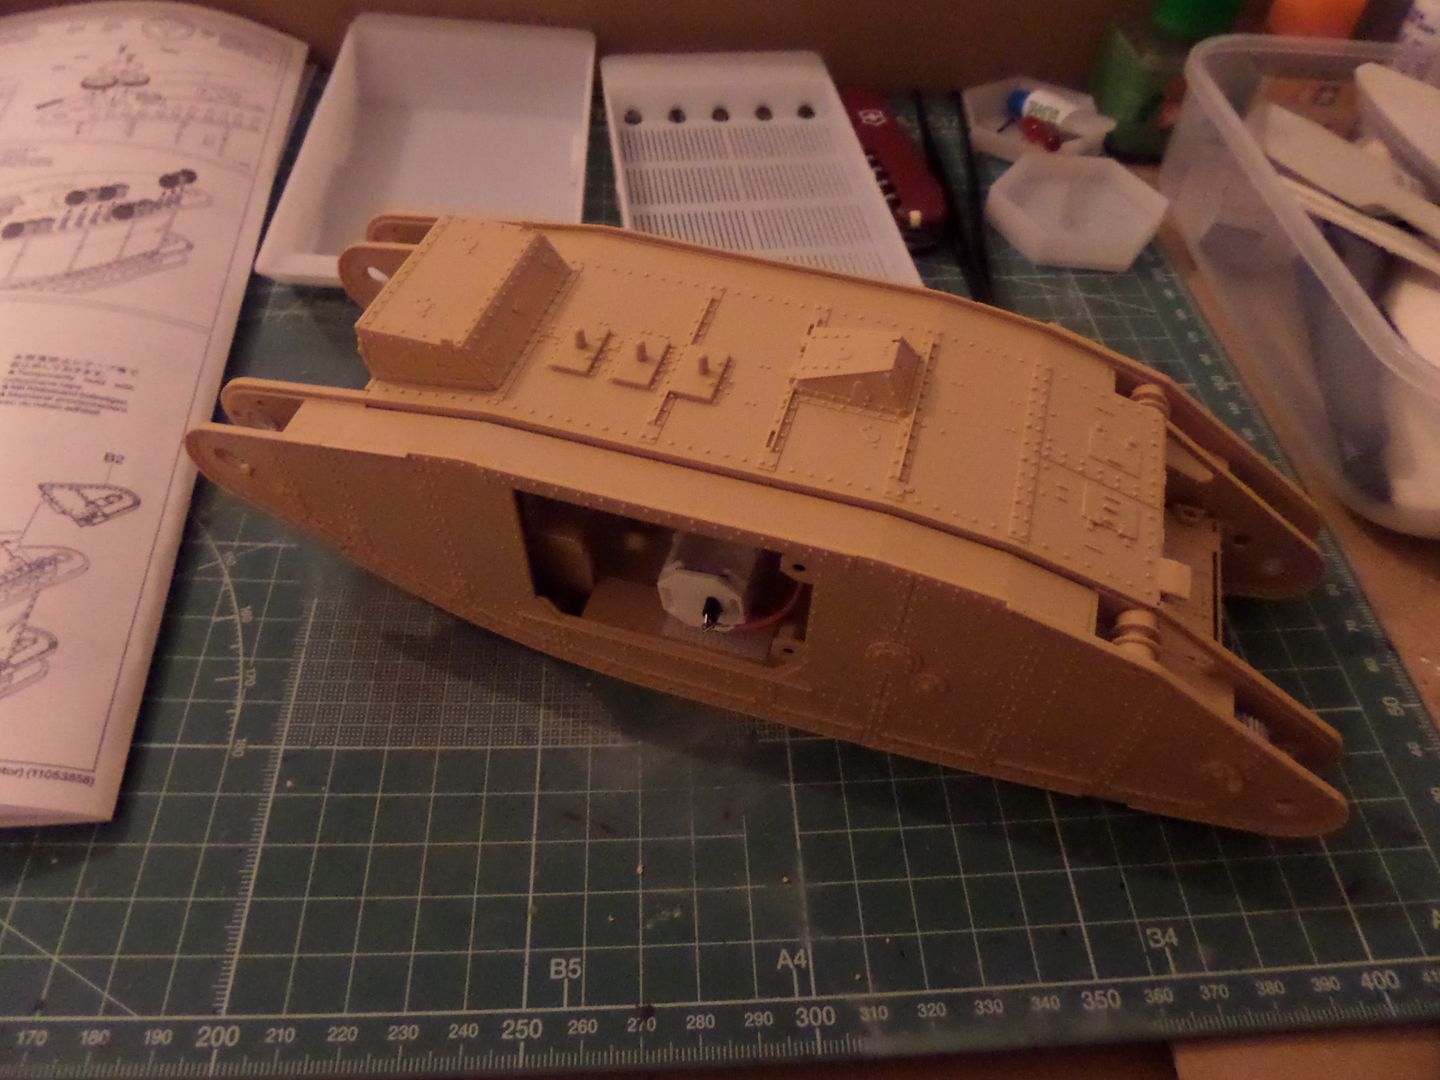
Following structure , up cover and tank driver cabin
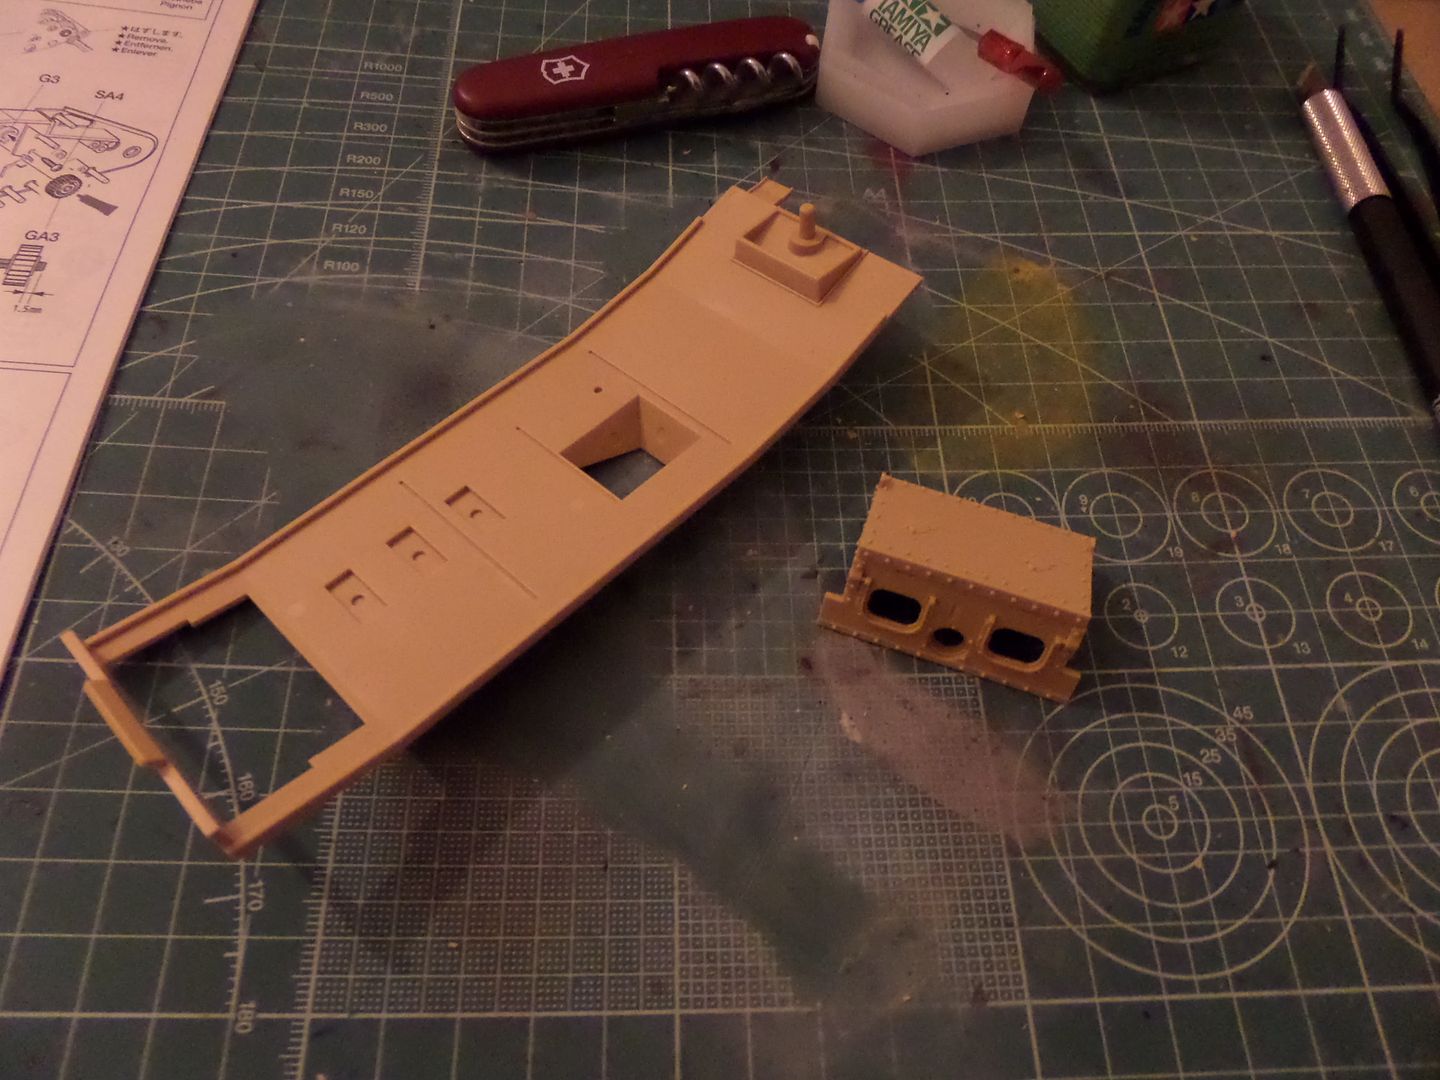
In this point some carefull gluing this , only carefull because all fits nicely , attention needed to checking right positioning of lateral covers on cabin :
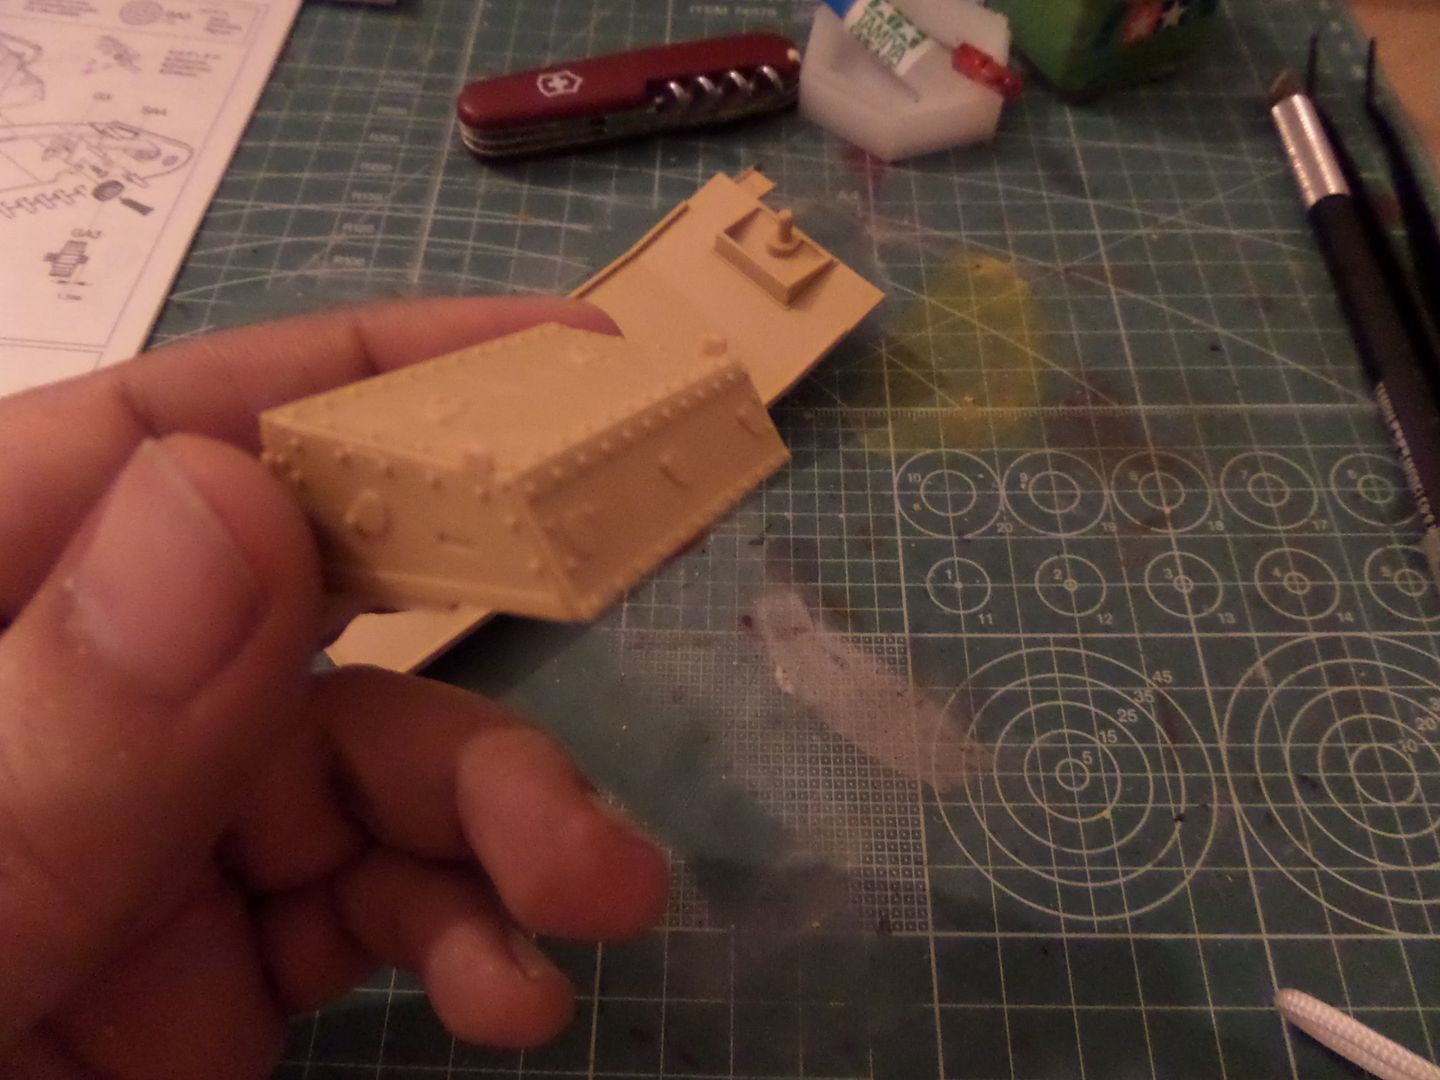
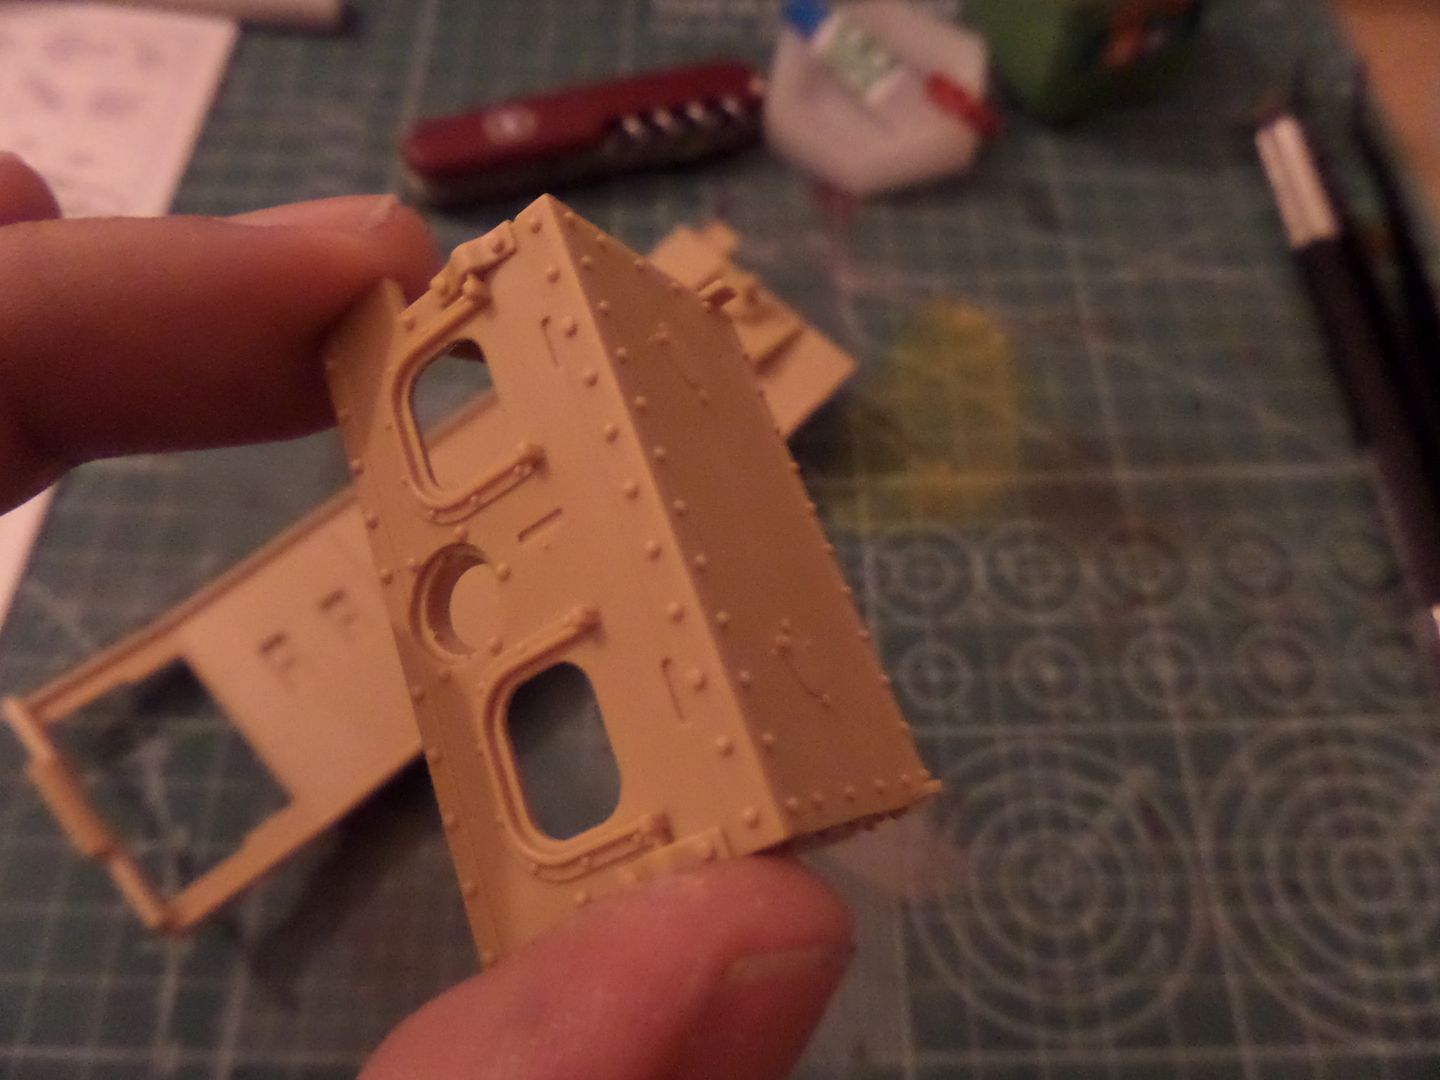
Getting to be similar with a MArk IV tank ...not the most beautifull thing made , but...
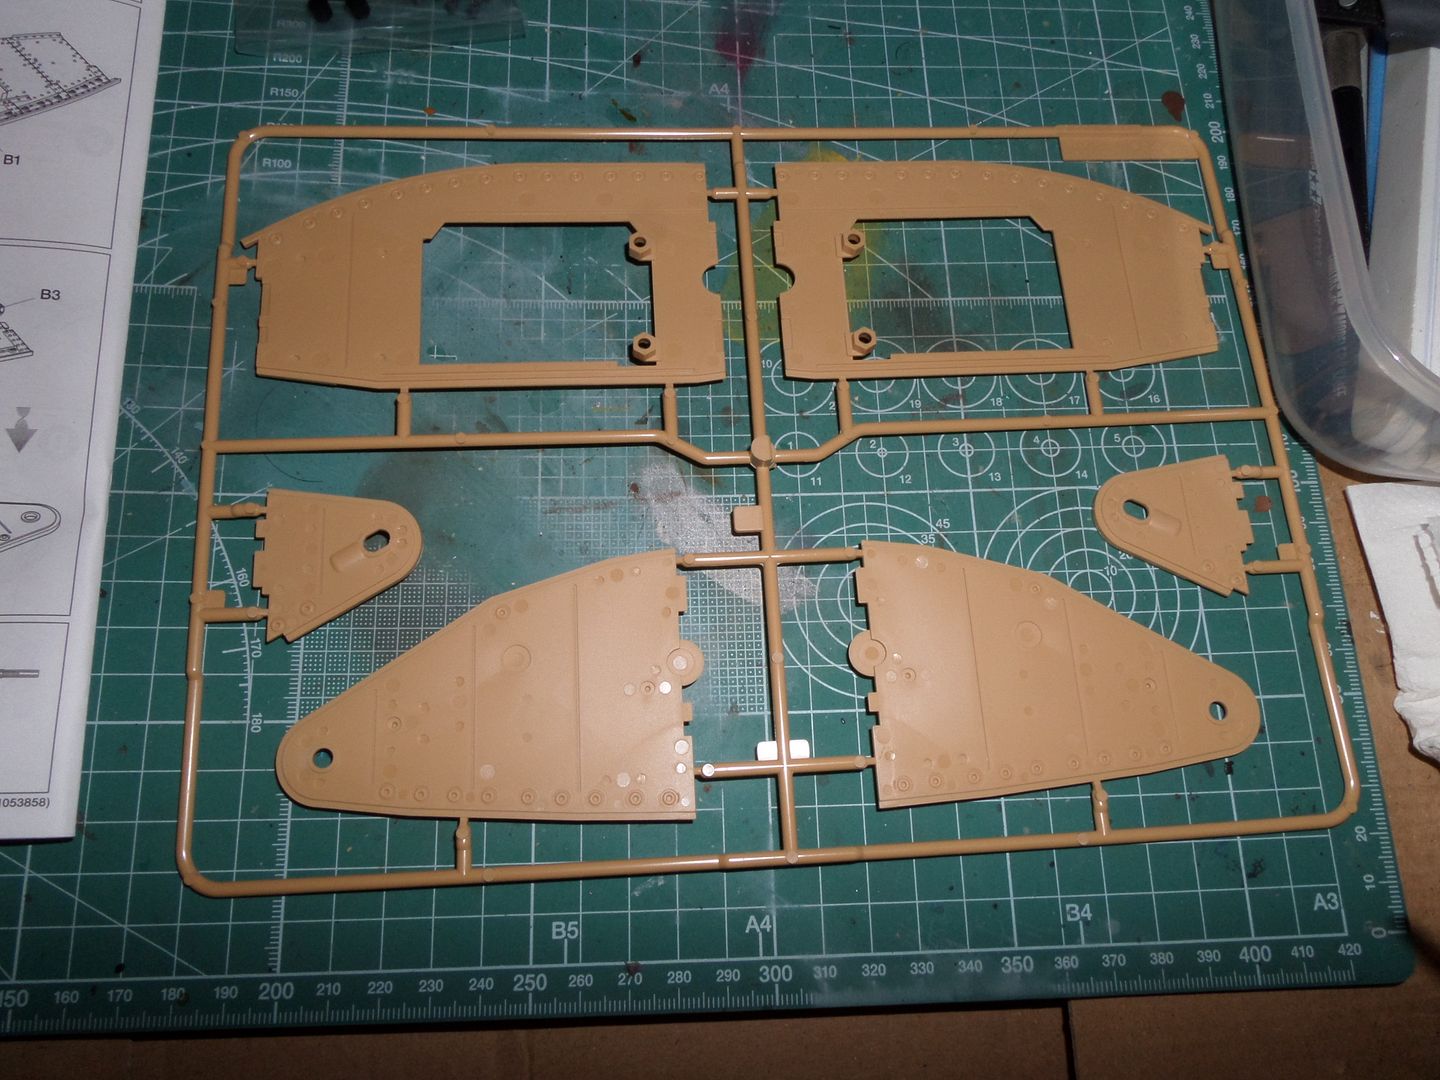
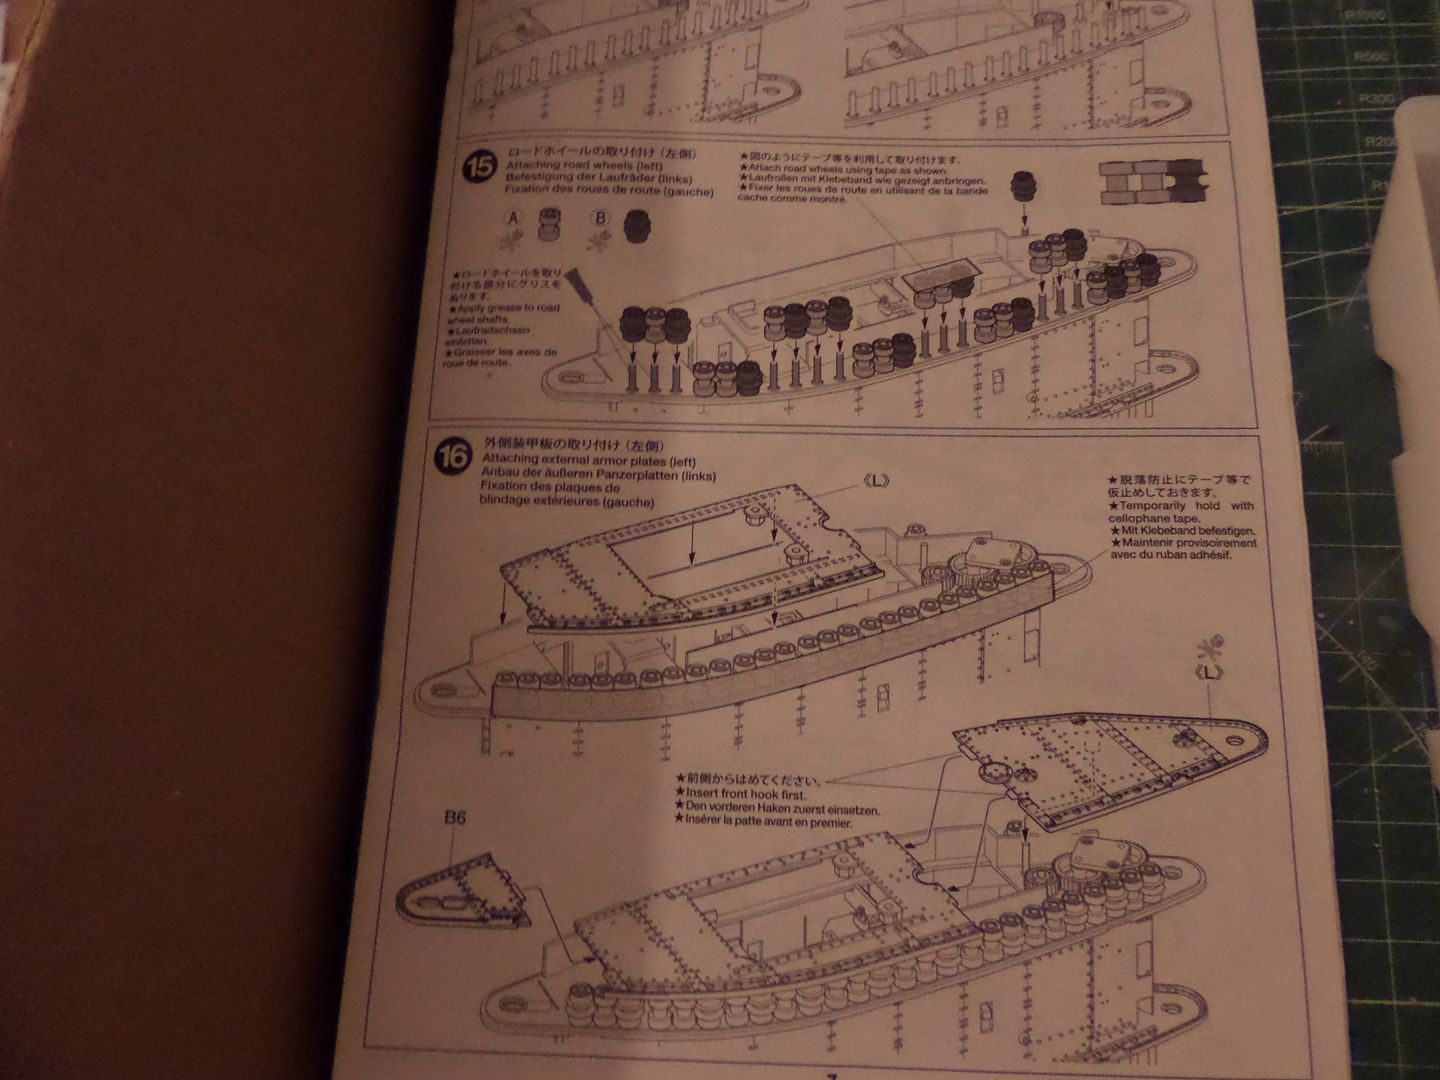
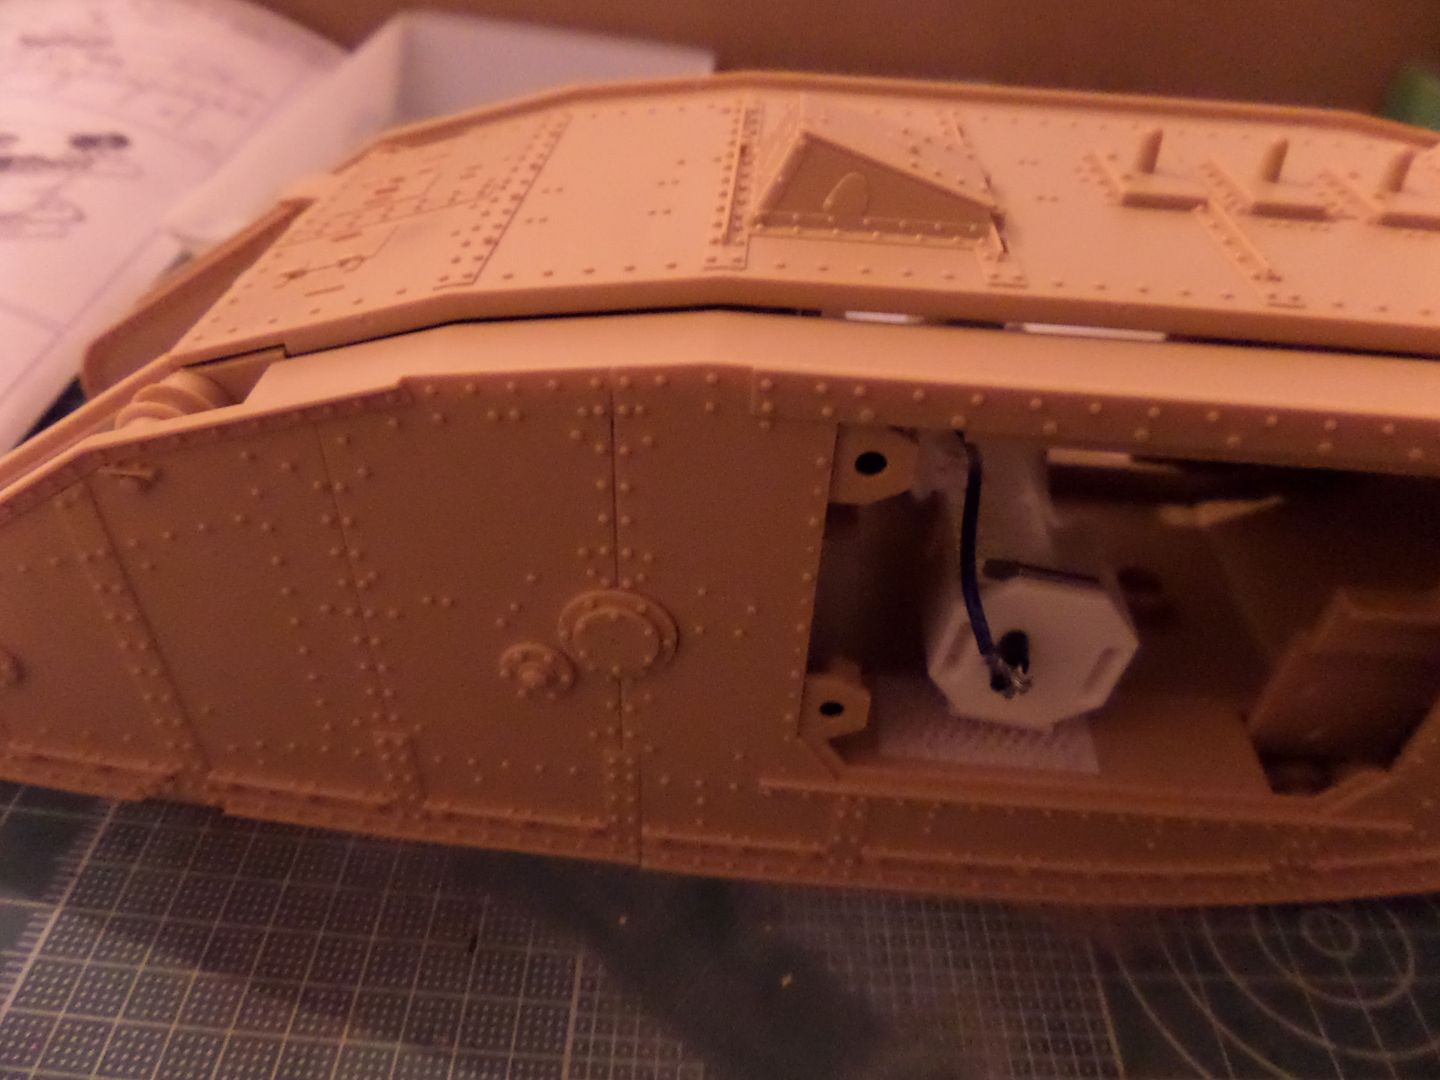
External armor plates :
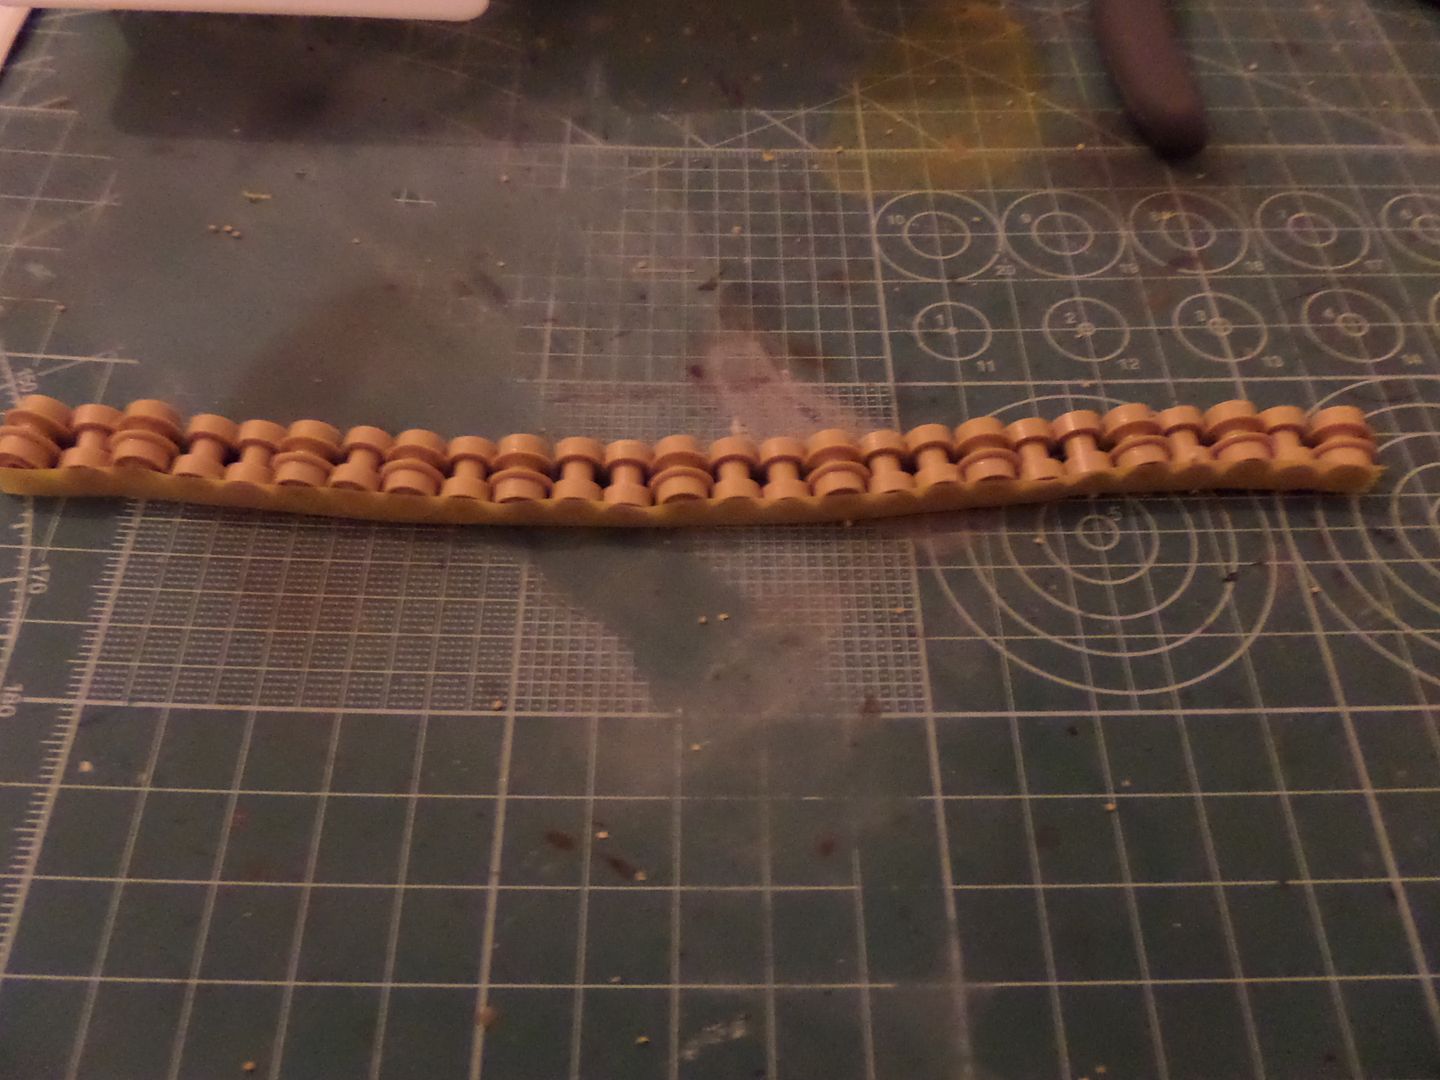
But first wheels, wheels , wheels
A bunch of wheels , but all fits nicely , be carefull with matching each other as instructions, it goes nicely ....
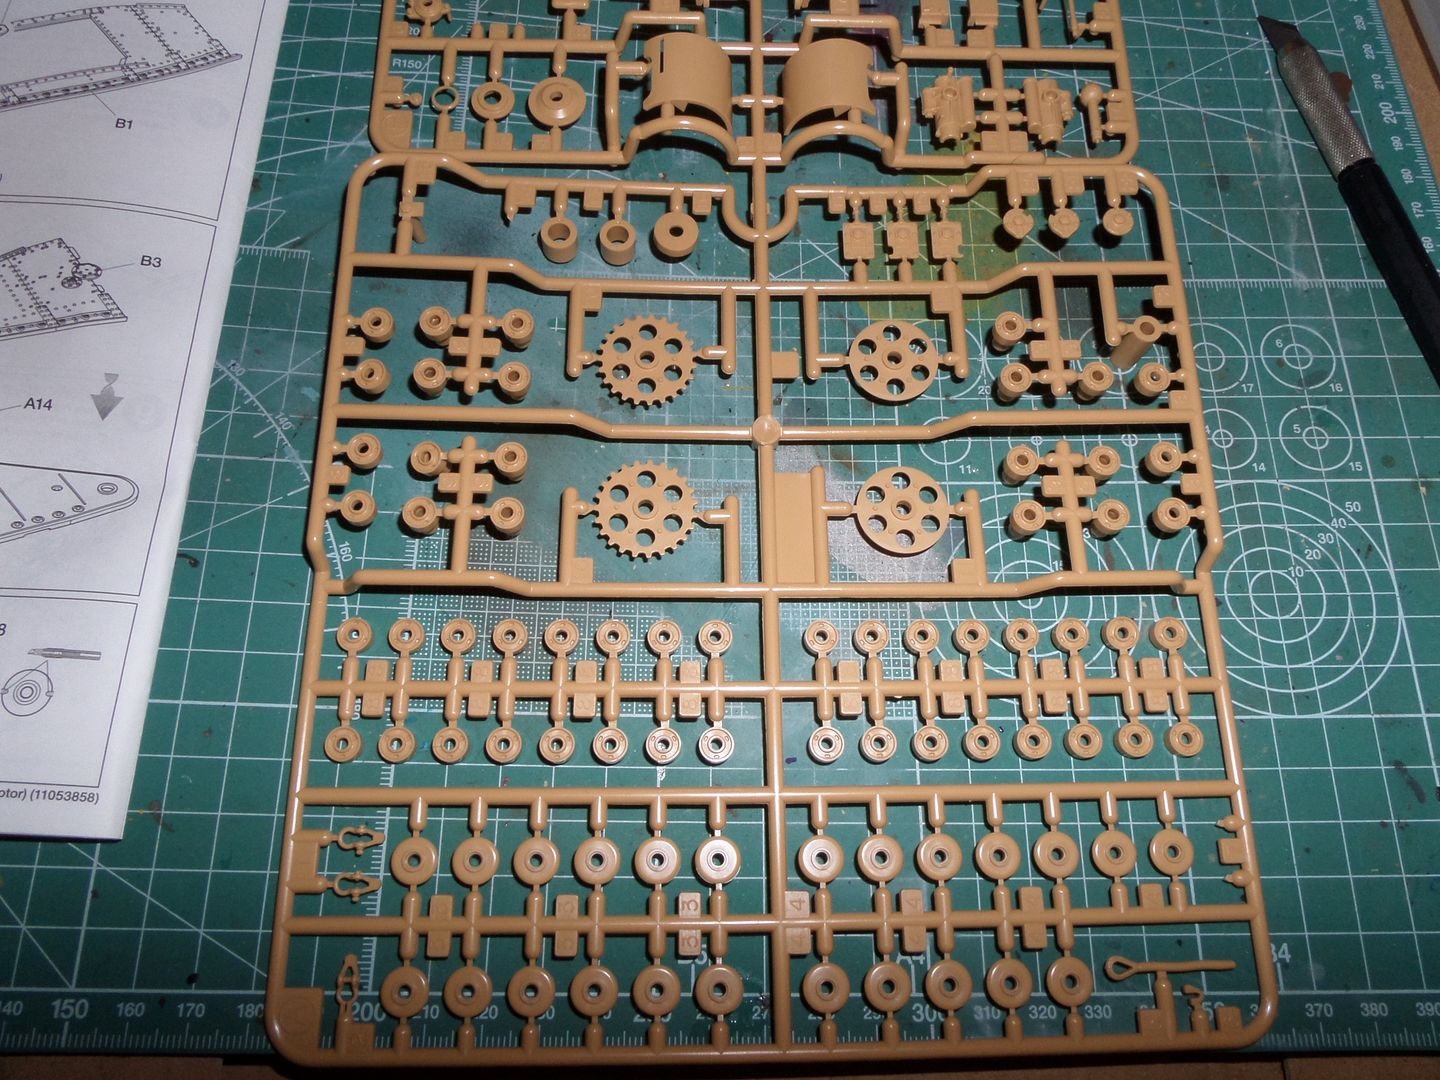
30 sets of this :
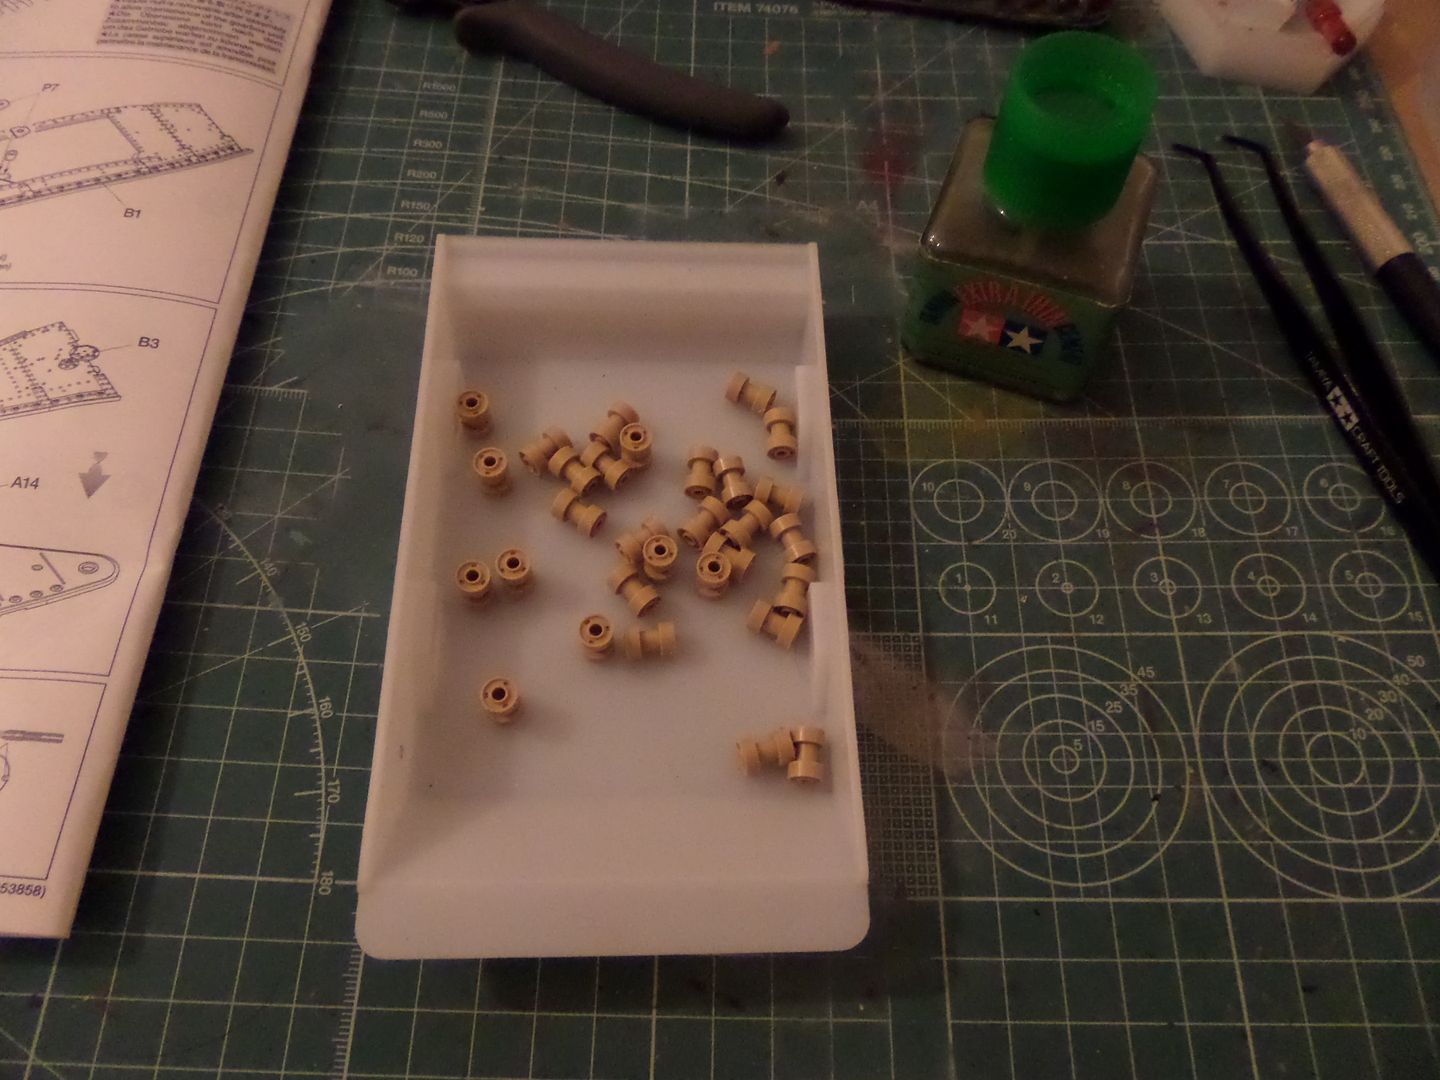
Plus 24 setsof this (this has 4 different pieces each set ...)
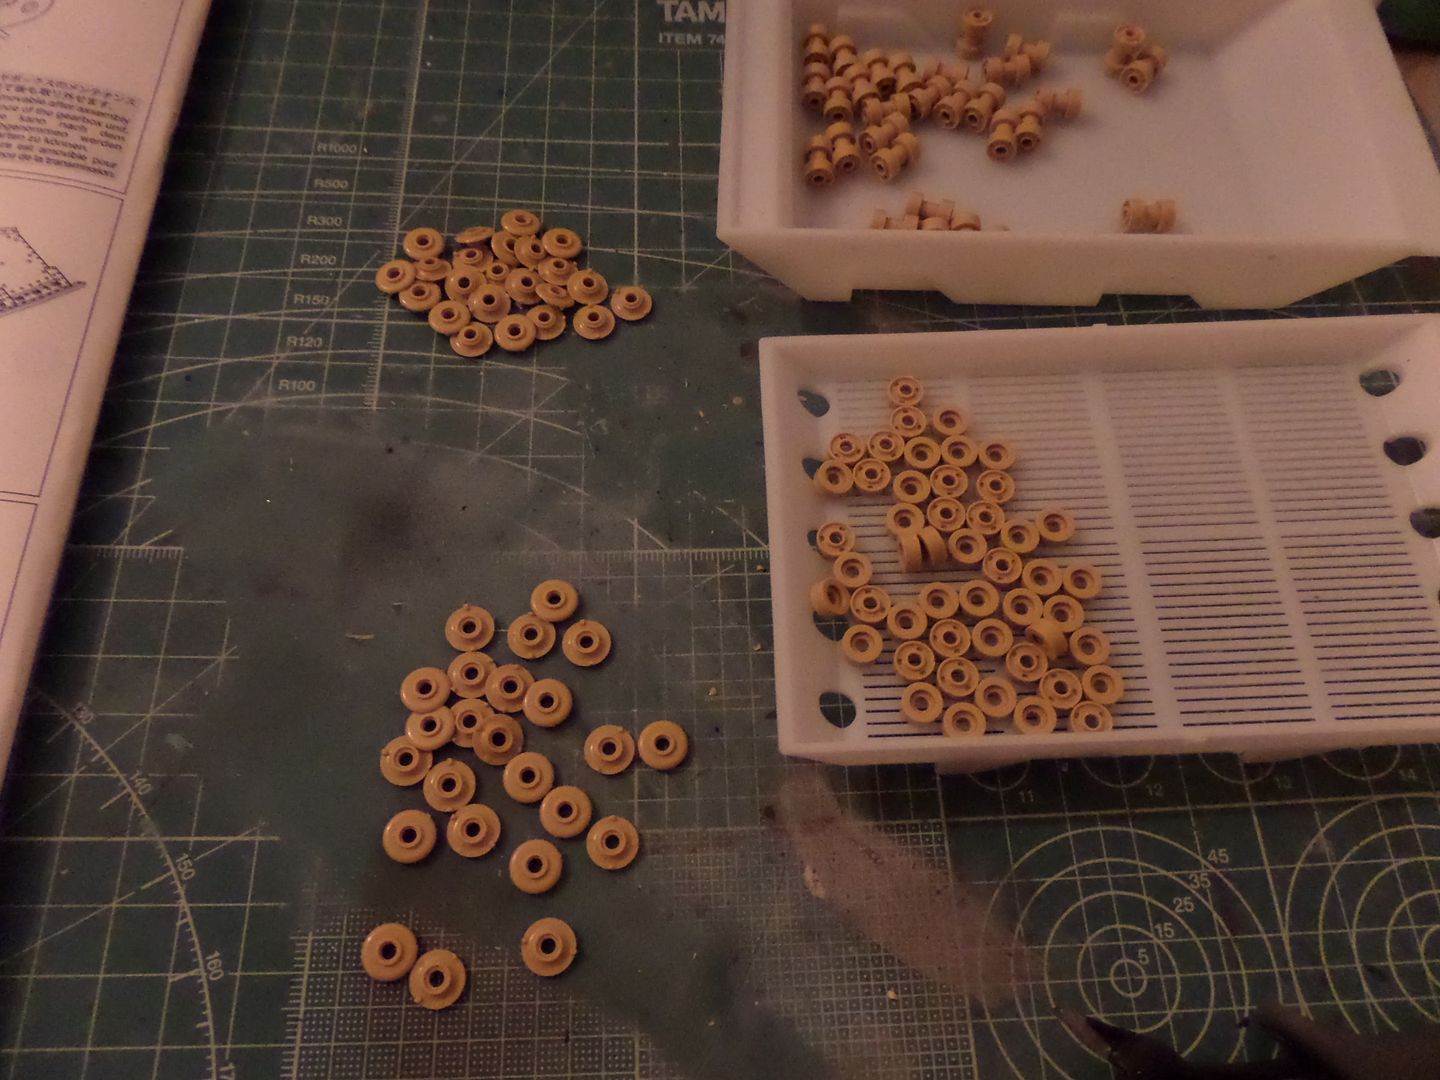
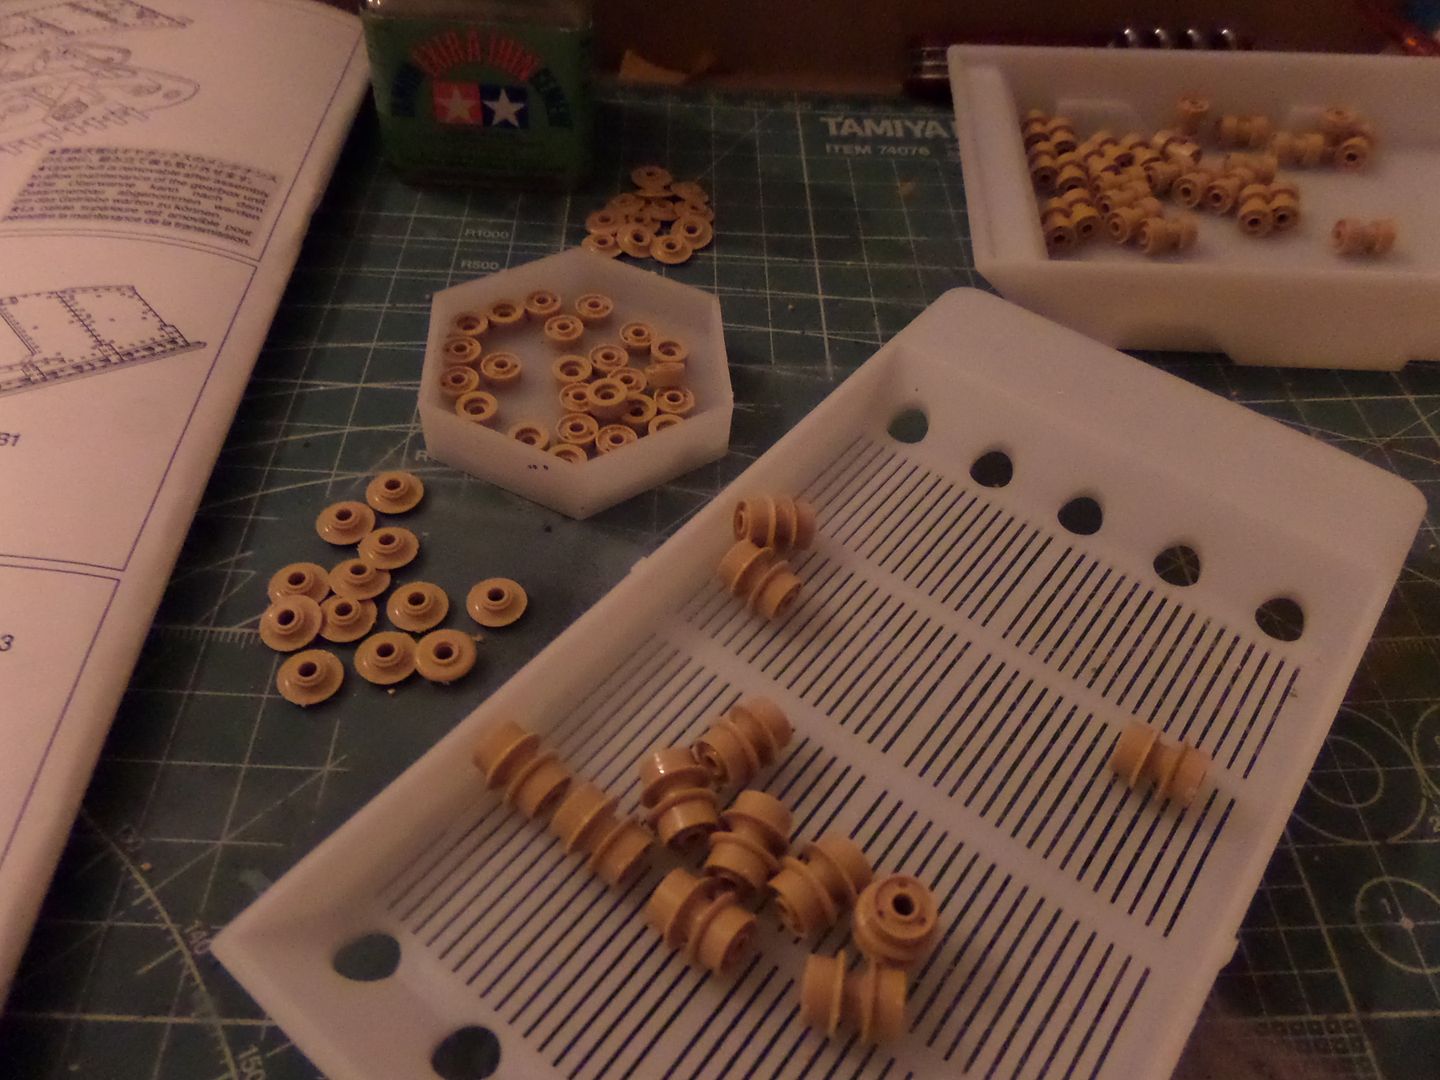
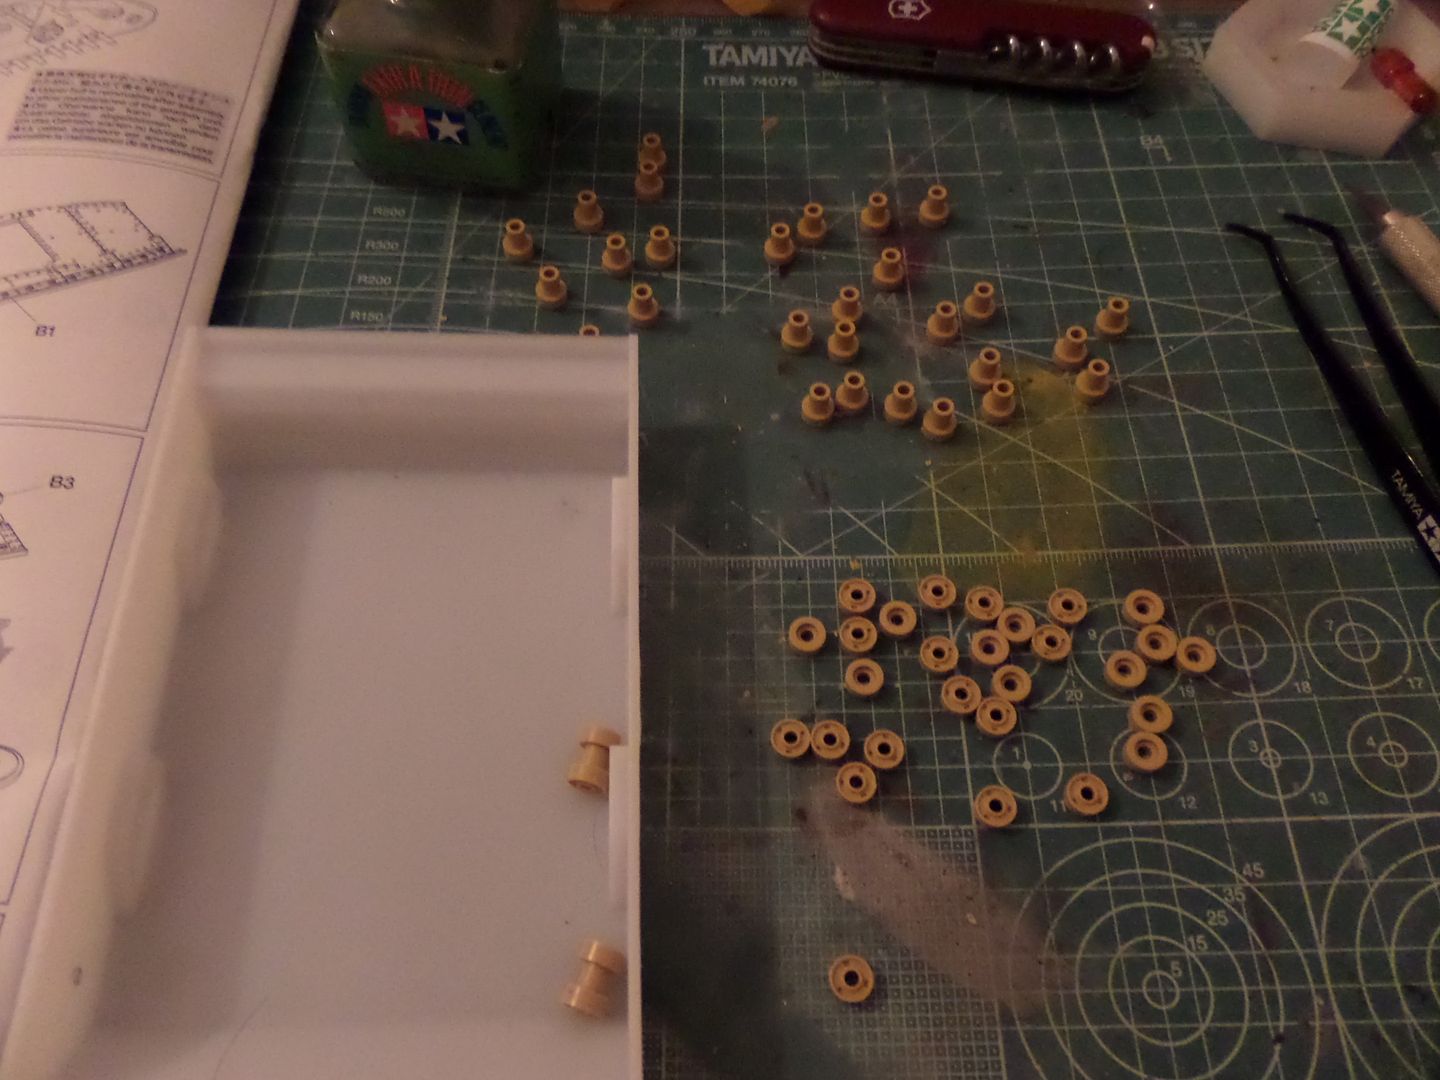
All done (took me some time ...) :
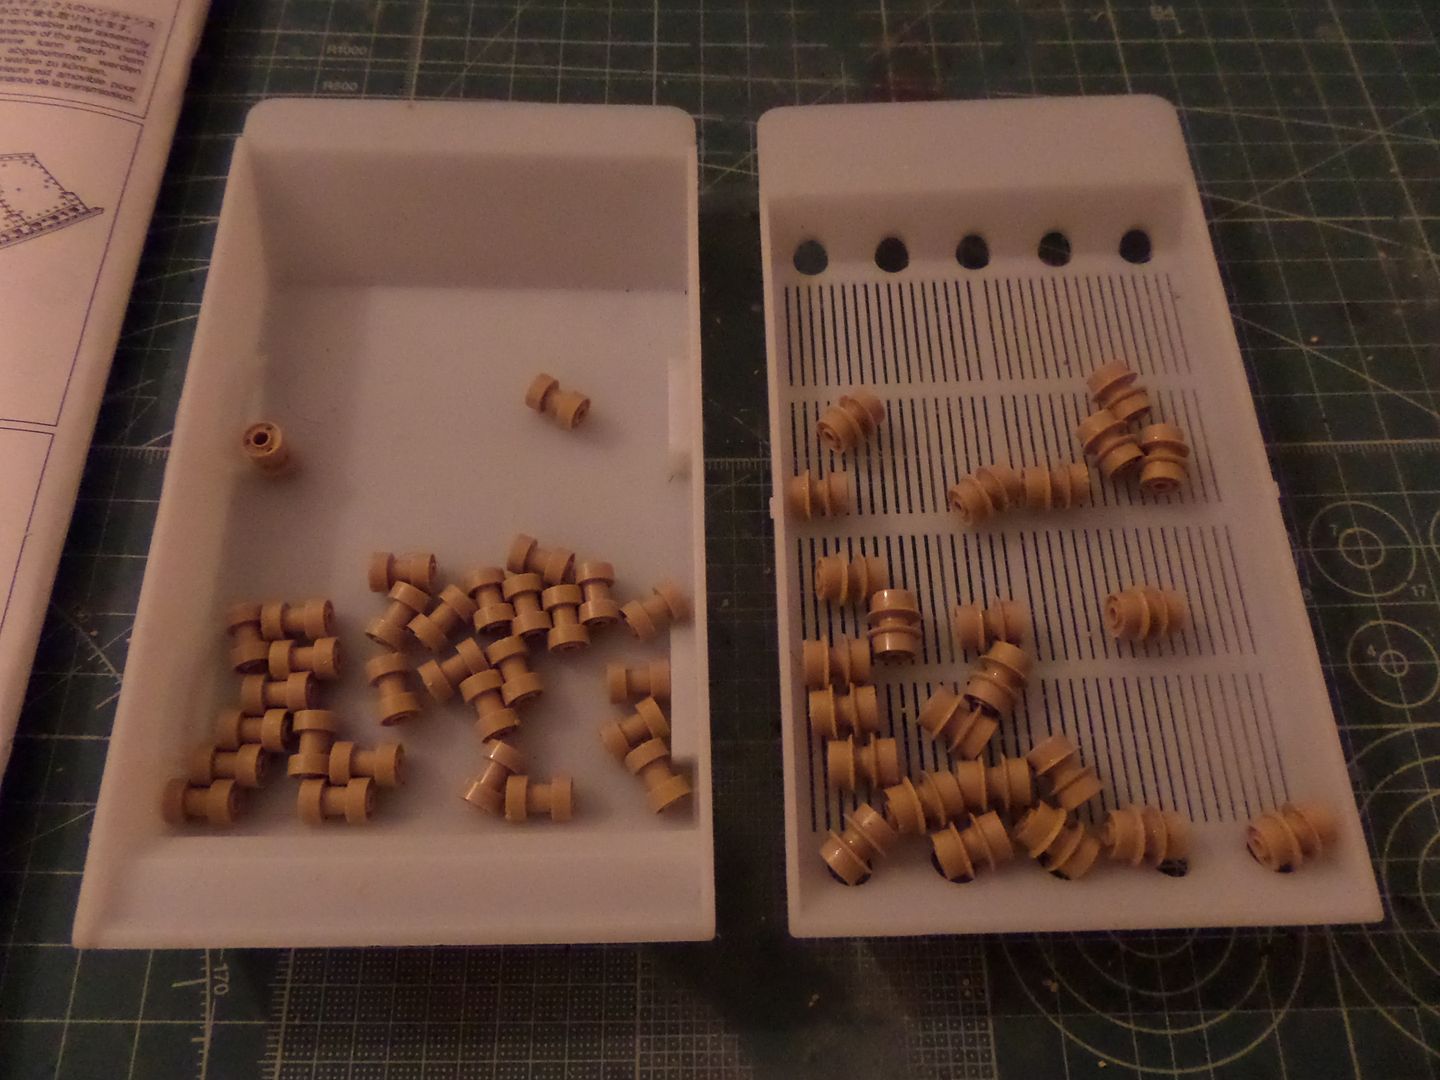
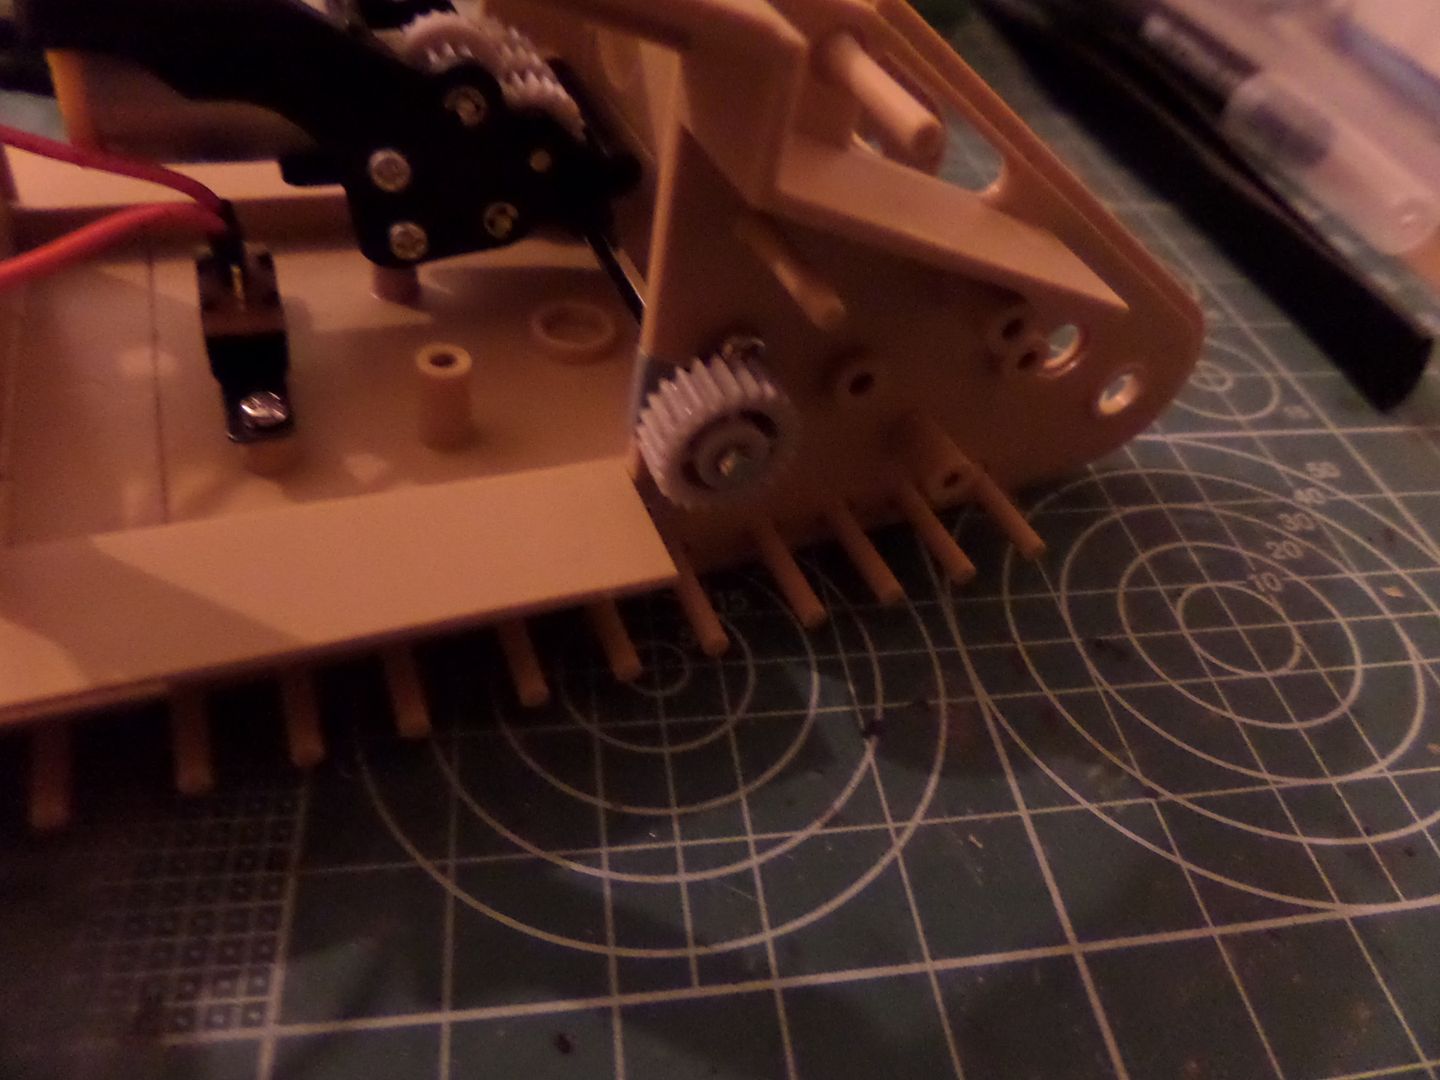
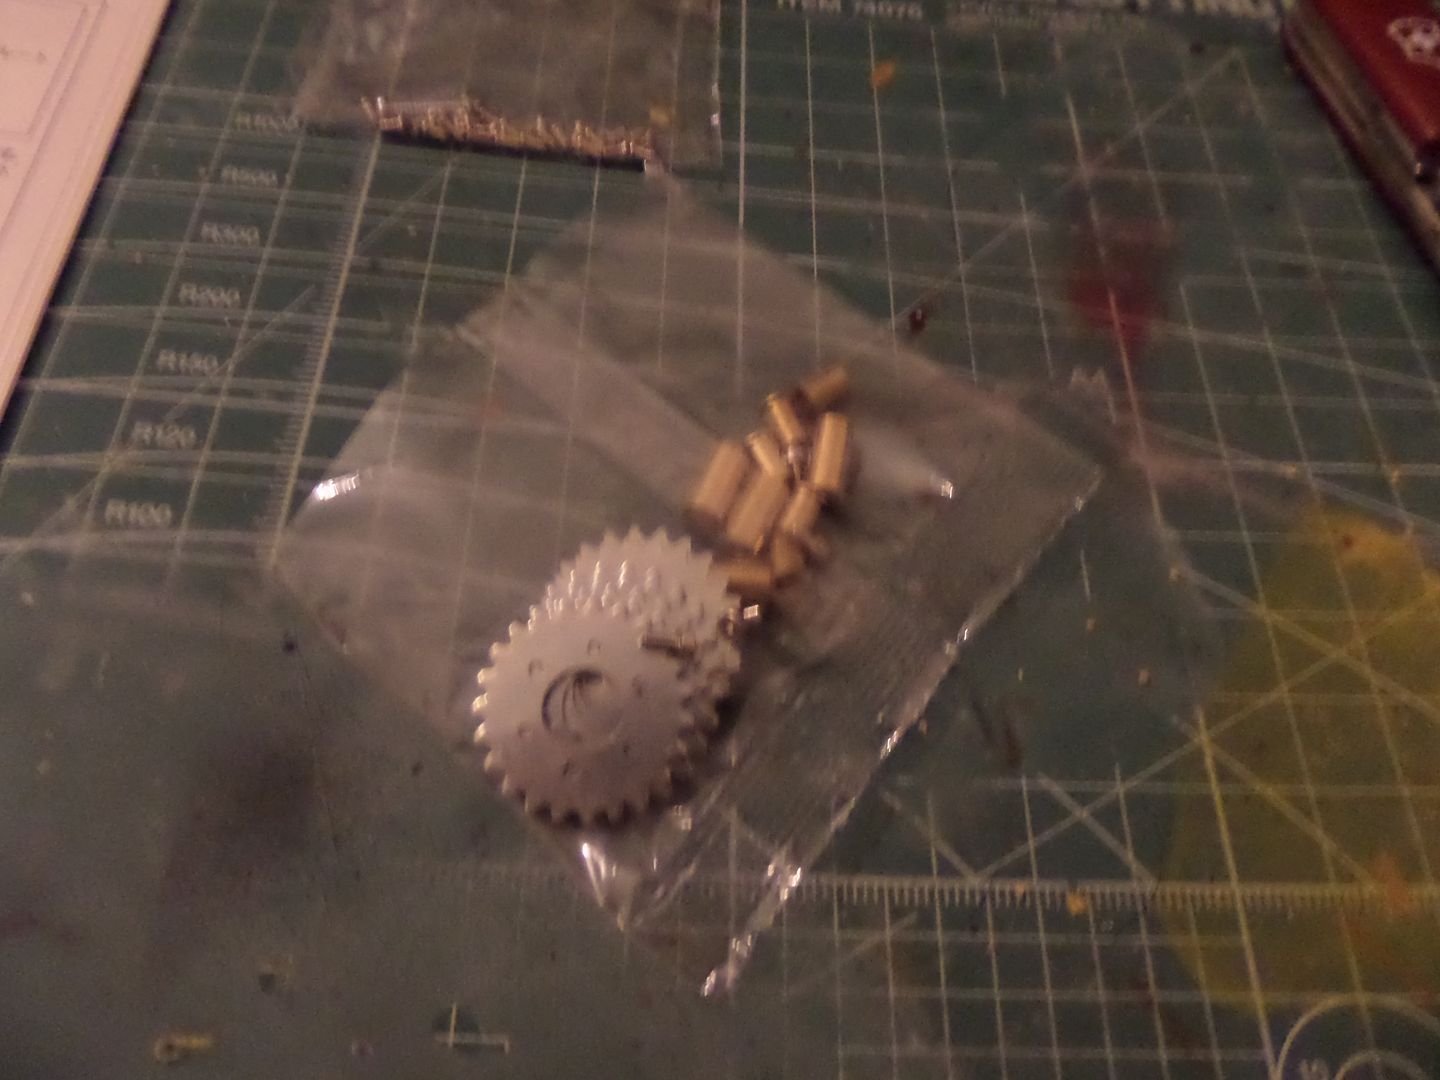
More gears to place
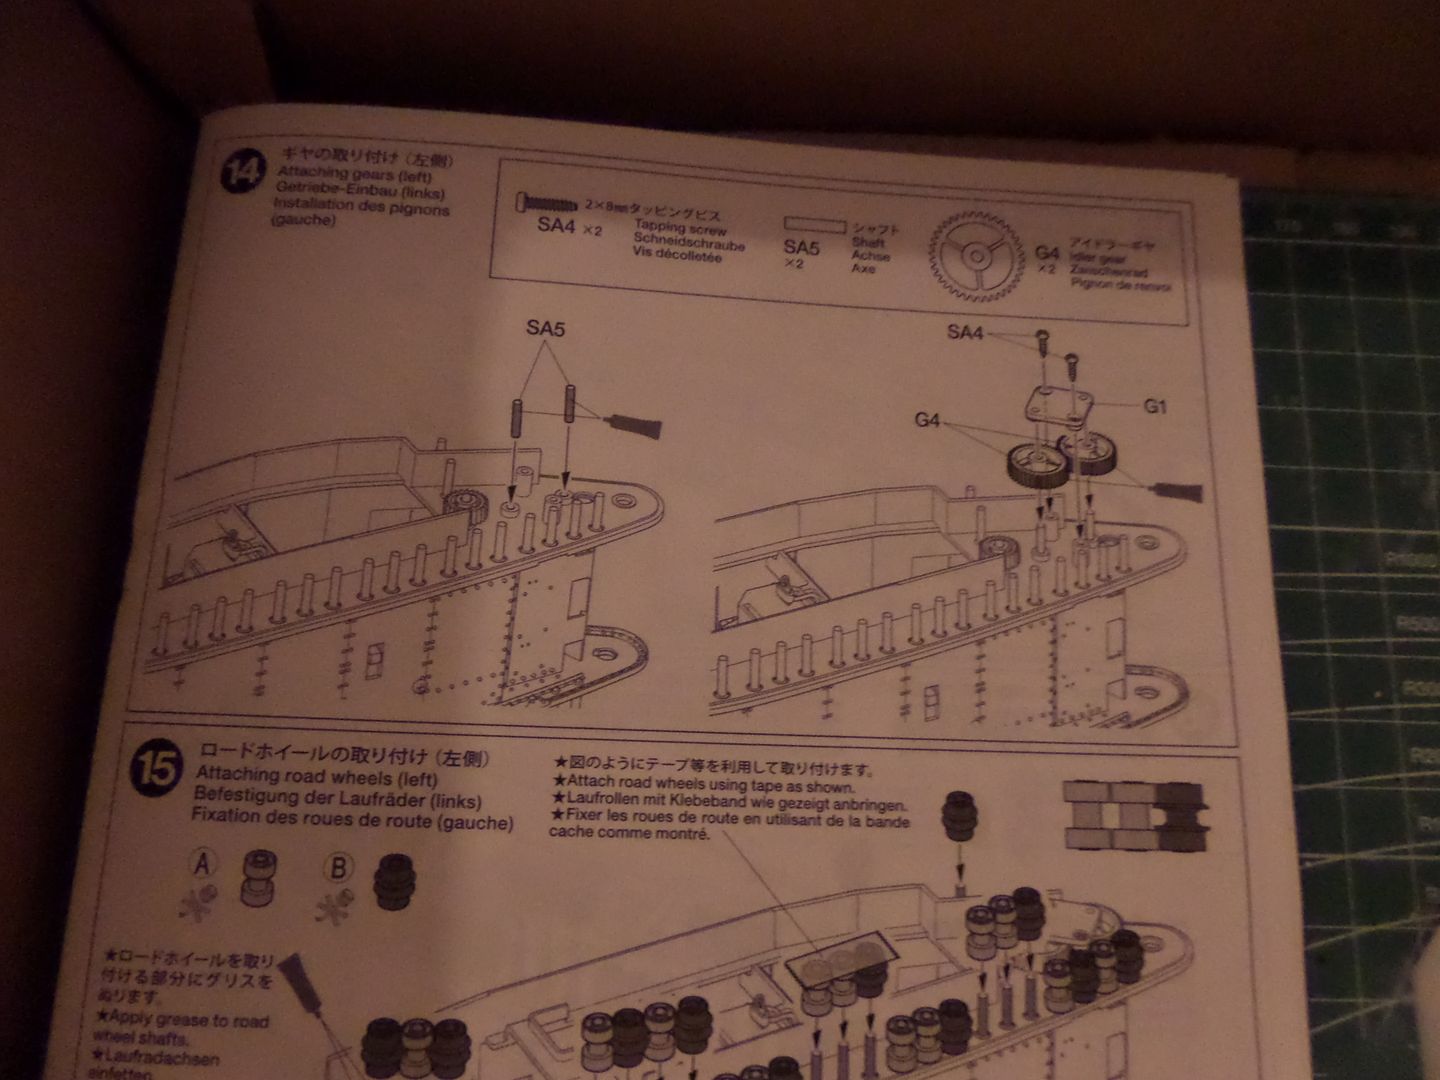
And the wheels to be placed , Tamiya advice is to use tape to glue all wheels and place them , actually I didn't use any tape and manage to place them , think it was easier to do ...
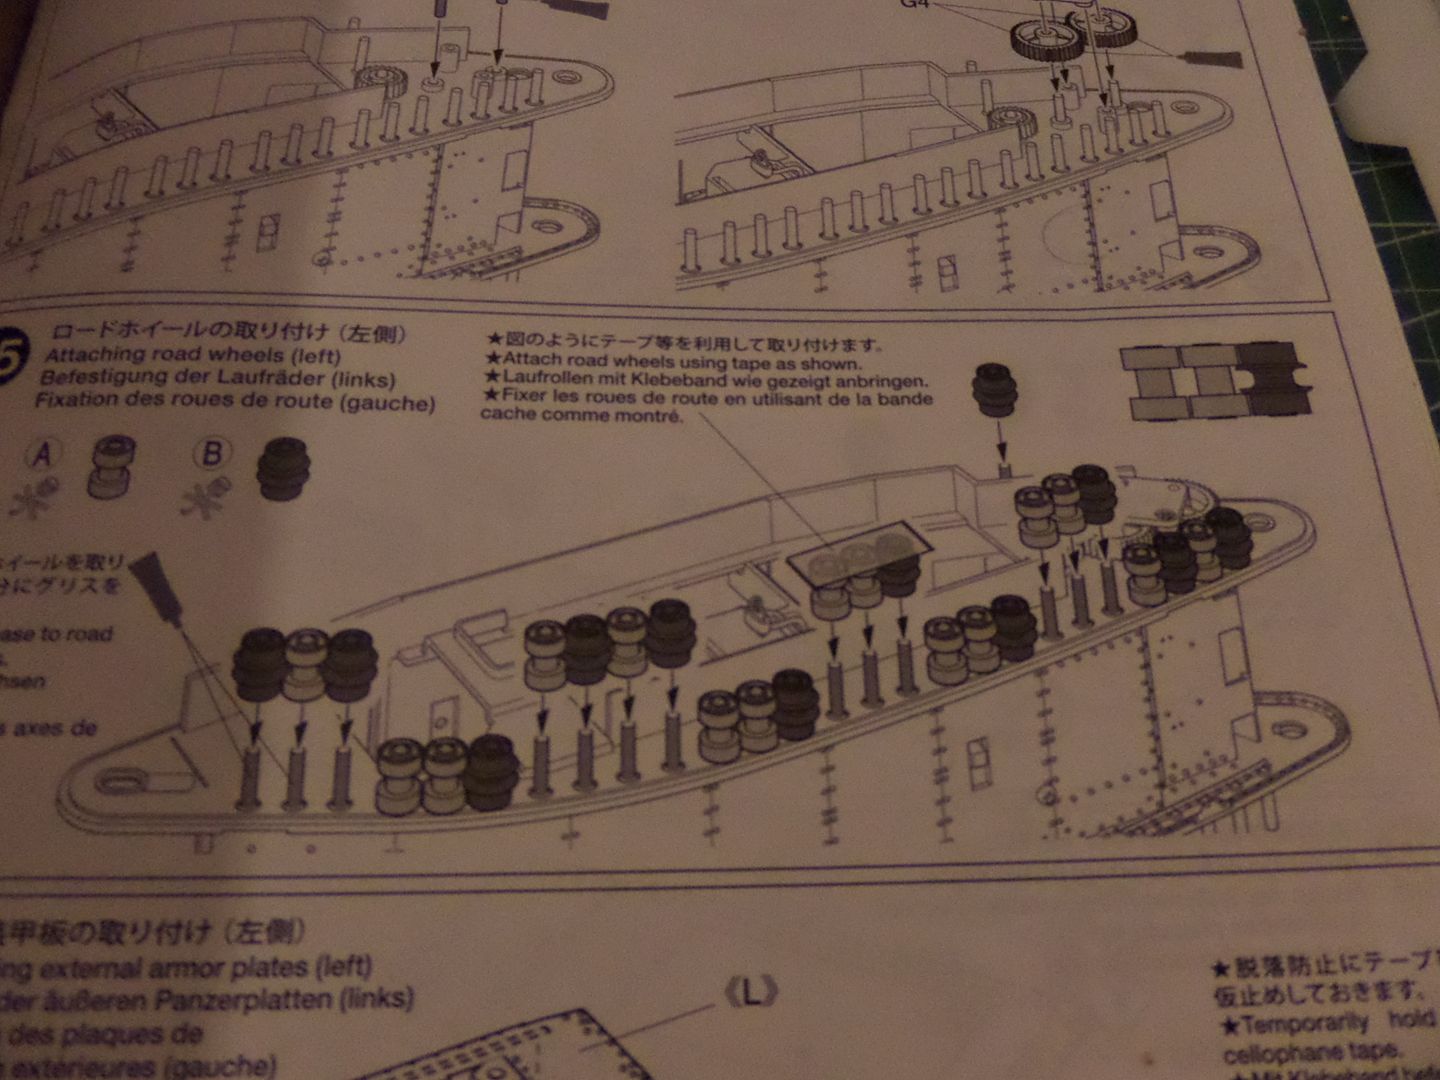
First I try with the tape , then I give up after being fighting with my carpet on the wheels rolling out
Added external armor plates
No glue necessary on the rear plate
Front
Front Gear wheels ( Carefull on how you build them , see instructions carefully !)
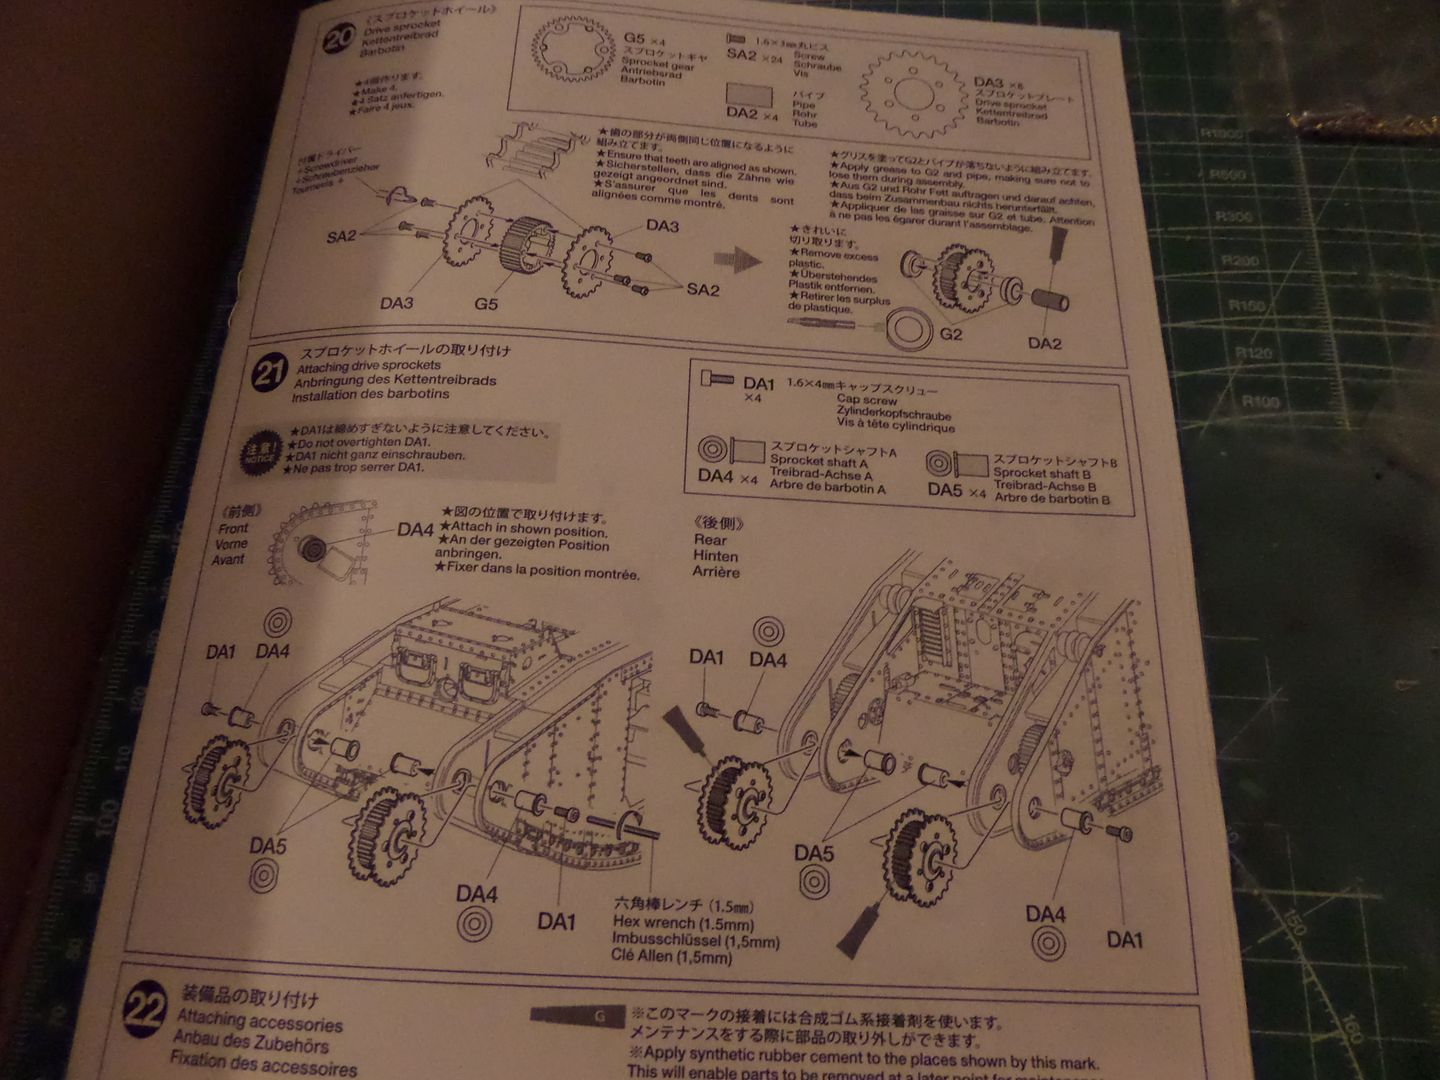
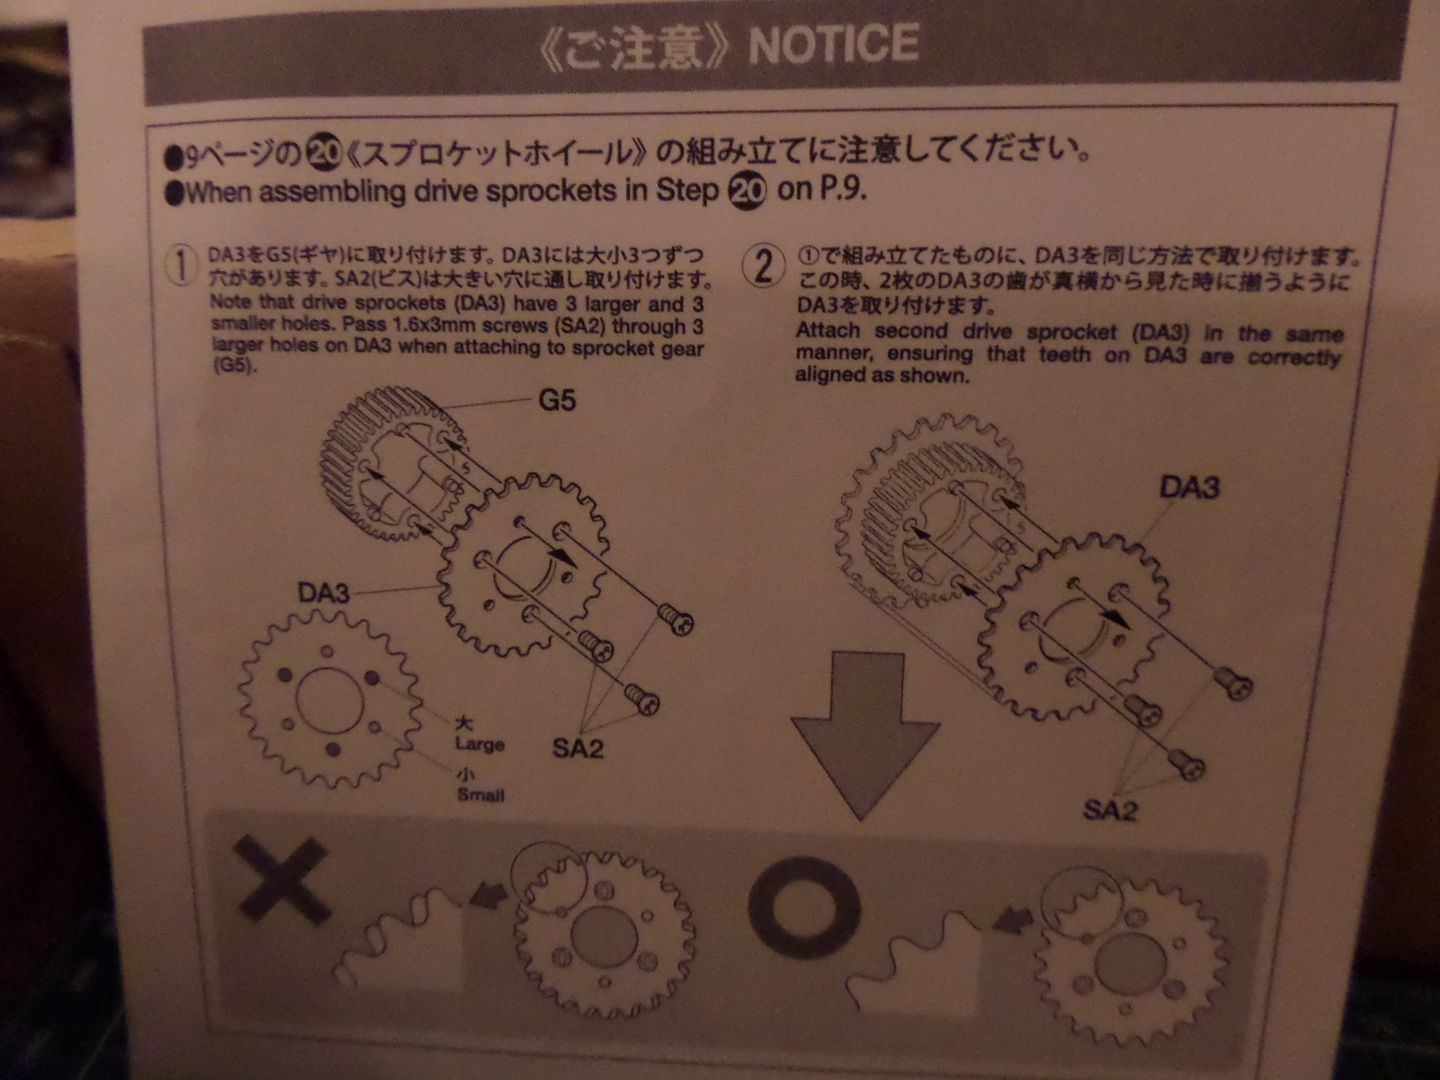
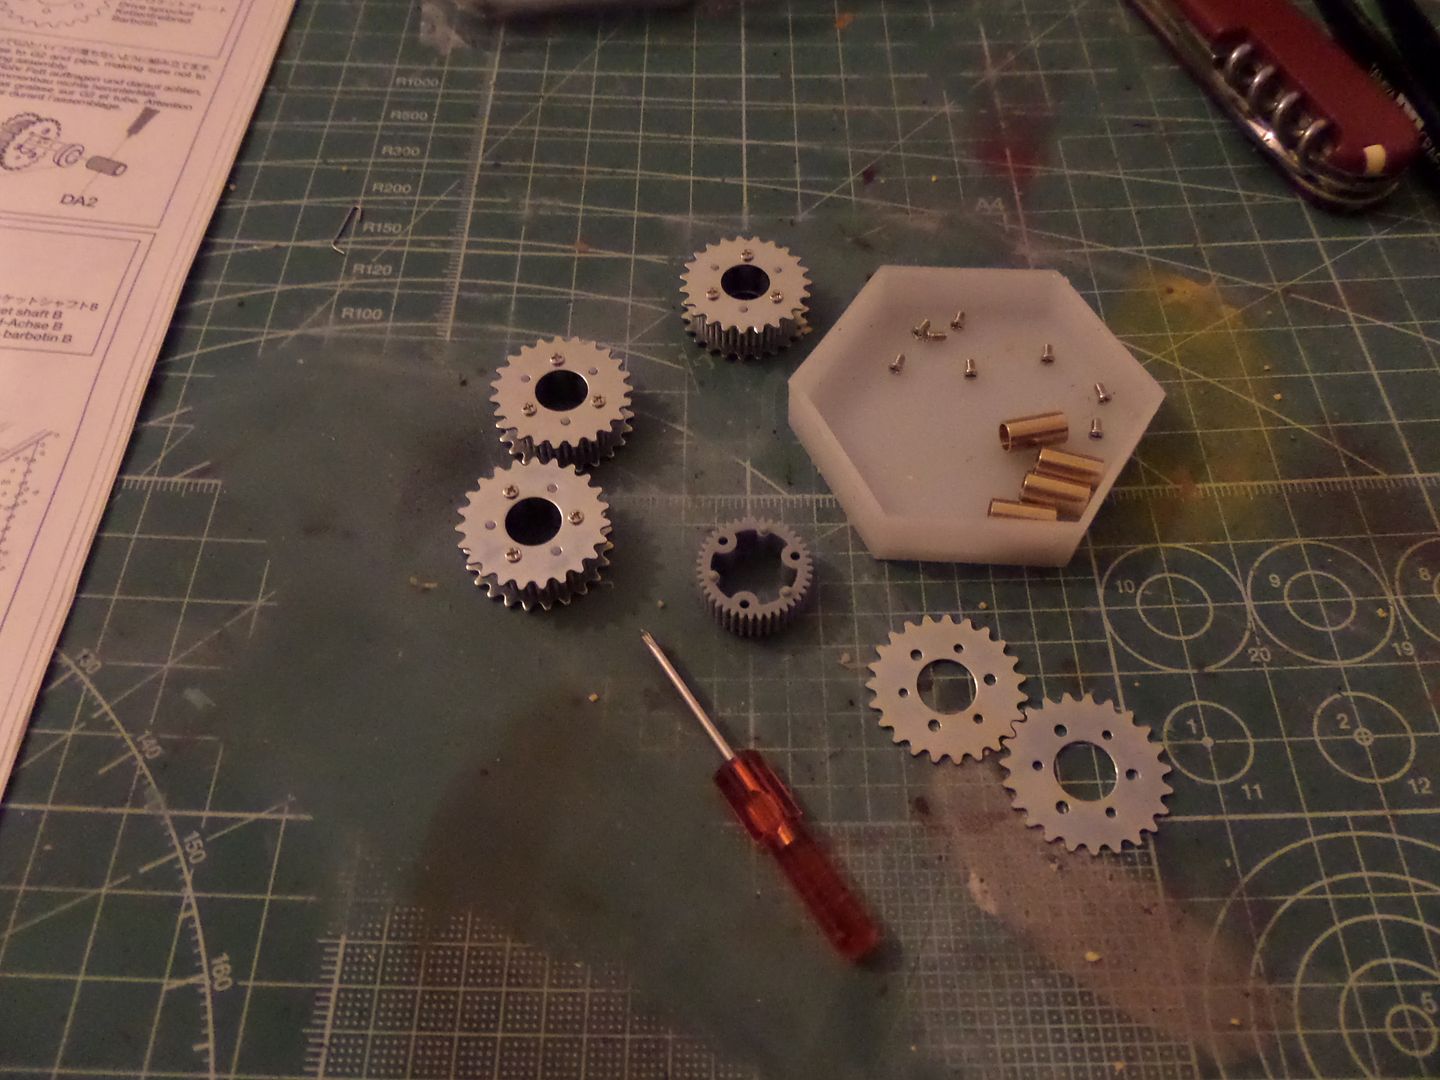
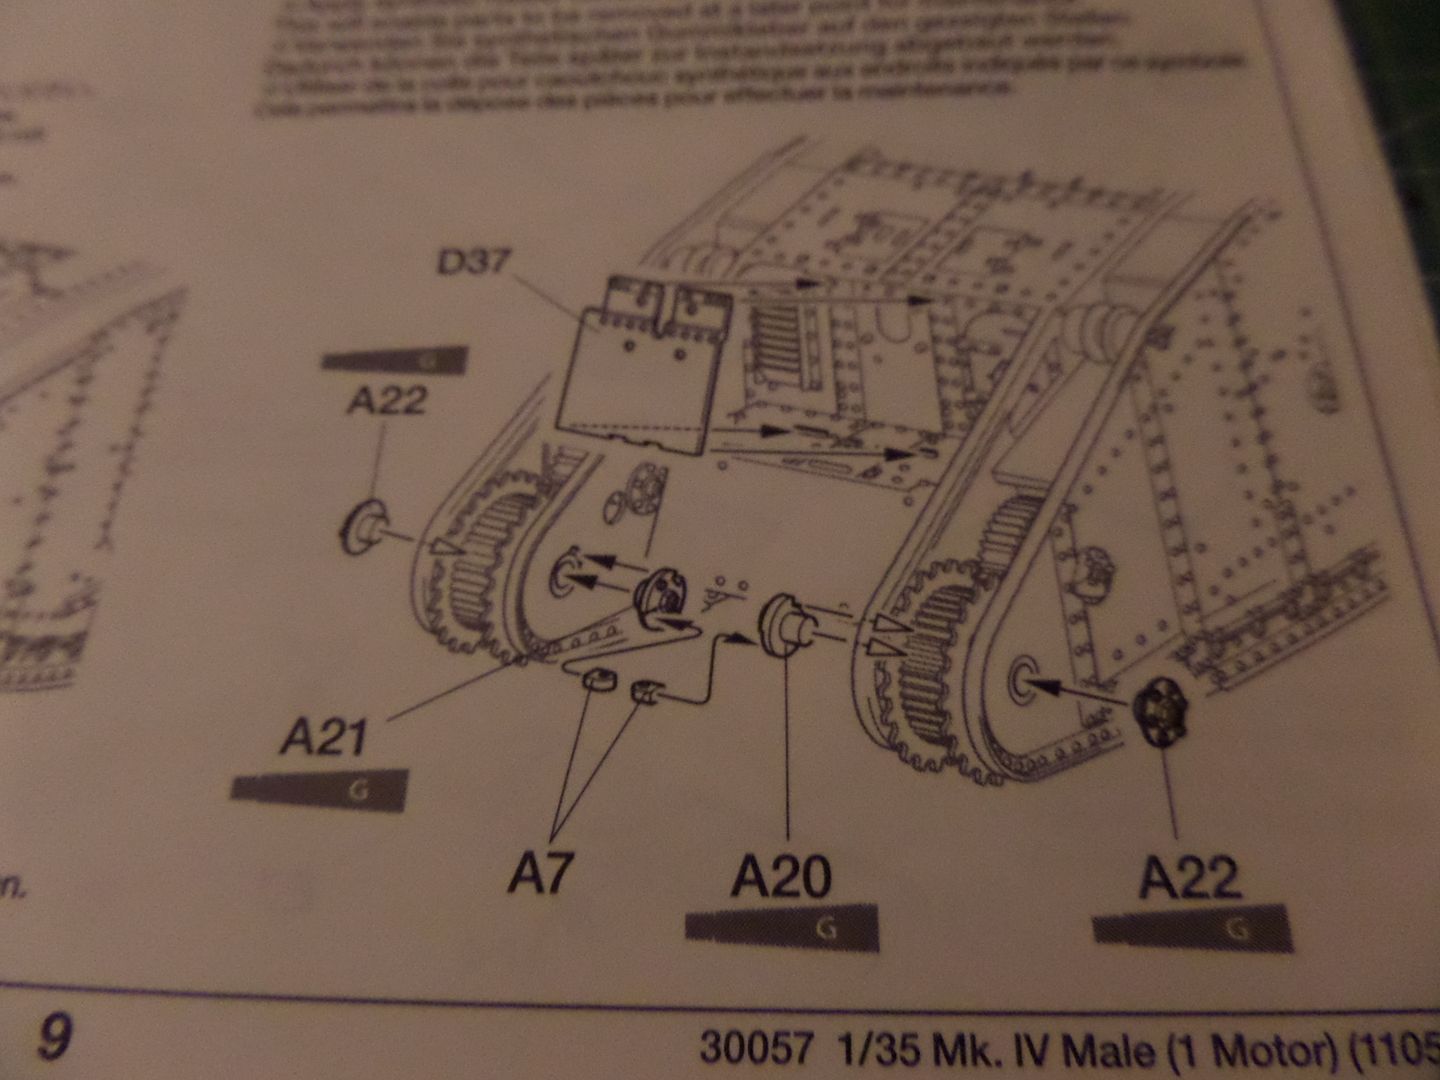
Now this part was a bit of surprise to me , must glue some parts with rubber cement (?) , AS I do not have it I glue the parts with some clear glue , the one from the cockpits , just to place the pieces , must see where I get this glue tomorrow ...
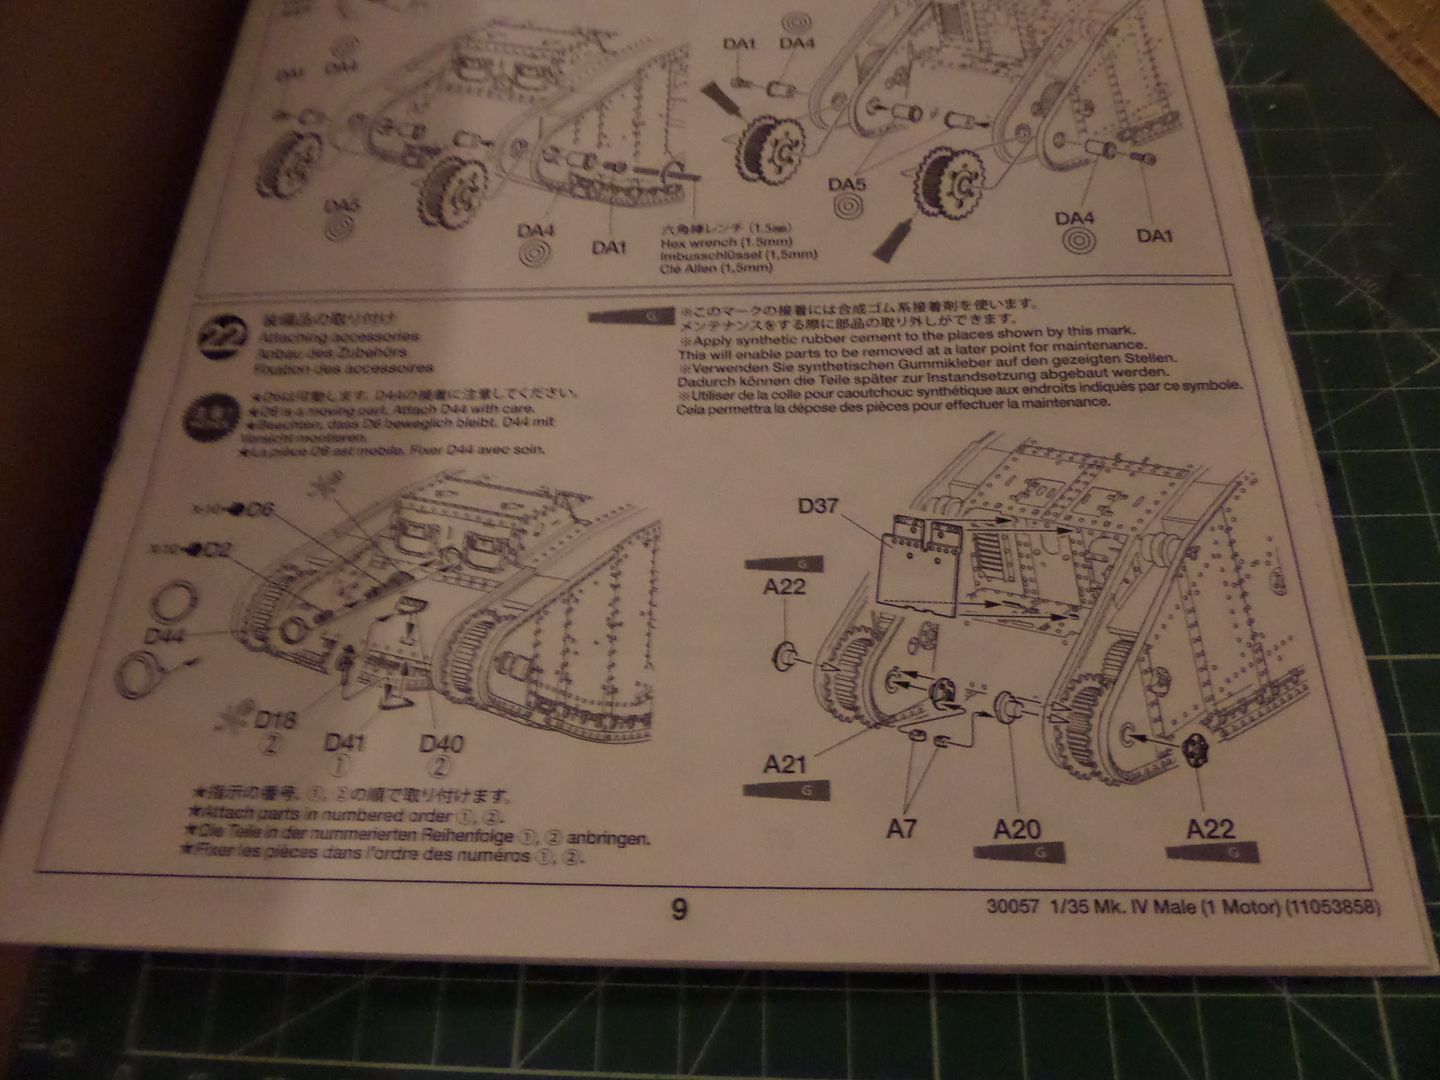
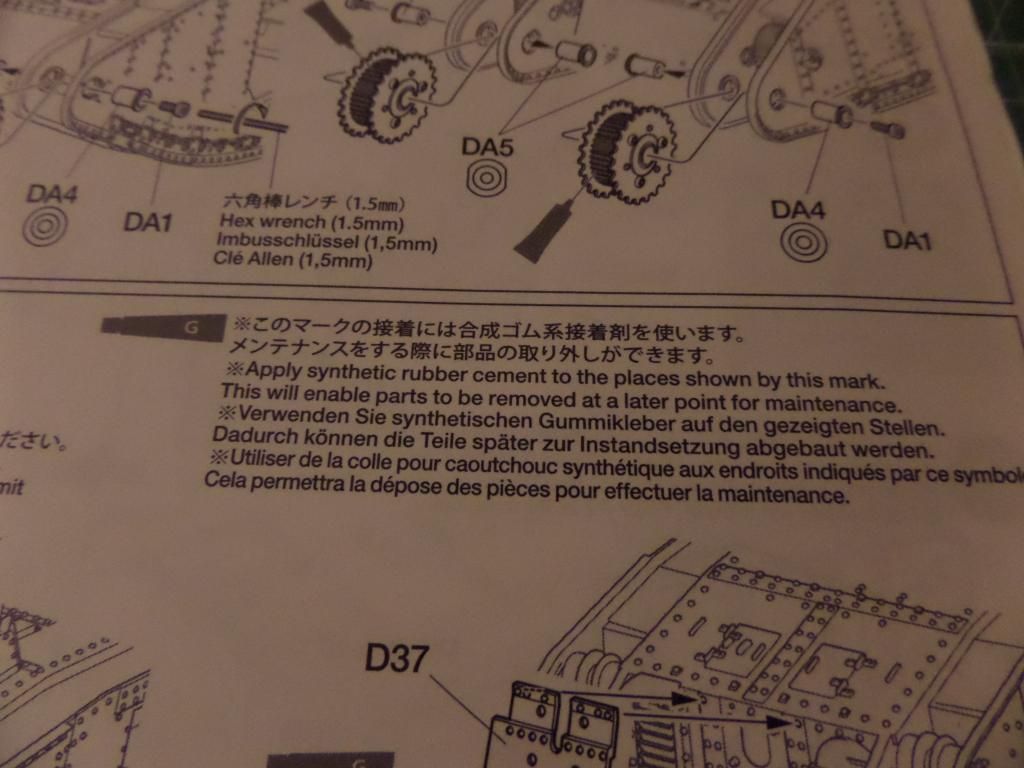
All the ones marked with the glue tube with a 'G' on it , so in the future to make maintenance ...
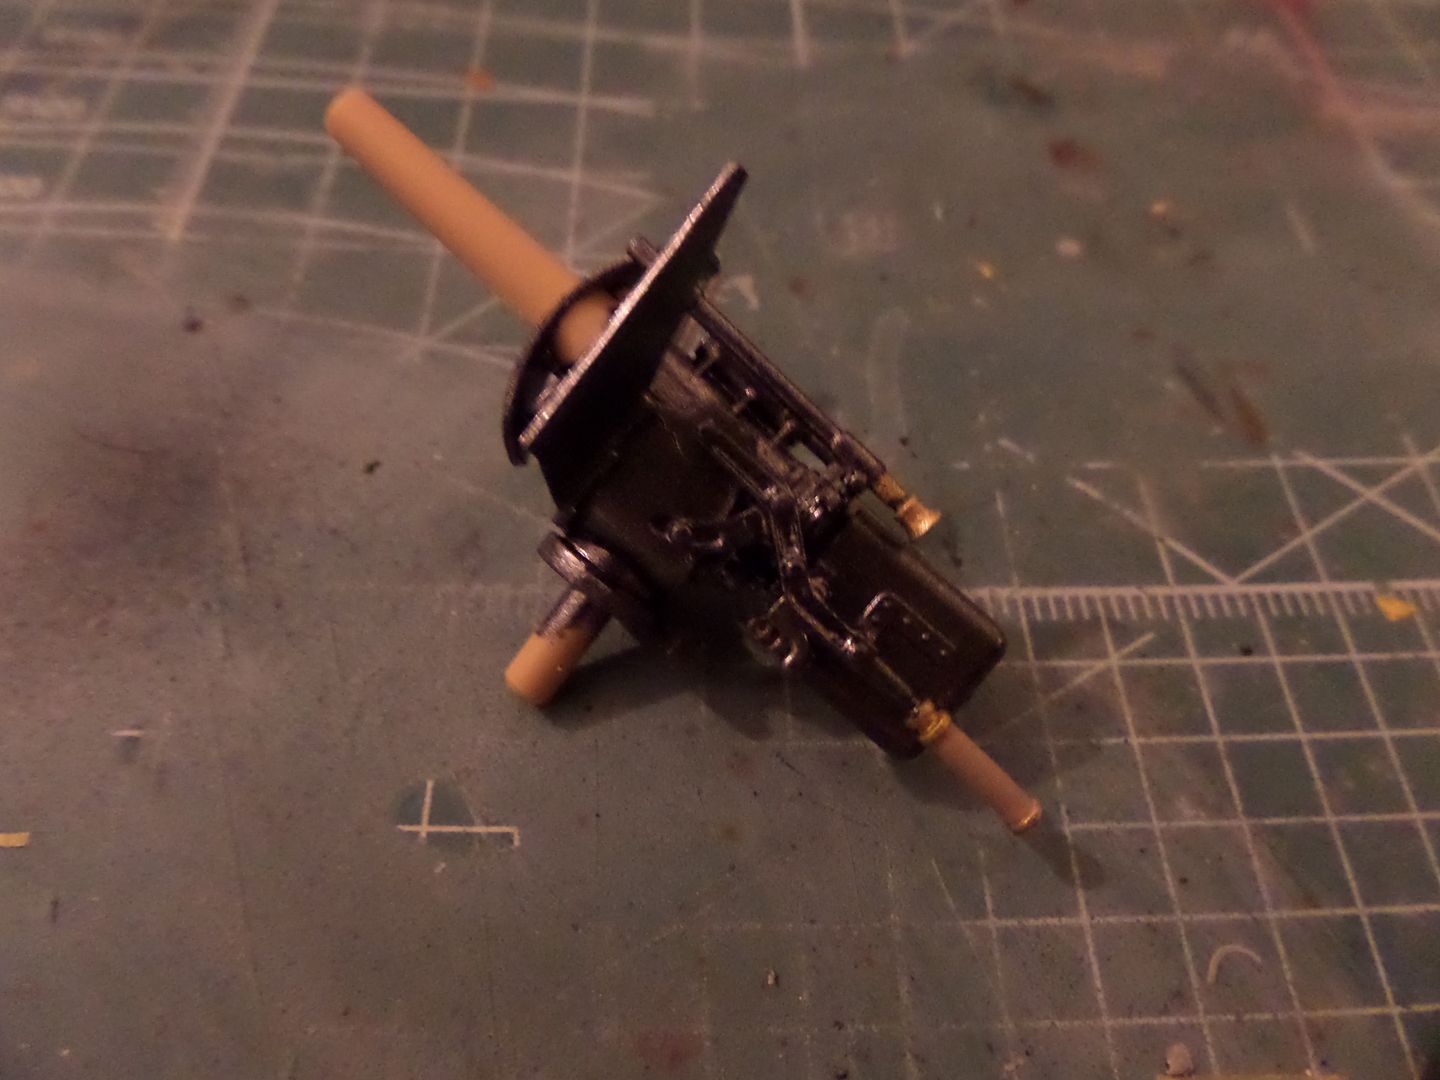
Let's g for the guns

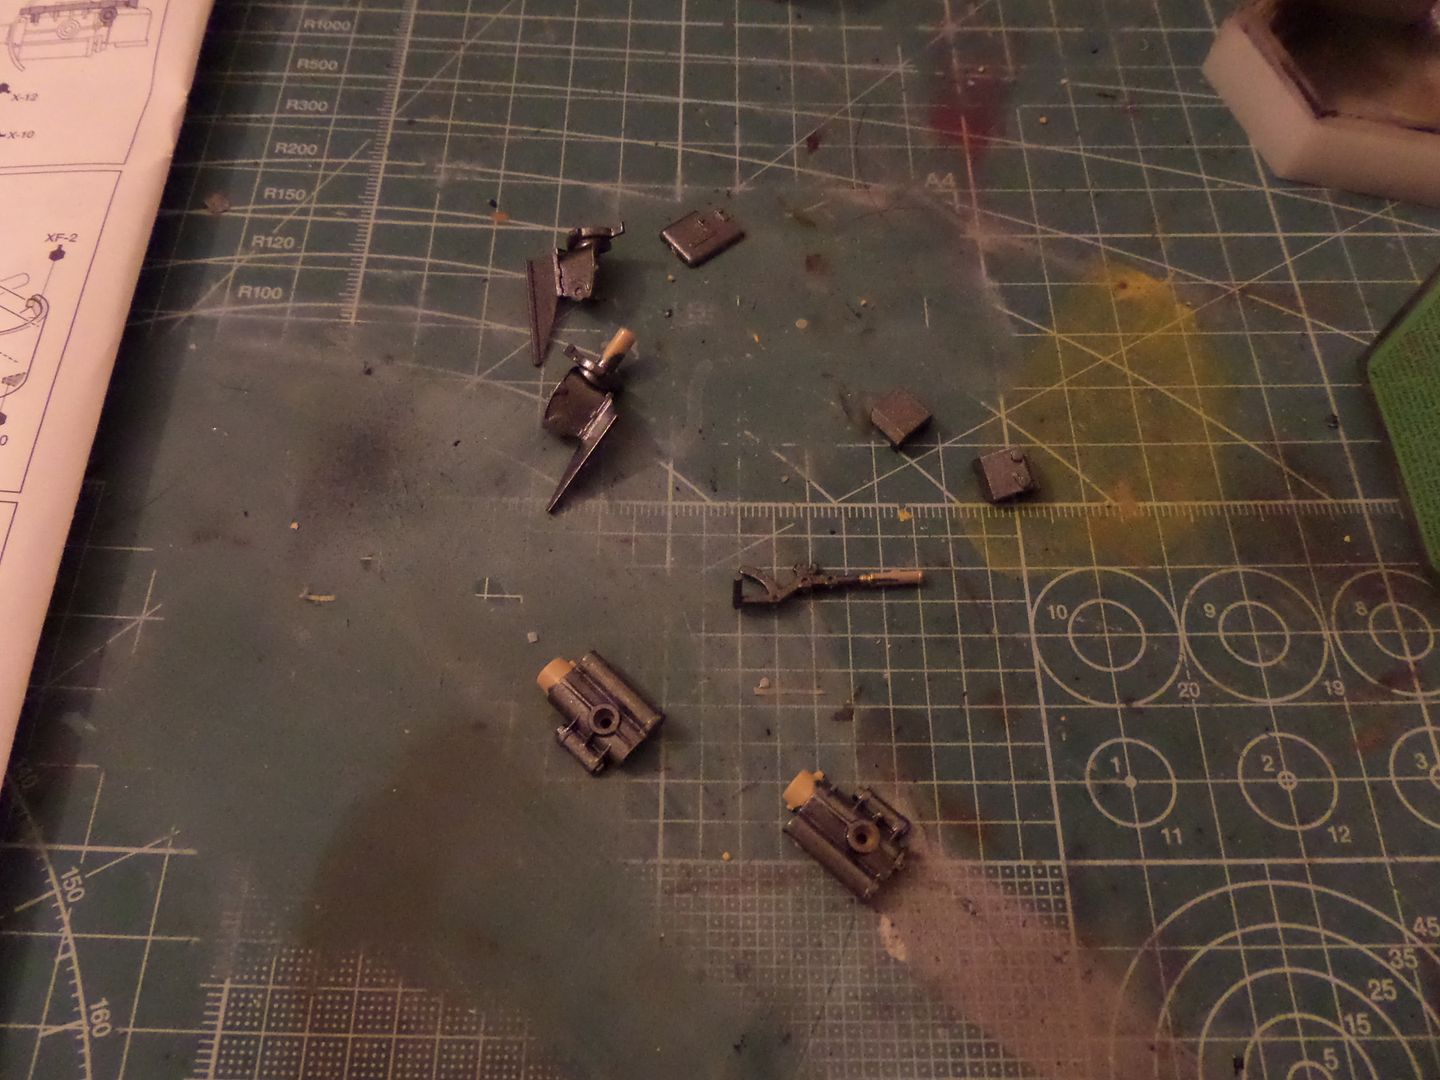
Very nice after the paints (Tamiya X-10 for metal , X-11 for some piece in gun, X-12 for the optic visor , X-57 for the gun handle I think ...but very realistic and very nice , they were painted in brush
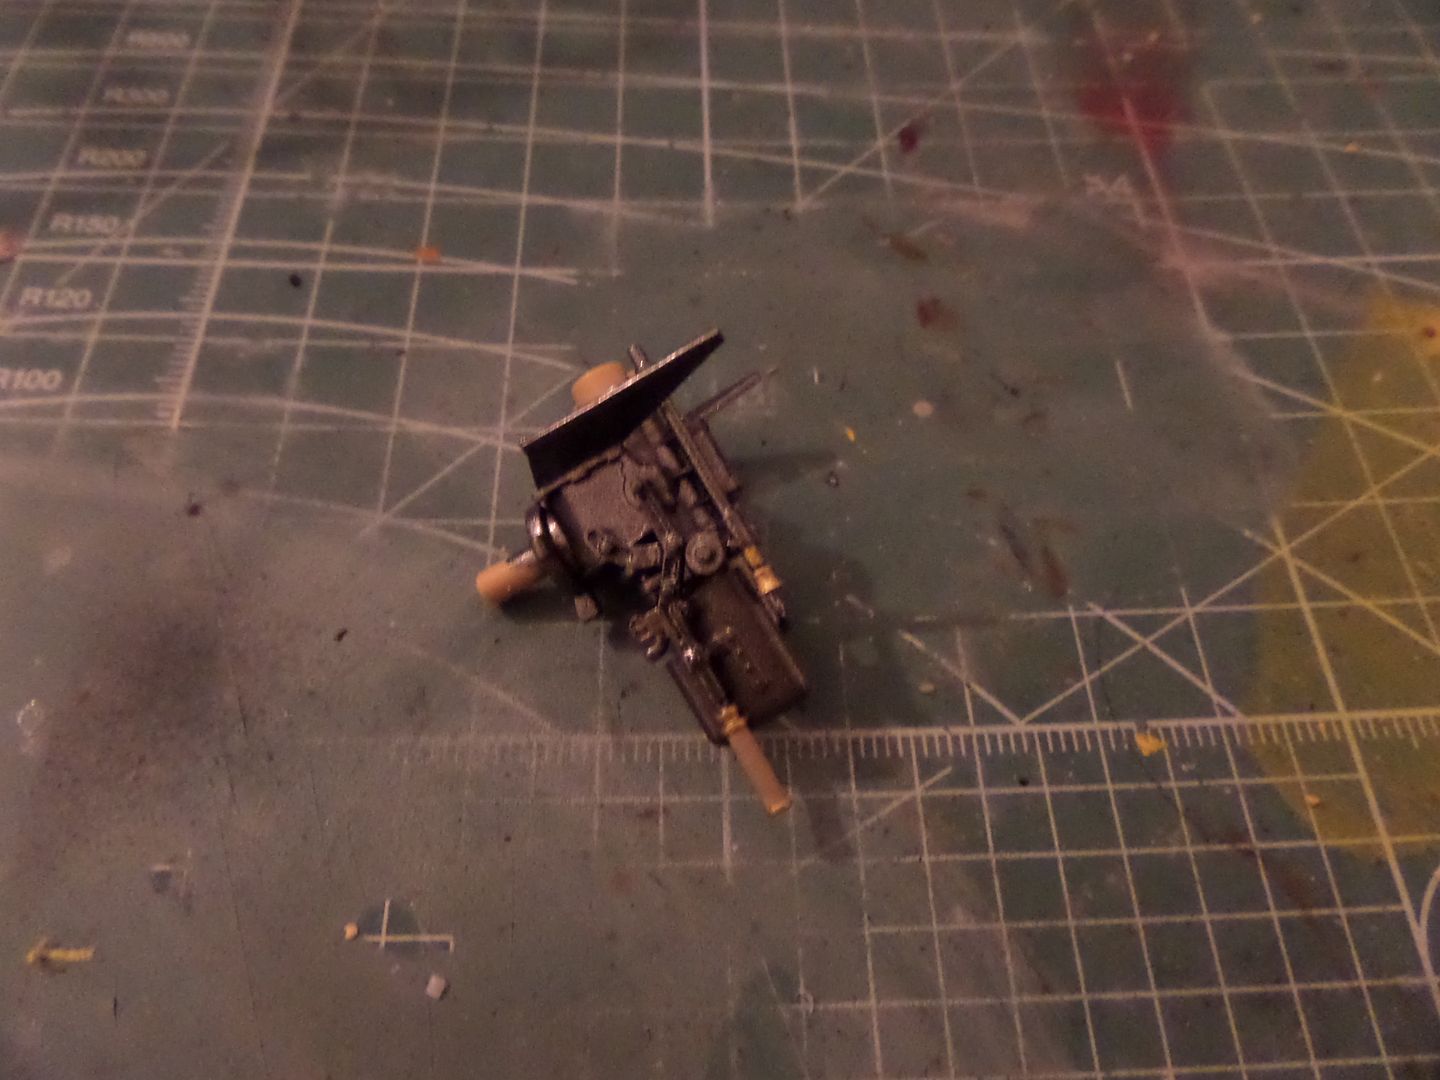
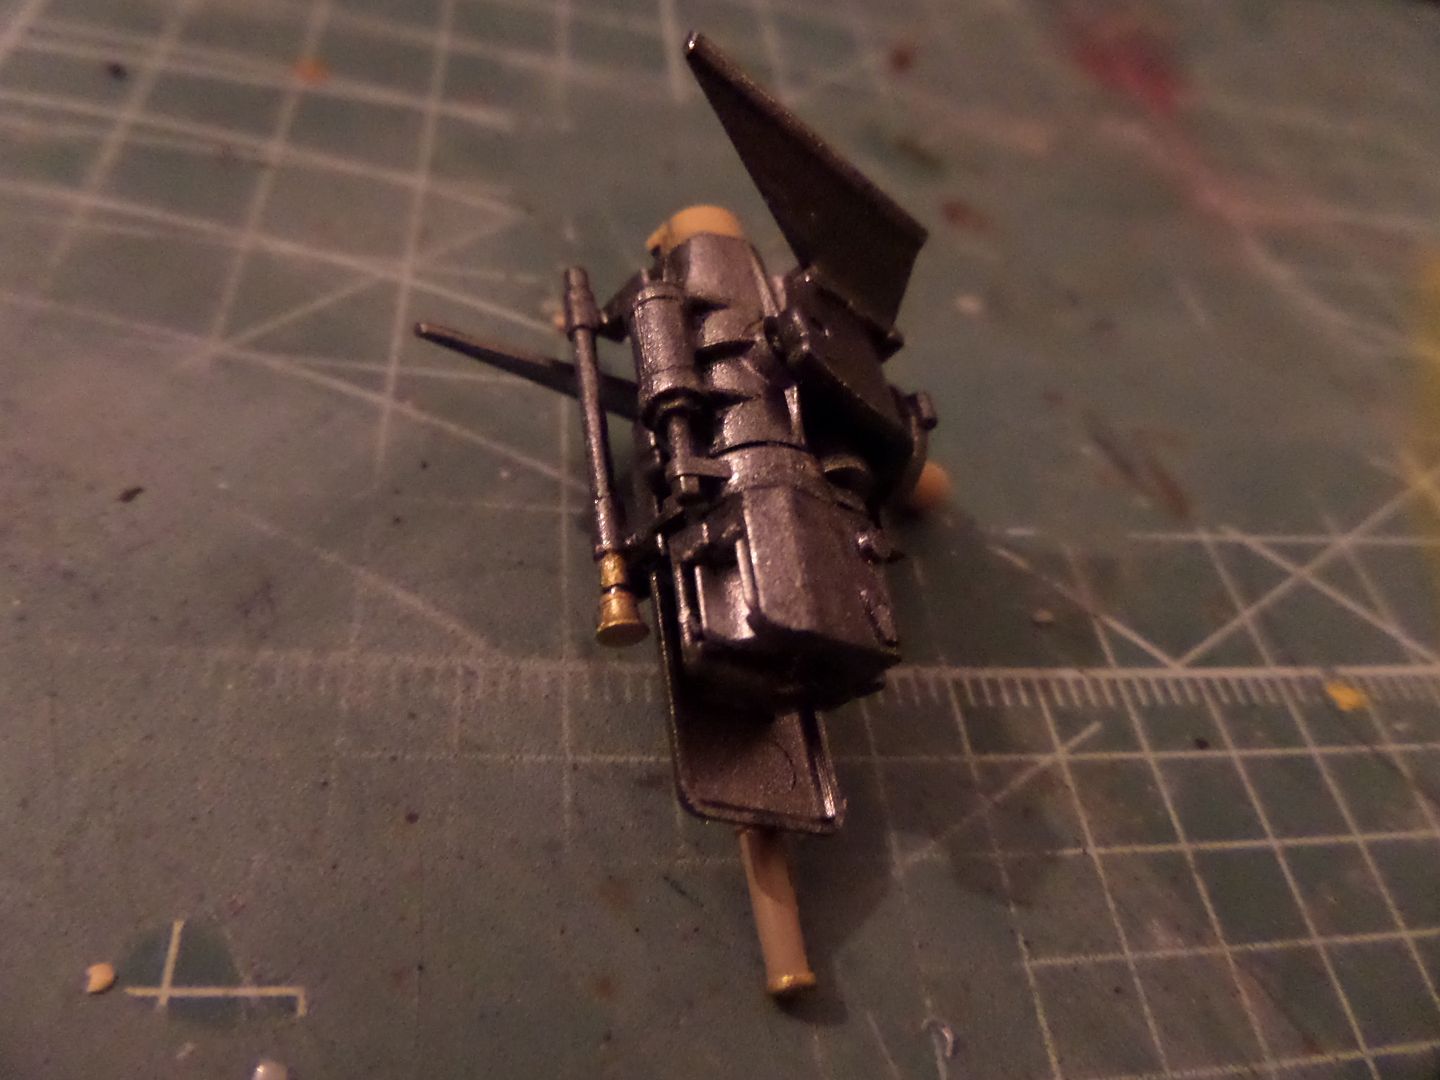
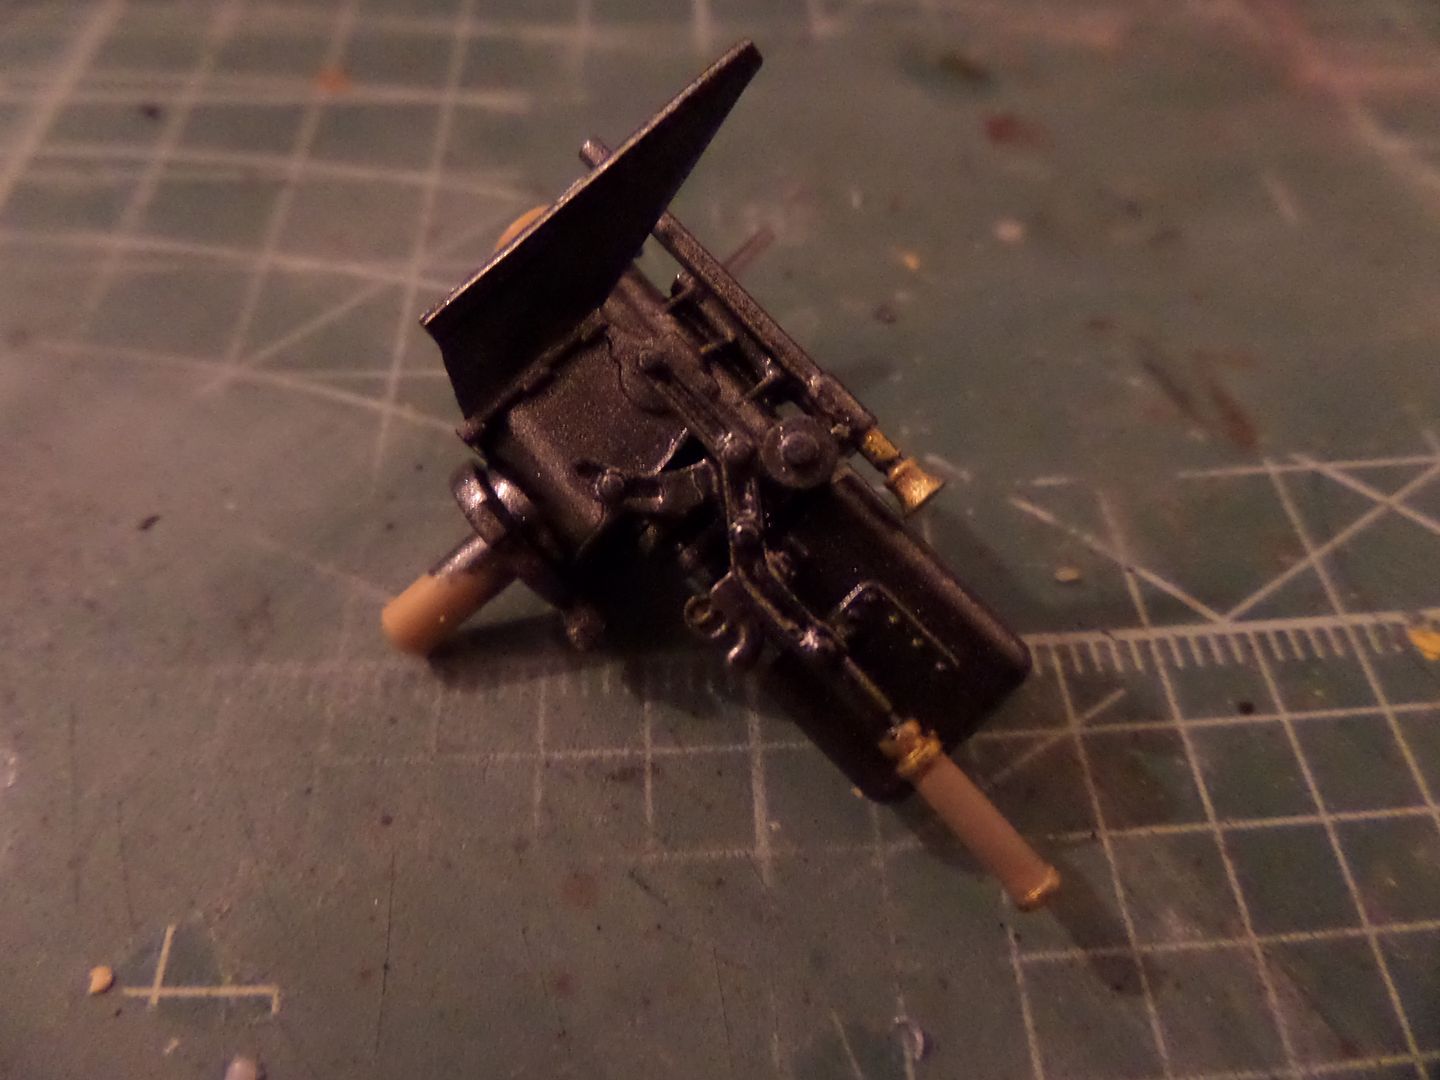
With the gun barrell and one victim of the carpet , but I recover it , a small roun piece on the up of the handle ...
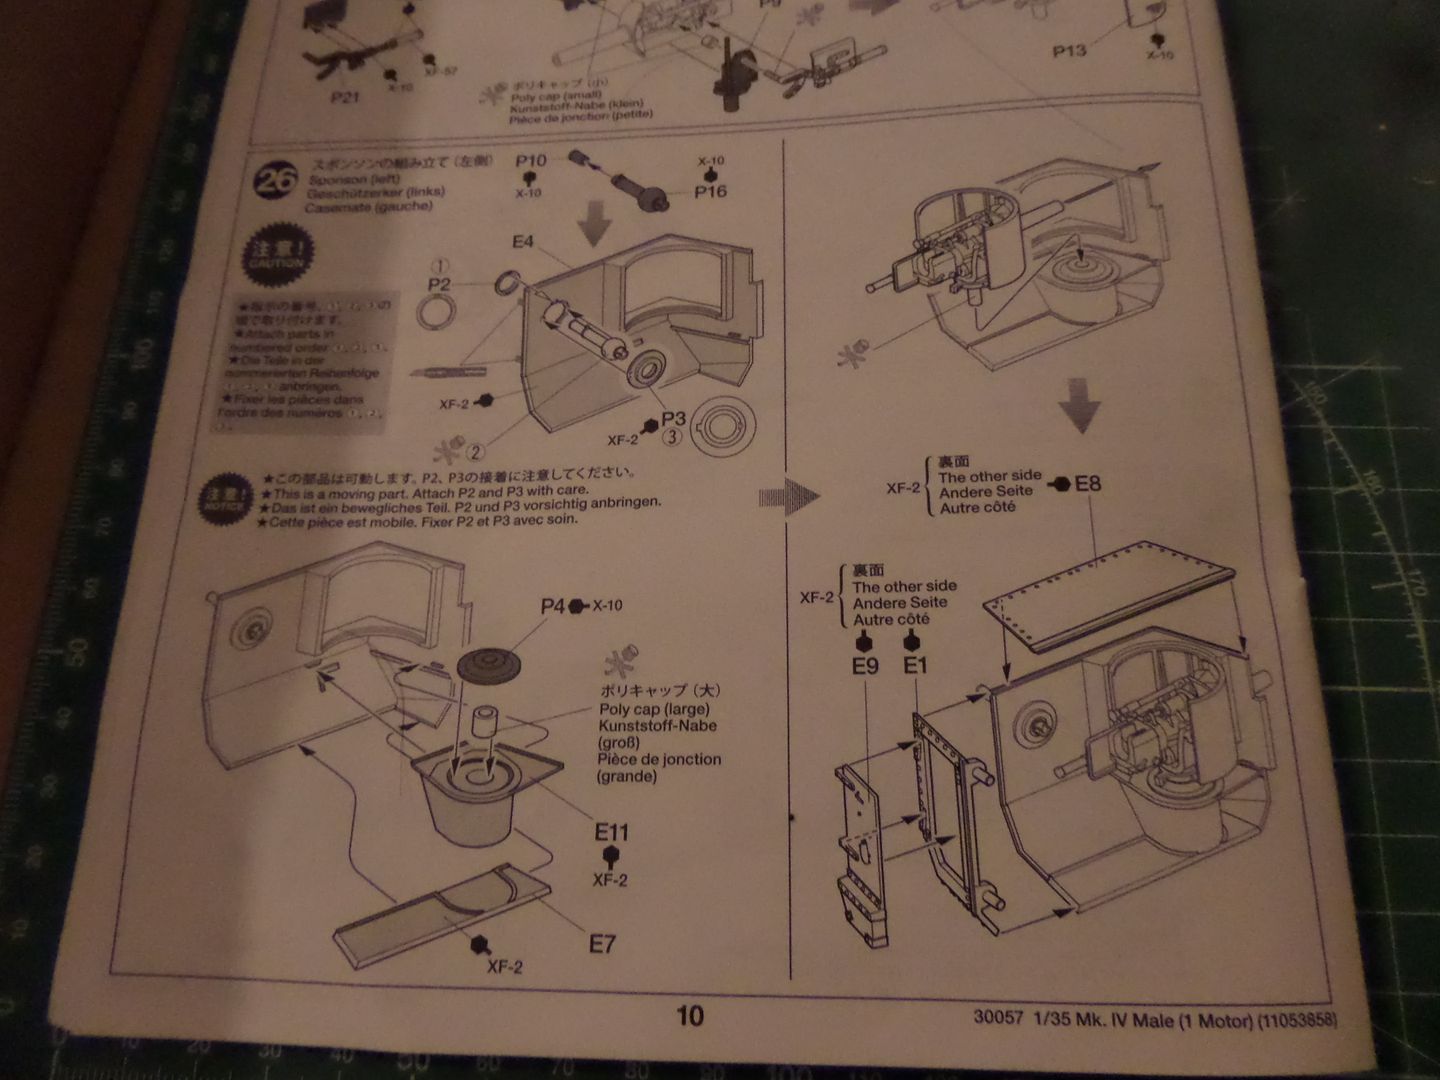
Now I primed the interior for painting it White (XF-2) , used AK Dark Yellow , must wait o dry for tomorrow and will finish mounting at least one of the sides of the tank
the build is going very well , and in the tank not too much to do now , but will finish it first and starting to think in the figures
Already I'm thinking of making a diorama with a trench and Barbed wire and some German Infantry , I buy ICM's German Assault troops , not the most correct ones , but it is German WW1 Infantry ...then with the Tamiya British could be a nice Layout , but that will be more forward ...
Well Hope you like it , see you one of this days ...please be free to comment !

So Next step
I placed the battery container :
Some velcro given to make the fixation and to remove it when necessary

At this point also should start to place the tank structure :

Time to put the left structure and start to placing the rear gear wheels


Following structure , up cover and tank driver cabin

In this point some carefull gluing this , only carefull because all fits nicely , attention needed to checking right positioning of lateral covers on cabin :


Getting to be similar with a MArk IV tank ...not the most beautifull thing made , but...

External armor plates :

But first wheels, wheels , wheels
A bunch of wheels , but all fits nicely , be carefull with matching each other as instructions, it goes nicely ....

30 sets of this :


Plus 24 setsof this (this has 4 different pieces each set ...)


All done (took me some time ...) :

More gears to place

And the wheels to be placed , Tamiya advice is to use tape to glue all wheels and place them , actually I didn't use any tape and manage to place them , think it was easier to do ...


First I try with the tape , then I give up after being fighting with my carpet on the wheels rolling out


Added external armor plates

No glue necessary on the rear plate

Front

Front Gear wheels ( Carefull on how you build them , see instructions carefully !)


Now this part was a bit of surprise to me , must glue some parts with rubber cement (?) , AS I do not have it I glue the parts with some clear glue , the one from the cockpits , just to place the pieces , must see where I get this glue tomorrow ...


All the ones marked with the glue tube with a 'G' on it , so in the future to make maintenance ...

Let's g for the guns


Very nice after the paints (Tamiya X-10 for metal , X-11 for some piece in gun, X-12 for the optic visor , X-57 for the gun handle I think ...but very realistic and very nice , they were painted in brush


With the gun barrell and one victim of the carpet , but I recover it , a small roun piece on the up of the handle ...

Now I primed the interior for painting it White (XF-2) , used AK Dark Yellow , must wait o dry for tomorrow and will finish mounting at least one of the sides of the tank

the build is going very well , and in the tank not too much to do now , but will finish it first and starting to think in the figures
Already I'm thinking of making a diorama with a trench and Barbed wire and some German Infantry , I buy ICM's German Assault troops , not the most correct ones , but it is German WW1 Infantry ...then with the Tamiya British could be a nice Layout , but that will be more forward ...
Well Hope you like it , see you one of this days ...please be free to comment !
Cheers ,
António
On the Bench
a lot of stuff right now
António
On the Bench
a lot of stuff right now
-
rodrant
- Chief Warrant Officer 2
- Posts: 1774
- Joined: Wed Feb 19, 2014 9:22 pm
- Location: Maia - Portugal
Re: Tamiya 1/35 WWI British Tank Mk.IV Male and WWI British
Hi
New Update on the Mark iV MAle tank , near to finish him ...
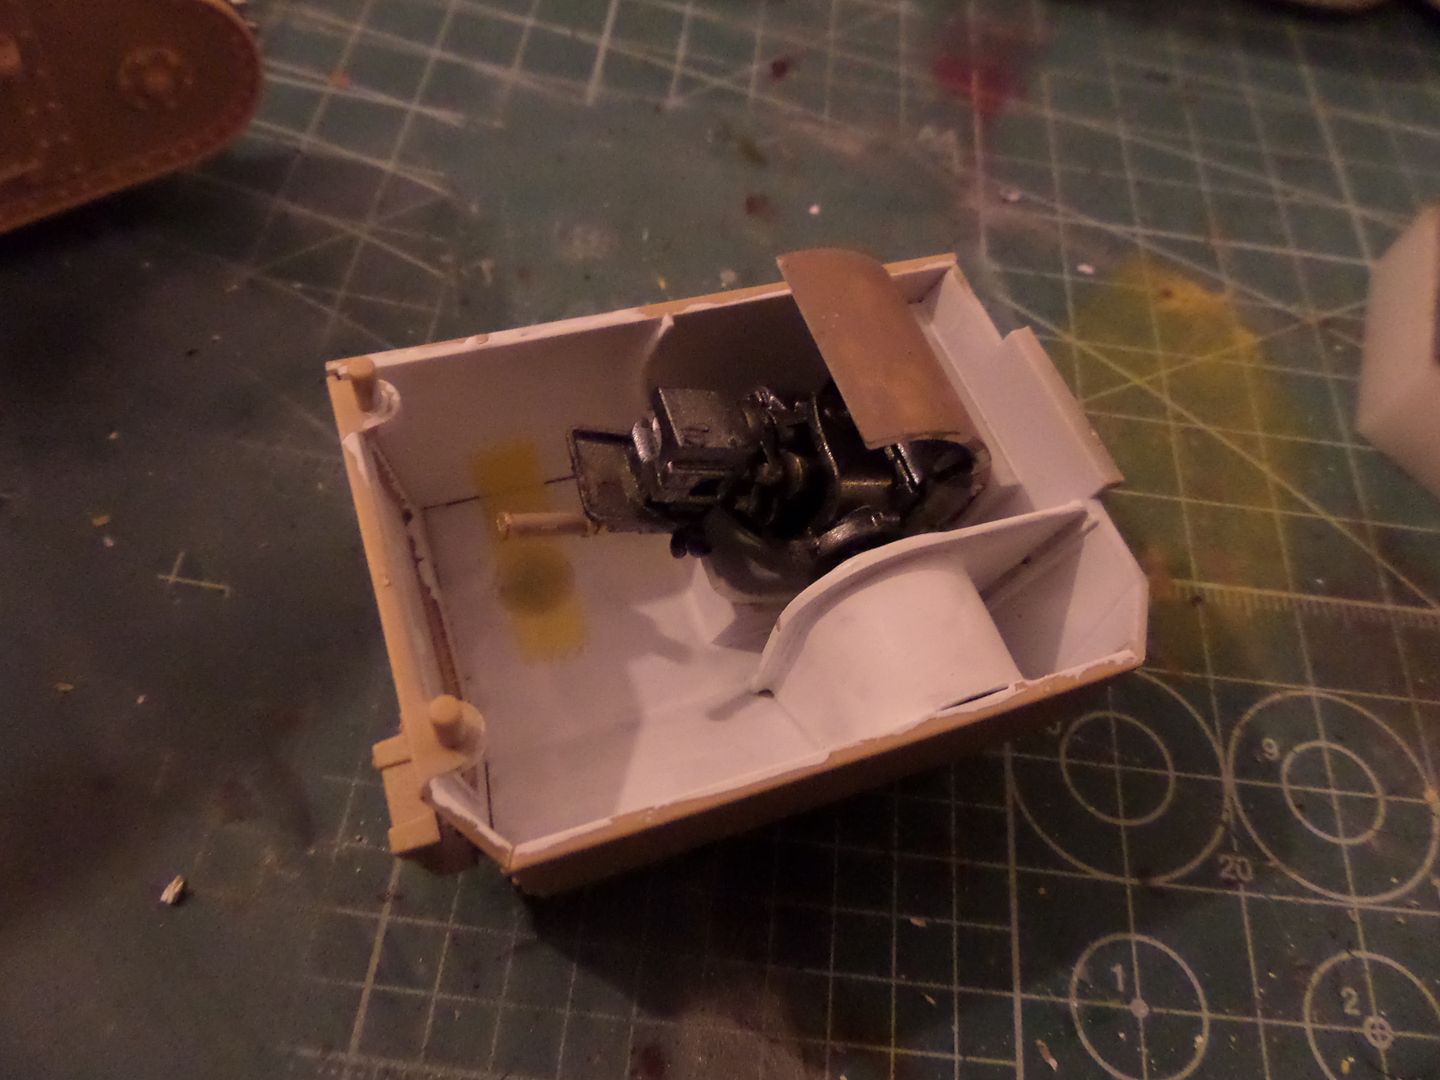
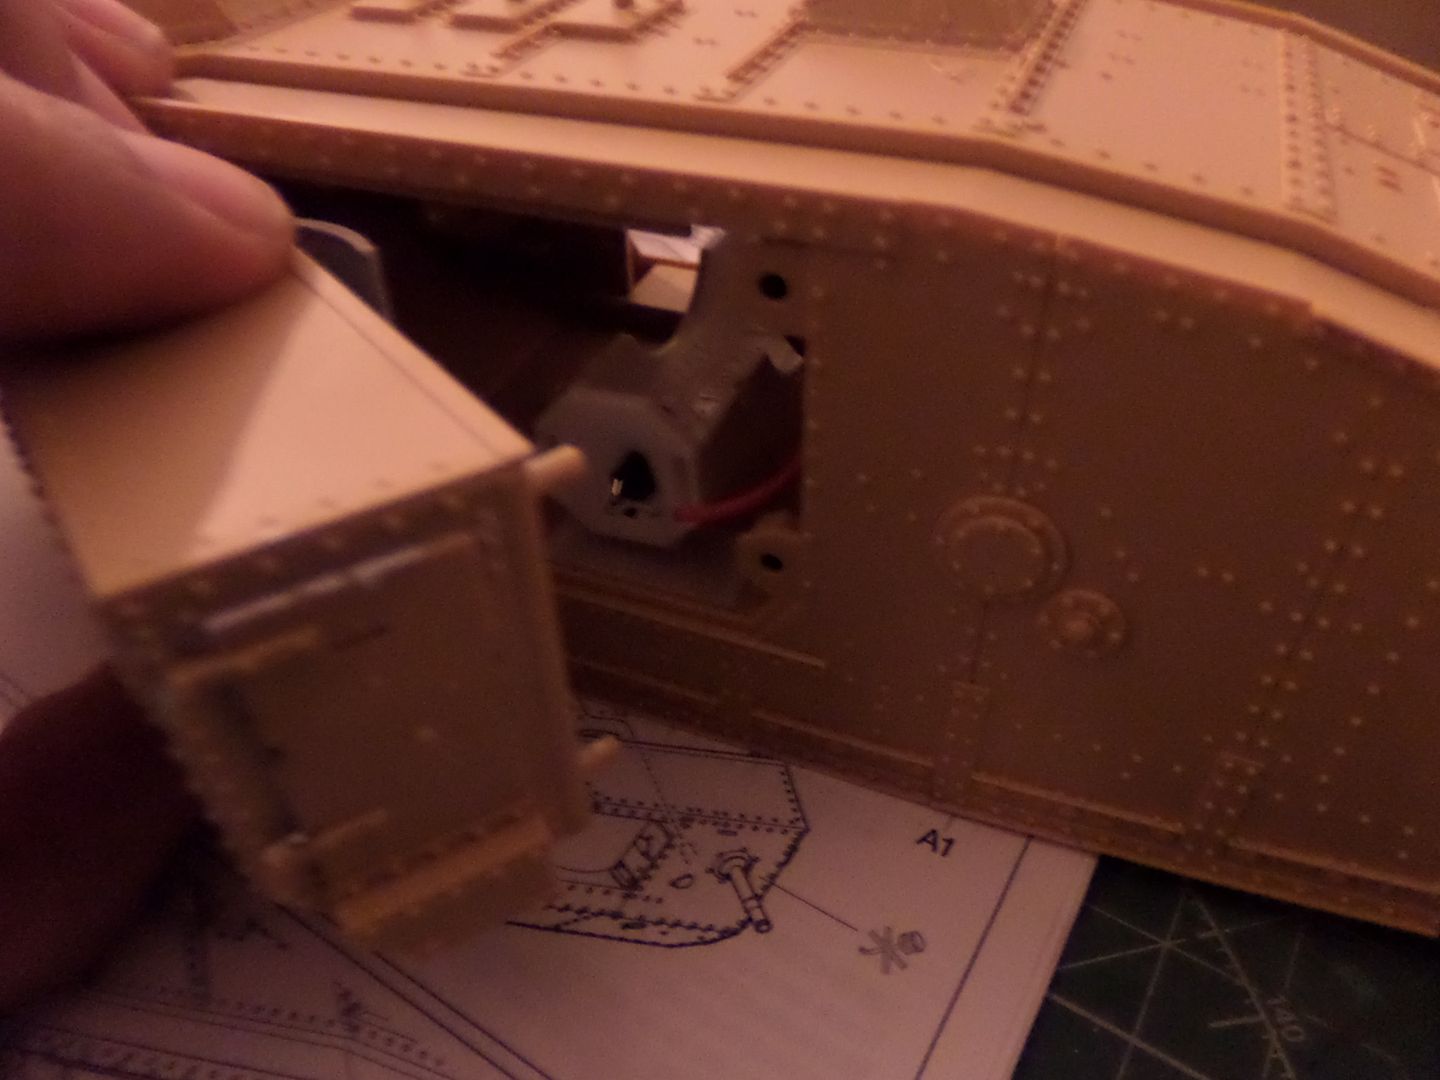
So , I mount the guns ...everything ok , no great issue ,painted interior white ...and if you may you can't remove this and see the detail of the guns it is very nice ...
I mask and will place latter the lateral Lewis Machine guns , as I must prime it and paint it , and like this only some mask stripe needed in the interior...
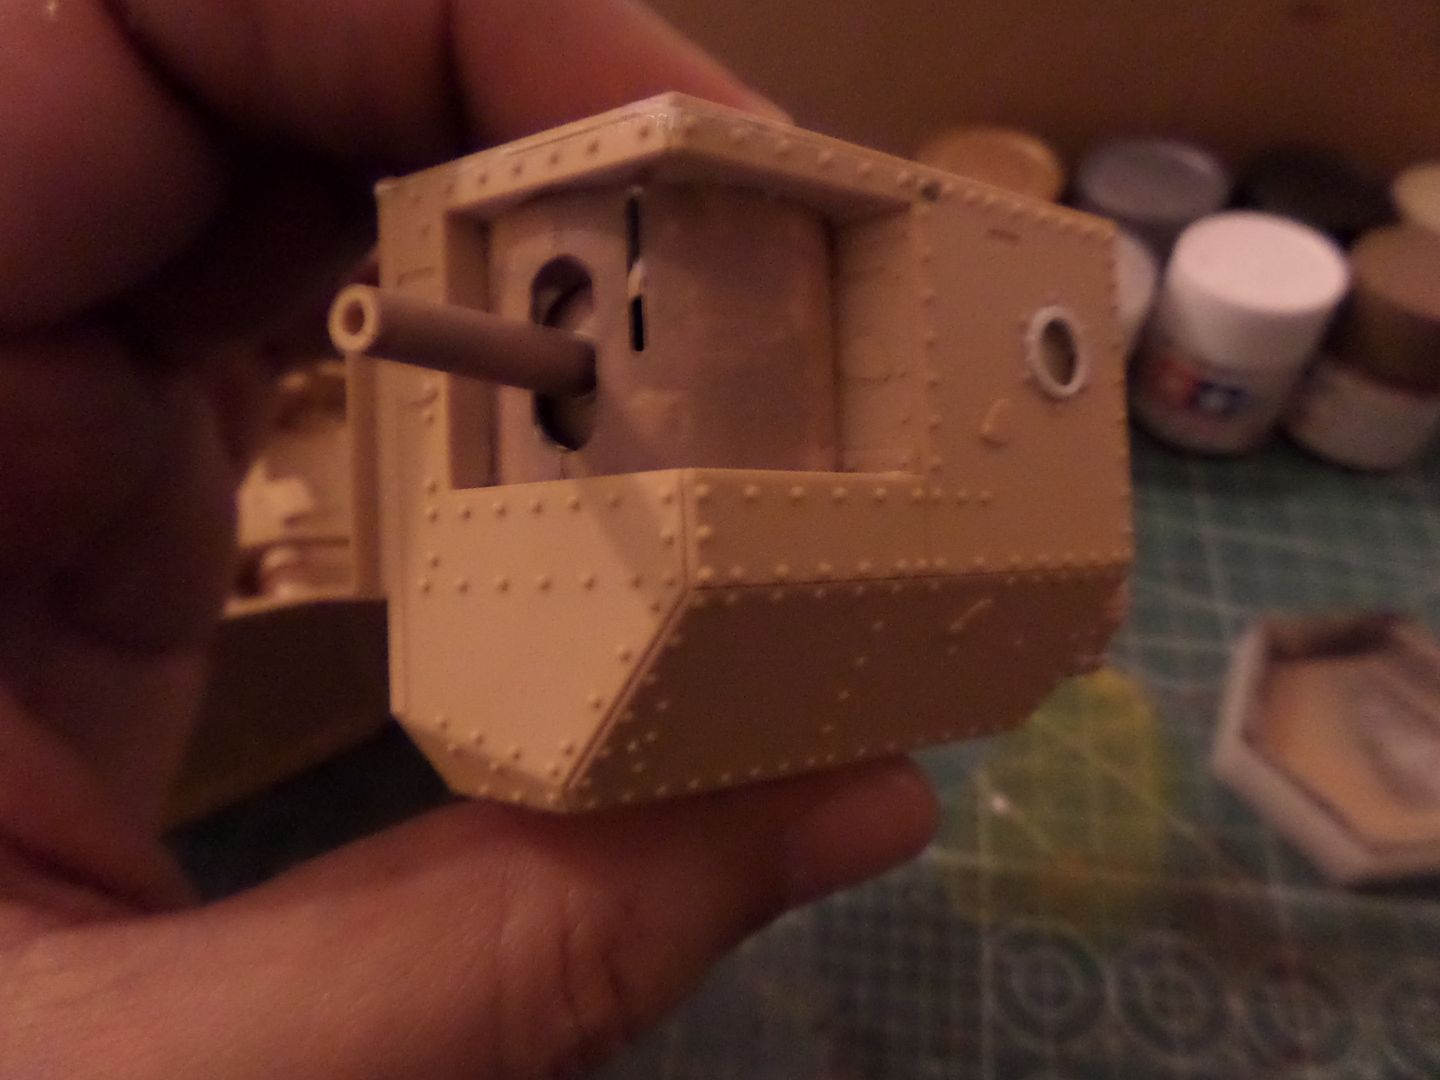
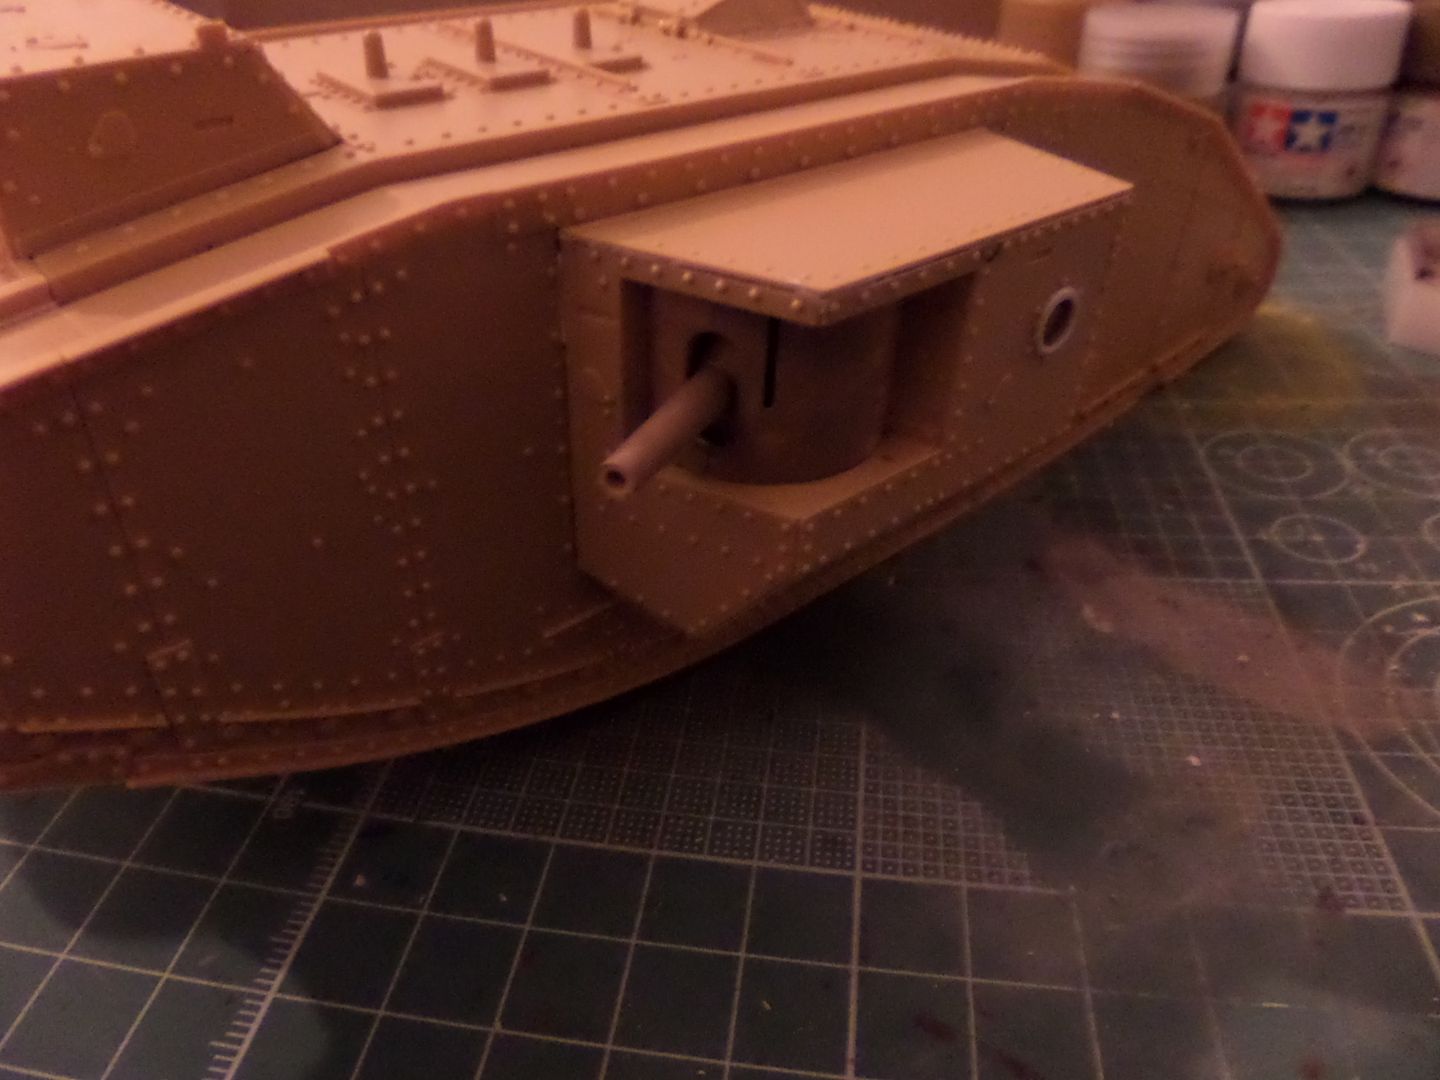
The guns seen from the outside ...some paint already made in guns shields , this weren't a very easy step to build , again be attentive to instructions and how you must place the gun on them ...
See it has this Poly caps so that we can remove the guns 'bunkers' , also it is to put the bttery on ...
Now it's looking like a Tank ...
So now tracks ....
A full bag of tracks links ...
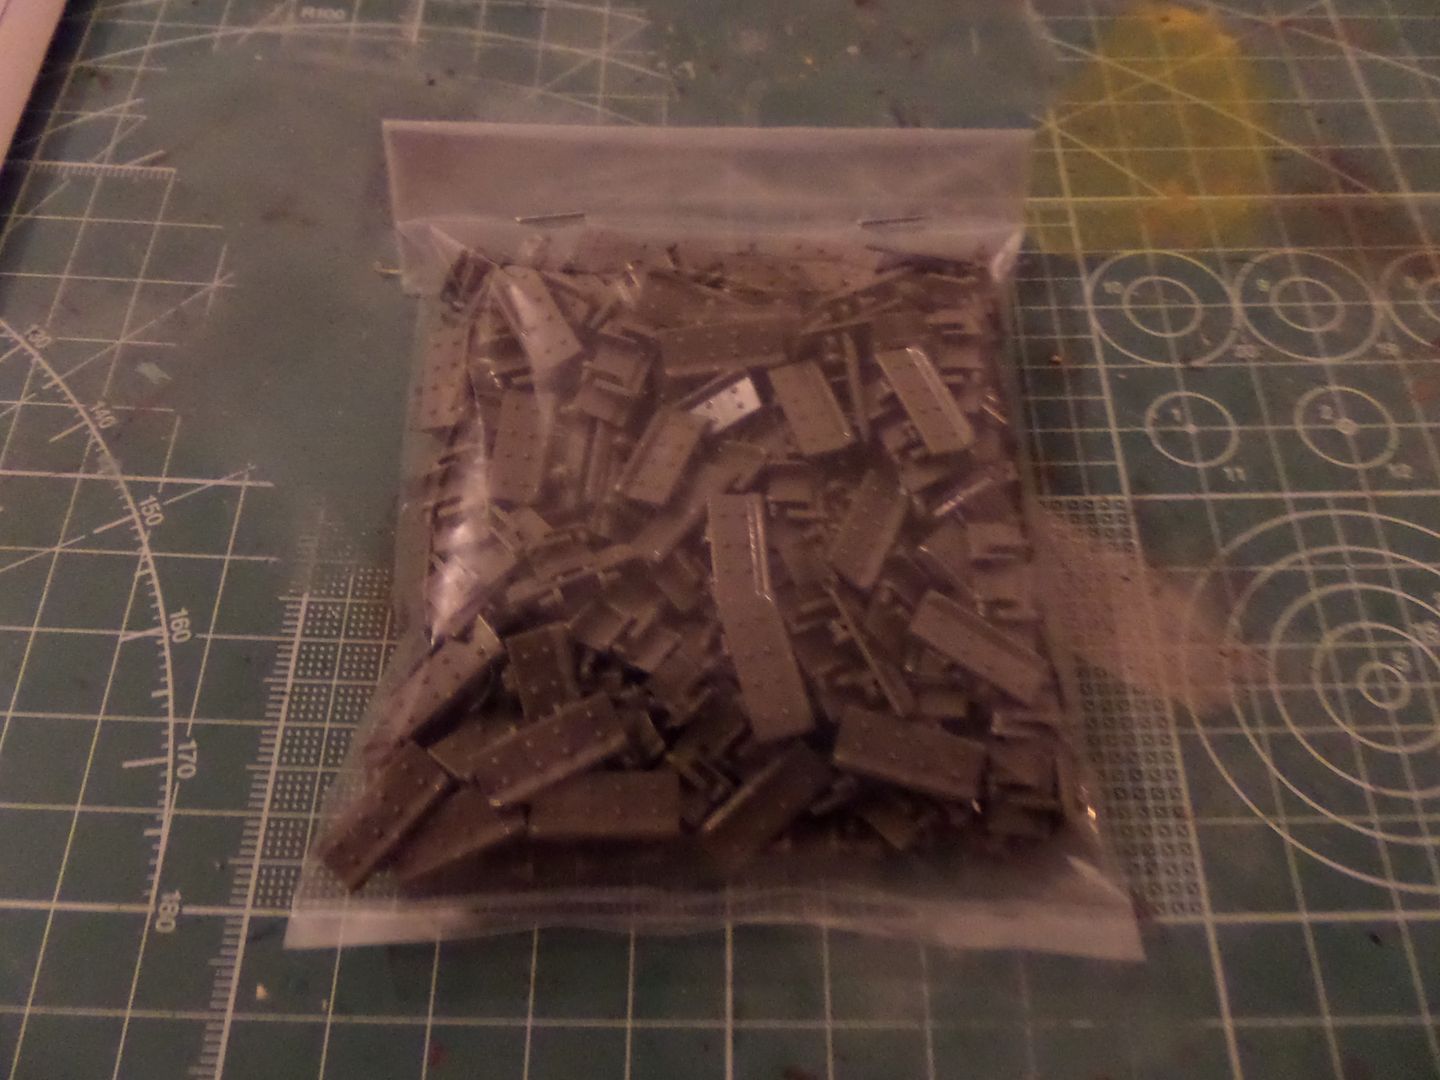
Tracks...tracks....tracks.....
Let's link them toghether ...let me say , I read a lot of opinios on tracks ...this seems the most easy to do ...easy to link one to another , you place them and 'click' there you have them ...and very nice they seems to ...
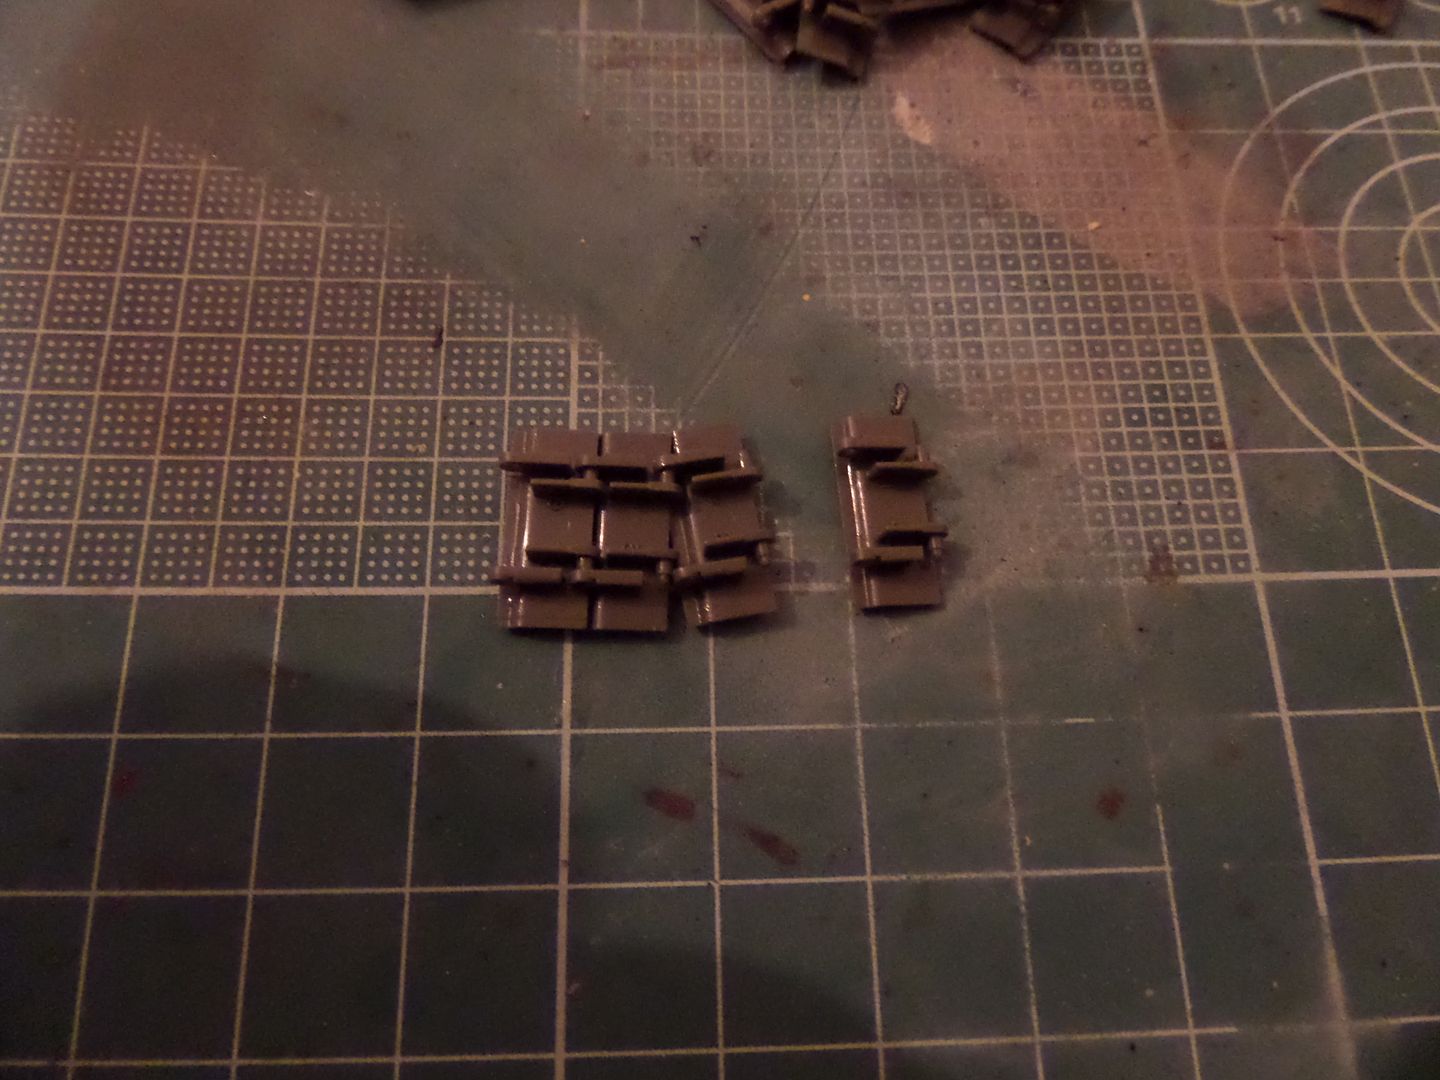
The finish tracks ...about 20/30 minutes form beginning...some spare ones , as this is a moveable diorama
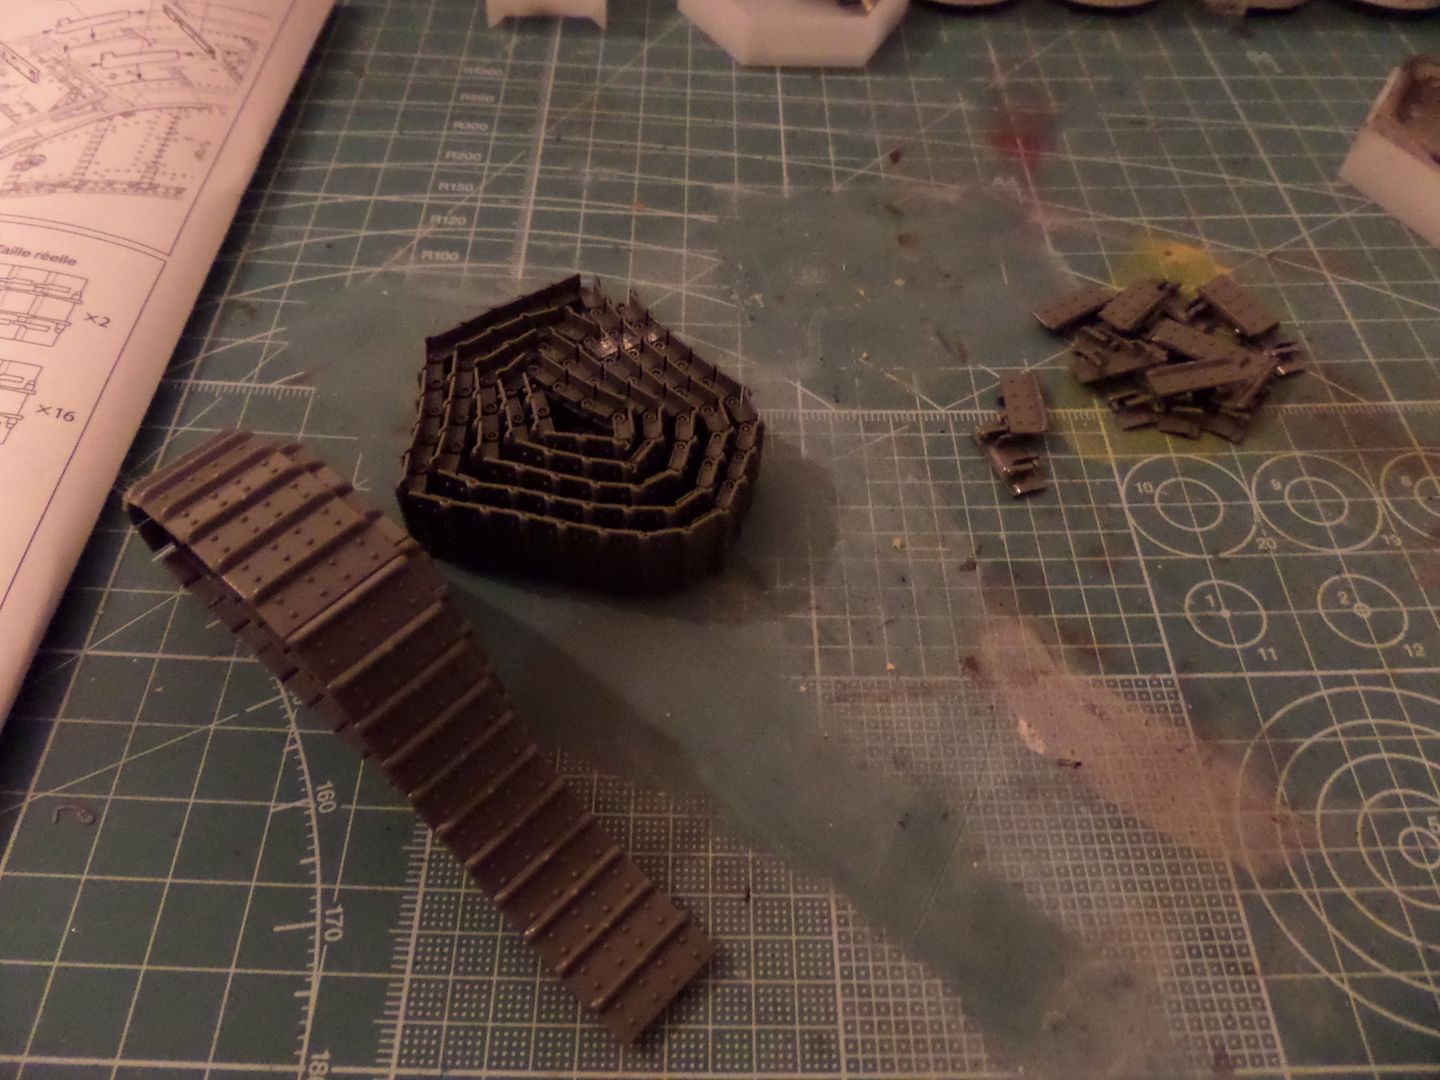
87 track links for each side ...
Then sanded and prime them , use the AK interactive Track Primer , it is again some good stuff really gives a sort of metal rough aspect ...
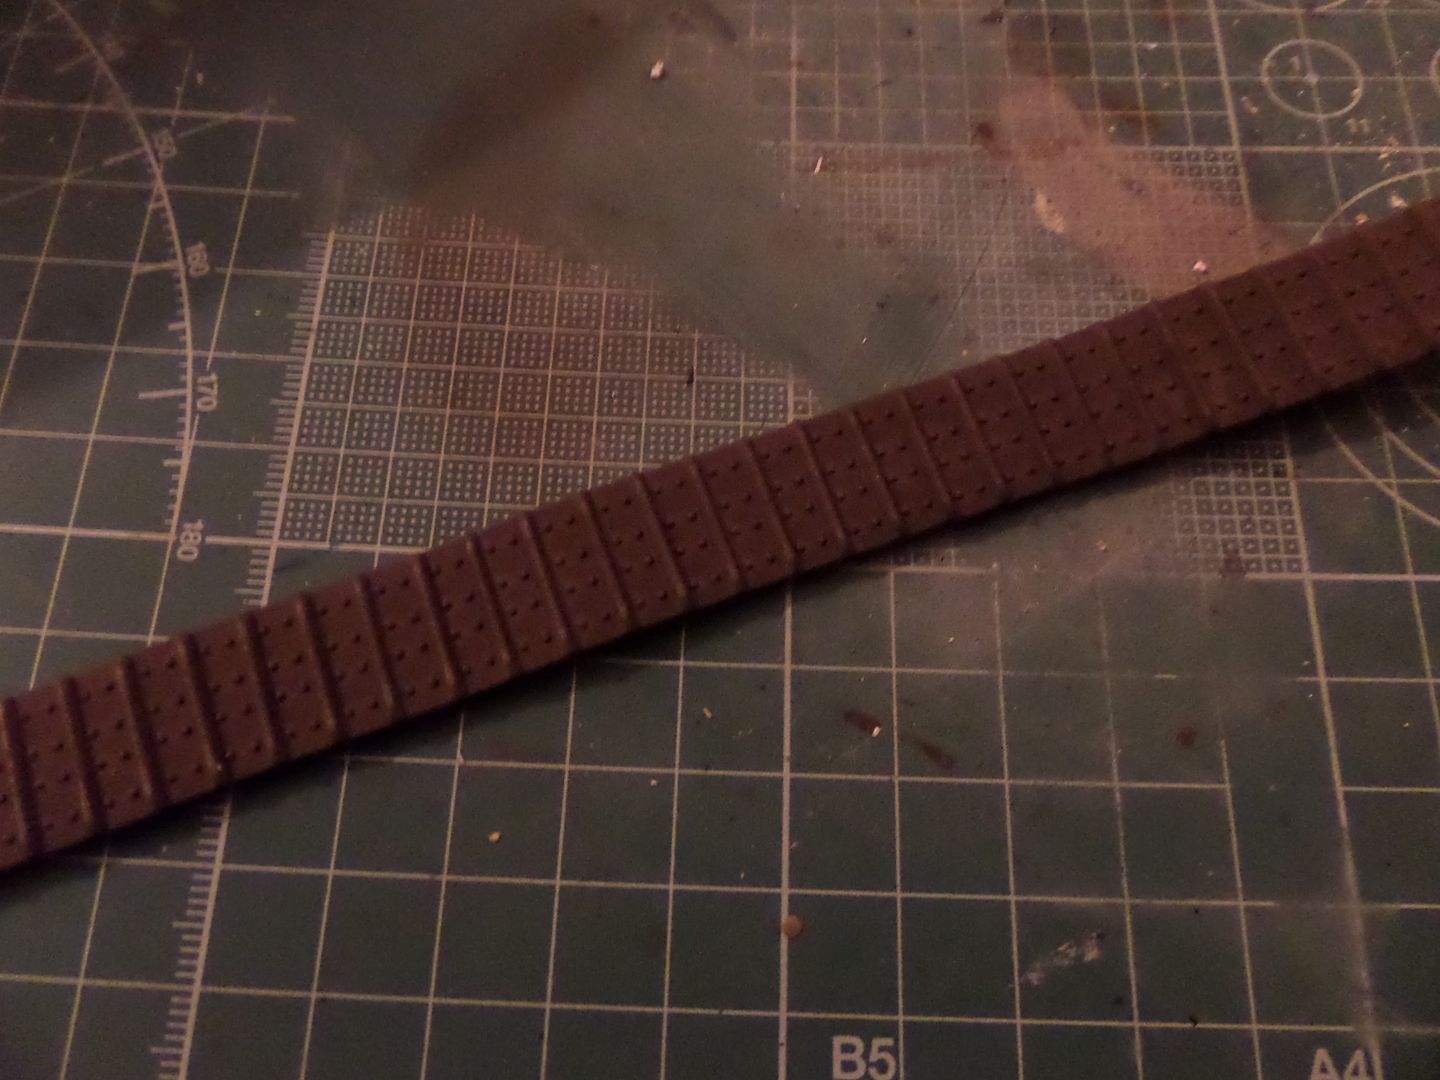
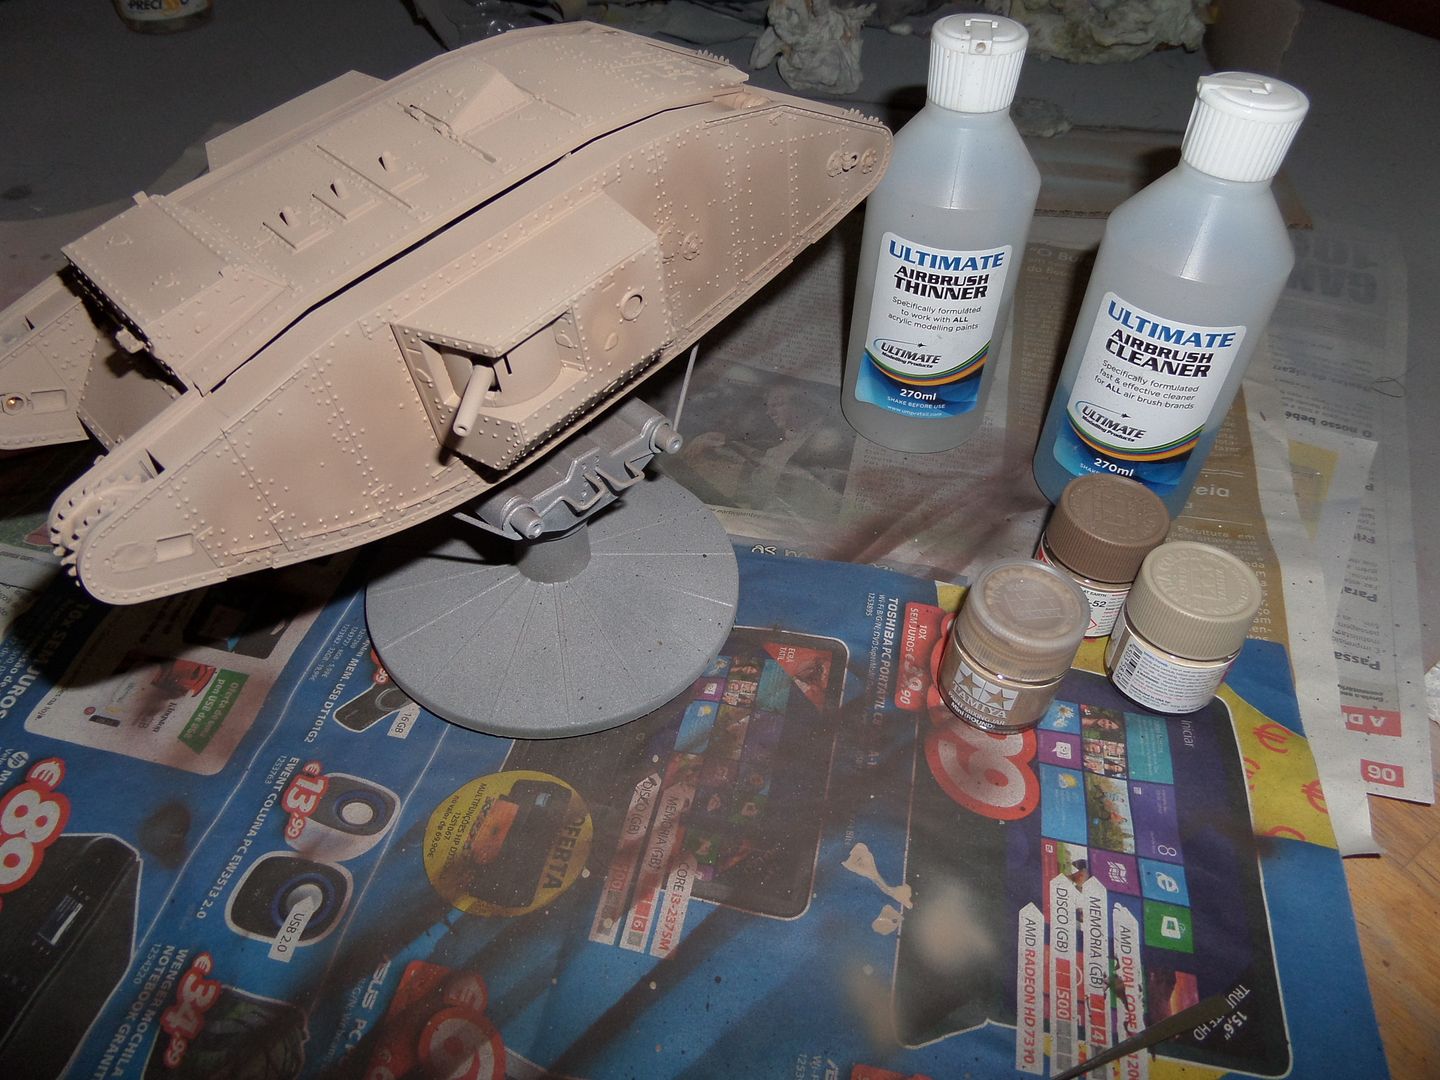
Ok , then the tank os almost ready so let's prime the tank ...well start to think to use AK Dark Yellow , but after I saw the result on the tracks I use the same Primer for the tank ,
Already with some paint on (mixture XF-52 with XF-57...Tamiya mention XF-52 with XF-55 , but i think that the end result is the same ...saw some build where the guy used XF-49 Khaki Green , again I liked the end result ...If I check the Photo reference should be a sort of green , the paint schemes show some sort of brown ...Ahhhhh this color subject bores me

Painted :
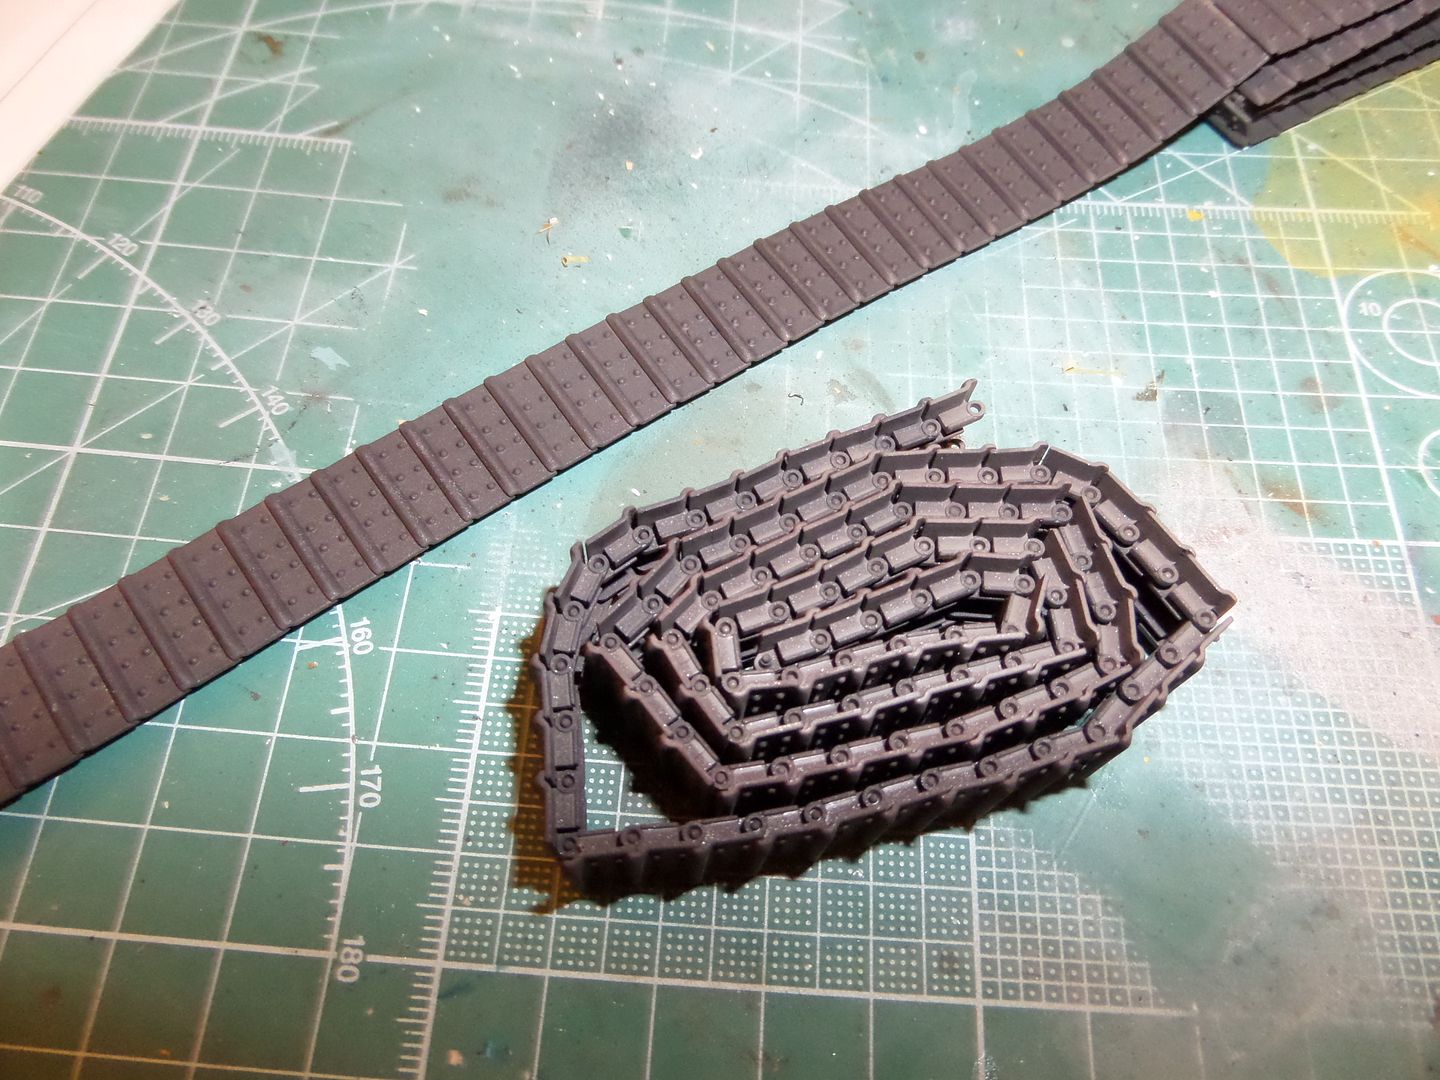
The tracks painted also with XF-84 Dark Iron
Now to finish the tank , some acessories and stuff to add
The tow cable , it is a textil line and we should paint it XF-84 to seems a cable stell , well in here I believe that an aftermarket steel cable could be better and with some better effect , in such a nice kit it is a pitty that Tamiya didn't put a stell cable , well I hav ethis and will go to work :
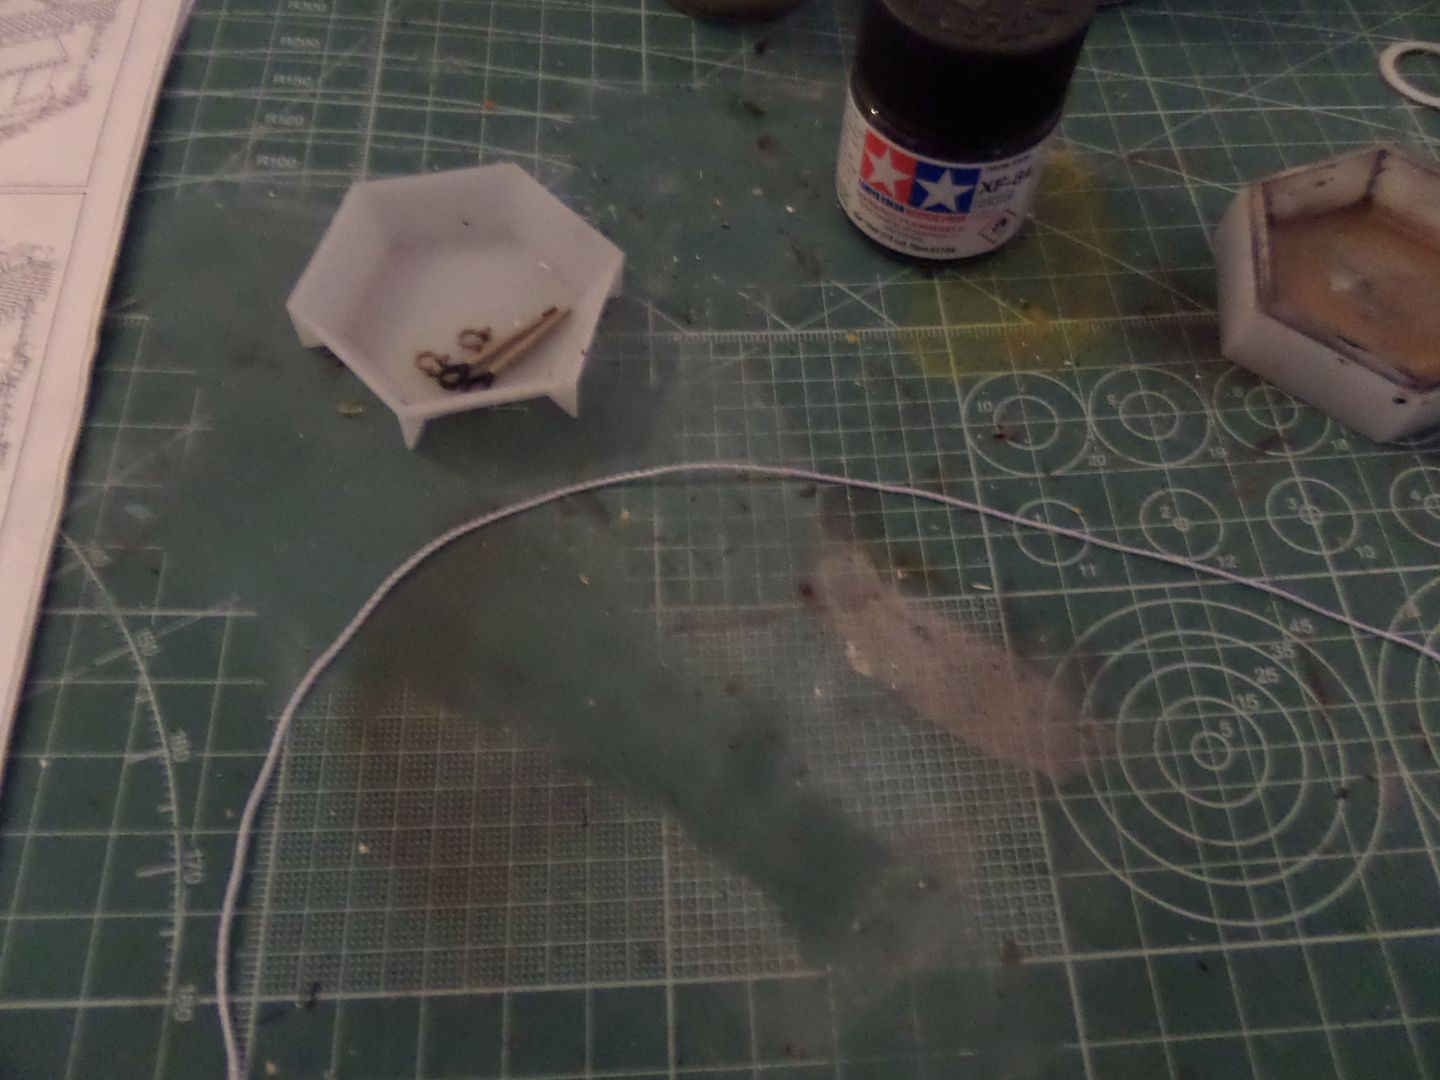
the cable must be cutted to a lenght of 280 mm
Already cuted painted and with the end pieces
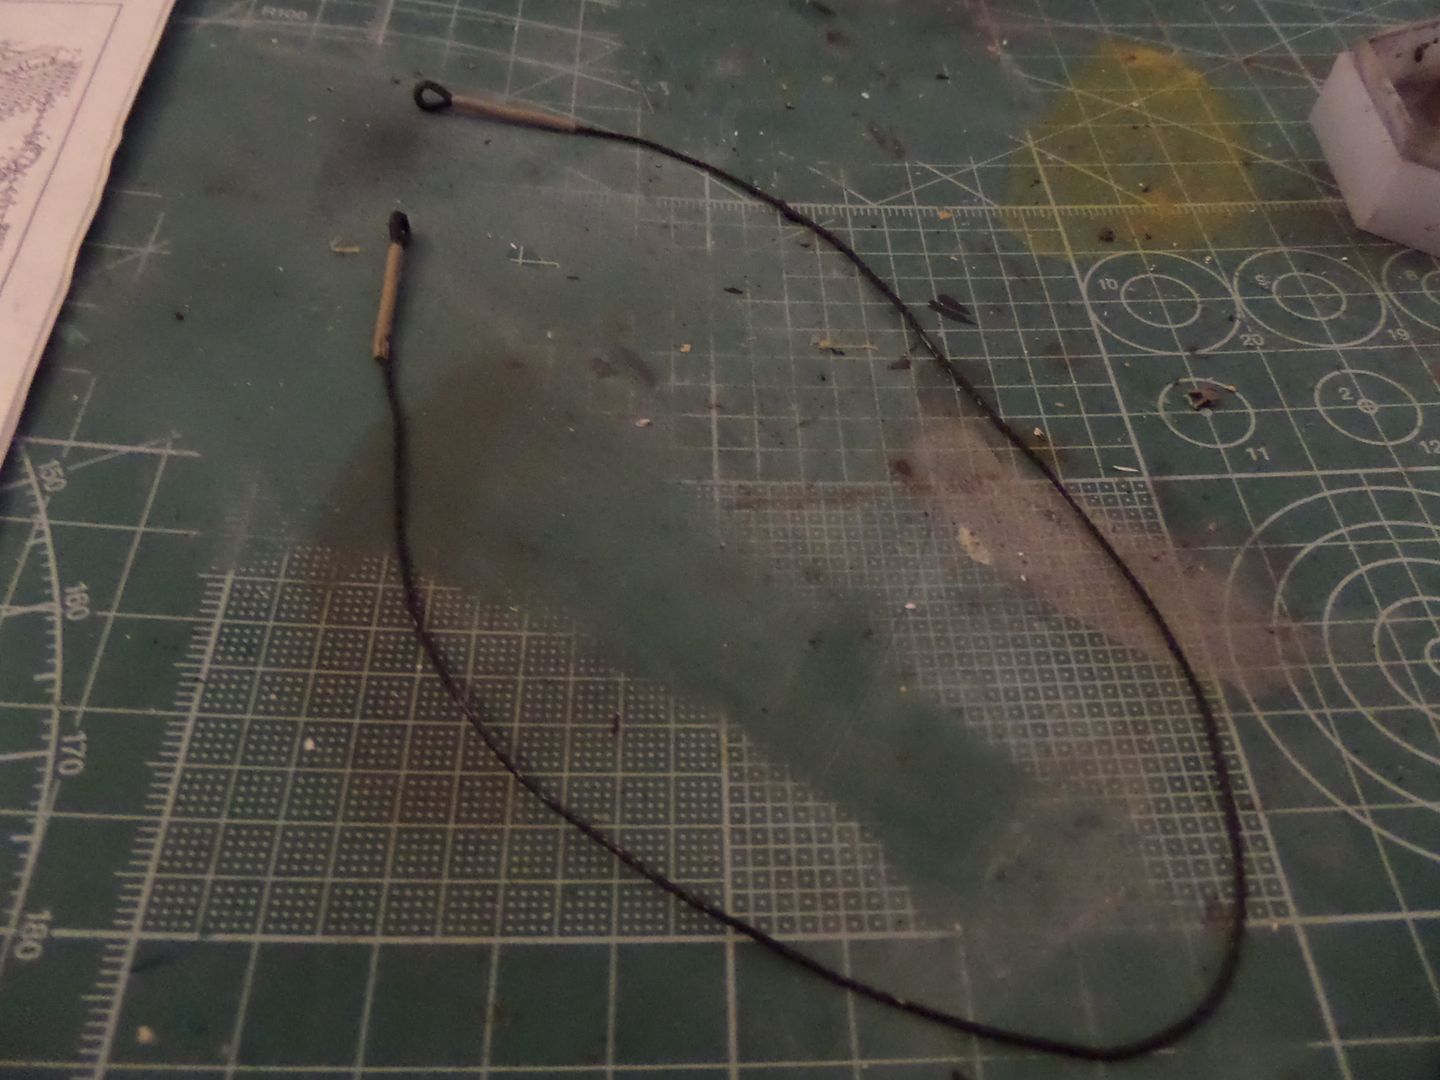
it is a good effect , even for a textil line ...
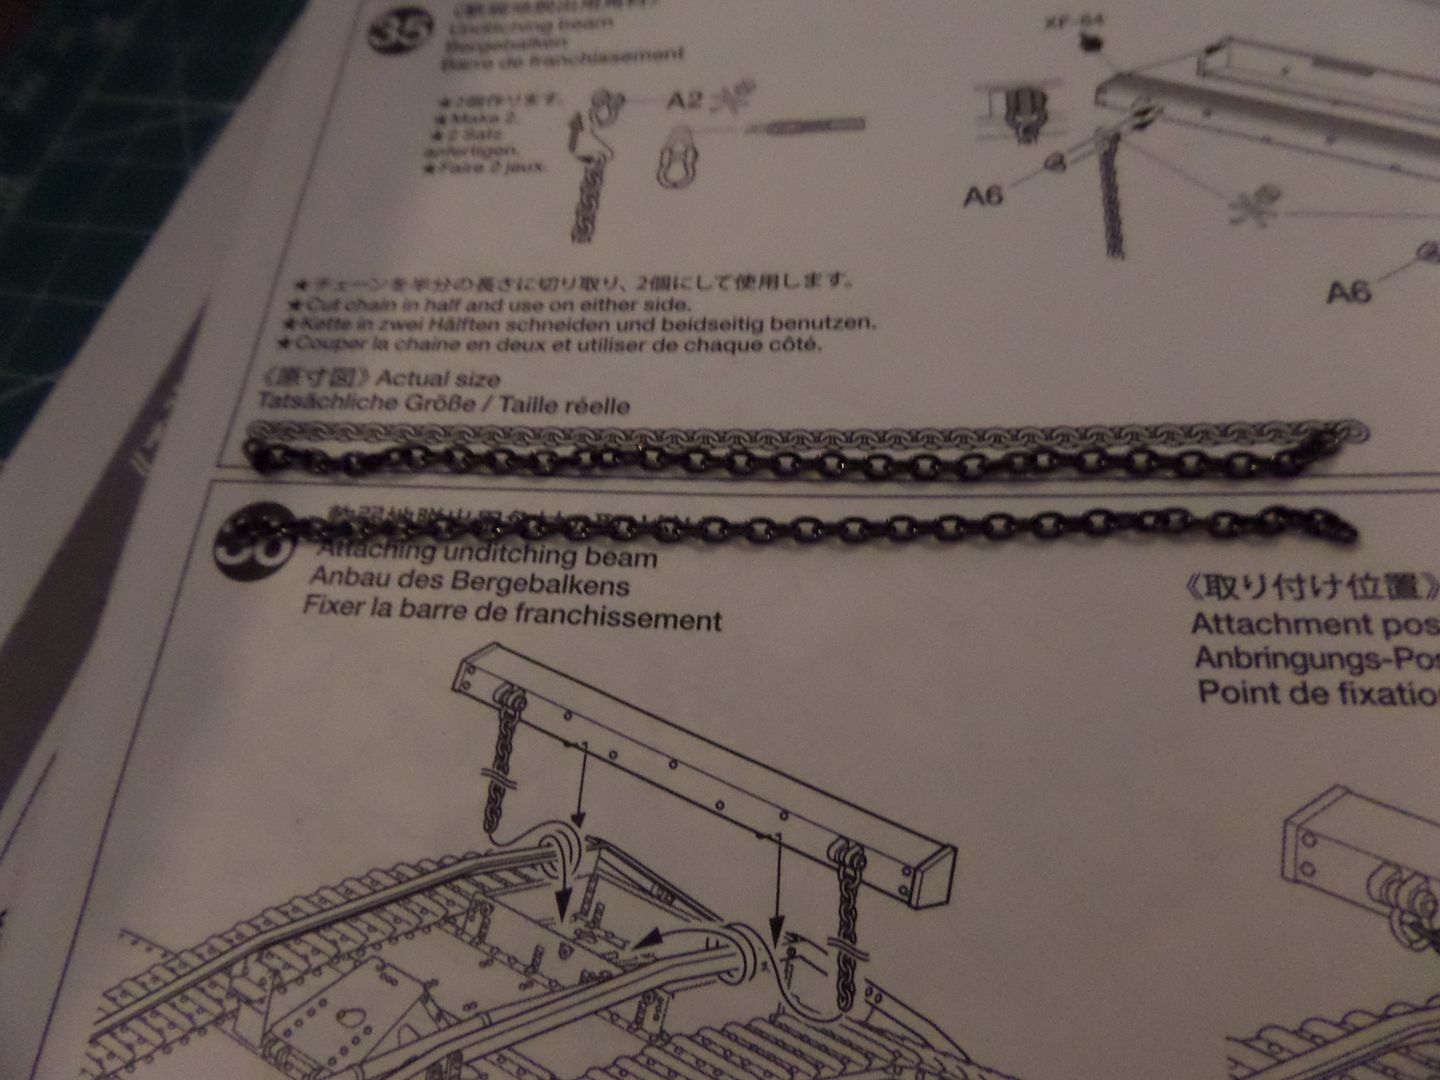
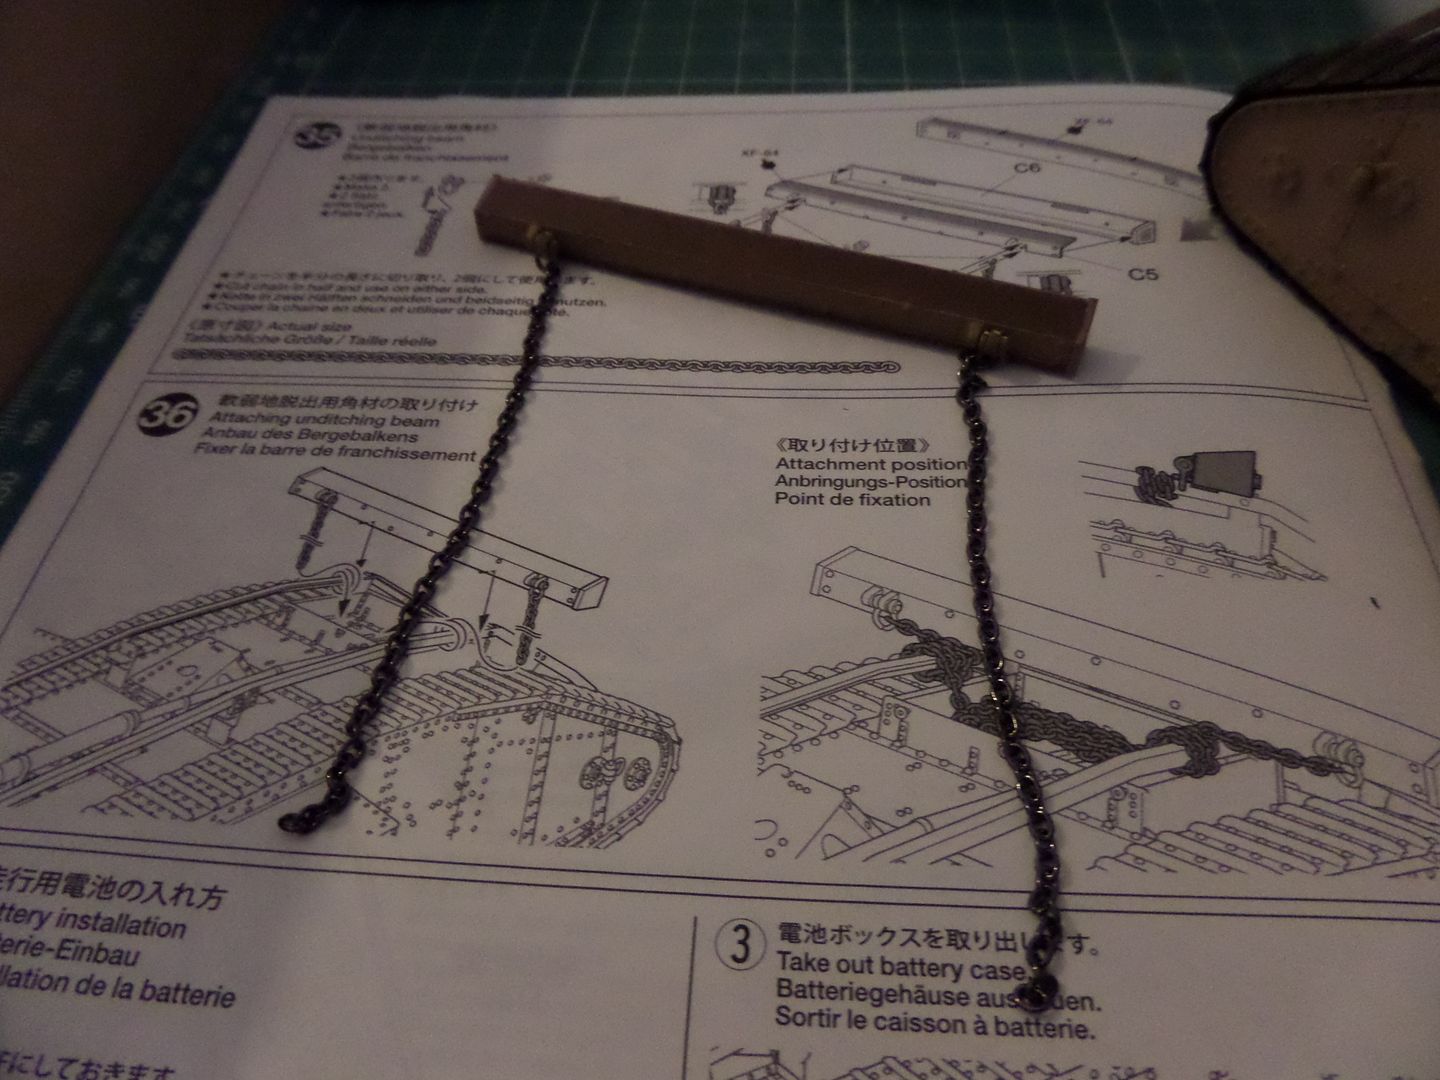
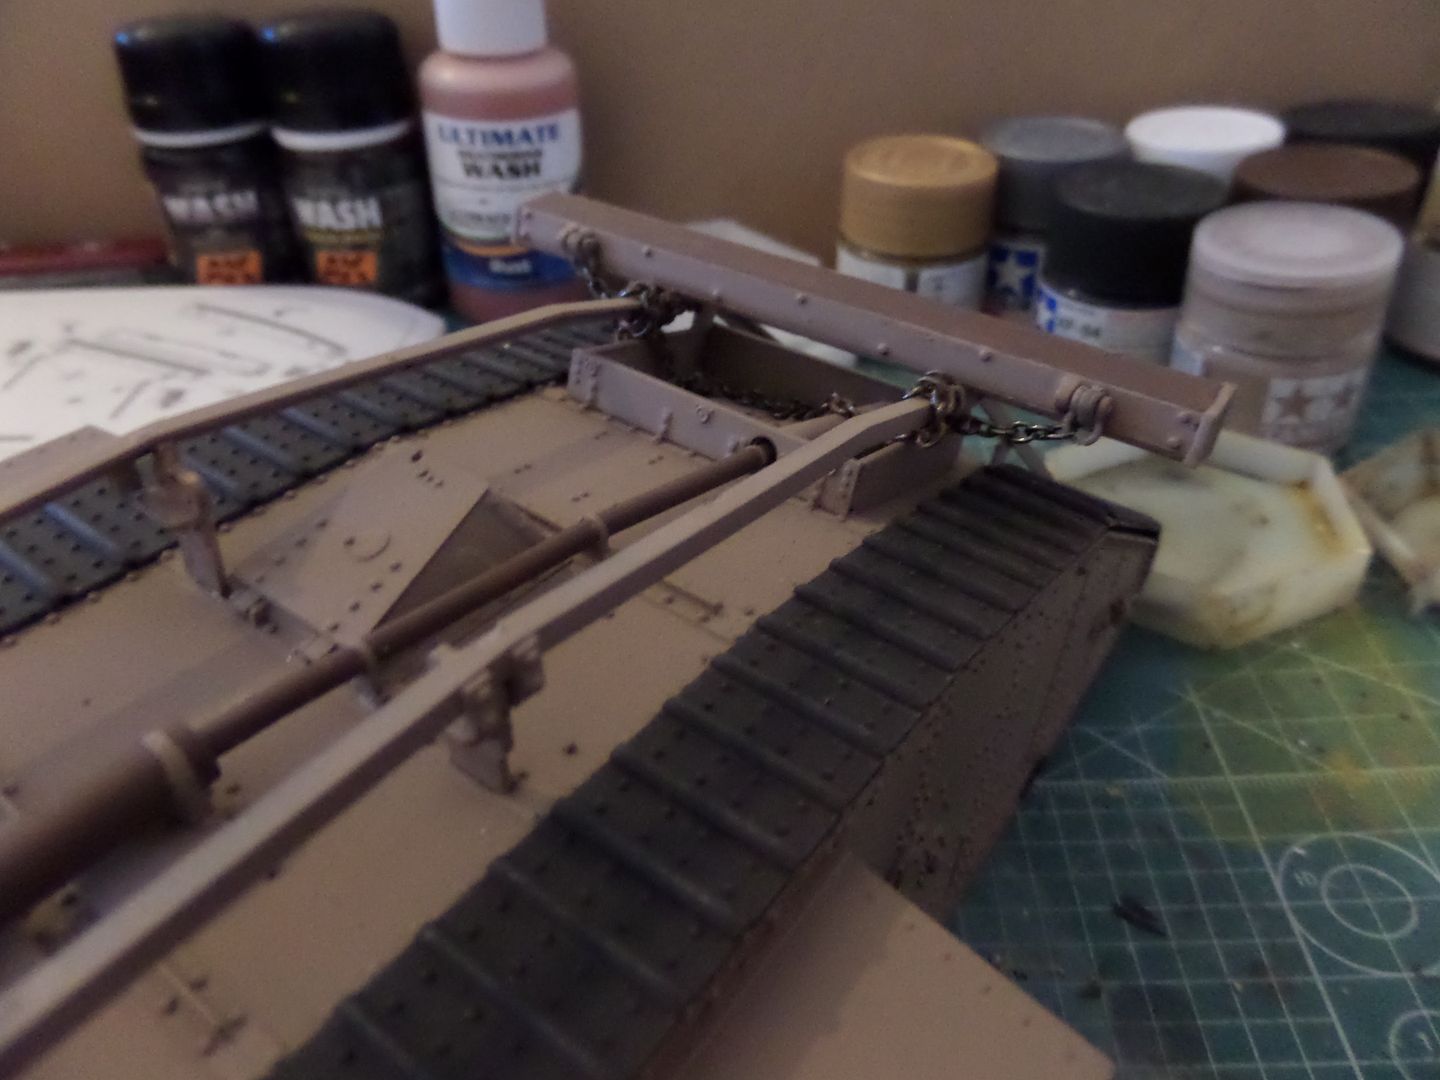
The chain for the unditching bar ....
Must be cut in two halves
It is the right measure , instructions help :
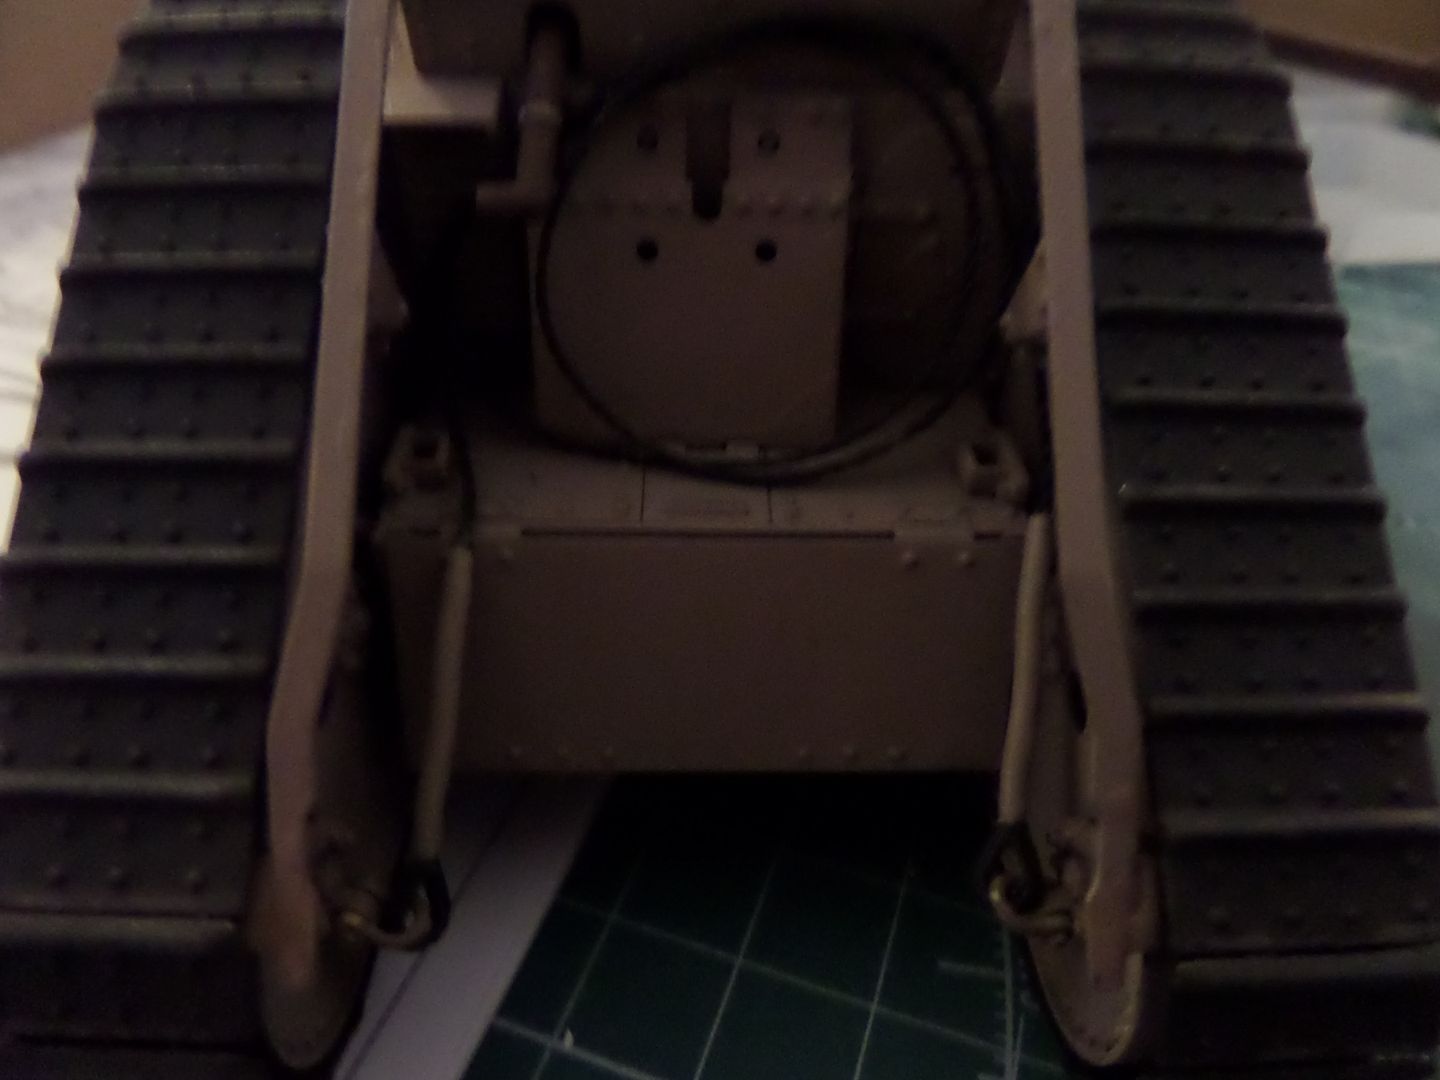
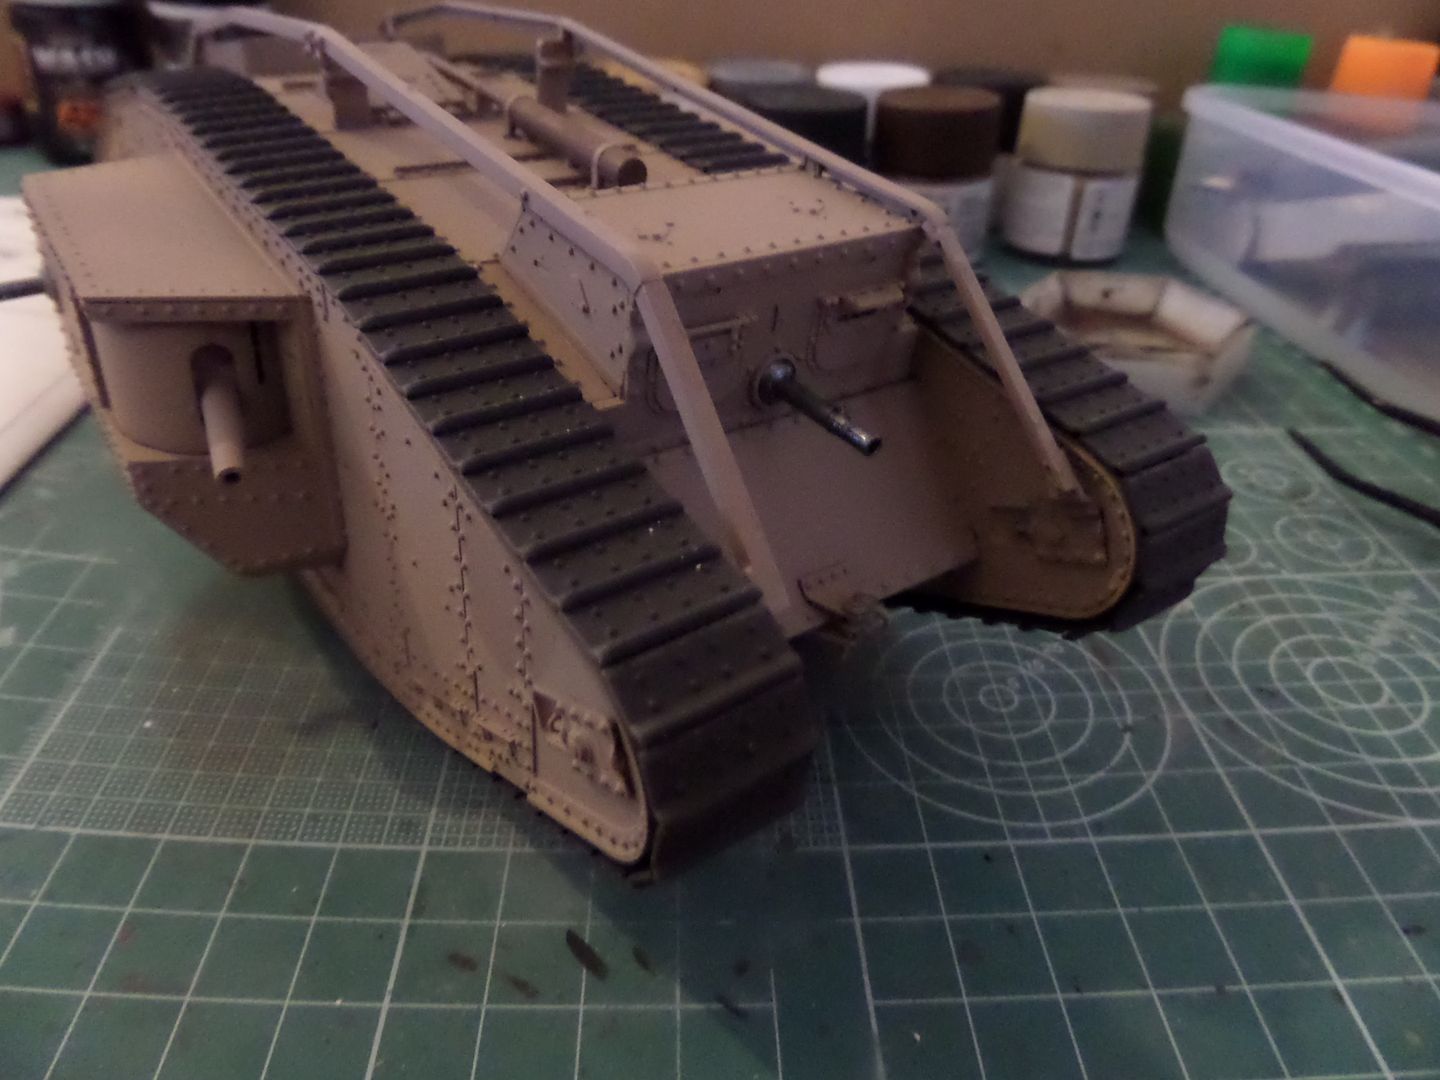
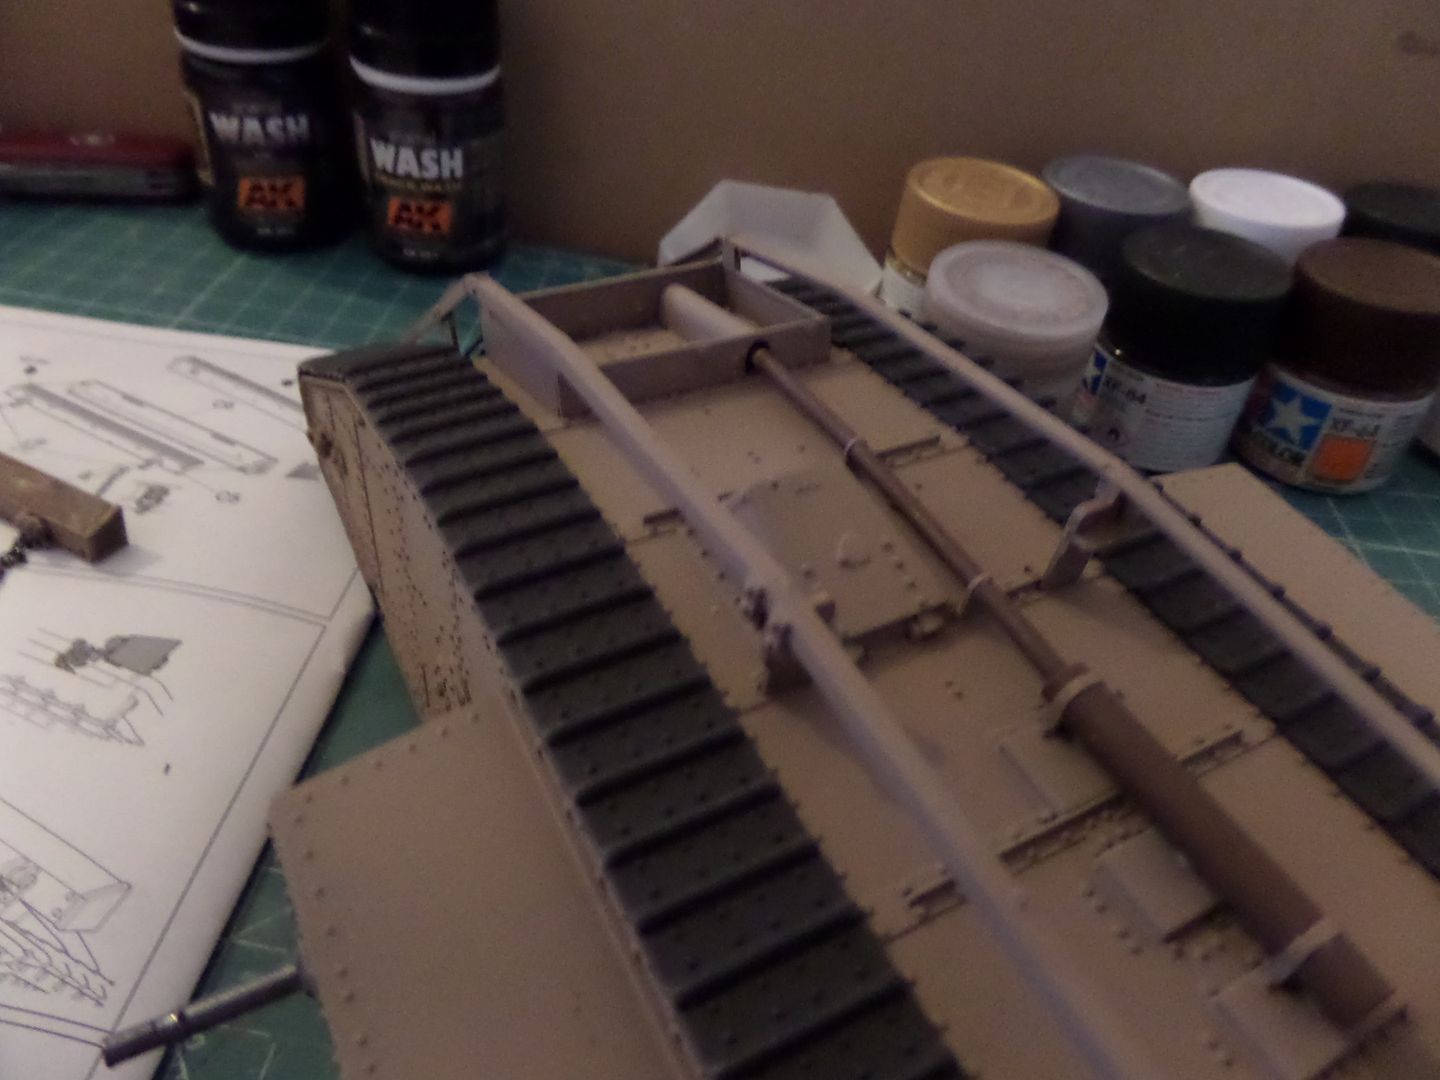
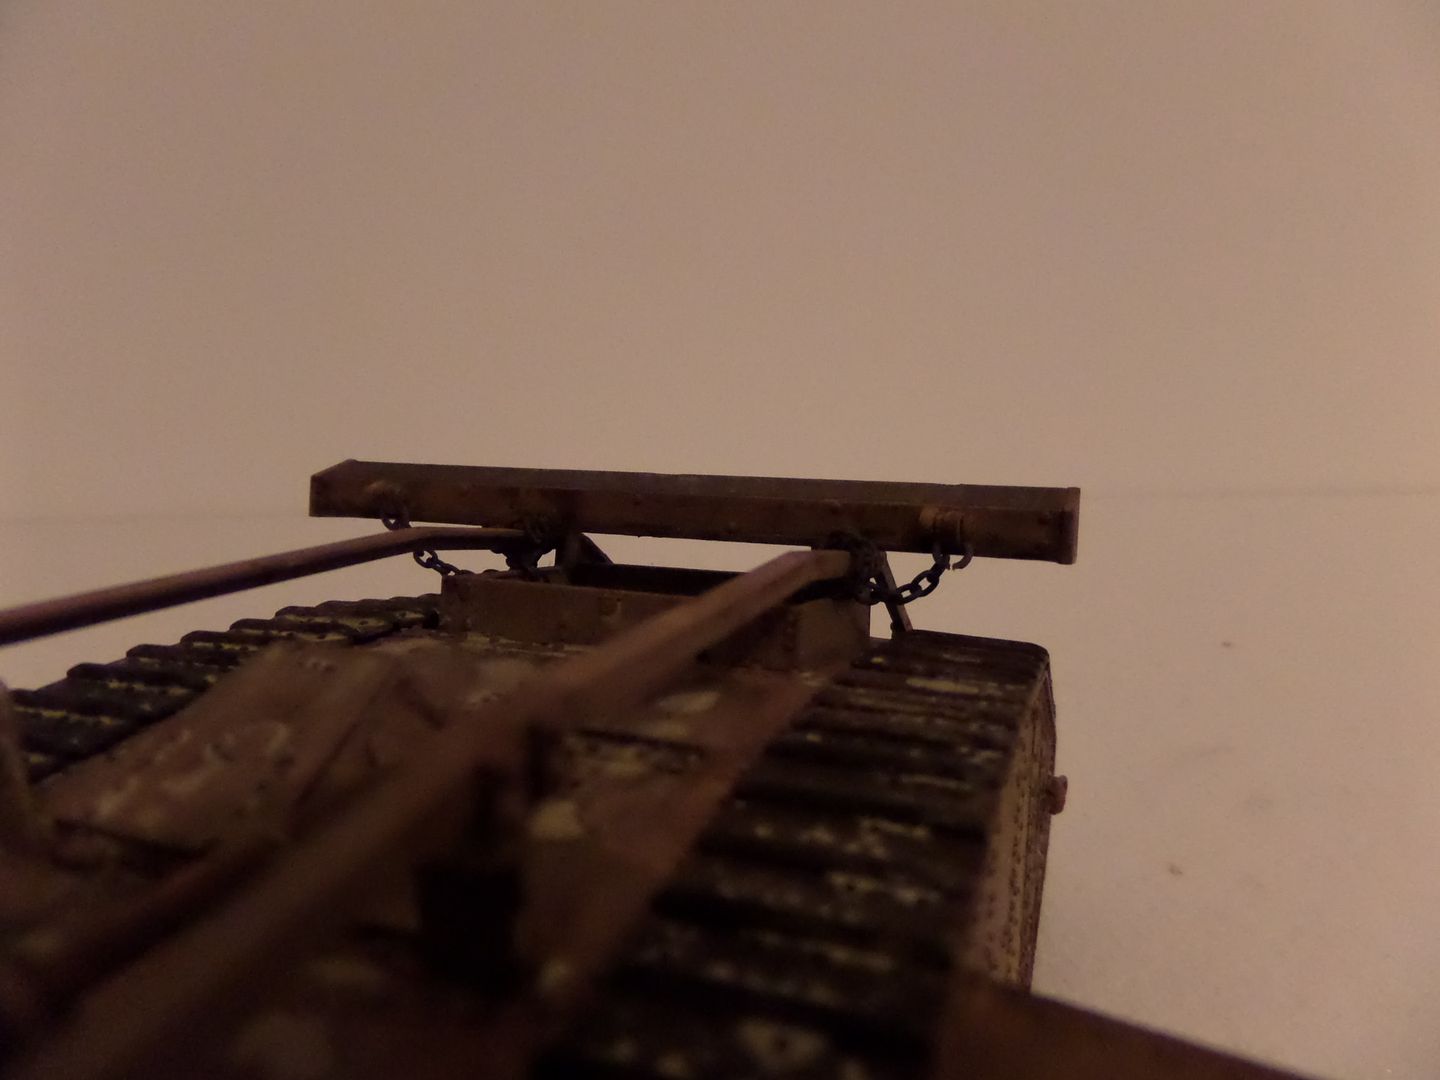
Some Photos of the tank already with the exaust , rail for the unditching bar , tracks placed ( you have a screw on the front to adjust track tension ) and the Lewis MG's
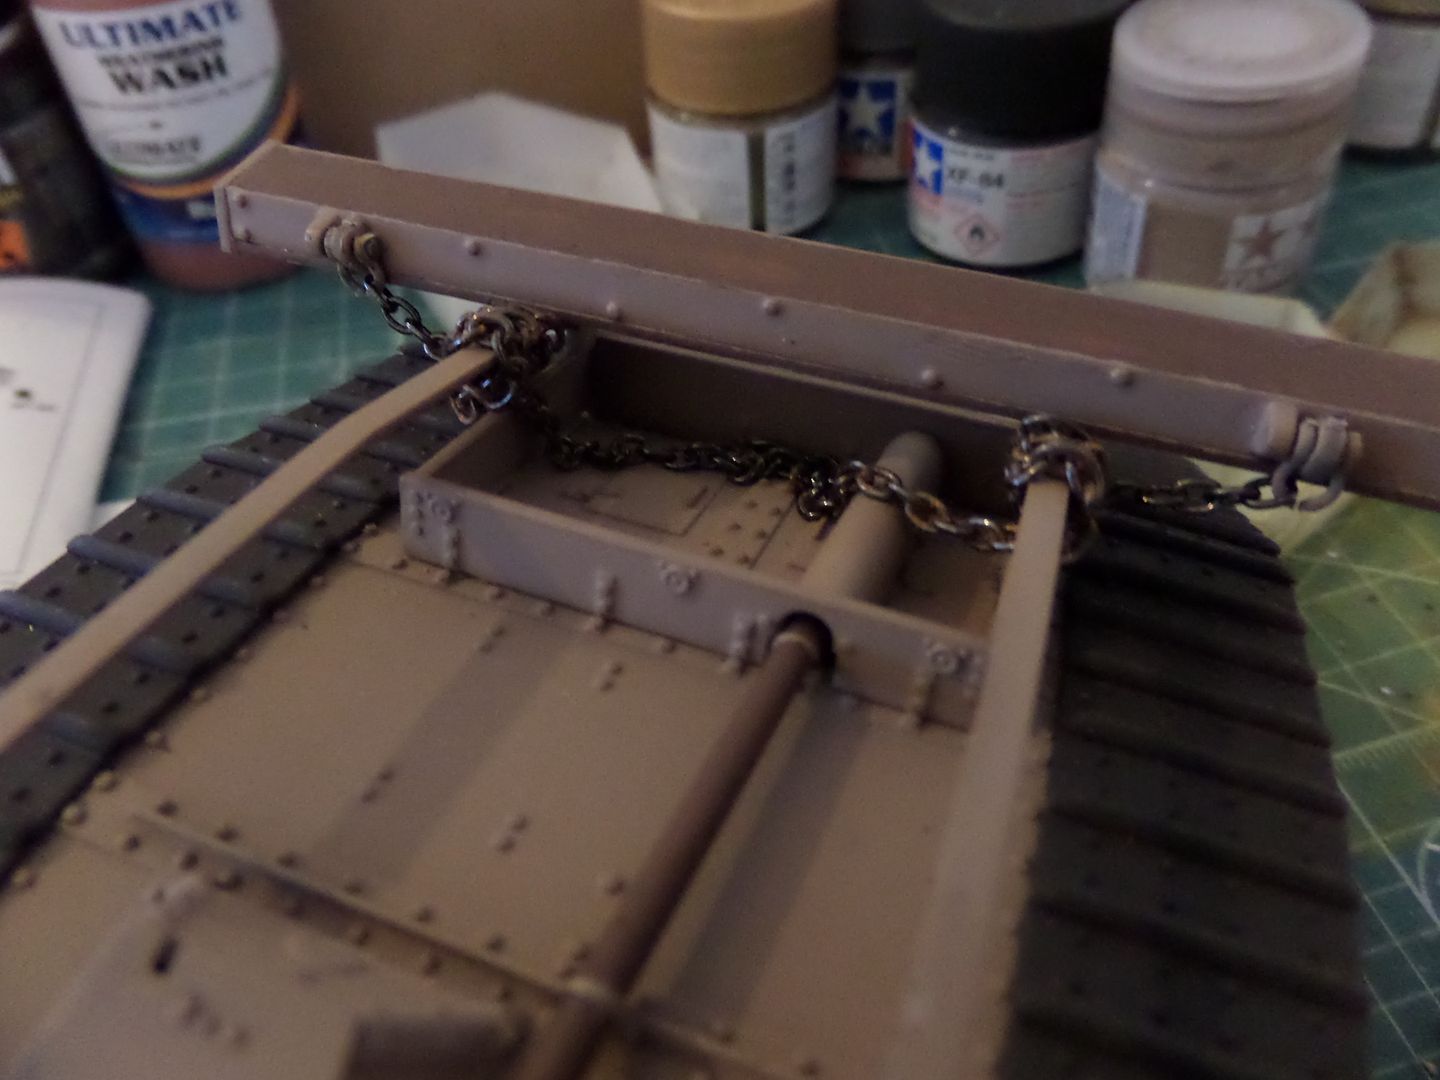
The 'box' where the unditching bar and chains will be
Unditching bar and chain ready to go :
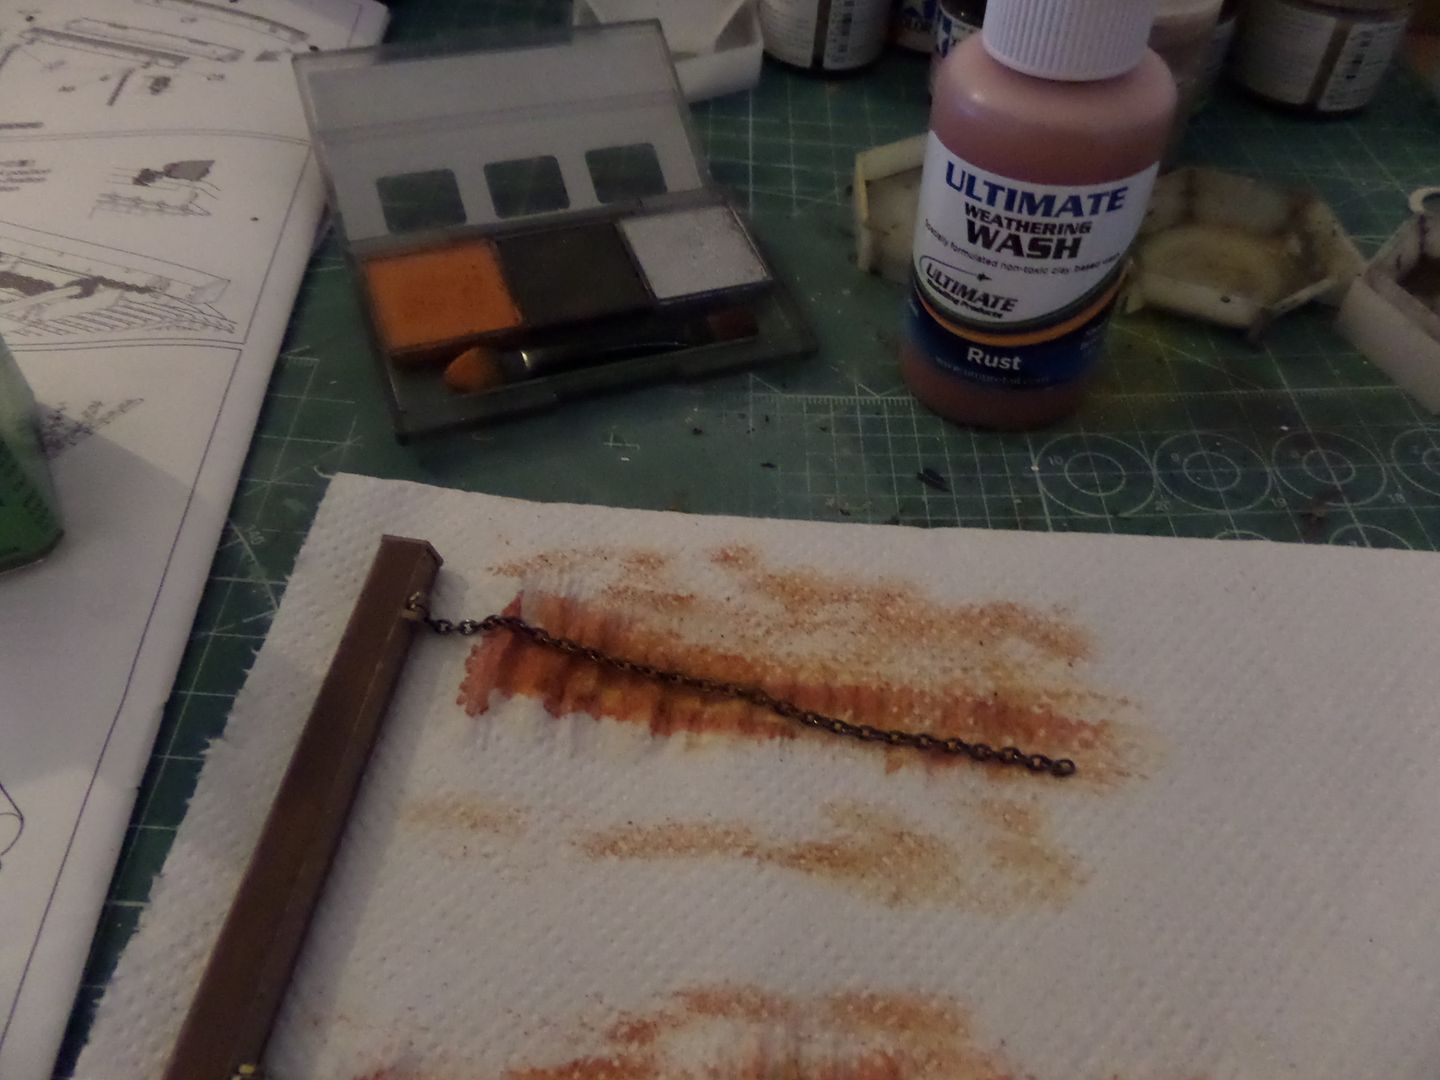
Before apllying the clear cote , try to put some rust wash and pigments on those chains :

Use some Ultimate Rust Wash and Tamiya weathering master ...hard to fix n that metal , but it gived them some rsusty look
Some more detail

Now some Clear Cote on it , some weathering and declas , I will try not to weathering too much , some rust here and there , some XF-57 do depict dust , sme weathering on the tracks ...let's see how it goes , will be the next update , still a lot to do on the Diorama and still a lot of tuff to come home , maybe during next week ...I finally get some WW1 German weapons from ICM , I thought that I couldn't get them , find them in Poland .
Thanks for watching guys , again be free to comment ...
New Update on the Mark iV MAle tank , near to finish him ...
So , I mount the guns ...everything ok , no great issue ,painted interior white ...and if you may you can't remove this and see the detail of the guns it is very nice ...

I mask and will place latter the lateral Lewis Machine guns , as I must prime it and paint it , and like this only some mask stripe needed in the interior...
The guns seen from the outside ...some paint already made in guns shields , this weren't a very easy step to build , again be attentive to instructions and how you must place the gun on them ...

See it has this Poly caps so that we can remove the guns 'bunkers'

Now it's looking like a Tank ...

So now tracks ....
A full bag of tracks links ...

Tracks...tracks....tracks.....
Let's link them toghether ...let me say , I read a lot of opinios on tracks ...this seems the most easy to do ...easy to link one to another , you place them and 'click' there you have them ...and very nice they seems to ...

The finish tracks ...about 20/30 minutes form beginning...some spare ones , as this is a moveable diorama

87 track links for each side ...
Then sanded and prime them , use the AK interactive Track Primer , it is again some good stuff really gives a sort of metal rough aspect ...

Ok , then the tank os almost ready so let's prime the tank ...well start to think to use AK Dark Yellow , but after I saw the result on the tracks I use the same Primer for the tank ,
Already with some paint on (mixture XF-52 with XF-57...Tamiya mention XF-52 with XF-55 , but i think that the end result is the same ...saw some build where the guy used XF-49 Khaki Green , again I liked the end result ...If I check the Photo reference should be a sort of green , the paint schemes show some sort of brown ...Ahhhhh this color subject bores me

Painted :

The tracks painted also with XF-84 Dark Iron

Now to finish the tank , some acessories and stuff to add
The tow cable , it is a textil line and we should paint it XF-84 to seems a cable stell , well in here I believe that an aftermarket steel cable could be better and with some better effect , in such a nice kit it is a pitty that Tamiya didn't put a stell cable , well I hav ethis and will go to work :

the cable must be cutted to a lenght of 280 mm
Already cuted painted and with the end pieces

it is a good effect , even for a textil line ...

The chain for the unditching bar ....
Must be cut in two halves
It is the right measure , instructions help :

Some Photos of the tank already with the exaust , rail for the unditching bar , tracks placed ( you have a screw on the front to adjust track tension ) and the Lewis MG's

The 'box' where the unditching bar and chains will be

Unditching bar and chain ready to go :

Before apllying the clear cote , try to put some rust wash and pigments on those chains :

Use some Ultimate Rust Wash and Tamiya weathering master ...hard to fix n that metal , but it gived them some rsusty look

Some more detail


Now some Clear Cote on it , some weathering and declas , I will try not to weathering too much , some rust here and there , some XF-57 do depict dust , sme weathering on the tracks ...let's see how it goes , will be the next update , still a lot to do on the Diorama and still a lot of tuff to come home , maybe during next week ...I finally get some WW1 German weapons from ICM , I thought that I couldn't get them , find them in Poland .
Thanks for watching guys , again be free to comment ...
Cheers ,
António
On the Bench
a lot of stuff right now
António
On the Bench
a lot of stuff right now
-
rodrant
- Chief Warrant Officer 2
- Posts: 1774
- Joined: Wed Feb 19, 2014 9:22 pm
- Location: Maia - Portugal
Re: Tamiya 1/35 WWI British Tank Mk.IV Male and WWI British
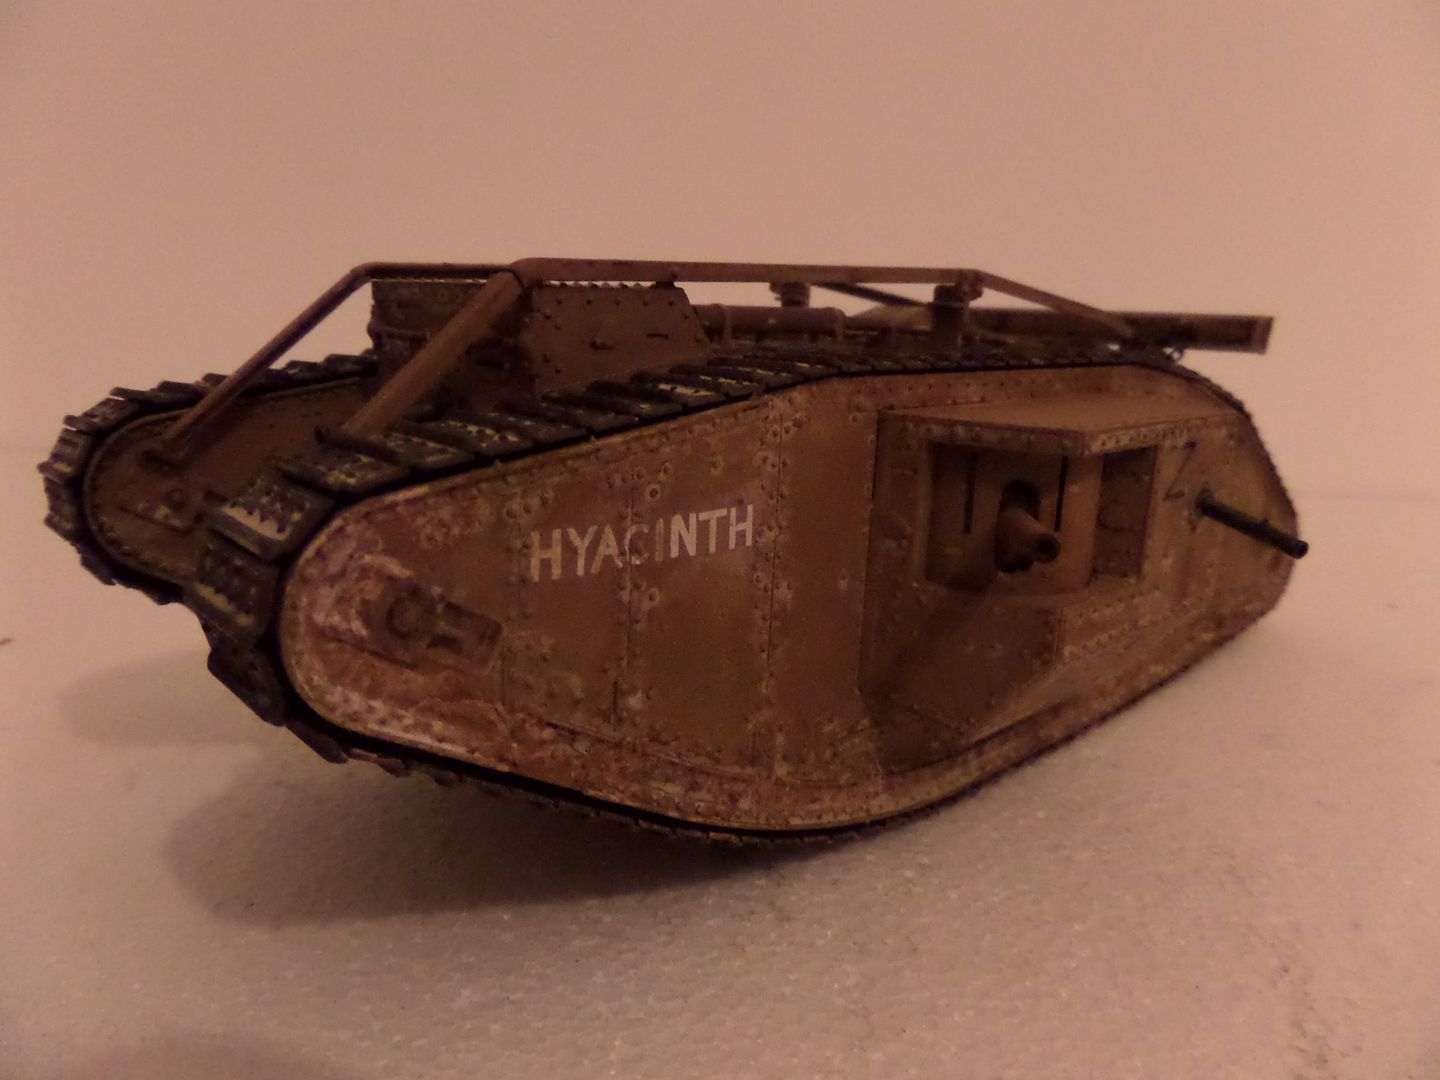
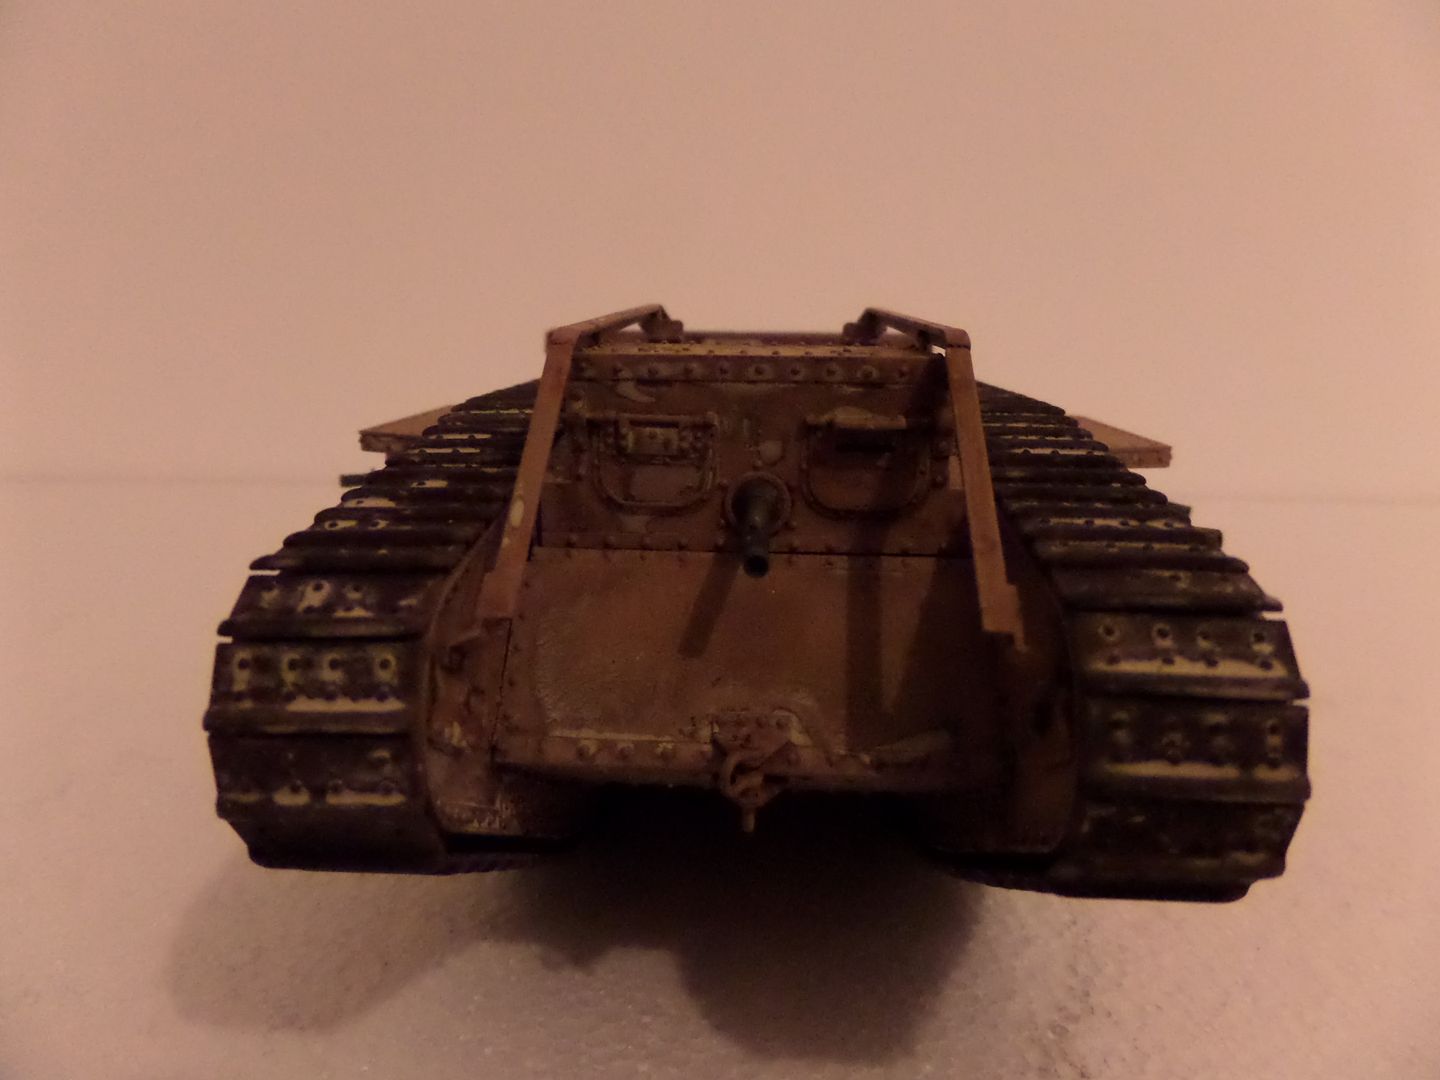
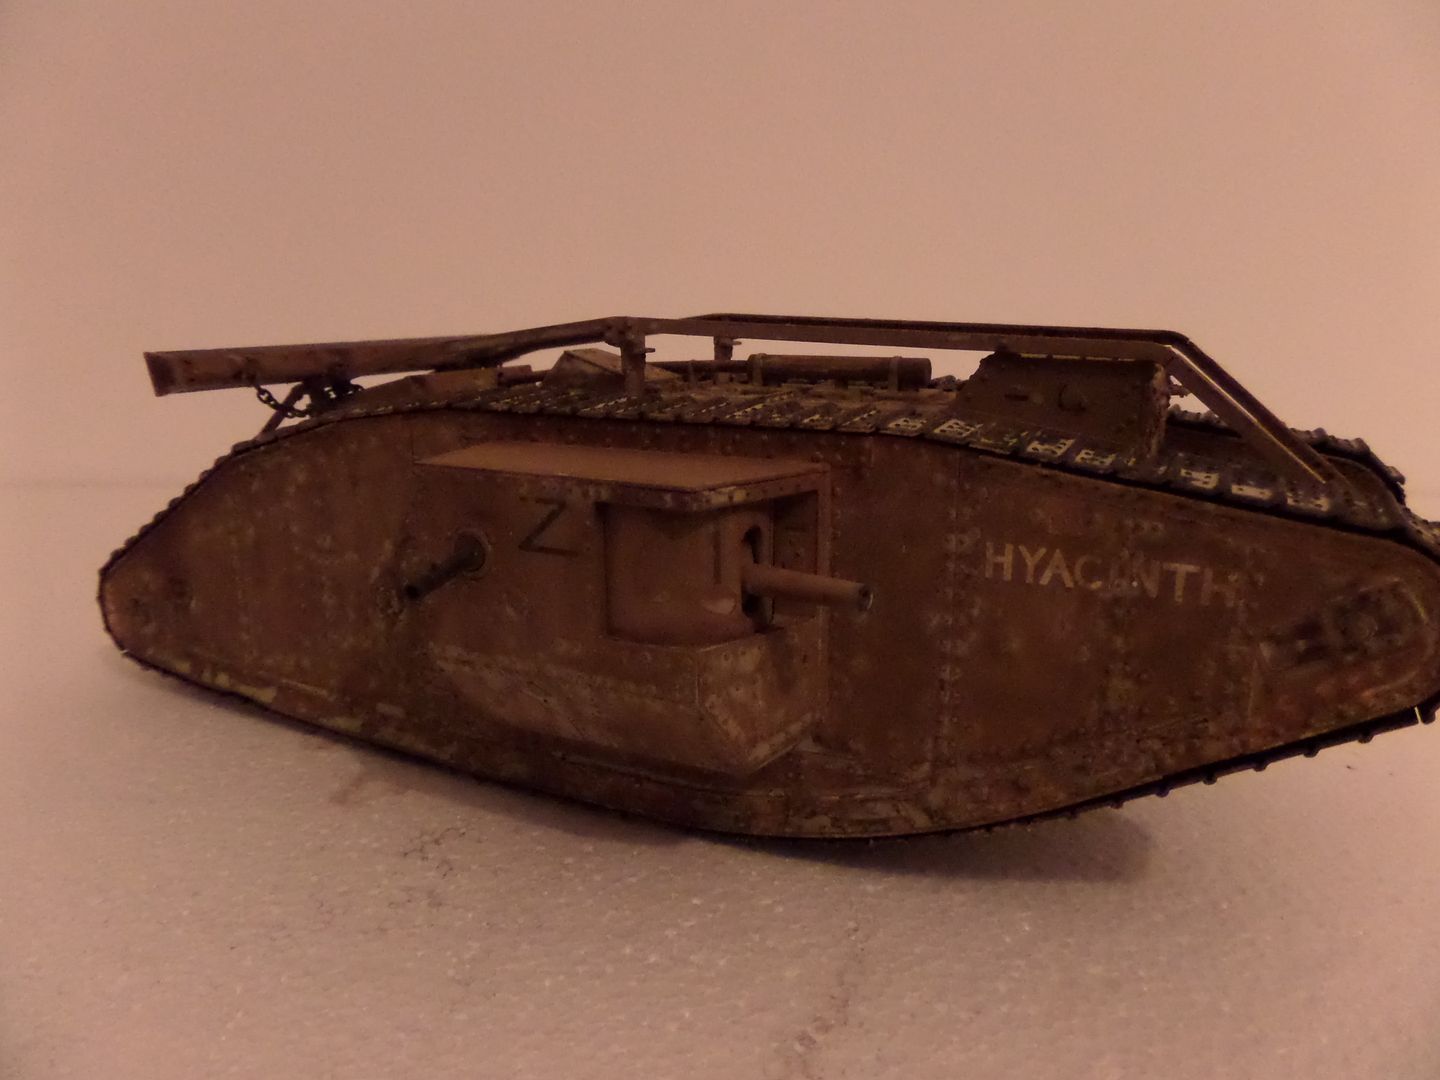
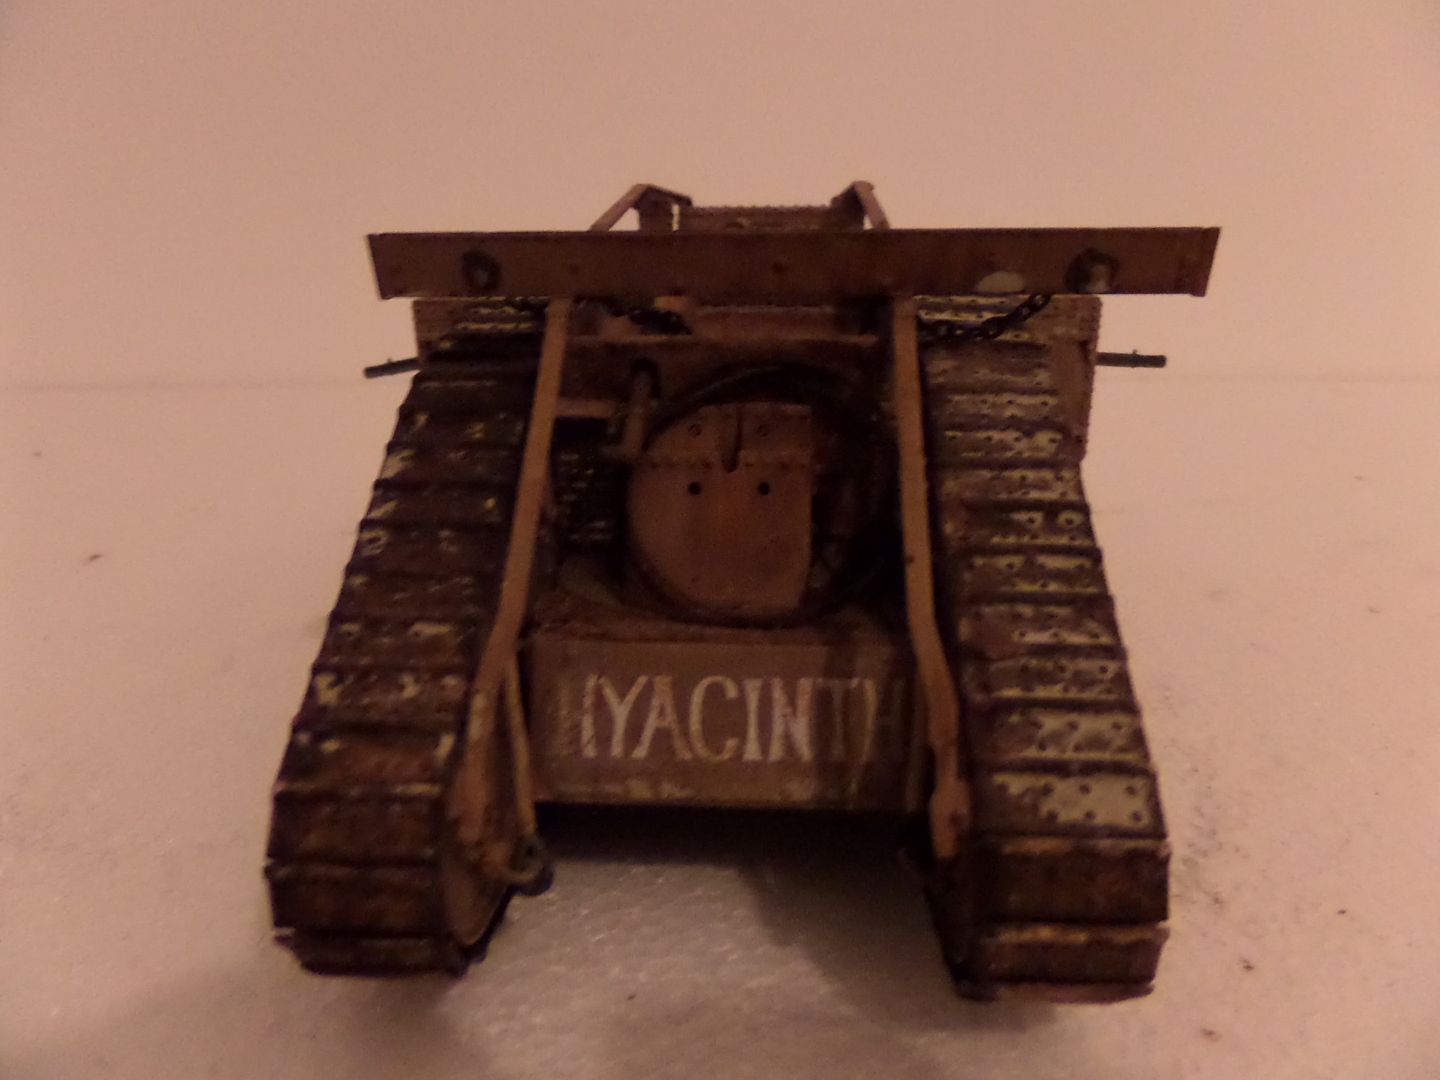
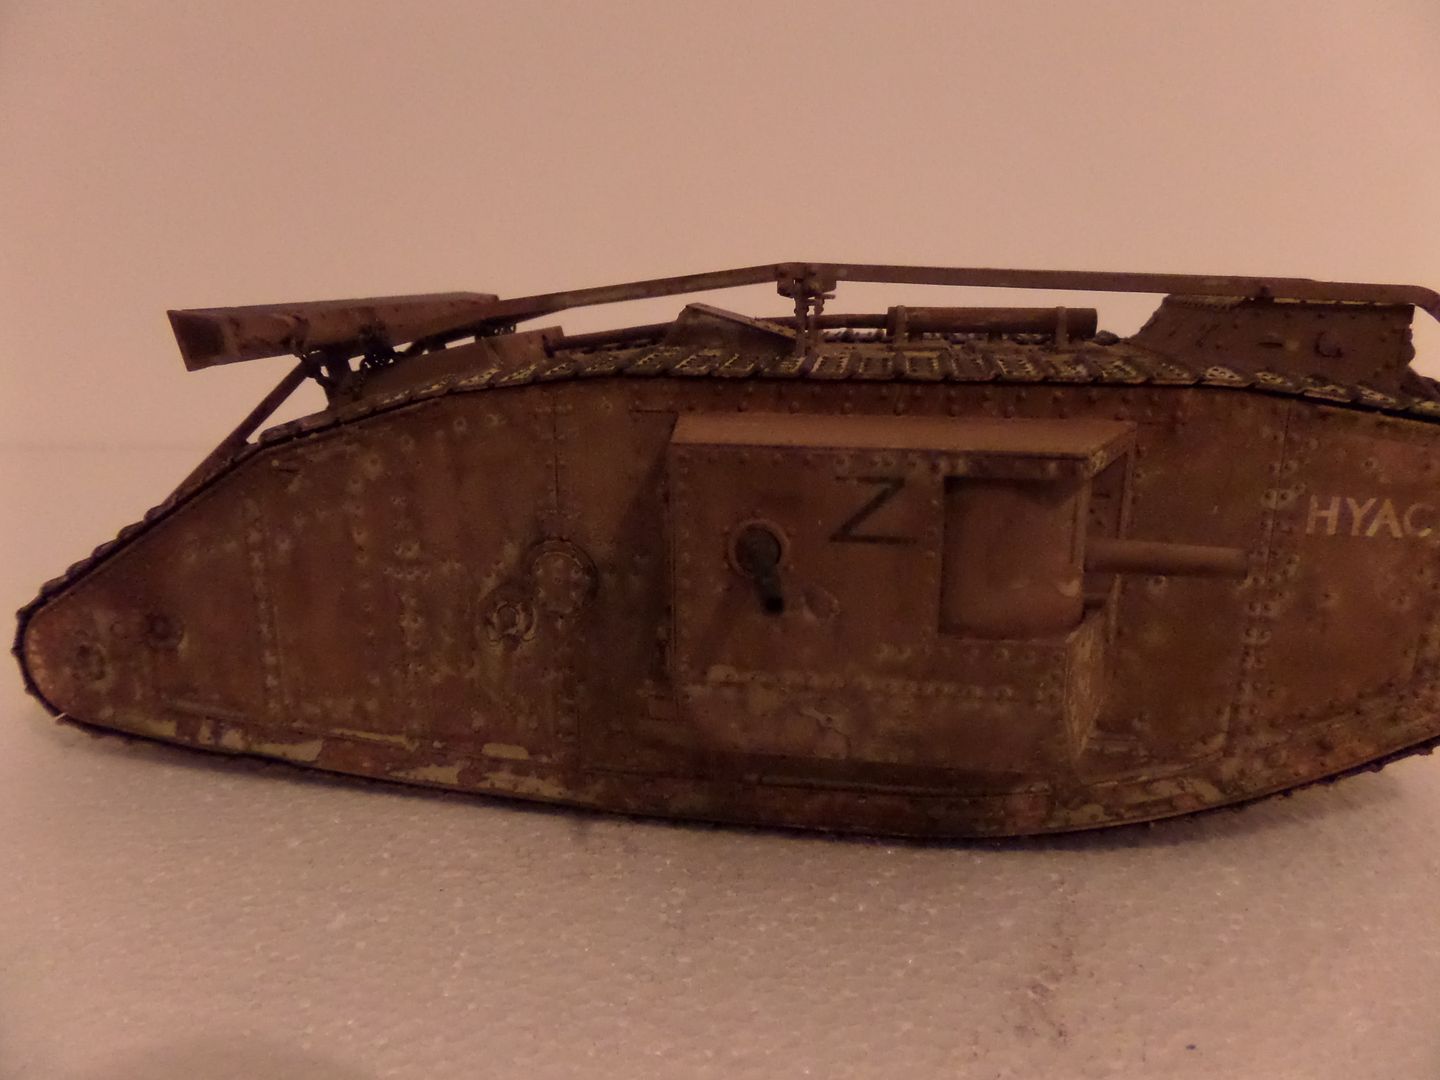
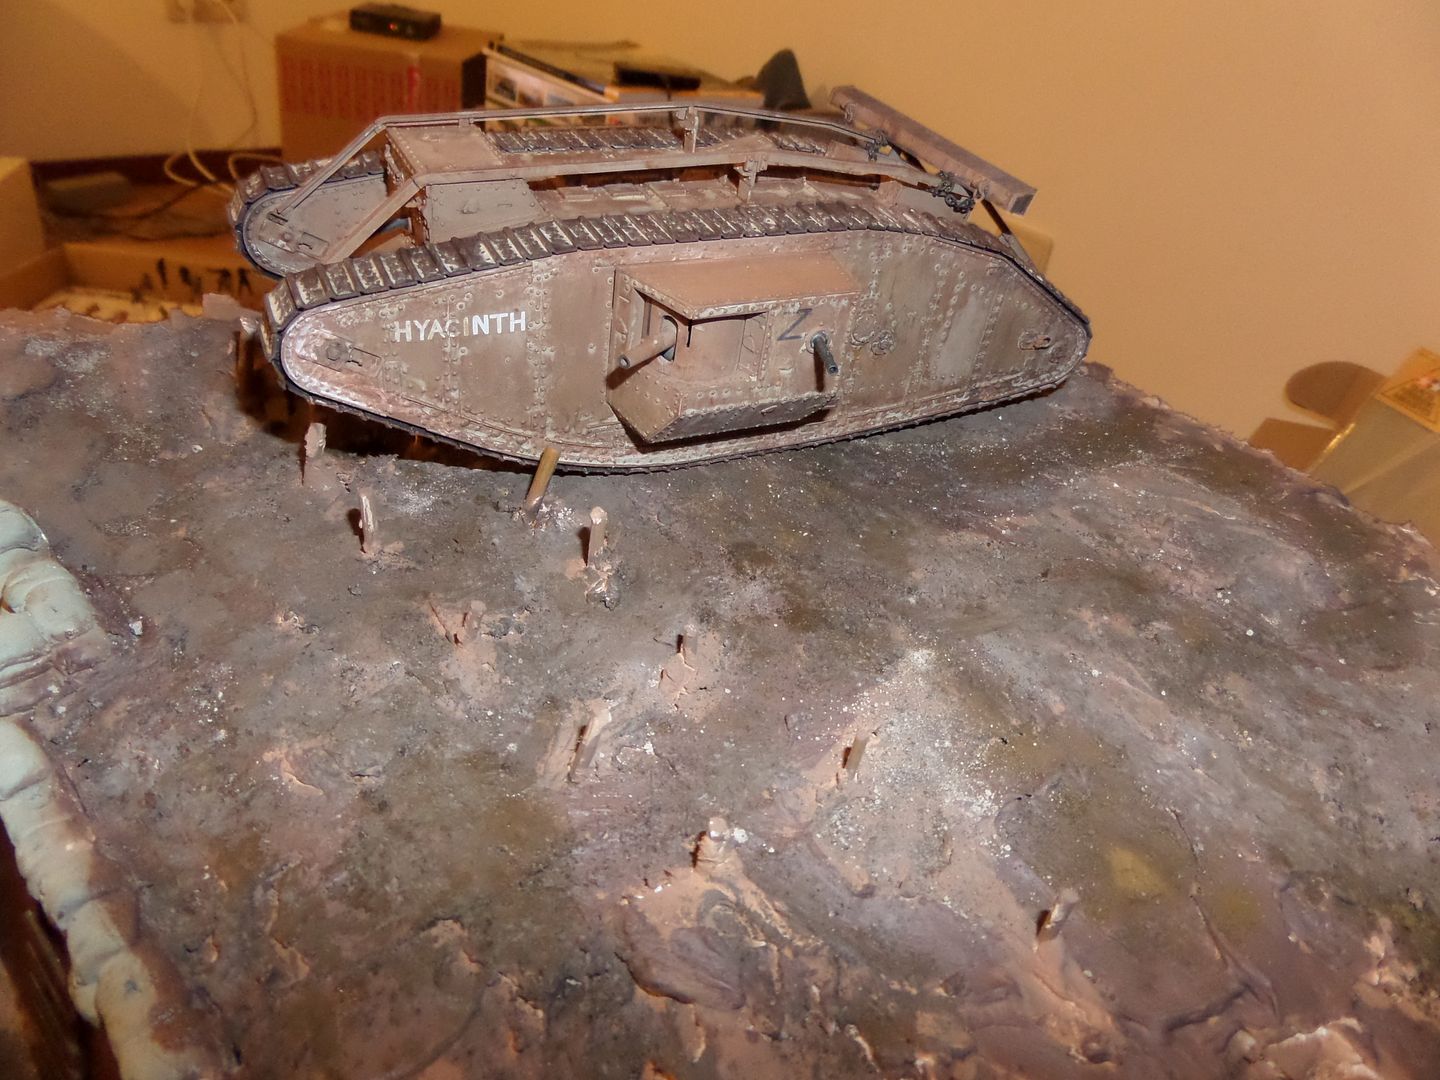
I consider the Tank now ready , only a Flat Clear Coat missing :
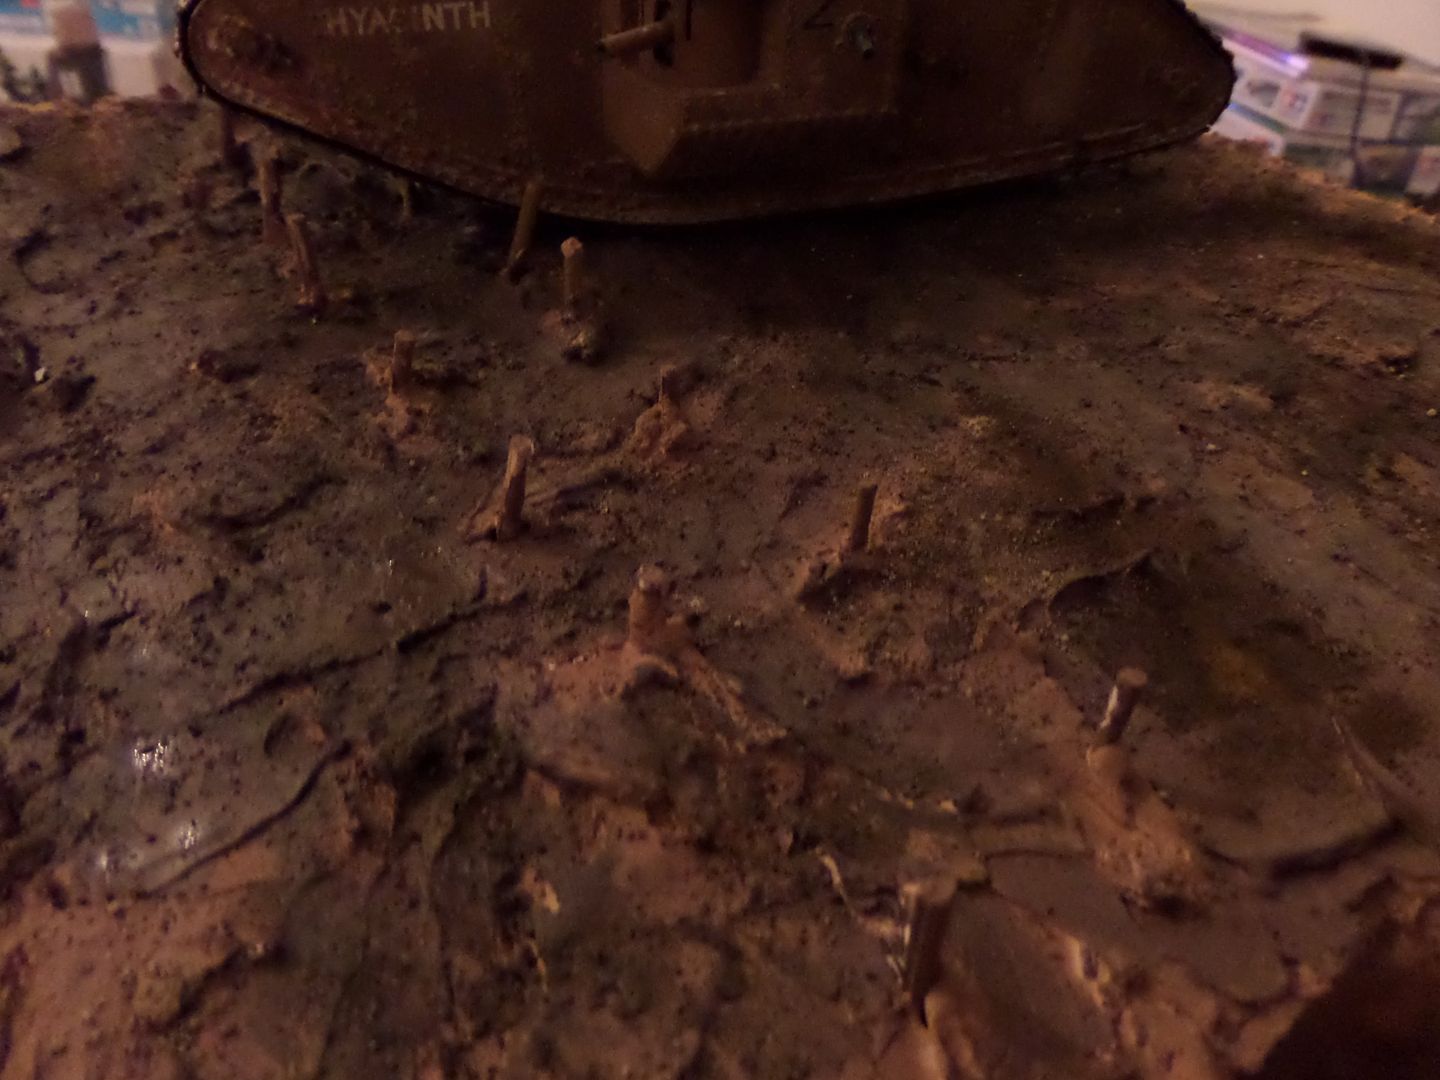
Here is the Hyacinth :
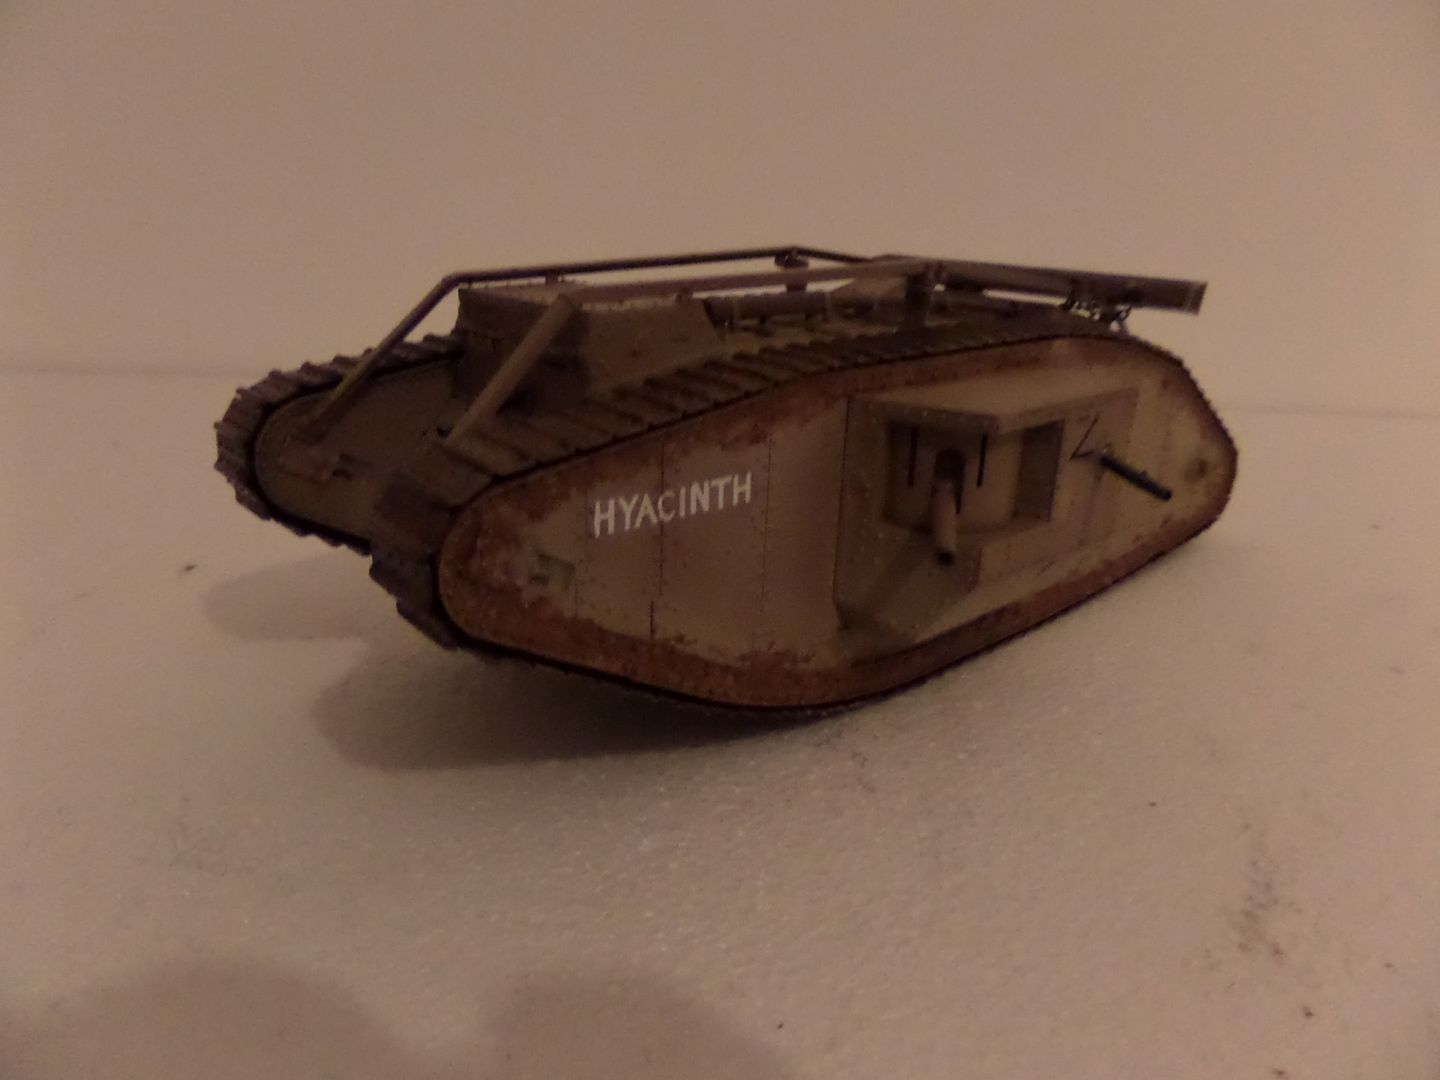
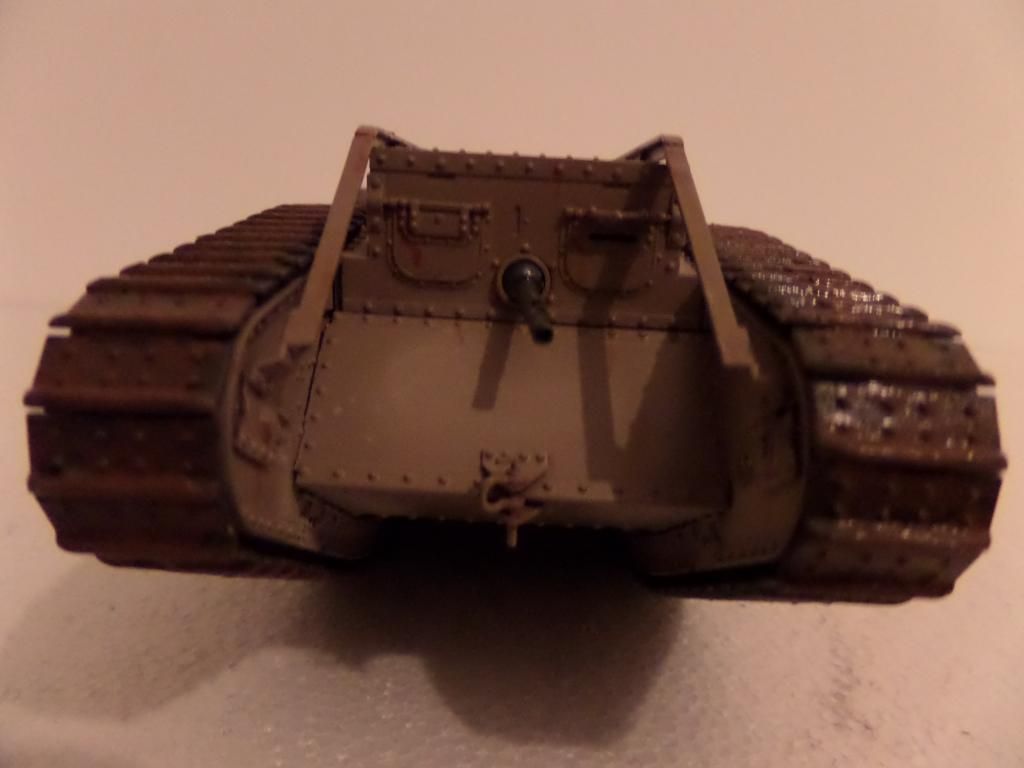
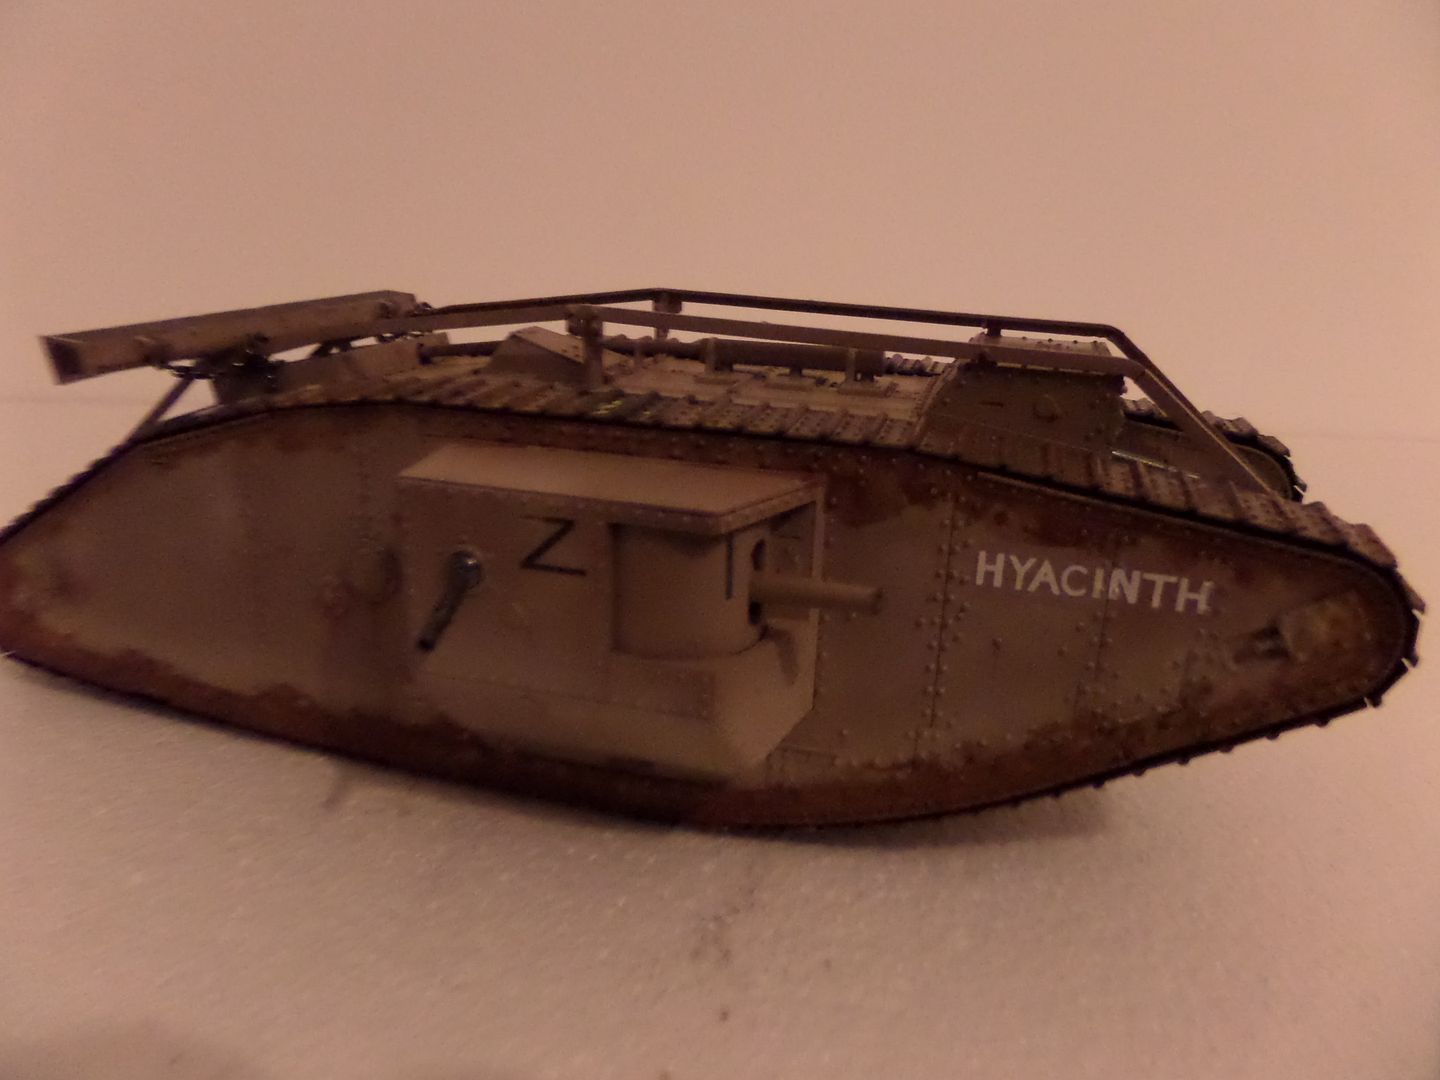
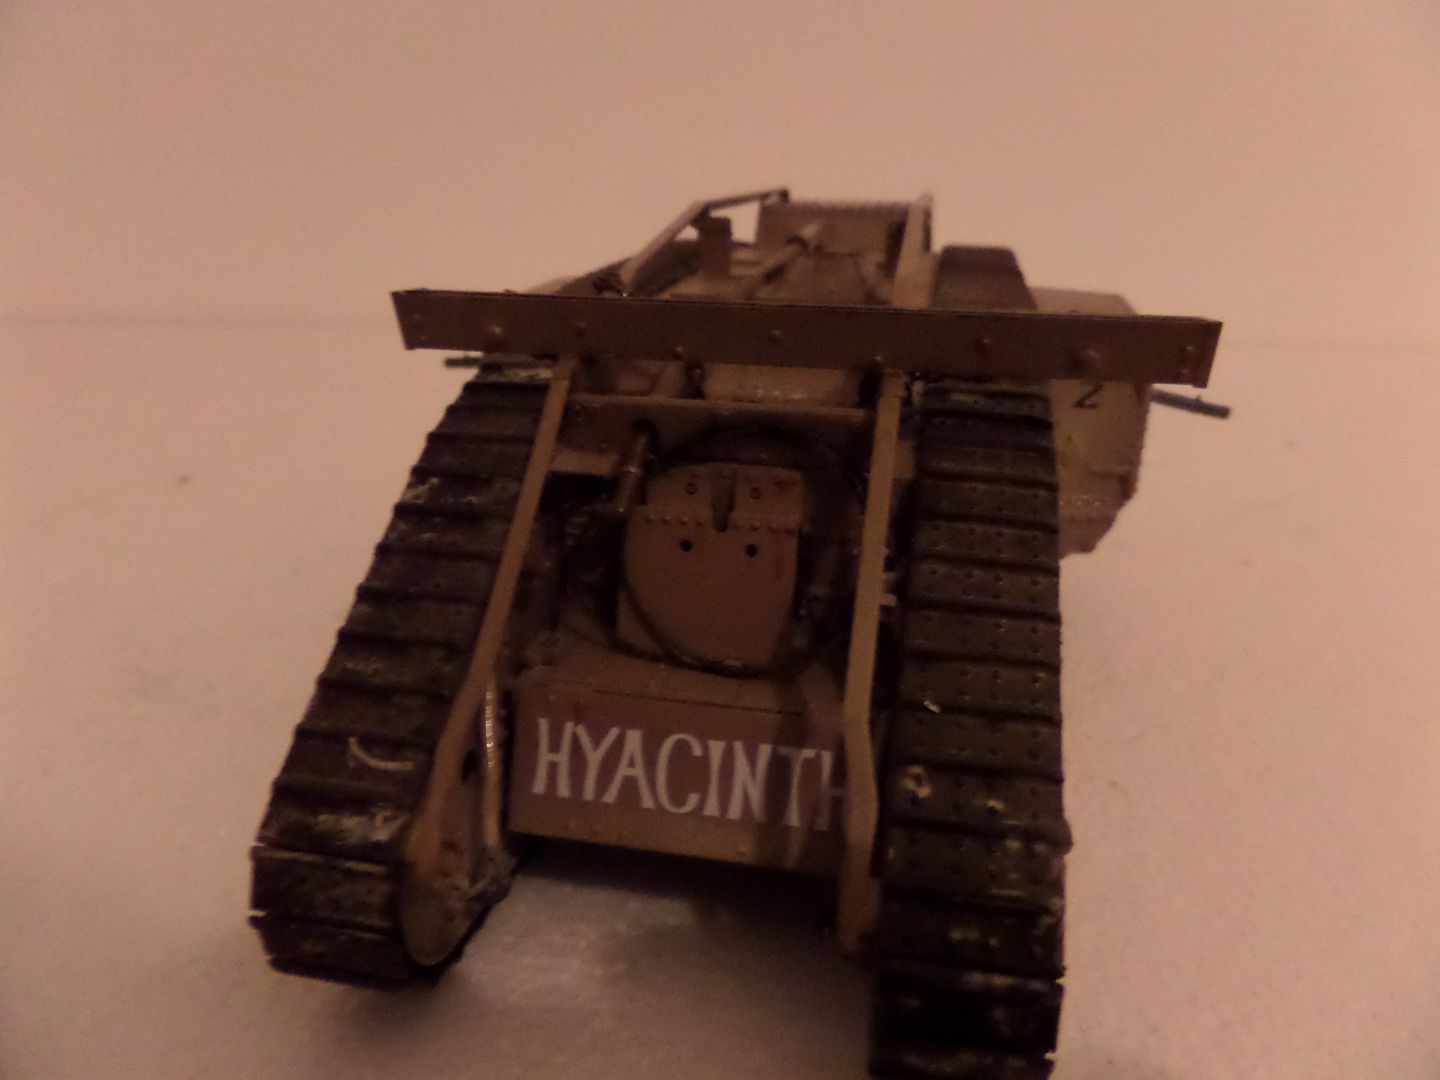

Weather it with some Ultimate Mud mixed with some vallejo Earth Pigments .
Here is the Hyacinth :


Weather it with some Ultimate Mud mixed with some vallejo Earth Pigments .
Cheers ,
António
On the Bench
a lot of stuff right now
António
On the Bench
a lot of stuff right now
-
rodrant
- Chief Warrant Officer 2
- Posts: 1774
- Joined: Wed Feb 19, 2014 9:22 pm
- Location: Maia - Portugal
Re: Tamiya 1/35 WWI British Tank Mk.IV Male and WWI British
Some update on the build just to how some of the stuff that I will use in a Diorama , as well I will use the tank and the British Infantry
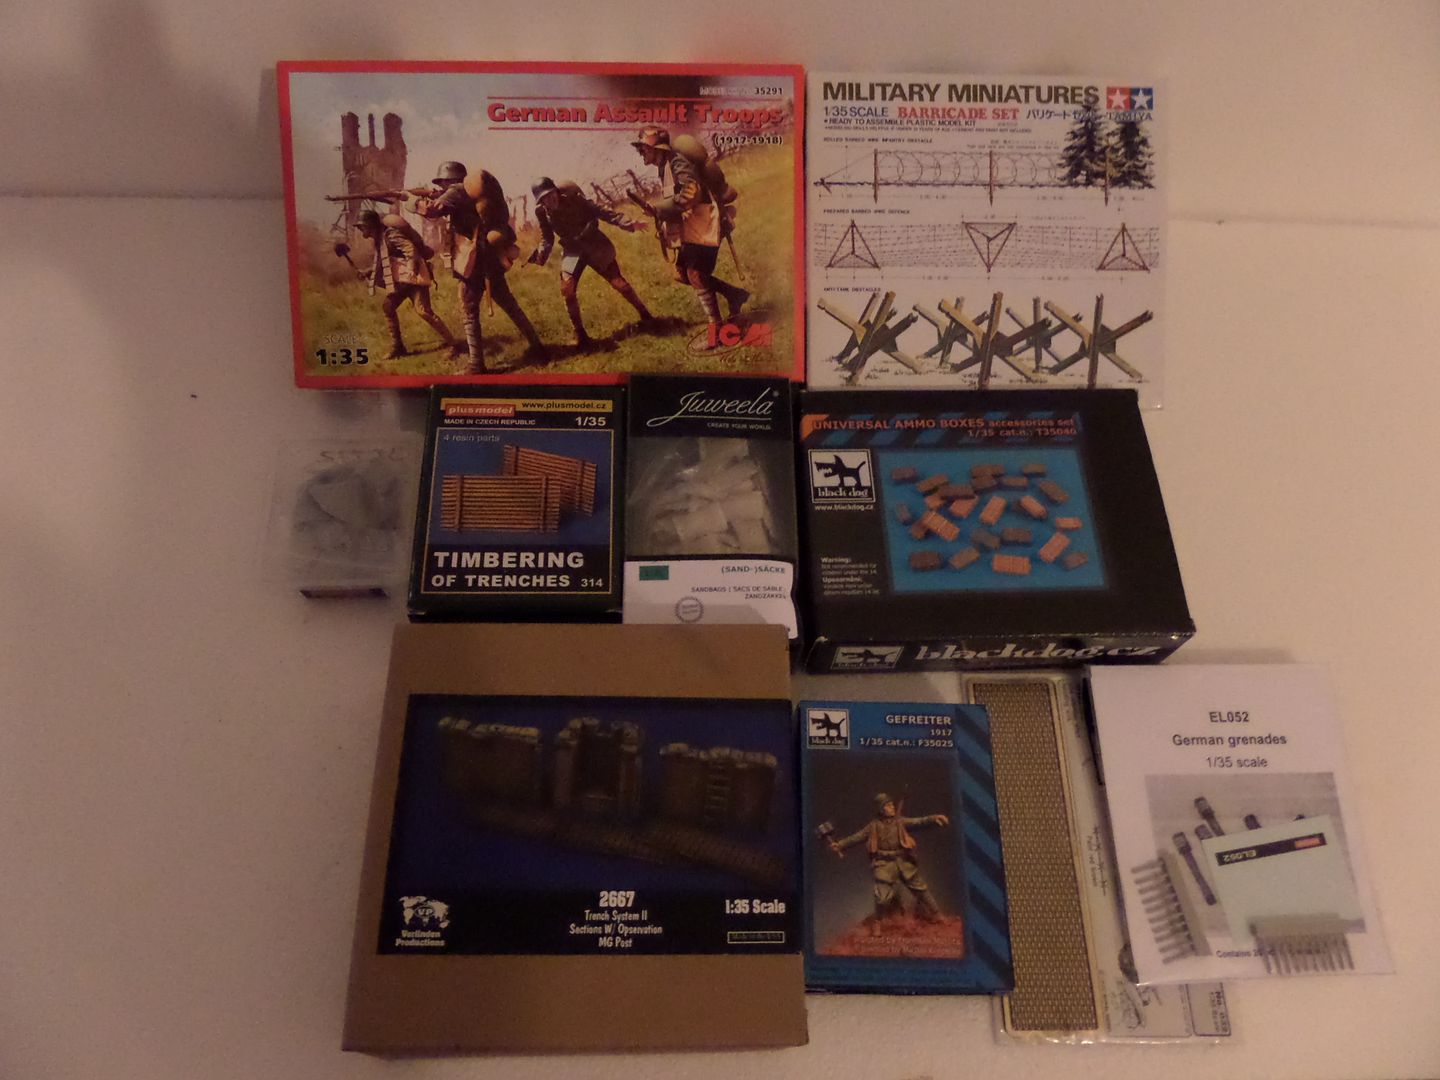
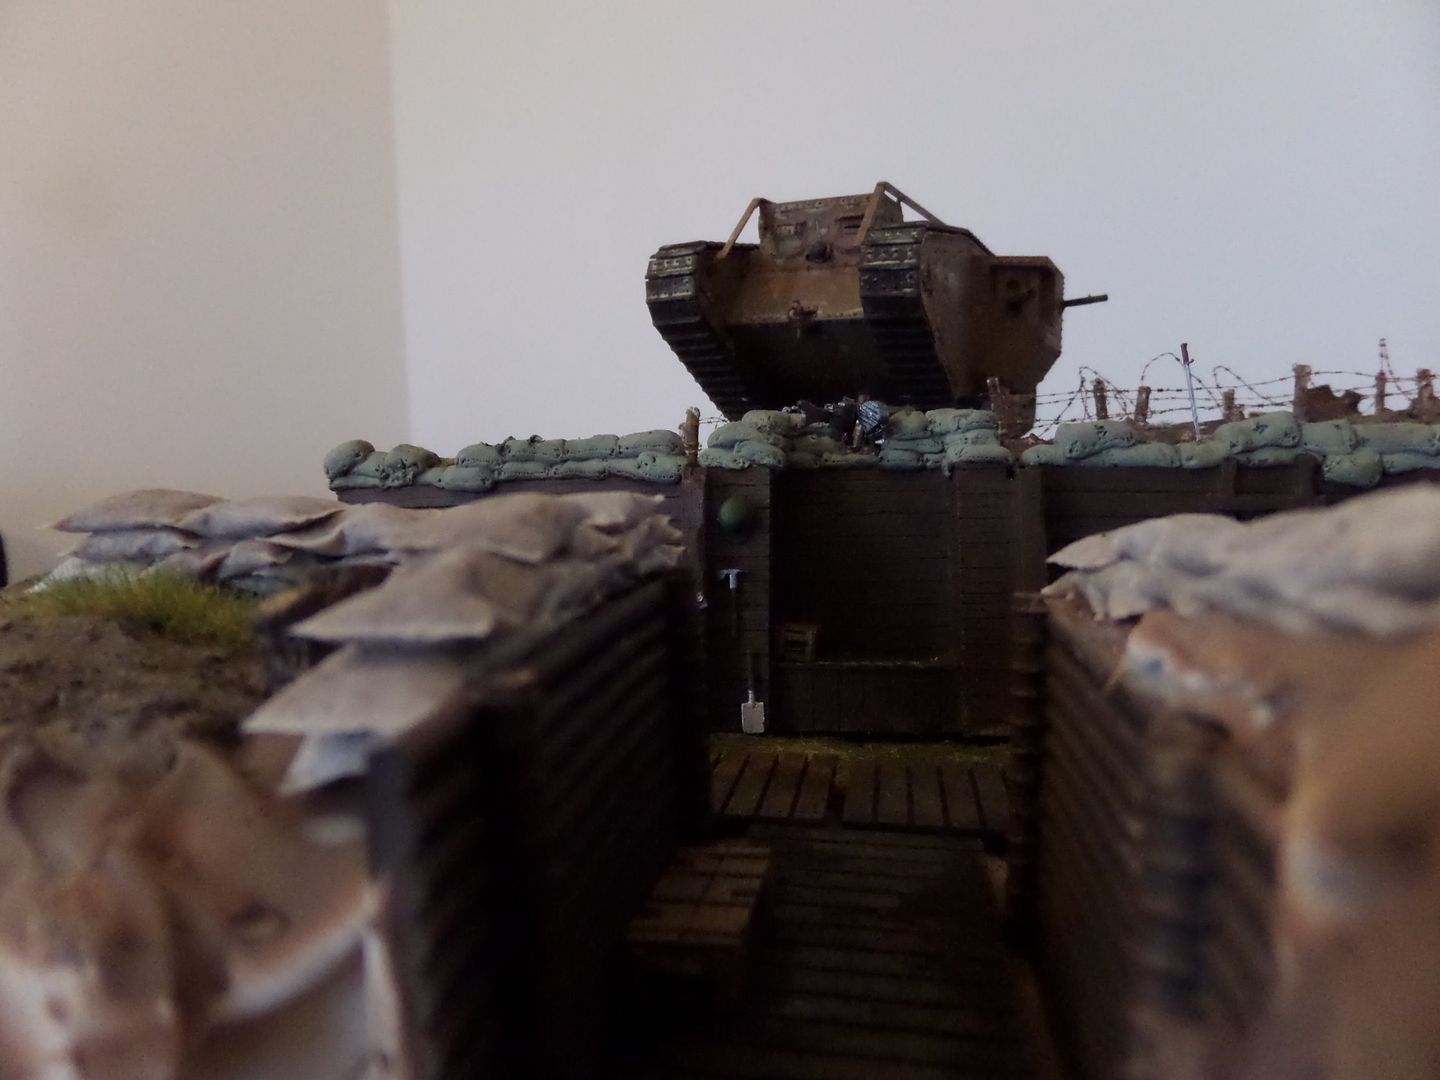
So My idea is to make a Diorama with a German Trench with all the stuff and Figures on it ( still I'm wainting for soem ICM WWI German Armament kit ) , then will place the tank advancing trugh the nomans land and cutting trough the barbed wire ...British Infantry will stand behind or besides the Tank ...Hope that I have the time to do all this in 2 weeks , so today I start with the figures and then let's see what I can get done ...

So My idea is to make a Diorama with a German Trench with all the stuff and Figures on it ( still I'm wainting for soem ICM WWI German Armament kit ) , then will place the tank advancing trugh the nomans land and cutting trough the barbed wire ...British Infantry will stand behind or besides the Tank ...Hope that I have the time to do all this in 2 weeks , so today I start with the figures and then let's see what I can get done ...
Cheers ,
António
On the Bench
a lot of stuff right now
António
On the Bench
a lot of stuff right now
-
UKguyInUSA

- Second Lieutenant

- Posts: 3429
- Joined: Sun Mar 30, 2014 10:19 pm
- Location: New Hampshire, USA formerly Palm Beach, Florida, USA and Leicestershire, UK (until 1999)
- Contact:
Re: Tamiya 1/35 WWI British Tank Mk.IV Male and WWI British
Hyacinth is too mean and ugly looking to be named after a flower?! Anyway, in a mean kinda of way, she's looking great mate! 
WIP:: Tamiya 1/48 F4U-1A Corsair
Non-WIP::Eduard 1/48 Fokker DVII, Revell 1/32 Arado AR196 and 1/32 BF109G10 Erla,
Non-WIP::Eduard 1/48 Fokker DVII, Revell 1/32 Arado AR196 and 1/32 BF109G10 Erla,

-
rodrant
- Chief Warrant Officer 2
- Posts: 1774
- Joined: Wed Feb 19, 2014 9:22 pm
- Location: Maia - Portugal
Re: Tamiya 1/35 WWI British Tank Mk.IV Male and WWI British
UKguyInUSA wrote:Hyacinth is too mean and ugly looking to be named after a flower?! Anyway, in a mean kinda of way, she's looking great mate!
Thank you for the comment and watching Martin
Cheers ,
António
On the Bench
a lot of stuff right now
António
On the Bench
a lot of stuff right now
-
rodrant
- Chief Warrant Officer 2
- Posts: 1774
- Joined: Wed Feb 19, 2014 9:22 pm
- Location: Maia - Portugal
Re: Tamiya 1/35 WWI British Tank Mk.IV Male and WWI British
SO here is the tank after my ( Heavy ? ) weathering :
Use some oils , AK track Wash , Ultimate Light Dirt , some MiG Light Rust wash ...Primed at the end with AK Ultra Mate Varnish...
Ok tank ready , and yes, the engine works and he can go around ,strange stuff ...fell like Frankenstein creator
now figures and acessories for the Diorama
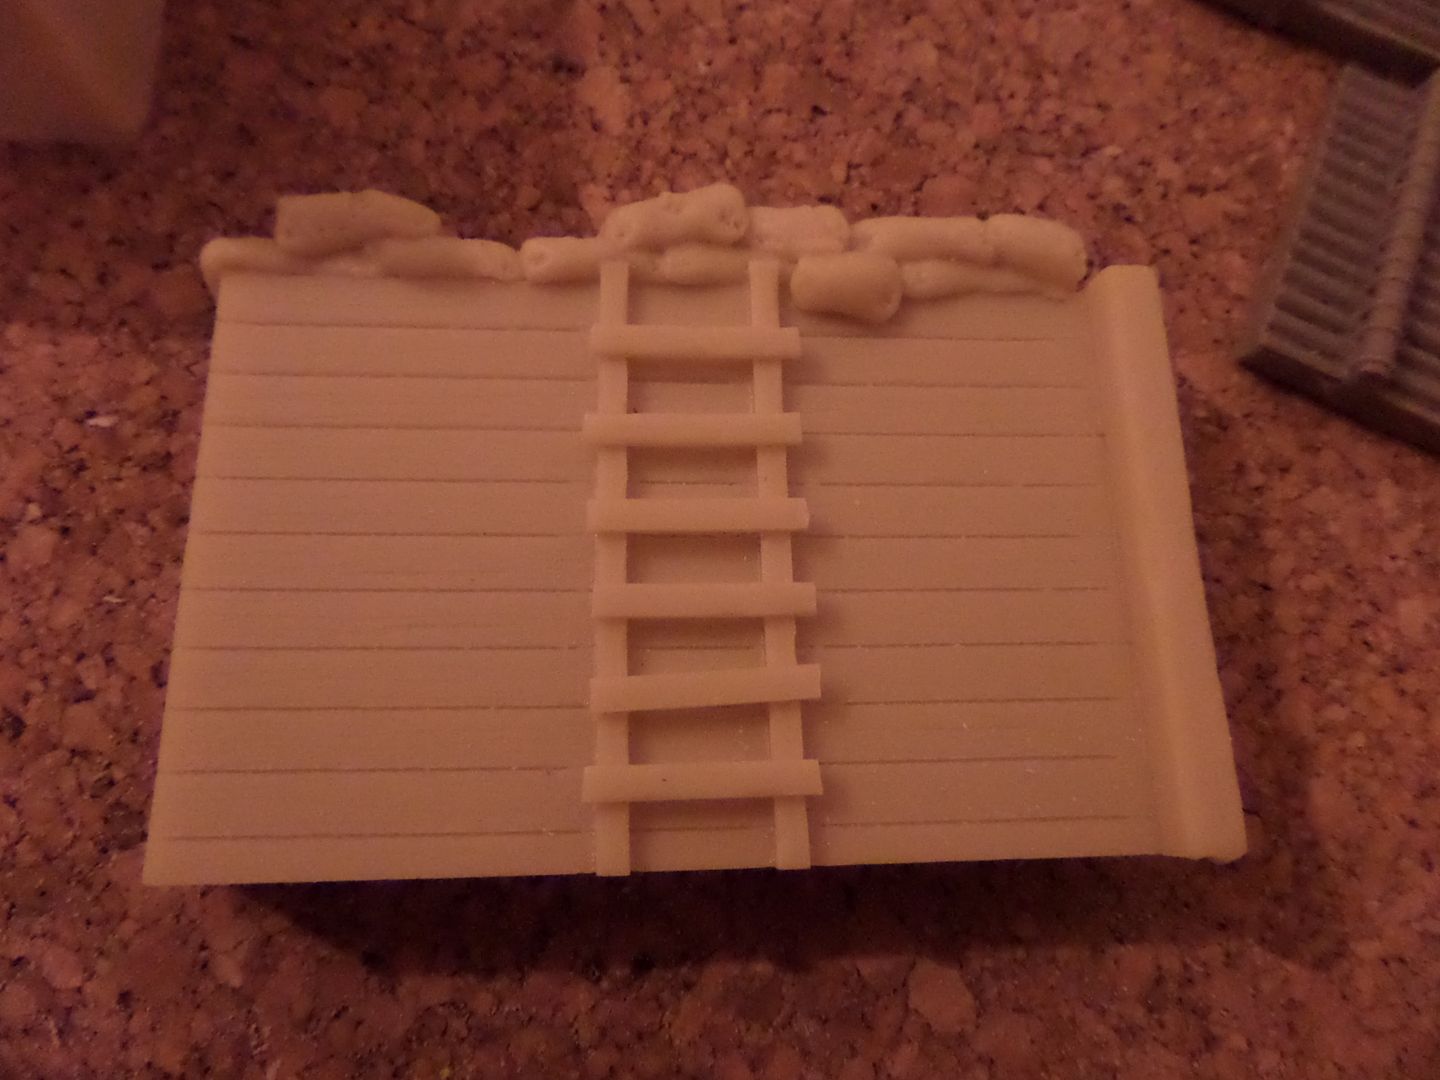
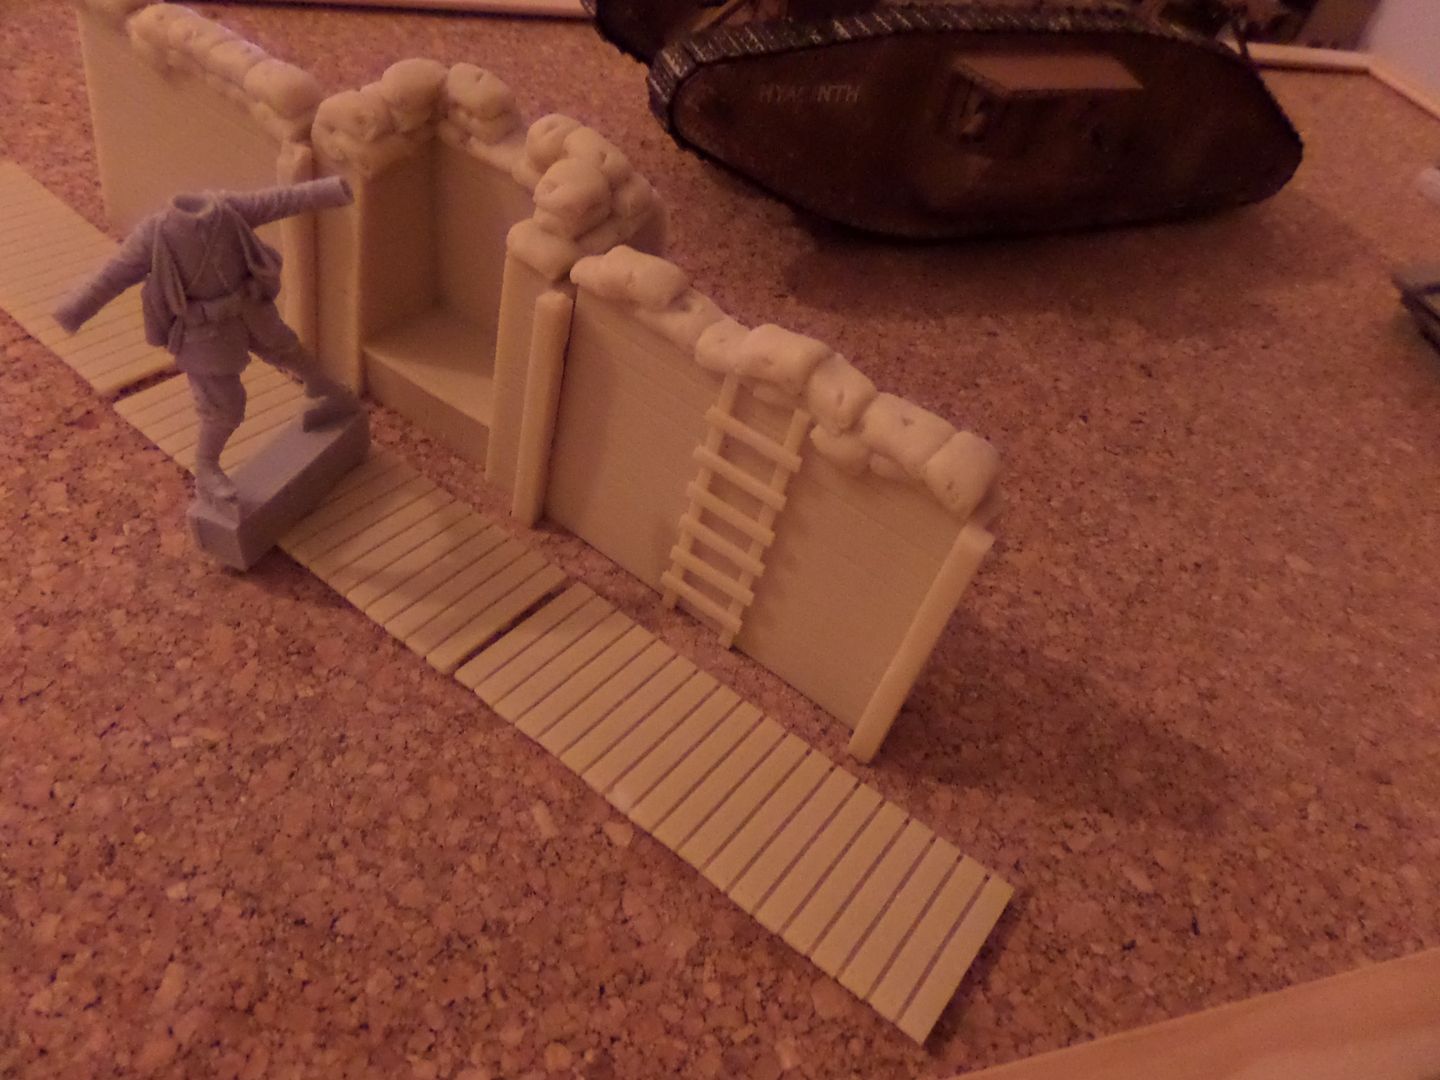
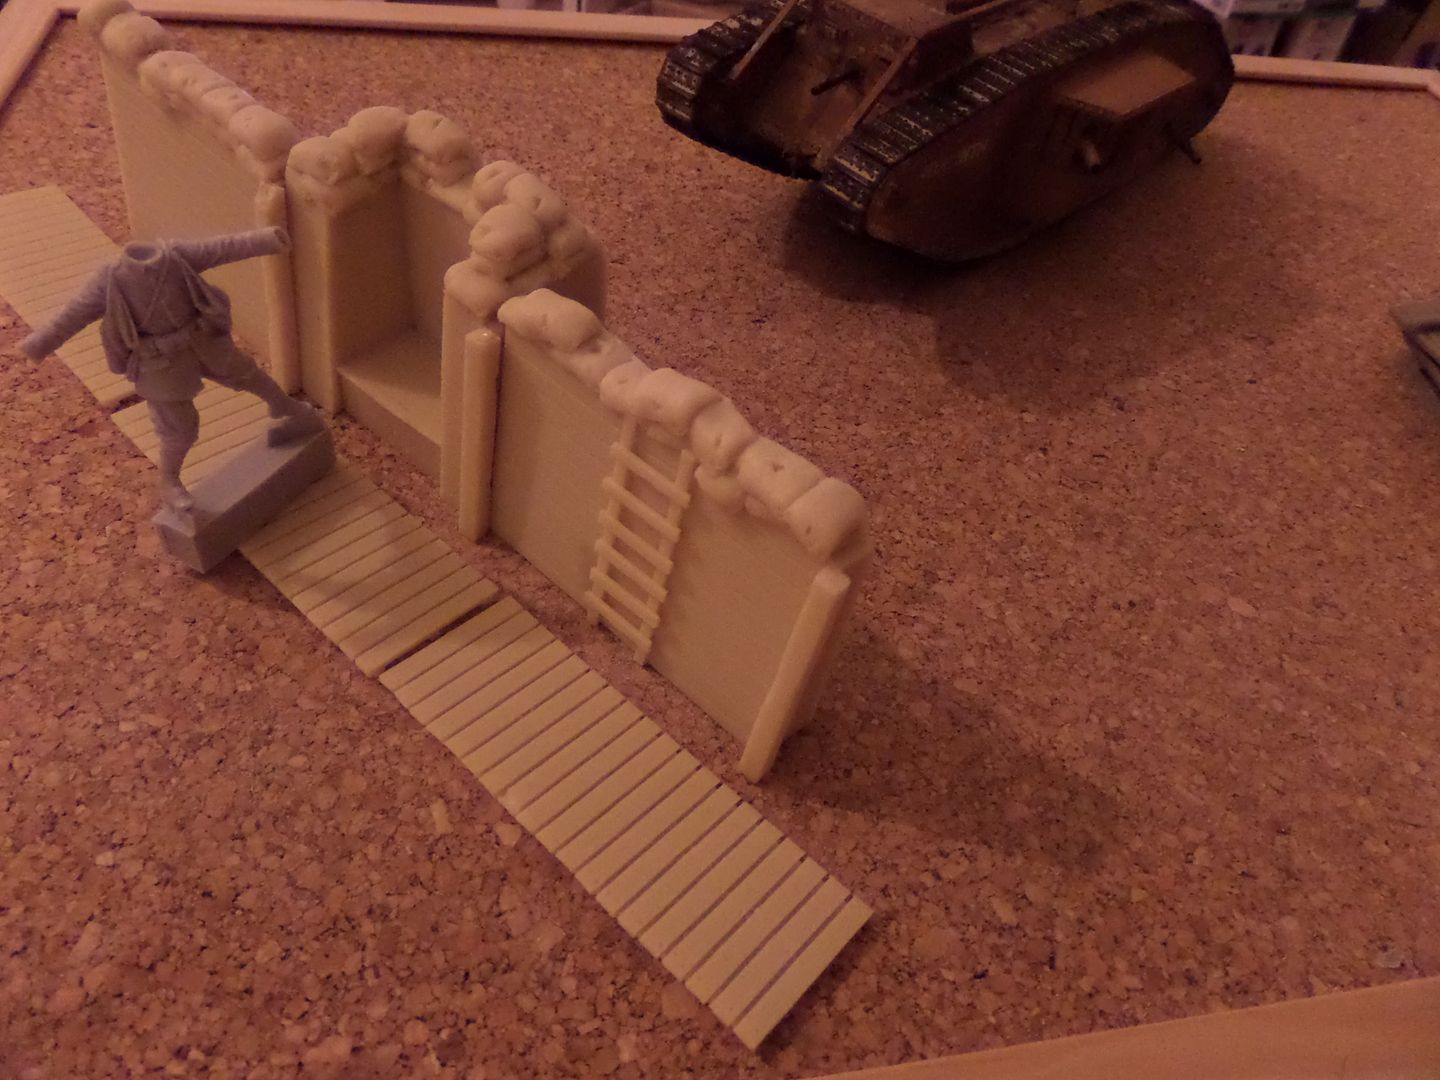
The trench section from Vallejo , already cleaned :
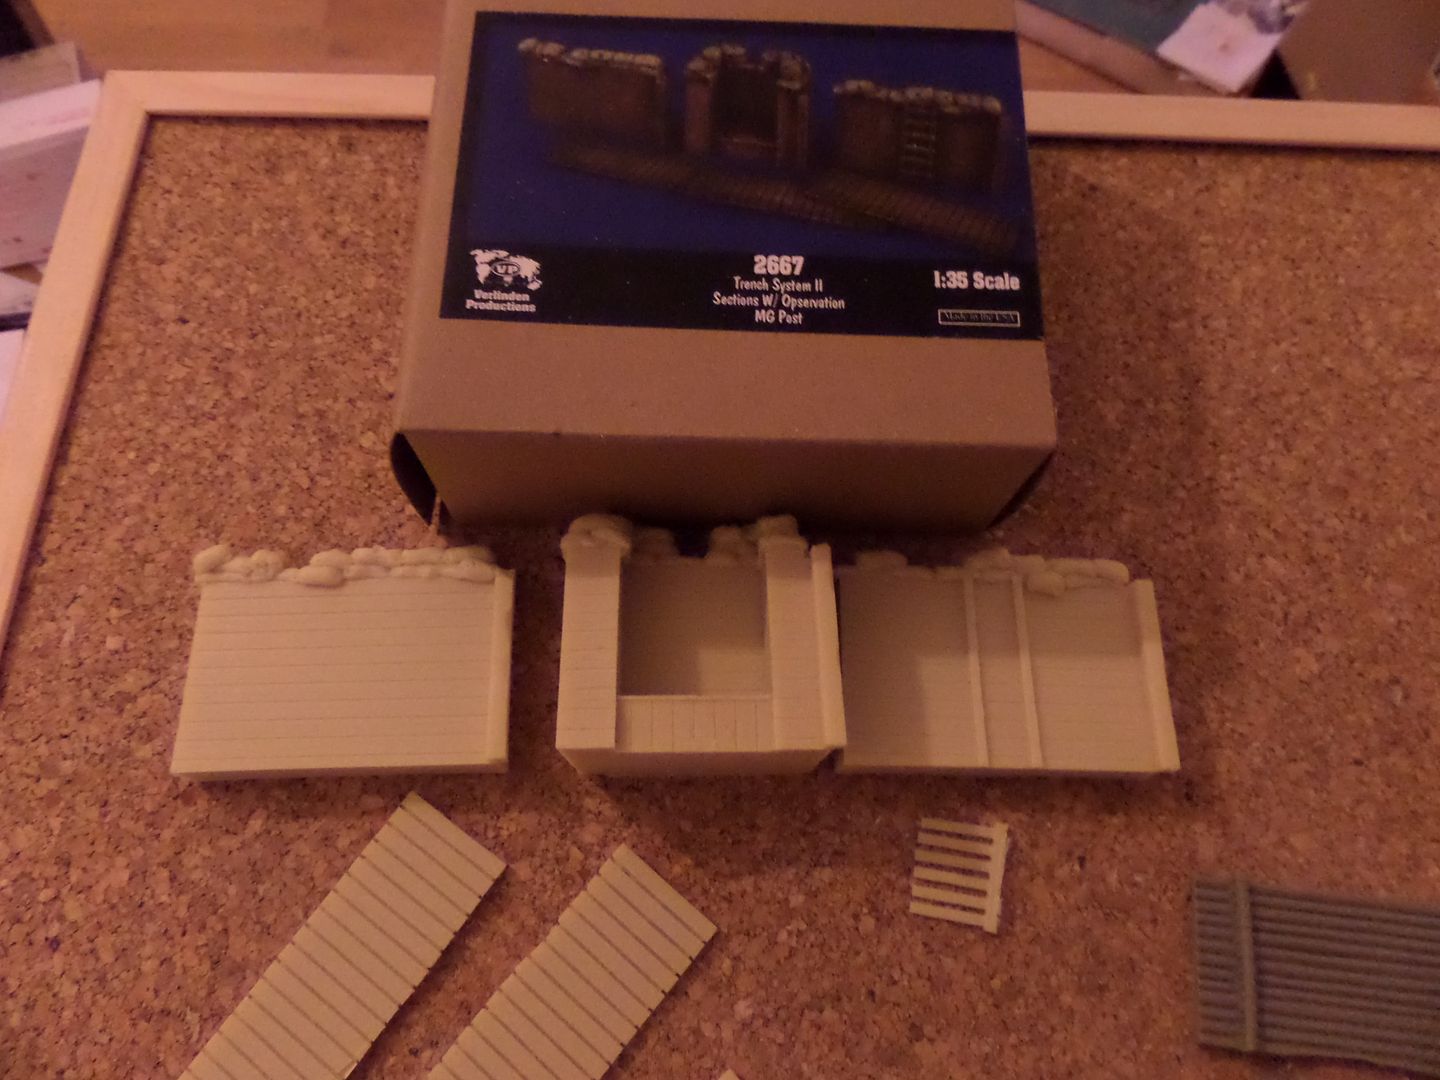
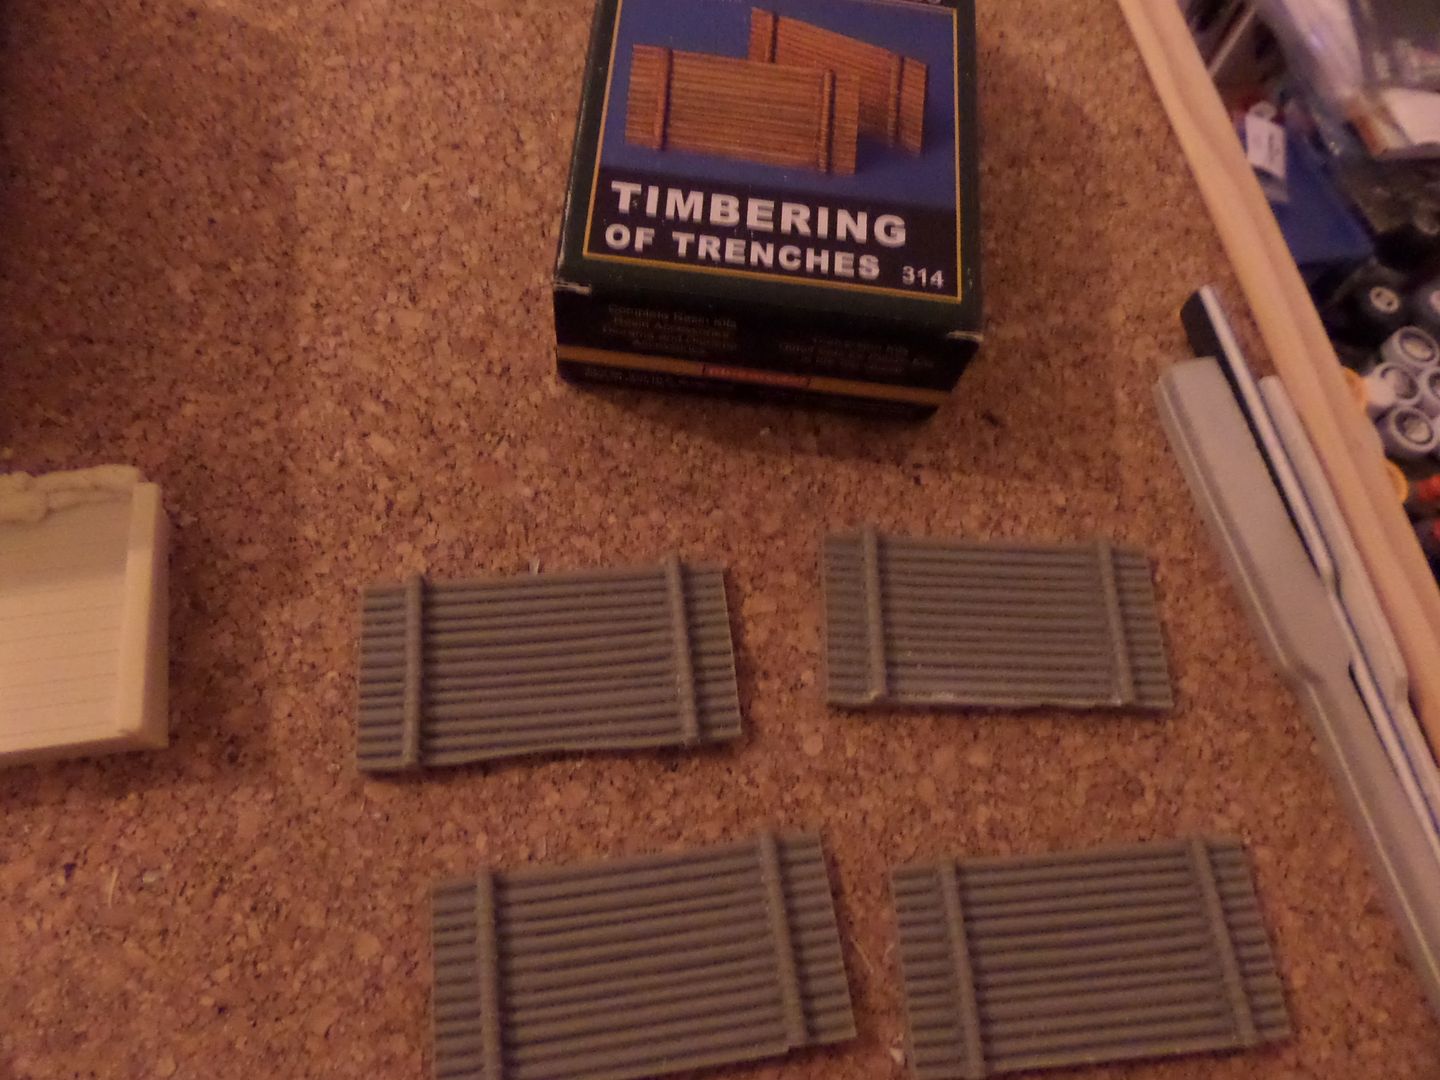
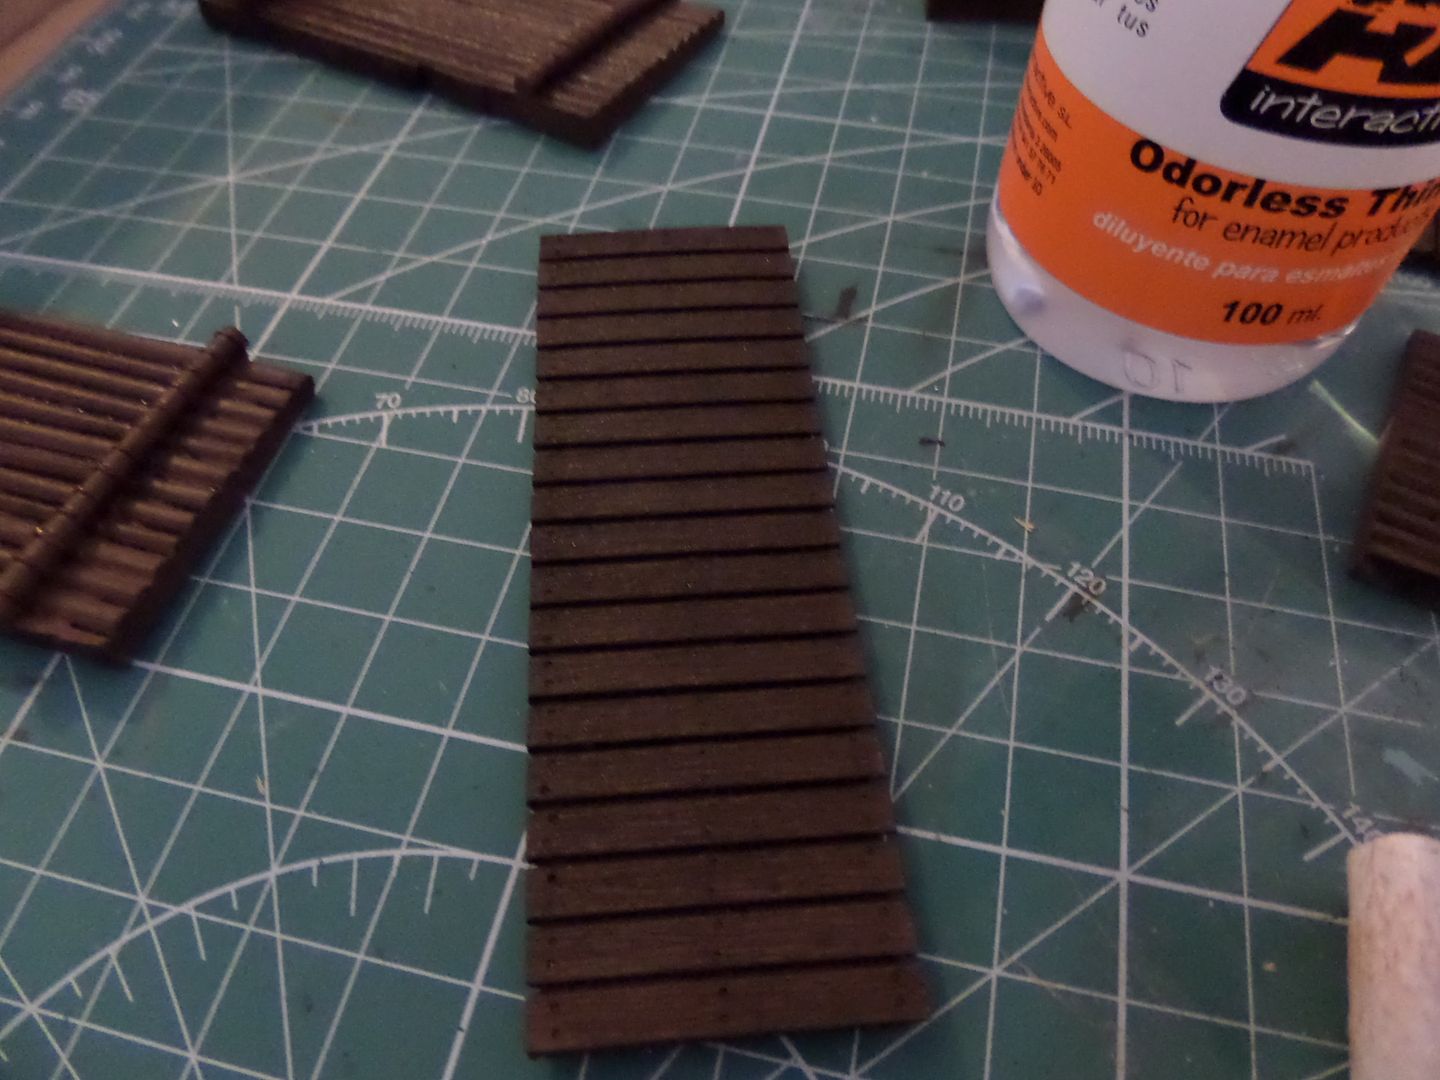
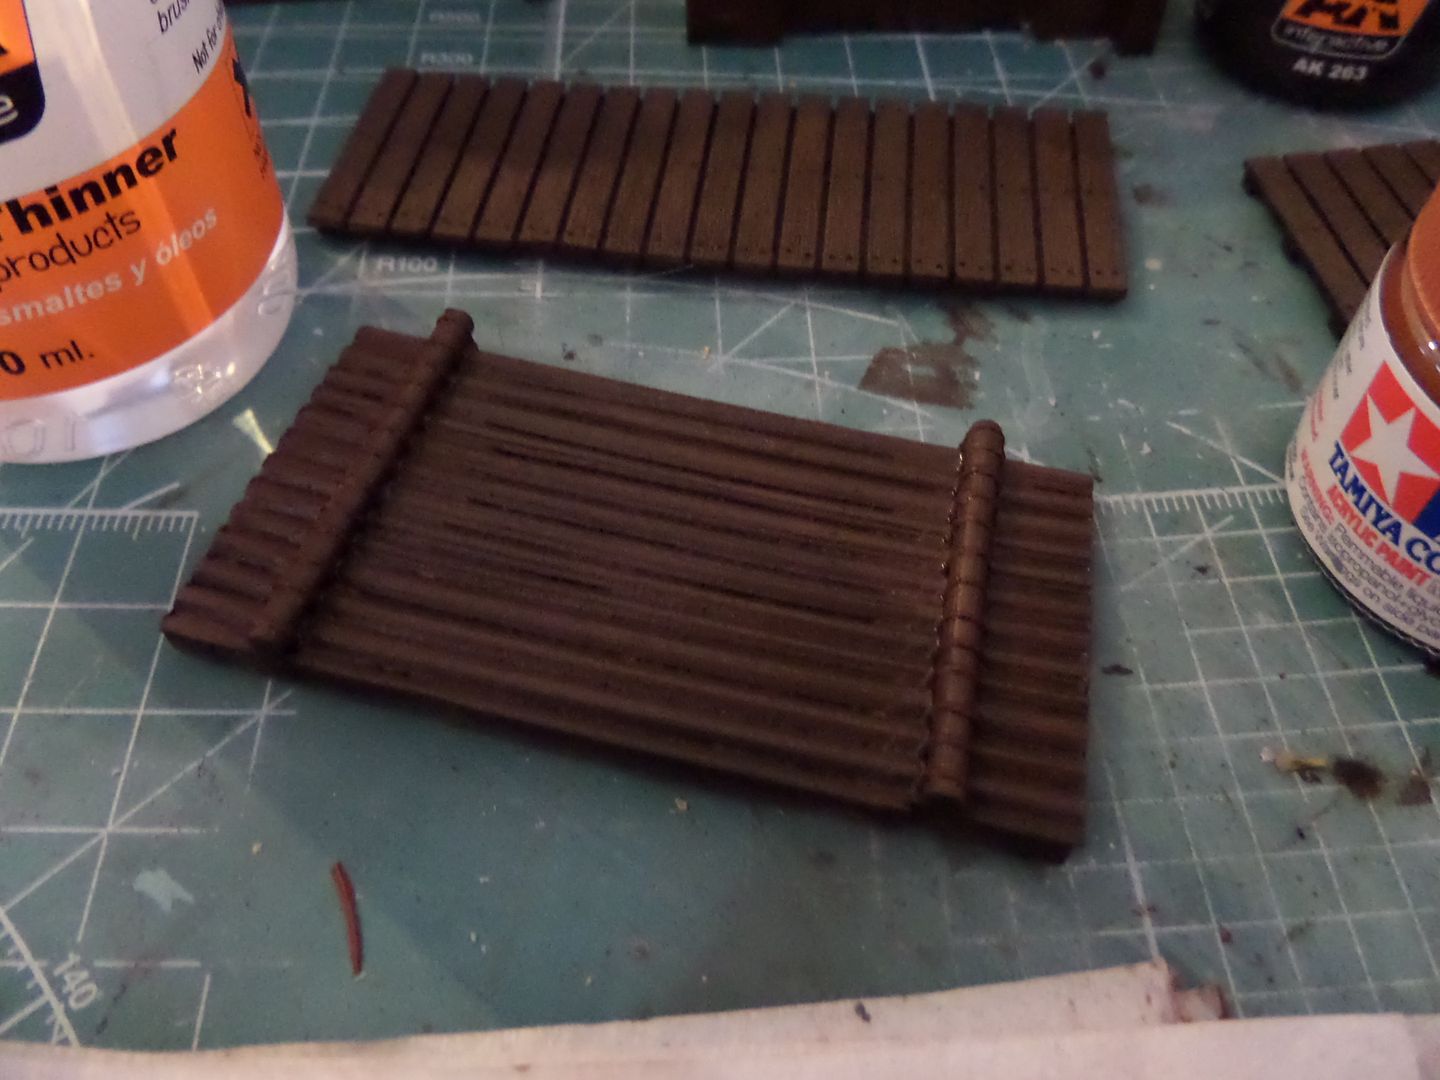
The timbering for trenches , also resin and clean
Start to glue the lader in the trench
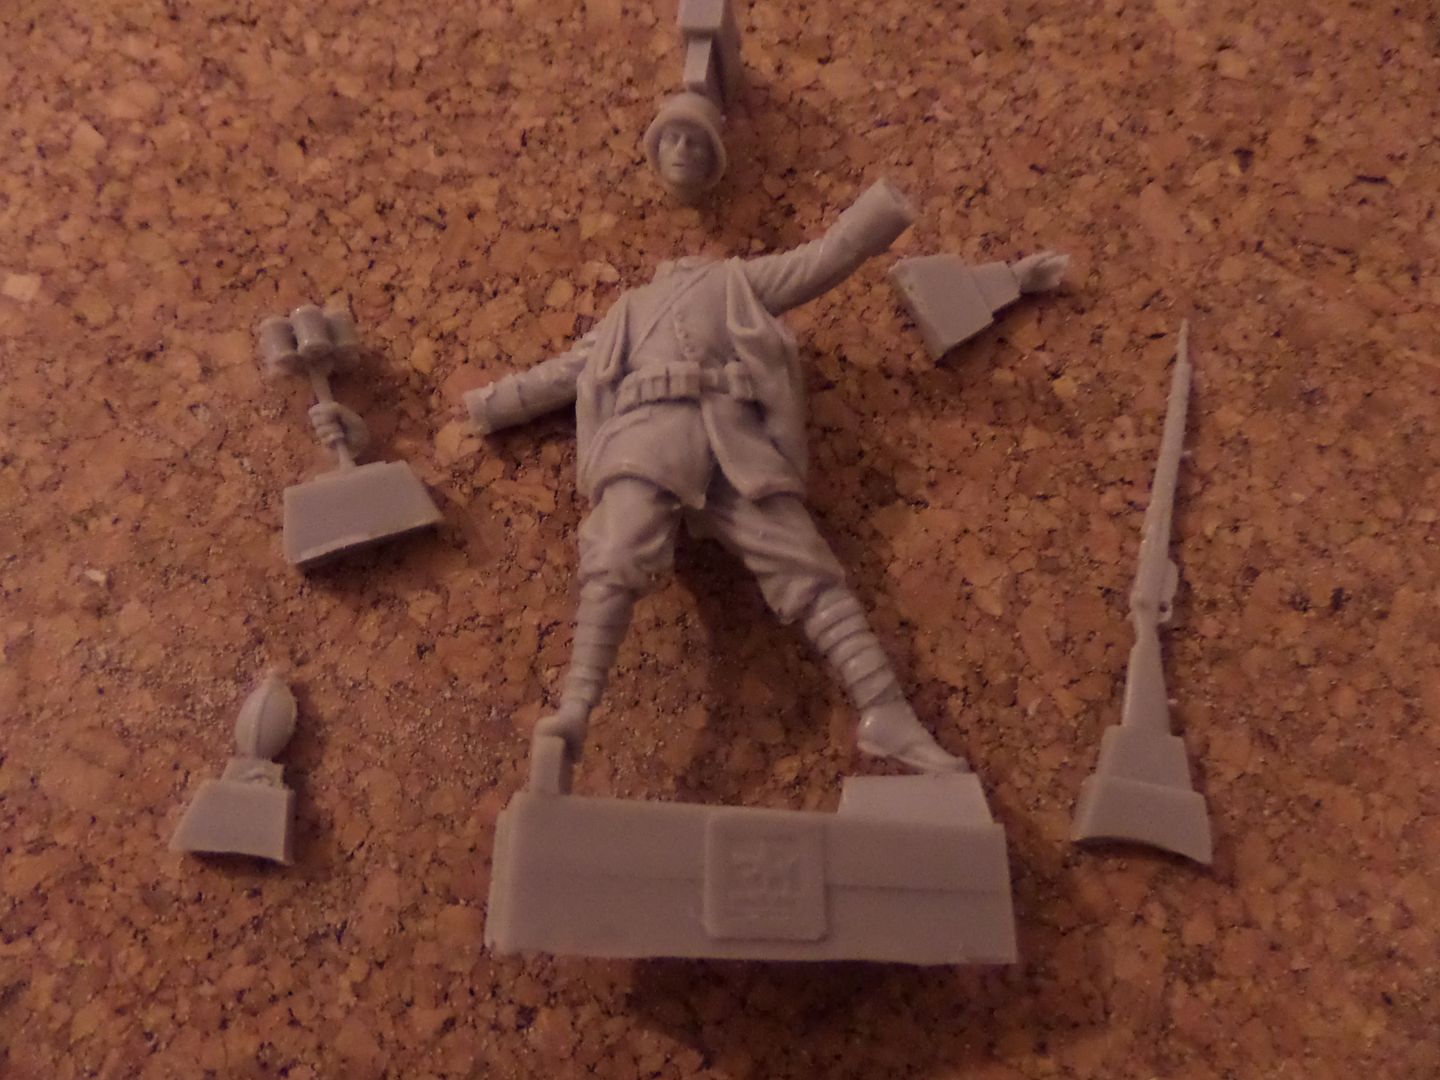
The 'gefreiter' ( I get a google translate for corporal ...do not know if it is right ...)
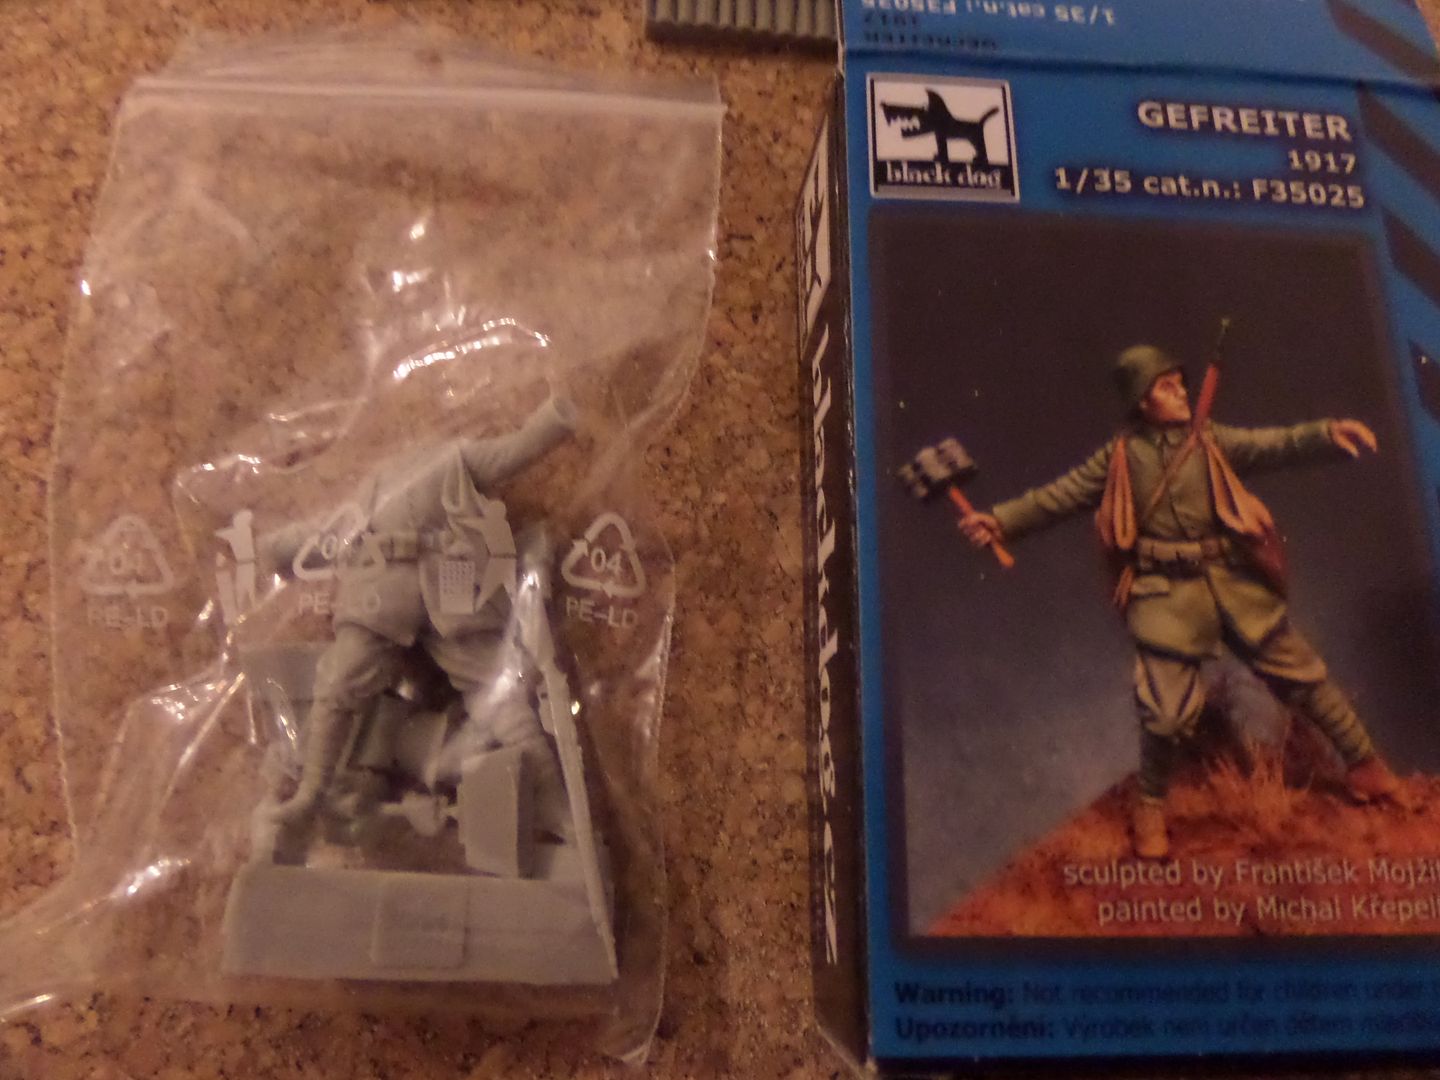
Nice little figure , it is in resin , a hole to fill on one of the legs , but nothing too serious , nice face detail :
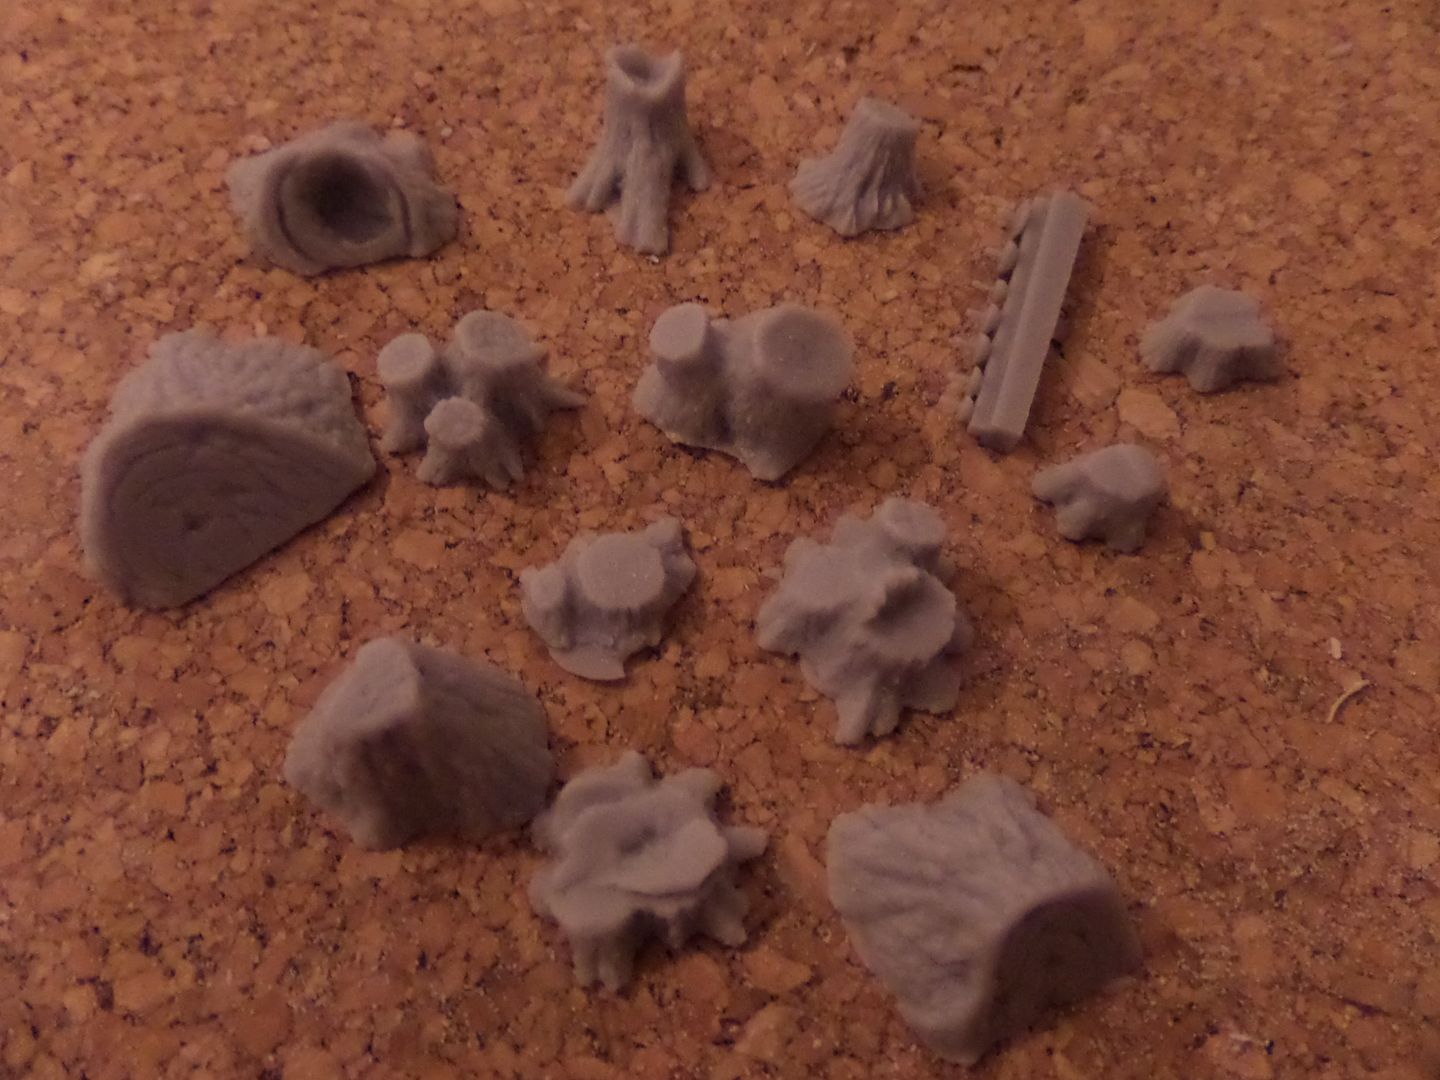
The resin tree stumps , notthing to clear , only prime and paint
Ammo boxes ,

Some How will be the dio , with a lot to do
Now The figures and for today some of the detail of the Tamiya British Infantry
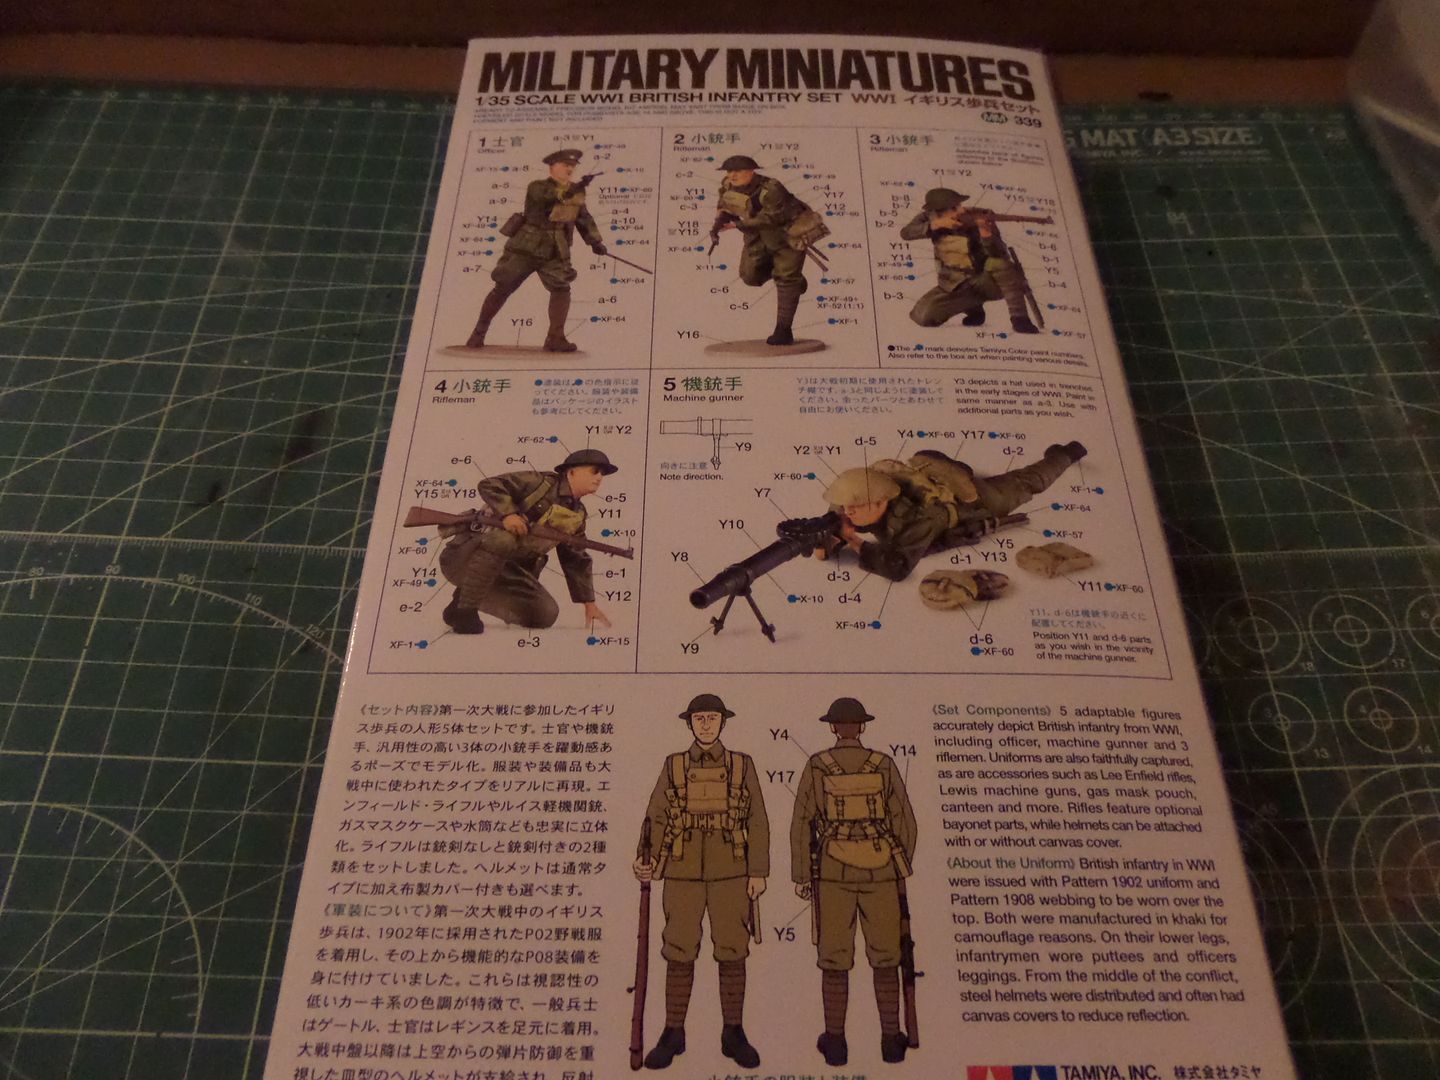
Box art , usually Tamiya stuff !

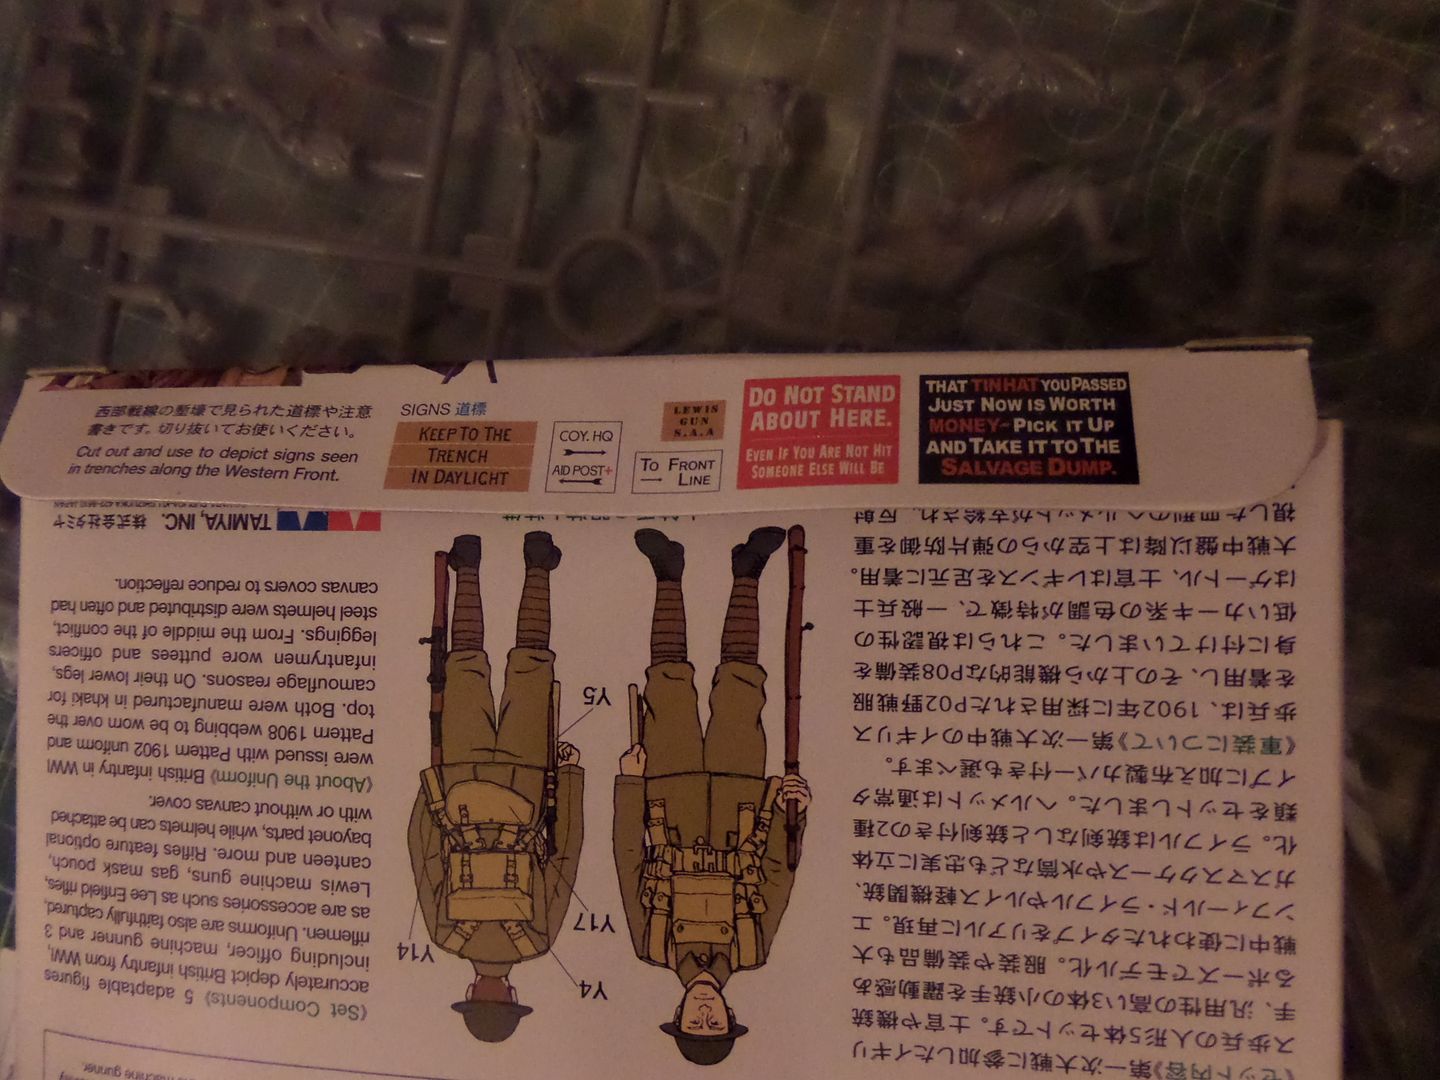
Back (these are the instructions , but easy to check ) and also it is the paint guide , very nice poses .
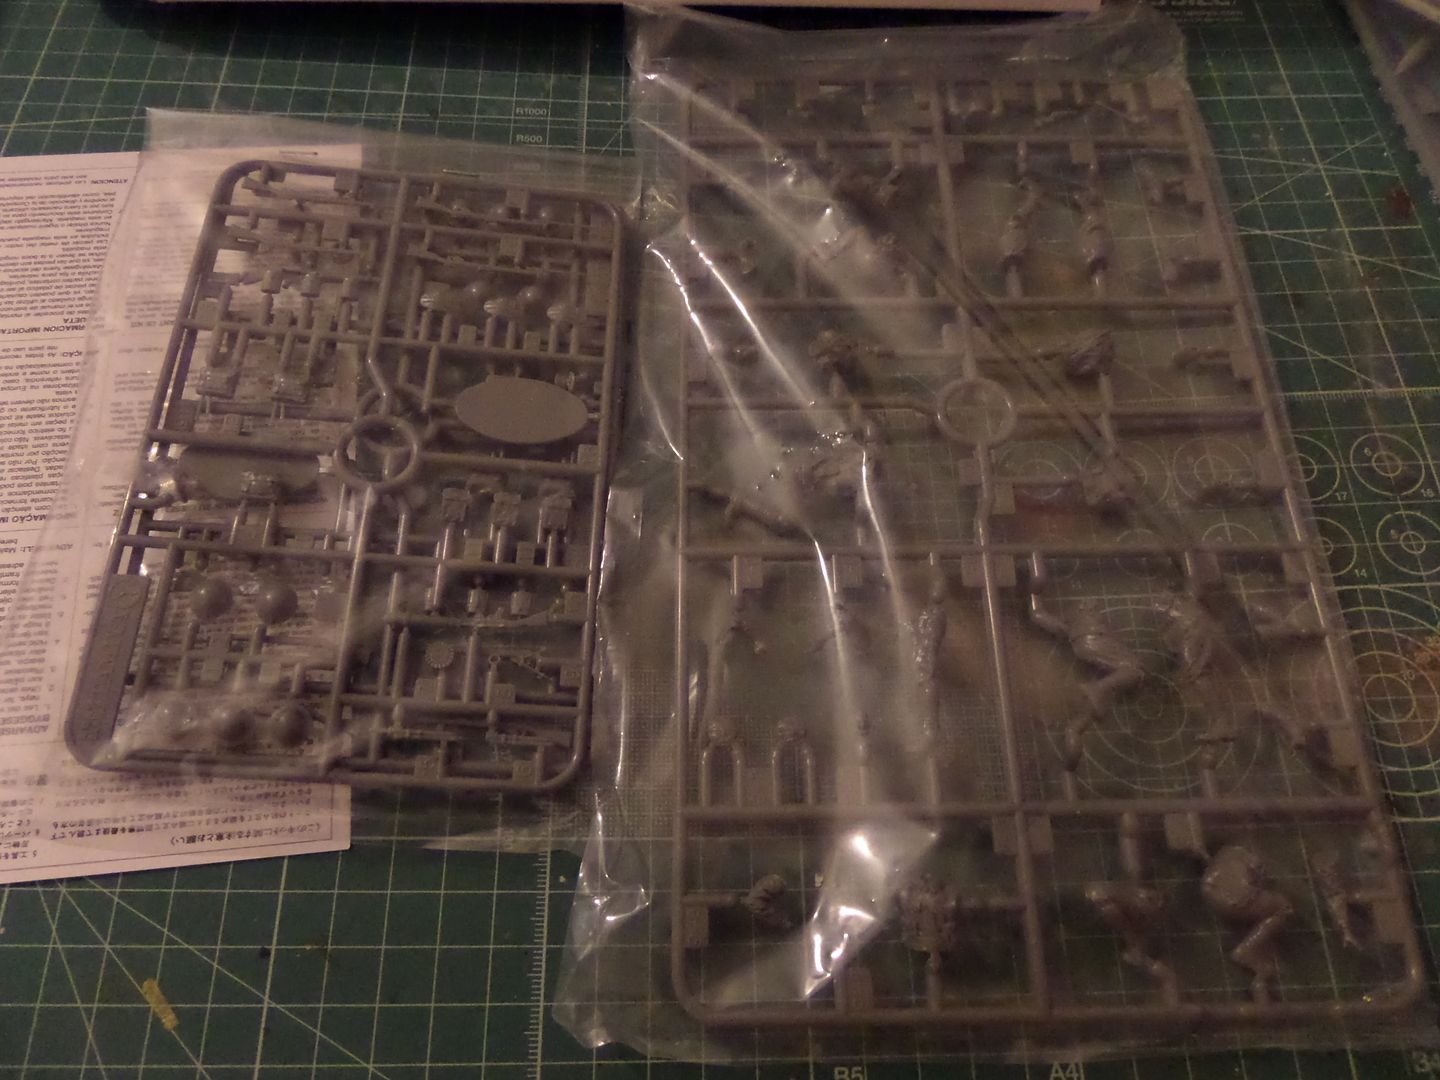
The sprues on the bags
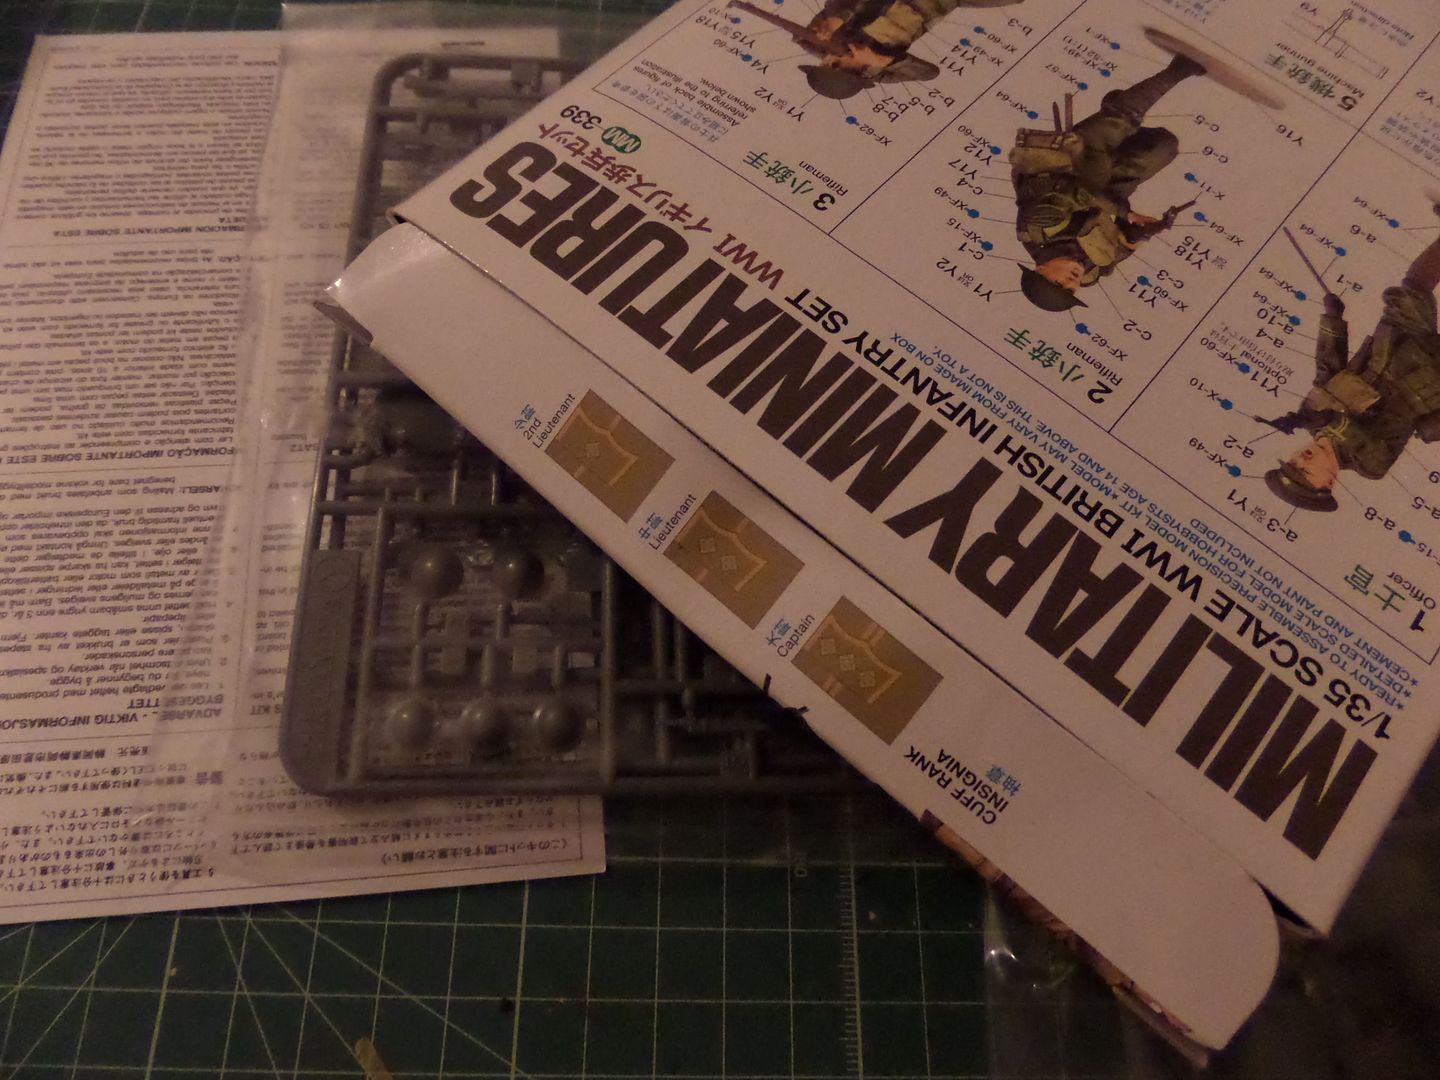
I noticed this in the box lid , some instructions on how to paint the Officer , depending on the rank choosen ..
On the other side , some signs to use in a trench Diorama , nice
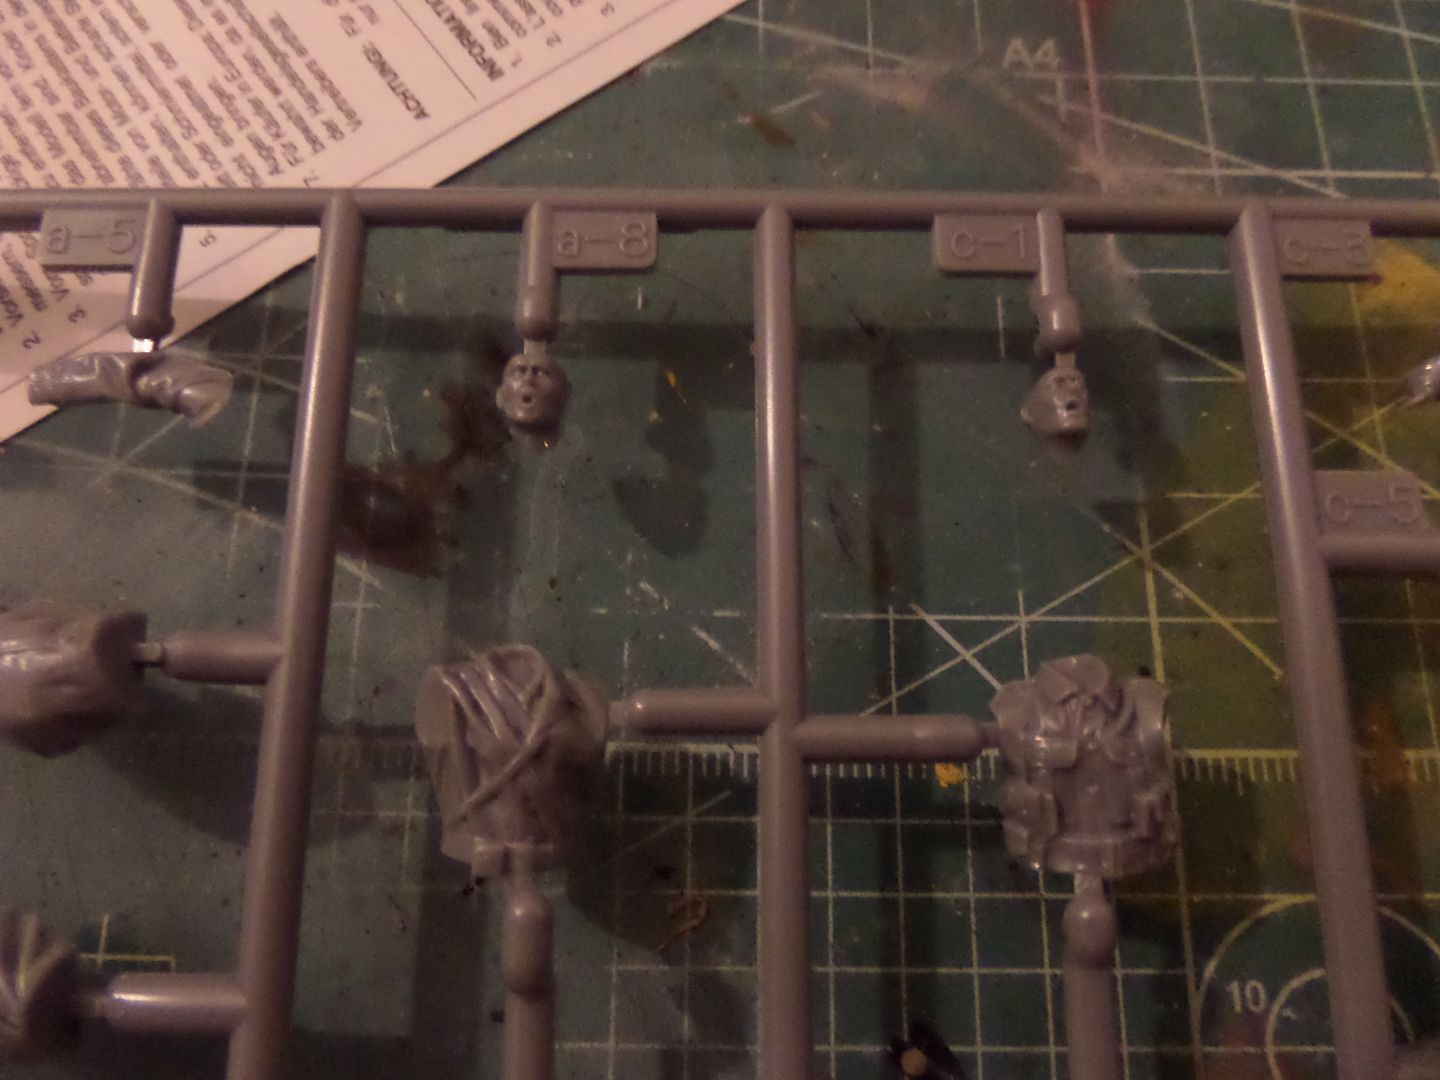
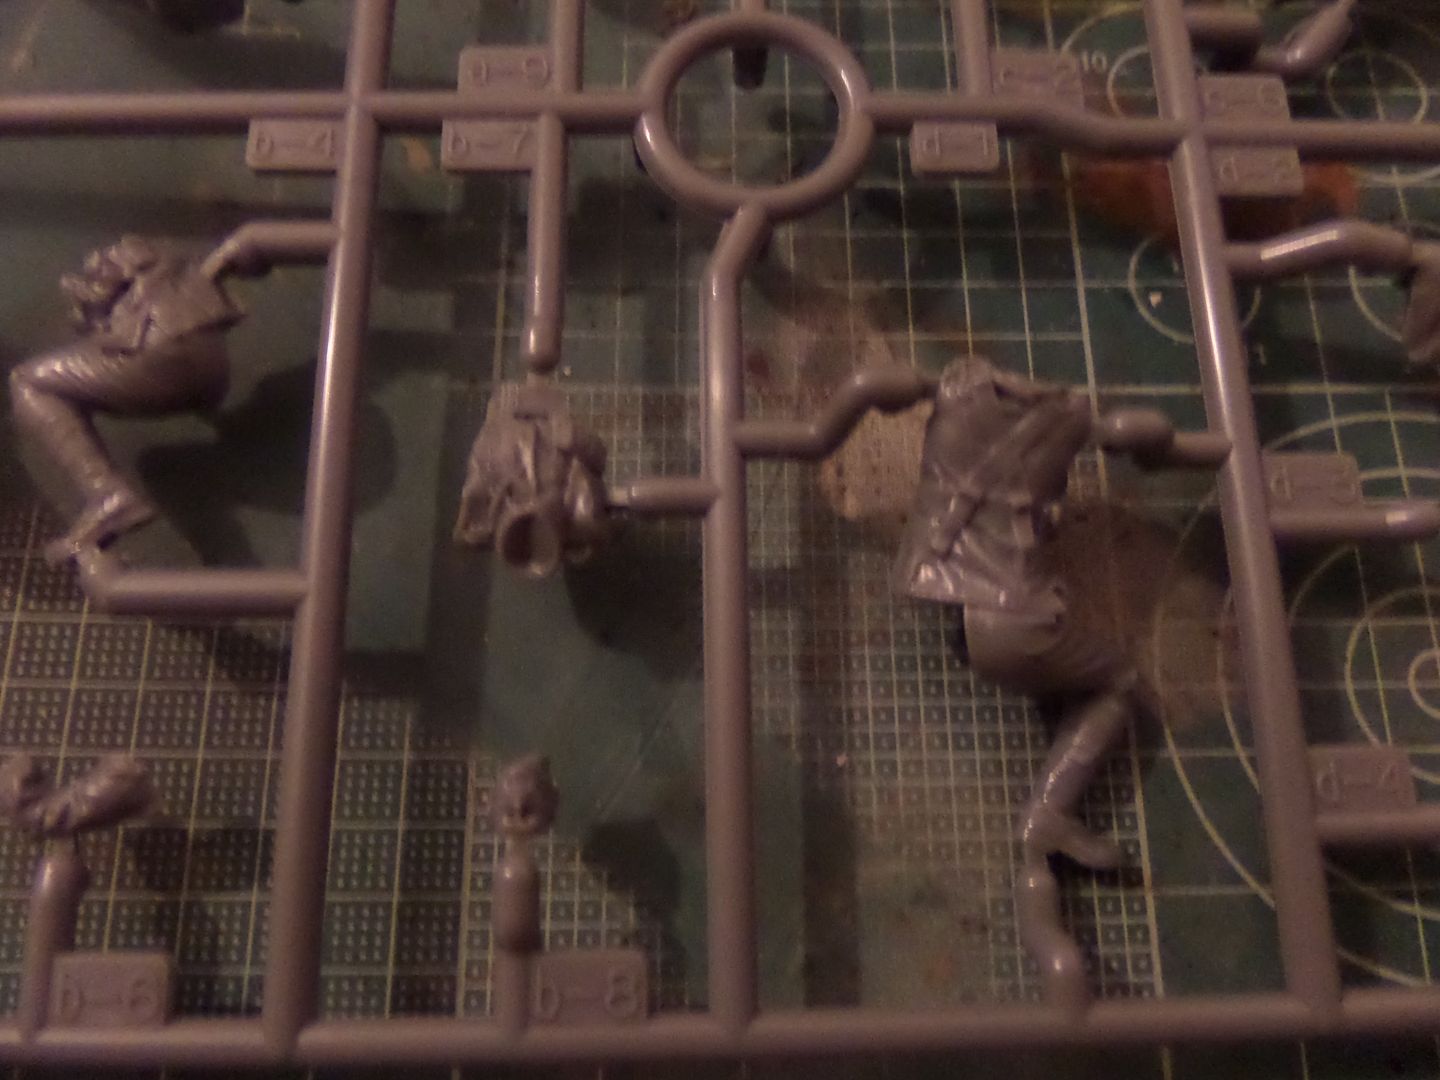
Nice detail on the figures :
Guns and acessories , very nice , you can choose between a Lee Einfield with or without the bayonet
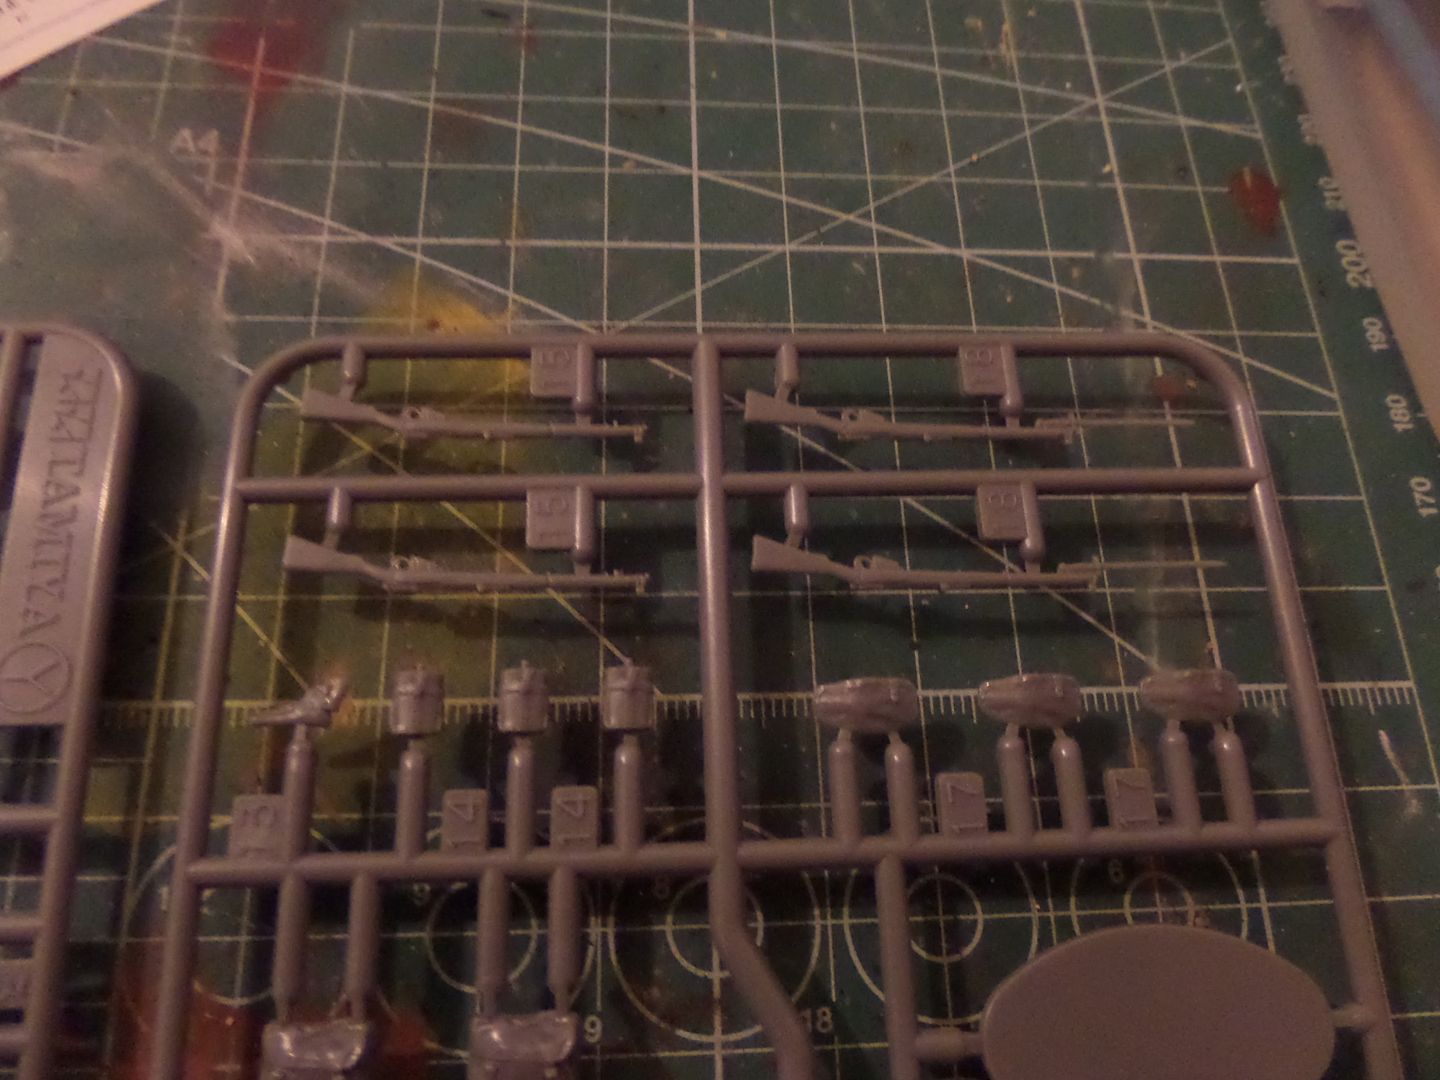
seem very accurate, at least to me .
The Lewis , helmets ...
The Helmts can be choose between two versions with or without a canvas cover to reduce reflection (Later version) , also you can have also the cap used in the Firt years of war ( well at least two pieces , it seems ...) , nice figures I think .
So now will start making the figures , the British and the Germans and start all the paint in all acessories for the Diorama , will first use a black primer on everything , seems the more apropriate to use here , but with me you never know ....
Thank you for watching another long Photo session of sprues some day you will see some proper work being done !
Use some oils , AK track Wash , Ultimate Light Dirt , some MiG Light Rust wash ...Primed at the end with AK Ultra Mate Varnish...


Ok tank ready , and yes, the engine works and he can go around ,strange stuff ...fell like Frankenstein creator
now figures and acessories for the Diorama
The trench section from Vallejo , already cleaned :

The timbering for trenches , also resin and clean

Start to glue the lader in the trench

The 'gefreiter' ( I get a google translate for corporal ...do not know if it is right ...)

Nice little figure , it is in resin , a hole to fill on one of the legs , but nothing too serious , nice face detail :

The resin tree stumps , notthing to clear , only prime and paint

Ammo boxes ,

Some How will be the dio , with a lot to do


Now The figures and for today some of the detail of the Tamiya British Infantry
Box art , usually Tamiya stuff !

Back (these are the instructions , but easy to check ) and also it is the paint guide , very nice poses .

The sprues on the bags

I noticed this in the box lid , some instructions on how to paint the Officer , depending on the rank choosen ..

On the other side , some signs to use in a trench Diorama , nice

Nice detail on the figures :


Guns and acessories , very nice , you can choose between a Lee Einfield with or without the bayonet

seem very accurate, at least to me .
The Lewis , helmets ...

The Helmts can be choose between two versions with or without a canvas cover to reduce reflection (Later version) , also you can have also the cap used in the Firt years of war ( well at least two pieces , it seems ...) , nice figures I think .
So now will start making the figures , the British and the Germans and start all the paint in all acessories for the Diorama , will first use a black primer on everything , seems the more apropriate to use here , but with me you never know ....
Thank you for watching another long Photo session of sprues
Cheers ,
António
On the Bench
a lot of stuff right now
António
On the Bench
a lot of stuff right now
-
rodrant
- Chief Warrant Officer 2
- Posts: 1774
- Joined: Wed Feb 19, 2014 9:22 pm
- Location: Maia - Portugal
Re: Tamiya 1/35 WWI British Tank Mk.IV Male and WWI British
Not really an update ...
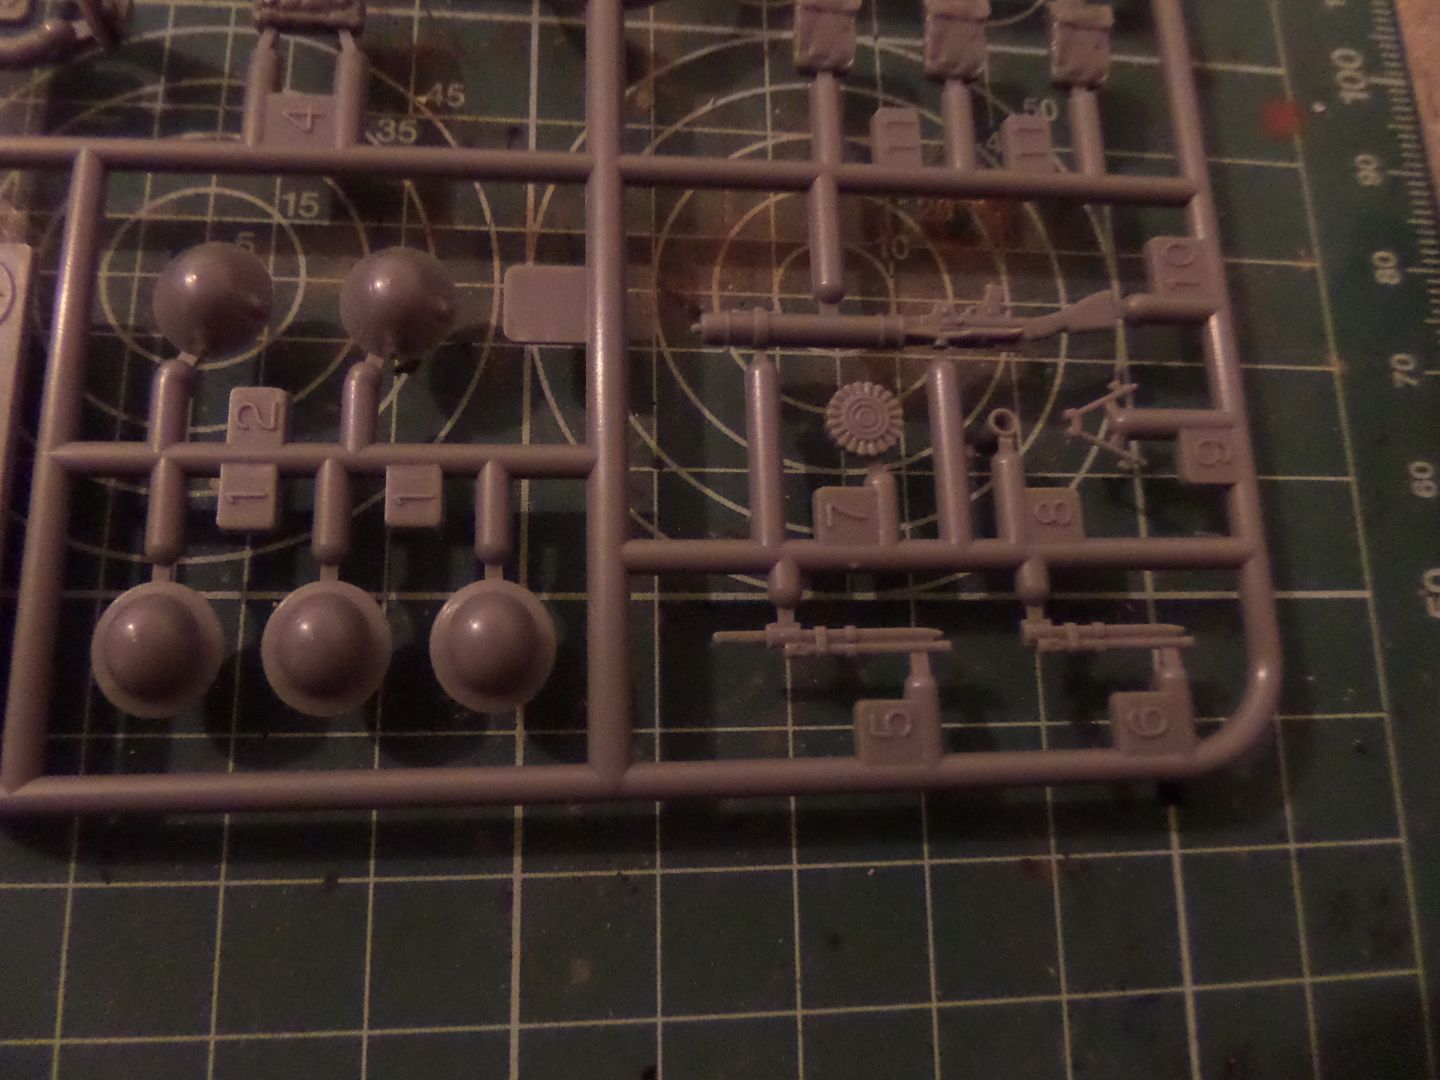
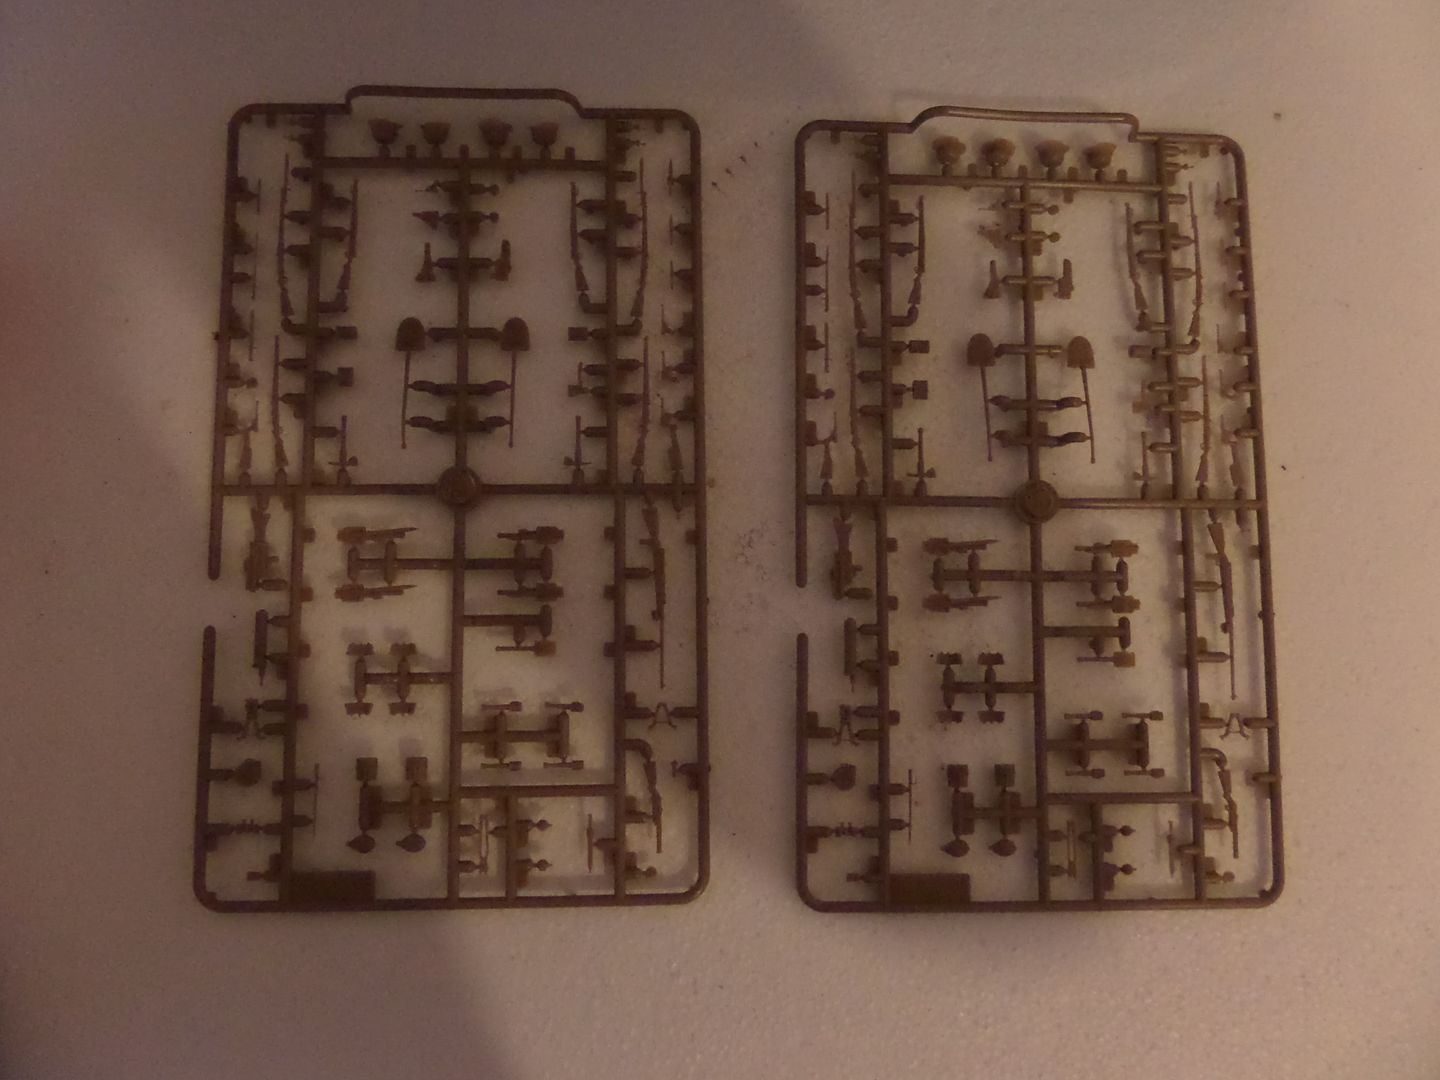
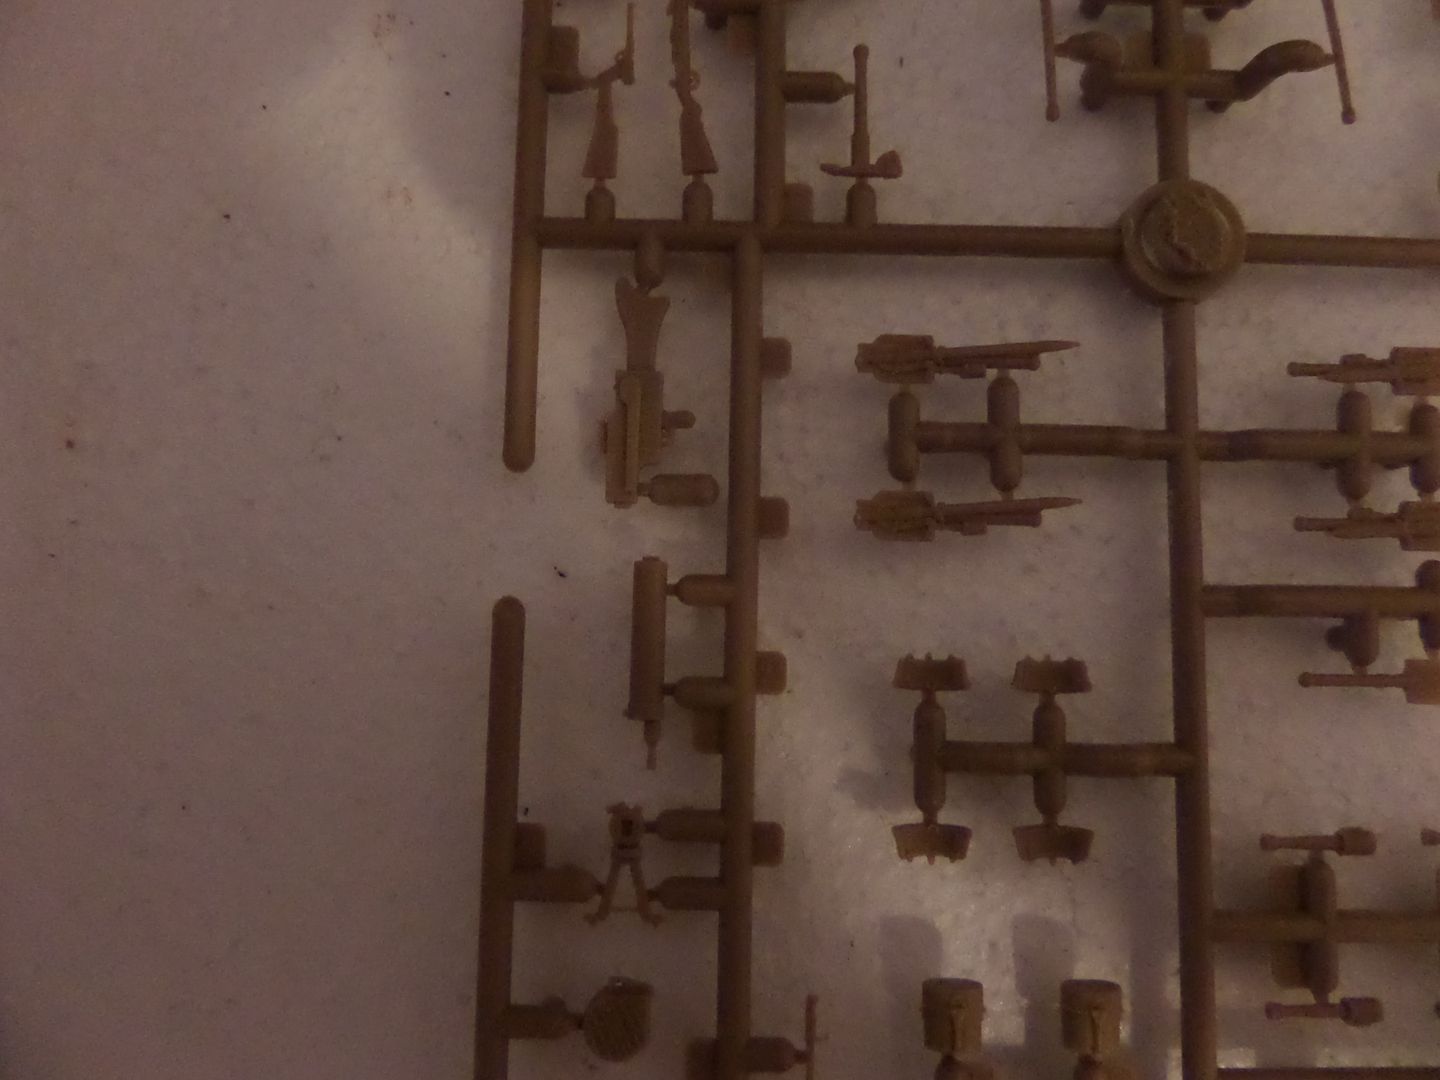
received today the WW1 German Infantry armement and equipment set from ICM ,
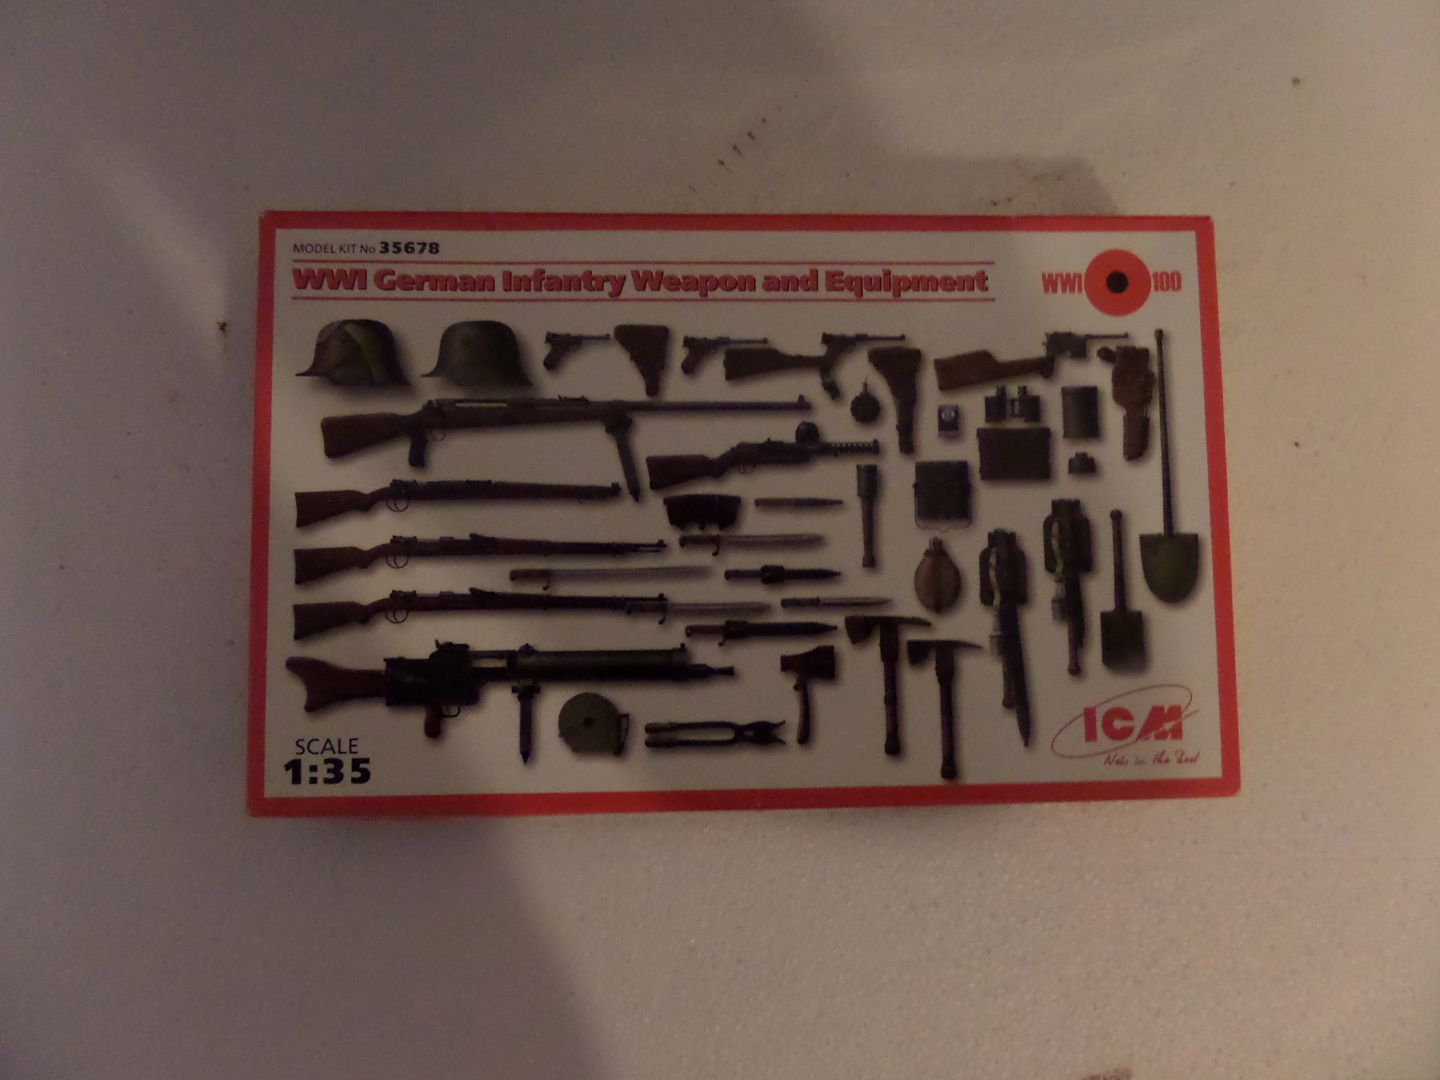
Nice detail and variety in the equipments and weapons :
Figures ,
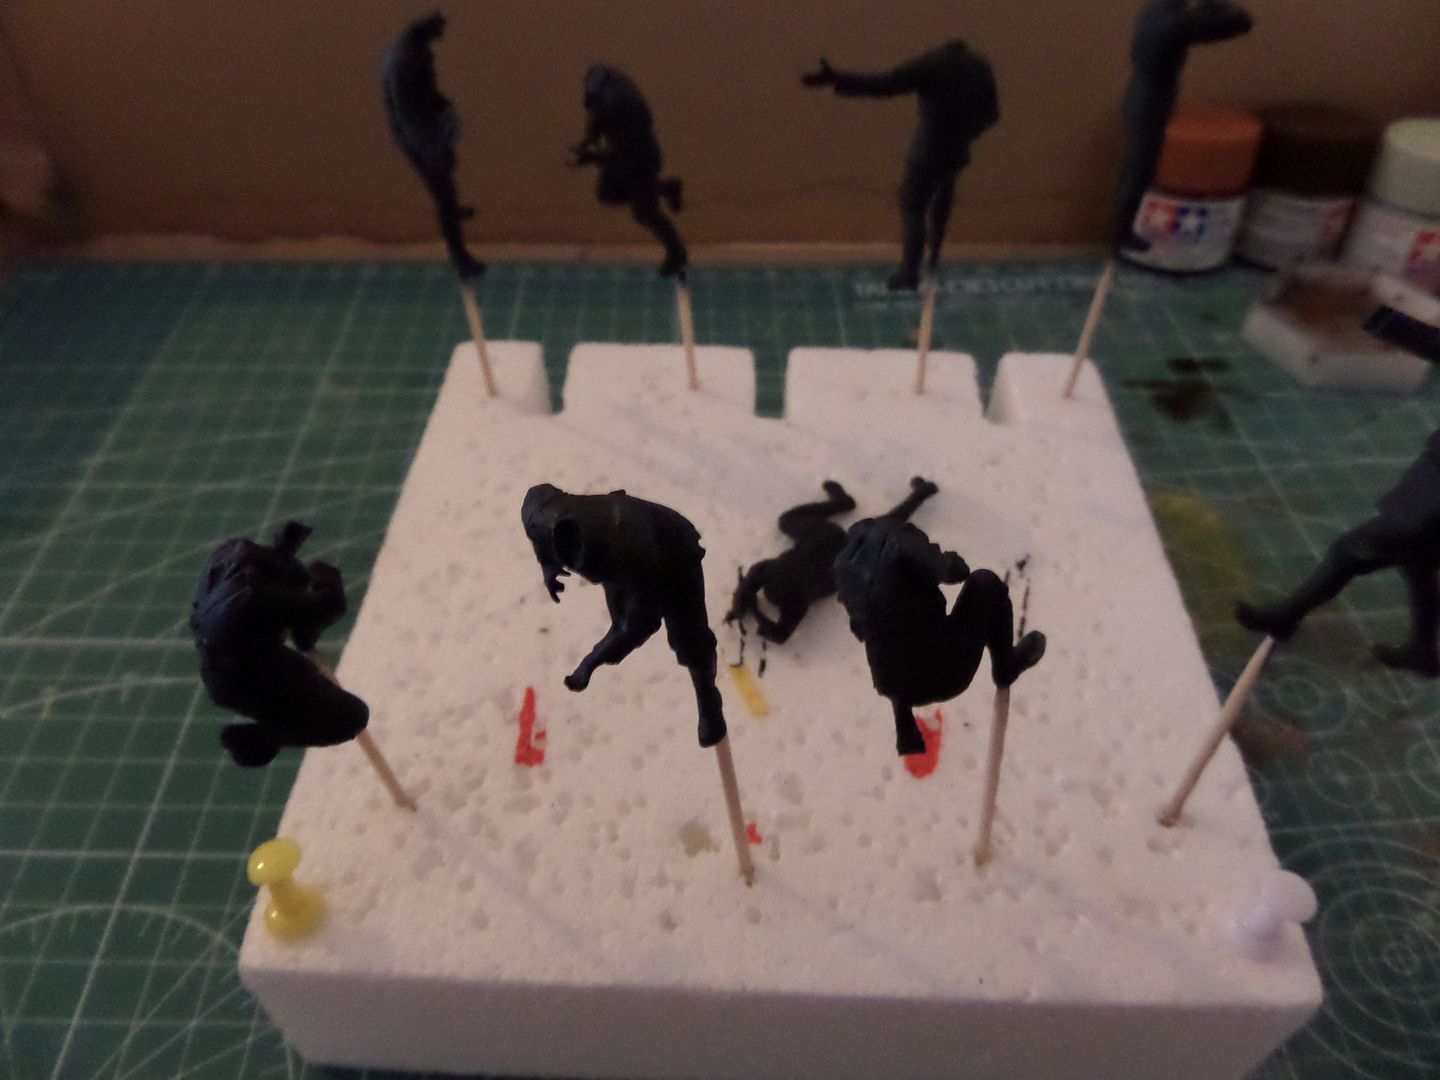
The British are done ready for the primer :
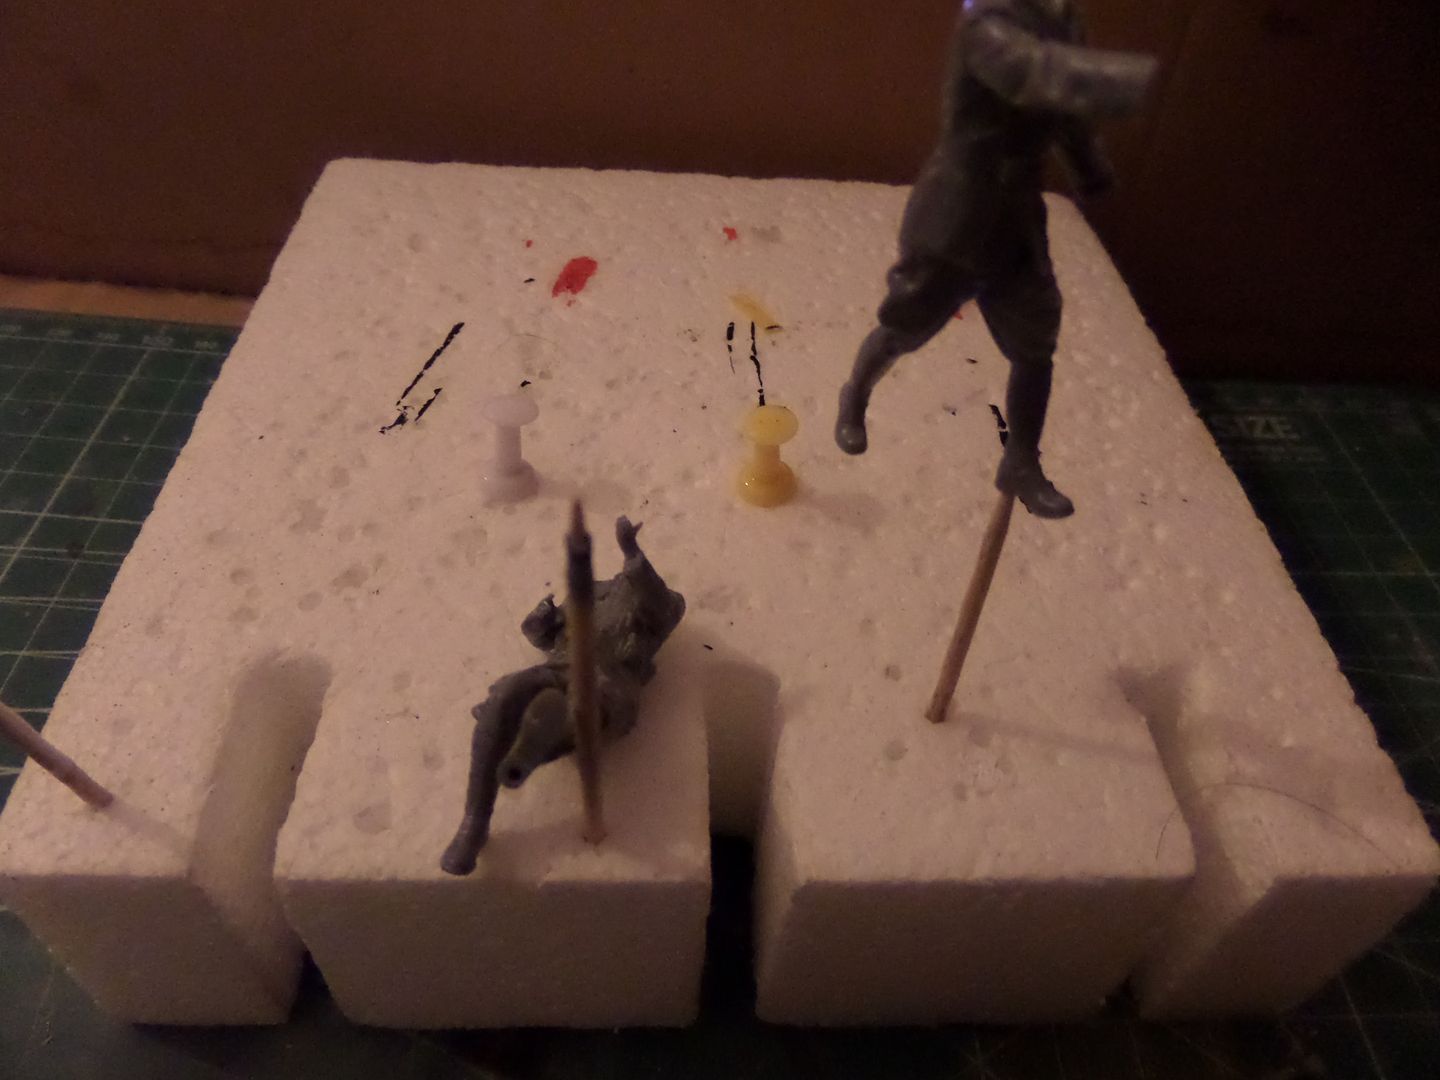
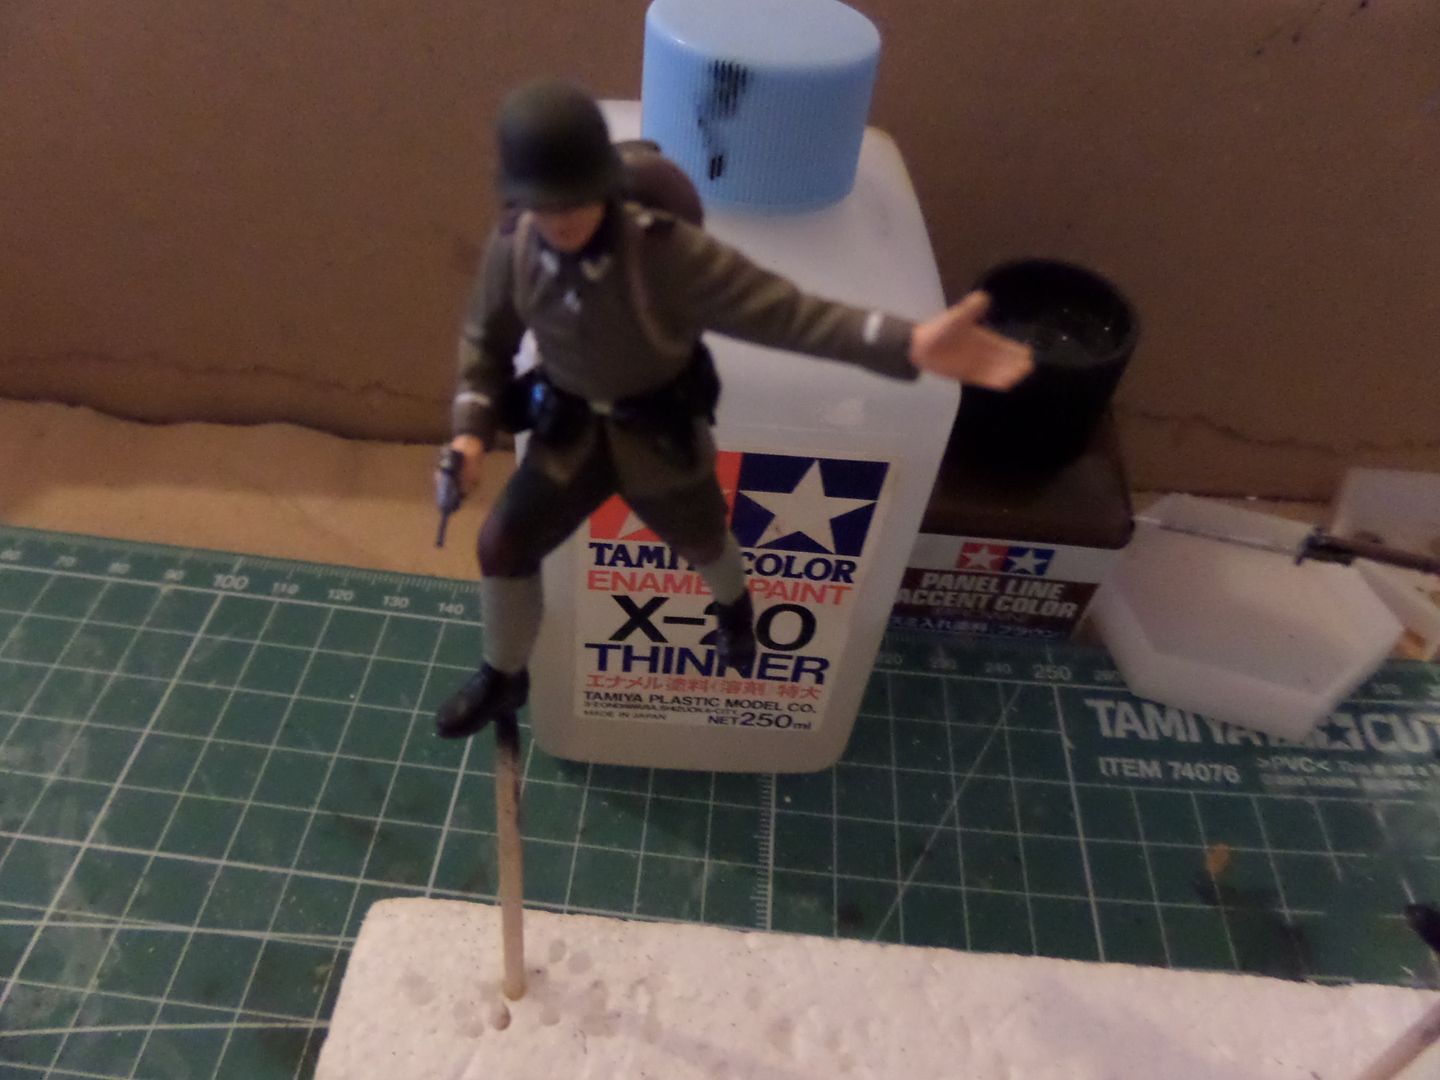
I made some drill on the shoe using a pin vice so that I can stick a tooth pick to paint job :
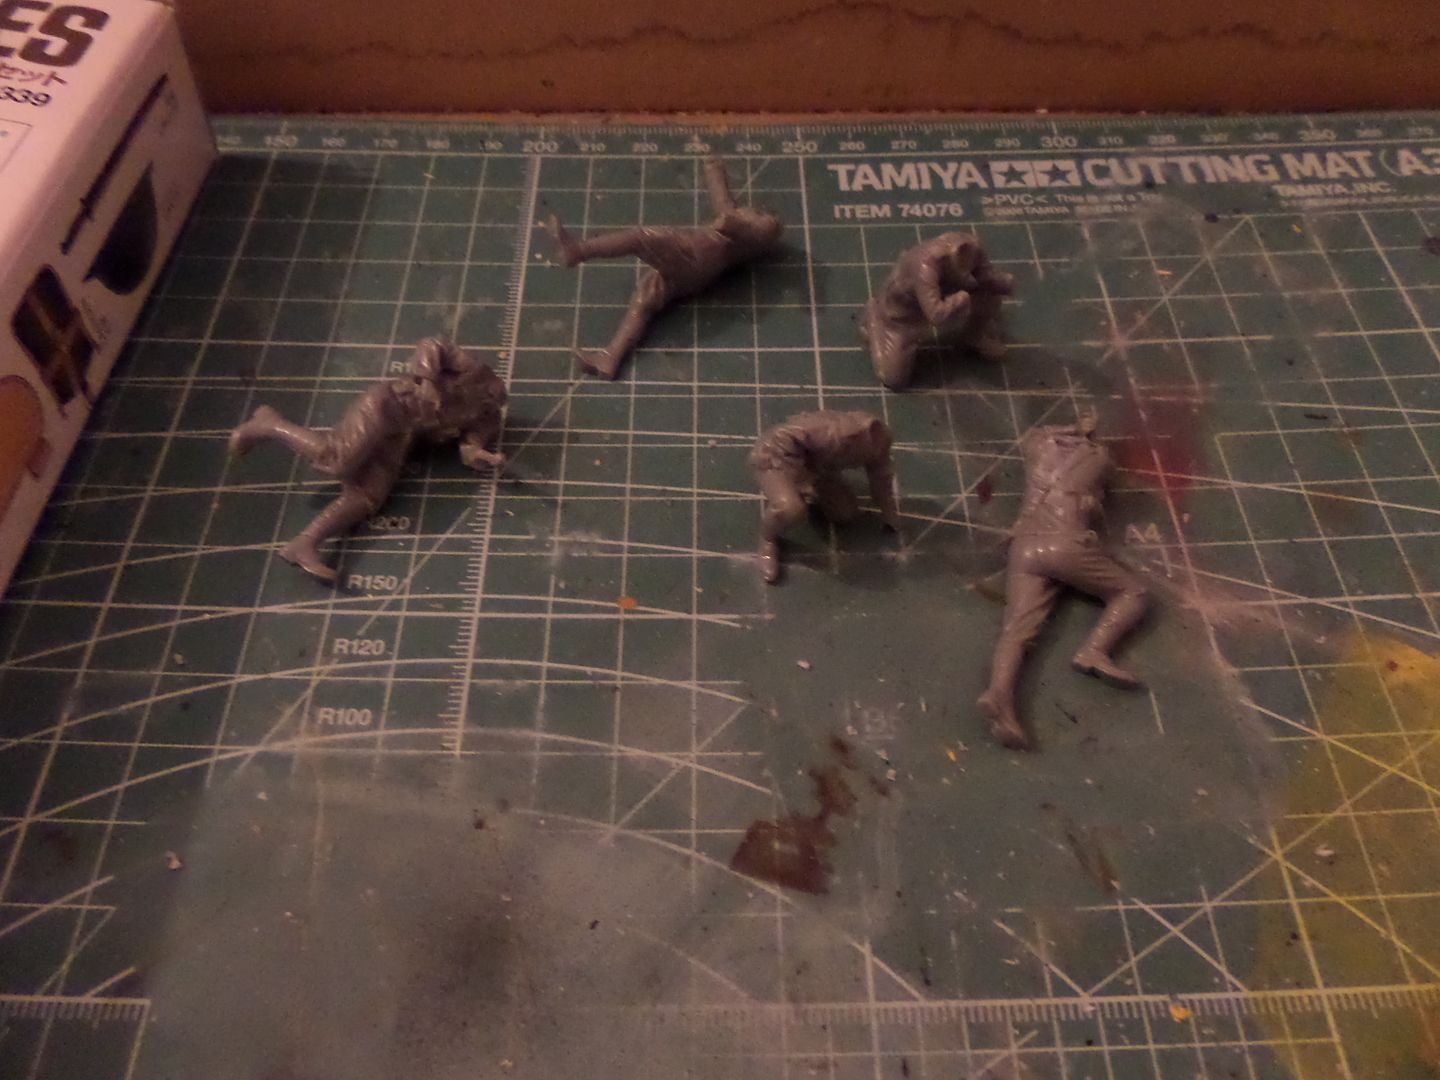
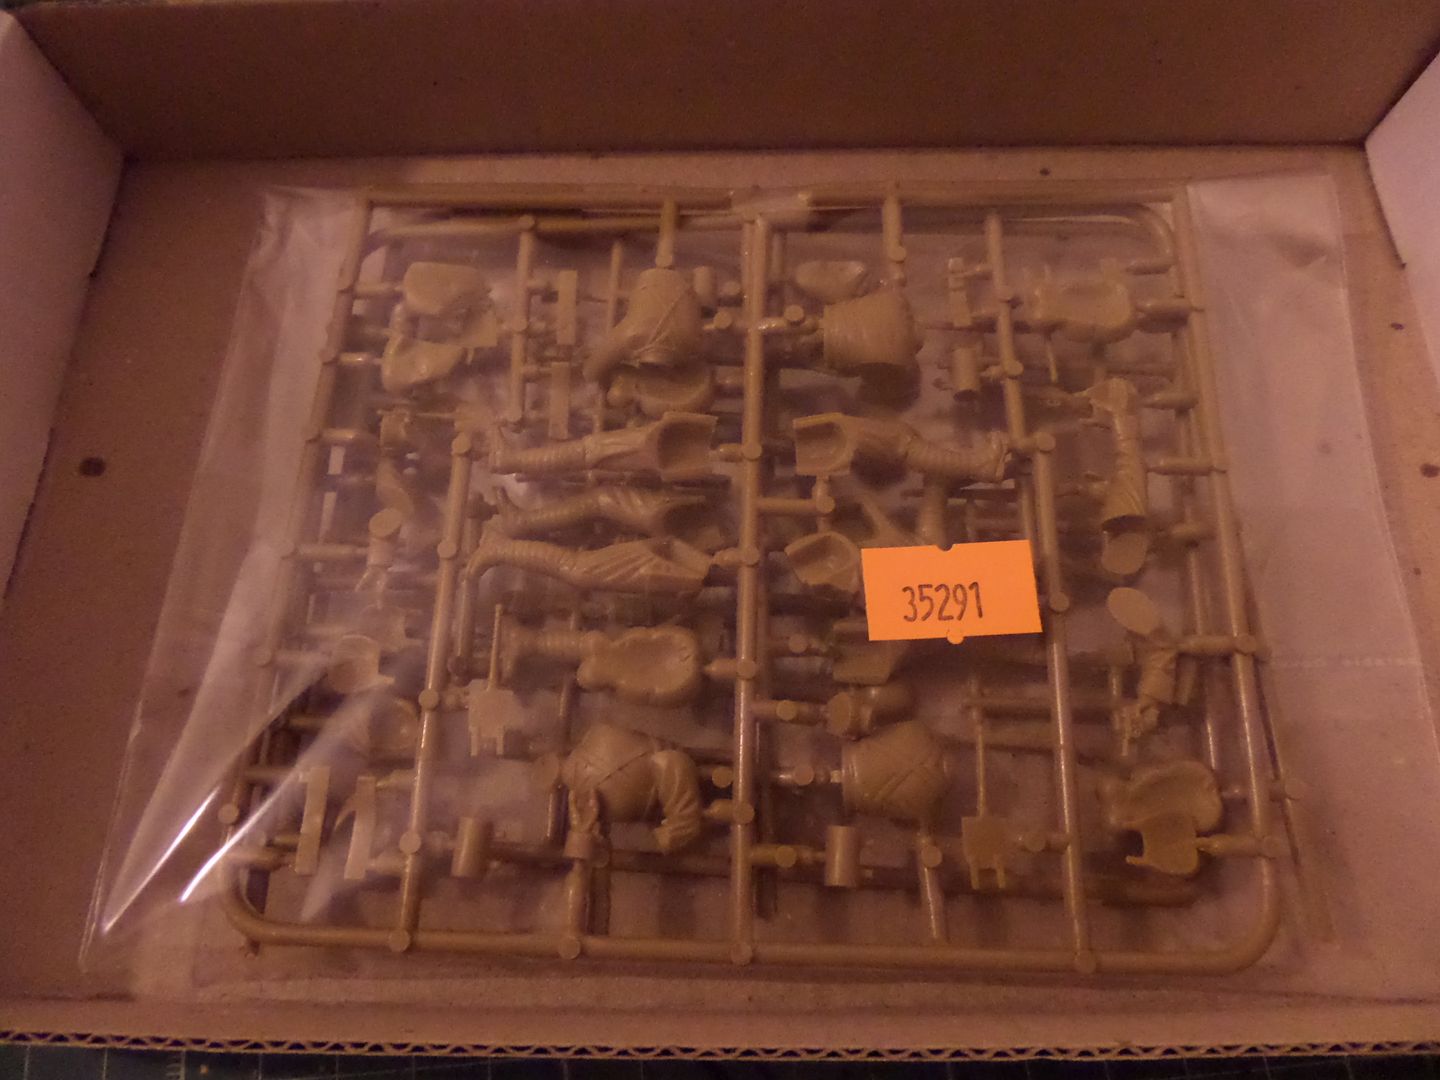
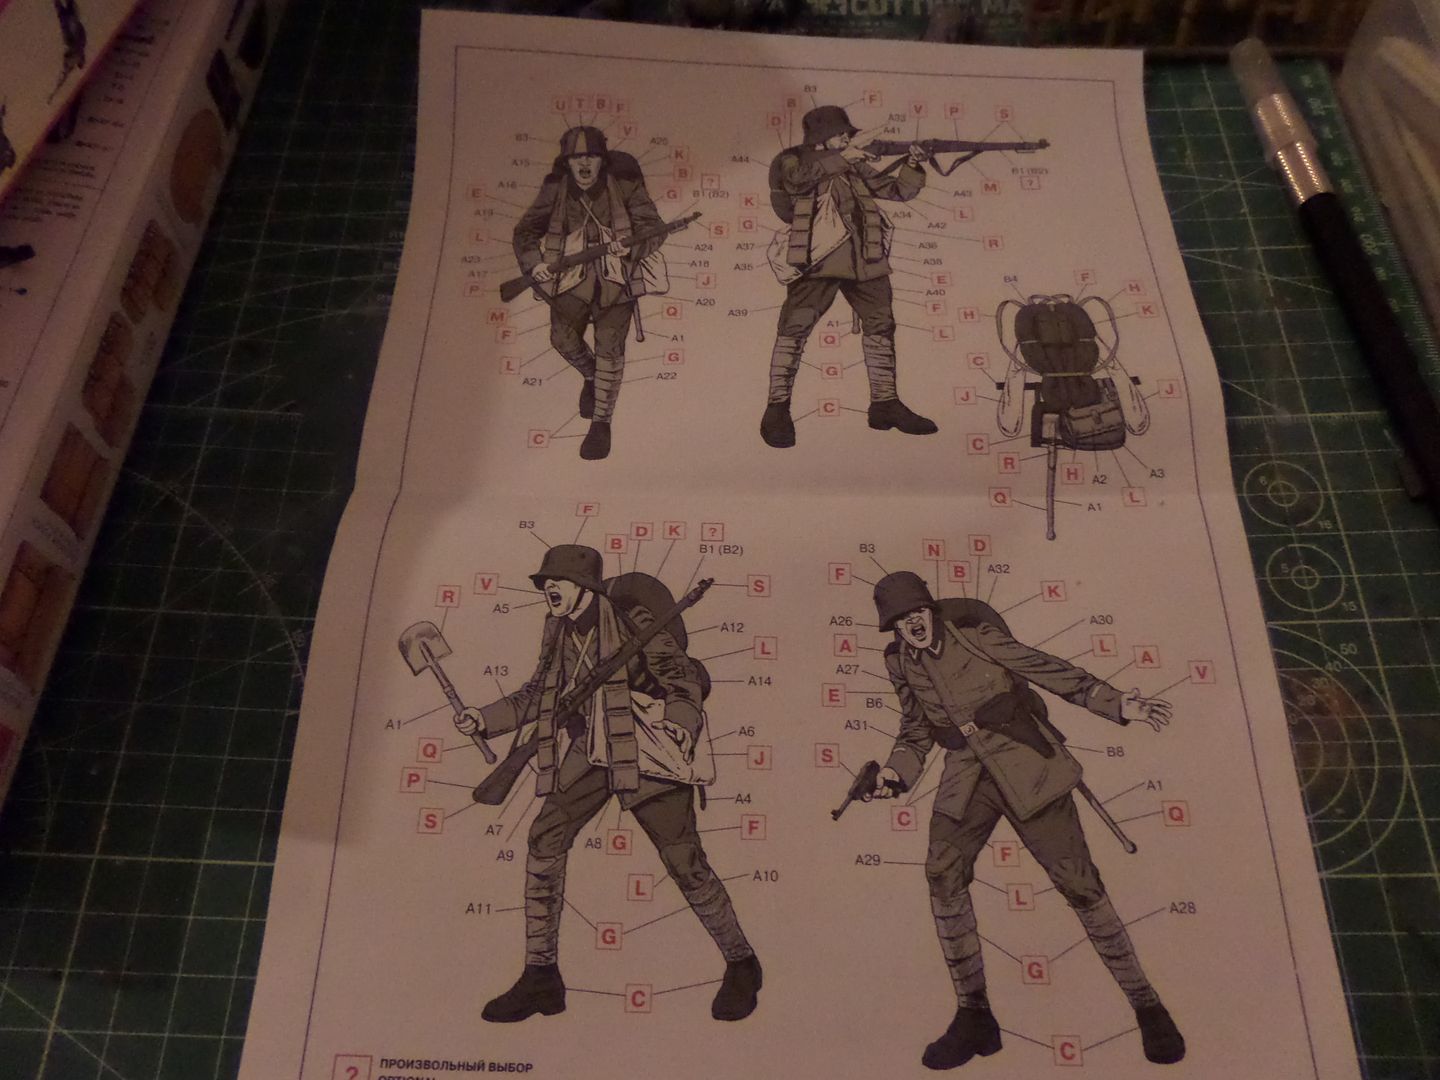
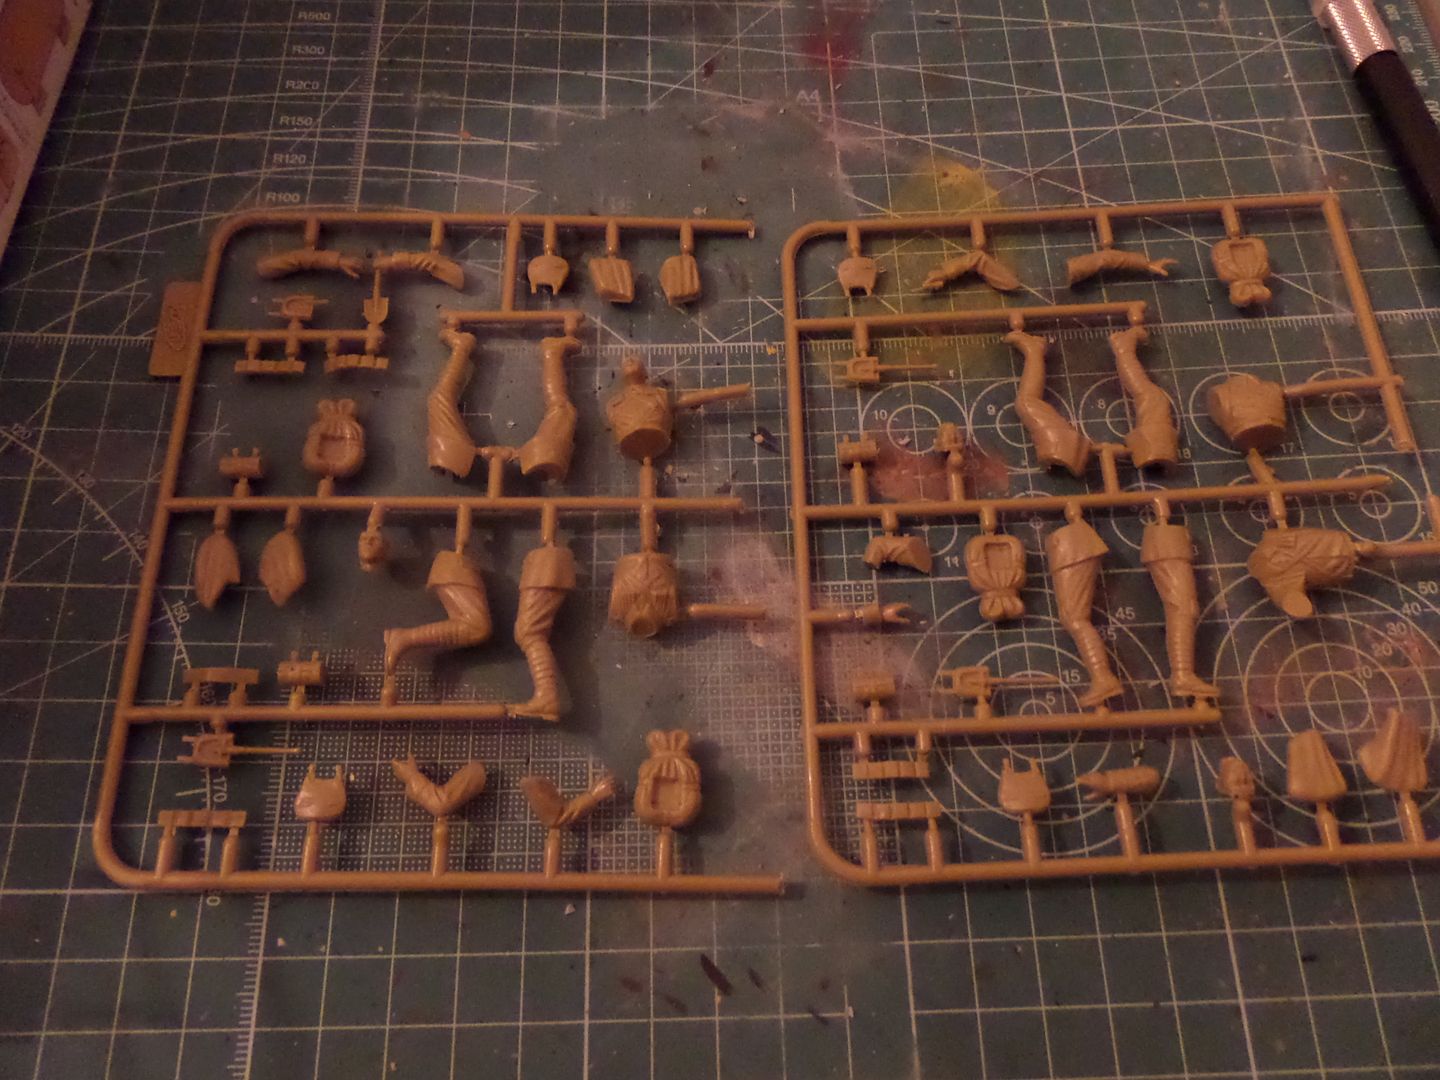
The German assault troops :

Instructions ....
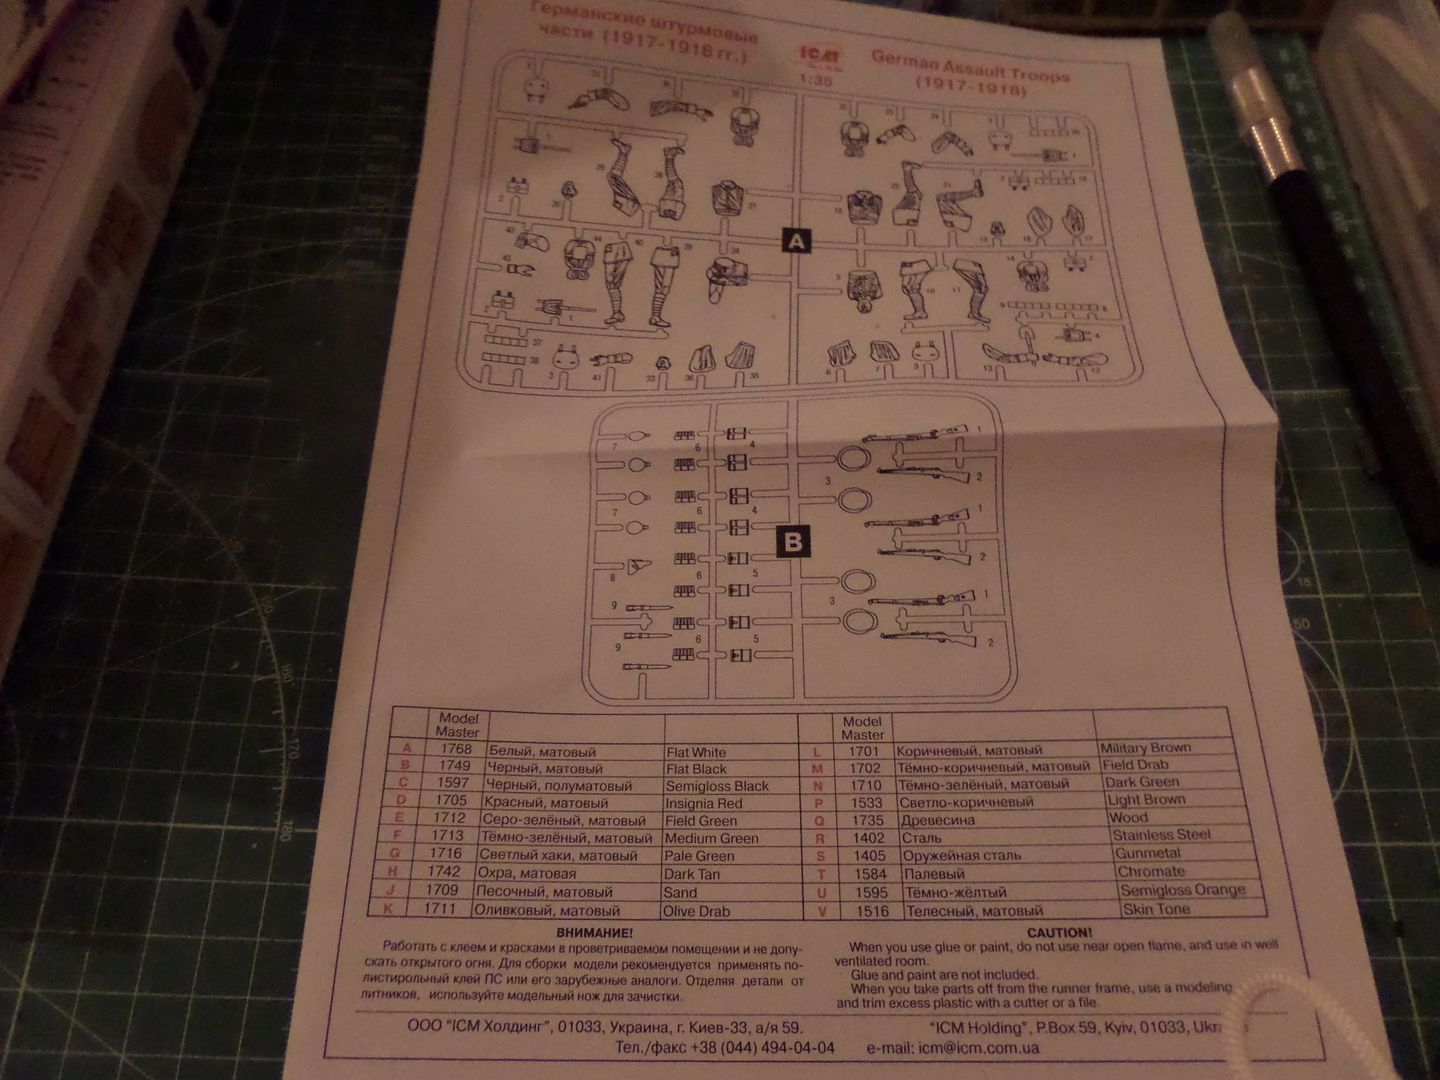
Color scheme confusing , i think ...and could be in color
The figures have some nice detail , the plastic is softer than Tamiya , and also the fit of the figures is more not so smart one as Tamiya
But are ready for primer also
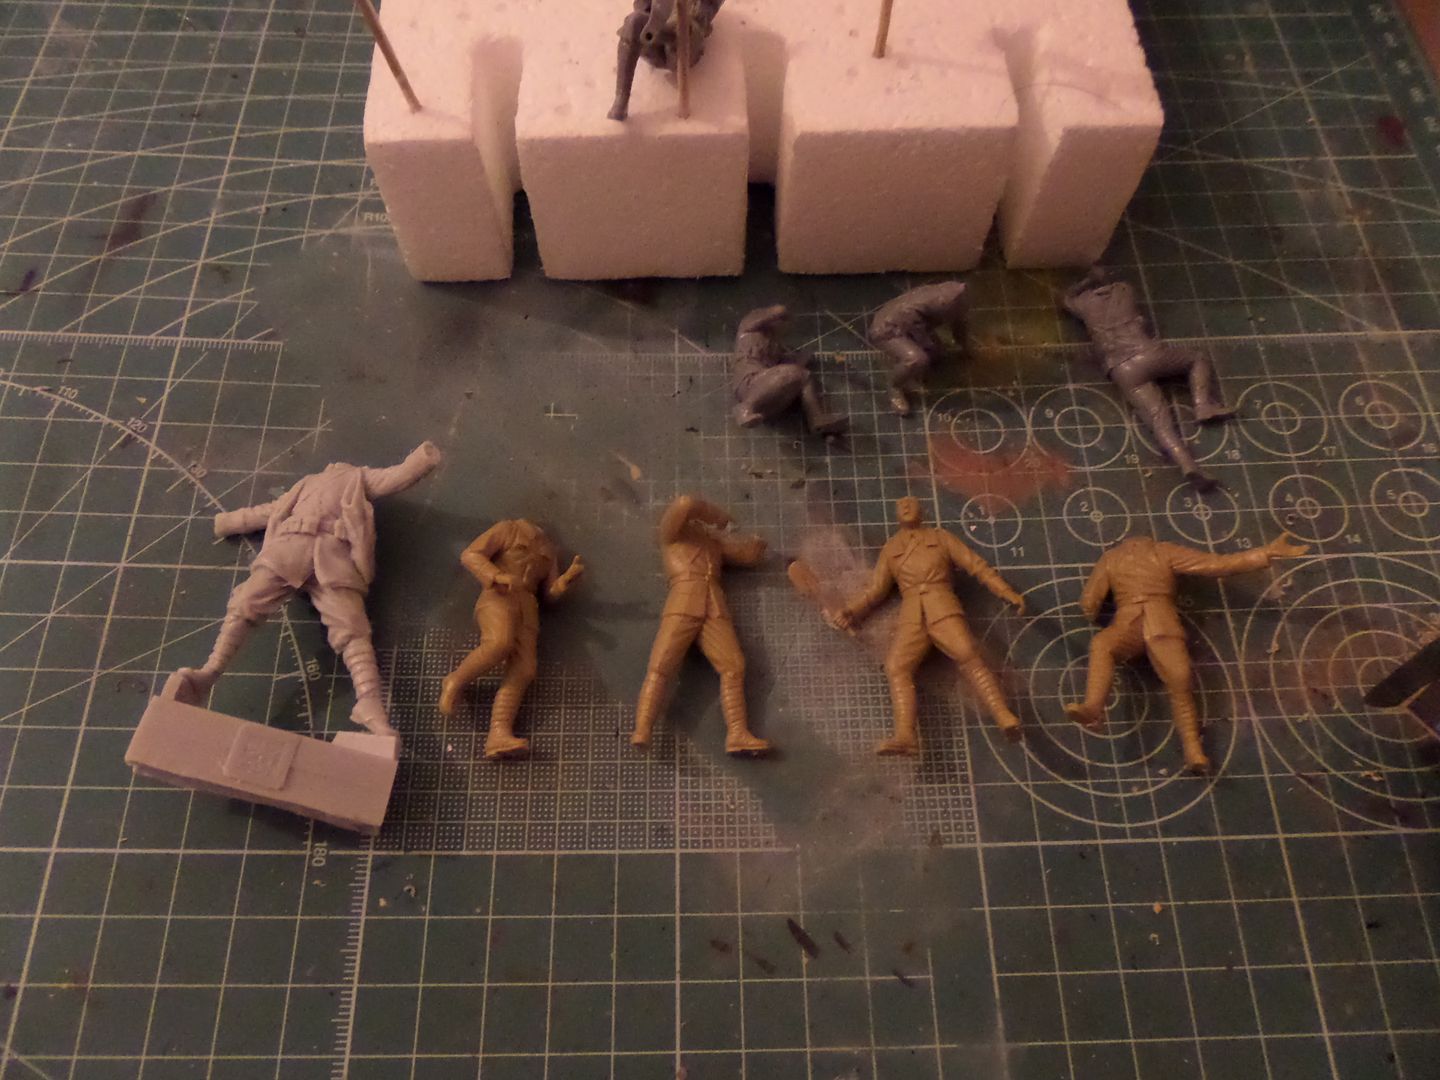
now the first resignation from the Diorama ..the Corporal , the corporal is sclae 1/35 in the box , but as you see it is like the grown brother of the other figures
Here maybe you see th difference in size
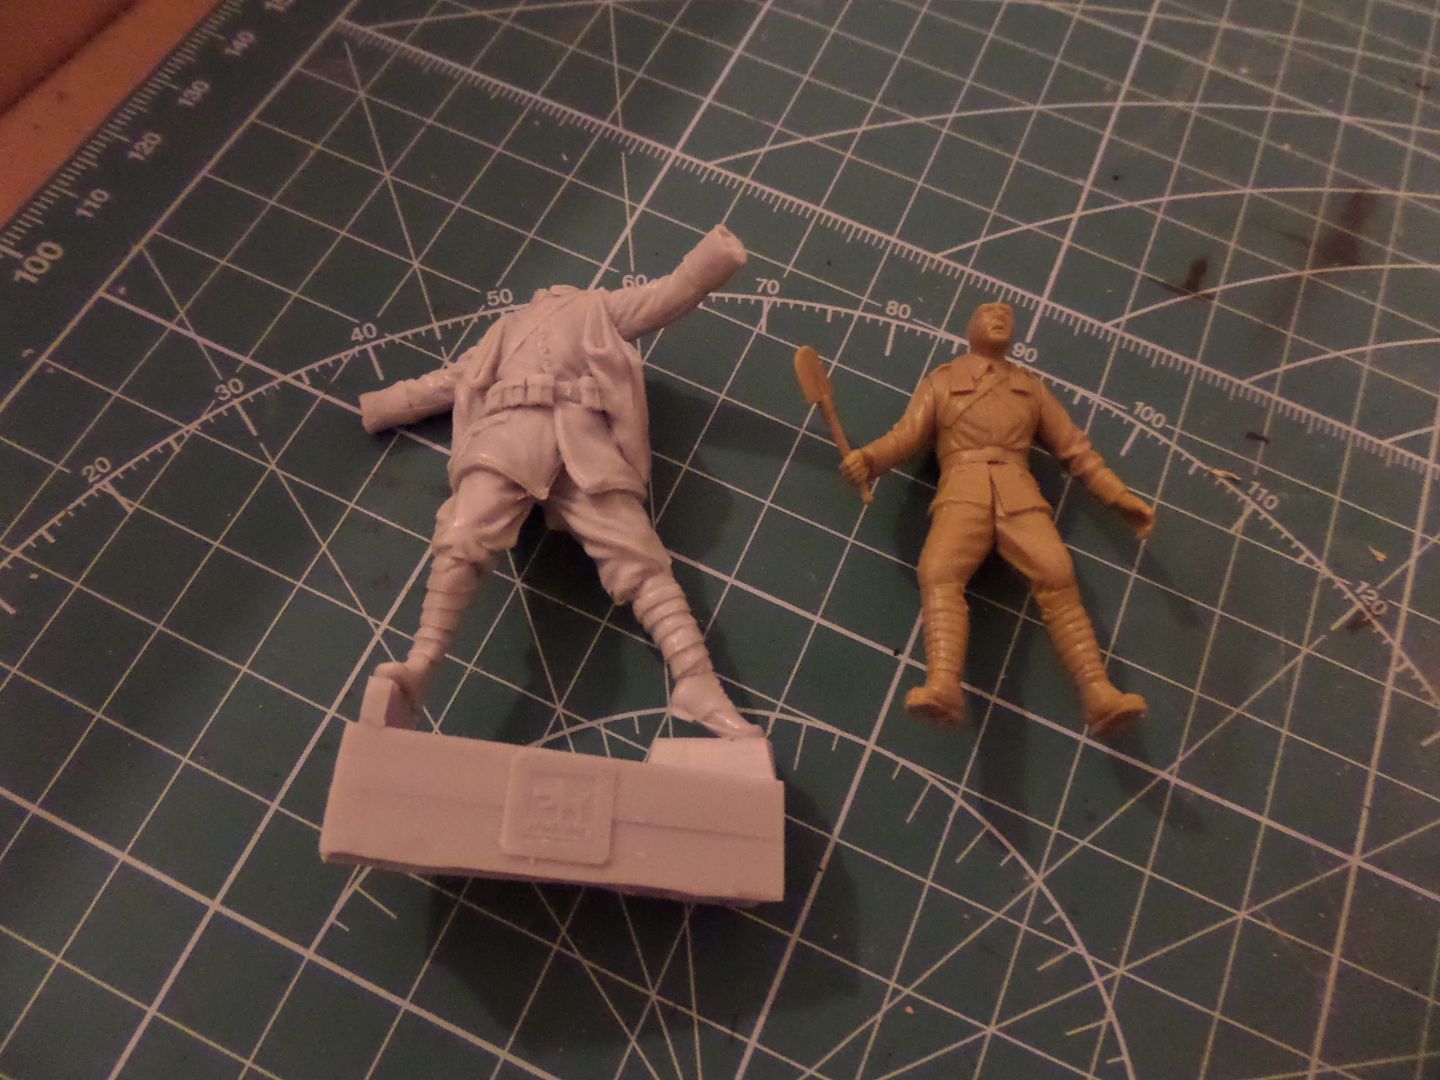
so this wouldn't be in the Diorma , still a nice figure to do a Vignette one of these days .
So start the Primer phase on everything and paint job next , during the weekend we could see another Big Update , now with the Diorma initiated and paint job done !
received today the WW1 German Infantry armement and equipment set from ICM ,

Nice detail and variety in the equipments and weapons :


Figures ,
The British are done ready for the primer :

I made some drill on the shoe using a pin vice so that I can stick a tooth pick to paint job :

The German assault troops :


Instructions ....

Color scheme confusing , i think ...and could be in color

The figures have some nice detail , the plastic is softer than Tamiya , and also the fit of the figures is more not so smart one as Tamiya

But are ready for primer also

now the first resignation from the Diorama ..the Corporal , the corporal is sclae 1/35 in the box , but as you see it is like the grown brother of the other figures
Here maybe you see th difference in size

so this wouldn't be in the Diorma , still a nice figure to do a Vignette one of these days .
So start the Primer phase on everything and paint job next , during the weekend we could see another Big Update , now with the Diorma initiated and paint job done !
Cheers ,
António
On the Bench
a lot of stuff right now
António
On the Bench
a lot of stuff right now
-
froppolo93

- Private

- Posts: 24
- Joined: Tue Aug 05, 2014 12:28 pm
- Location: Naples, Italy
Re: Tamiya 1/35 WWI British Tank Mk.IV Male and WWI British
Whoooo!! This is a huge diorama project!
I really like the tank, especially the weathering. I cannot wait to see it finished
I really like the tank, especially the weathering. I cannot wait to see it finished
Alessio
On Workbench:
Diorama Italeri JU-87 B2 1:48 In Progress
And sorry for my english...
On Workbench:
Diorama Italeri JU-87 B2 1:48 In Progress
And sorry for my english...
-
rodrant
- Chief Warrant Officer 2
- Posts: 1774
- Joined: Wed Feb 19, 2014 9:22 pm
- Location: Maia - Portugal
Re: Tamiya 1/35 WWI British Tank Mk.IV Male and WWI British
Another update ,
Before I start painting the figures I use AK Primer Black either for the Figures and for the Trench resin parts and armament and so ...
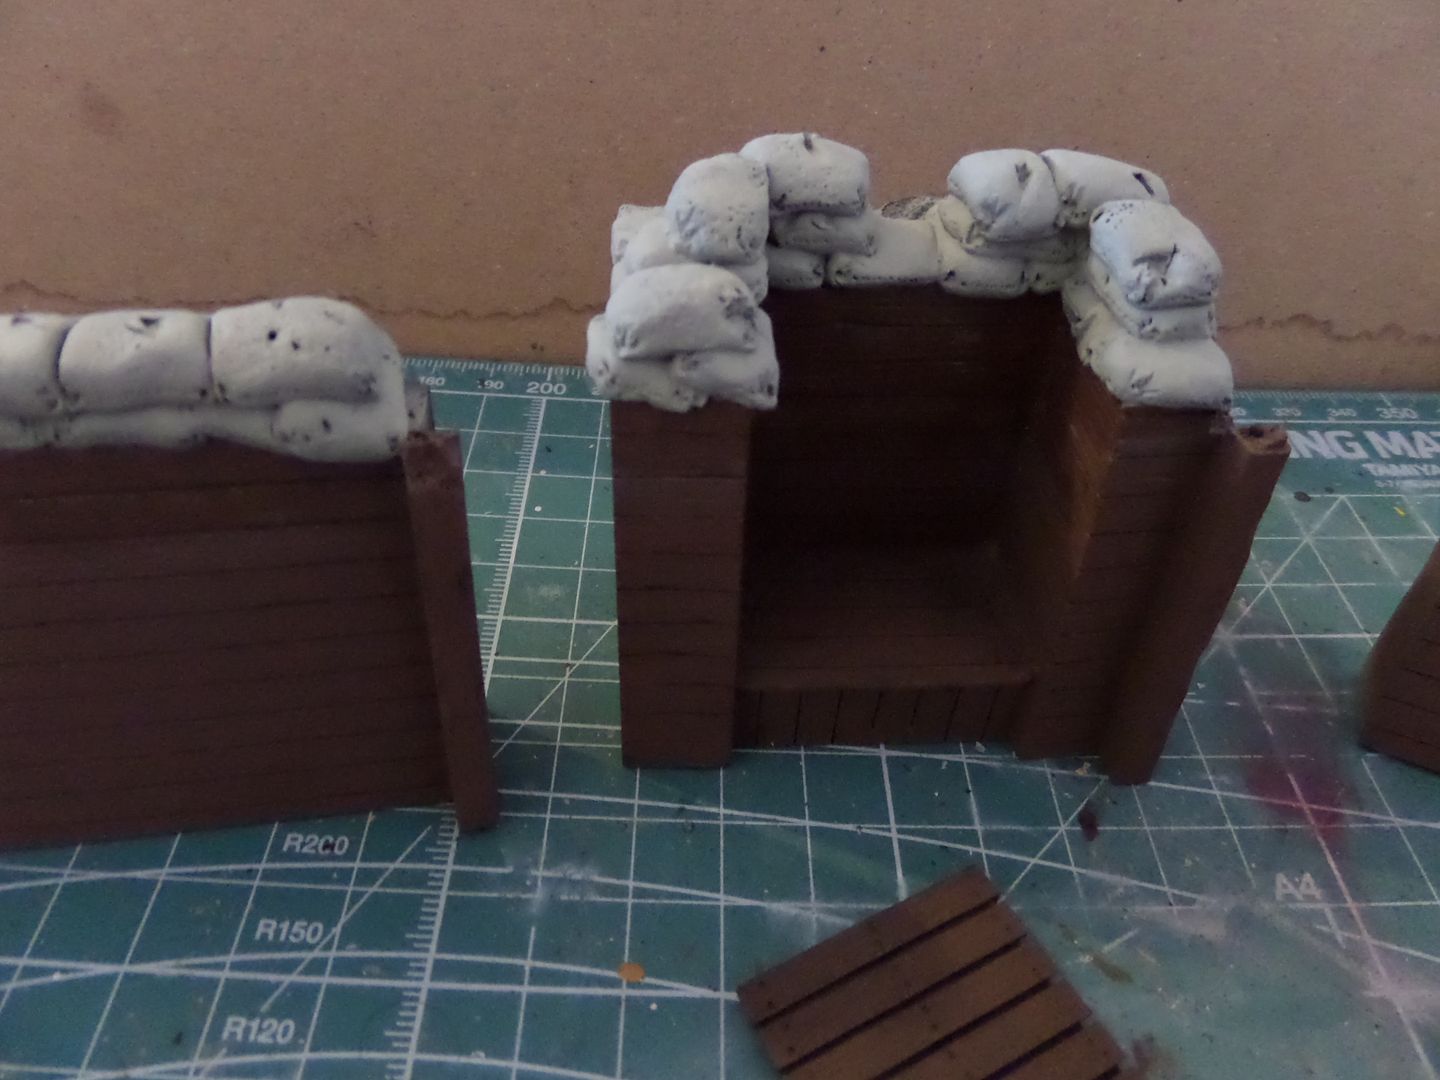
Before I start on figures I start doing the Diorama Base ( Huge again ... ) , so after applying the primer painted the Verlinden Trench Resin , used XF-64 for wood and some XF-76 IJN Grey Green for Sand bags :
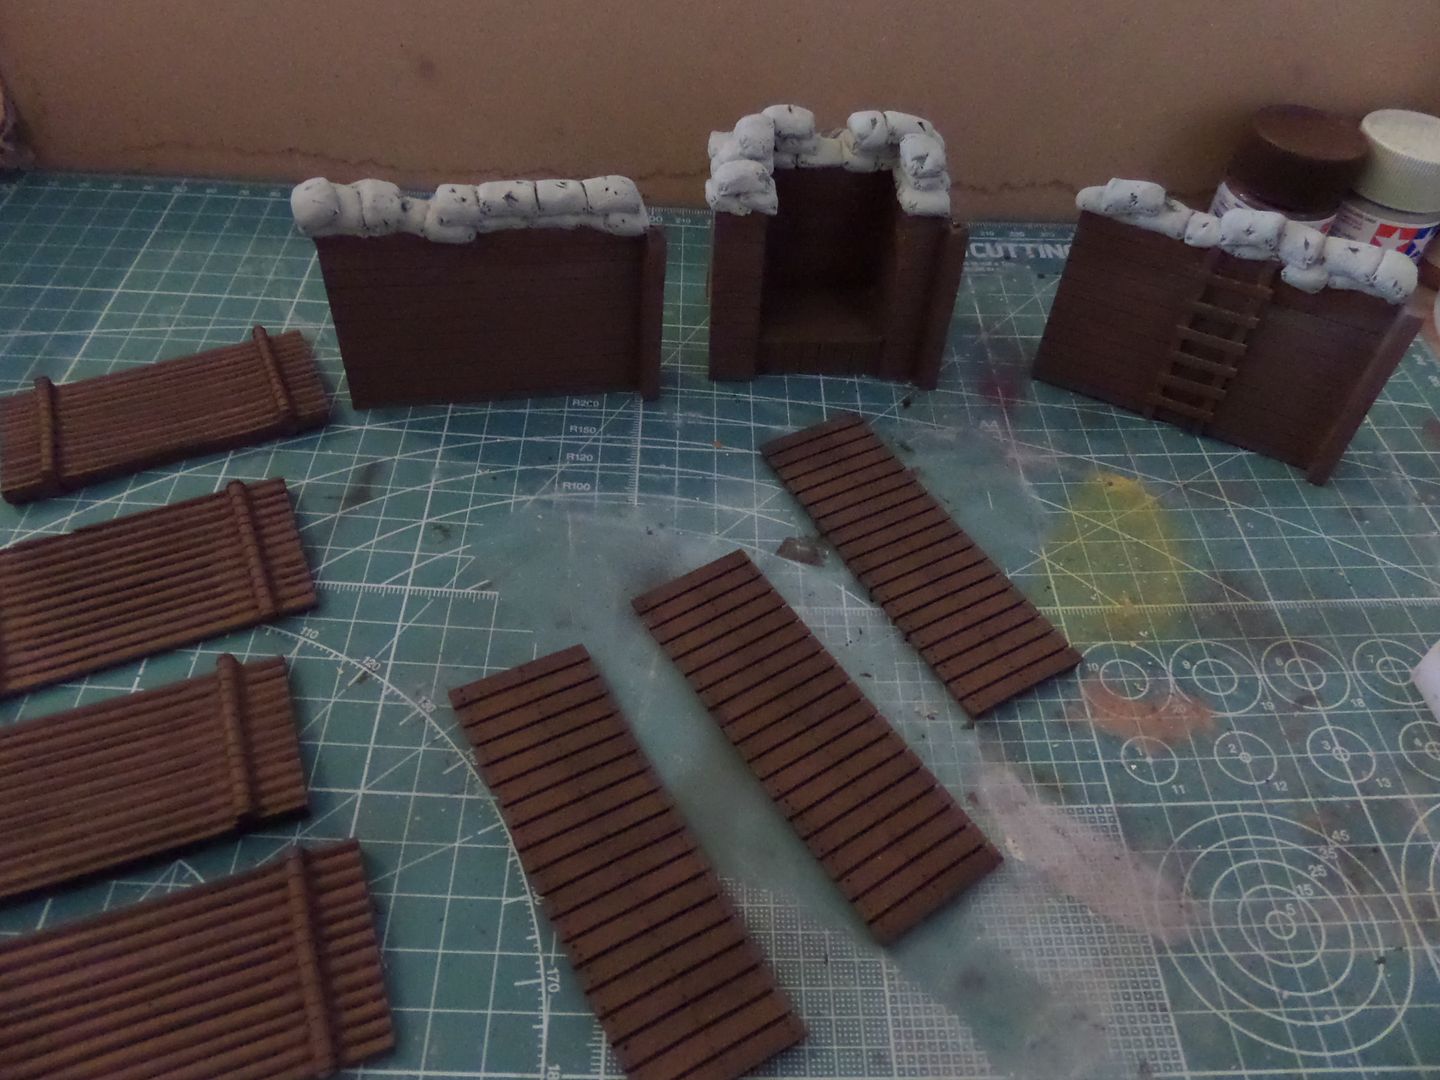
On the Plus Model timbering of trenches use XF-64 for wood and X-34 Metal Brown for the wires on the pilars , the effect was very nice , i think
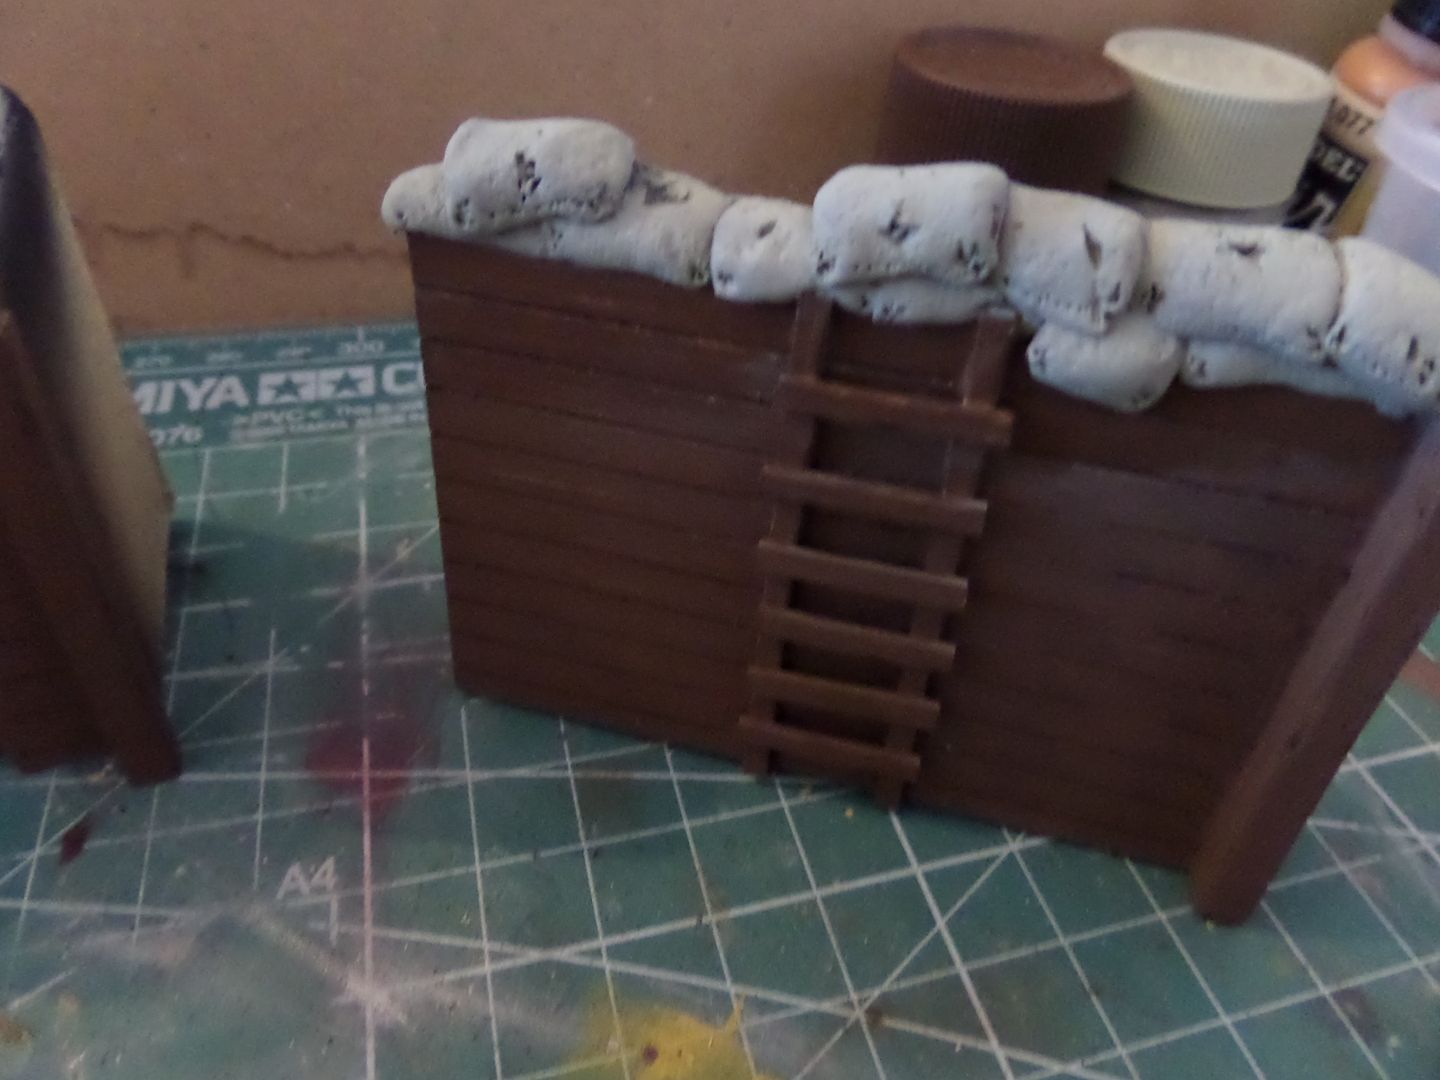
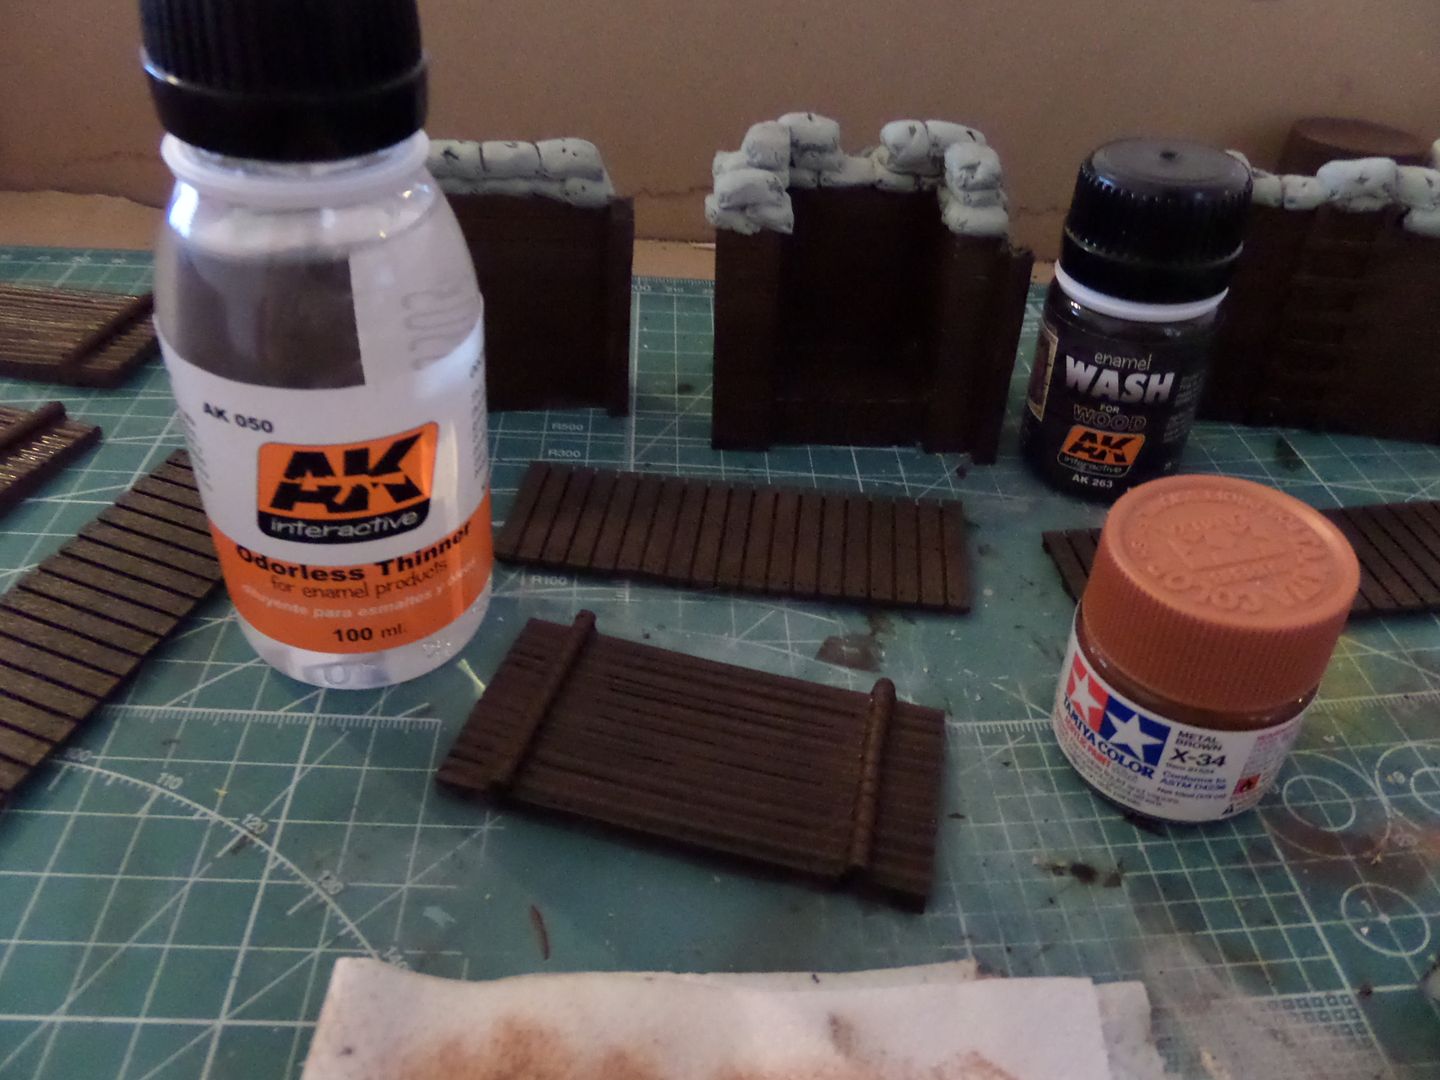
Then I use a AK Wash for wood to make the wood more 'used' , also worked very well , i diluted the wash in some Odorless Thinner , also from AK
Then the figures , primed Black , English in first plan , German second row
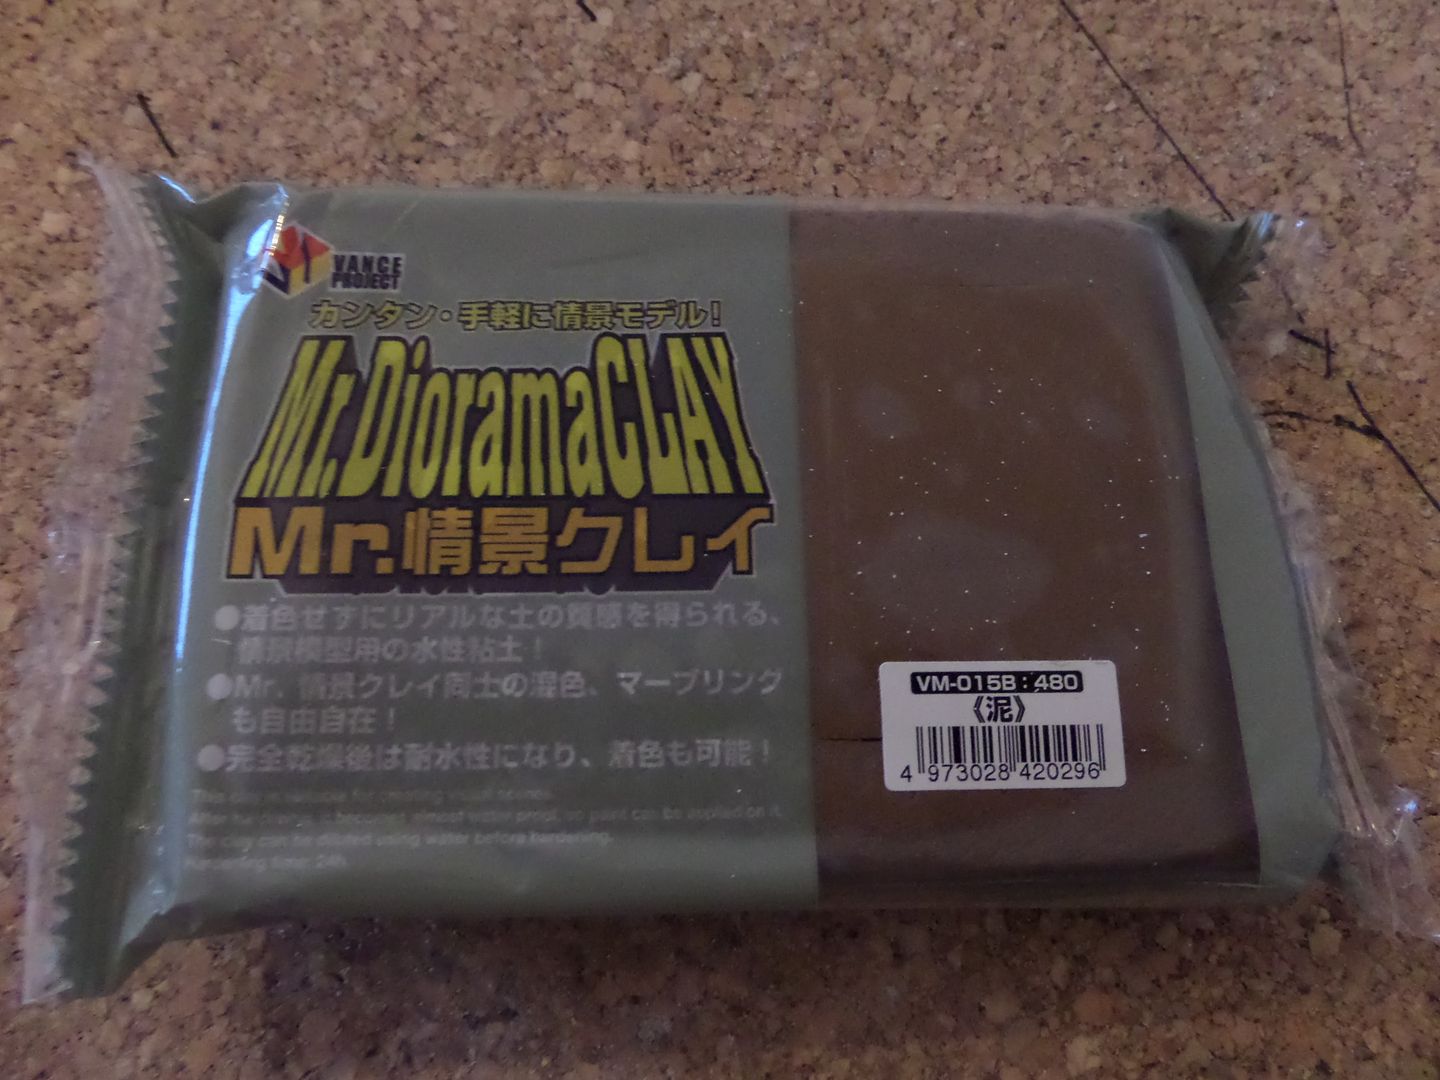
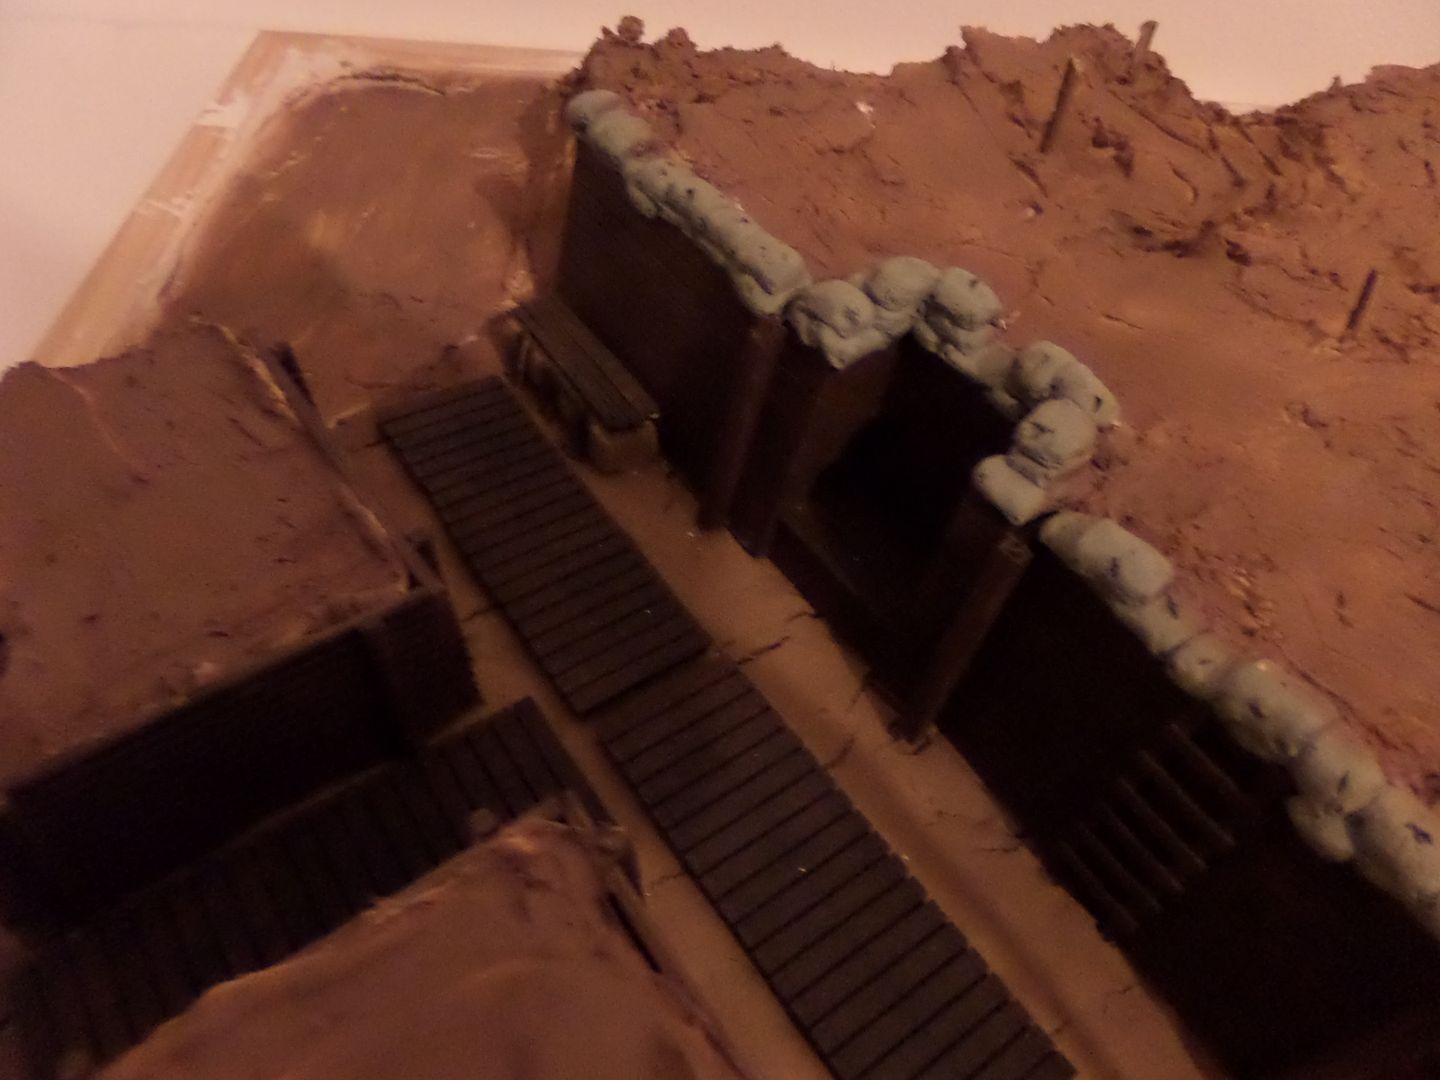
To make the base for the trench in the diorama used this MrDiormaClay , I bought it in AK site , and I guess that has a nice effect in deppecting the mud or earth base on the trench , still I guess that are other brands of this type of products that could be cheaper , but this one has some quality and no need to paint ...
The clay and the diorma trenches on it
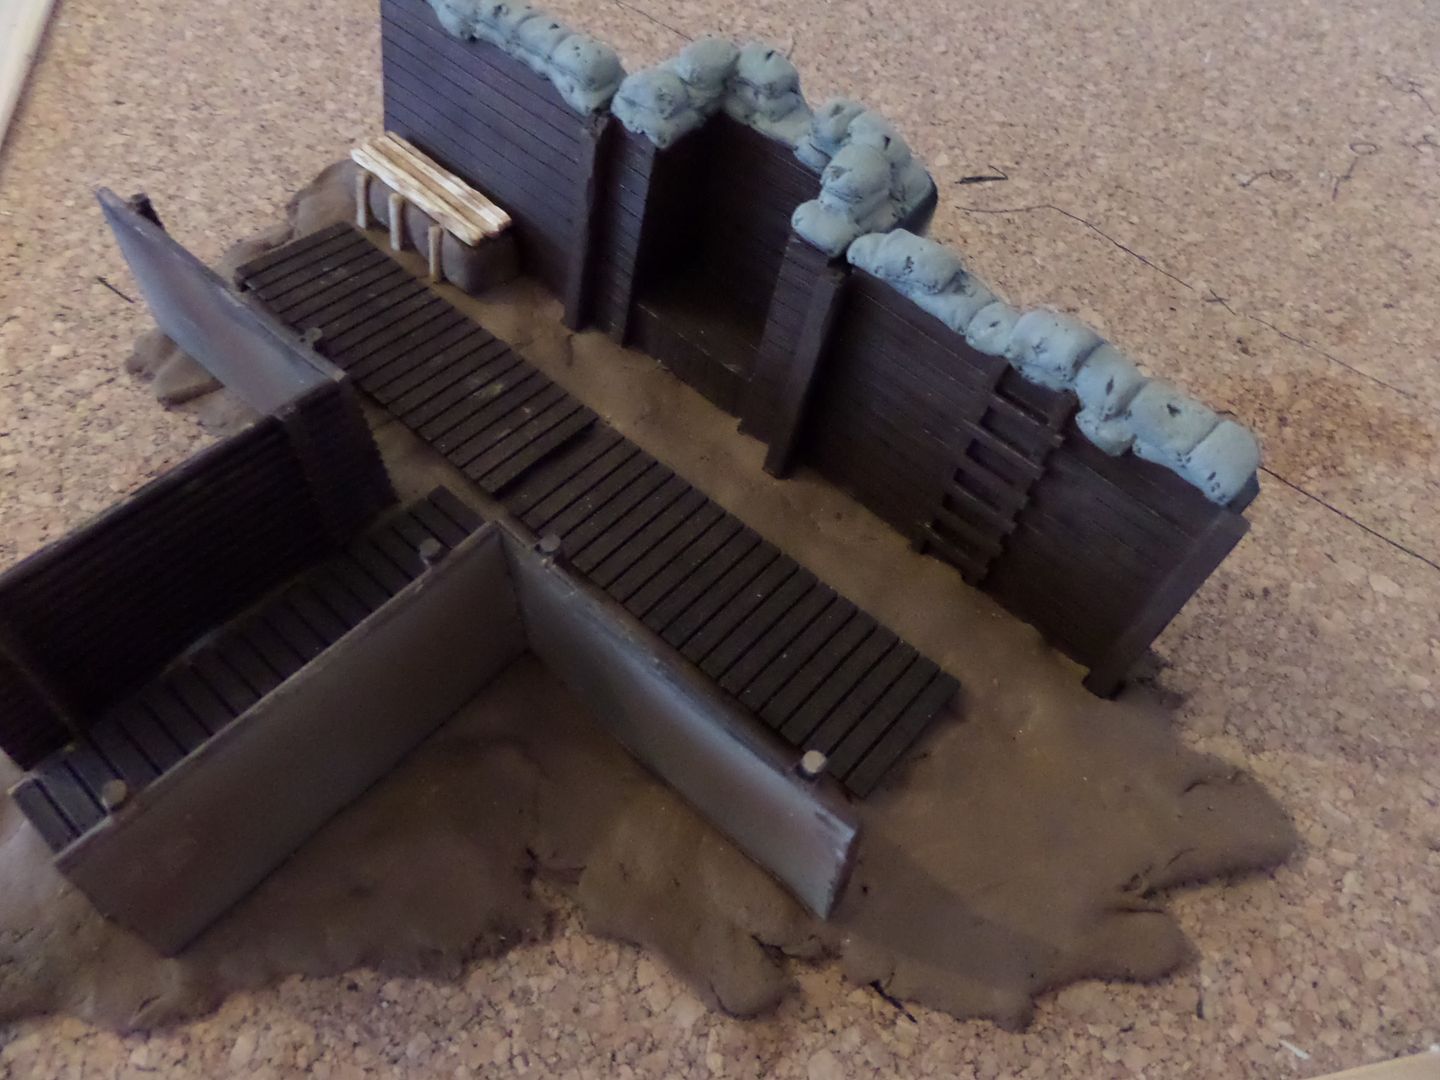
I make that smal 'step' because I want to put there a german soldier aiming the rifle , think that in trenches they have this steps to aim and so they can get on top to fire rifles . Use some small wood stickd , fixed them in a rectangle of the clay .
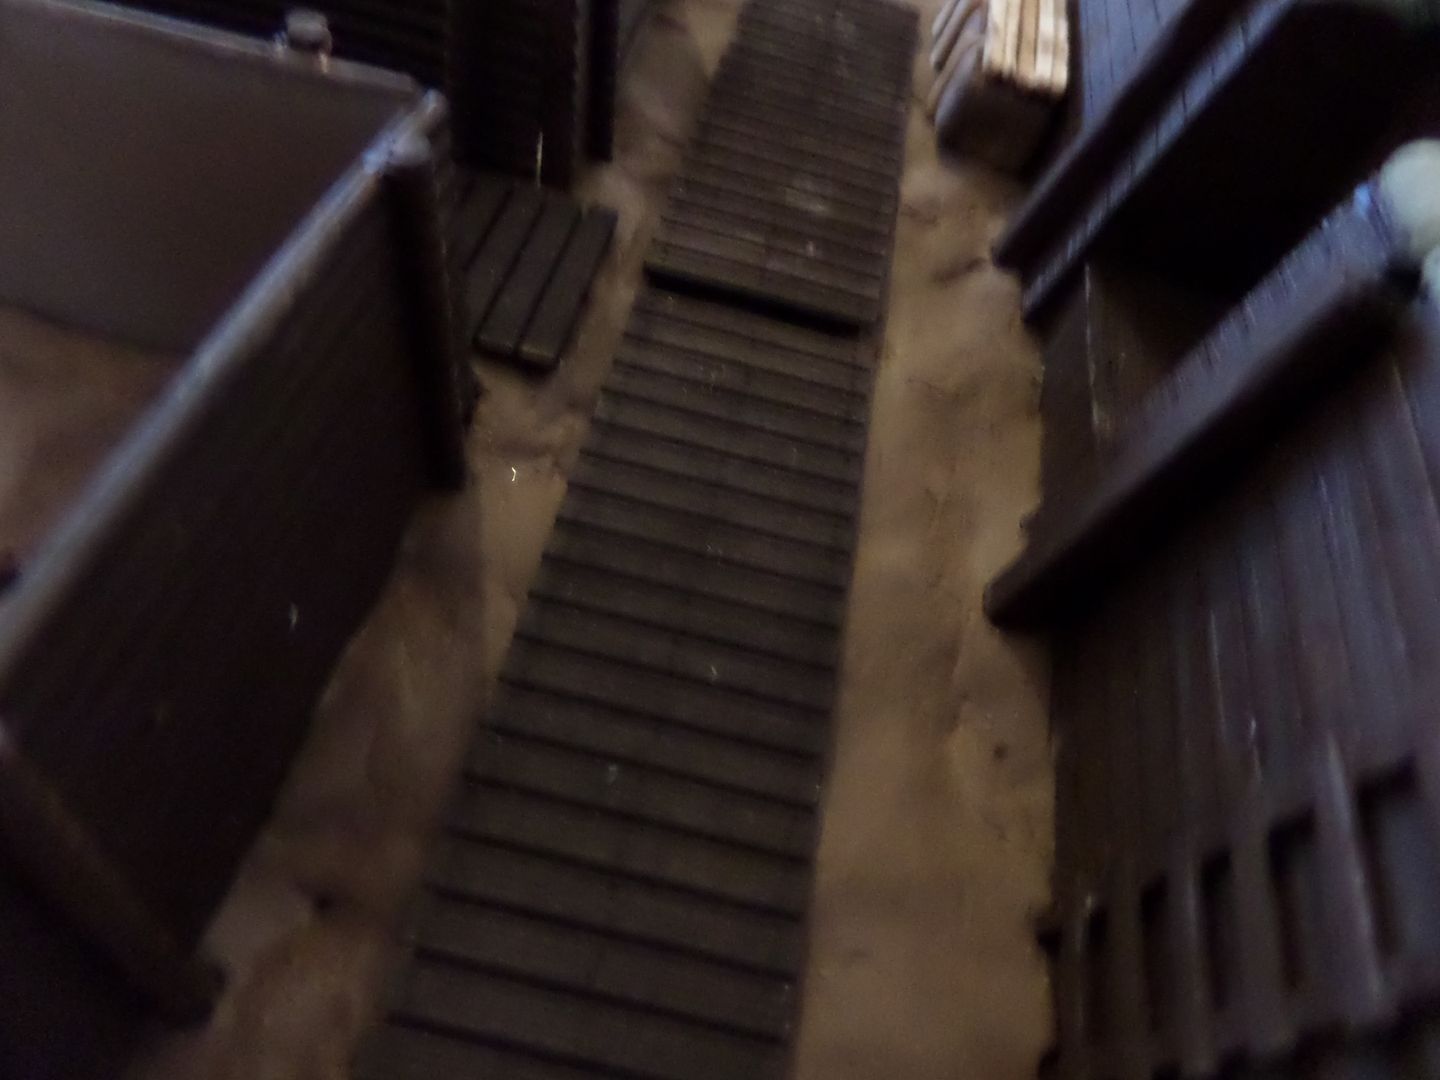
This is a little out of focus (usuall stuff on my photos )
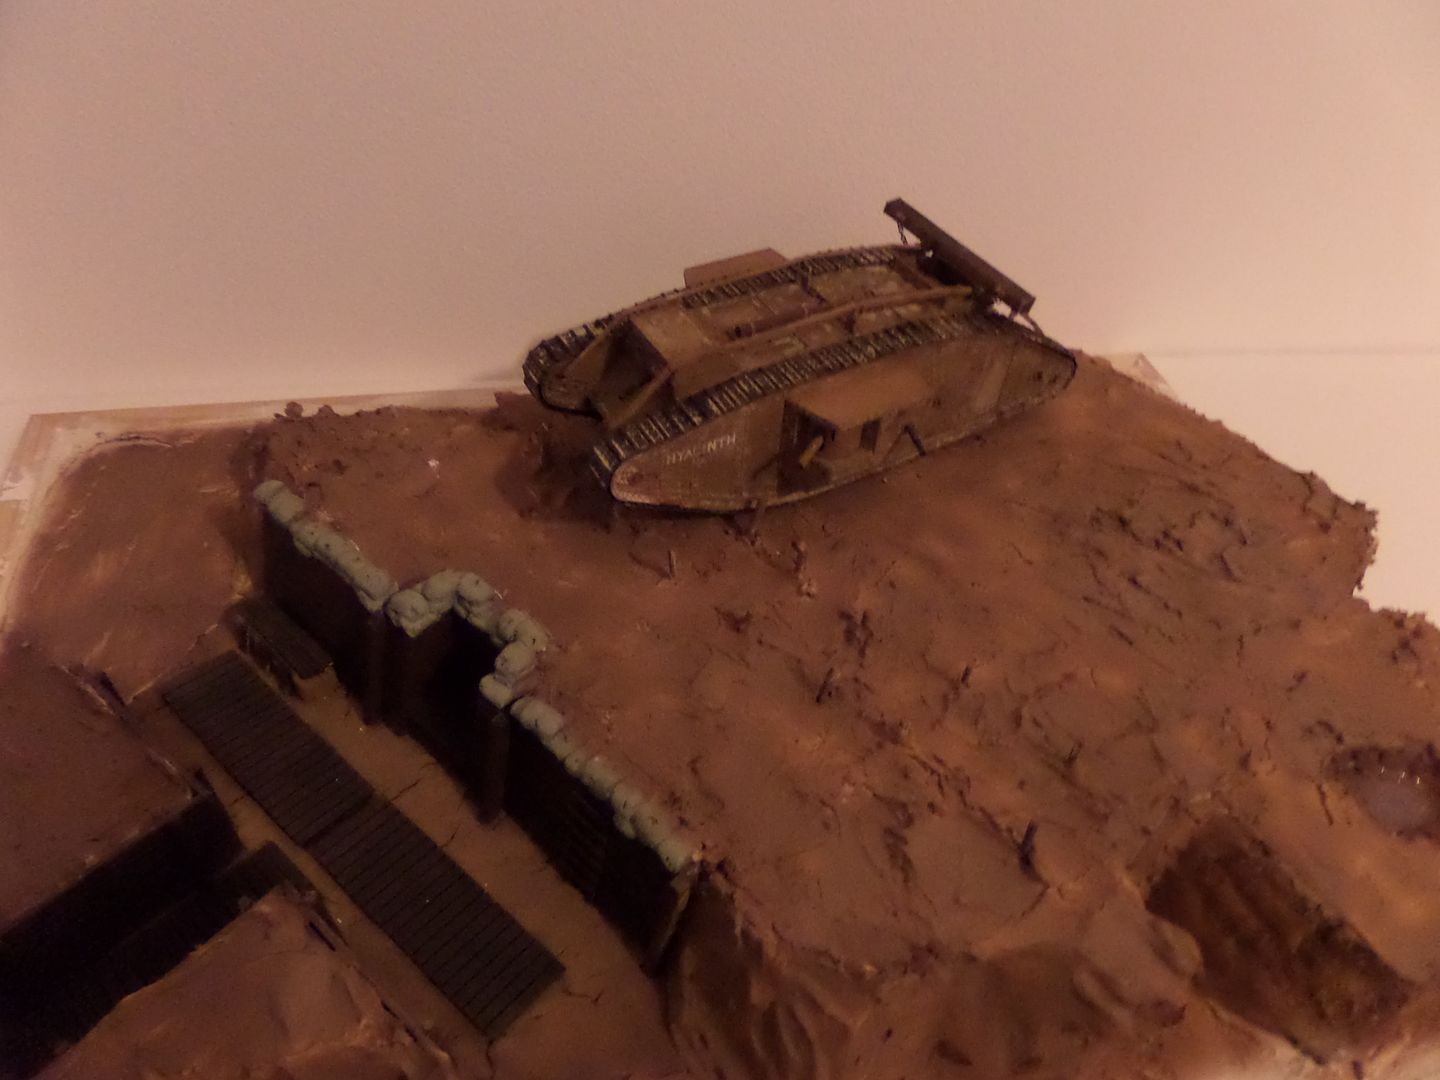
Then chunks of Styro foam to get the higher ground for the tank and the British guys !
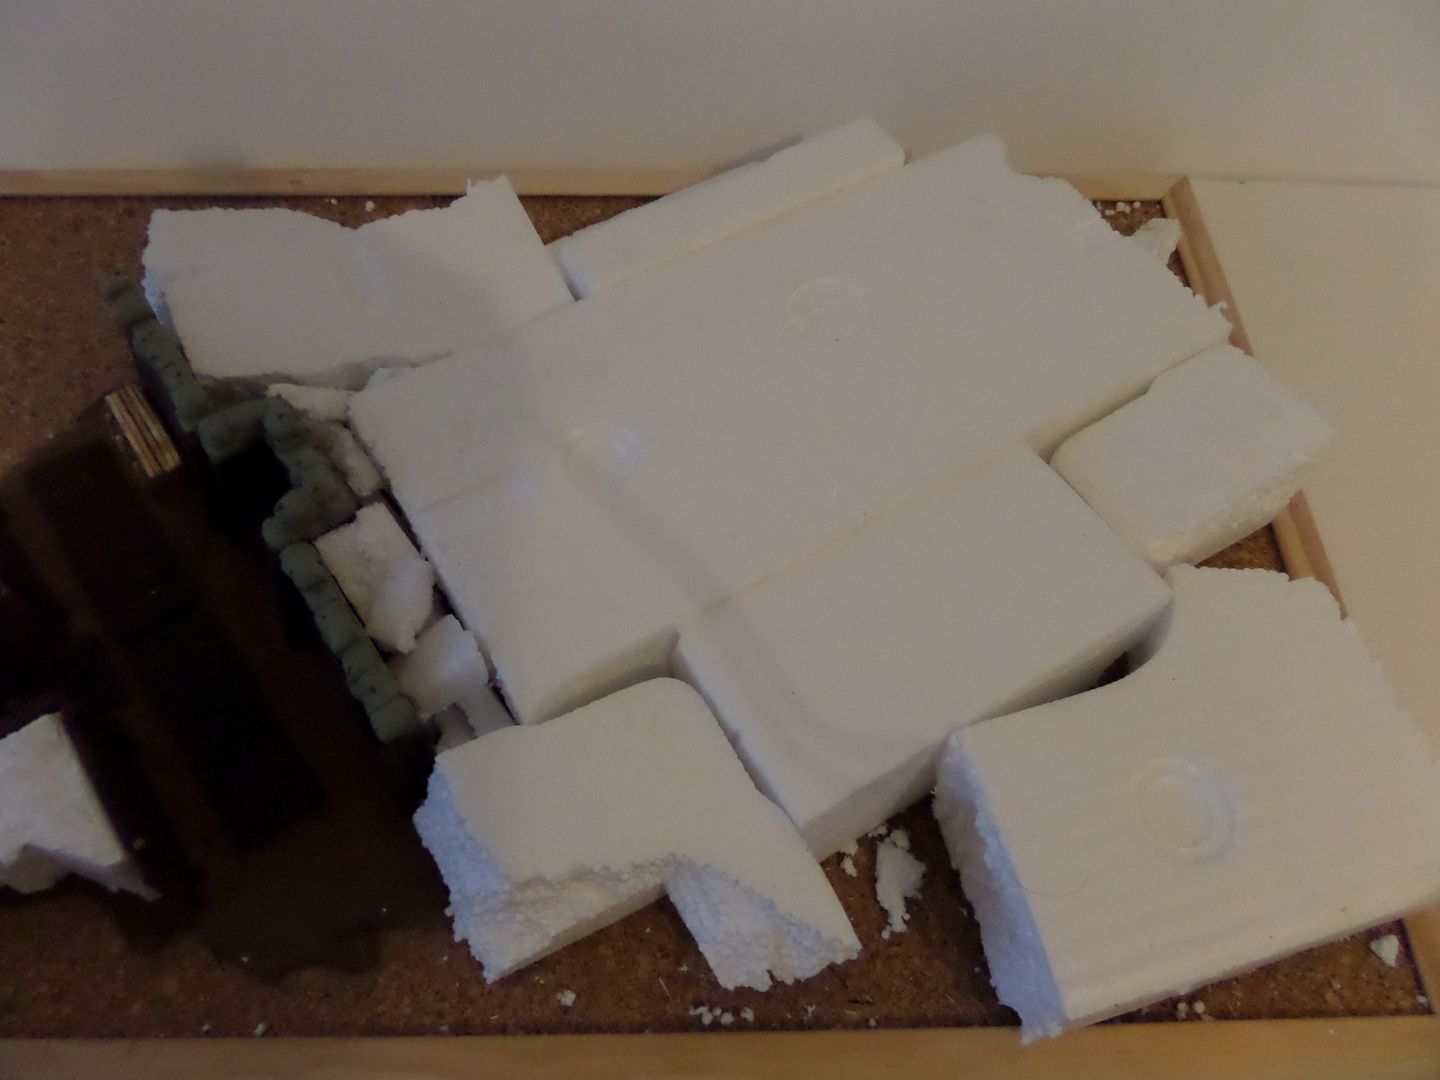
I will make the diorama with a 'cut' in the trenches , like this would be easiaer to see ...a nice excuse for not to have a large Trench section
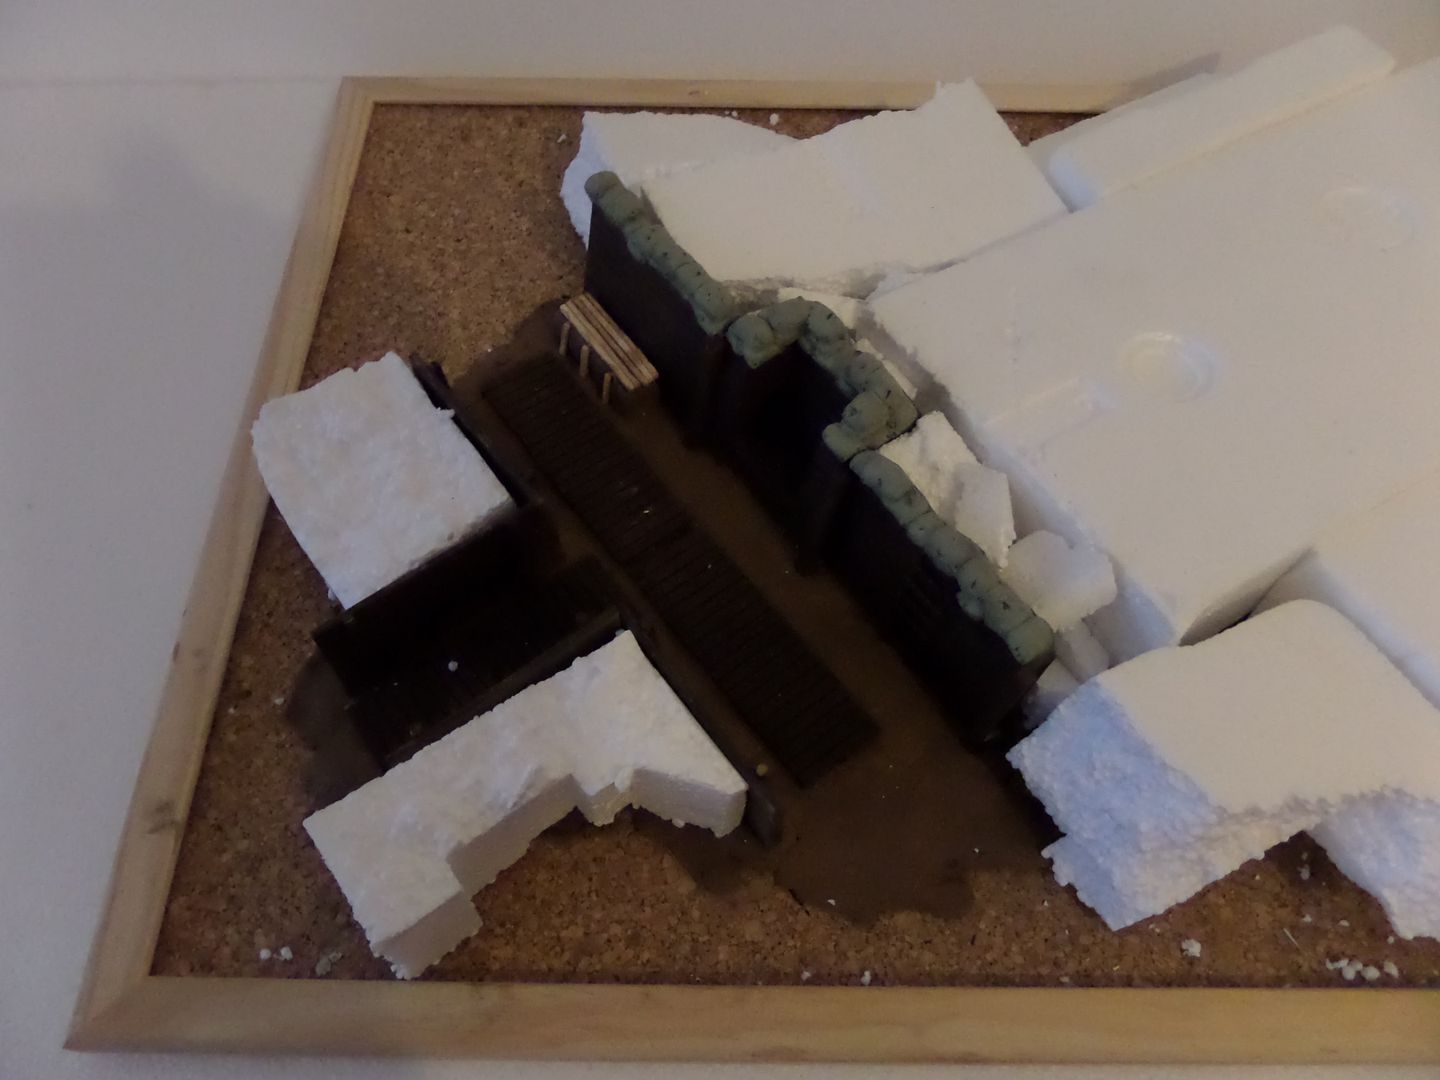
Again the diorma base is a cork board ...
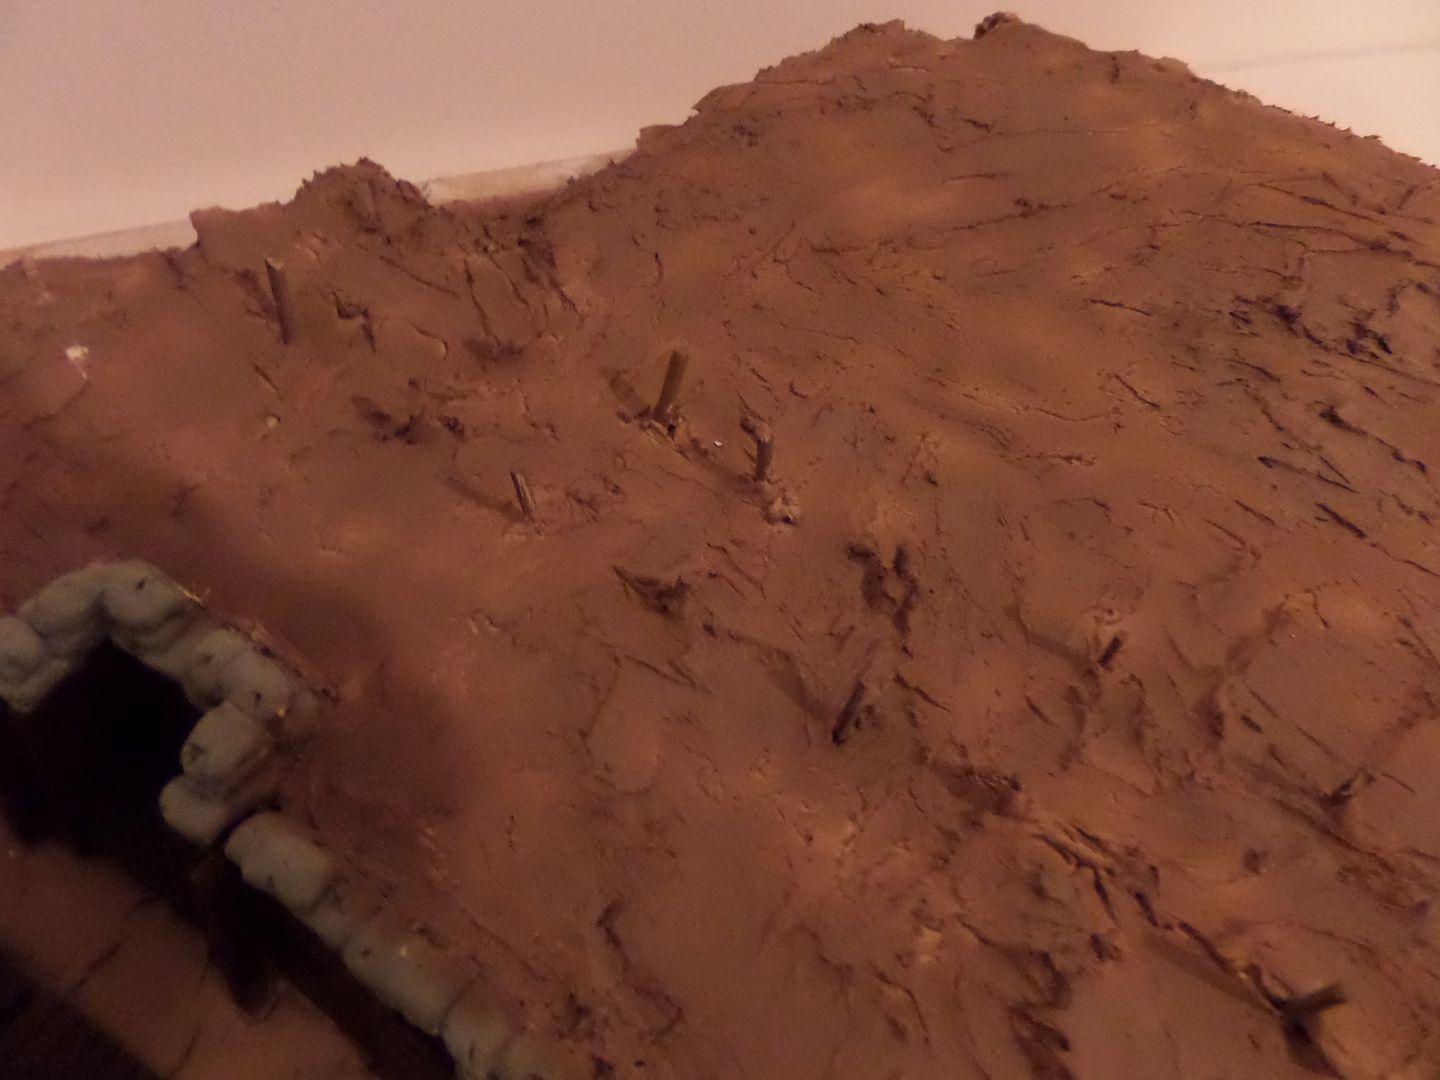
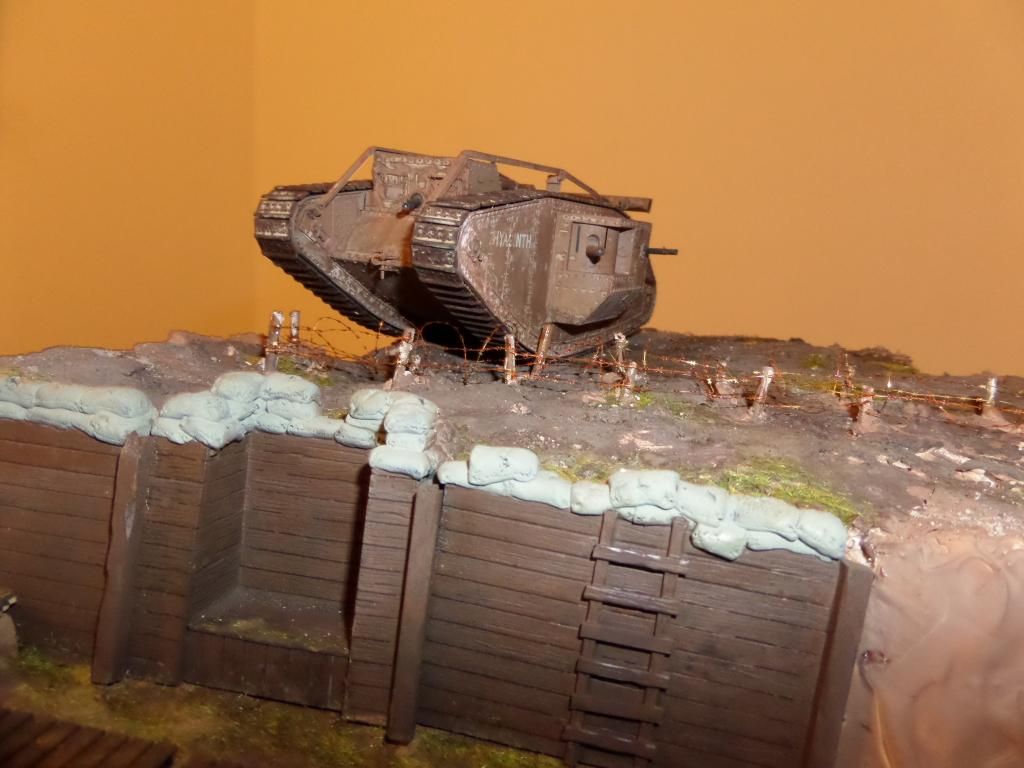
Then I used to cover , first a sort of Plastic (it seams like fiber glass ) Plaster and stick the barbed wire poles ( used some of the ones in Tamiya Barricade Set , cut the long wood poles in two halves and stick them right in the Plaster
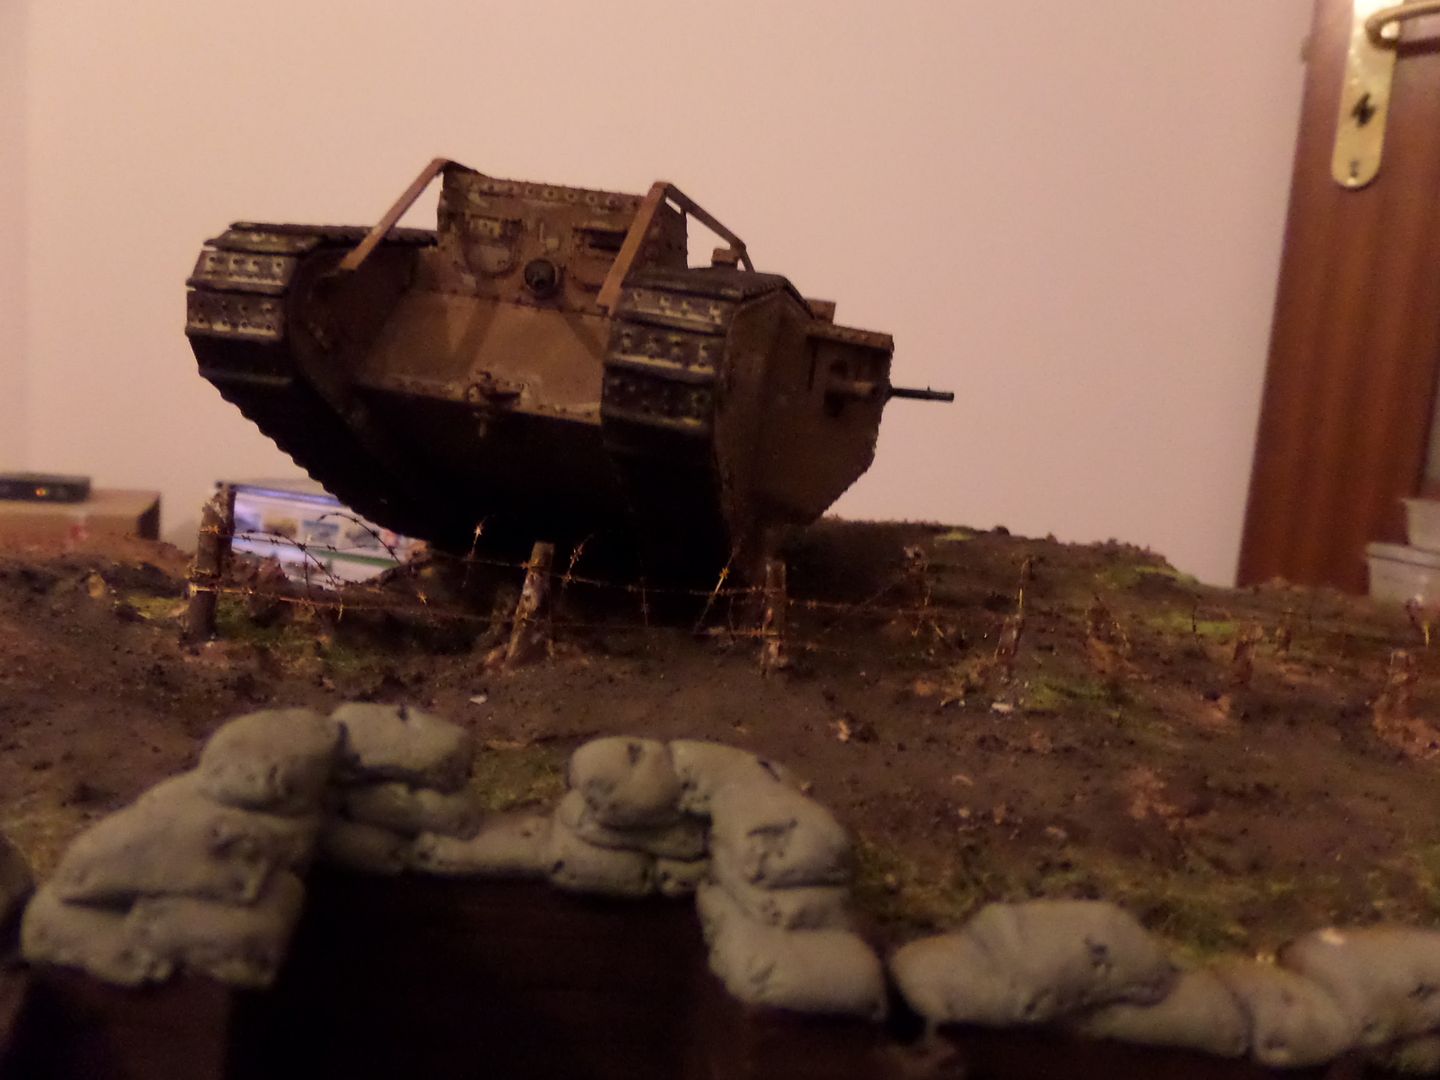
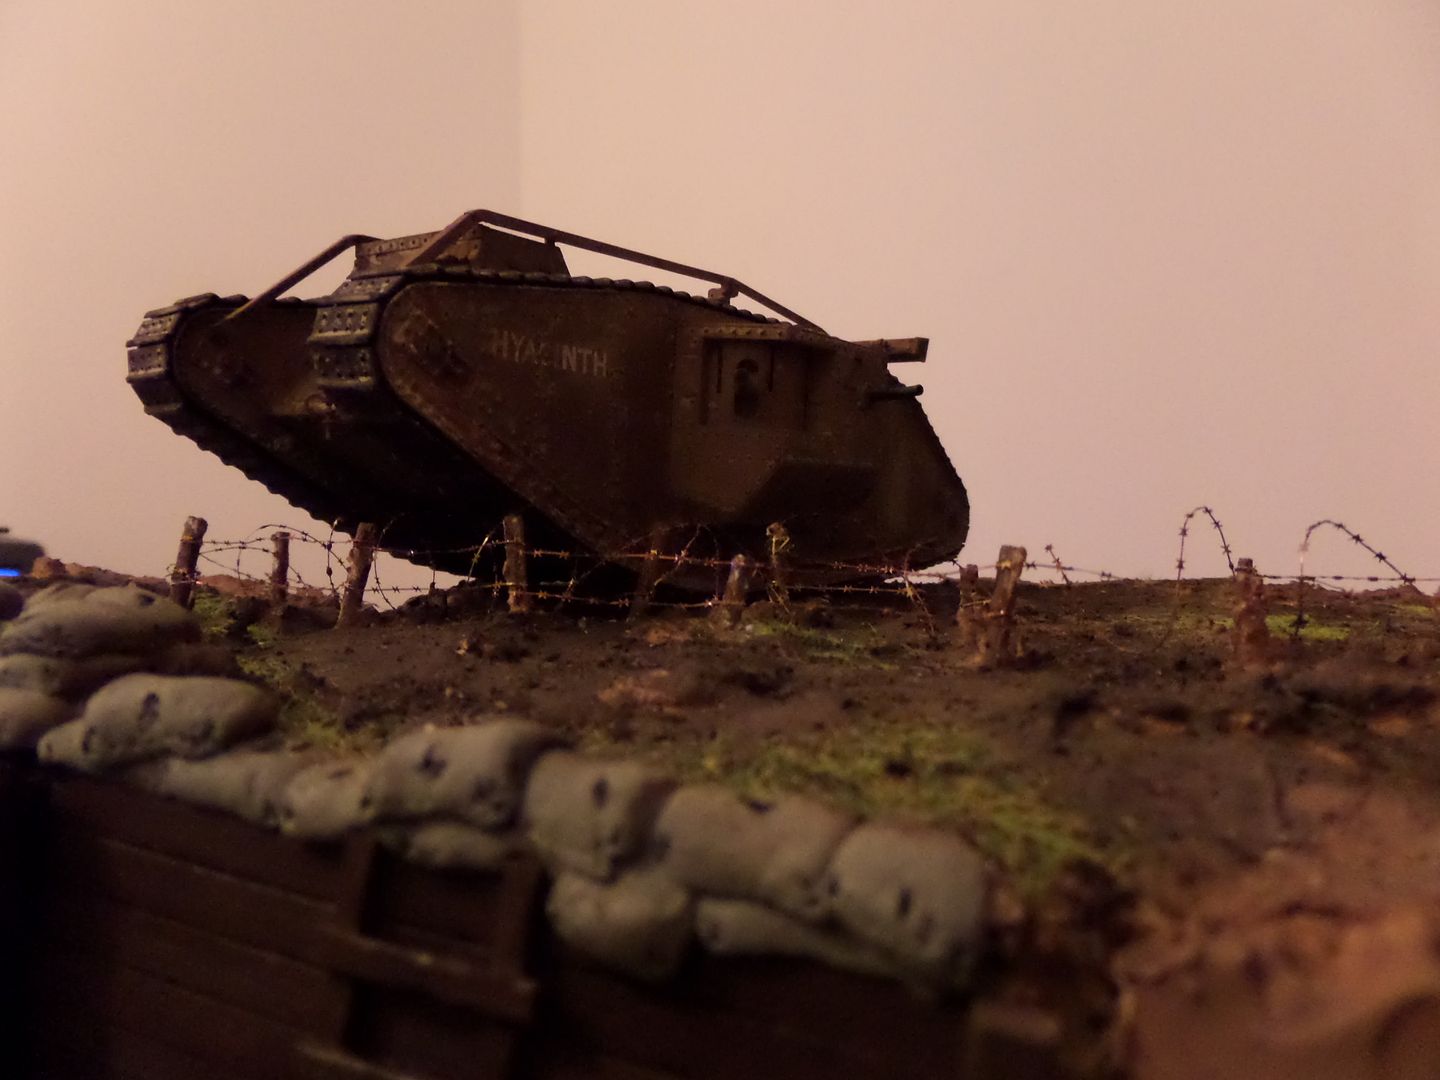
With the Hyacinth ( I now like to call him for his name , you know , we get to like our models ) just to see the size and how could be done
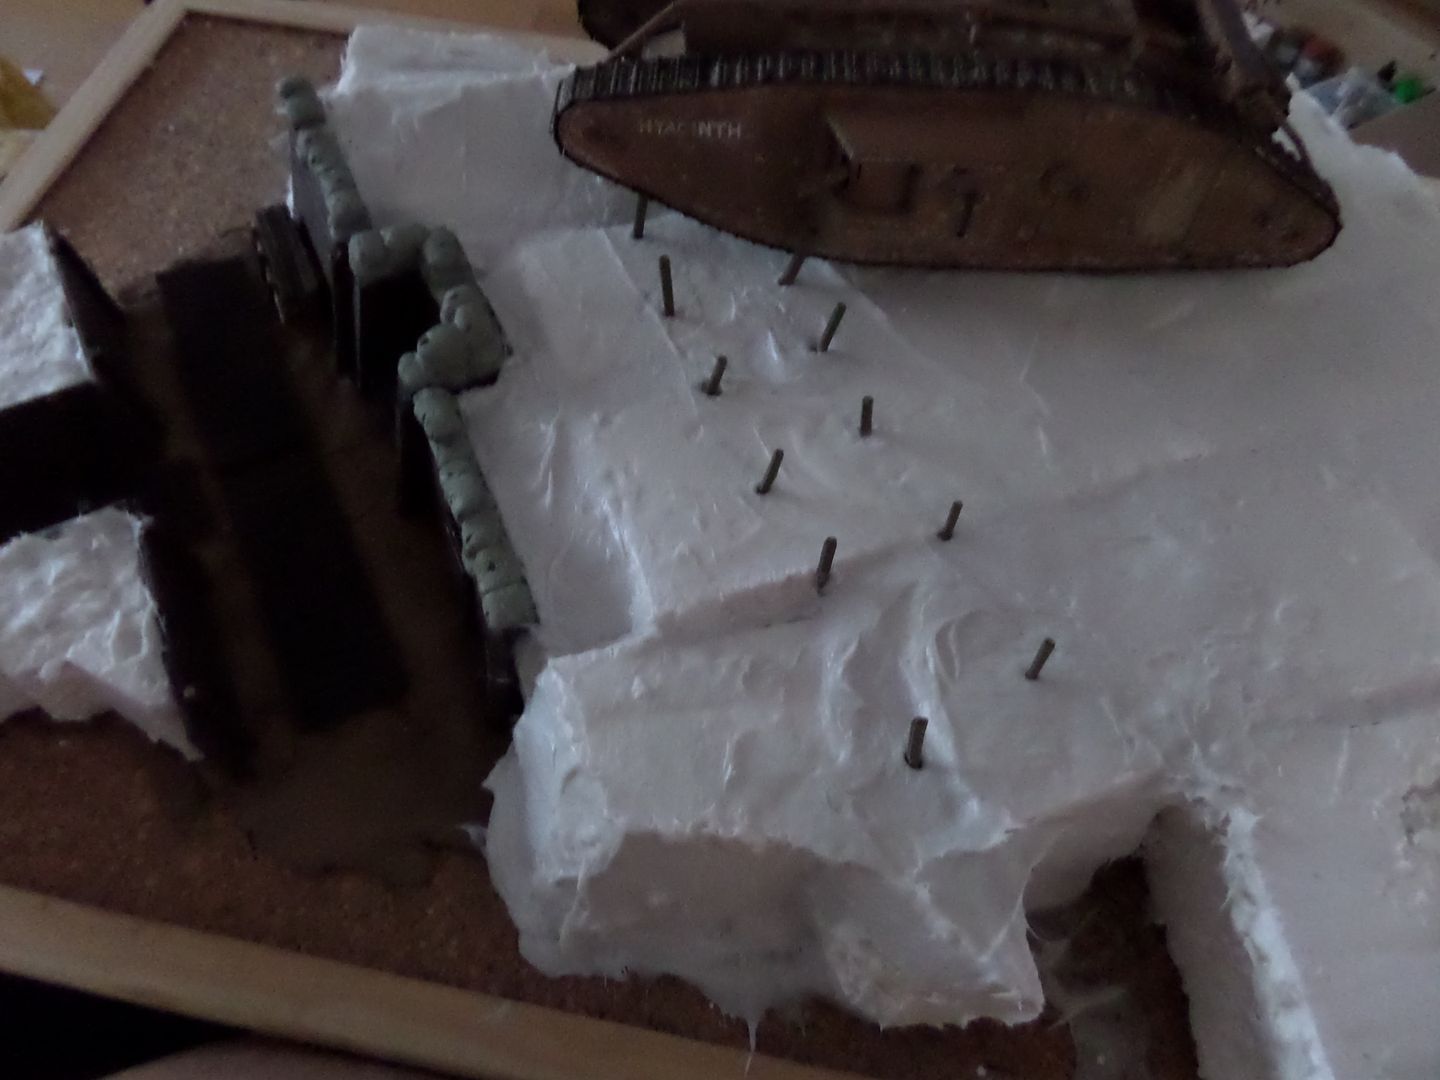
Not satisfied with this cover , I use some indoor hole filling plaster and painted using XF-52 Flat Earth ...more or less convincing , but now seems a merengue cake ...

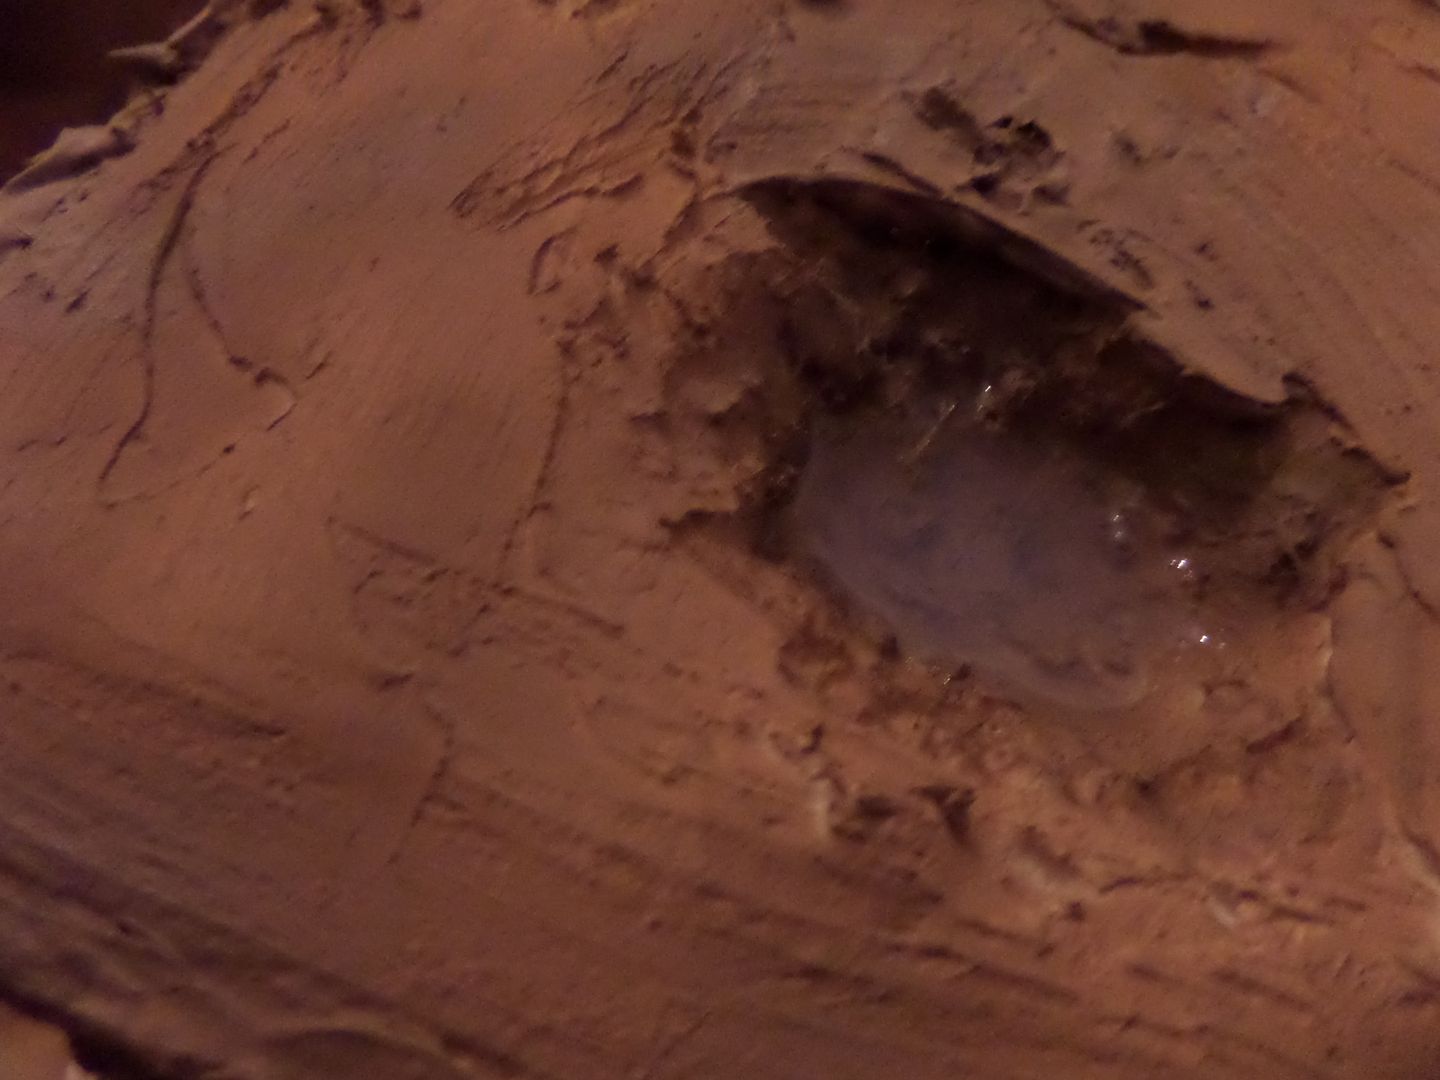
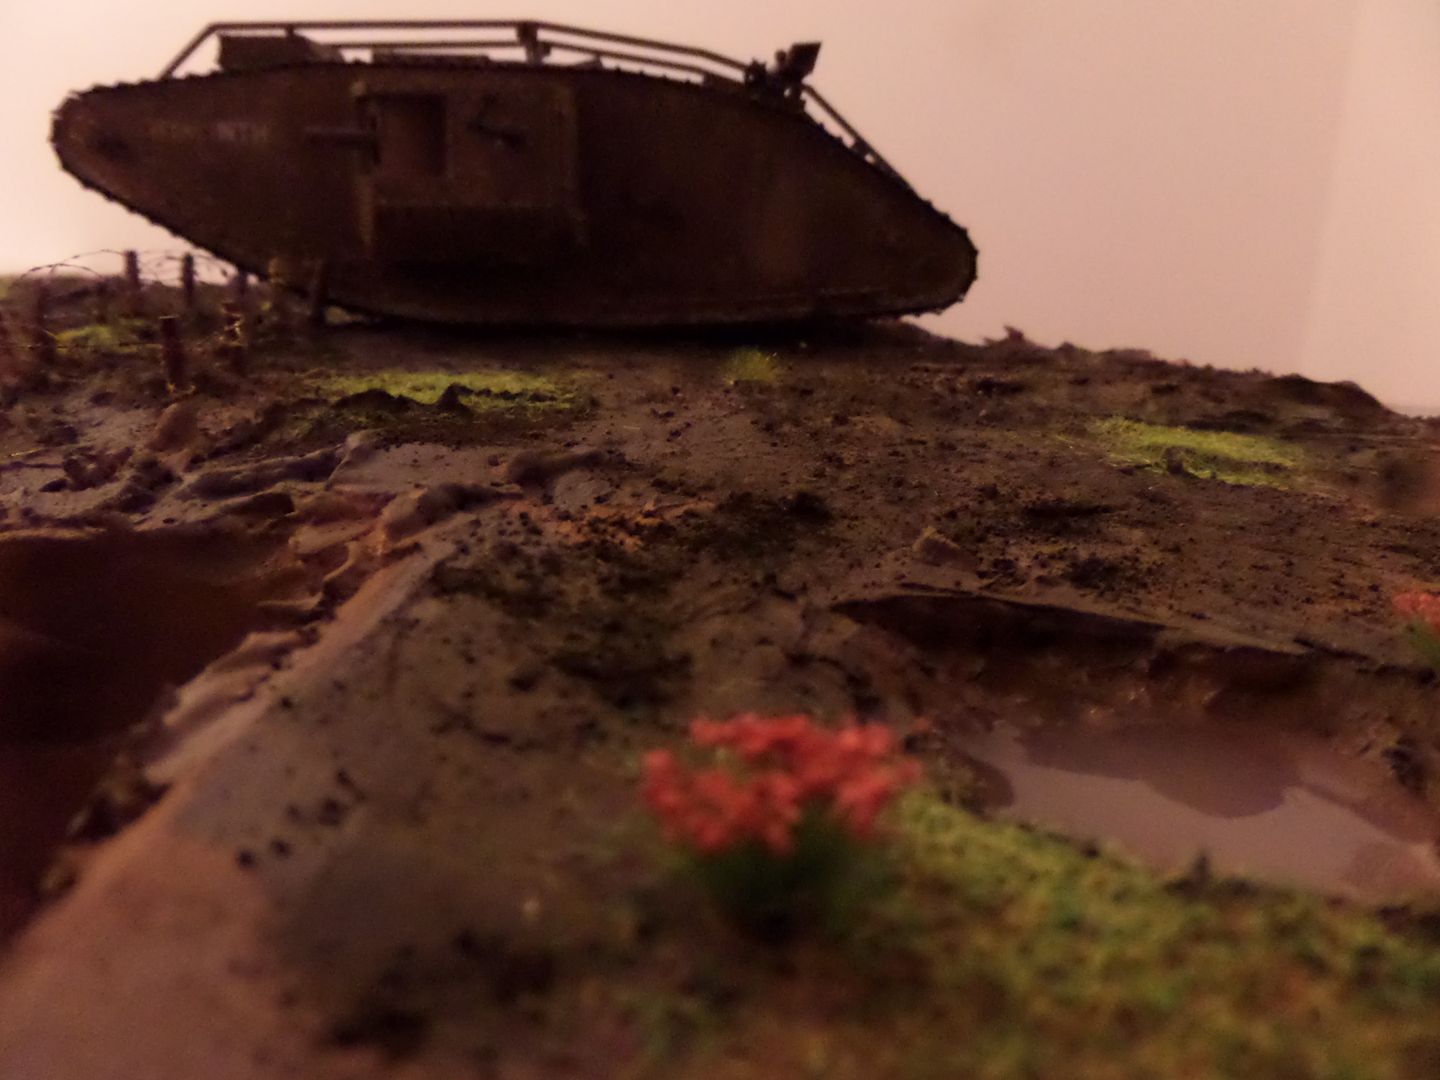
I dig a small crater , a WWI scenario without a crater is almost no WWI scenario , right ? So a small crater and use Vallejo Still Water , this is a already prepared solution to use in small pools , fountains , you aplly it layer by layer and let it dry , will show you the final effect in one or two days I guess
More of the merengue here :
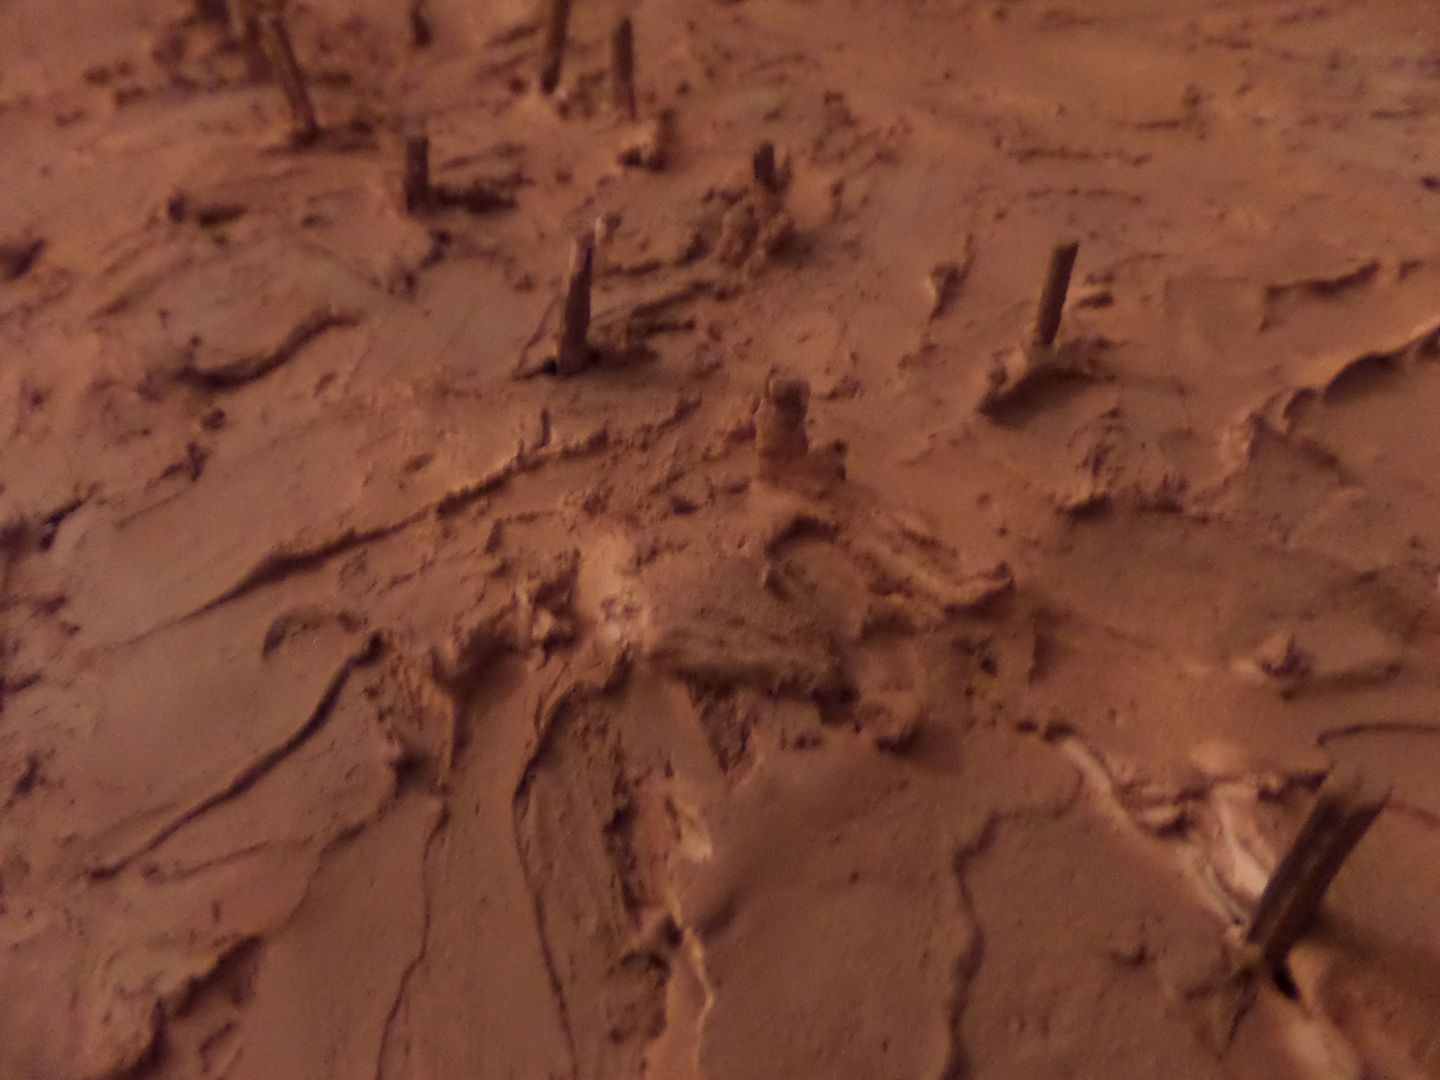
almost 'drowned' the poles in plaster ...
Then weather all this , Use AK DAmp Earth , earth effects , dust effects, AK Pigments European earth and Dark Earth with pigment fixer
Also inside the trench

Then apply some noch herb ( the one sprinkled ) , and already apply the barbed wire , used some PE barbed wire ( ouch..it is like the real stuff) from Royal model , the wire was painted X-32 Metal Brown
And that is it for today , now to paint the figures and some more acessories for the trench ...I guess that I can end this build this week-end , let's see , I make such huge works and then all the previsions to finish the build are overrun ! But it is looking great ! Anoter Huge Diorama ...
Thank you for watching !Till next time !
Before I start painting the figures I use AK Primer Black either for the Figures and for the Trench resin parts and armament and so ...
Before I start on figures I start doing the Diorama Base ( Huge again ...

On the Plus Model timbering of trenches use XF-64 for wood and X-34 Metal Brown for the wires on the pilars , the effect was very nice , i think


Then I use a AK Wash for wood to make the wood more 'used' , also worked very well , i diluted the wash in some Odorless Thinner , also from AK


Then the figures , primed Black , English in first plan , German second row

To make the base for the trench in the diorama used this MrDiormaClay , I bought it in AK site , and I guess that has a nice effect in deppecting the mud or earth base on the trench , still I guess that are other brands of this type of products that could be cheaper , but this one has some quality and no need to paint ...

The clay and the diorma trenches on it

I make that smal 'step' because I want to put there a german soldier aiming the rifle , think that in trenches they have this steps to aim and so they can get on top to fire rifles . Use some small wood stickd , fixed them in a rectangle of the clay .
This is a little out of focus (usuall stuff on my photos

Then chunks of Styro foam to get the higher ground for the tank and the British guys !

I will make the diorama with a 'cut' in the trenches , like this would be easiaer to see ...a nice excuse for not to have a large Trench section

Again the diorma base is a cork board ...
Then I used to cover , first a sort of Plastic (it seams like fiber glass ) Plaster and stick the barbed wire poles ( used some of the ones in Tamiya Barricade Set , cut the long wood poles in two halves and stick them right in the Plaster
With the Hyacinth ( I now like to call him for his name , you know , we get to like our models

Not satisfied with this cover , I use some indoor hole filling plaster and painted using XF-52 Flat Earth ...more or less convincing , but now seems a merengue cake ...

I dig a small crater , a WWI scenario without a crater is almost no WWI scenario , right ? So a small crater and use Vallejo Still Water , this is a already prepared solution to use in small pools , fountains , you aplly it layer by layer and let it dry , will show you the final effect in one or two days I guess

More of the merengue here :

almost 'drowned' the poles in plaster ...


Then weather all this , Use AK DAmp Earth , earth effects , dust effects, AK Pigments European earth and Dark Earth with pigment fixer

Also inside the trench


Then apply some noch herb ( the one sprinkled ) , and already apply the barbed wire , used some PE barbed wire ( ouch..it is like the real stuff) from Royal model , the wire was painted X-32 Metal Brown


And that is it for today , now to paint the figures and some more acessories for the trench ...I guess that I can end this build this week-end , let's see , I make such huge works and then all the previsions to finish the build are overrun ! But it is looking great ! Anoter Huge Diorama ...
Thank you for watching !Till next time !
Cheers ,
António
On the Bench
a lot of stuff right now
António
On the Bench
a lot of stuff right now
-
Daishi12

- Warrant Officer

- Posts: 1393
- Joined: Fri Jun 28, 2013 9:25 pm
- Location: Mountain Ash, South Wales

Re: Tamiya 1/35 WWI British Tank Mk.IV Male and WWI British
Looks superb mate, shame the corporal figure was so far out of scale, (unless he was Andre the Giant )
Will you be giving any of the figures mustaches? The majority of period photos I have seen seem to show a preference for a "Walrus" mustache
Will you be giving any of the figures mustaches? The majority of period photos I have seen seem to show a preference for a "Walrus" mustache
W.I.P.
Revell 1/72 P-47M
Airfix 1/72 Bristol F2B Fighter
Technical Consultation for MrsModellor :- Tamiya 1/35 S.A.S. Pink Panther
Revell 1/72 P-47M
Airfix 1/72 Bristol F2B Fighter
Technical Consultation for MrsModellor :- Tamiya 1/35 S.A.S. Pink Panther

Re: Tamiya 1/35 WWI British Tank Mk.IV Male and WWI British
Tank looks great mate, diorama's coming long nicely.


Re: Tamiya 1/35 WWI British Tank Mk.IV Male and WWI British
great work there mate looks awesome
-
rodrant
- Chief Warrant Officer 2
- Posts: 1774
- Joined: Wed Feb 19, 2014 9:22 pm
- Location: Maia - Portugal
Re: Tamiya 1/35 WWI British Tank Mk.IV Male and WWI British
Yeah , it was a pitty on that 'Corporal' figure , perhaps I will do later a vignette of it , is always a good way to practice figure painting .Daishi12 wrote:Looks superb mate, shame the corporal figure was so far out of scale, (unless he was Andre the Giant
Will you be giving any of the figures mustaches? The majority of period photos I have seen seem to show a preference for a "Walrus" mustache
Moustaches on the way
I'm finishing painting the figures now , some updates in the weekend ...
thank you for comment and watching the thread Daishi .
Cheers ,
António
On the Bench
a lot of stuff right now
António
On the Bench
a lot of stuff right now
-
rodrant
- Chief Warrant Officer 2
- Posts: 1774
- Joined: Wed Feb 19, 2014 9:22 pm
- Location: Maia - Portugal
Re: Tamiya 1/35 WWI British Tank Mk.IV Male and WWI British
Russ72 wrote:Tank looks great mate, diorama's coming long nicely.
gaz45 wrote:great work there mate looks awesome
Tahnk you guys for the comments and thank you for watching !froppolo93 wrote:Whoooo!! This is a huge diorama project!
I really like the tank, especially the weathering. I cannot wait to see it finished
Cheers ,
António
On the Bench
a lot of stuff right now
António
On the Bench
a lot of stuff right now
Re: Tamiya 1/35 WWI British Tank Mk.IV Male and WWI British
What a beast!
Is there a video with the tank running?
Is there a video with the tank running?
Sir, we're surrounded!
Excellent! Now we can attack in any direction!
------------------------------------------------
Model N1 DONE! - Tamiya 1:35 Panzerkampfwagen V Panther Sd.kfz.171 Ausf.A
Model N2 DONE! - Academy 1:72 M1126 Stryker
Working on:Trumpeter (00204)
Waiting: Meng (SS-004), Airfix (A50125), Tamiya (35068)
Excellent! Now we can attack in any direction!
------------------------------------------------
Model N1 DONE! - Tamiya 1:35 Panzerkampfwagen V Panther Sd.kfz.171 Ausf.A
Model N2 DONE! - Academy 1:72 M1126 Stryker
Working on:Trumpeter (00204)
Waiting: Meng (SS-004), Airfix (A50125), Tamiya (35068)
-
AchtungPanzer

- Chief Warrant Officer 3

- Posts: 2299
- Joined: Mon Oct 07, 2013 7:59 am
- Location: Cracow PL
Re: Tamiya 1/35 WWI British Tank Mk.IV Male and WWI British
My PORTFOLIO all finished models : http://intscalemodeller.com/viewtopic.php?f=69&t=2864

Re: Tamiya 1/35 WWI British Tank Mk.IV Male and WWI British
Wow... Amazing Diorama work there..

Re: Tamiya 1/35 WWI British Tank Mk.IV Male and WWI British
Outstanding dio  Can't wait to see it finally finished.
Steve
Make something idiot proof and someone will come along and make a better idiot.
Make something idiot proof and someone will come along and make a better idiot.
-
rodrant
- Chief Warrant Officer 2
- Posts: 1774
- Joined: Wed Feb 19, 2014 9:22 pm
- Location: Maia - Portugal
Re: Tamiya 1/35 WWI British Tank Mk.IV Male and WWI British
No...it really runs , perhaps I will try to get this video , but can promise ...Yevgeny wrote:What a beast!
Is there a video with the tank running?
AchtungPanzer wrote:
Neils wrote:Wow... Amazing Diorama work there..
Yes BIG Diorama guys , and yes I also eagear to finish it ...think today I will post here the final reveal of itHillbilly wrote:Outstanding dio
Thank you all for the nice comments !
Cheers ,
António
On the Bench
a lot of stuff right now
António
On the Bench
a lot of stuff right now
-
rodrant
- Chief Warrant Officer 2
- Posts: 1774
- Joined: Wed Feb 19, 2014 9:22 pm
- Location: Maia - Portugal
Re: Tamiya 1/35 WWI British Tank Mk.IV Male and WWI British
Final update before the reveal ...
it was time to finish this large project , still and again very pleaseant and enjoying more and more to do dioramas , still must do more little ones ( actually the one from the Vietnam will be big again ...so...)
well on to it ...
The figures are now painted and all acessories glued :
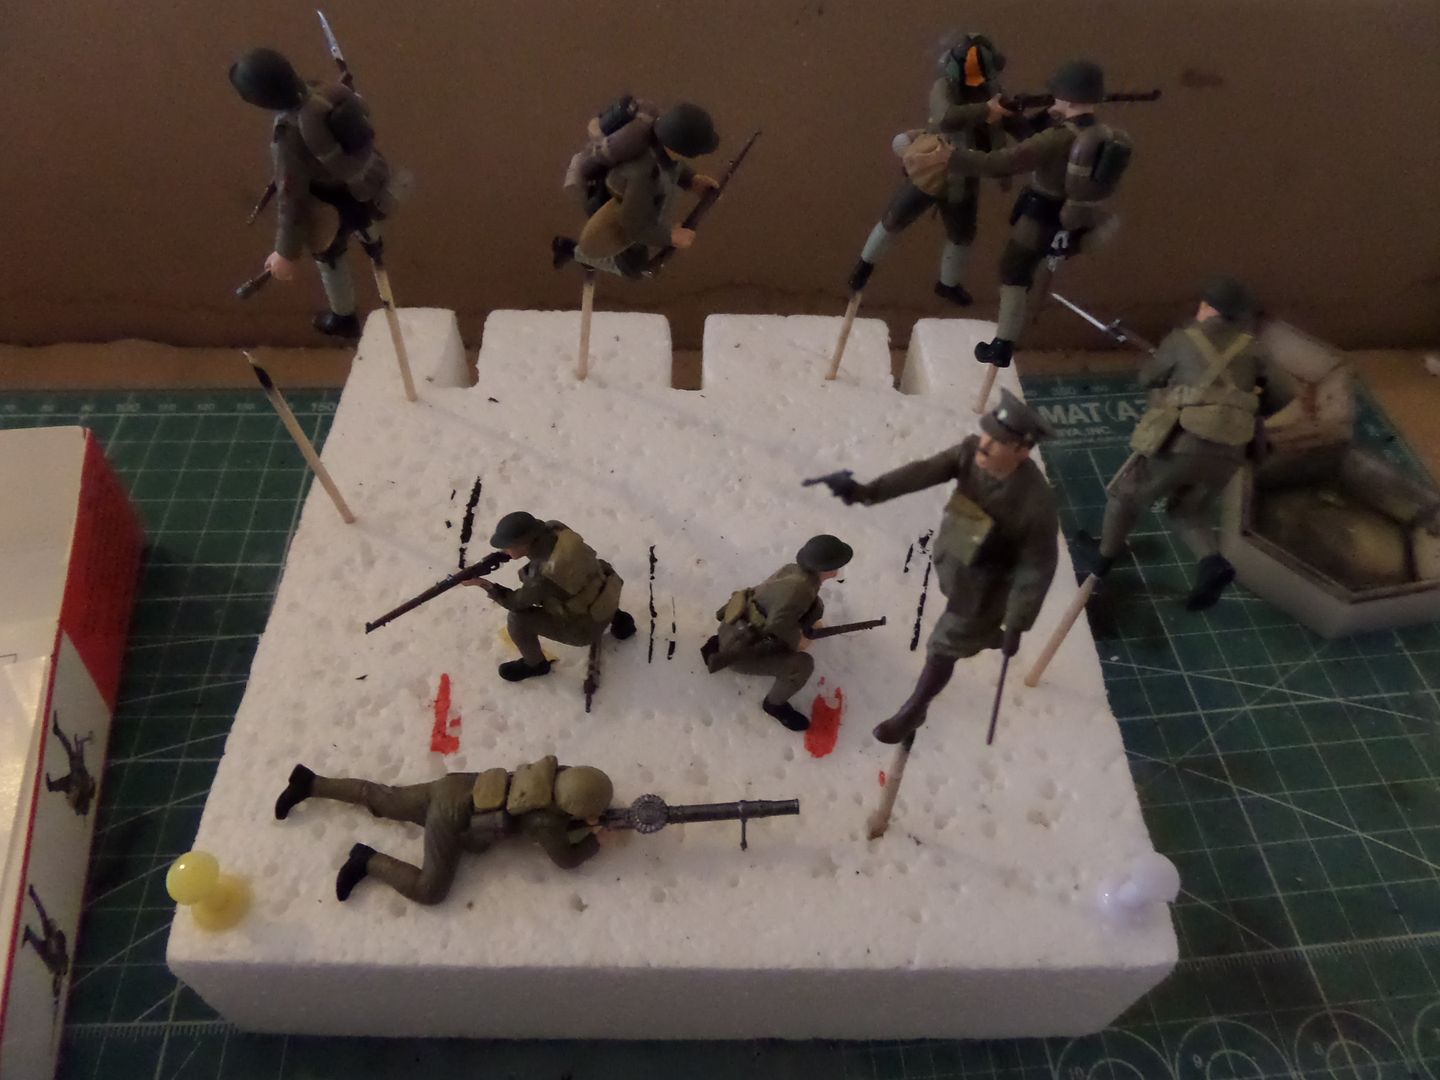
The German Assault Infantry have too acessories , couldn't imagine how they moved in Battlefield , even this are Assault troops , i imagine that they carry a Heavy Height comparing to the British Infantry
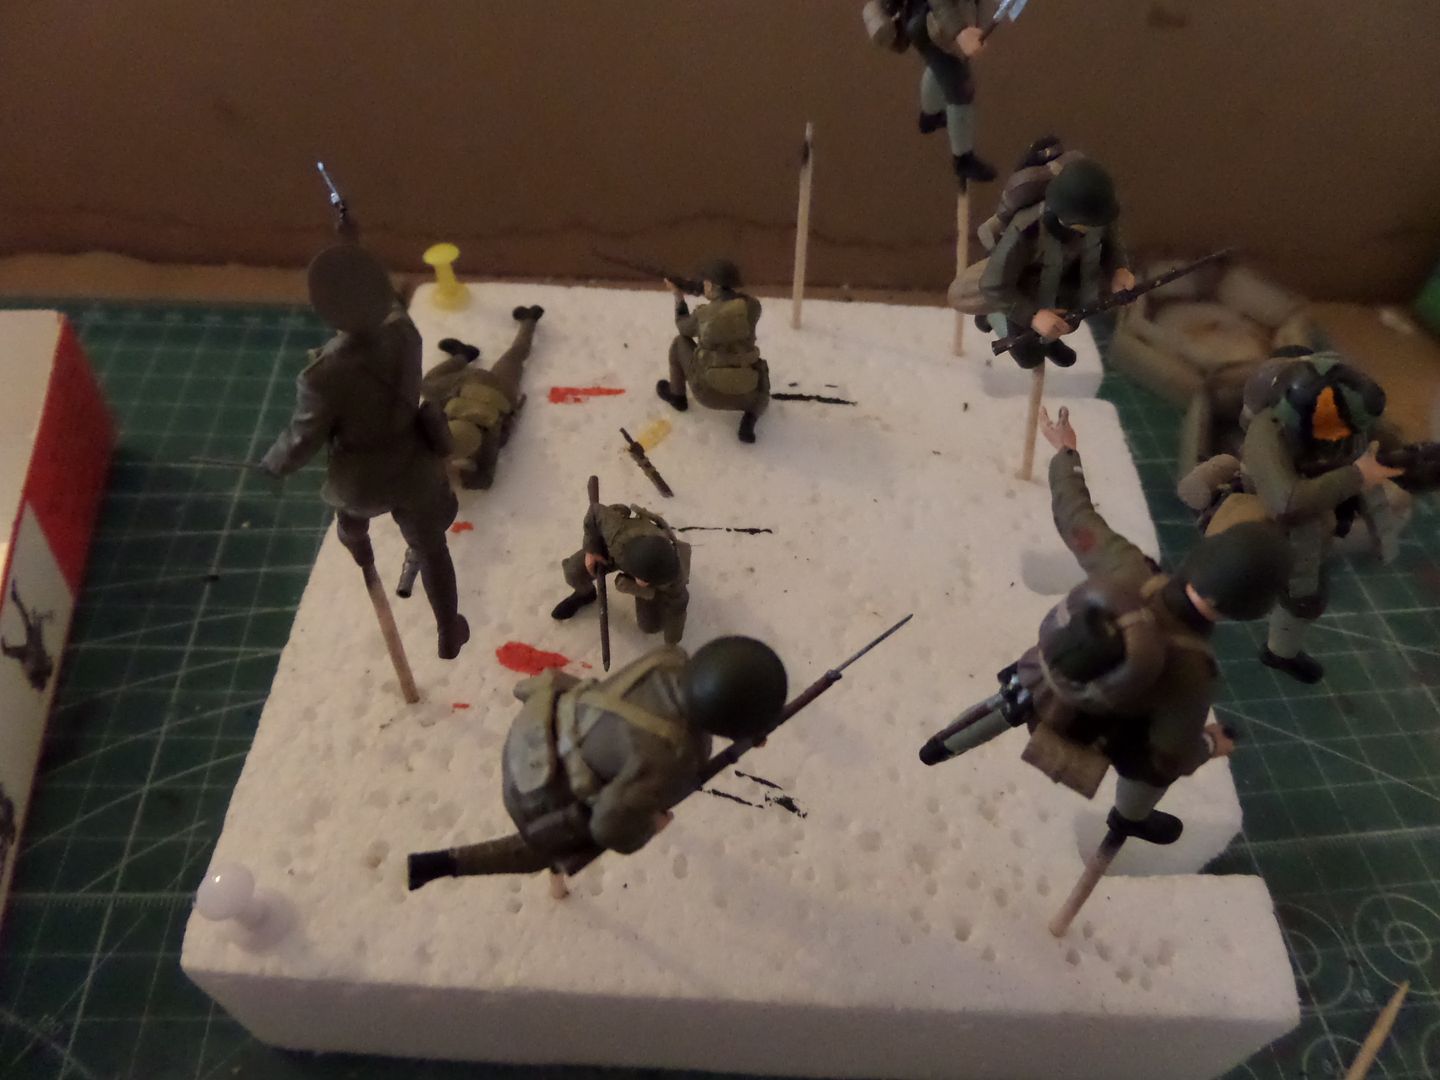
Like this funny Colorfull helmet from the Germans (see the guy pointing the MAuser on the left ...) , it becomes nice
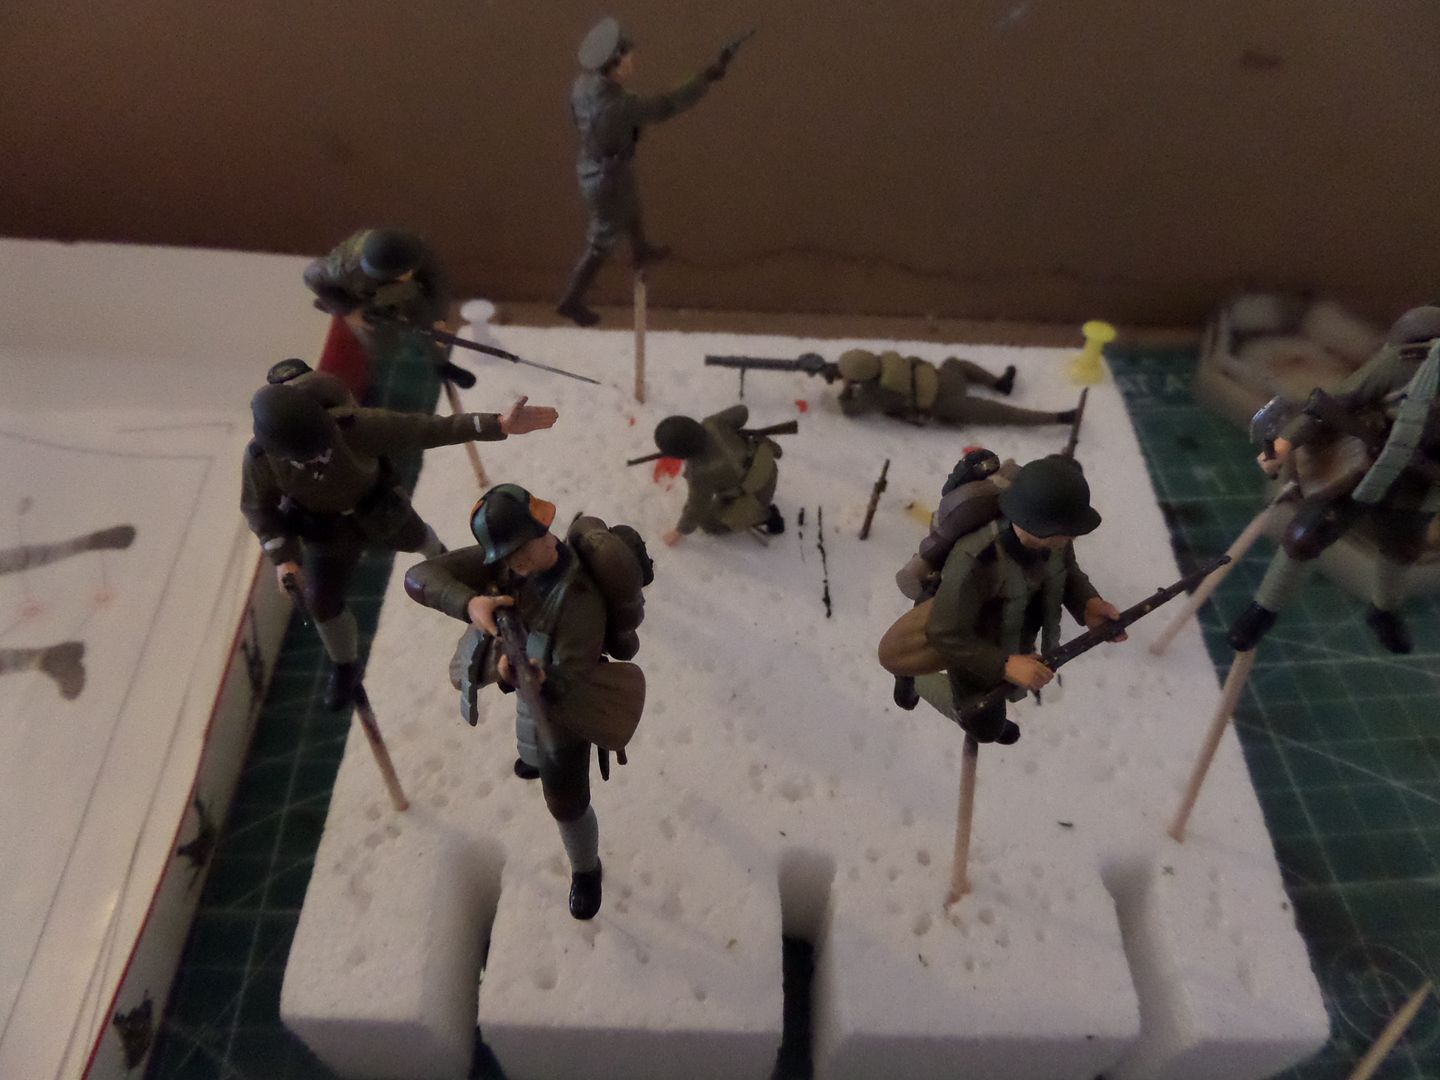
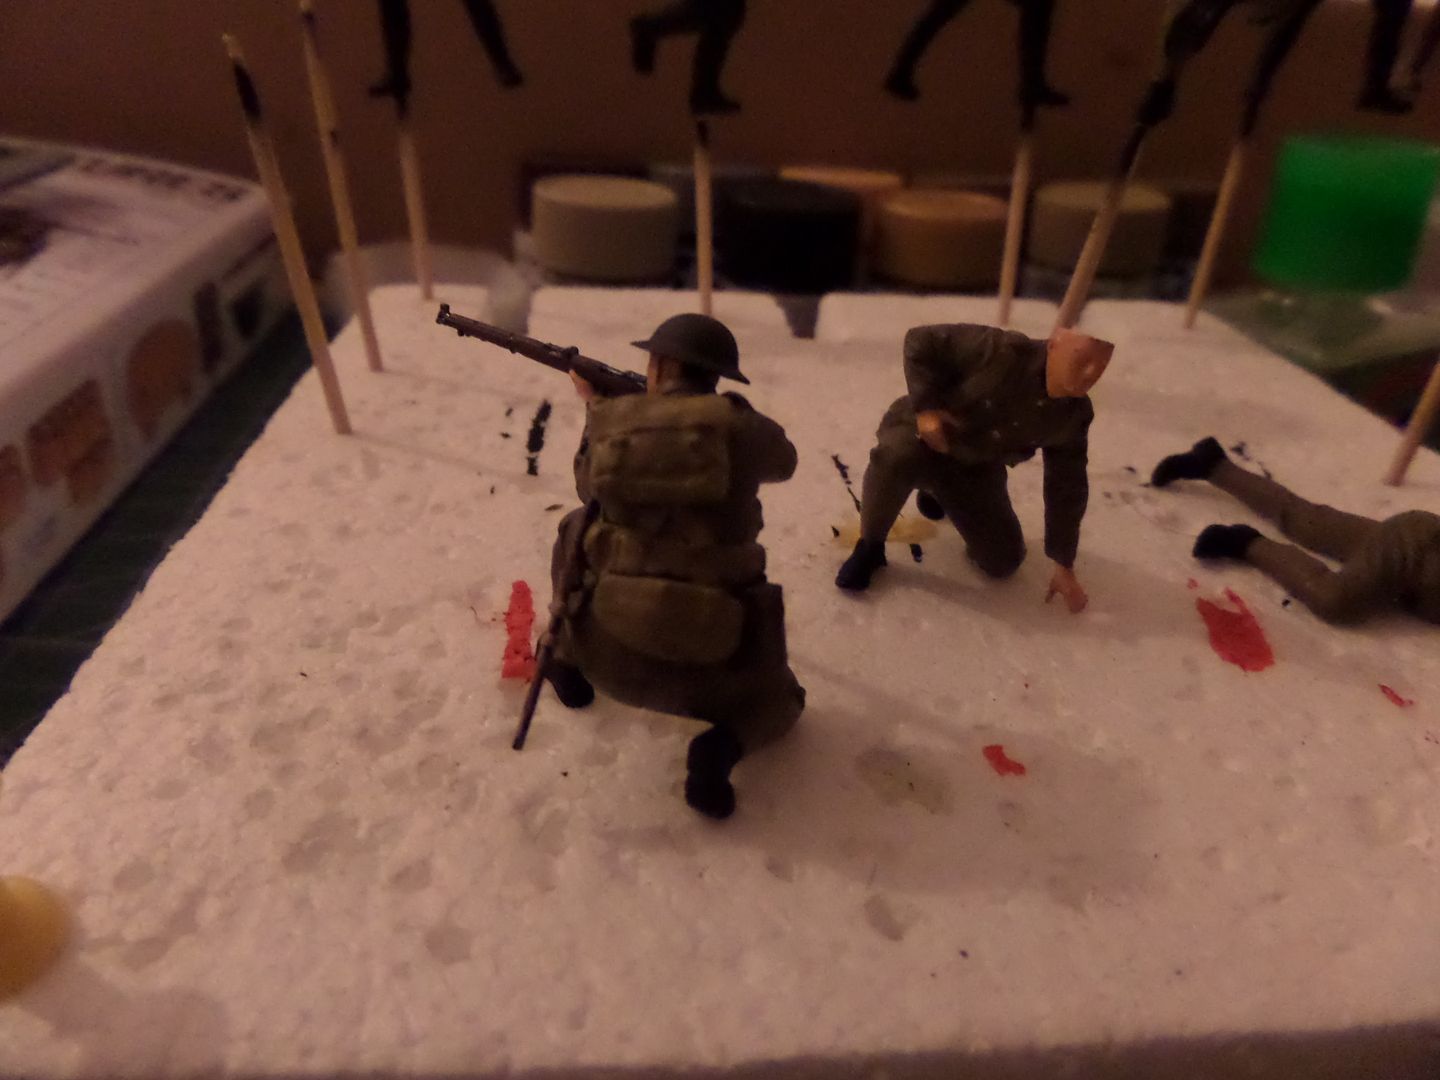
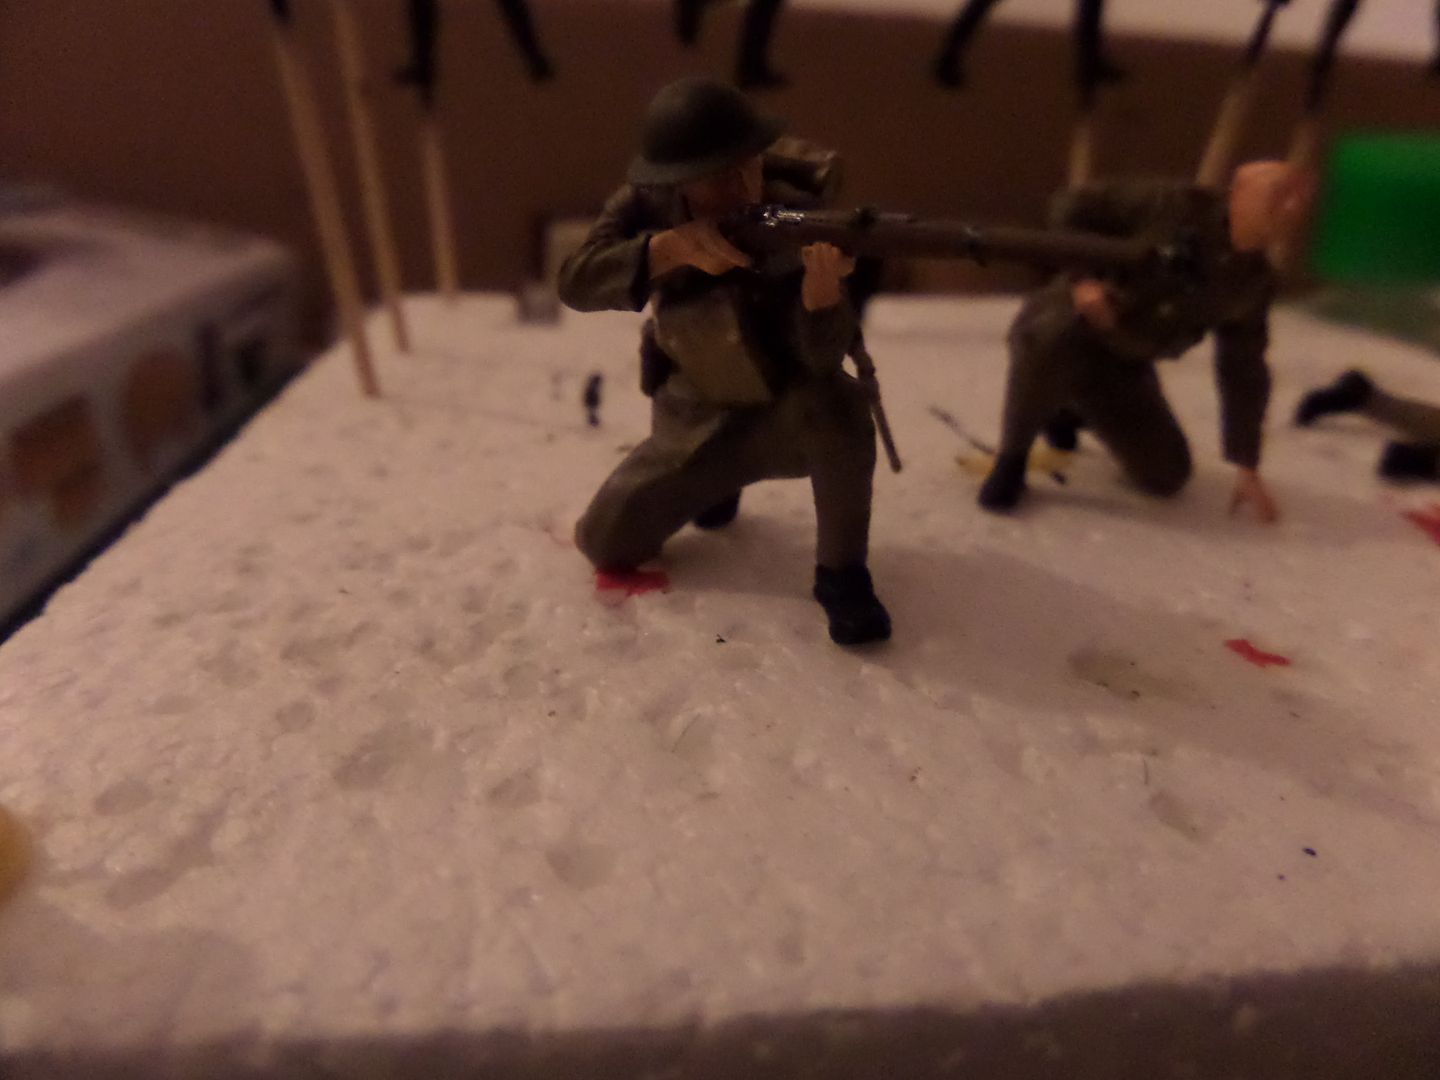
A detail on a British infantry
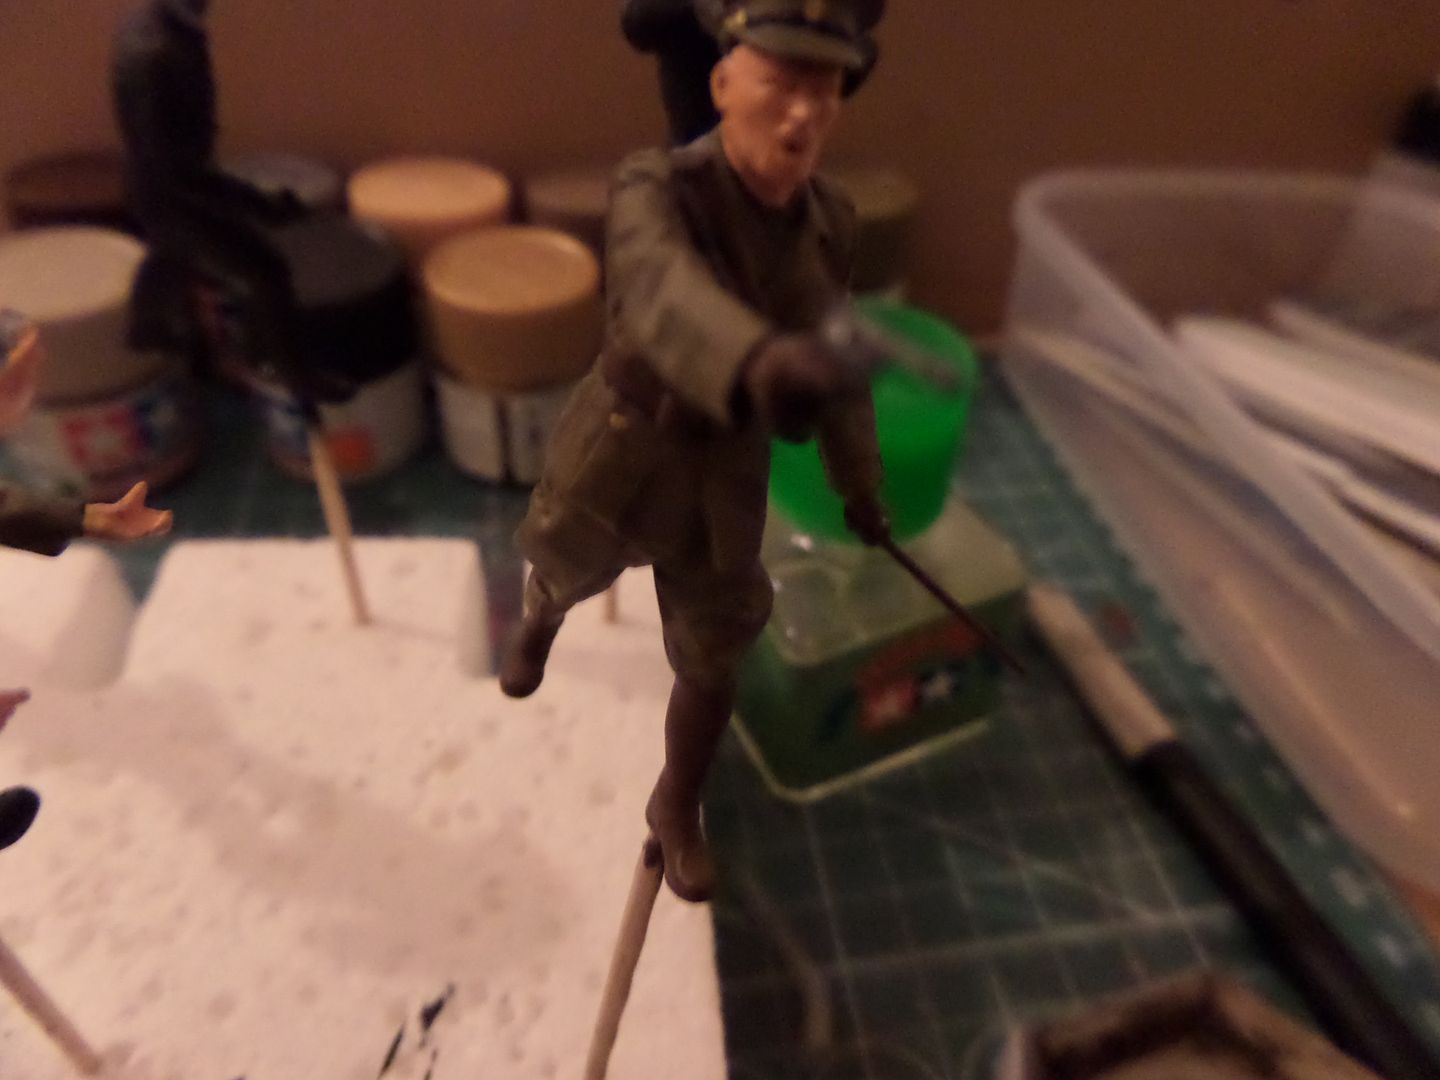
The British Officer
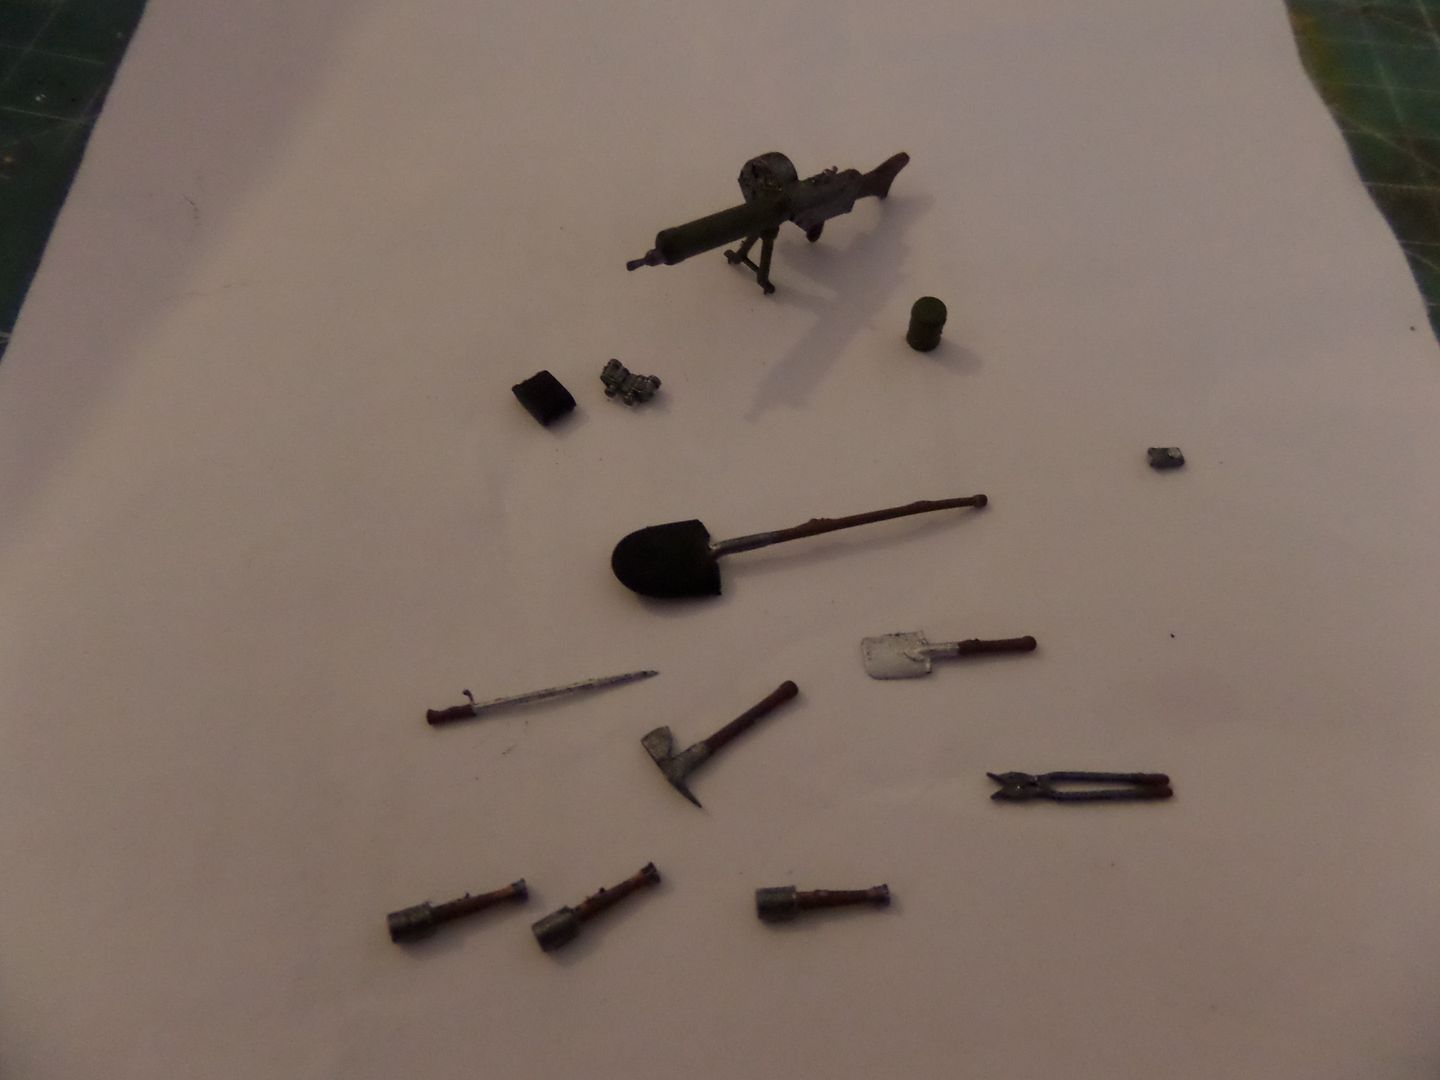
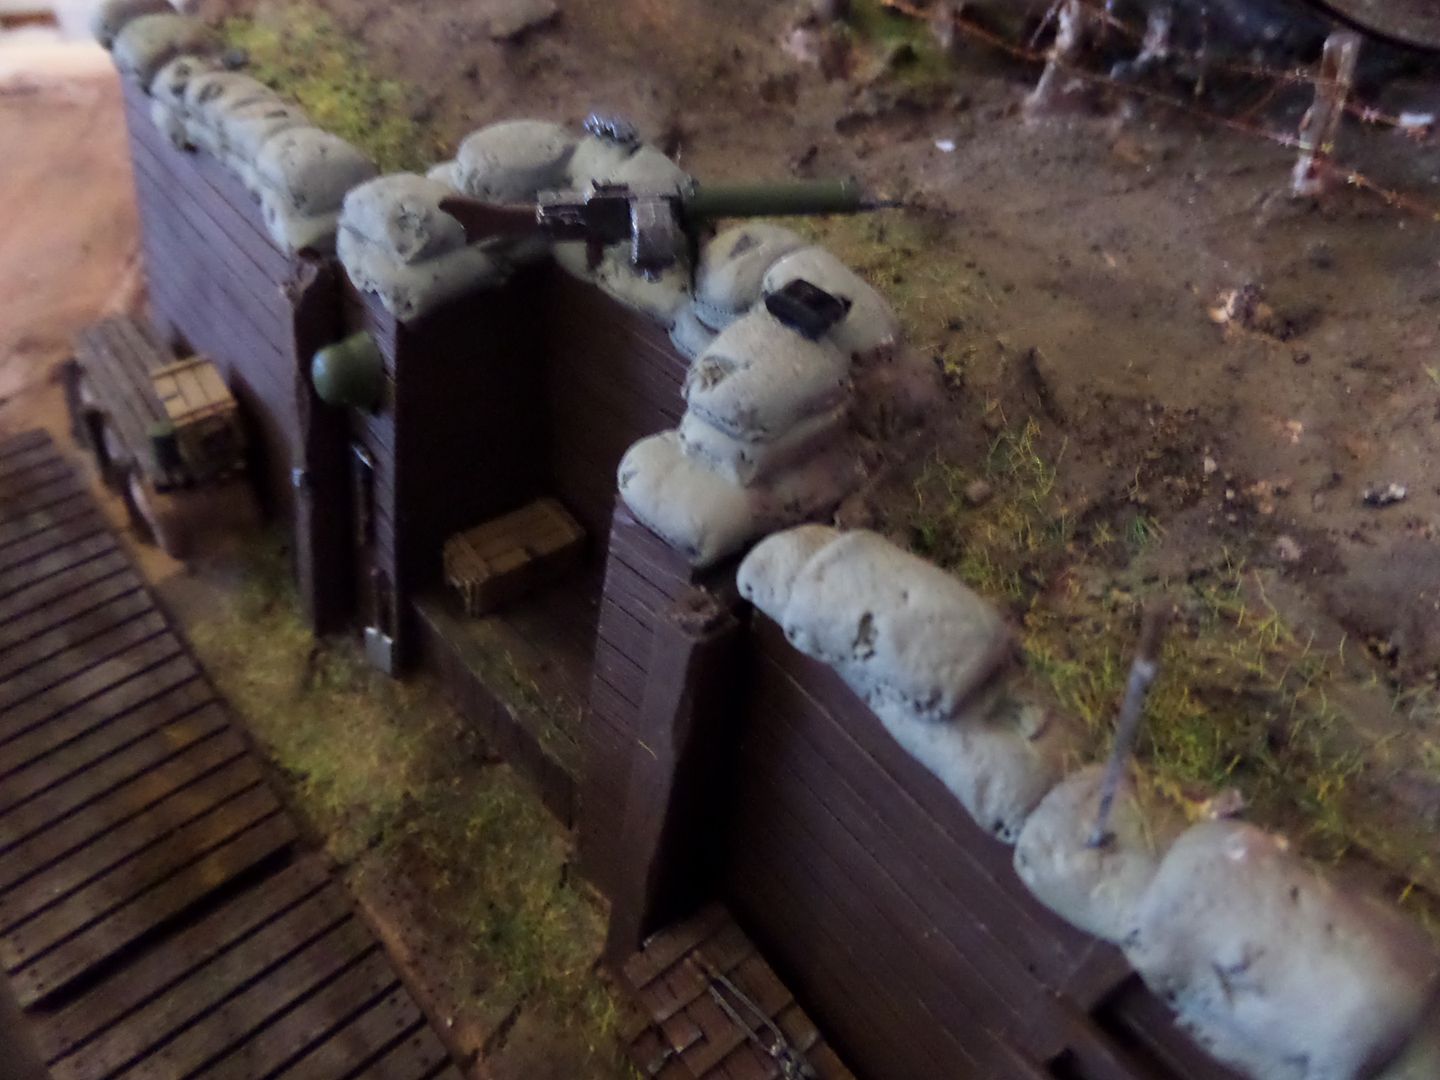
Painted now all cessories that I choose form the German Weapons set form ICM , very nice , will give some 'life' to the trench
About ICM , in the end it was a very nice set of figures , not as good as tamiya ones , but very good , almost no need to fill anything ...
Only some attention to instructions , and some arms should be only glued after put all acessories , this acessories should be placed by layers ...first Bayonet, shovel , water cantil , poucher magazines , gas mask and leather pouch , then back pack , after these large bags ( supose tat were full of grenades of something , and after those MAgazines or esplosives ( the grey ones ...) if not you glue one and another goes to carpet
Acessories very good , a large range to choose from , you have anti-tank guns bayonets , axes , greanades ( pineapple and smashing potatoes ones ) MAchine guns , sub.machine guns ( my ignorance , thought that they only have appear in WWII ...) pistols to every branch of German Army ...a lantern ,...
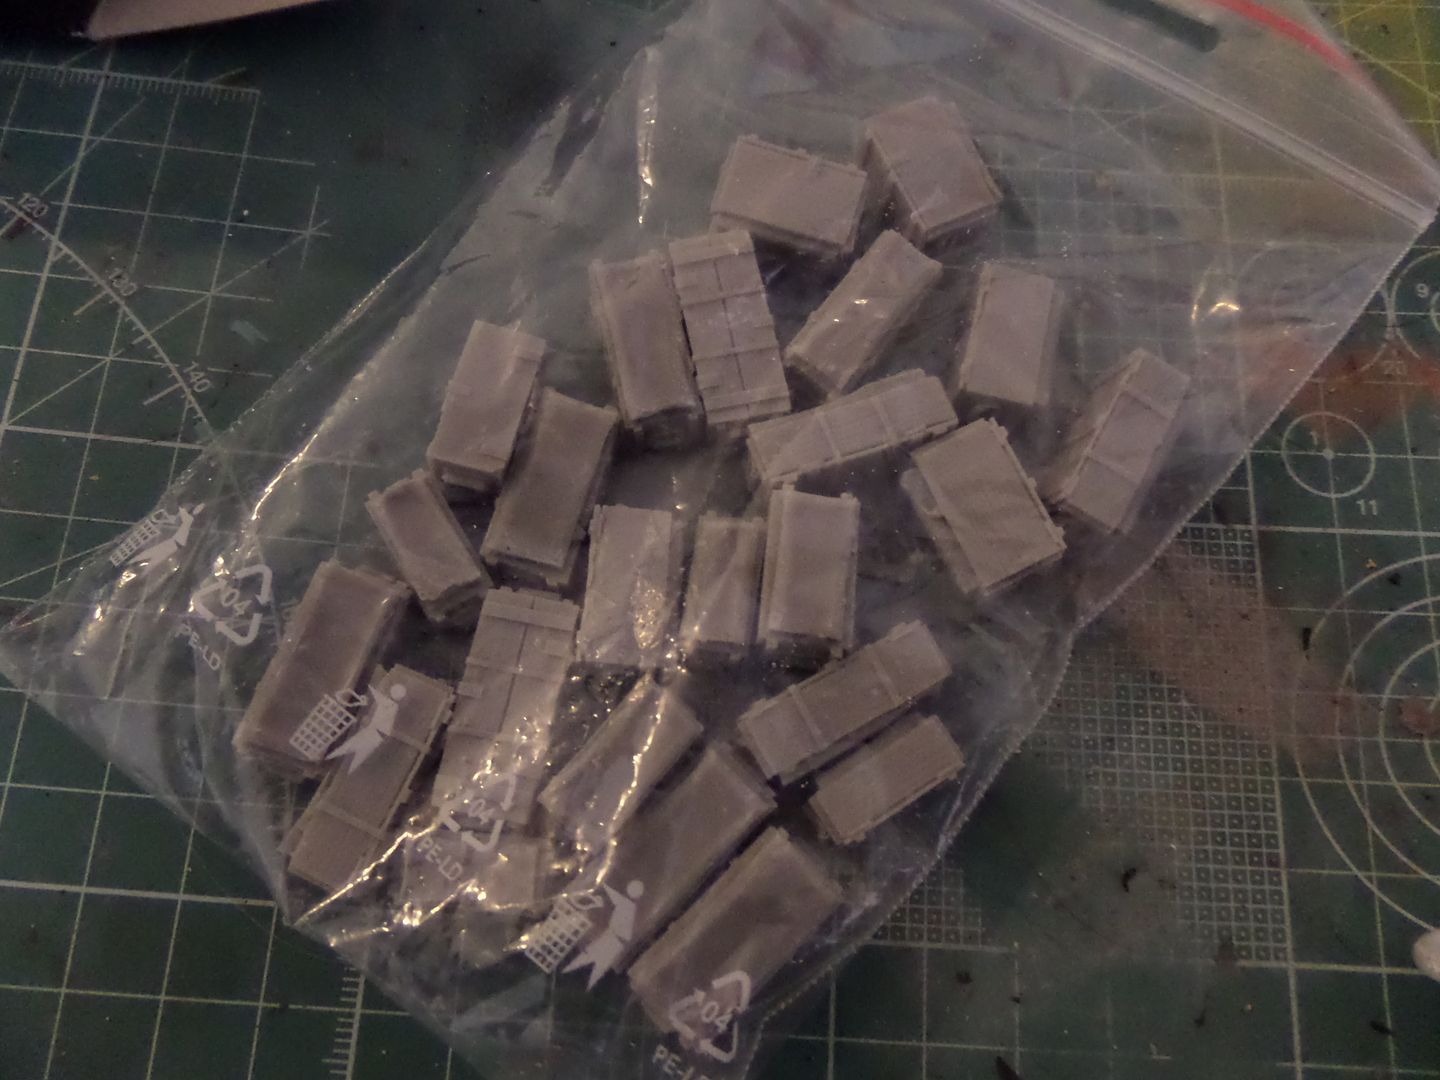
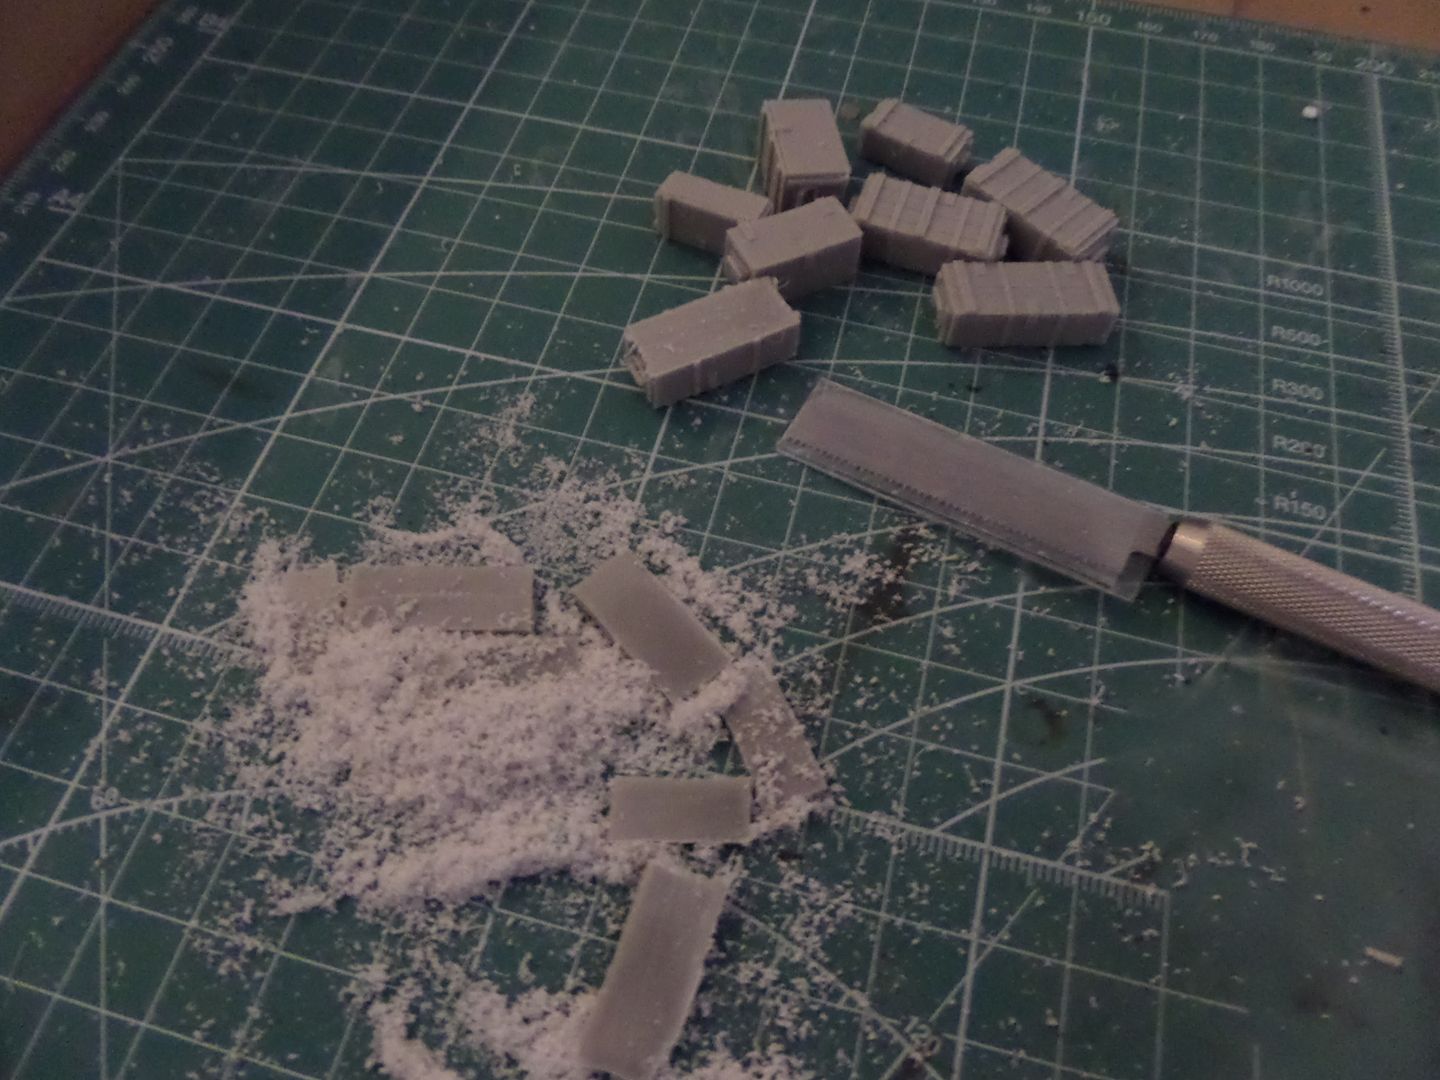
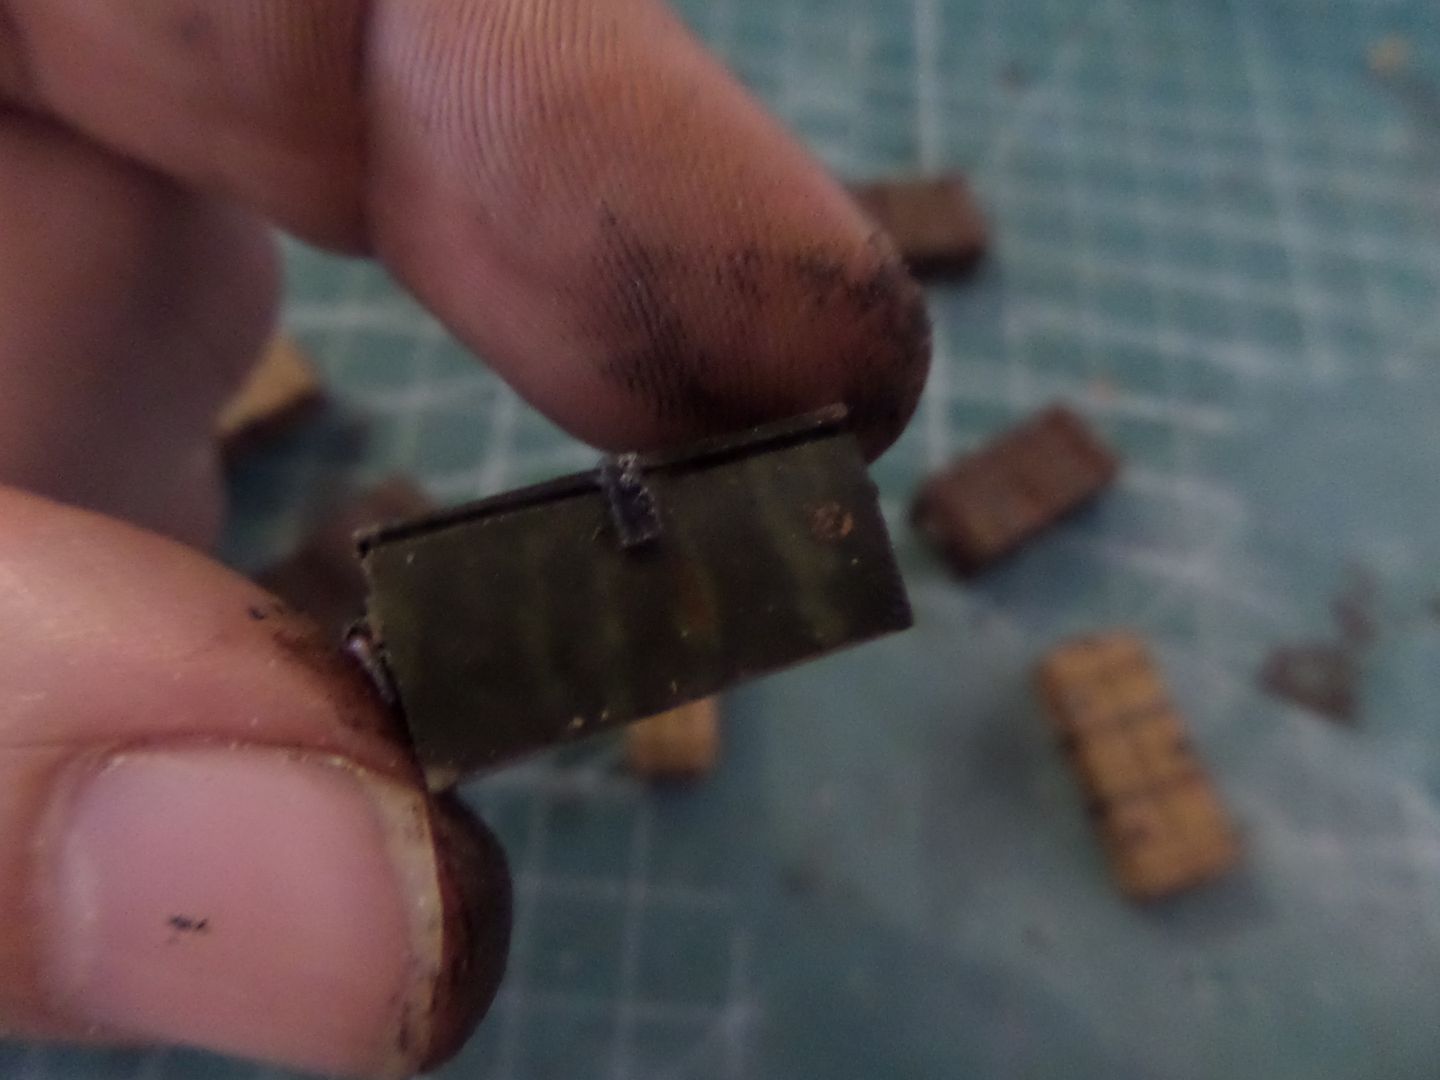
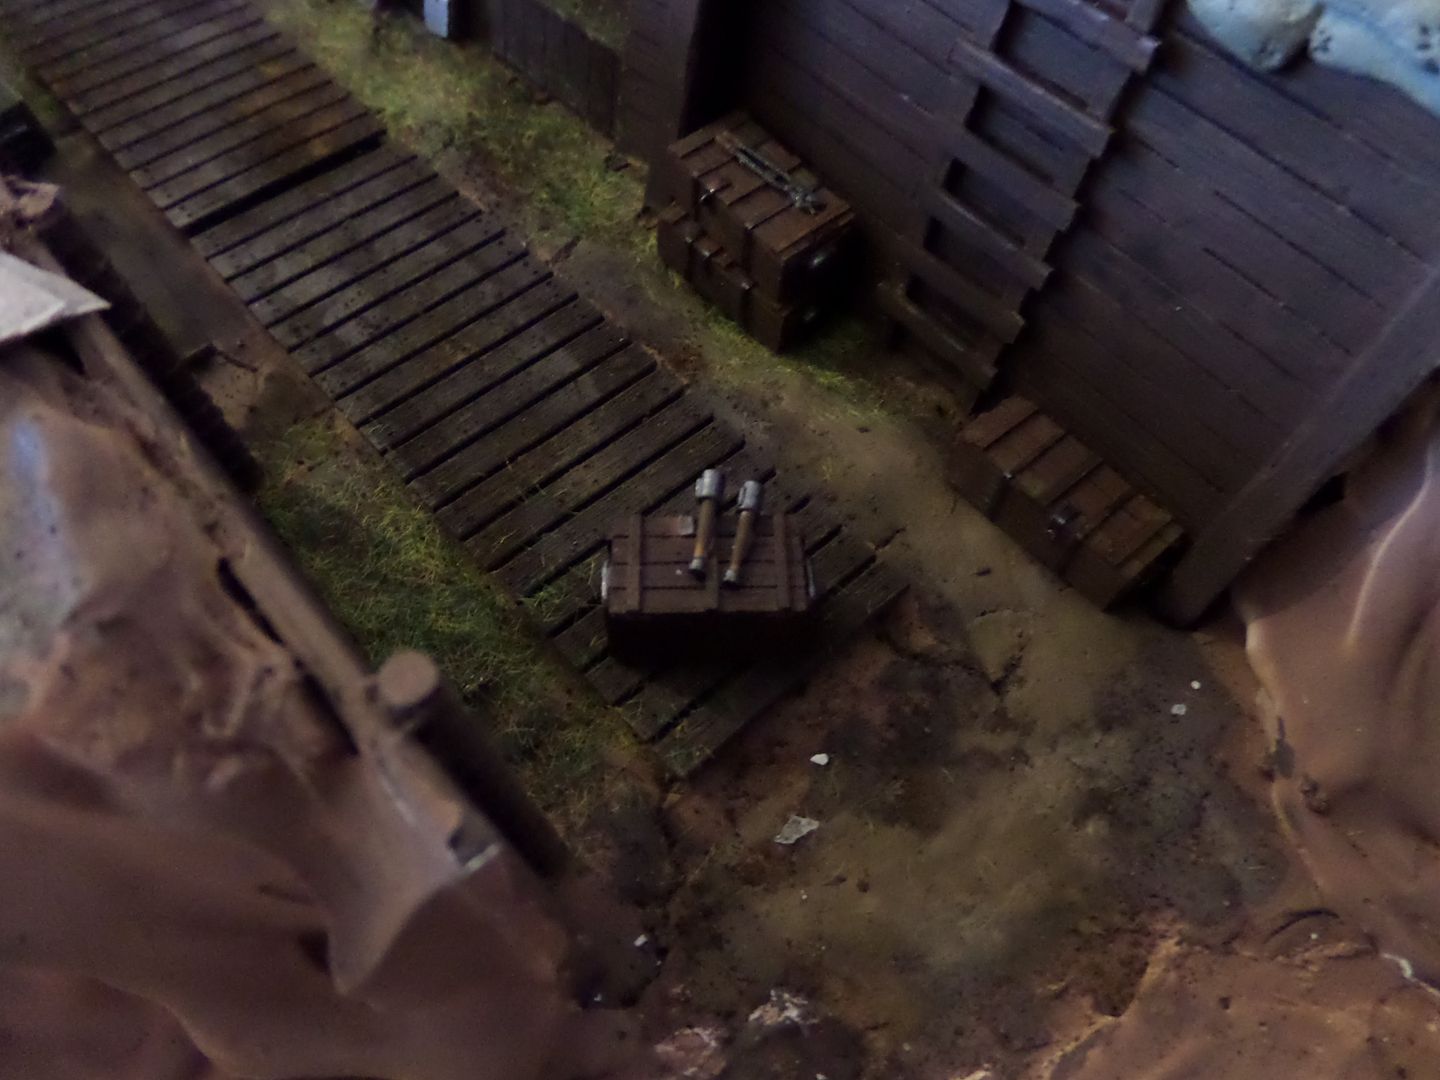
Time to get some ammo boxes build from the BlackDog Resin Set
Mask , gloves and my Tamya Saw :
Look at all the dust ...
Then painted with different colors to differentiate and not to get so bored
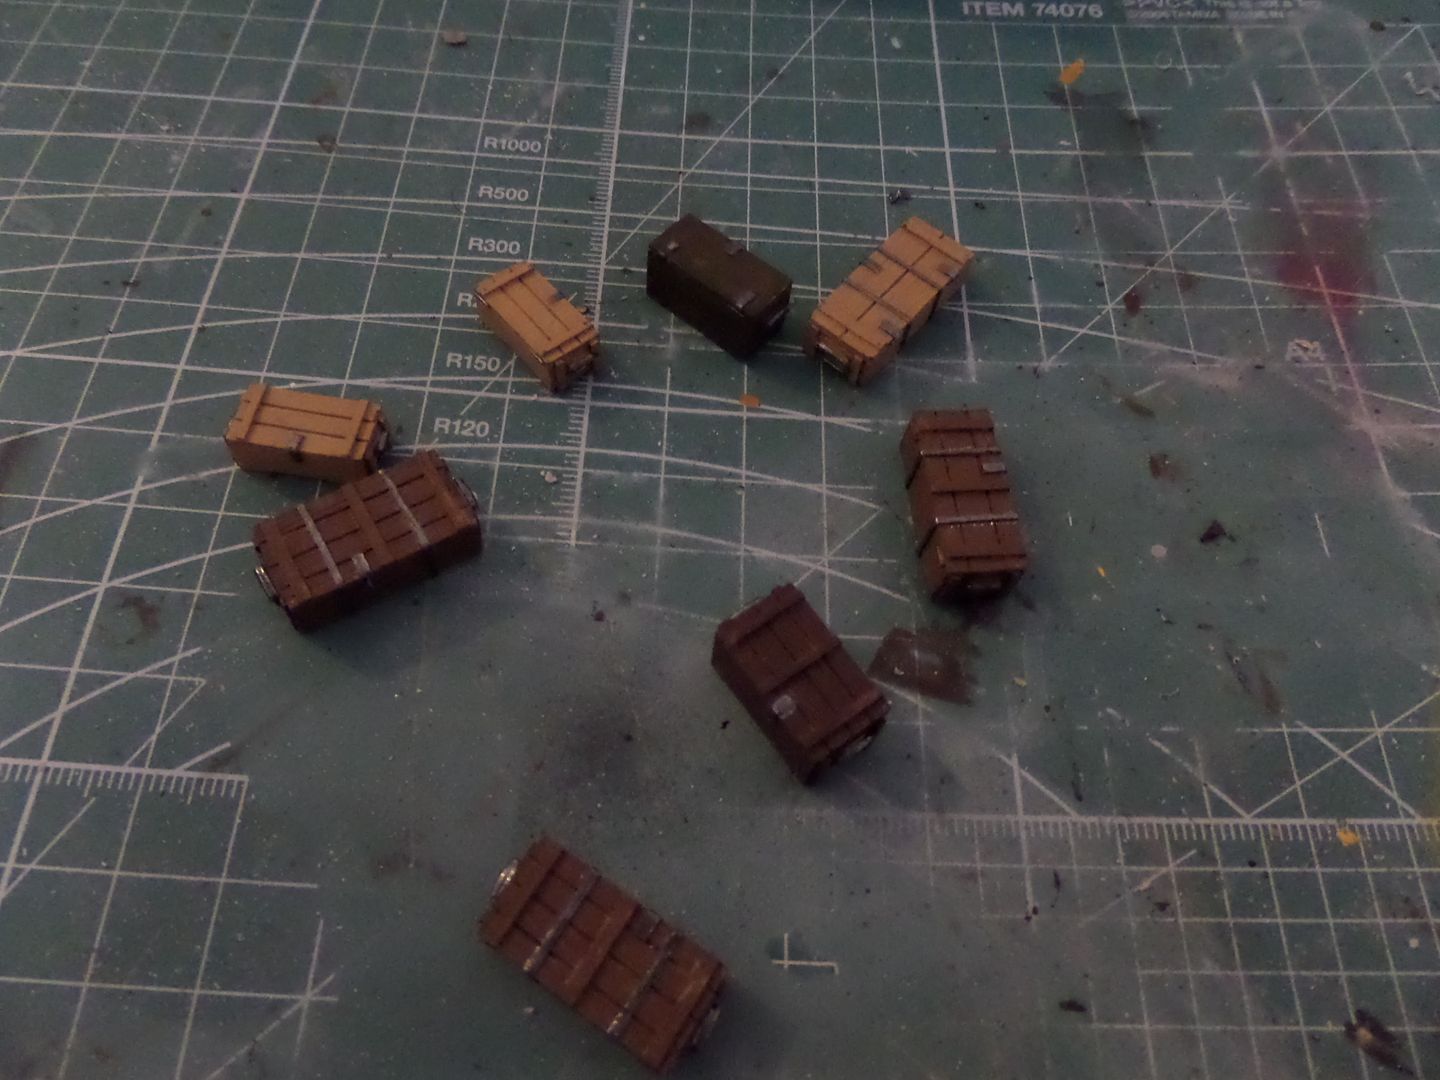
Used Tamiya XF-64, XF-59, XF-62 and XF-10
Then weathering , AK Wash for wood and Dark Slime Green very diluted with somr Odorless turpentine als from AK
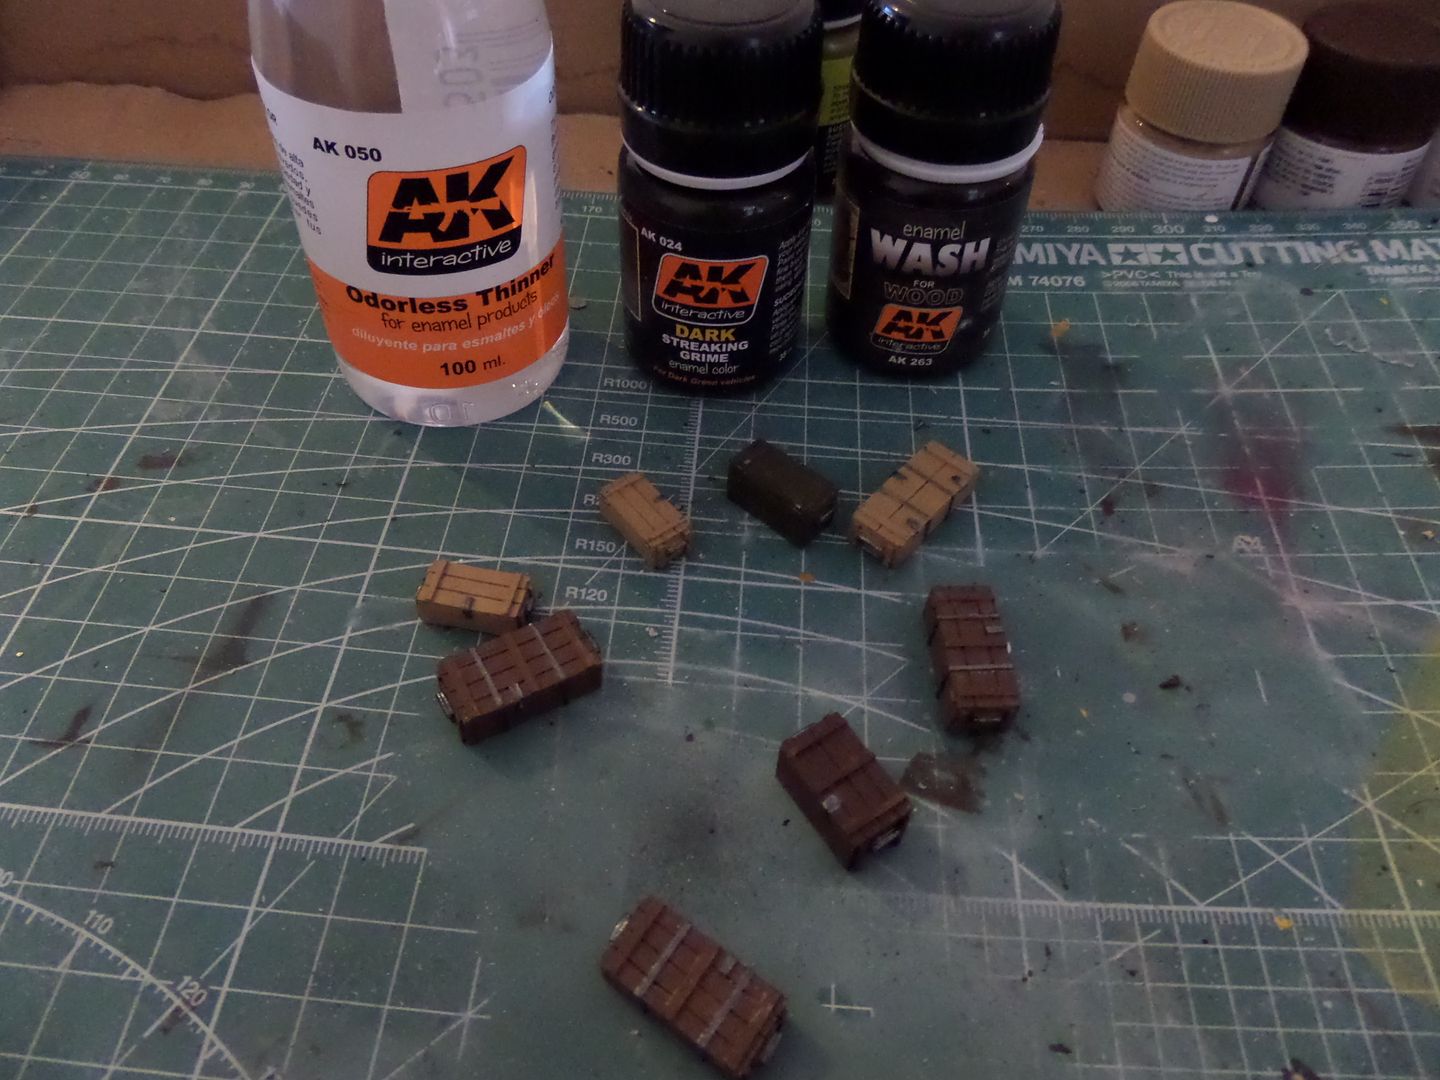
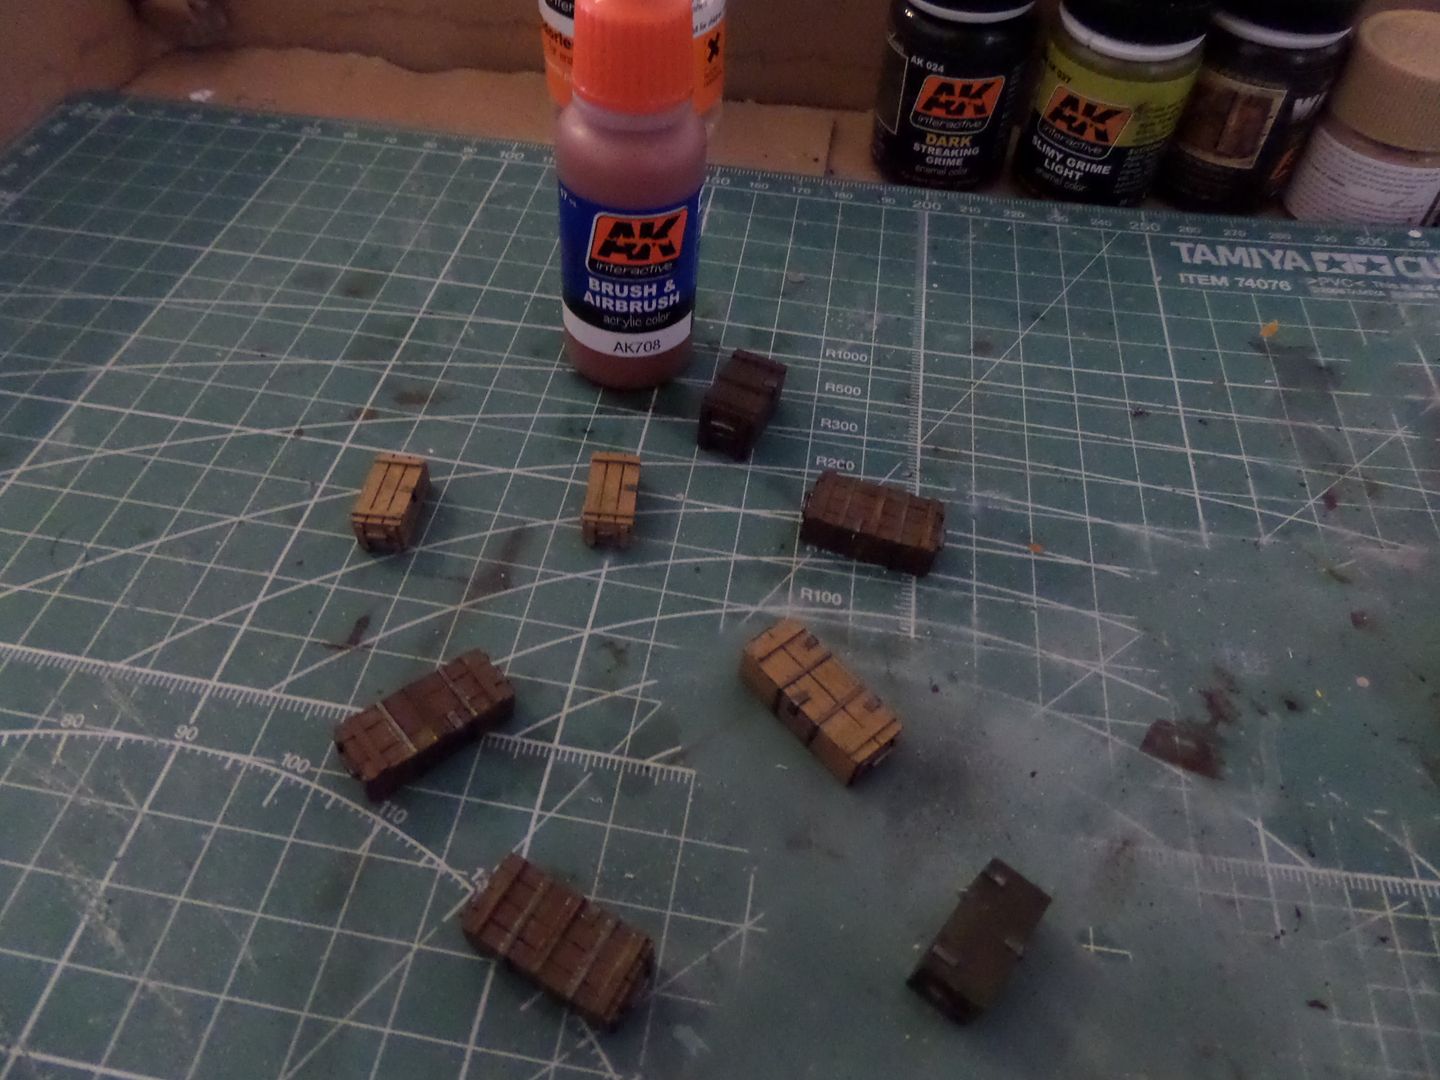
Teh result nice , now some rust in the metalic parts, will use AK acrylic light rust
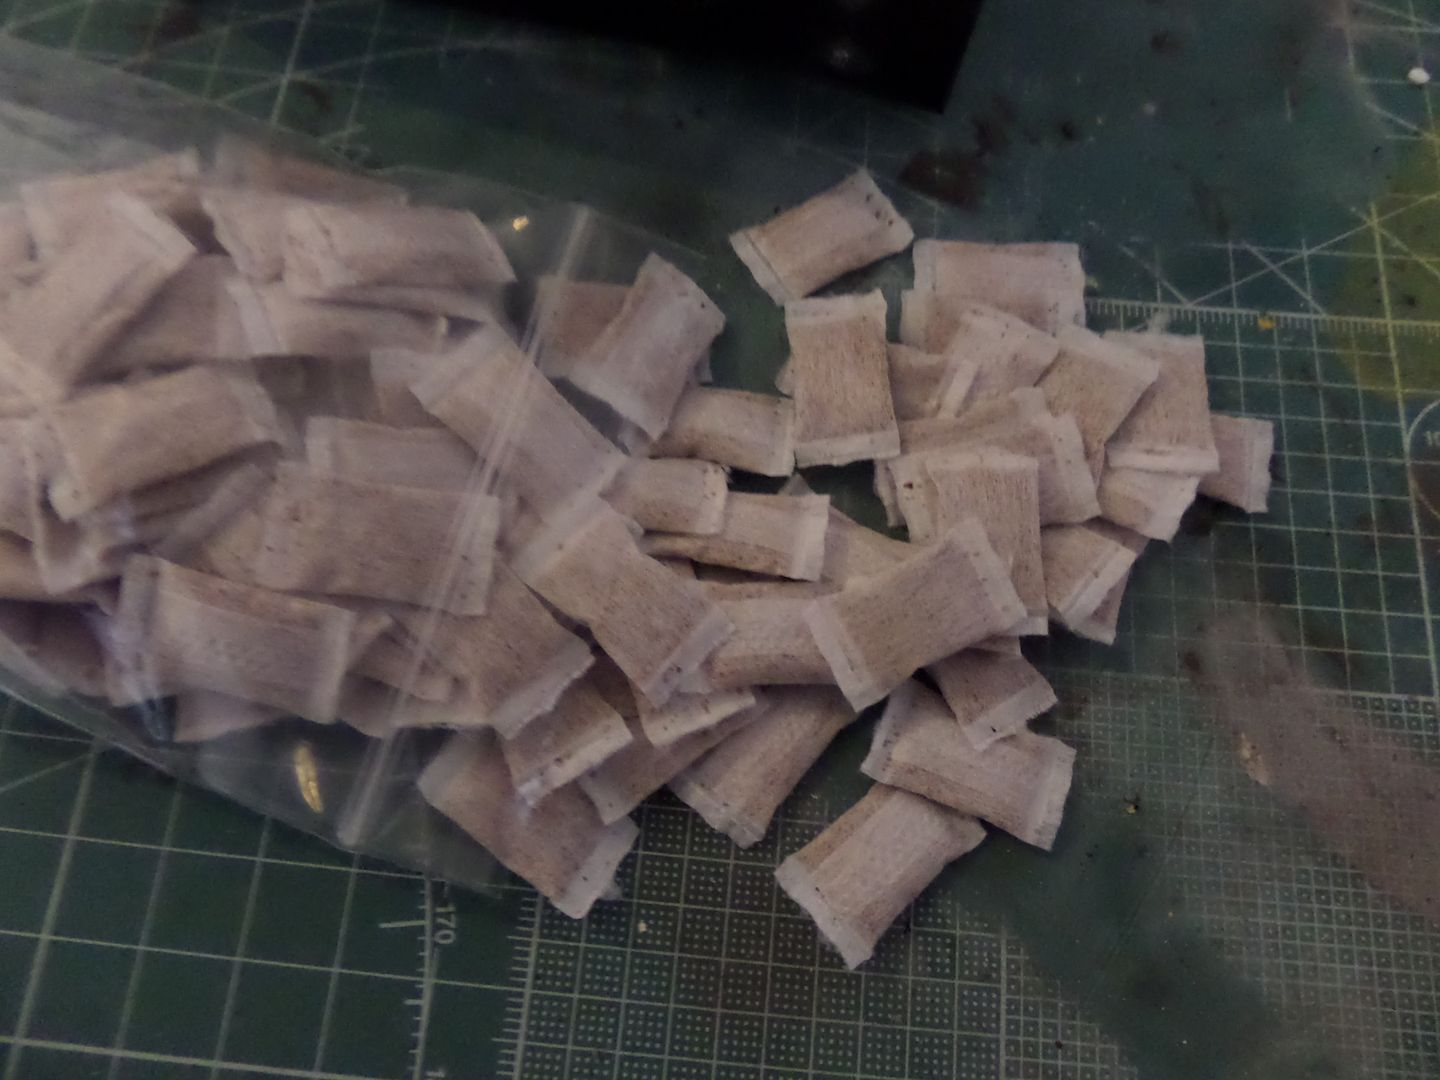
Now sand BAgs , this are from Jewella a German BRand , they also make bricks and stuff like that for dioramas
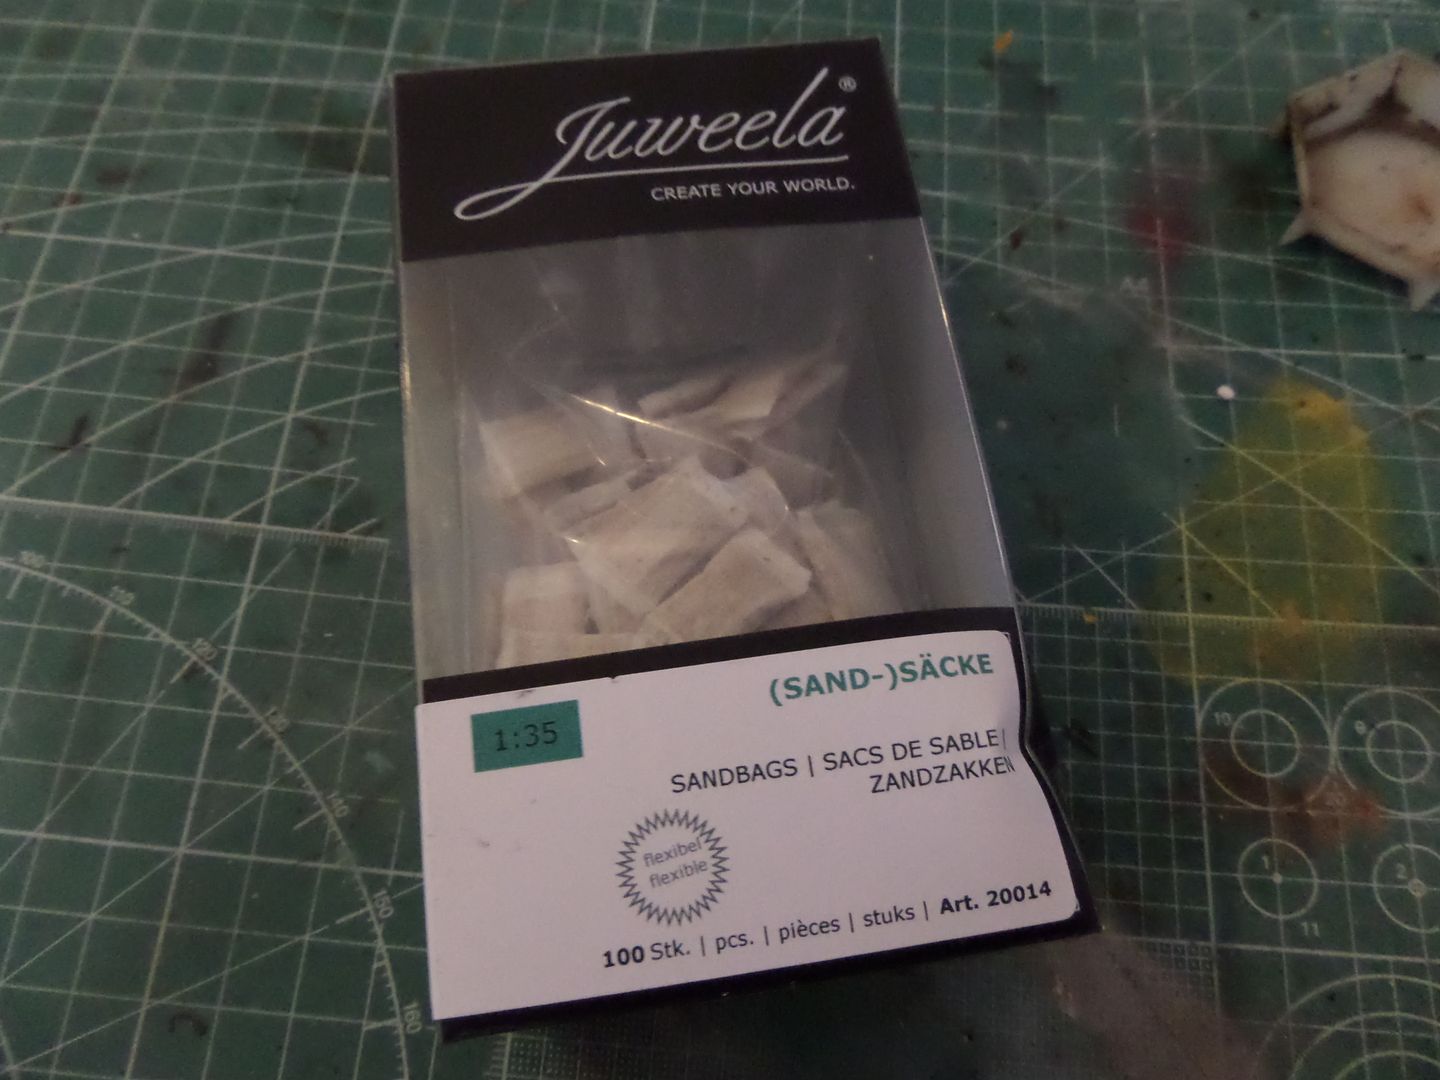
Look like those stuff to keep moist out from electric devices
So instructions in the back of the box , will need to cut ends, put in woo glue and apply with some tweezers ...
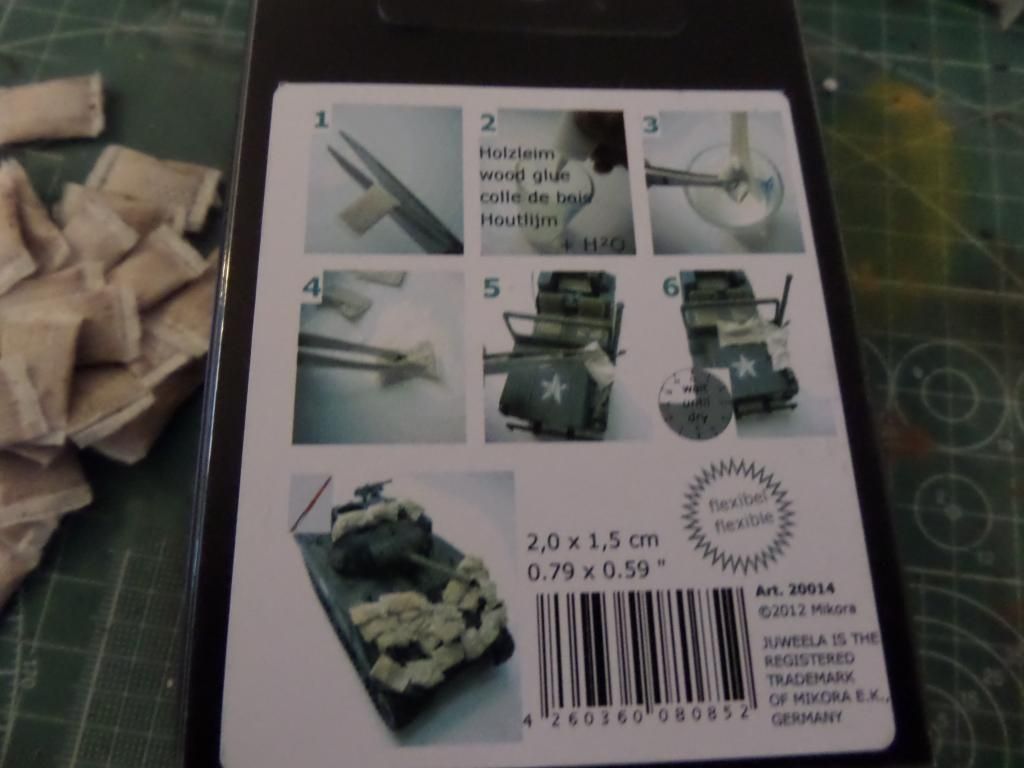
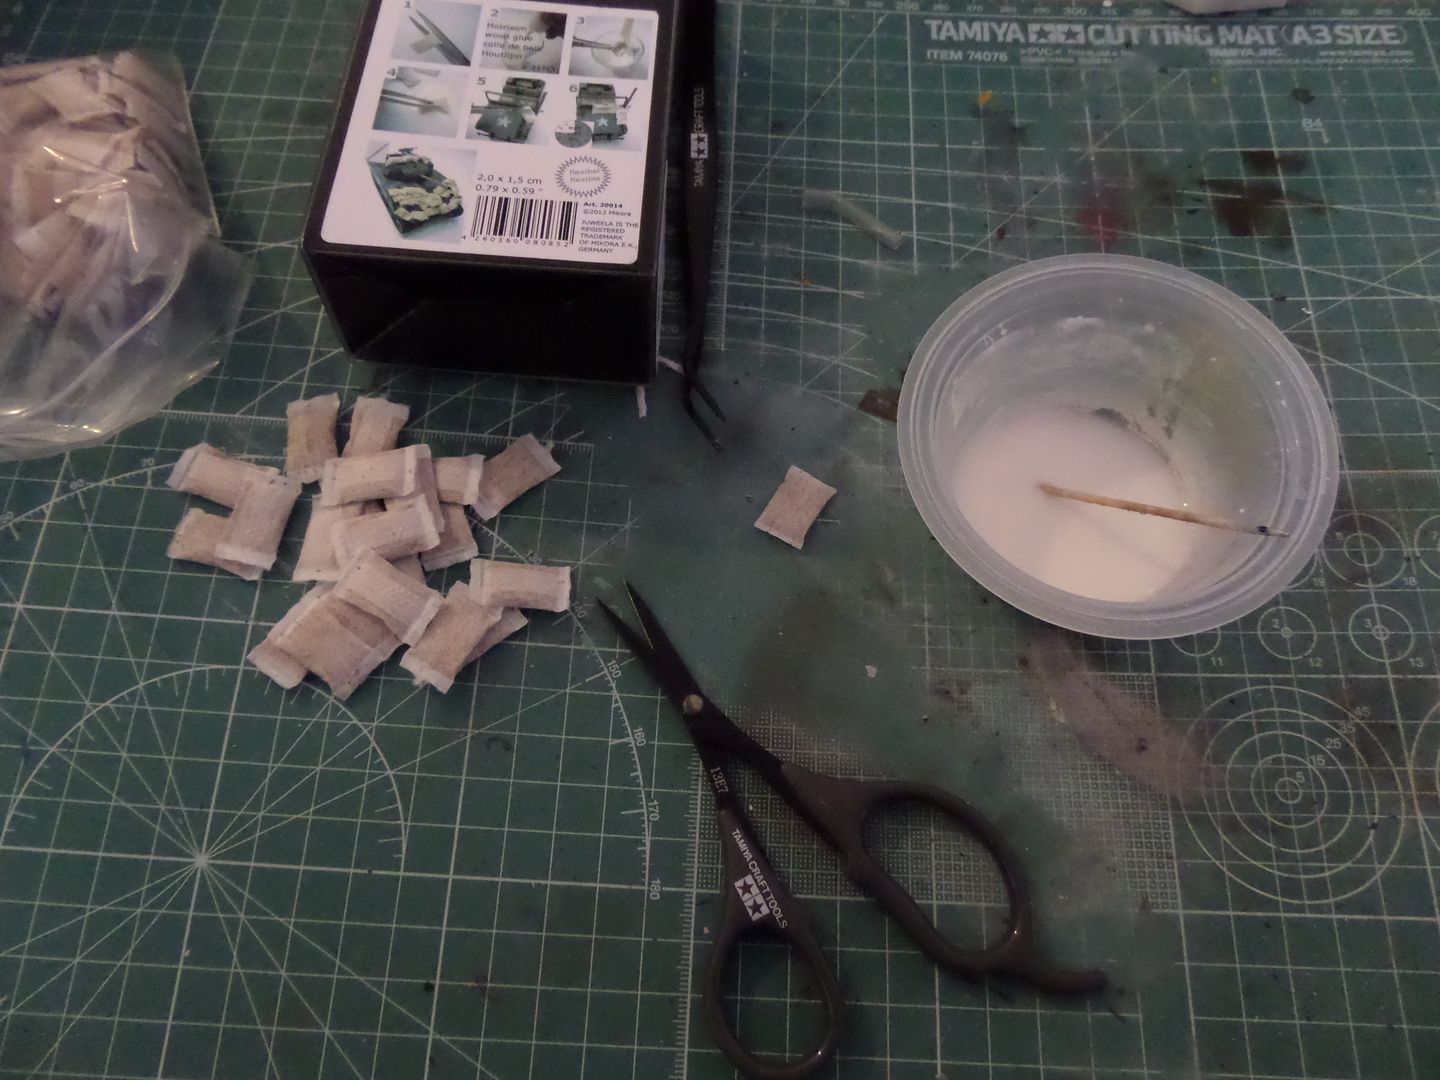
All glued in place , to dry now and to after to make some airbrush on them: result is nice , maybe if I make them from some buildng material also result , this get nice effect ! Look like small pillows
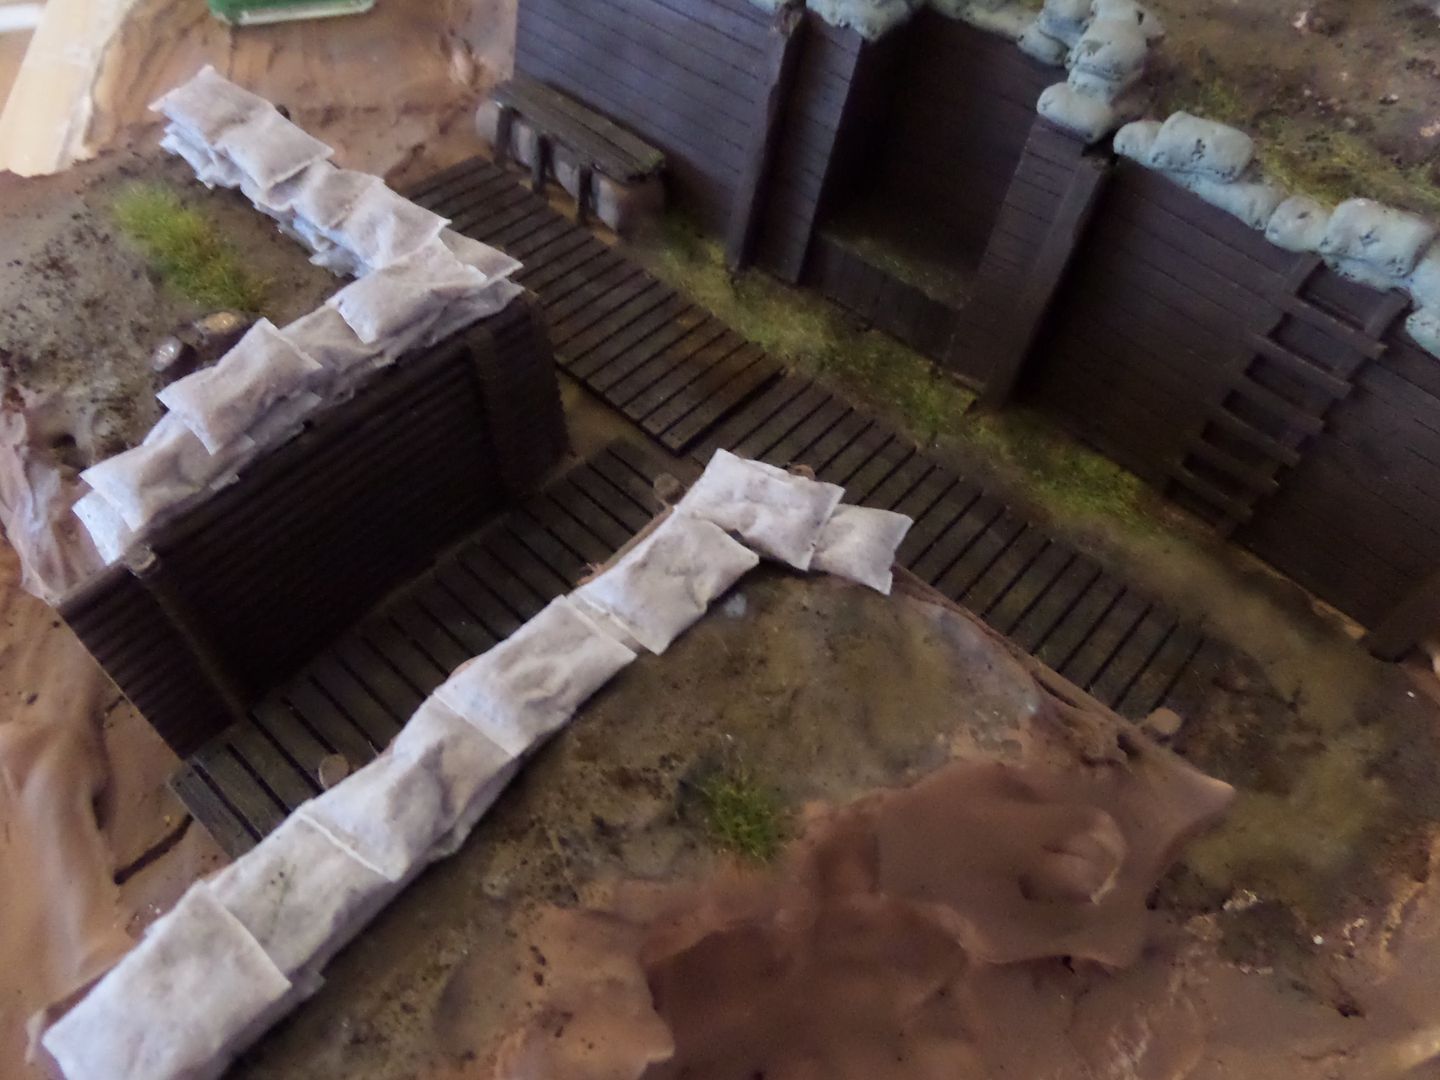
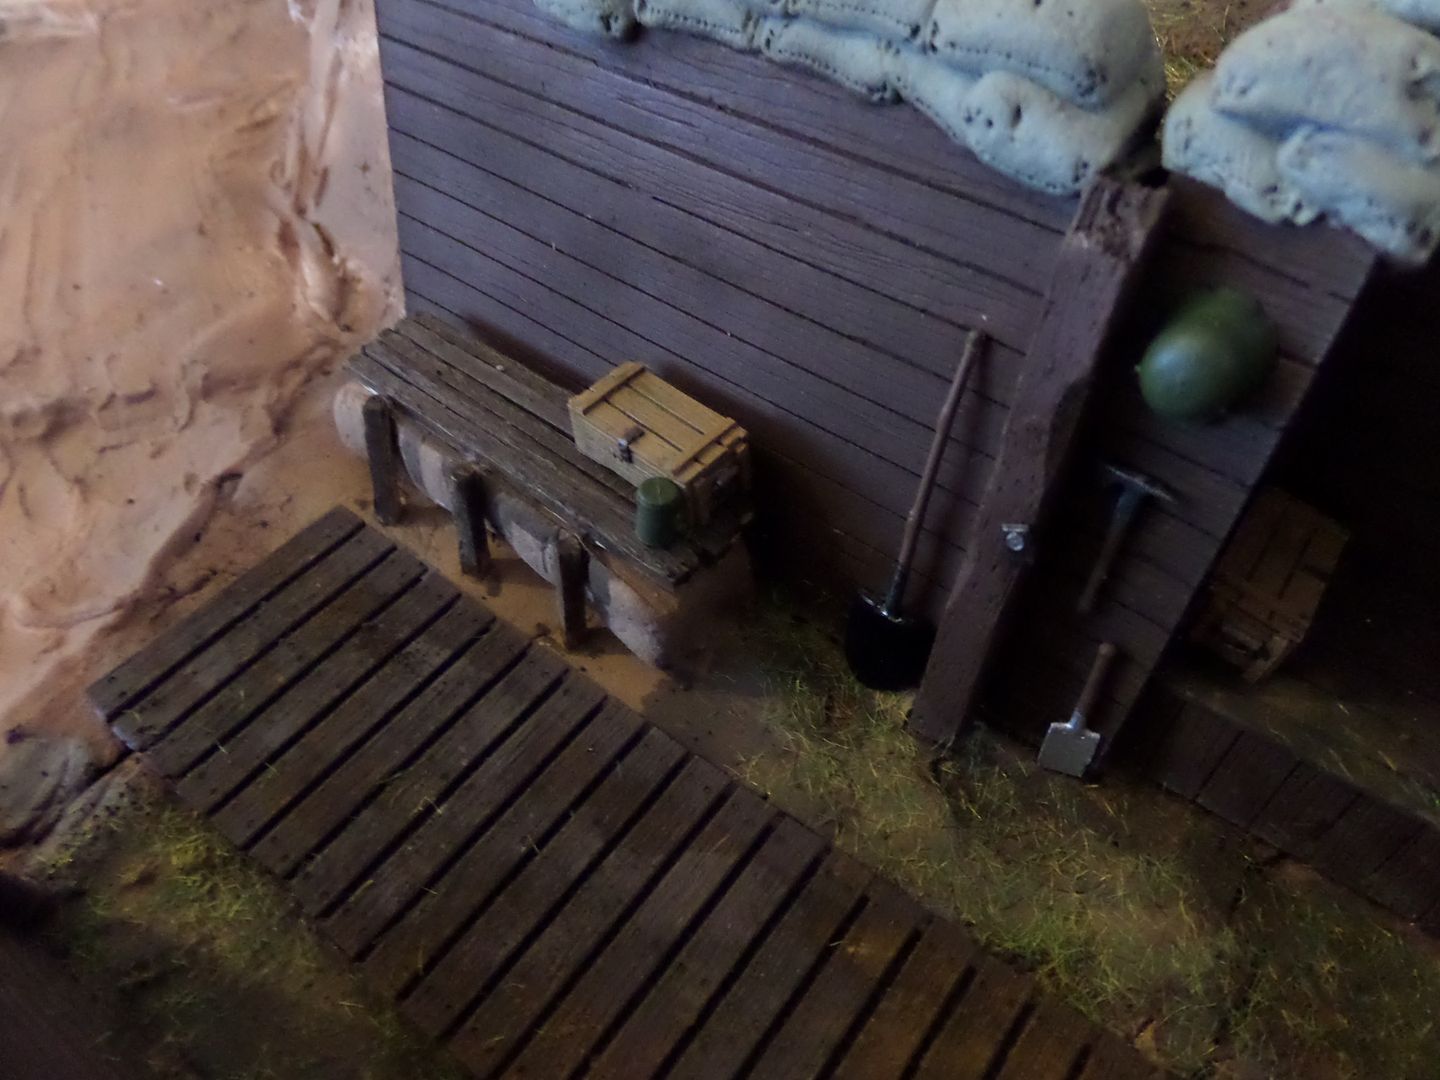
Now the acessories are glued on Dio
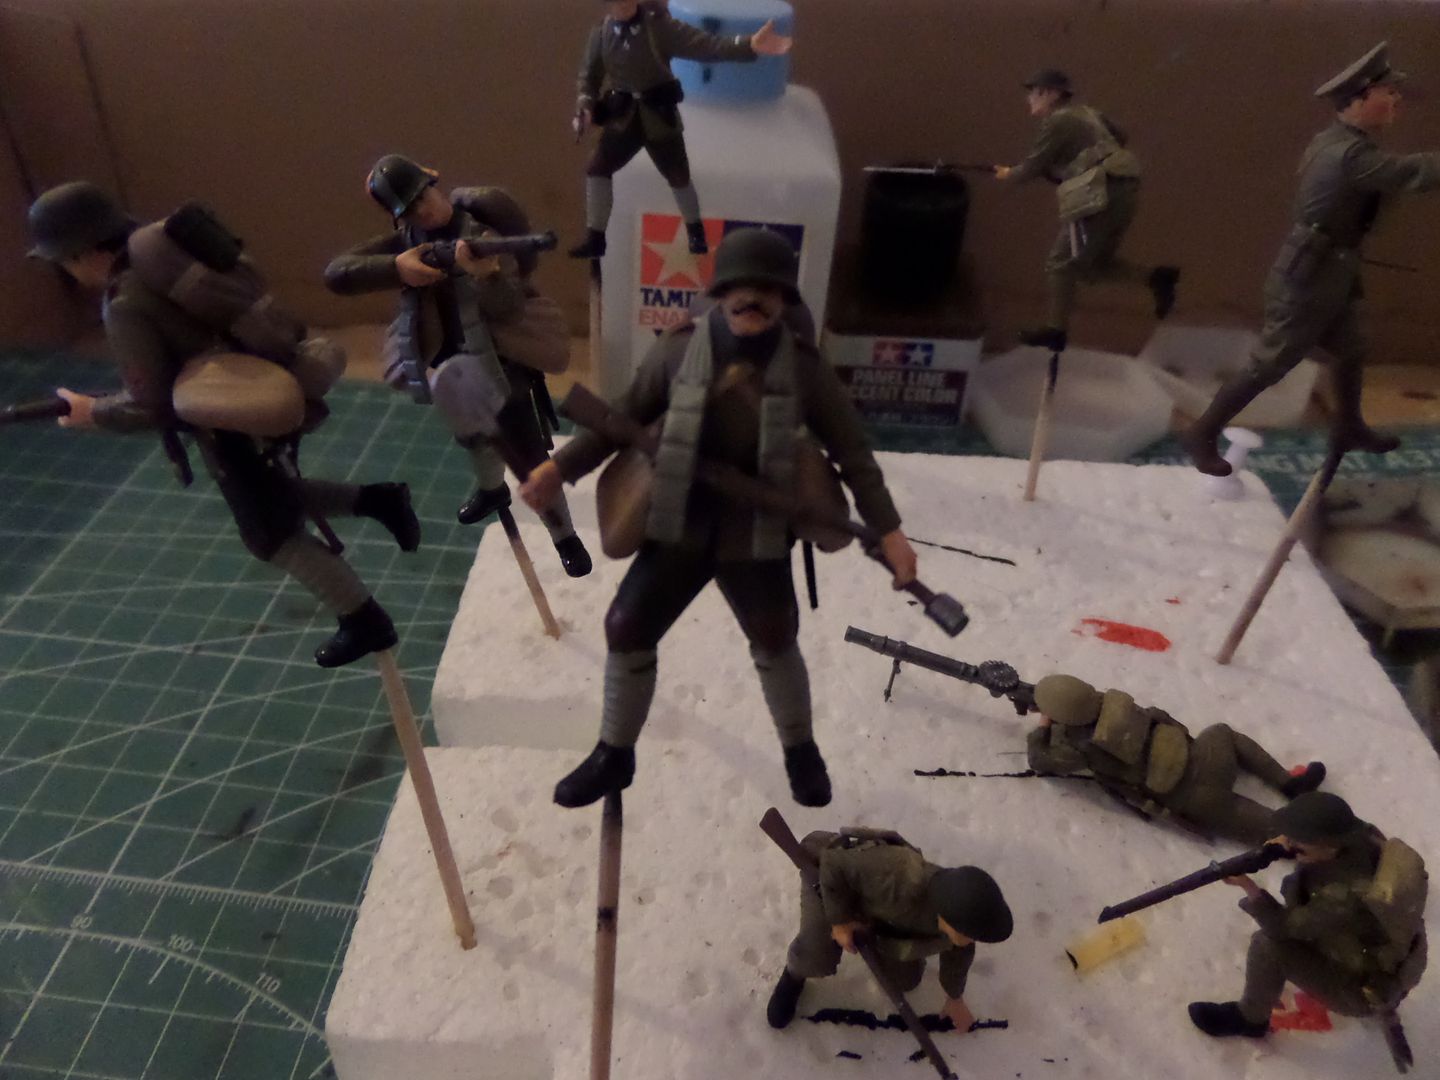
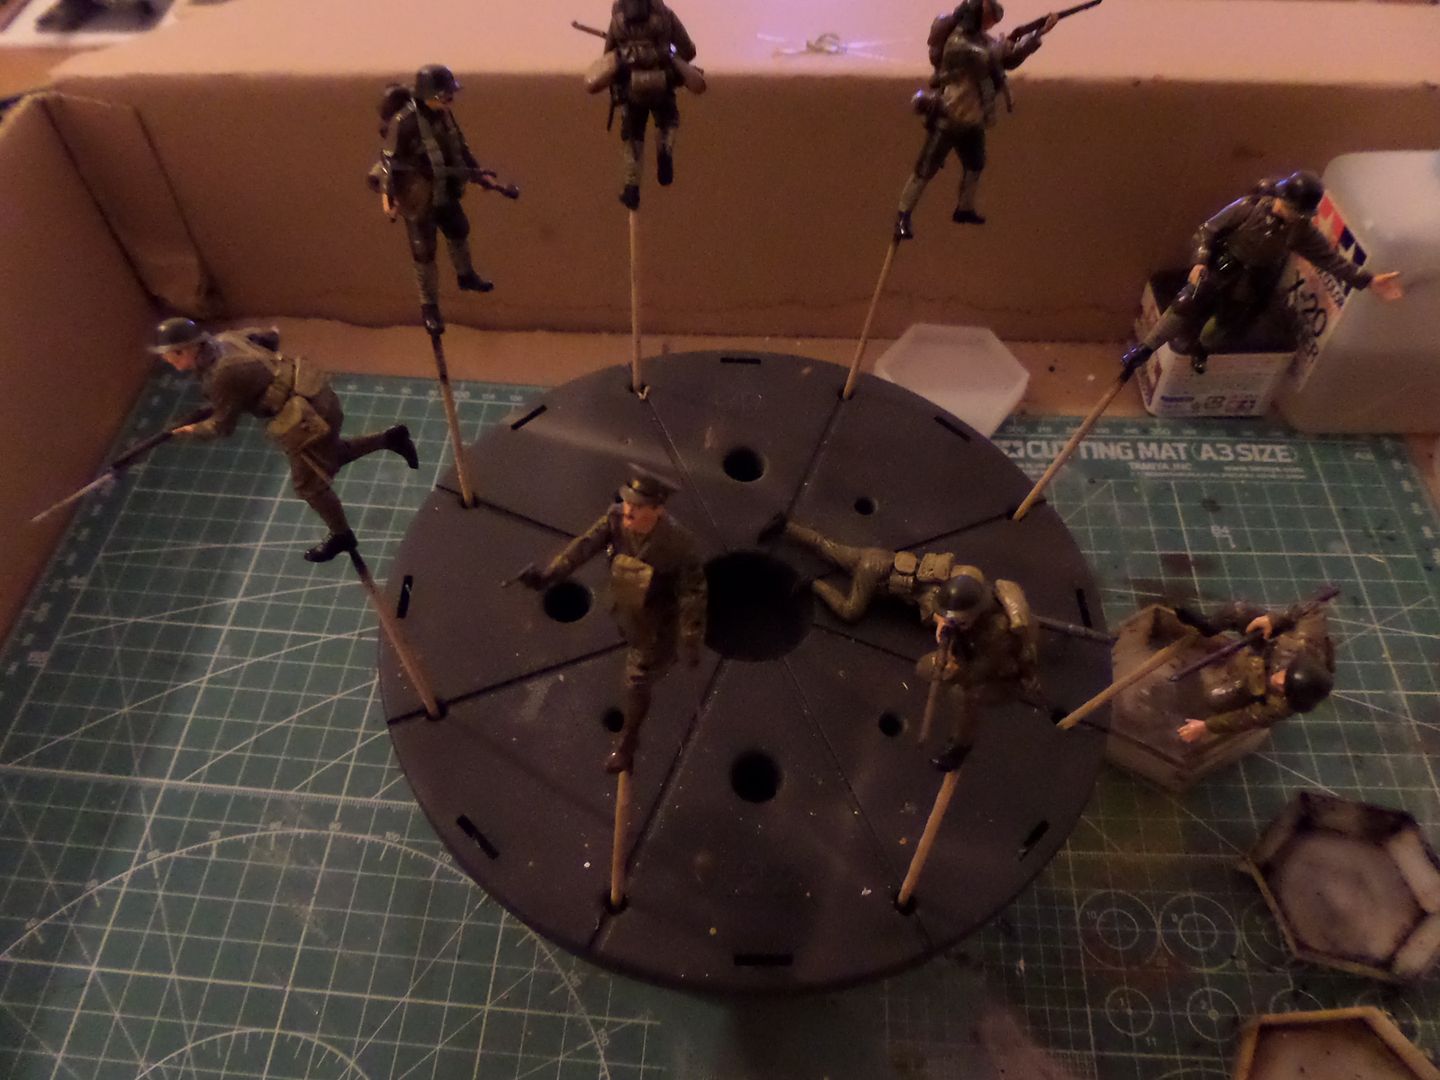
Figures , now wit moustaches , and the Oficers with the ranks in the leaves ...our British Officer should be a 1st Lieutenant , on the Lt. , Weel will depict him in Battle , in Battle he should wear a Steel Helmet , but it is nicer like this so will wear the traditional cap ...if it was for real it will be a bullet magnet this guy ...
The German Officer also become nice !
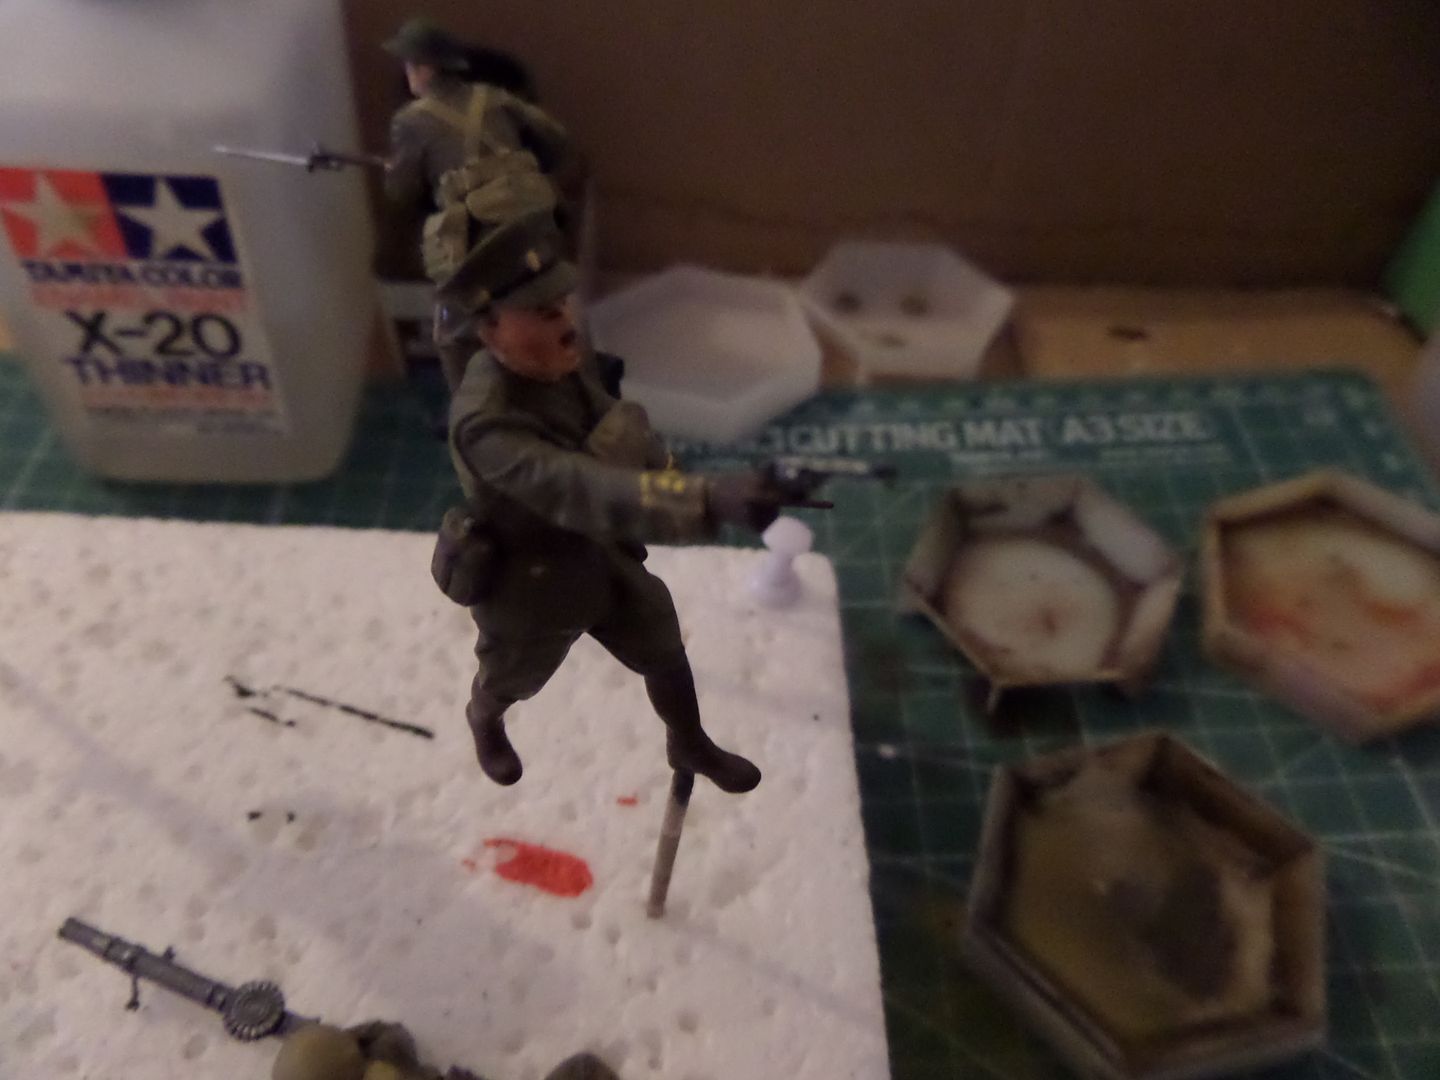
This guy is a Hardened Soldier , a Big Moustache , and I placed a Hand Grenade in his left hand , he only had a shovel to defend , not the right armament to face a MRK IV Beast ! Look at the stuff that these guys carry ...
Some Glossy Varnish , then some oils diluted ...
And off we go to the final reveal ....
Hope that You like this build thread , I like a lot to do this , The only issue wiht the Tamiya MArk IV Kit is it's price, it is pricey , but if you can affoard buy it ! It is a very entertaining build , different ( it ha all those Pieces so he can move) , the tracks , the details are all very nice ...the figures are veery nice both Tamiya and ICM are a very nice bunch of figures ...recommend it ! Also the gun set from ICM is very nice eith a lot of options .
It is pitty that the modelling Brands doesn't pay that much attention to WWI , this year we had a lot of releases , at least theis ones that I build are quite good in my opinion !
You may find the final reveal here :
http://intscalemodeller.com/viewtopic.php?f=286&t=8969
it was time to finish this large project , still and again very pleaseant and enjoying more and more to do dioramas , still must do more little ones ( actually the one from the Vietnam will be big again ...so...)
well on to it ...
The figures are now painted and all acessories glued :

The German Assault Infantry have too acessories , couldn't imagine how they moved in Battlefield , even this are Assault troops , i imagine that they carry a Heavy Height comparing to the British Infantry

Like this funny Colorfull helmet from the Germans (see the guy pointing the MAuser on the left ...) , it becomes nice

A detail on a British infantry


The British Officer

Painted now all cessories that I choose form the German Weapons set form ICM , very nice , will give some 'life' to the trench

About ICM , in the end it was a very nice set of figures , not as good as tamiya ones , but very good , almost no need to fill anything ...
Only some attention to instructions , and some arms should be only glued after put all acessories , this acessories should be placed by layers ...first Bayonet, shovel , water cantil , poucher magazines , gas mask and leather pouch , then back pack , after these large bags ( supose tat were full of grenades of something , and after those MAgazines or esplosives ( the grey ones ...) if not you glue one and another goes to carpet
Acessories very good , a large range to choose from , you have anti-tank guns bayonets , axes , greanades ( pineapple and smashing potatoes ones ) MAchine guns , sub.machine guns ( my ignorance , thought that they only have appear in WWII ...) pistols to every branch of German Army ...a lantern ,...
Time to get some ammo boxes build from the BlackDog Resin Set

Mask , gloves and my Tamya Saw :
Look at all the dust ...

Then painted with different colors to differentiate and not to get so bored

Used Tamiya XF-64, XF-59, XF-62 and XF-10
Then weathering , AK Wash for wood and Dark Slime Green very diluted with somr Odorless turpentine als from AK

Teh result nice , now some rust in the metalic parts, will use AK acrylic light rust


Now sand BAgs , this are from Jewella a German BRand , they also make bricks and stuff like that for dioramas

Look like those stuff to keep moist out from electric devices

So instructions in the back of the box , will need to cut ends, put in woo glue and apply with some tweezers ...


All glued in place , to dry now and to after to make some airbrush on them: result is nice , maybe if I make them from some buildng material also result , this get nice effect ! Look like small pillows

Now the acessories are glued on Dio


Figures , now wit moustaches , and the Oficers with the ranks in the leaves ...our British Officer should be a 1st Lieutenant , on the Lt. , Weel will depict him in Battle , in Battle he should wear a Steel Helmet , but it is nicer like this so will wear the traditional cap ...if it was for real it will be a bullet magnet this guy ...

The German Officer also become nice !

This guy is a Hardened Soldier , a Big Moustache , and I placed a Hand Grenade in his left hand , he only had a shovel to defend , not the right armament to face a MRK IV Beast ! Look at the stuff that these guys carry ...

Some Glossy Varnish , then some oils diluted ...

And off we go to the final reveal ....
Hope that You like this build thread , I like a lot to do this , The only issue wiht the Tamiya MArk IV Kit is it's price, it is pricey , but if you can affoard buy it ! It is a very entertaining build , different ( it ha all those Pieces so he can move) , the tracks , the details are all very nice ...the figures are veery nice both Tamiya and ICM are a very nice bunch of figures ...recommend it ! Also the gun set from ICM is very nice eith a lot of options .
It is pitty that the modelling Brands doesn't pay that much attention to WWI , this year we had a lot of releases , at least theis ones that I build are quite good in my opinion !
You may find the final reveal here :
http://intscalemodeller.com/viewtopic.php?f=286&t=8969
Cheers ,
António
On the Bench
a lot of stuff right now
António
On the Bench
a lot of stuff right now
