The Final Countdown:
This will the last big update to this build, the reason being its finished

It's been a pleasure to get to know the 'Hun' during these past weeks. It's my 8th model since I returned to the hobby and im really liking the improvement from the last couple of builds. It has been a build with many firsts, airbrushing being one and Ive learned more on this build than the previous seven combined. Anyway, here is the last WIP-photos.
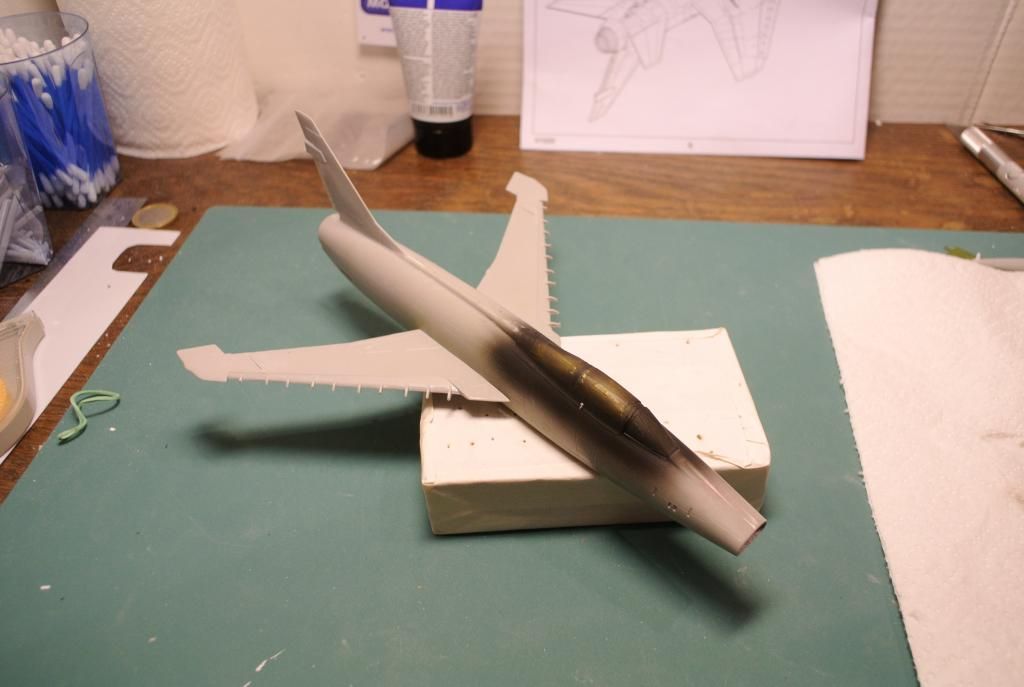
We start with my flat-coat spraying session. I realized I hadnt read enough about doing flat coats. I got some terrible "frosting", meaning the finish was flat, but bluish smoky. It looked truly terrible. I dont know if its visible in these pics, but it wasnt one of those issues you can live with.
So I read about different remedies and the most obvious one was not to spray too close to the surface. This was one of the solutions, the other one was diluting the flat varnish with future/klear/pledge. However, first of all, I had to get rid of the frosting and this might be the most un-orthodox method Ive used during modelling so far. The suggestion was to use
olive oil and rub on the frosting. Then you would gently wash it off using a damp paper towel. So, I decided to try it, no matter how strange it sounded. Heres the greasy olive oil.

Here it is with the olive oil washed off, the vibrancy of the colors returned and it was ready to be resprayed.
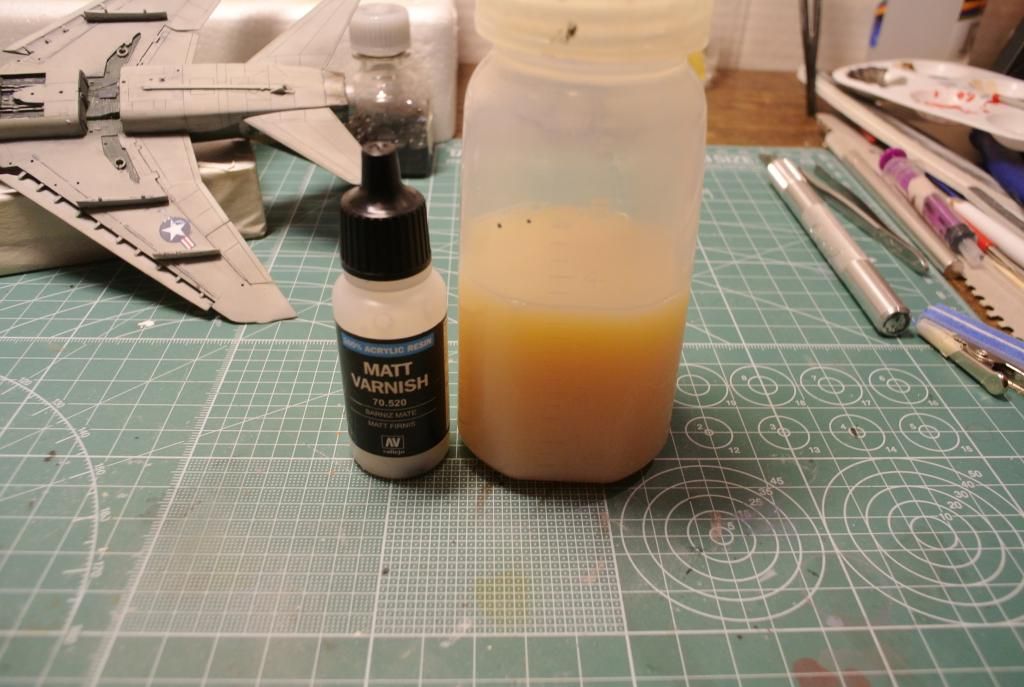
So this is what I ended up using to flat coat my aircraft. The big bottle is decanted Pledge.
Here is the result.
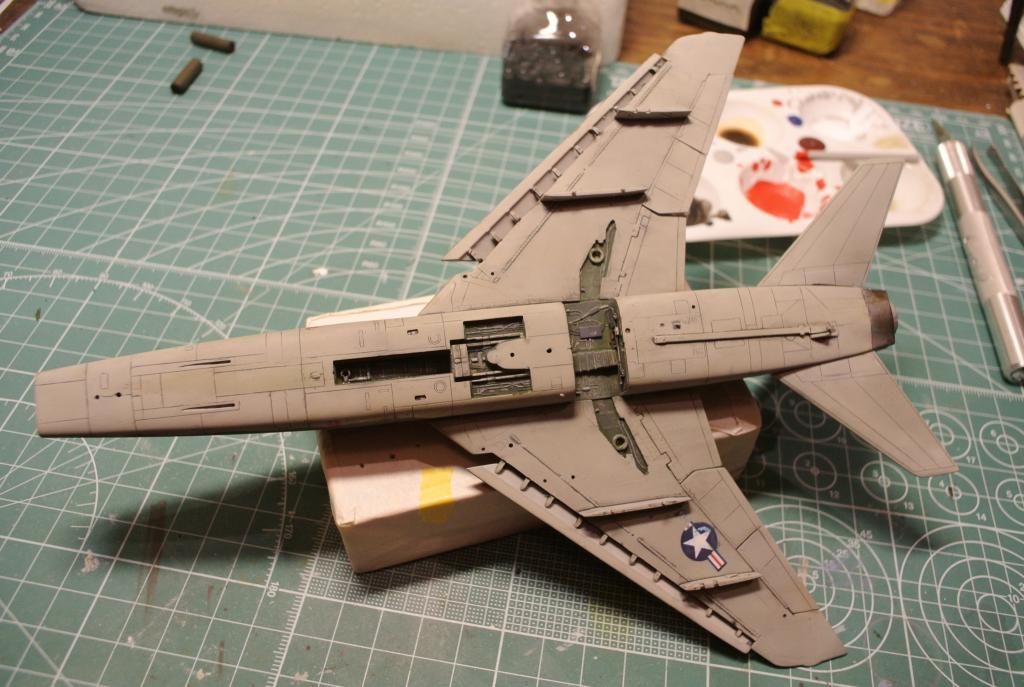
I still had some frosting under the slats, so I just decided to put a wash over it, it worked fairly well. It still looks discolored, but it passes as a weather effect in my opinion.

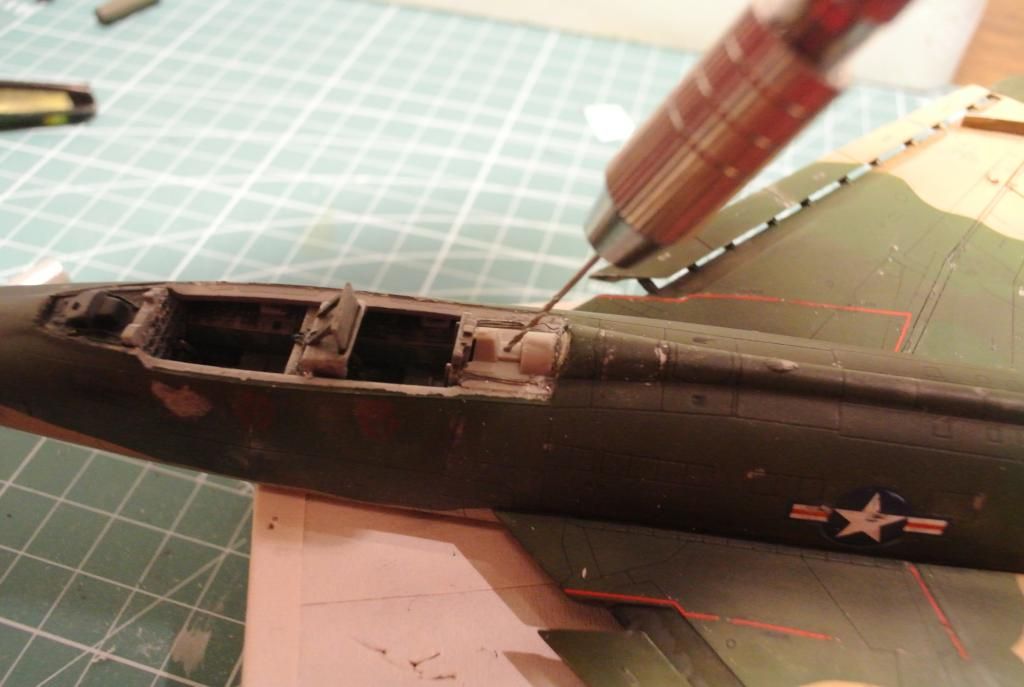
Next up was removing the canopy to add the seats "open canopy-construction".
The front canopy was glued using UV-glue and the rear was glued using PVA. It turned out that the UV-glue wasnt as strong as I had thought and it came off together with the big canopy.
Attached the exhaust.
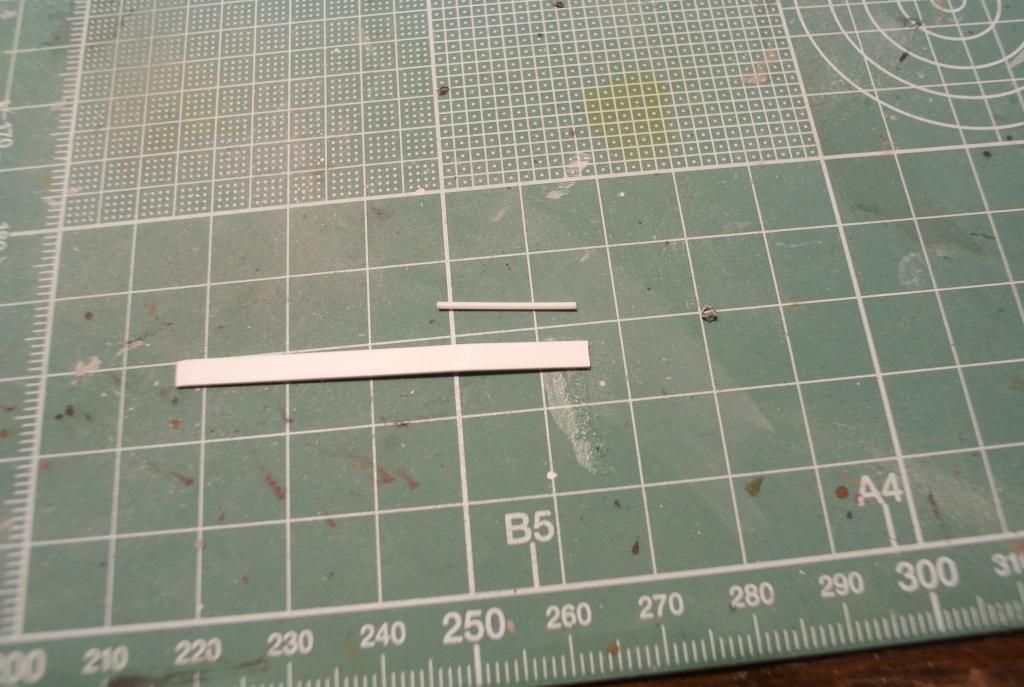
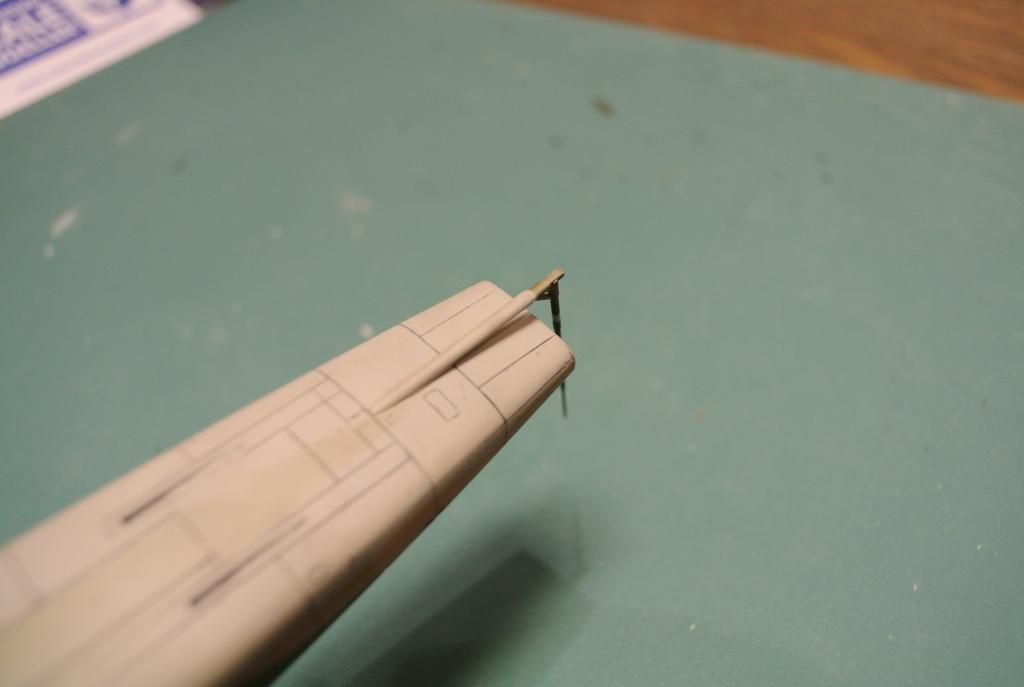
This is what I used for the canopy to stay open.
Drilled a little hole for the rod to go into.

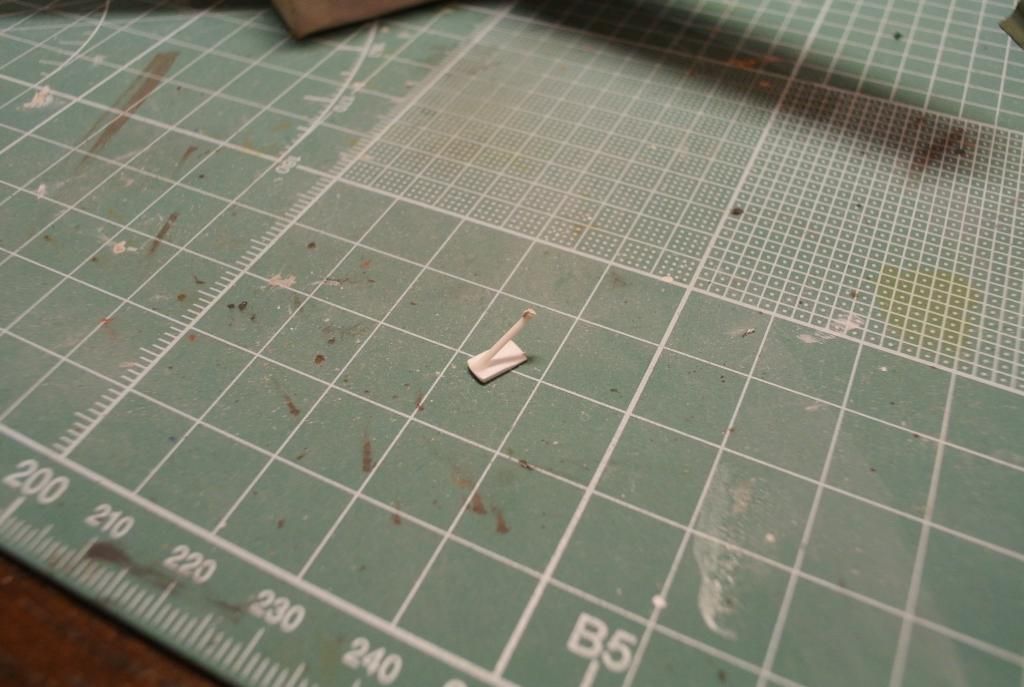
Not a pretty solution, but still elegant
Dryfitting.
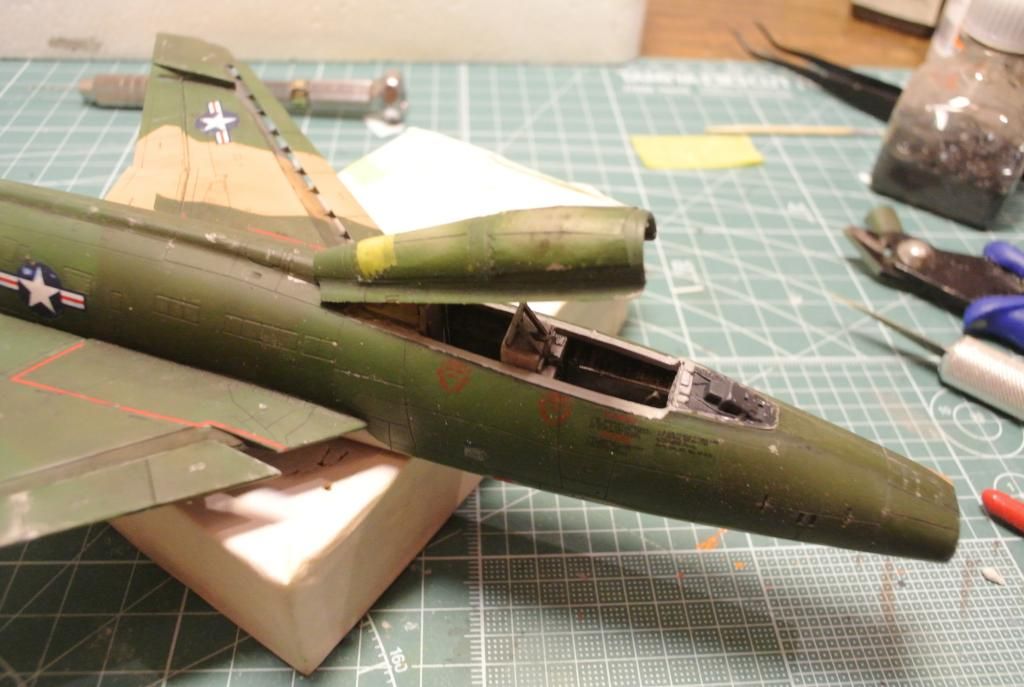
Glued the canopy onto the structure.
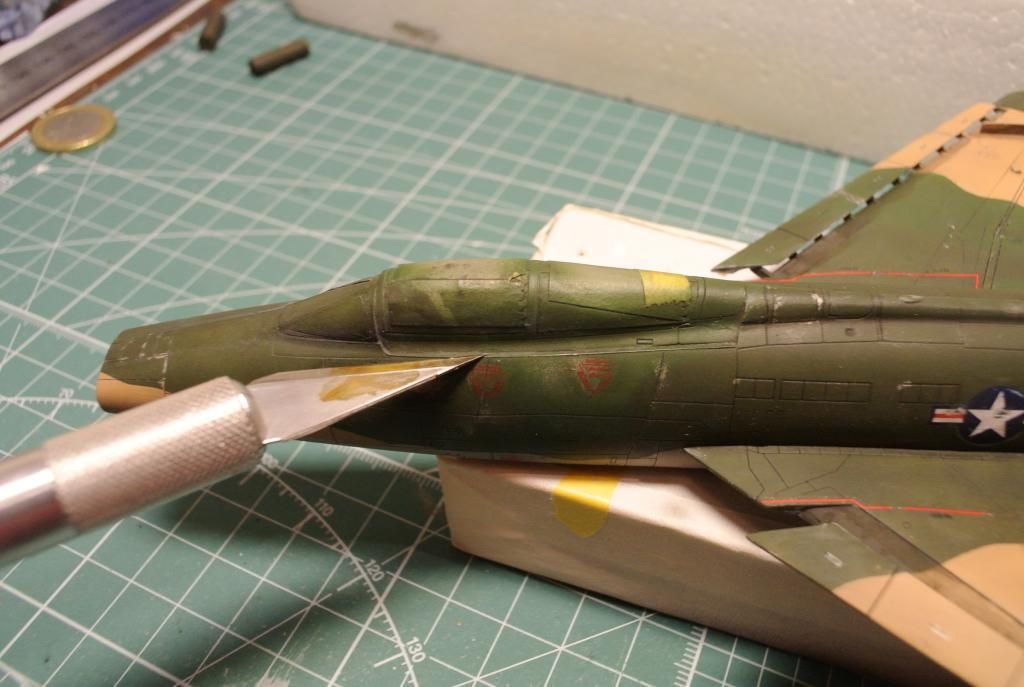
Re-attached the front canopy using Kristal Klear. You can also see that the UV-glue tore off some paint and primer, leaving a blank spot. I decided to try and cover it with a chipping effect.
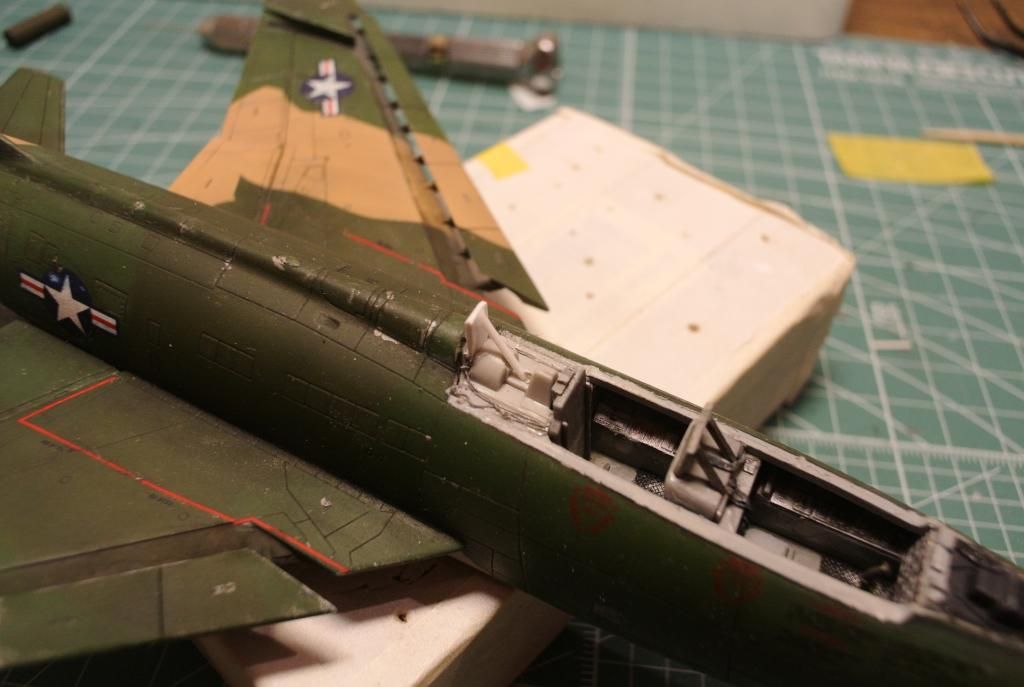
Popped the seats in.
Painted the frame of the cockpit with a light grey.
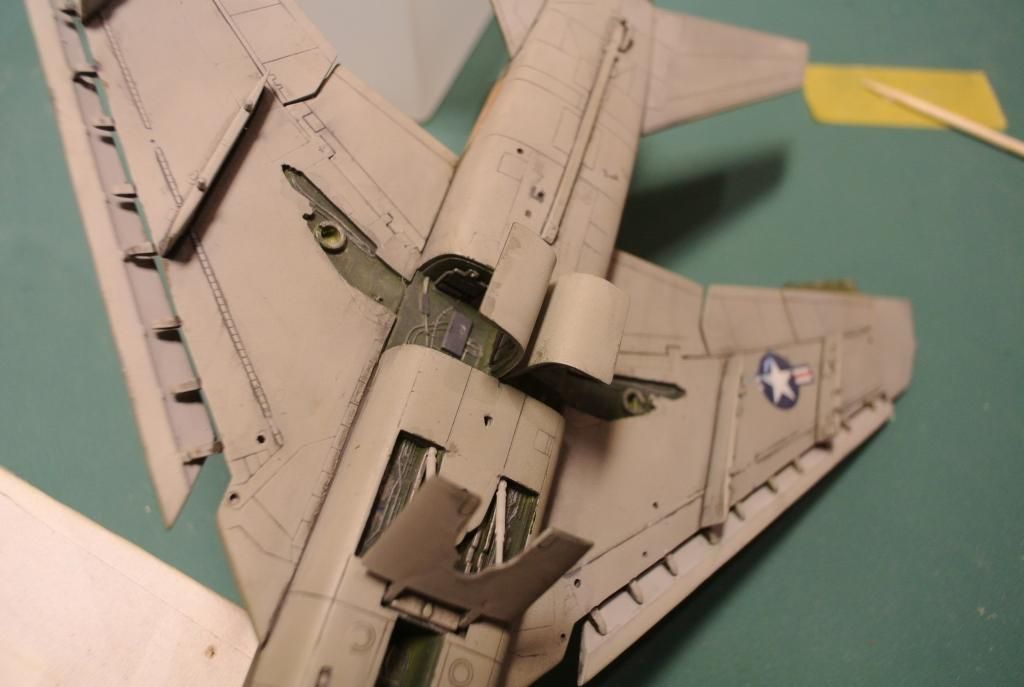
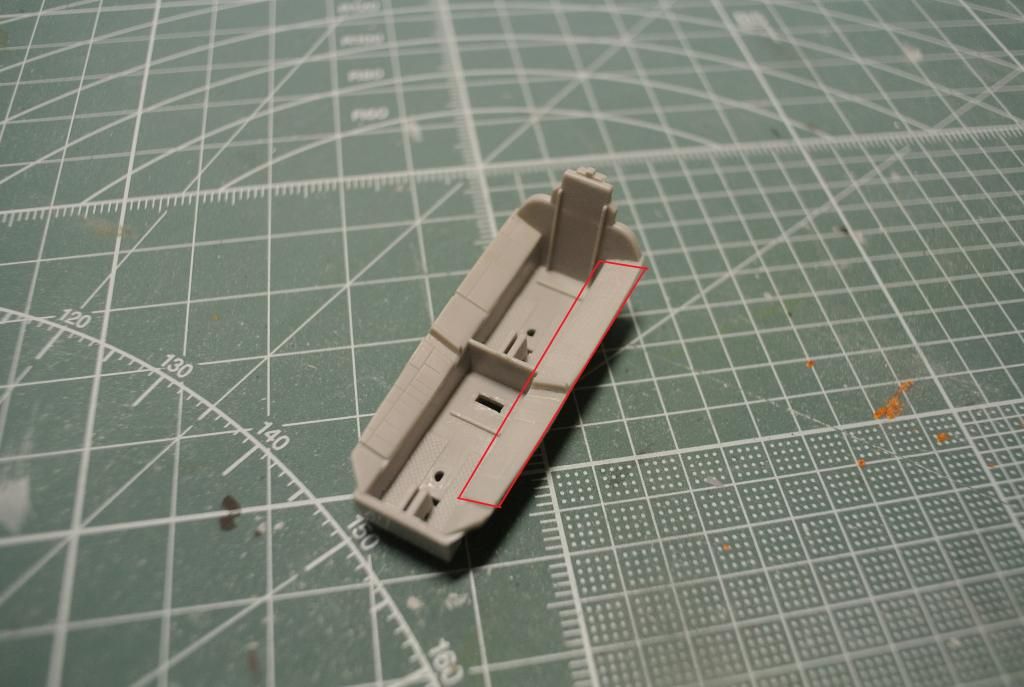
Finally got to start gluing on the parts to the belly. This process was alot quicker than i originally thought it would be. Started with the air brakes as I thought it would be easier to pain the rods when there wasnt anything else in the way.
More stuff.
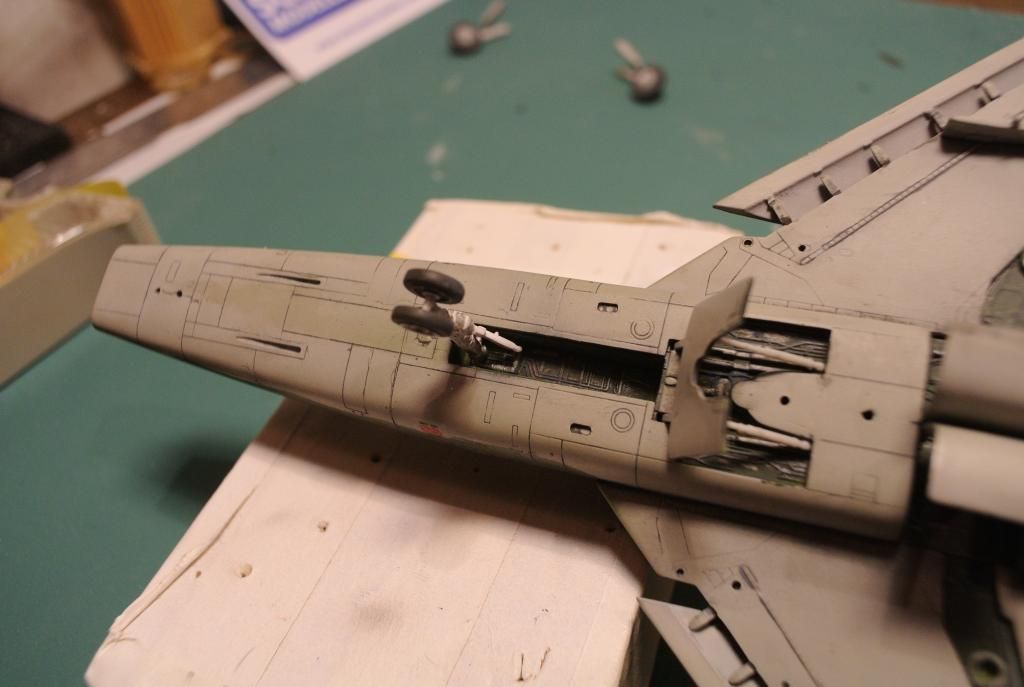
Added the front landing gear.
Painted the rods and added the ALQ-31 ECM-pod.
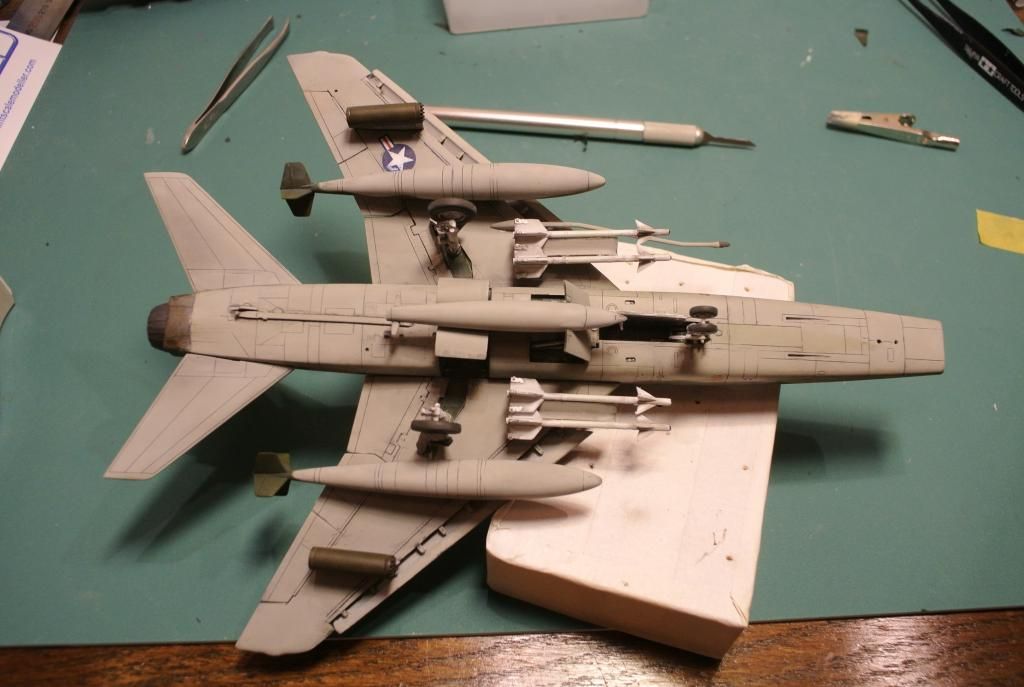
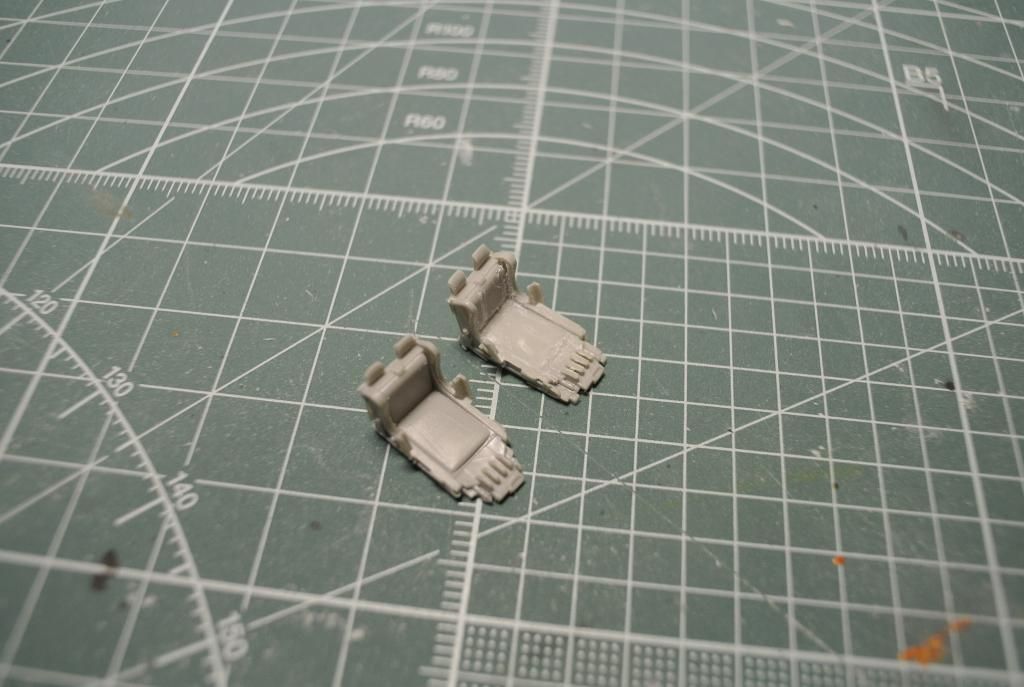
Added the rocket pods.
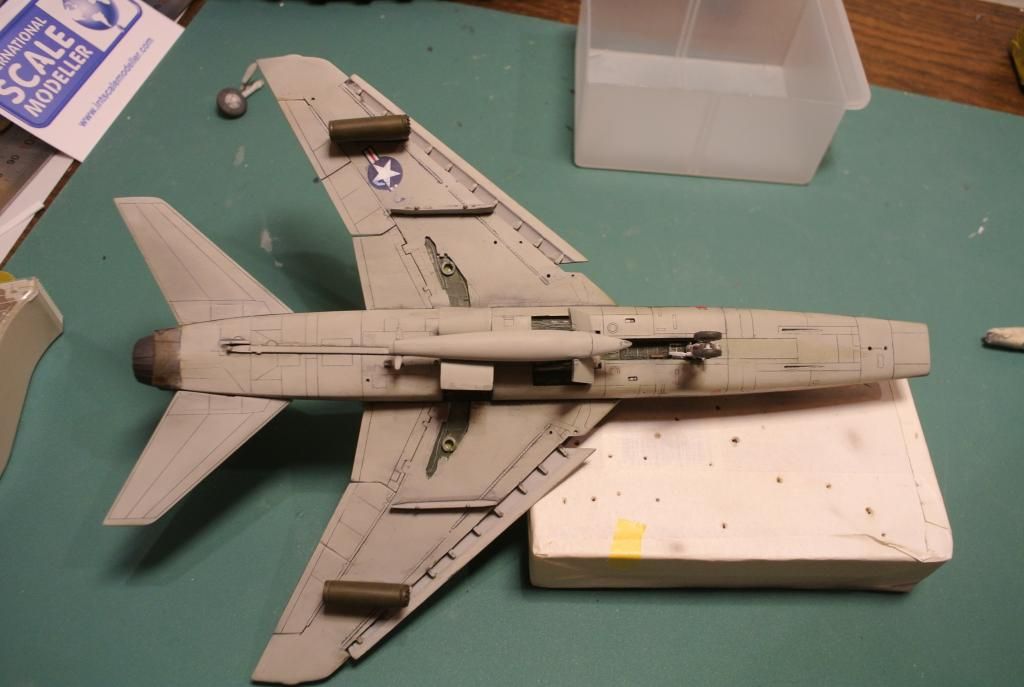
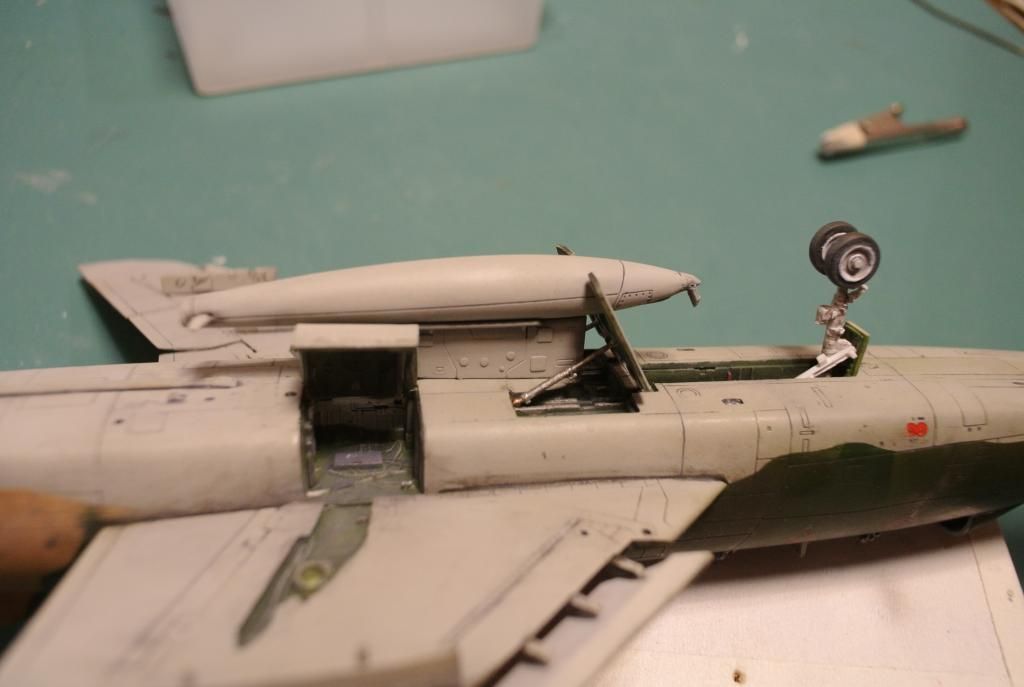
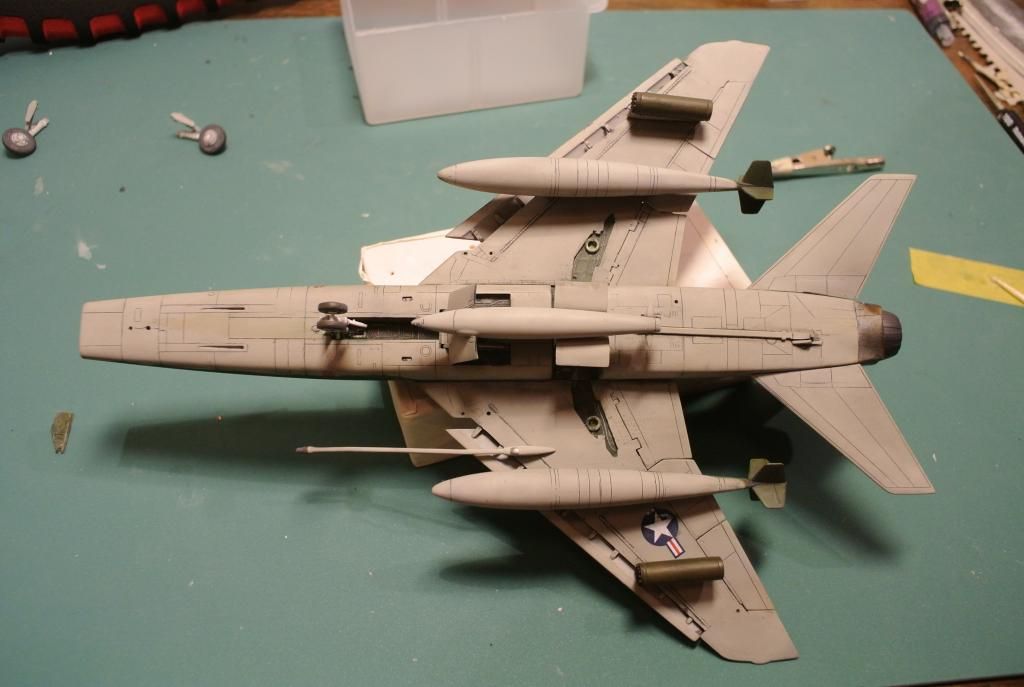
Fuel tanks and refueling system.
Added landing gear and hatches.

Sidewinders.
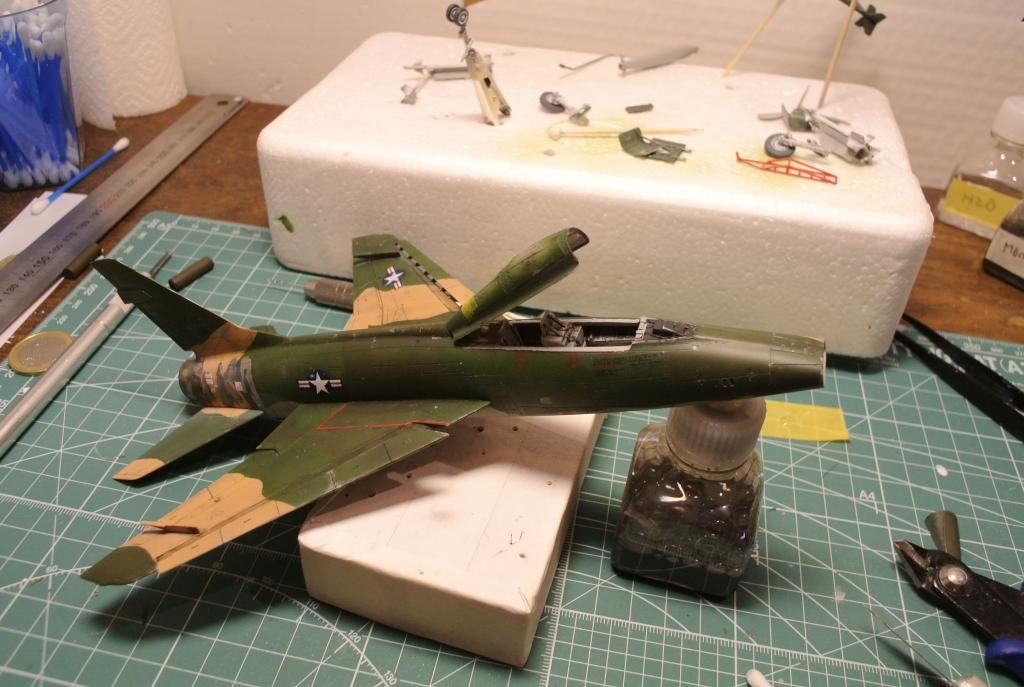
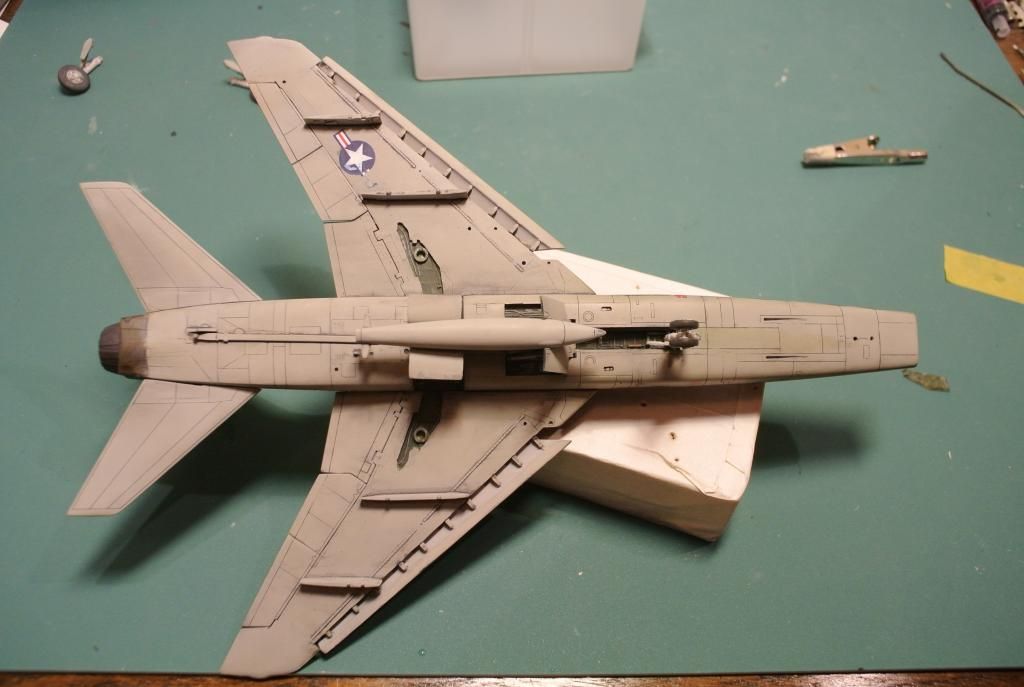
Standing on her own legs for the first time. Not much ground clearance

but just enough.
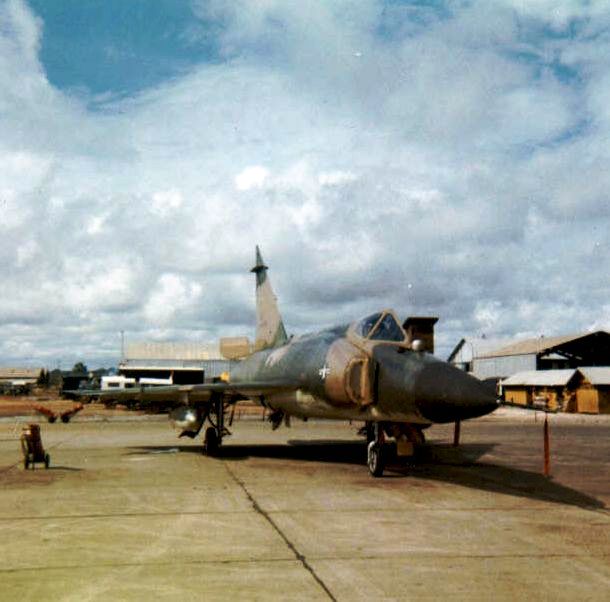
Drybrushed the exhaust some more just to make it look more like the reference photos.

Painted my "structure" just so it wouldnt glow white in the eyes of the beholder.

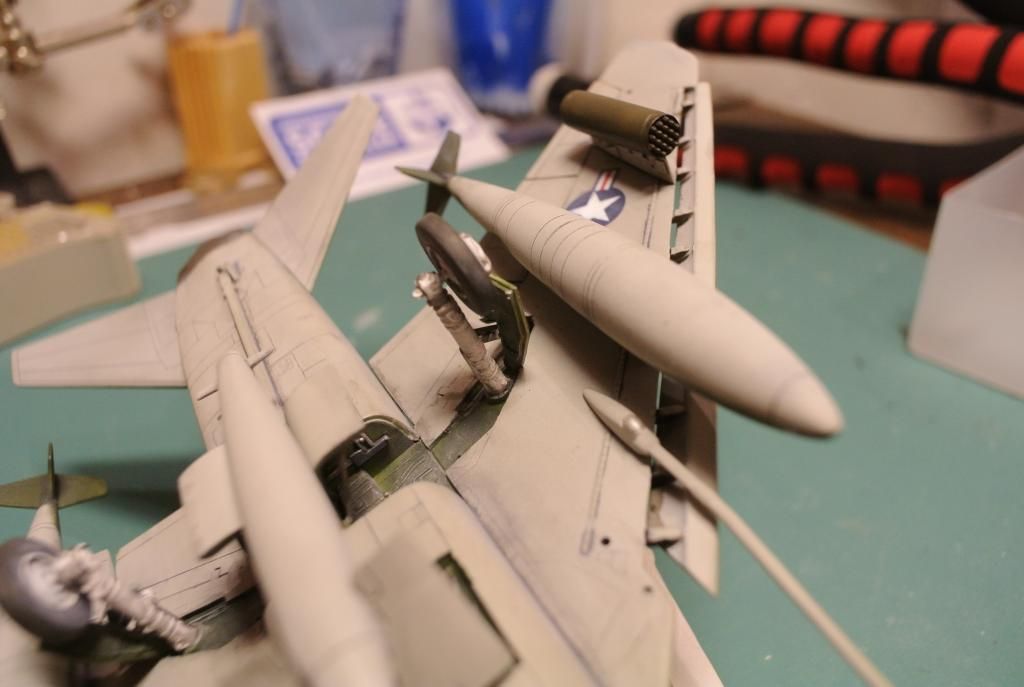
Pitot tube attached with Tamiya Extra Thin.
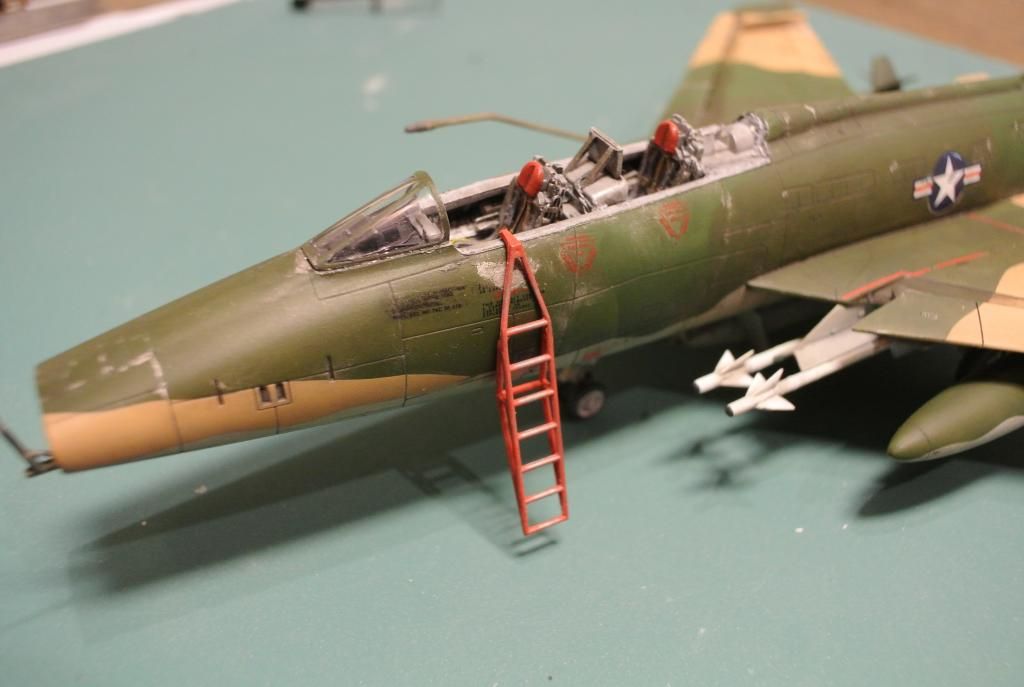
Attached the crew ladder using some Gator Glue.
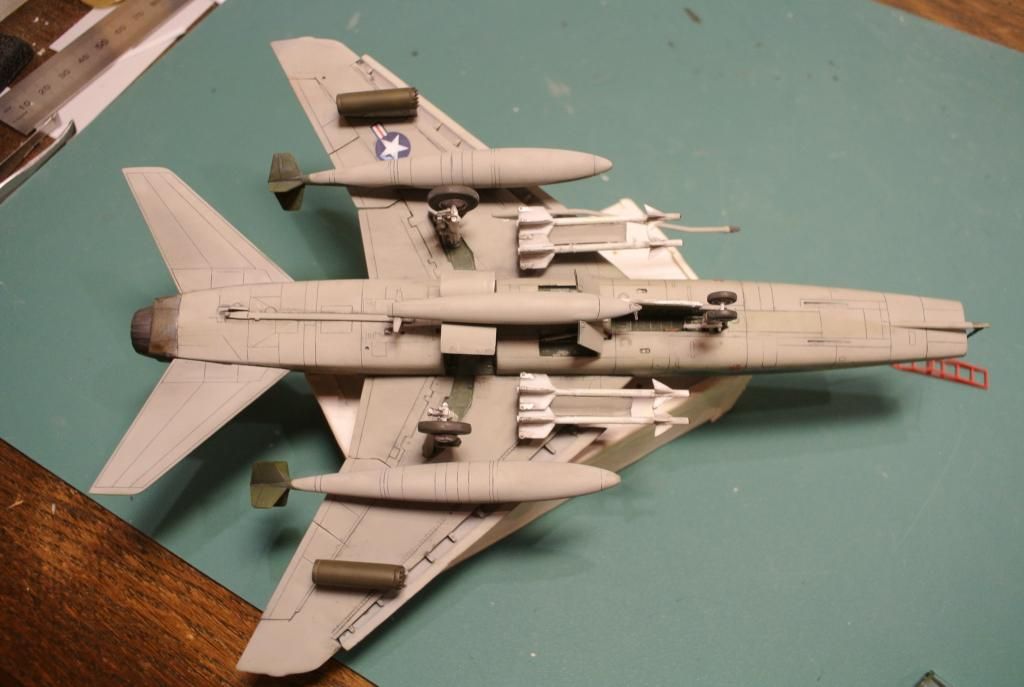
The final finish from below.
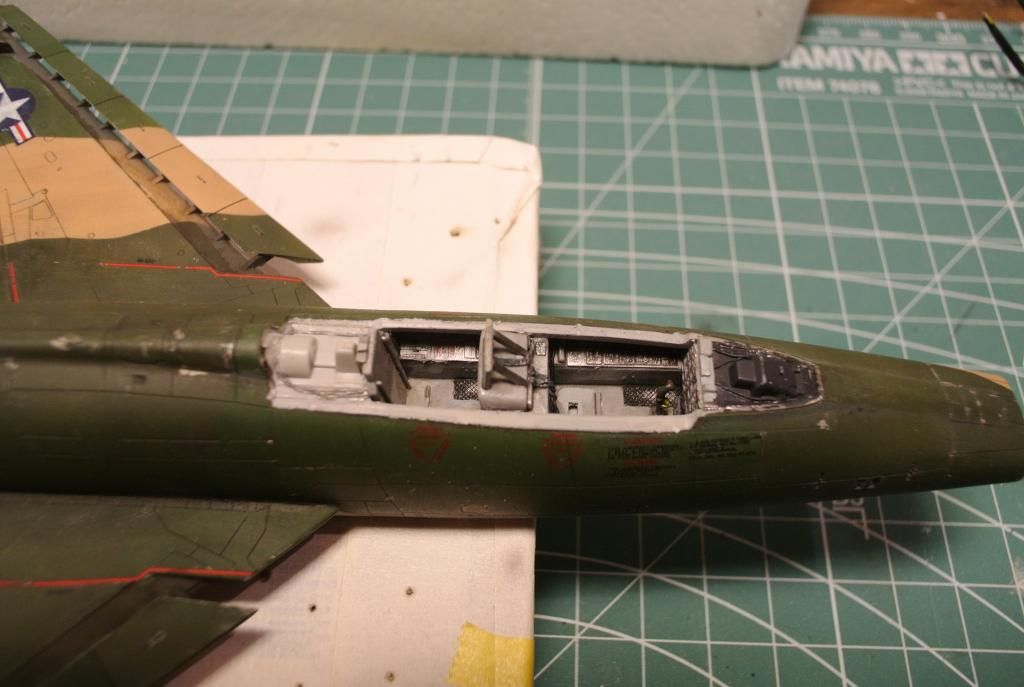
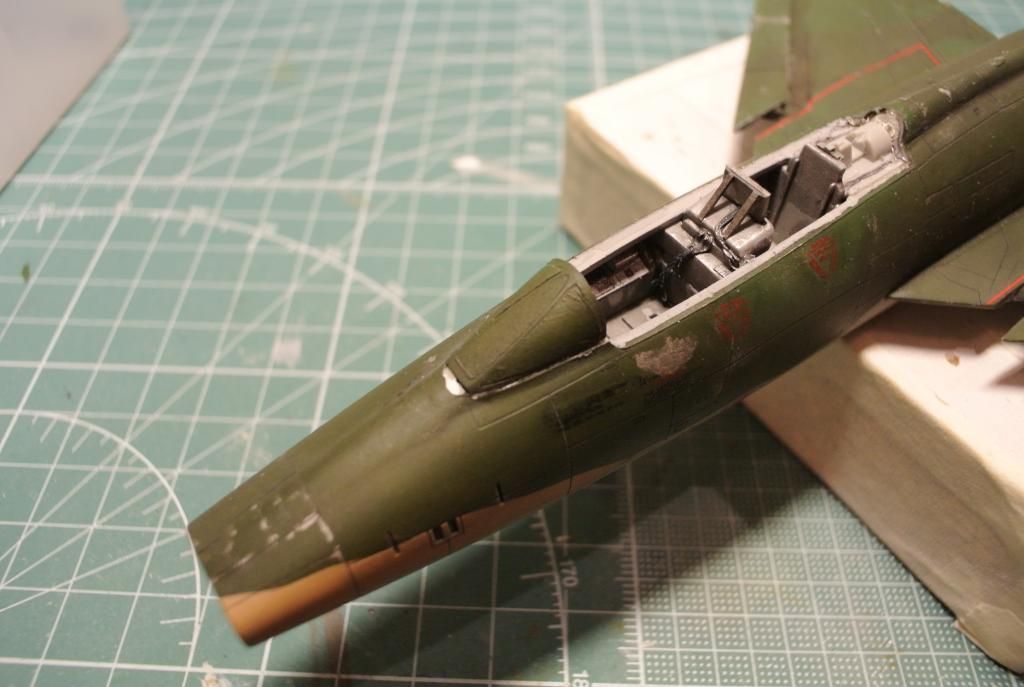
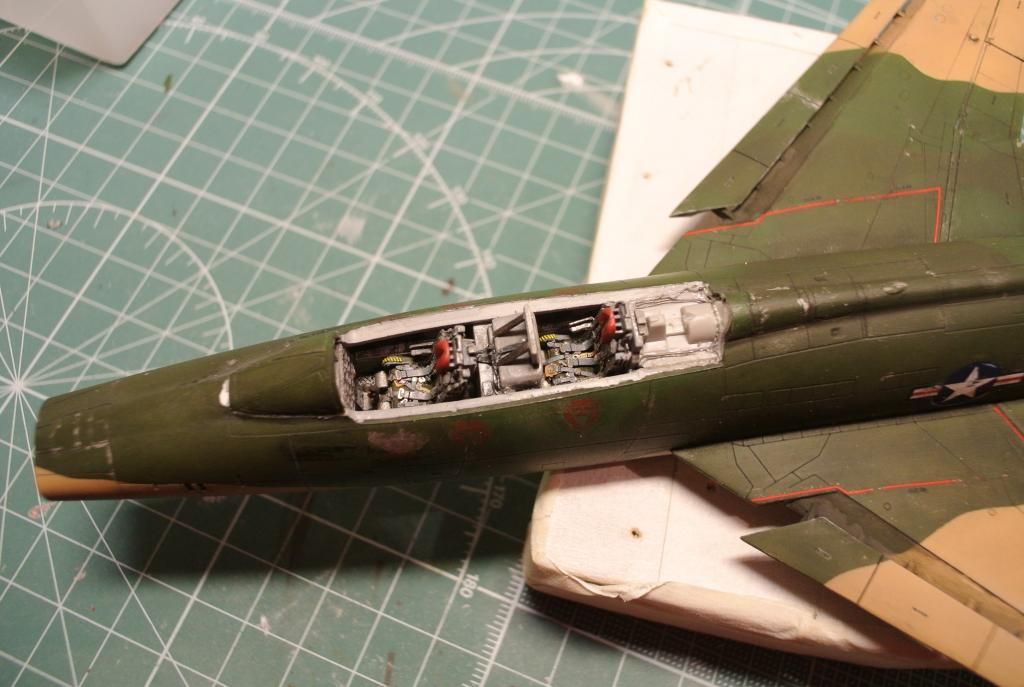
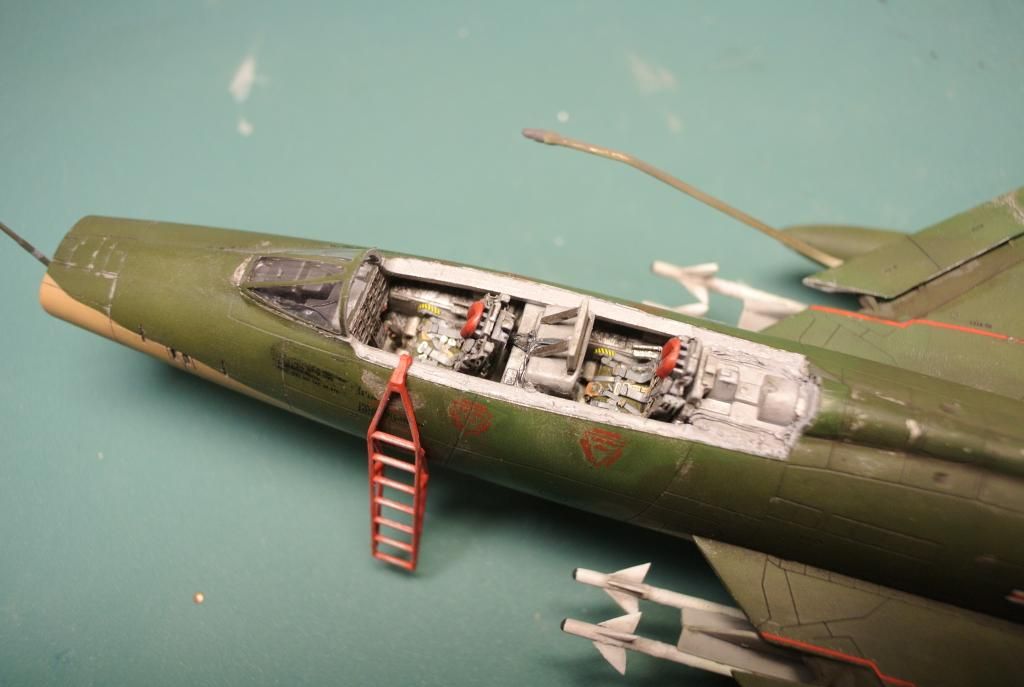
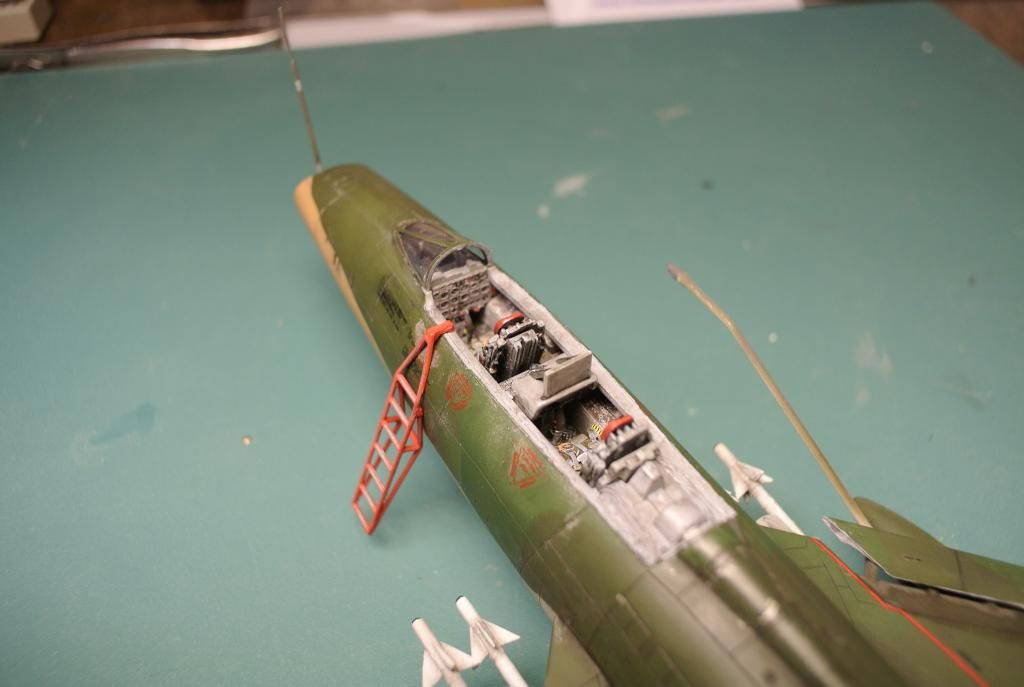
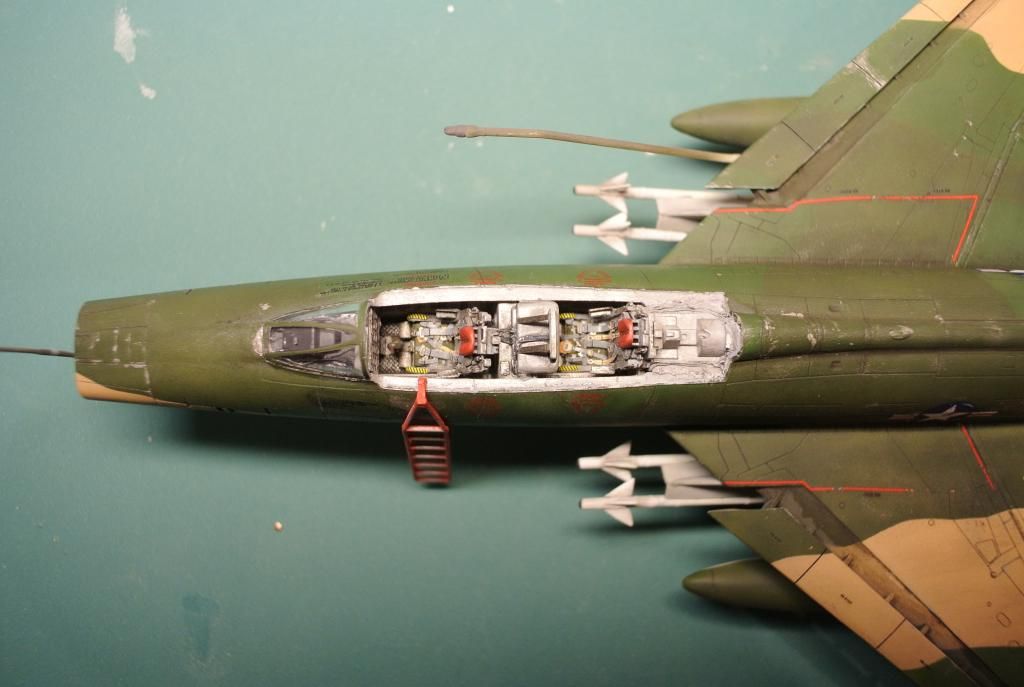
So the cockpit has gone from this:
To this cockpit, as it will be seen in the final reveal.
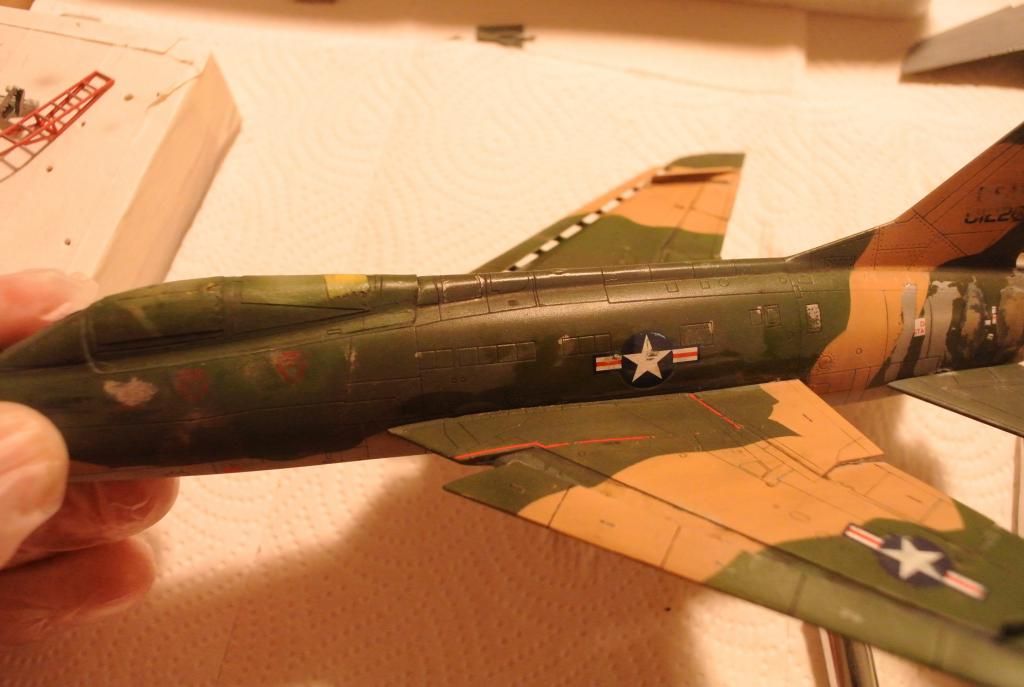
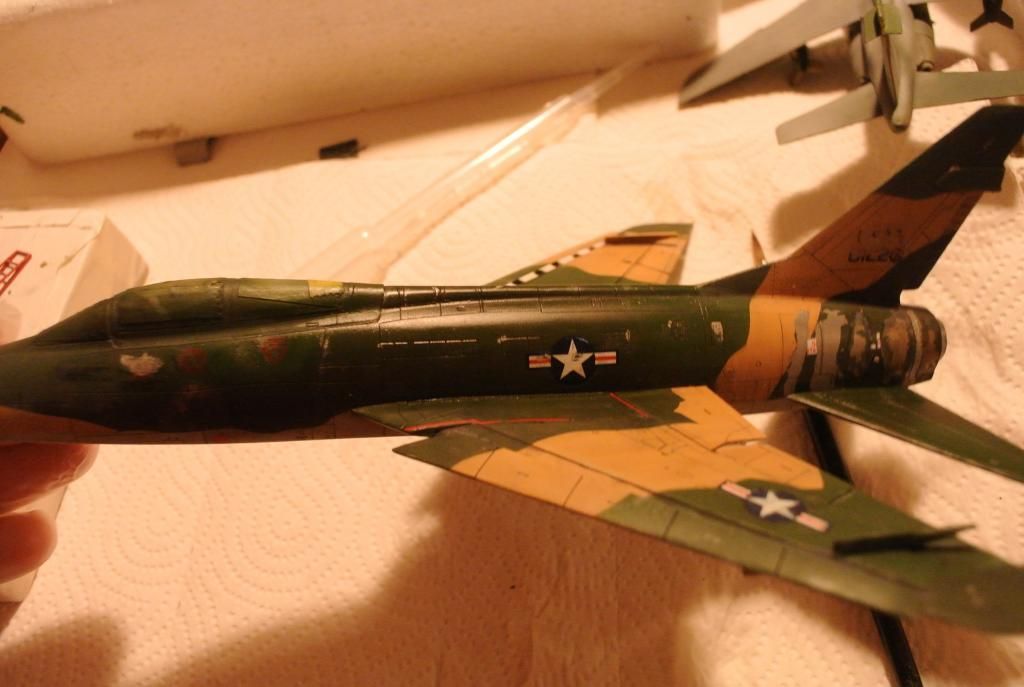
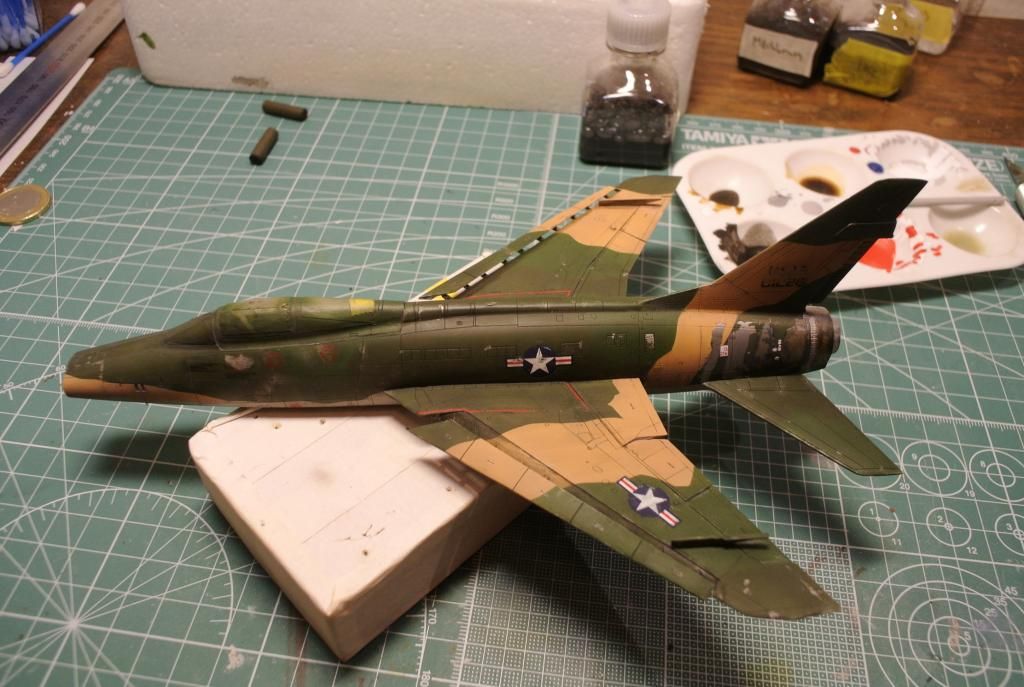
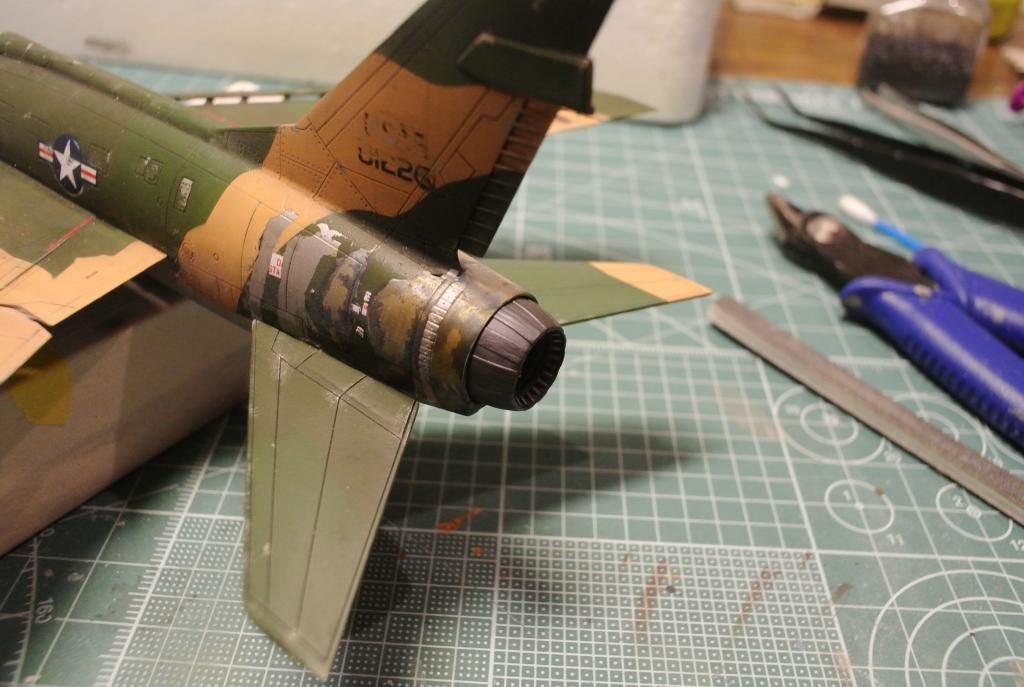
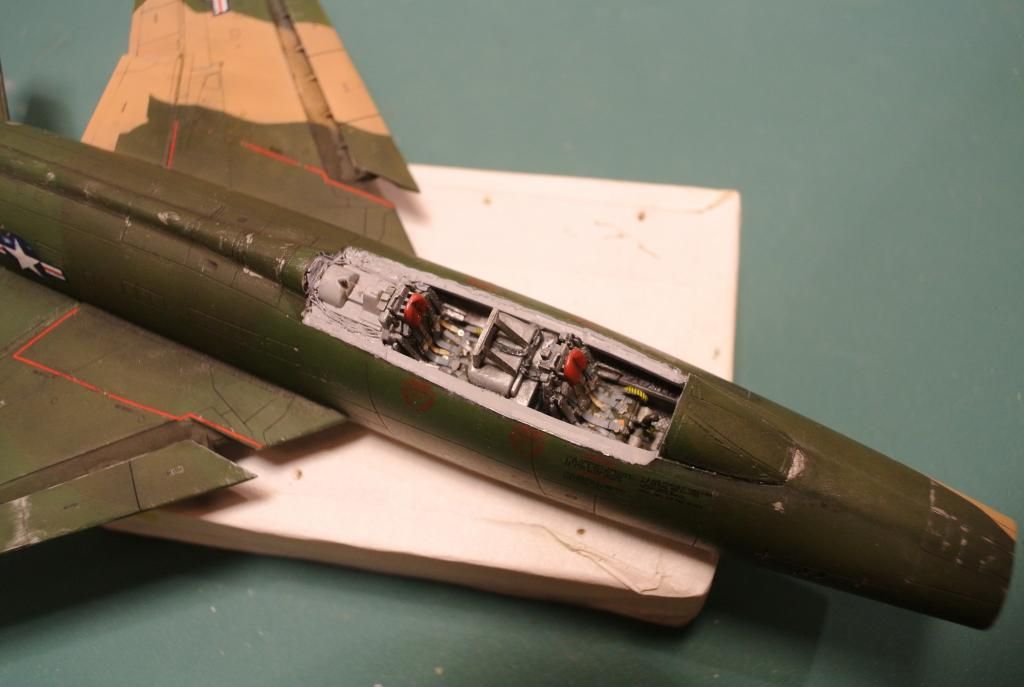
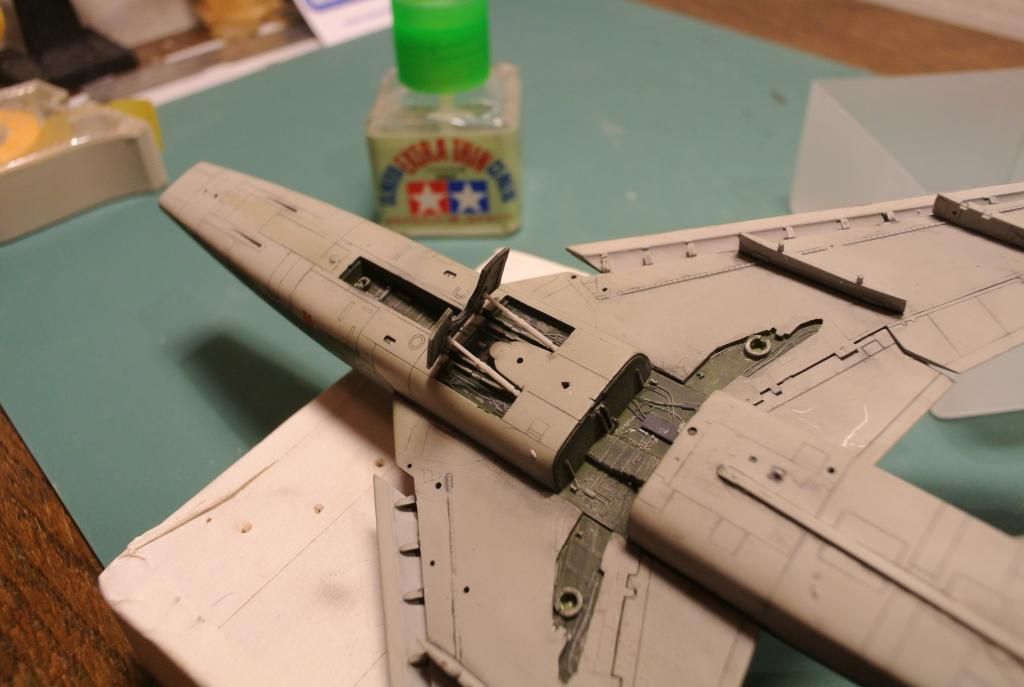
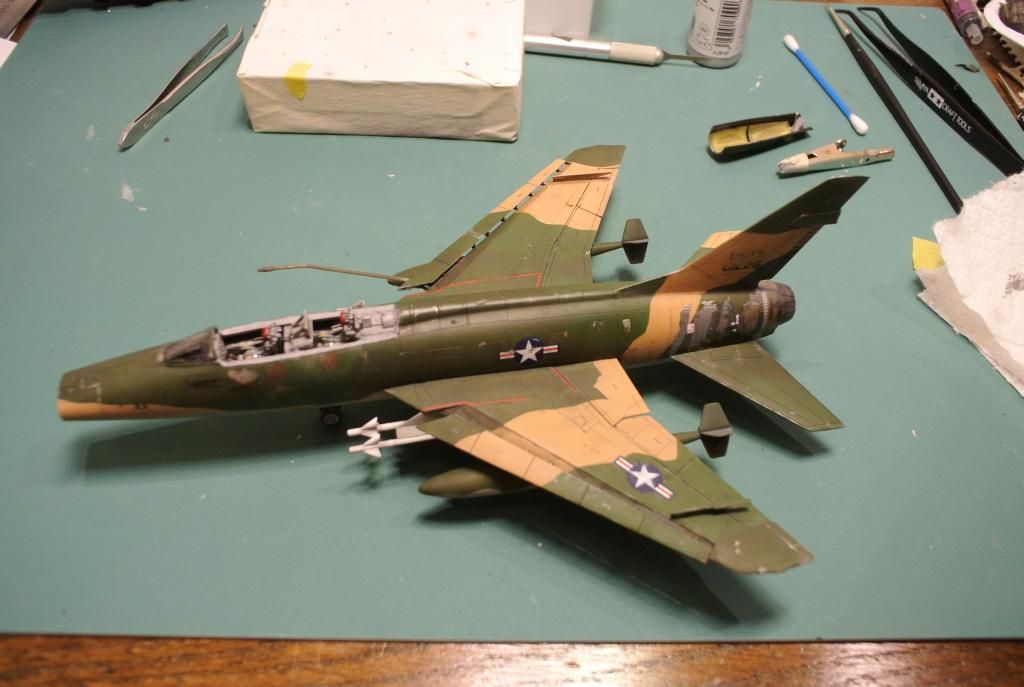
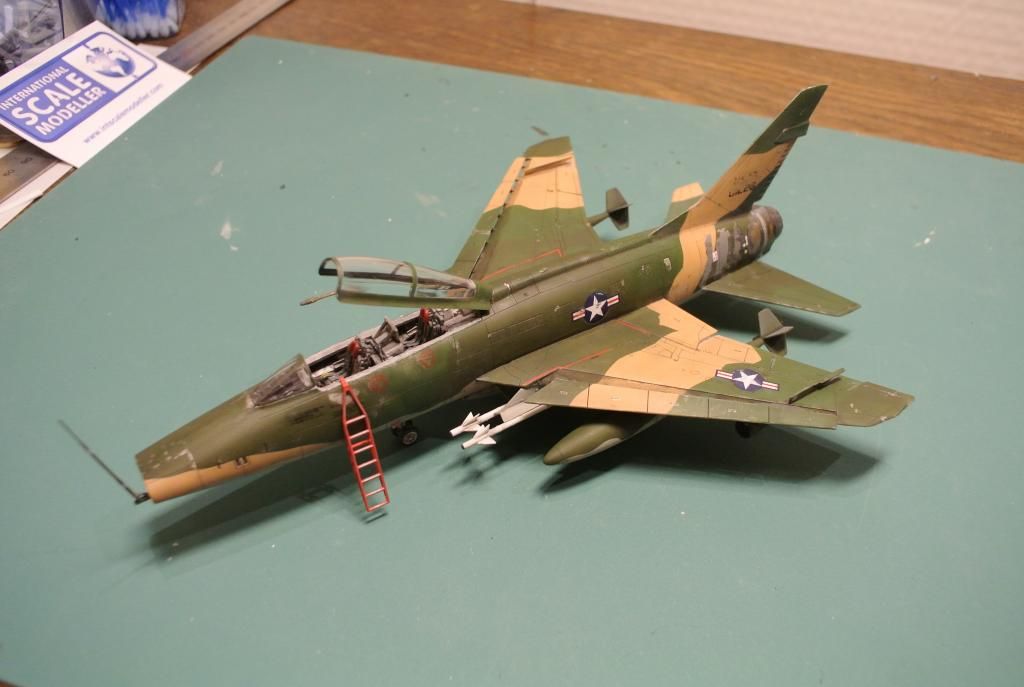
And the rest has gone from this:
To the final result. The canopy is a loose fit, it stays on thanks to a tiny bit of white tack.
Im thinking about doing a simple base for this aircraft for the final reveal. If I decide to do one, I will post pictures of it here. Before I forget I want to do a small shout out to "Twokidsnosleep" for following this build and giving great feedback, and I wanna thank everybody who has encouraged me through this build with your kind words. There has been some bumps on this road (like the "White-tack Disaster") but im very pleased with the result. Until next time,
cheers