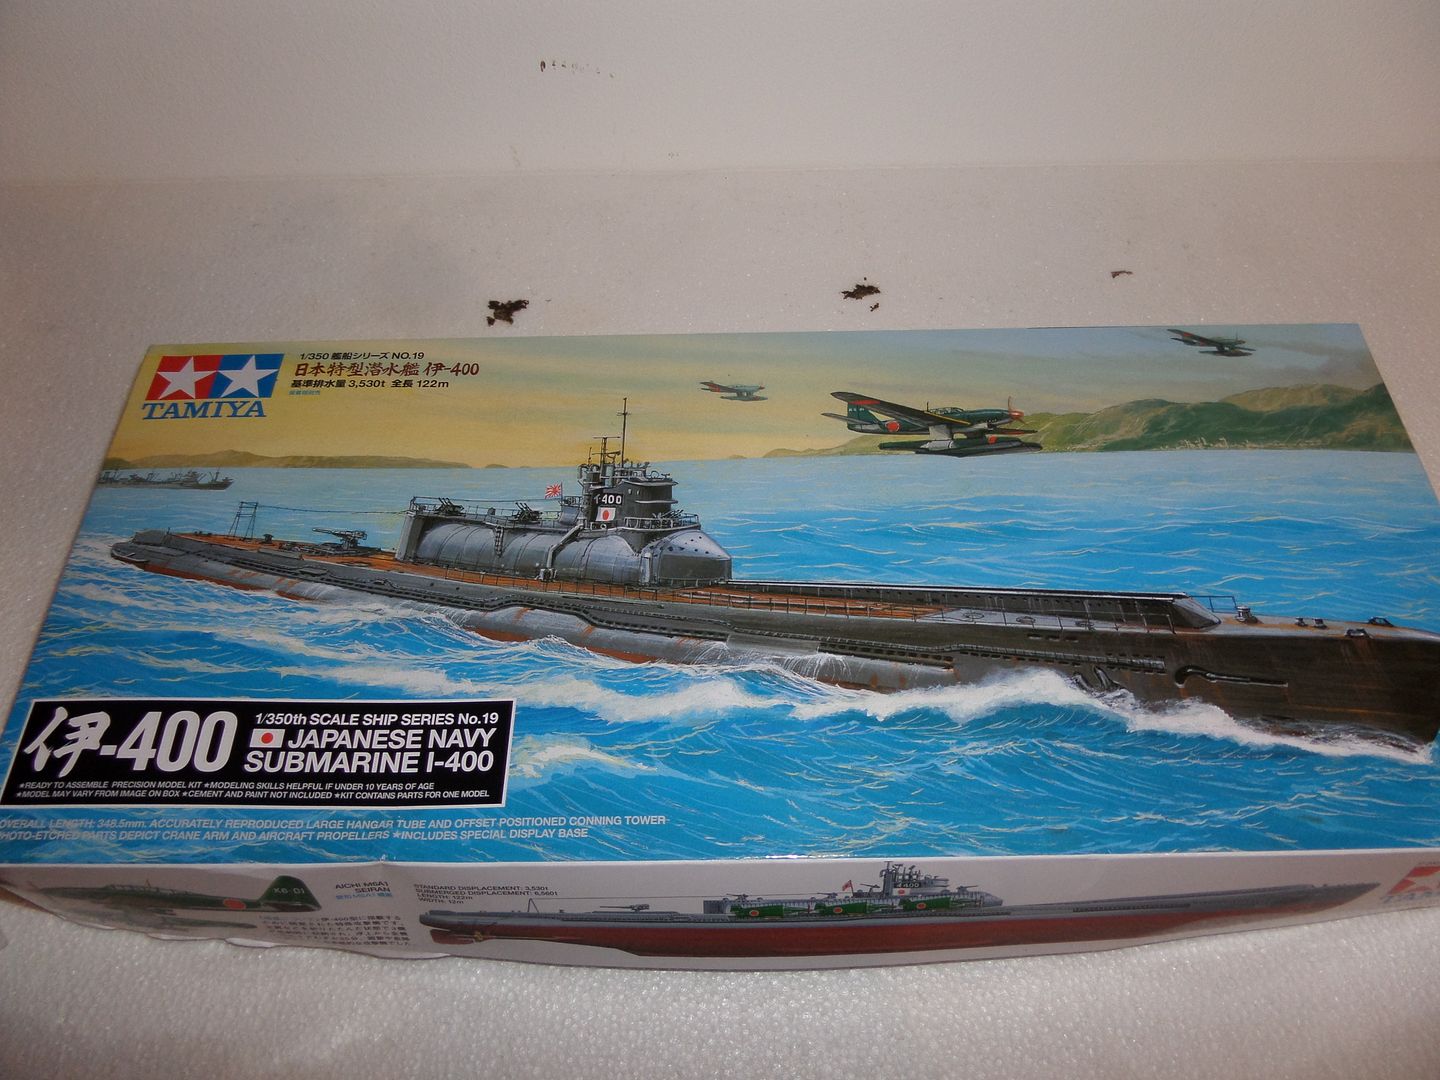
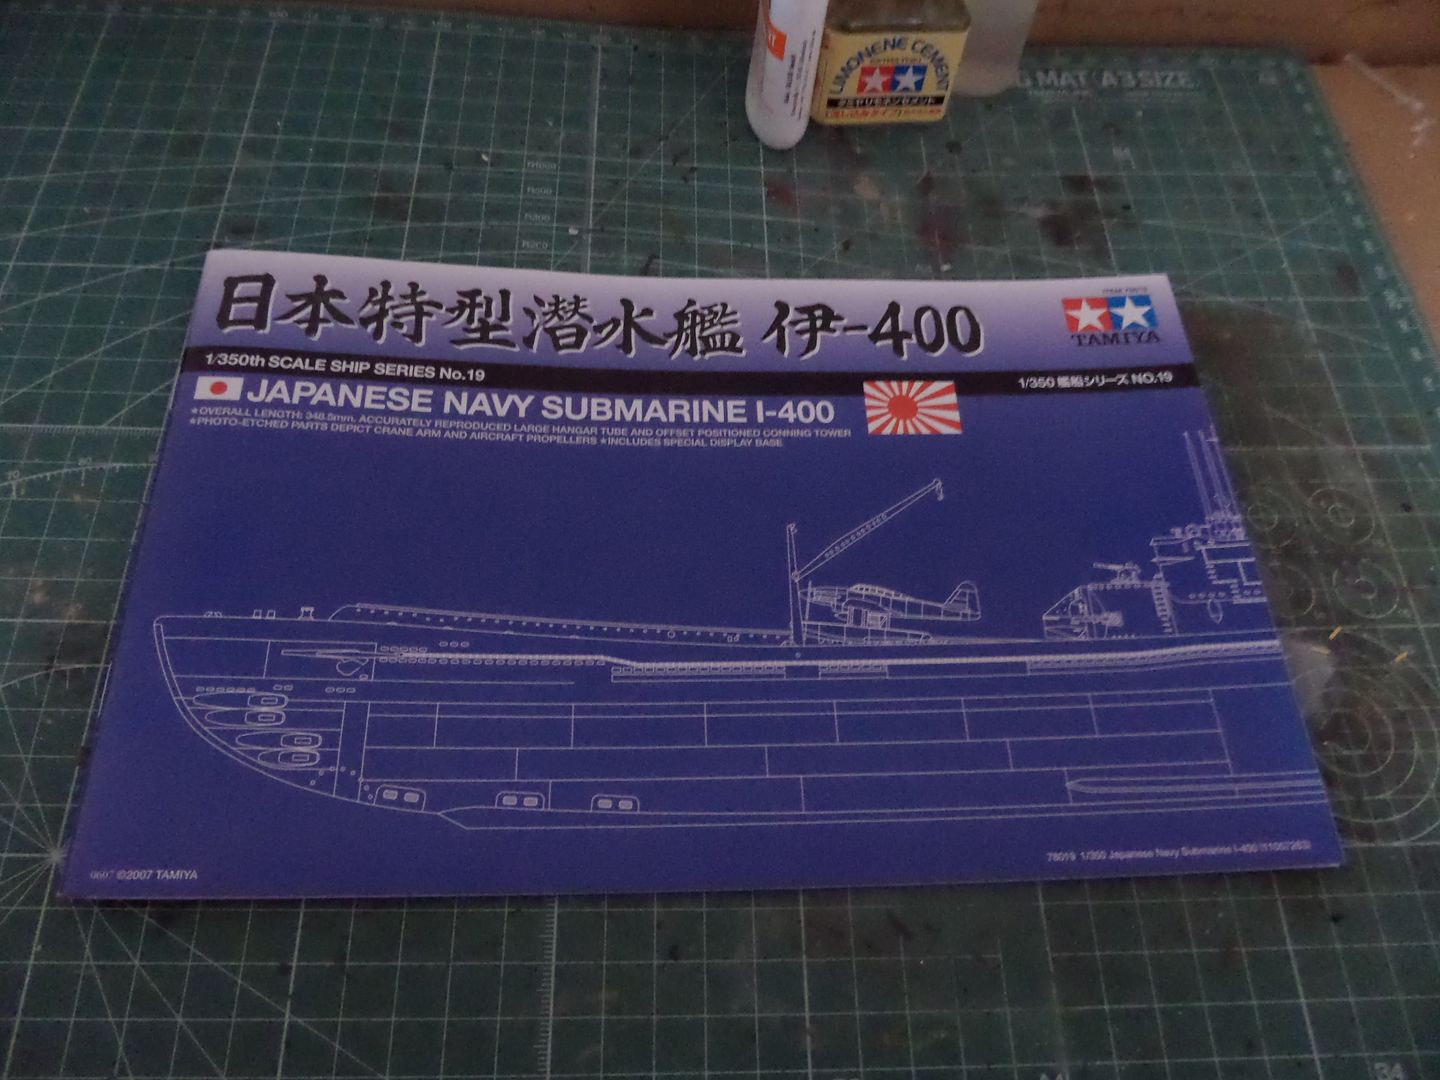
About the time to start on this one ...now free from all the initial builds of the year , will take this IJN I-400 build , still look simple , but could be a pleasent build to do ...
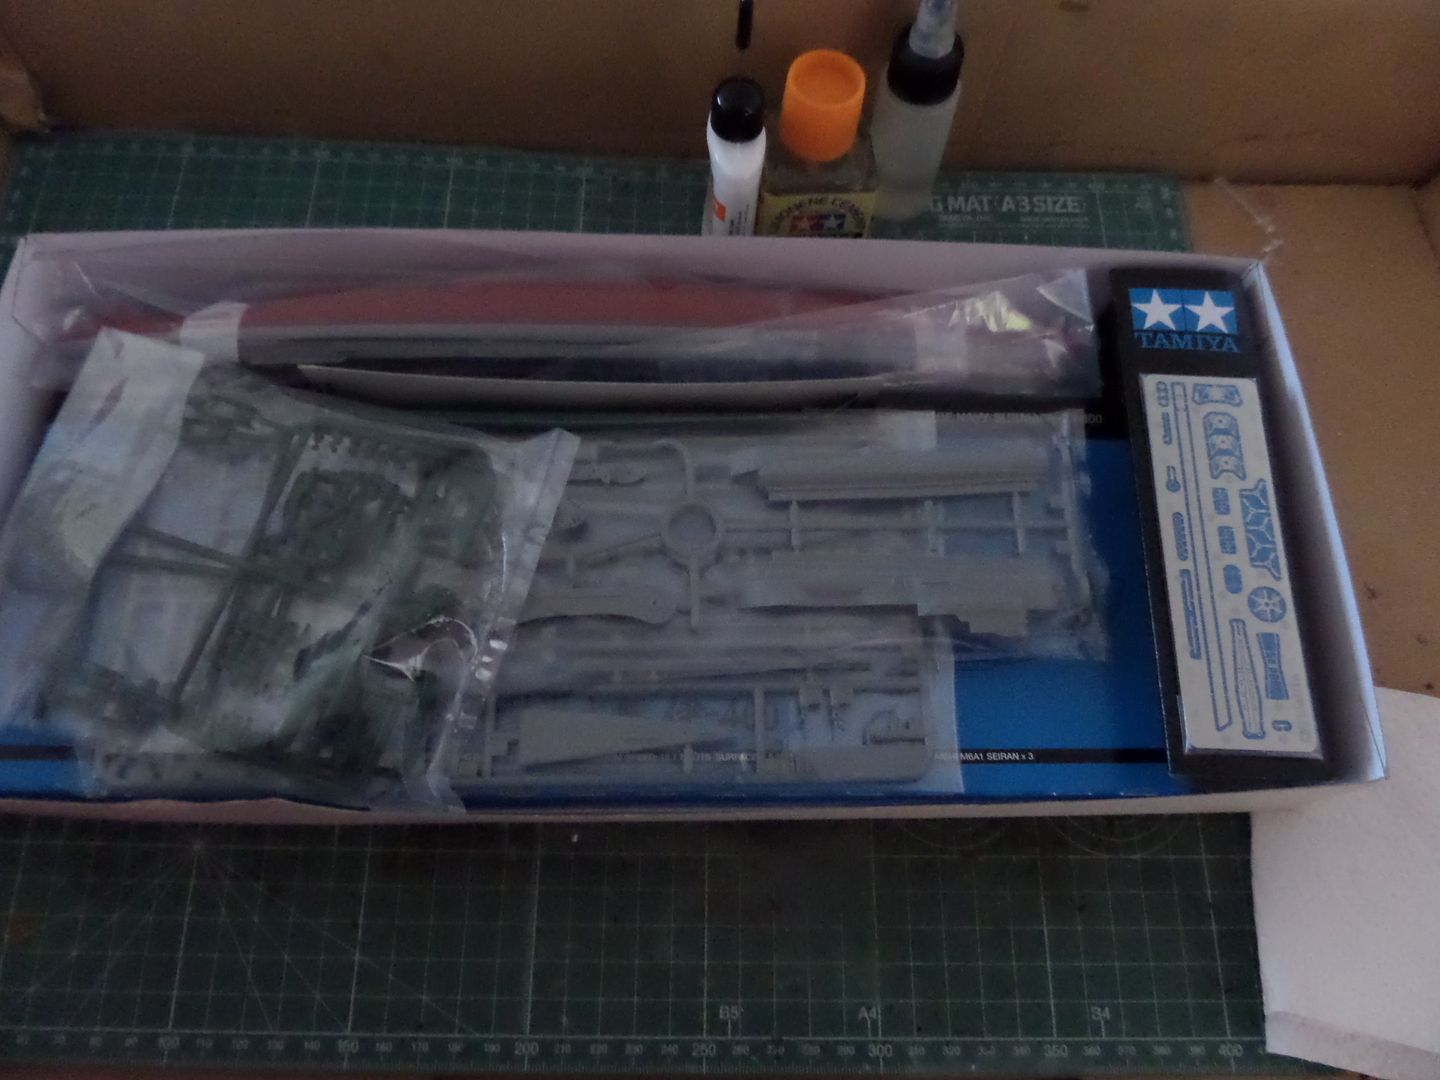
Ok looking inside the box :
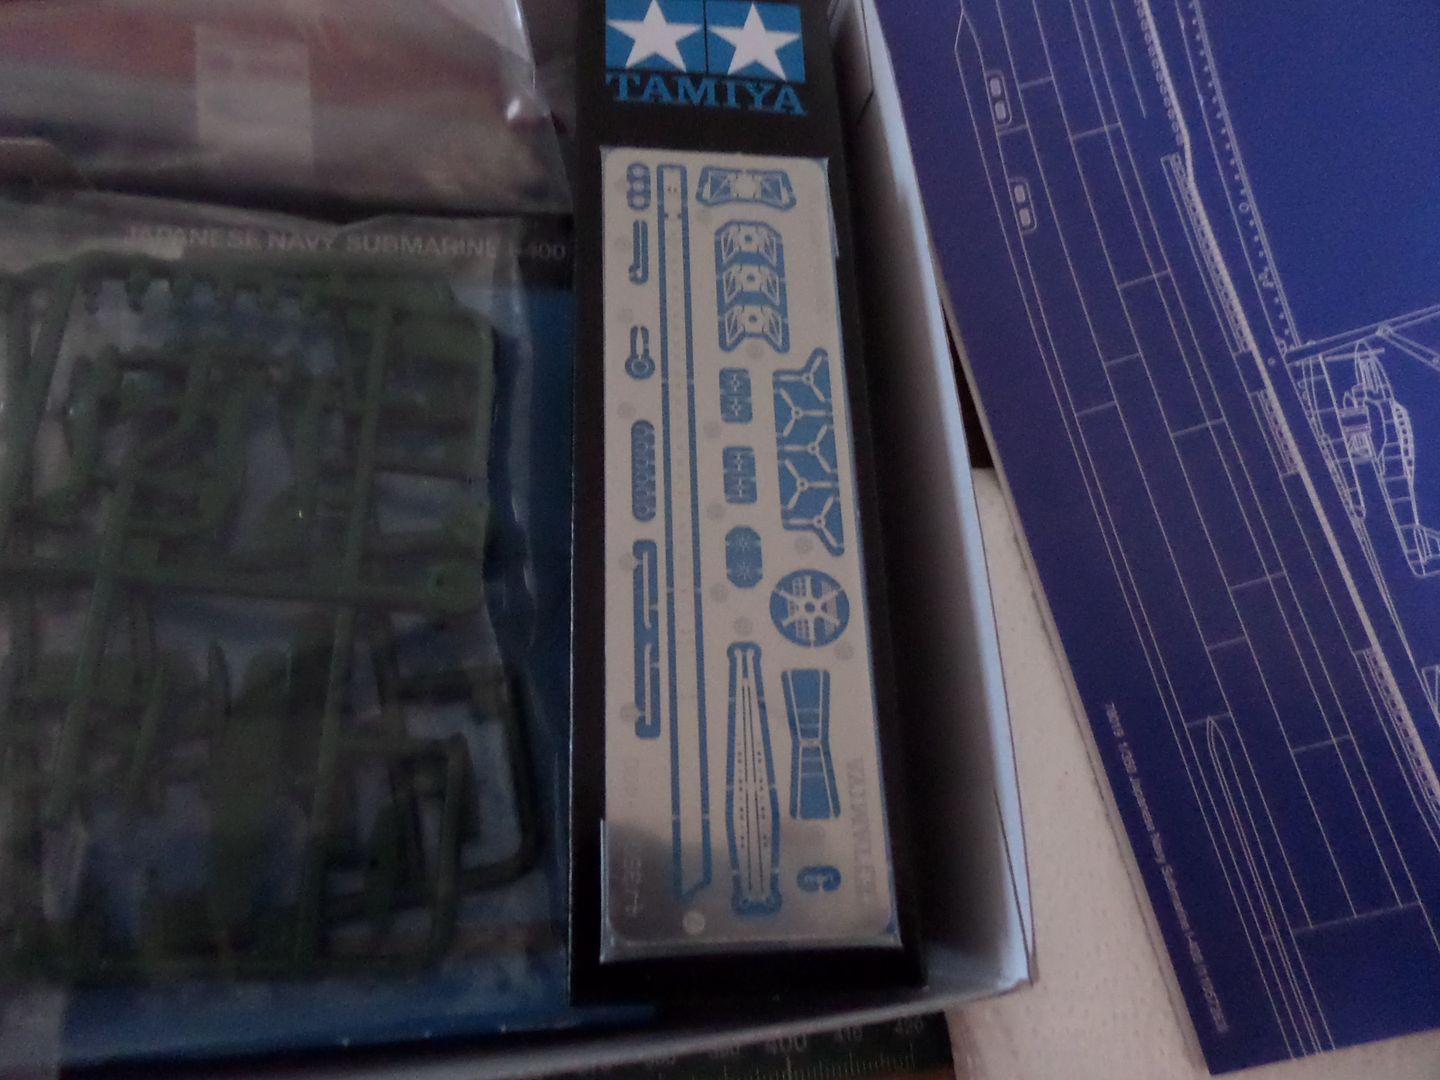
PE , this one comes in the kit box
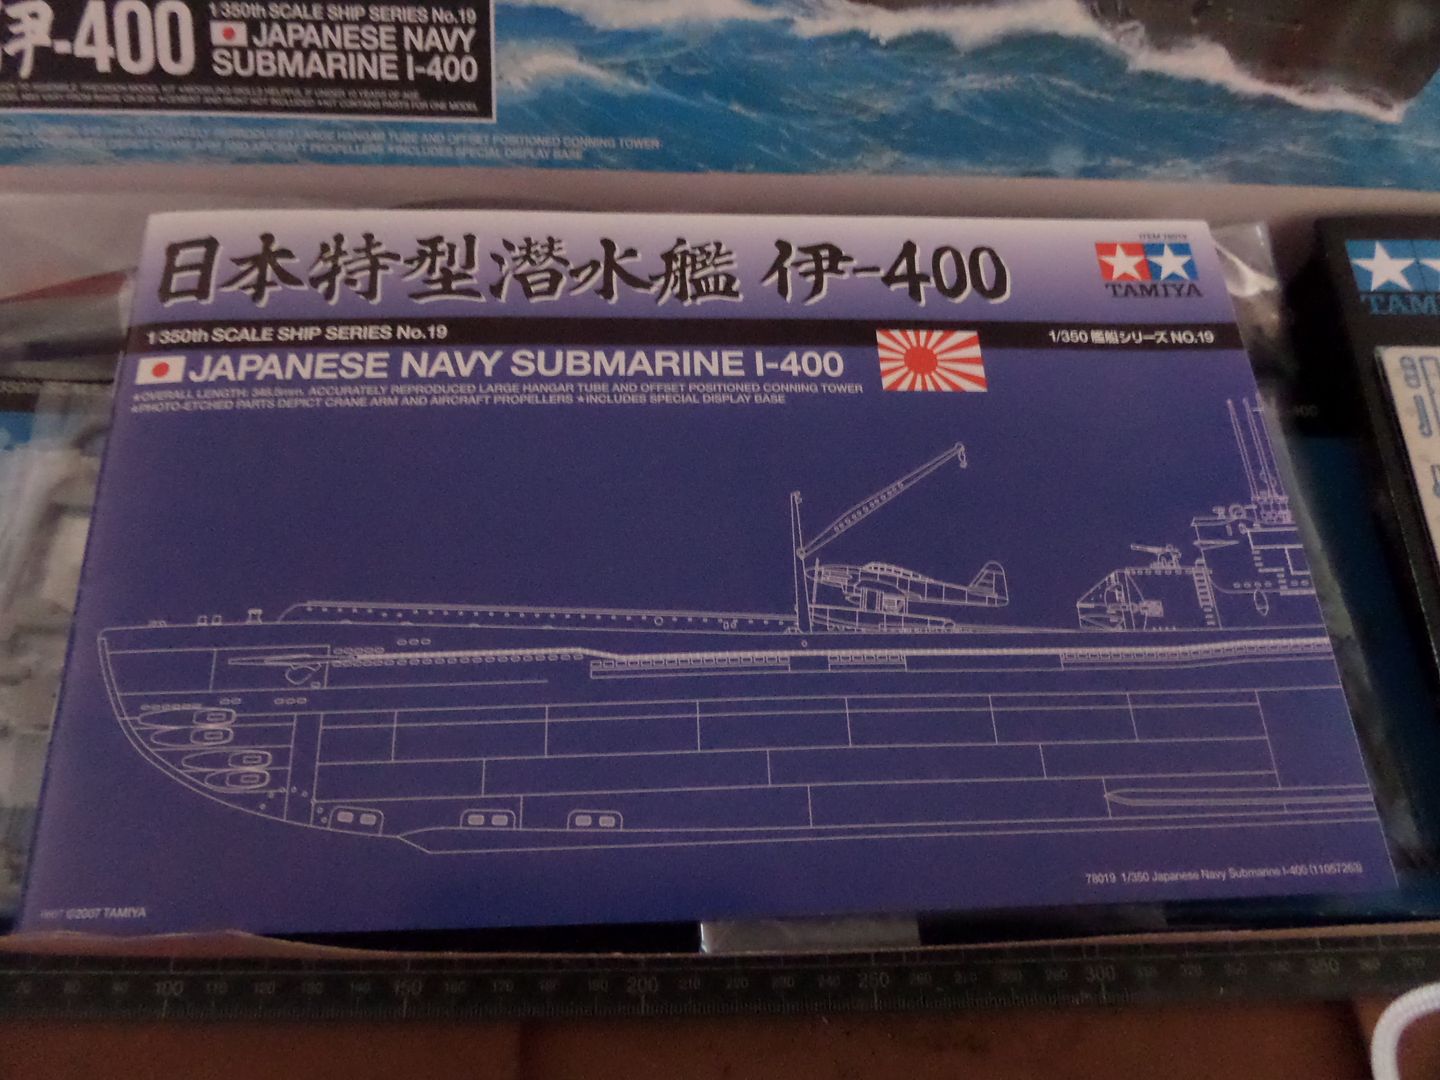
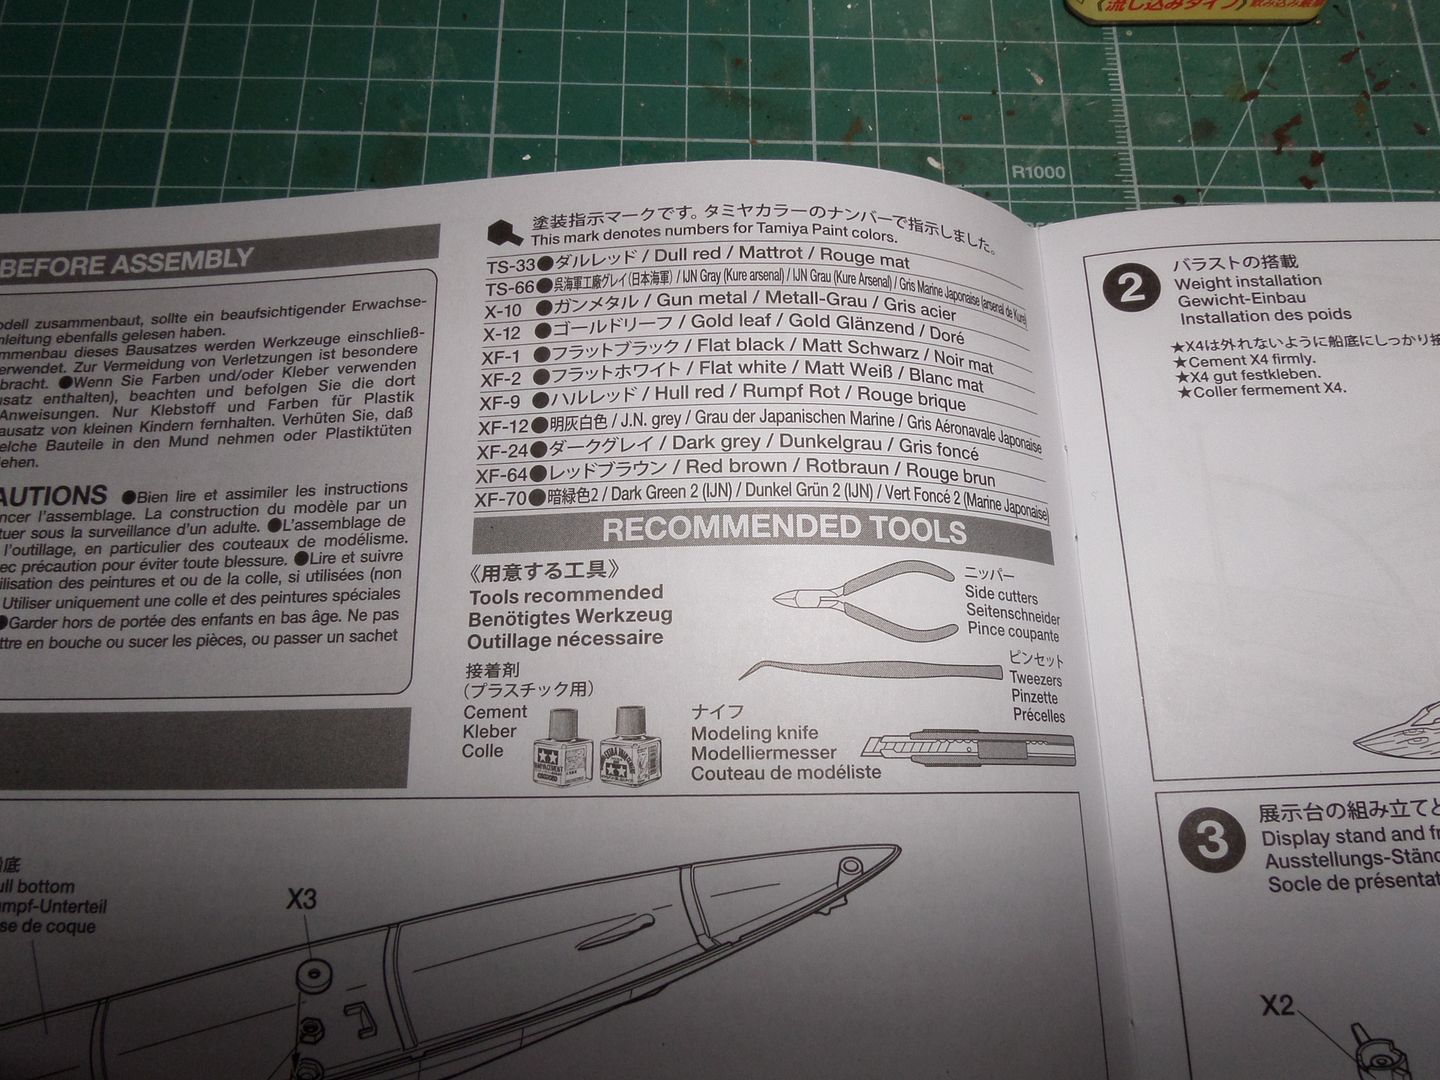
The instructions , very nice presented !
The sprues , not that many ...
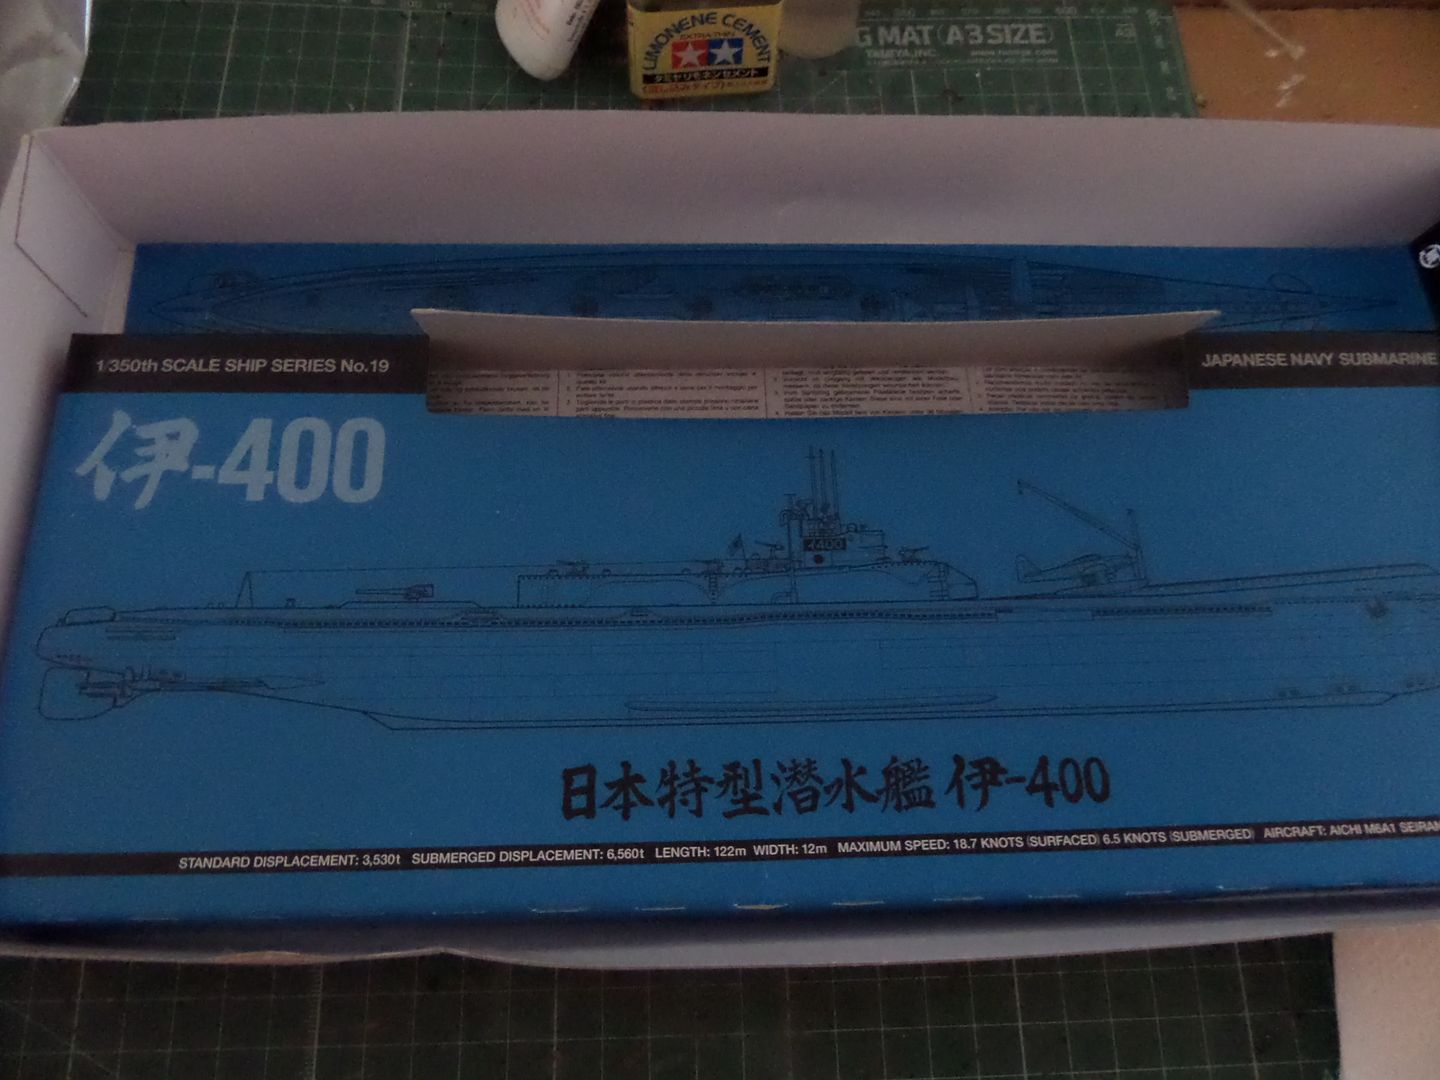
the bottom of the box , very nice , could be used for some presentation ...
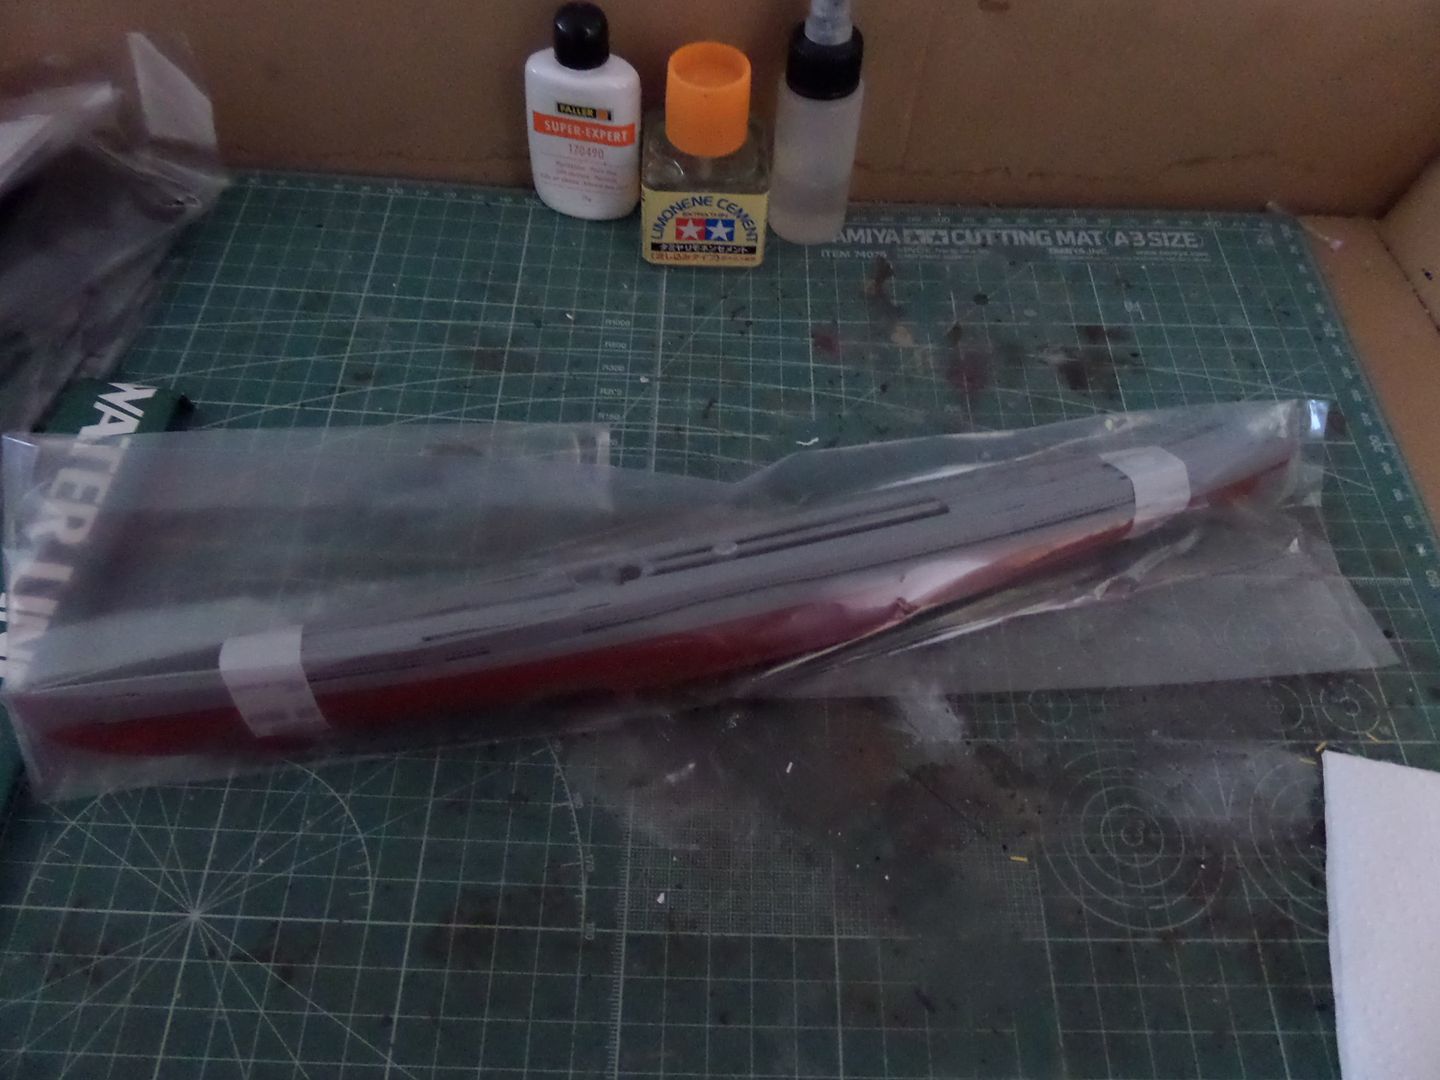
The Hull , bottom and bellow
Aichi Seiran in 1/350 ..some little planes
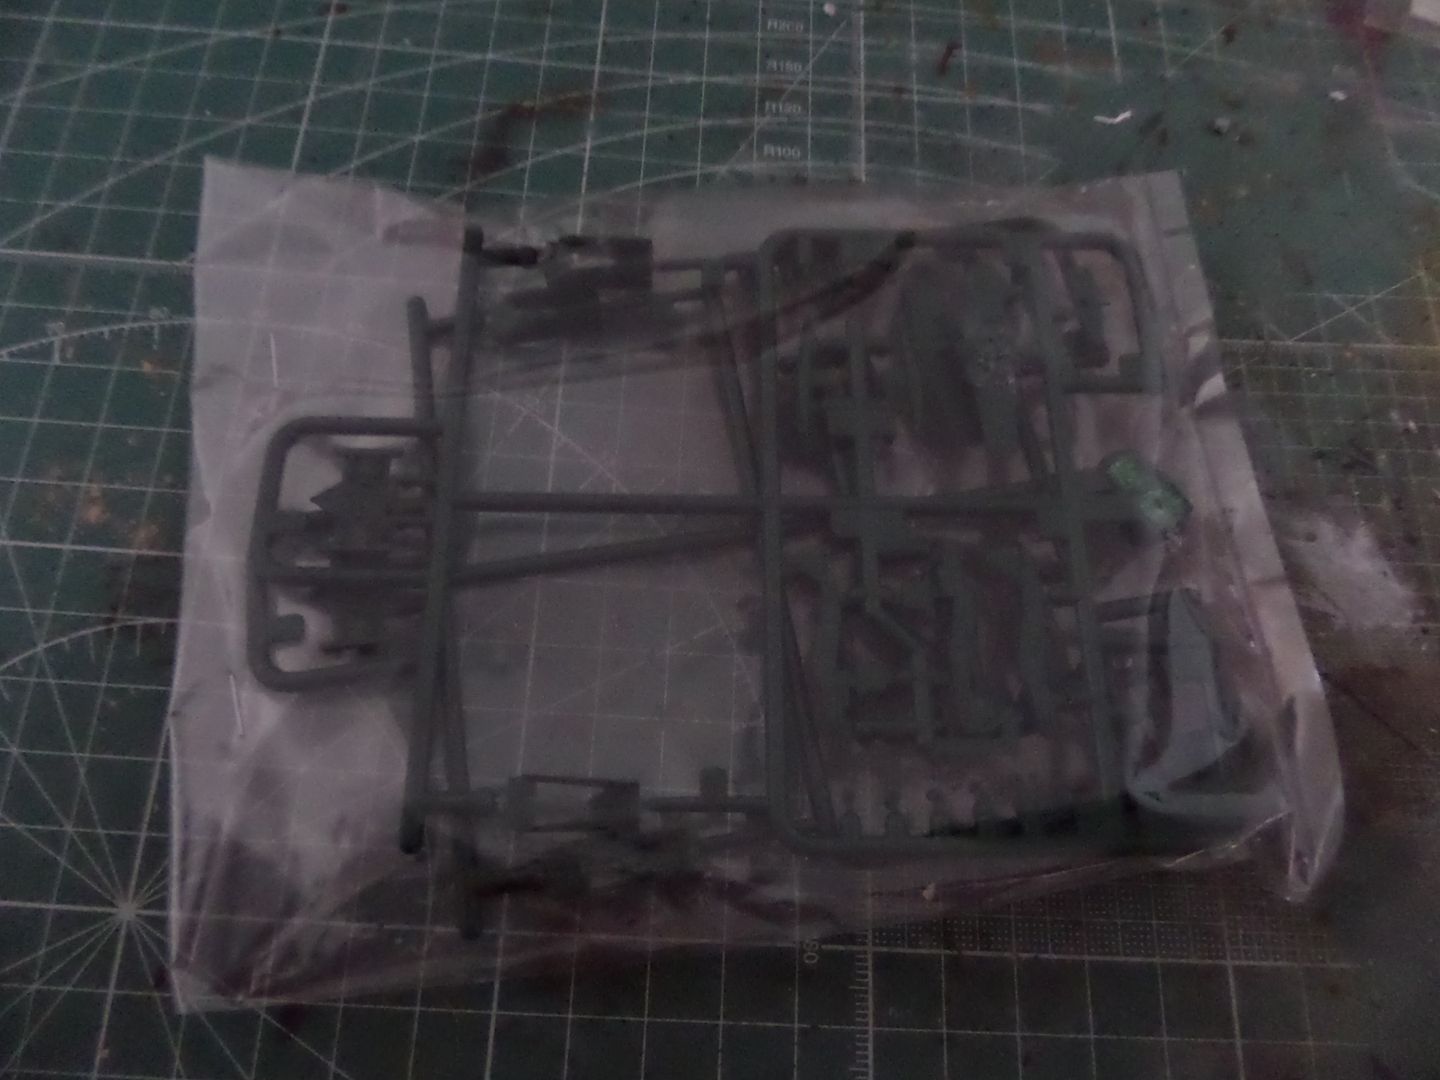
The two remaining sprues for the build :

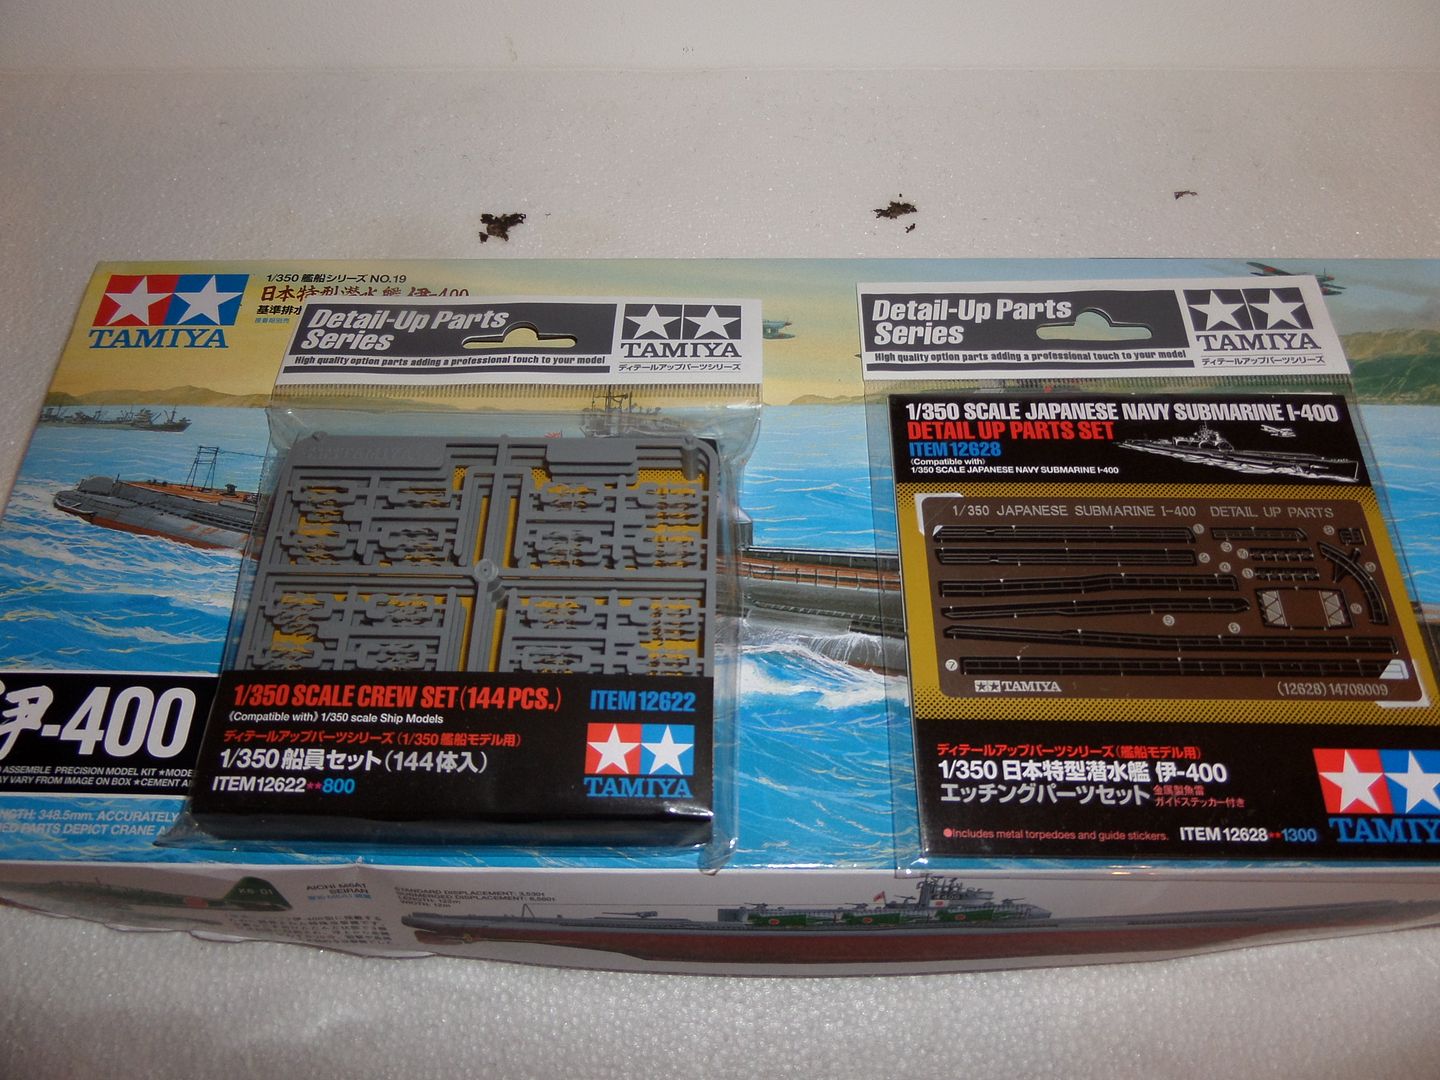
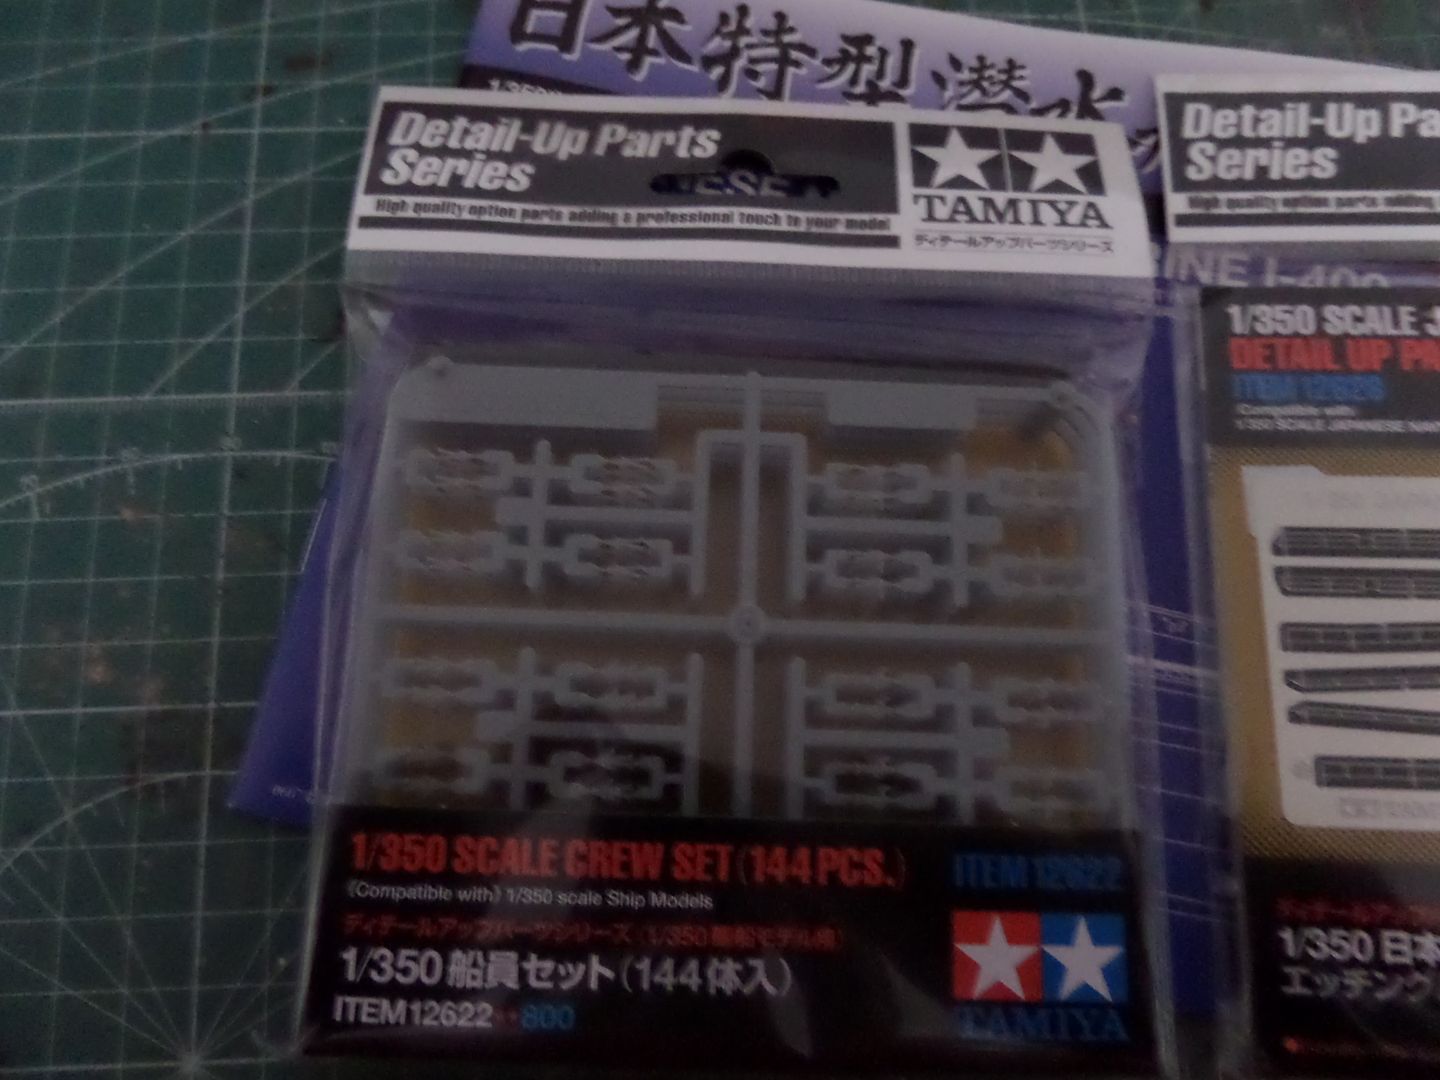
The add -ons for this build , two detail sets from Tamiya ,
first , tiny crew in 1/350 :
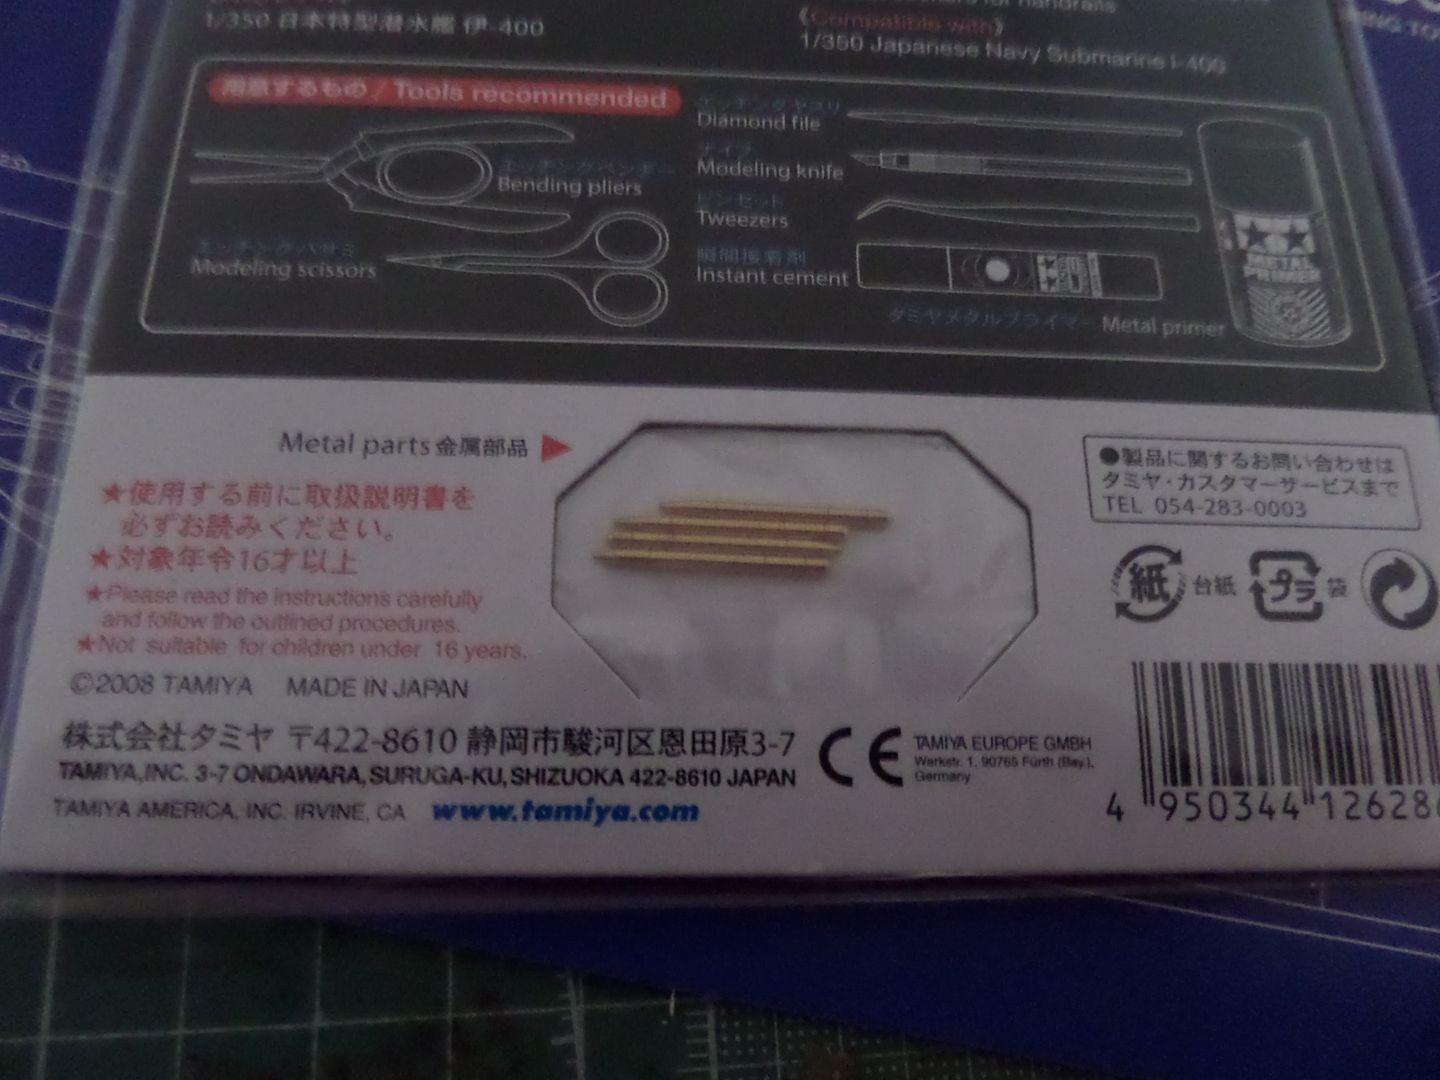
And detail PE for the handrails for the sub and some metal torpedoes :

Some detail on the instructions , a Photo of the Aichi Seiran , that was the plane on board this very particularly Submarine , a sort of Aircraft Carrier under sea


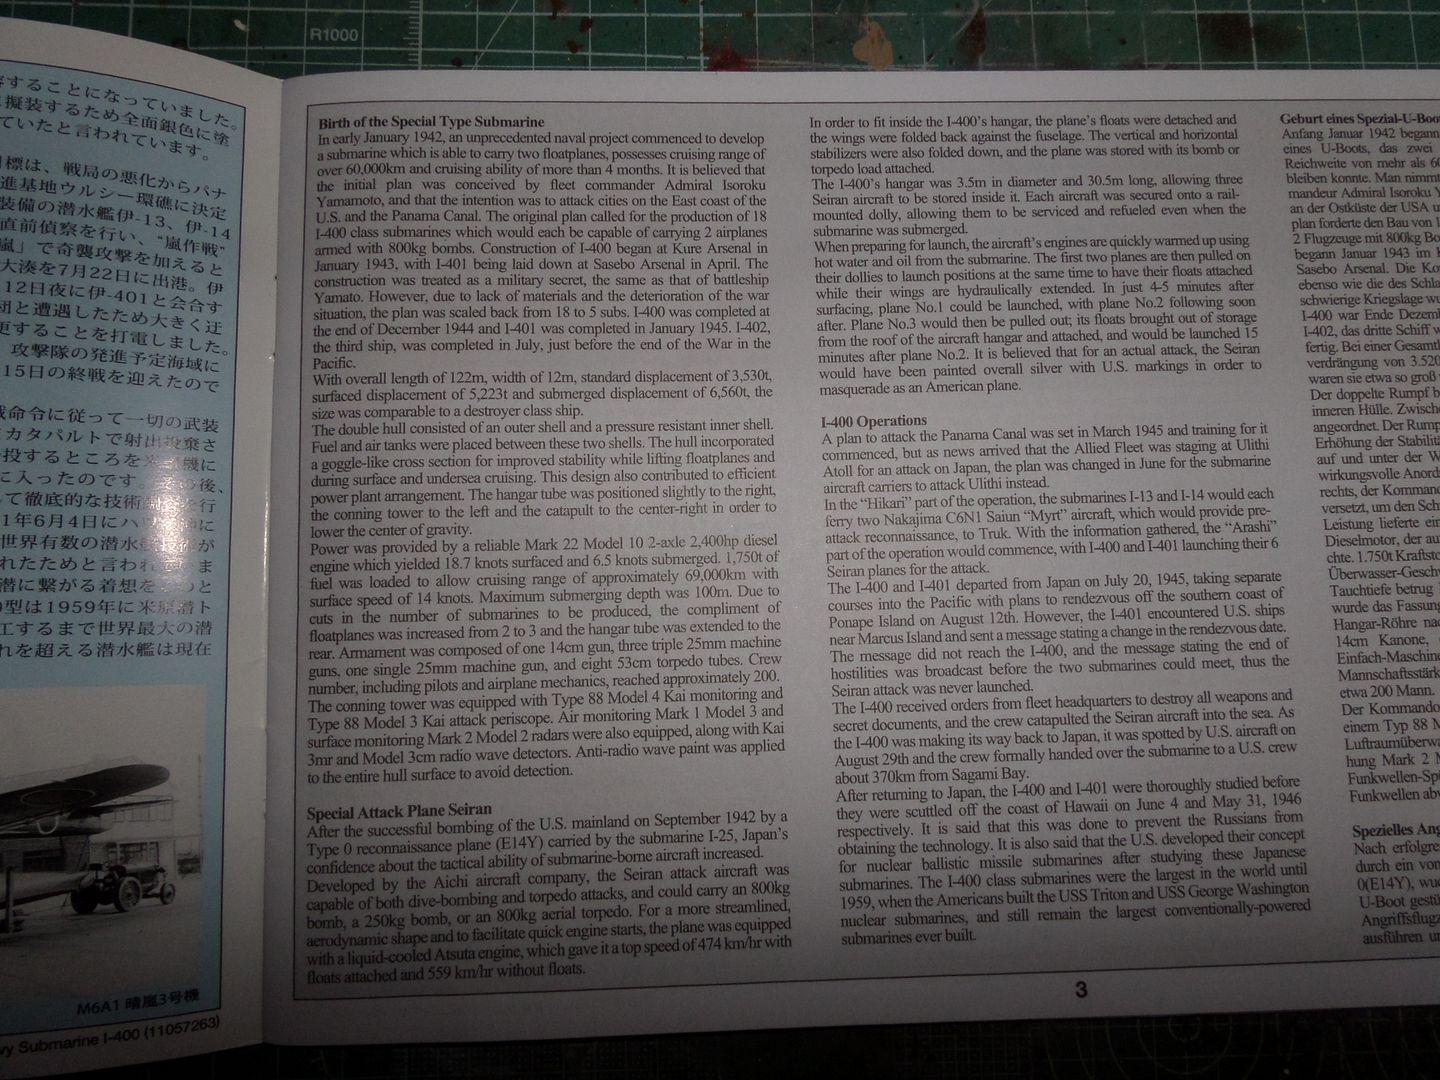
Some very nice history on the I-400 Submarine , its development , short career in WWII and end serving as targets for US NAvy , or sort off , it is said that US sunk this subs in order to the Russians not get them as they were a very advanced weapon for the era , it is said that they have autonomy for strike anywhere globally , not a destructive strike , more a morale blow as was think by its developer Admiral Yamamoto from Japan IJN .
Colors to be used , Tamiya references ..
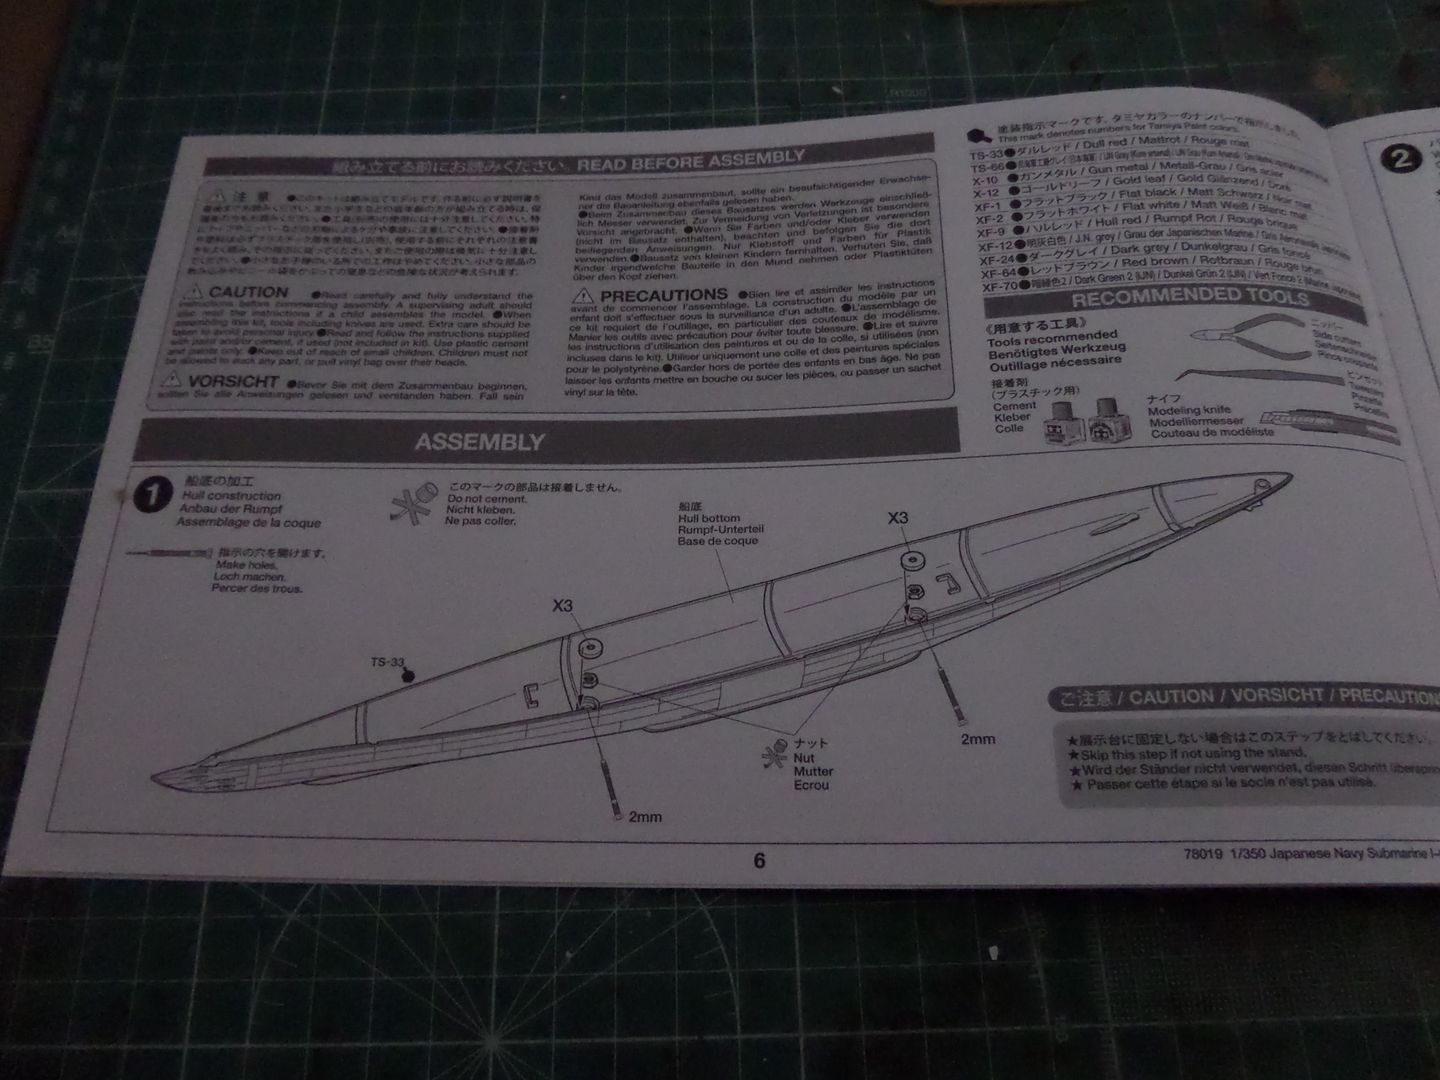
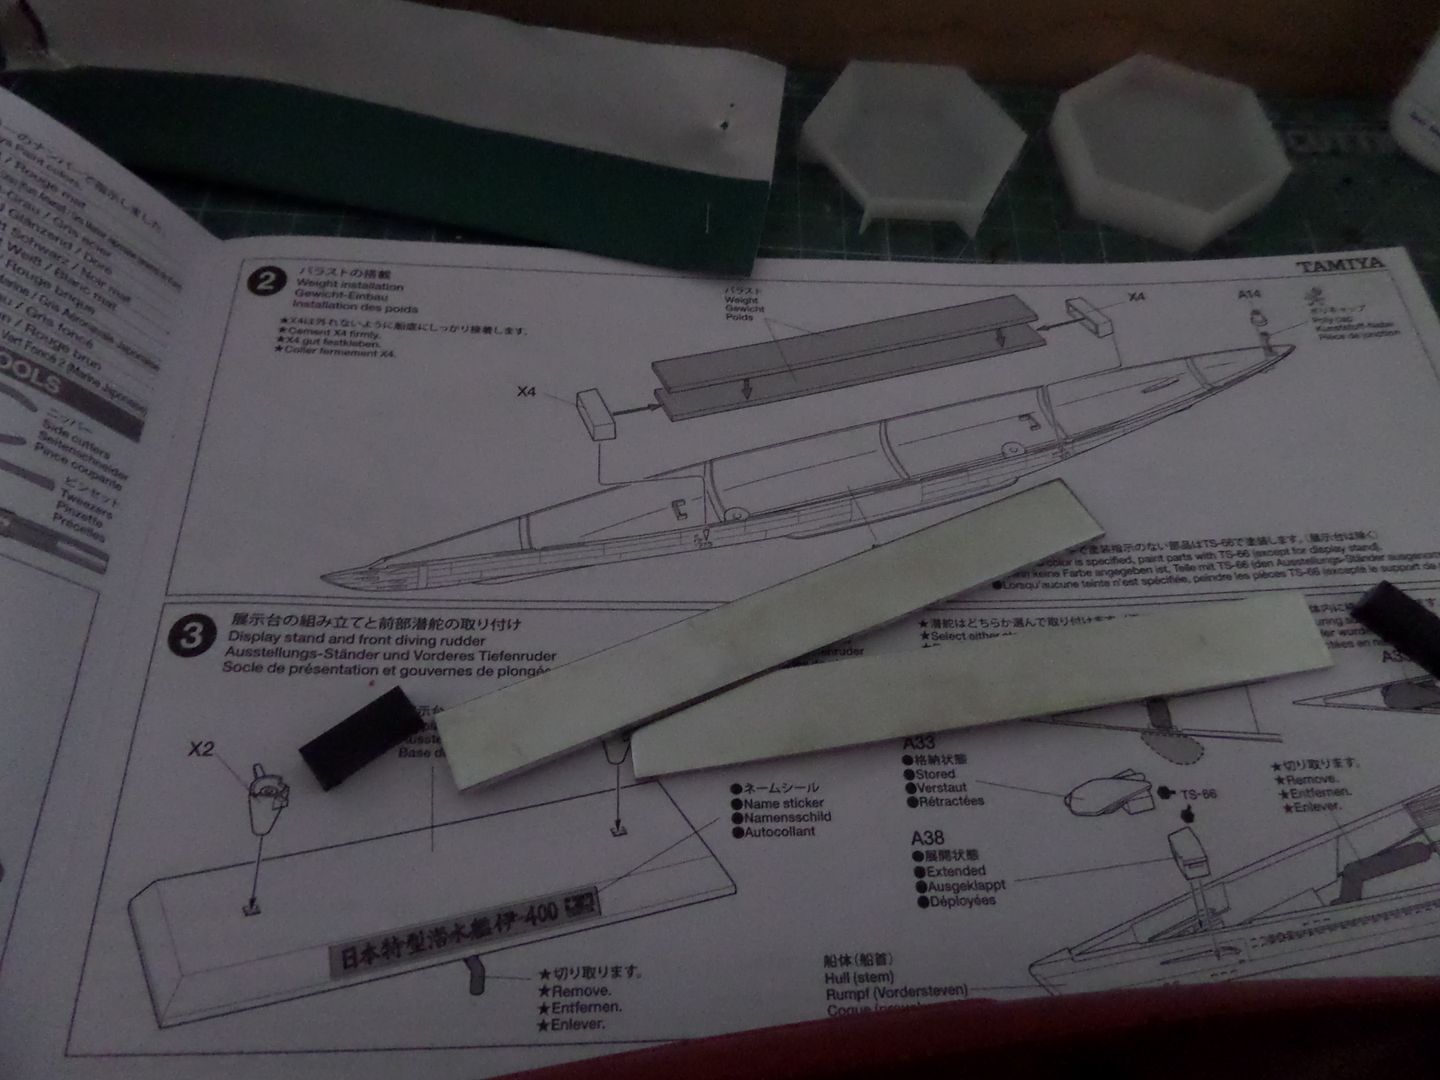
Step 1
Some work on the bottom hull :
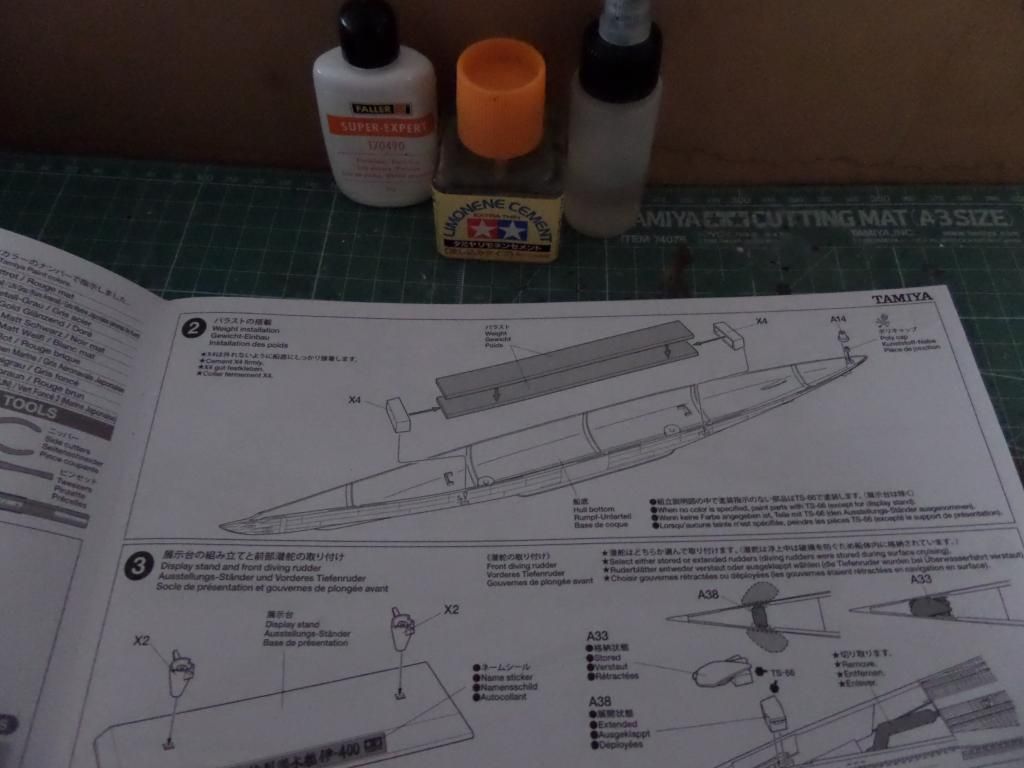
Step 2 to follow adding the weights to bottom
The hull is very nicely detailed and is packed properly with some tape joining both hull parts
Detail of the launching catapult
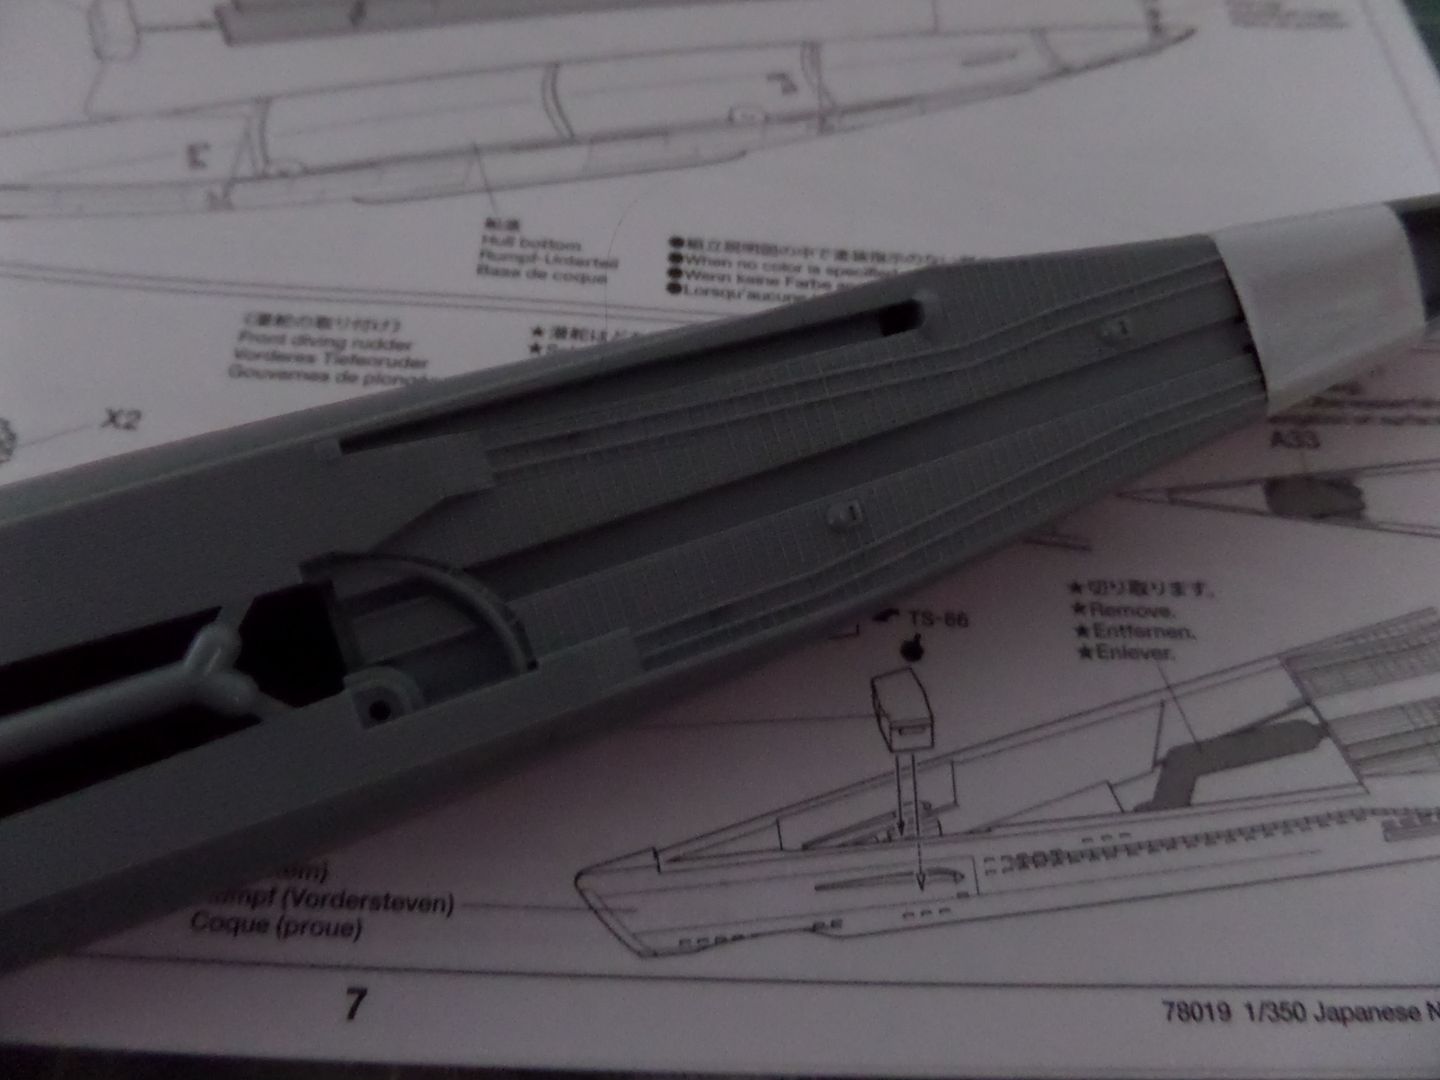
Rear :
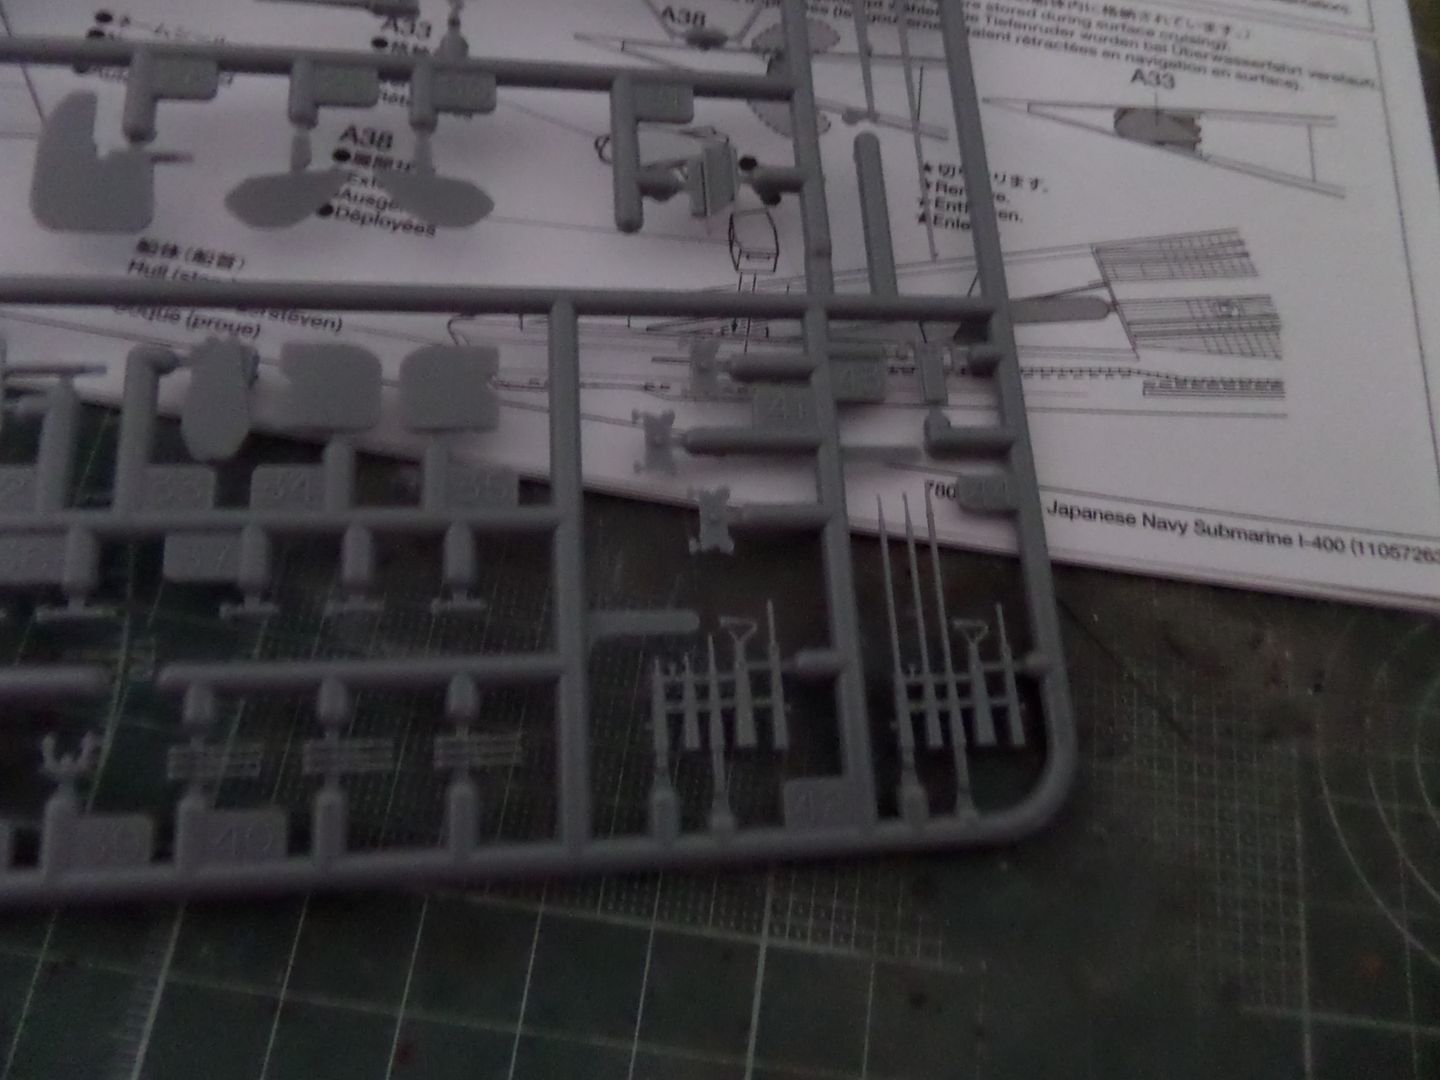
Some of the parts needed for step 1 are on the sprue to exibit the 1/350 Seiran

Some screws and other stuff toghether with sprue A
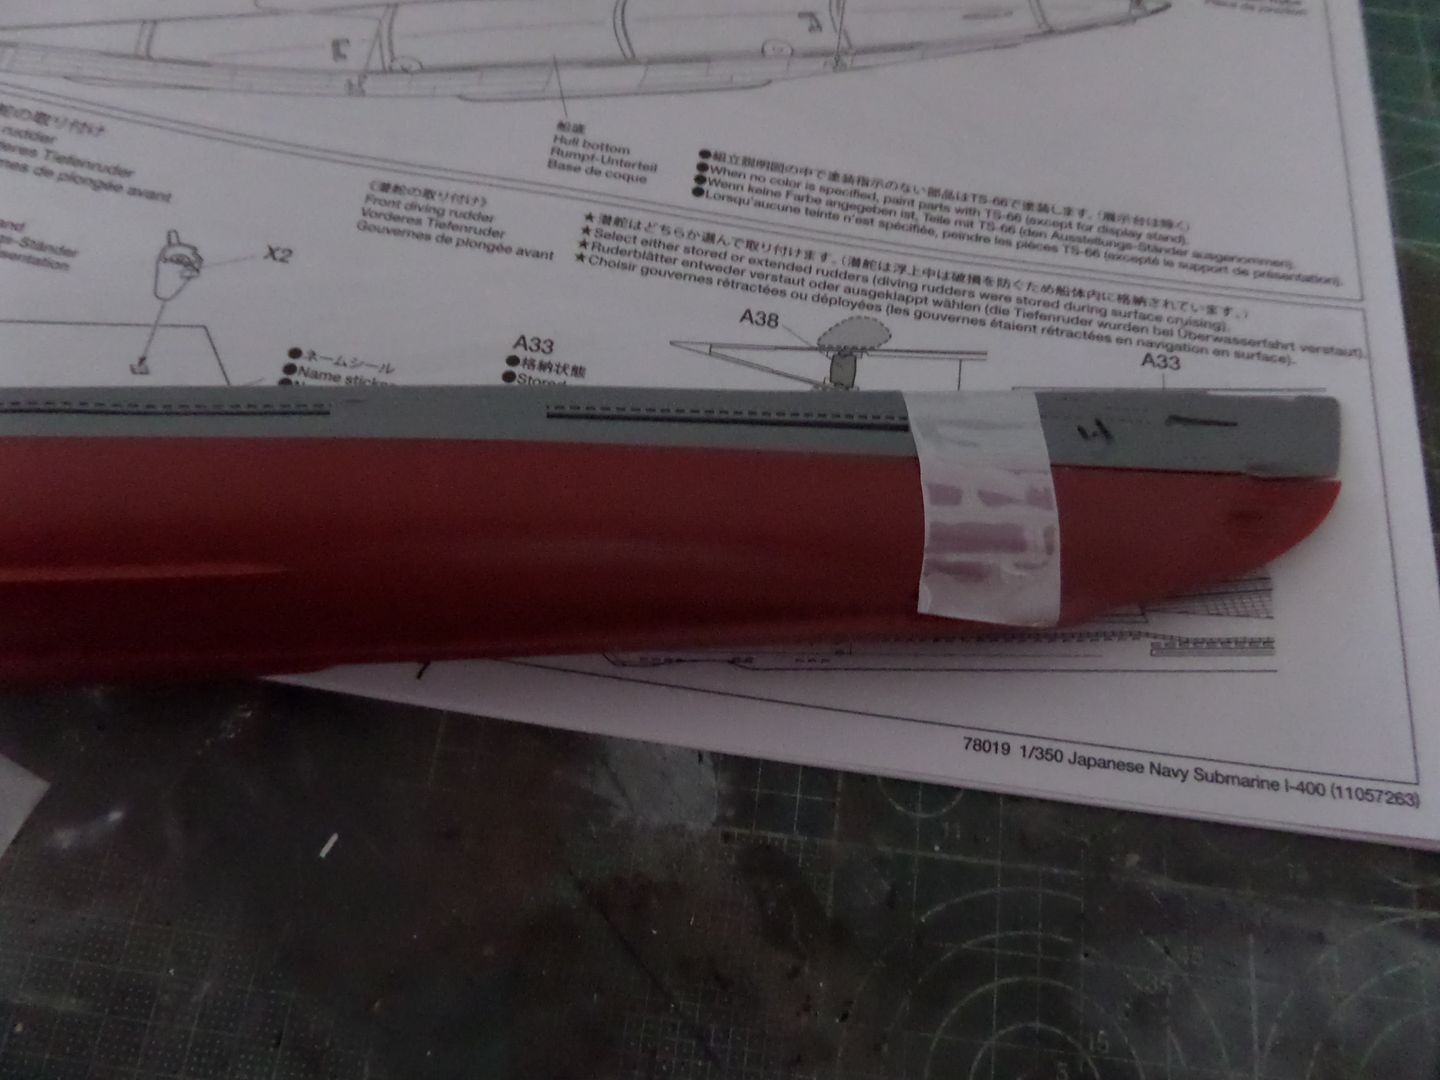
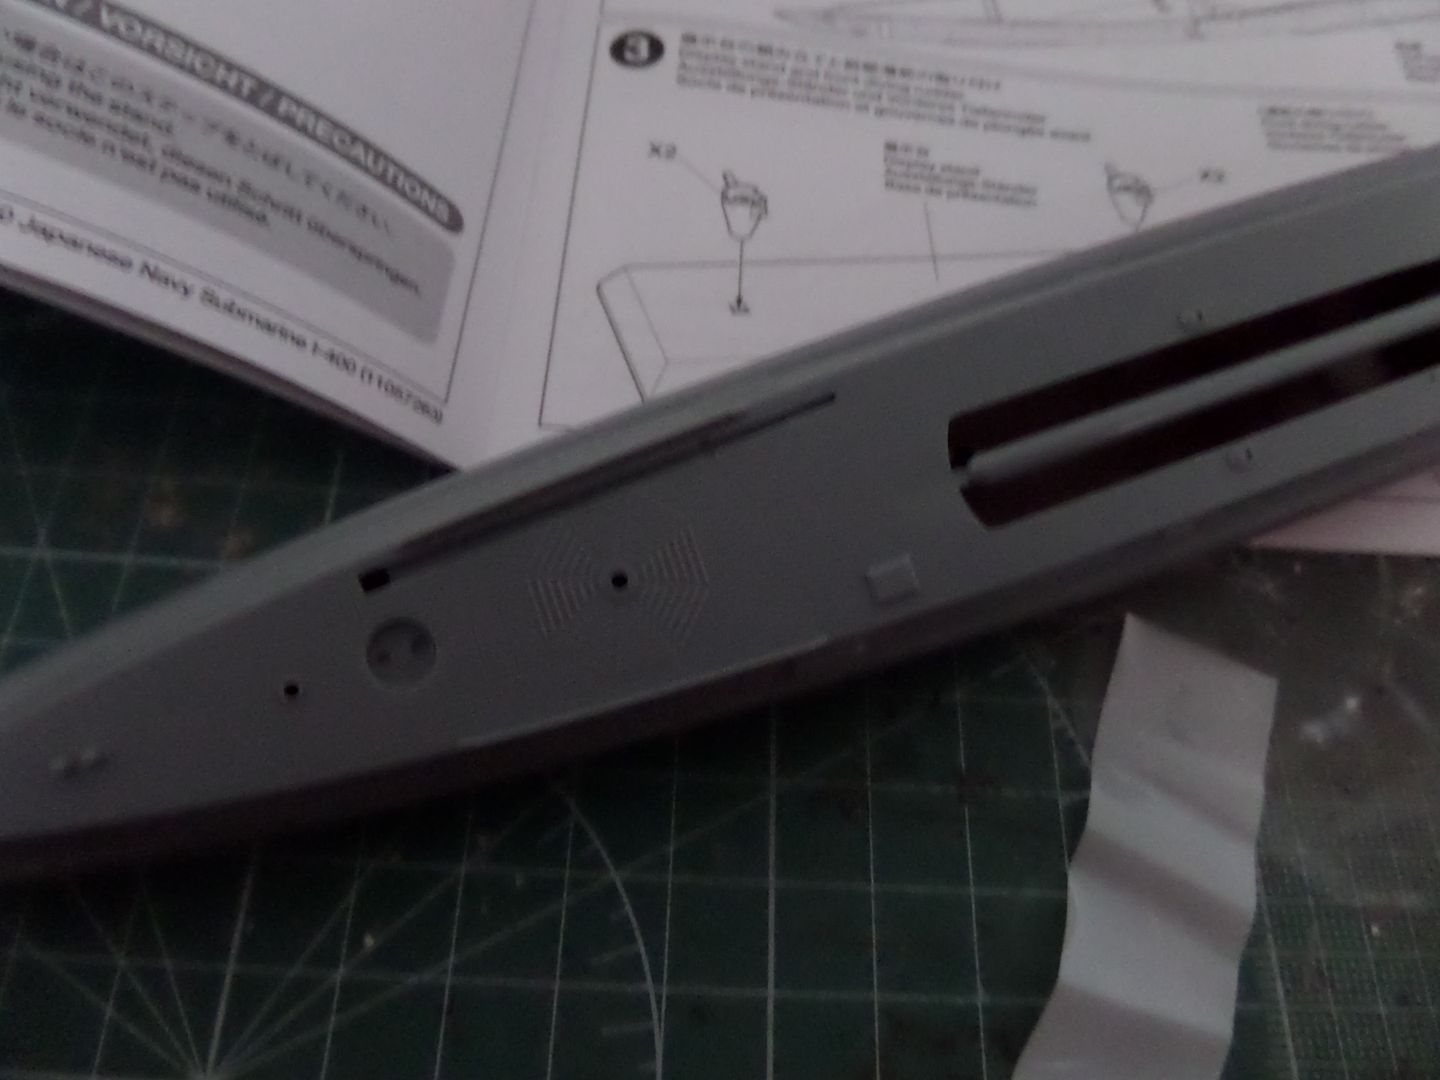
Must drill two holes in the bottom hull so that we can fix it to the stand , this I'm going to build in the stand , not special base with water , want to keep this simple and to show all Hull detail which is very nice with the propellers and the diving rudders and so ...
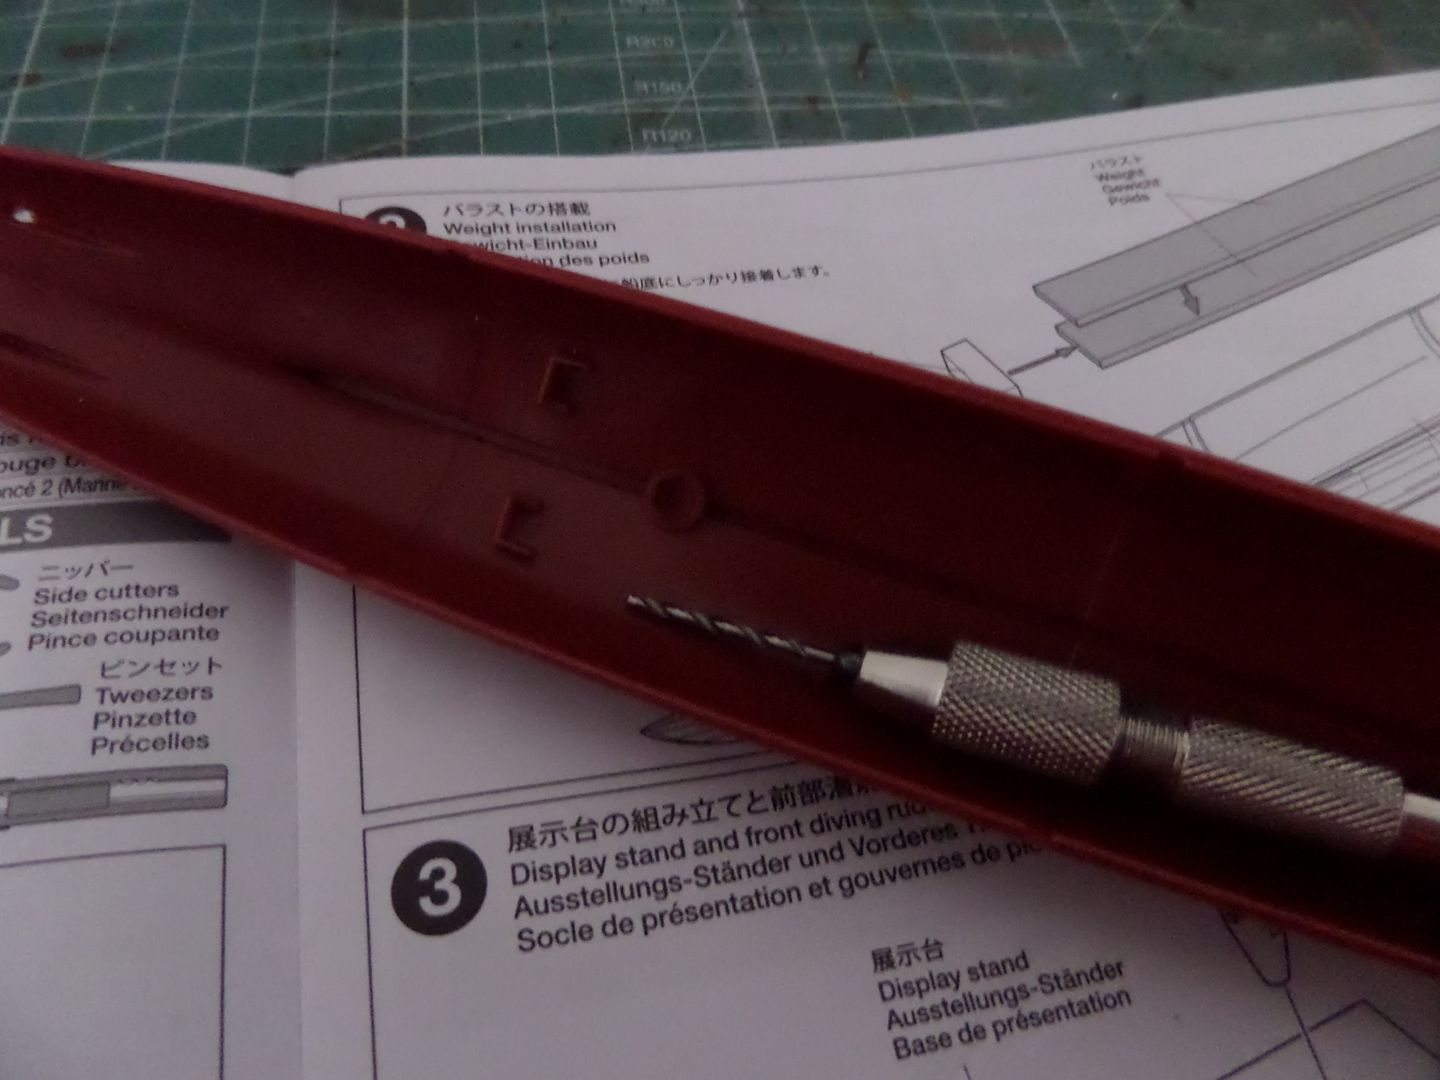
Weights ready to place :
Sprue A , one of the two sprues of the kit
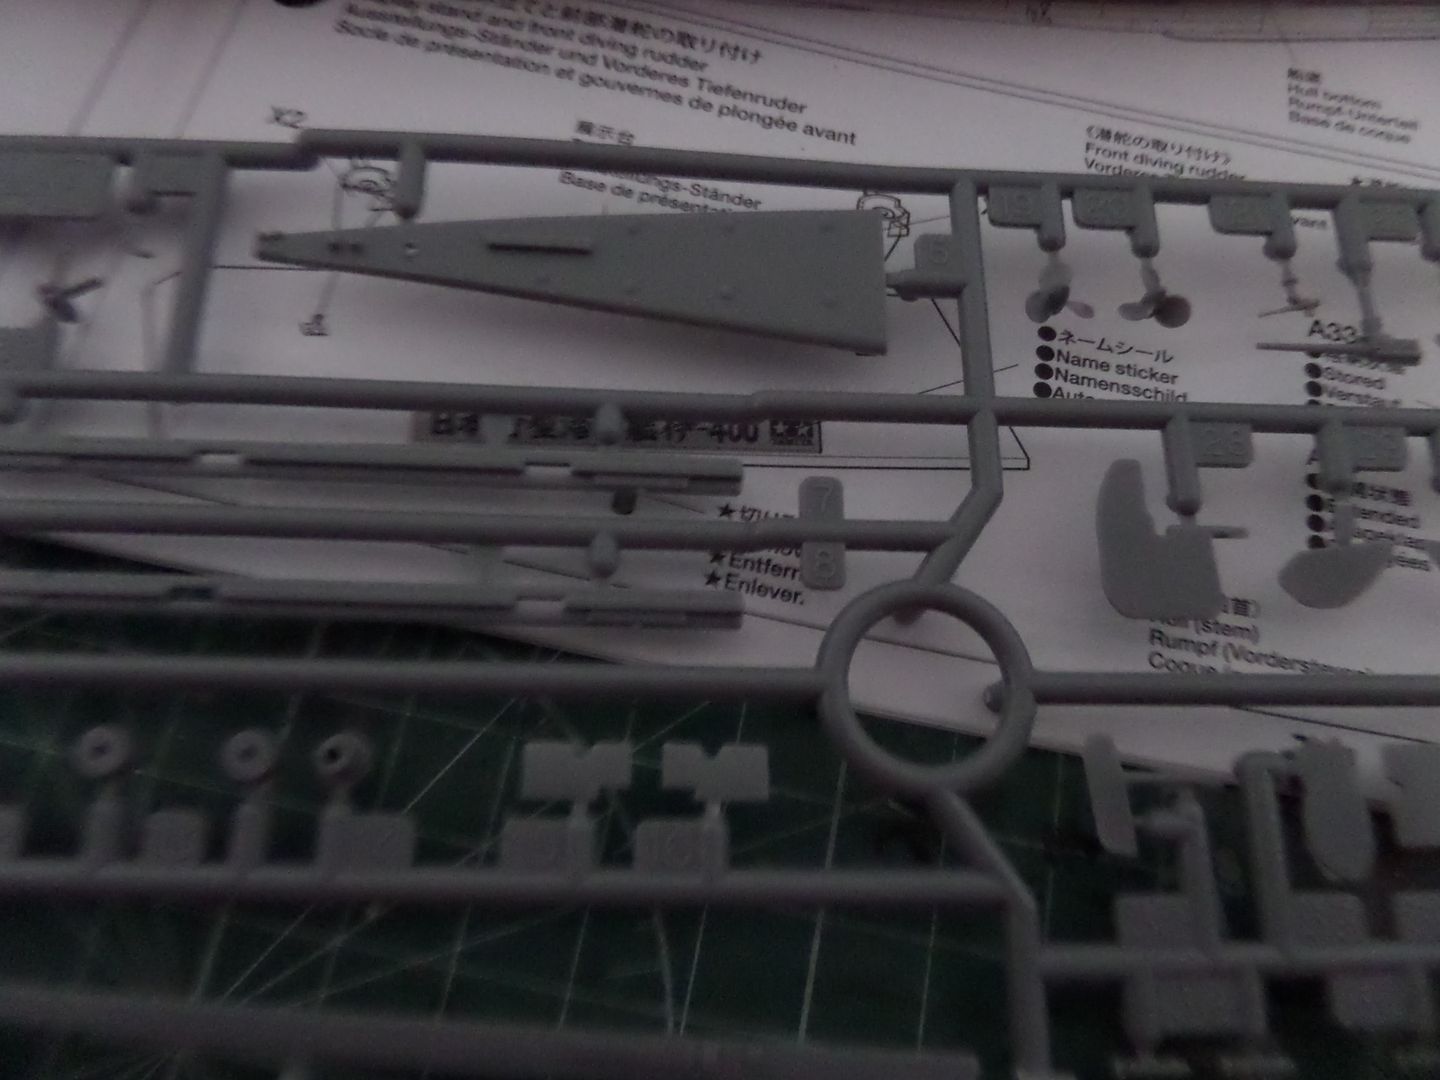
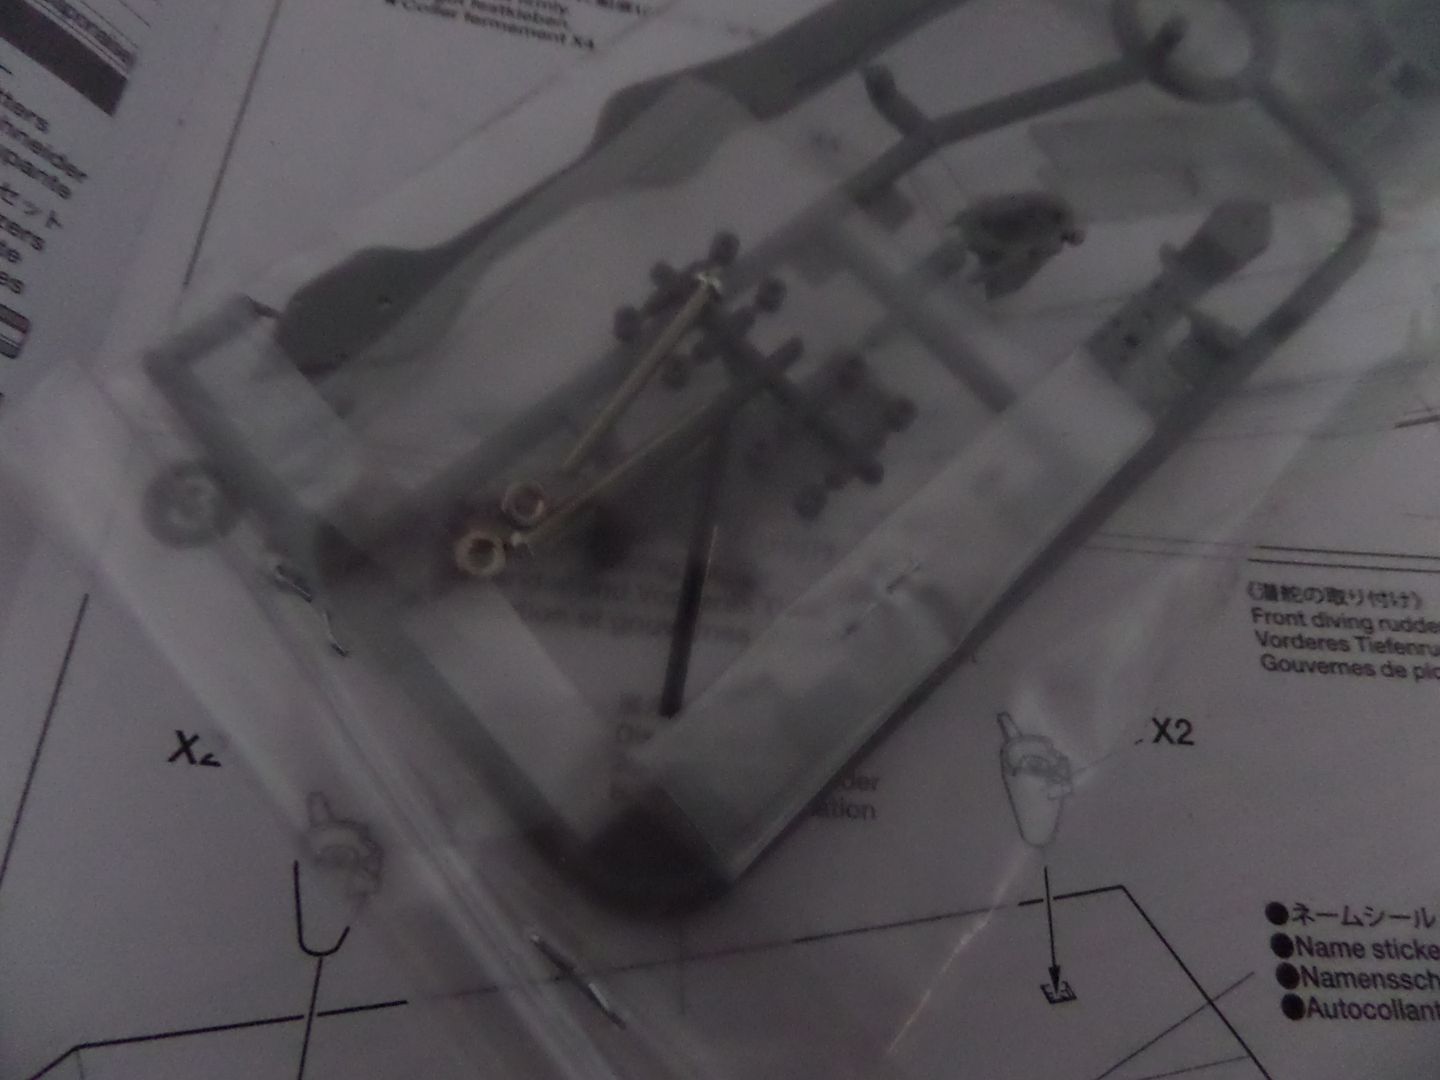
The periscope and masts , we have two options I think , raised periscopes and athenas or in submerged position , will be nice to see it 'up the periscope ' position
Propelers and some of the MAin guns

Step 3 is to make the display base :
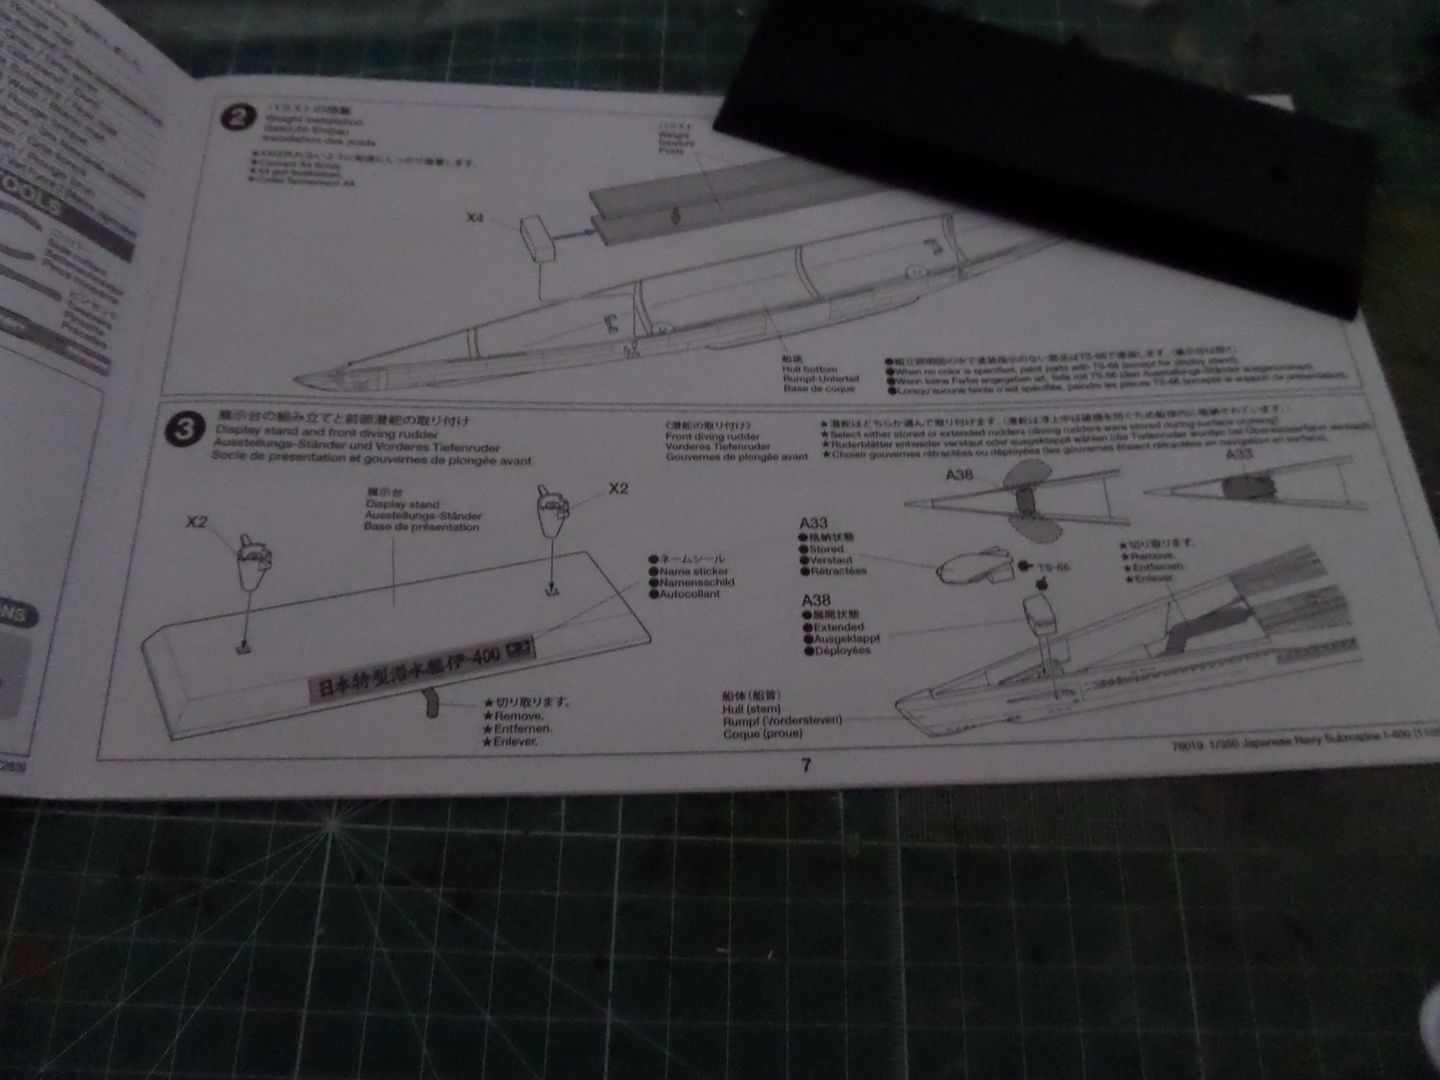
Time to make a decision about the Diving Rudders ,stored (surfaced) or Extended ( Dive!Dive !
) , nice to have the extended ones ...will go for that option also ...even that I decided to display the aircraft on the catapult also and the crew ...
Spme nice stickers to go with the base ( will show you after ...) you have the JApanese and English denominations , we can use one each for each side , think ot is nice to have the JApanese Language ...so then people will ask ...what is the translation and we can get to act like that we understand Japanese !

Step 4 , masts for the crane support , and a Athena I think in the back hull
This can be raised and lowered after the built ...so far a very nice kit with a lot of detail and small little 'gadgets' , love this kit !
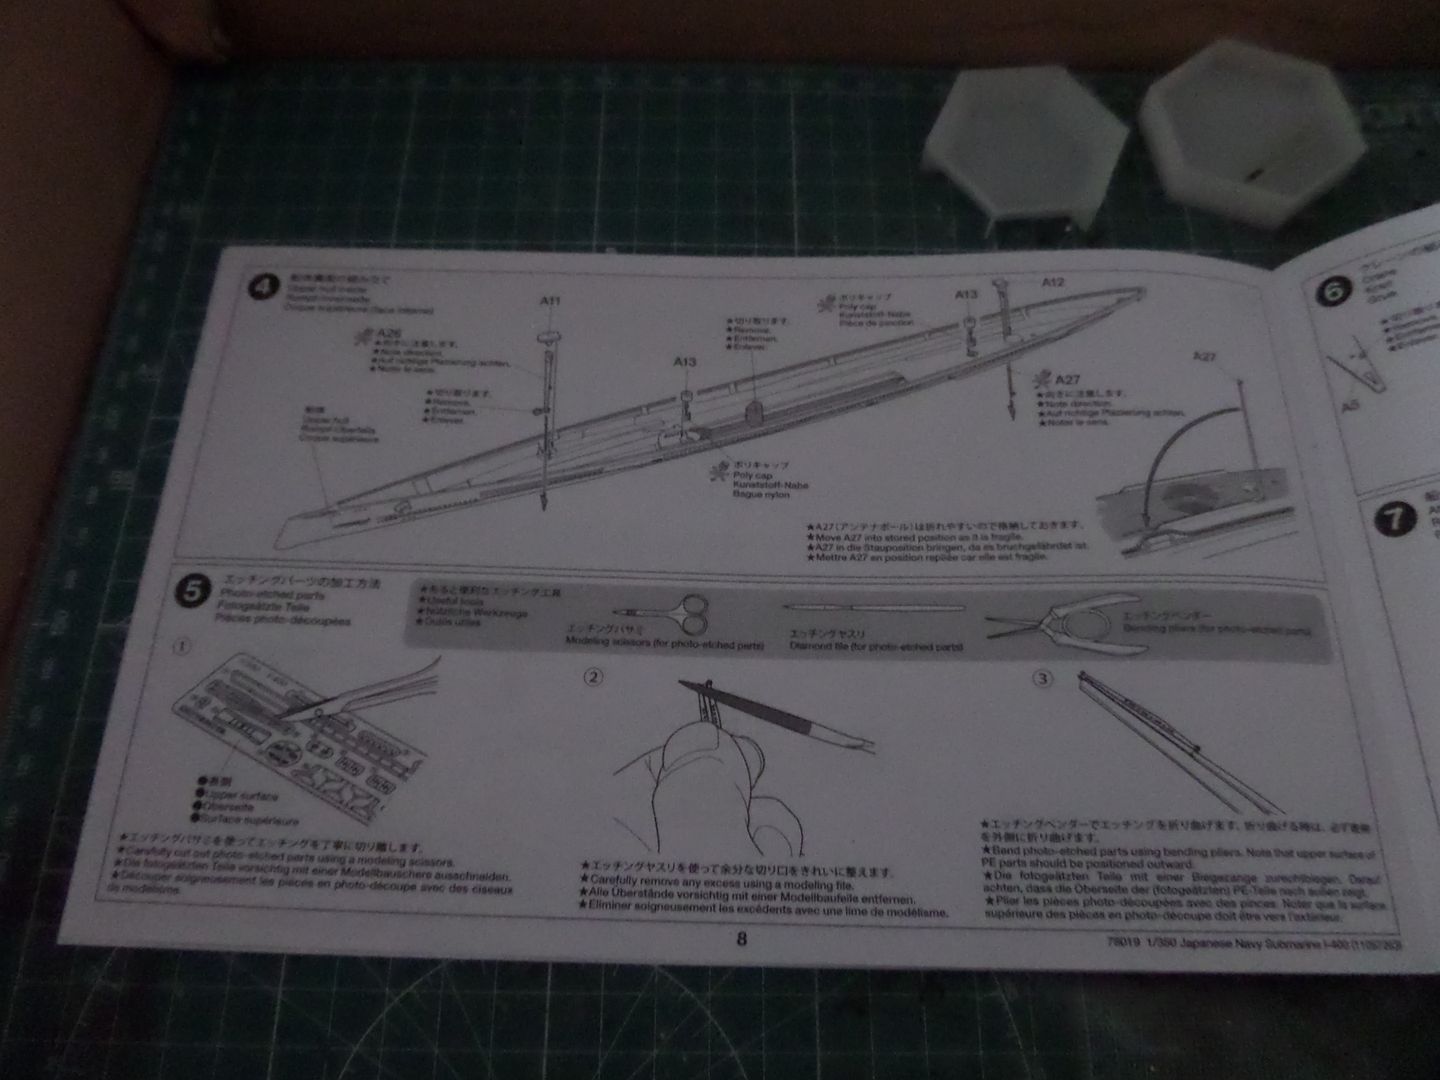
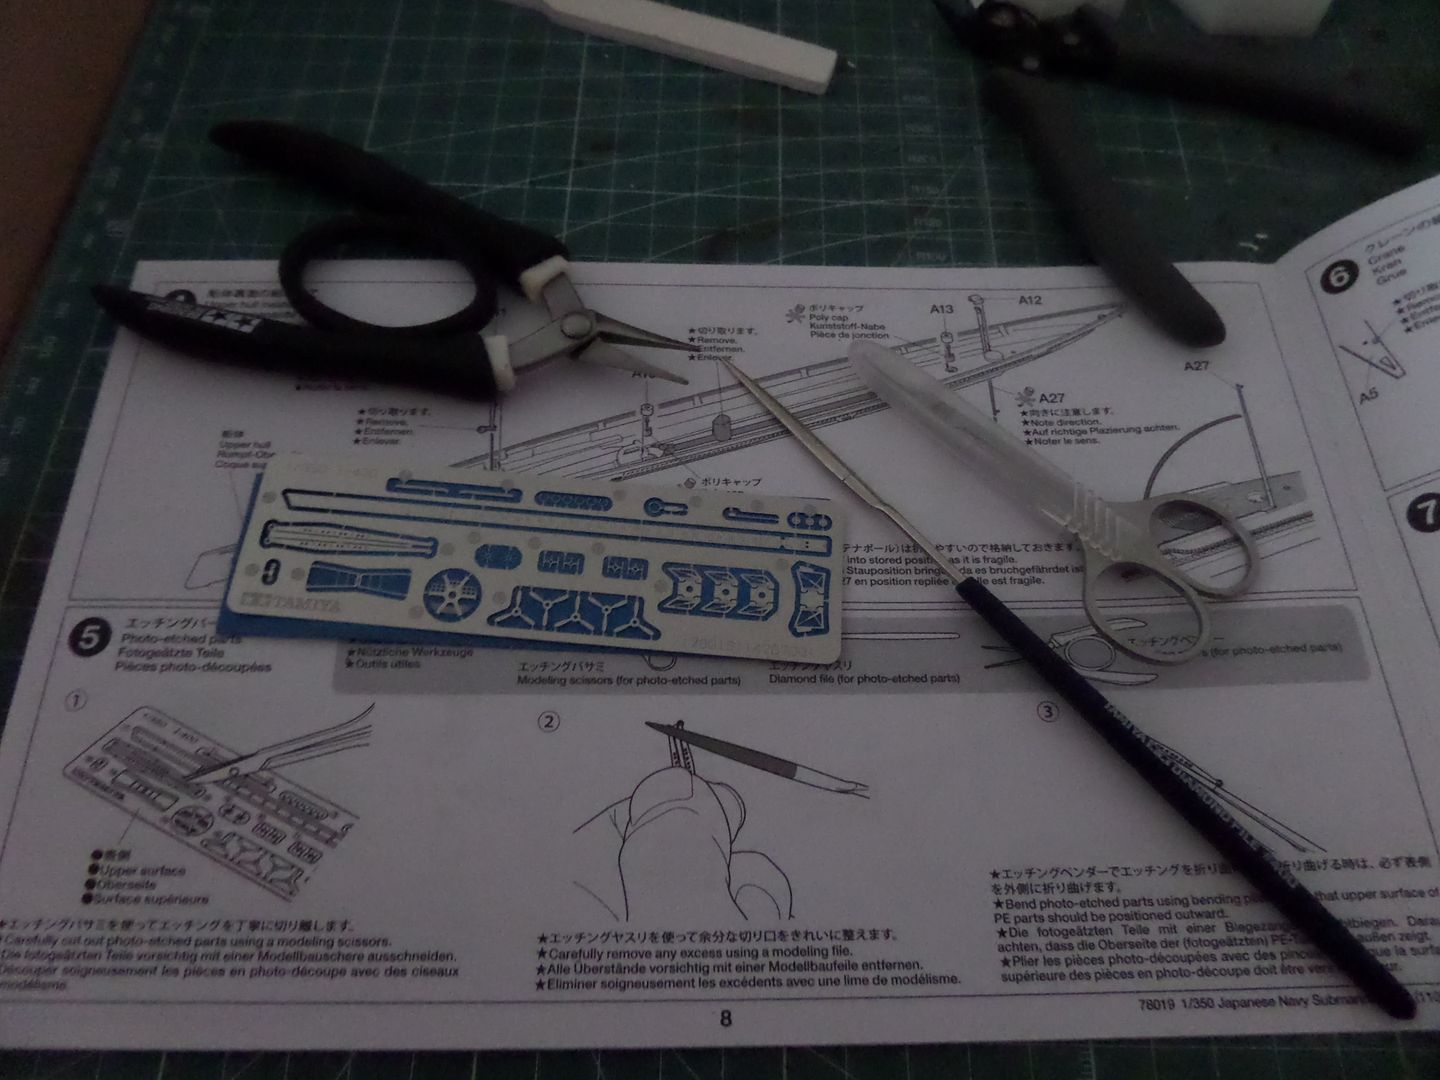
STep 5 ....first PE to do ...the crane ...seems easy except for the very tiny hook that I missed to loose two times , after that and rescuing him from the dreadfull carpet monster , I stored and will place it in the end of the build , if not was a 'missing in action' part !

PE and my tools for it , blessed Tamiya Diamond file , the best thing I buy for soem time , real handy in this , and the Mini pliers , great piece of tools ! (And no , I do not receive anything from Tamiya ...)
Well , after placing the crane in PE , time to Prime the Hull , REd Prime for bottom , Grey Prime to Upper Hull

At this point , first (maybe mistake...) completly forgot about this ...should have already placed some rail before priming ...now will see how it will go as Now I painted with TS 33 Red Hull the bottom part and TS 66 Grey ( IJN Grey Kure Arsenal ), and now could happen the following :
To palce the PE rail I should place soem removable stickers to make some small drills so that I can glue the rails ...I'm affraid that when removing the stickers , the paint will follow ... get it ?
Will see the next steps of the build , and let it dry for some time before I do this , meanwhile I go to next step :
Step 8
Placong the Proppeler Shaft , rudders and propellers , some painting in TS-33 REd Hull in this small pieces , so also I must prepare them to paint ,

MEanwhile and final for today , I glued the two Hull parts after were painted , with some Tamiya Extra Thin Glue ....very careful , very , very carefull so not to attack the paint work , it is a delicate step of the build , and not easy to do , as you are always thinking that the build can be ruined at this point ...until today only build a small 1/700 Destroyer and I build it in a day , this is more challenging
Hope that You liked s far , again a long thread from my person
Be free to comment, suggest and ask for something that I didn't focus on the build !
Thank you for watching , see ya in a few days with some more boat work !