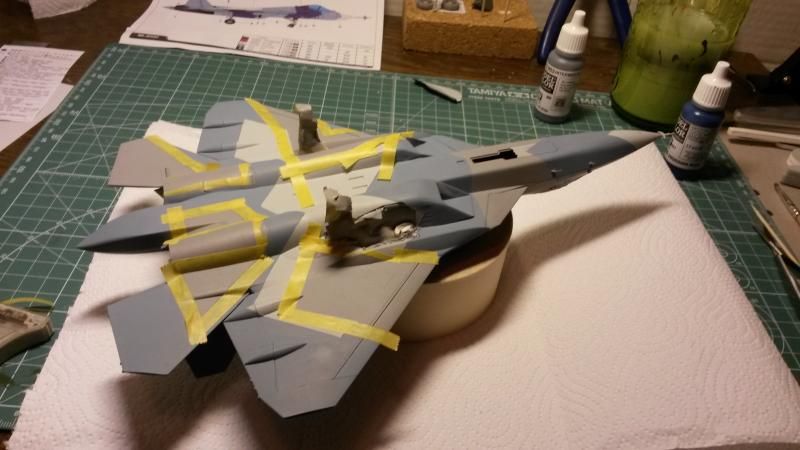
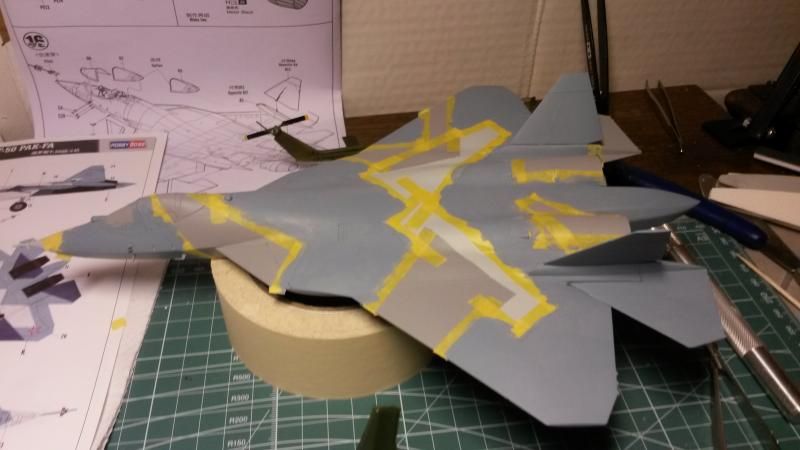
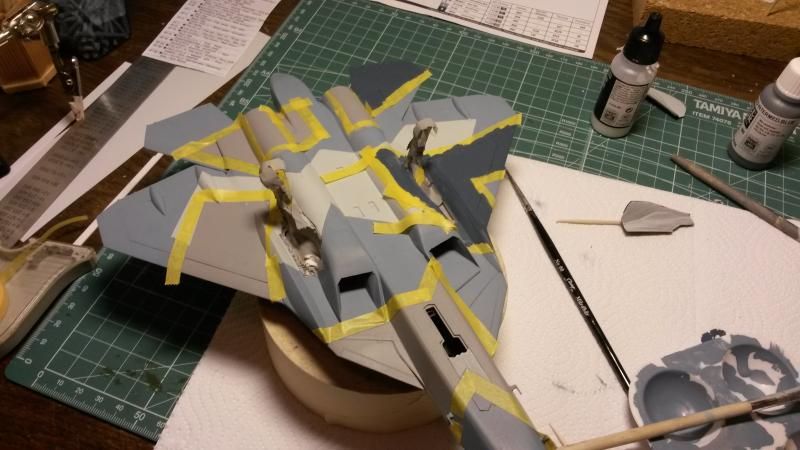
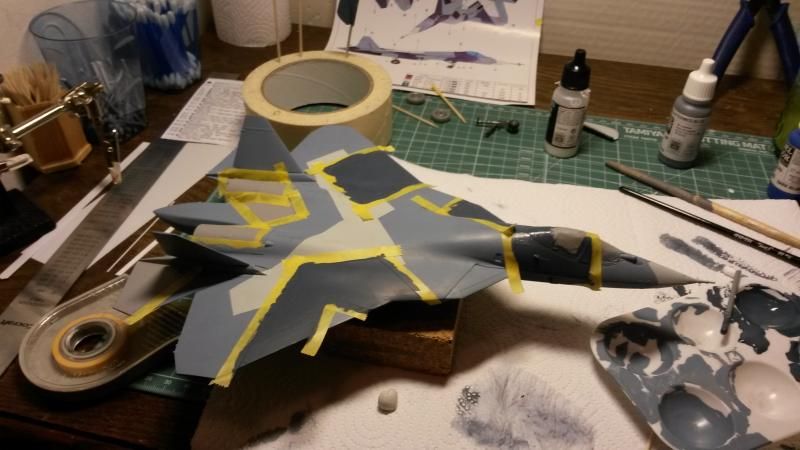
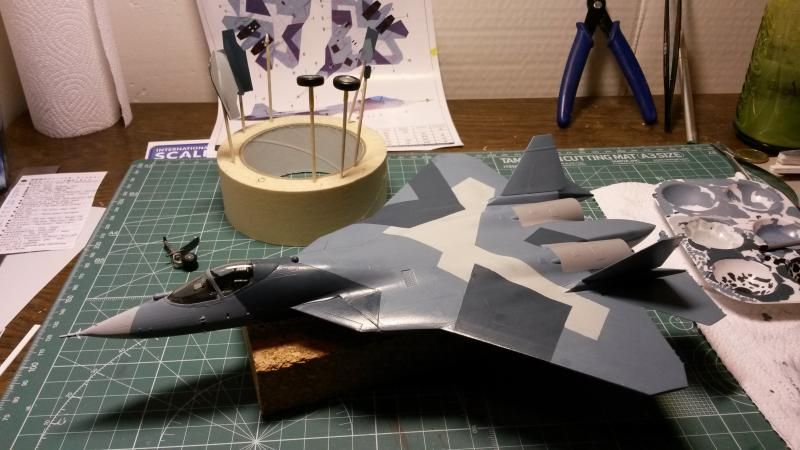
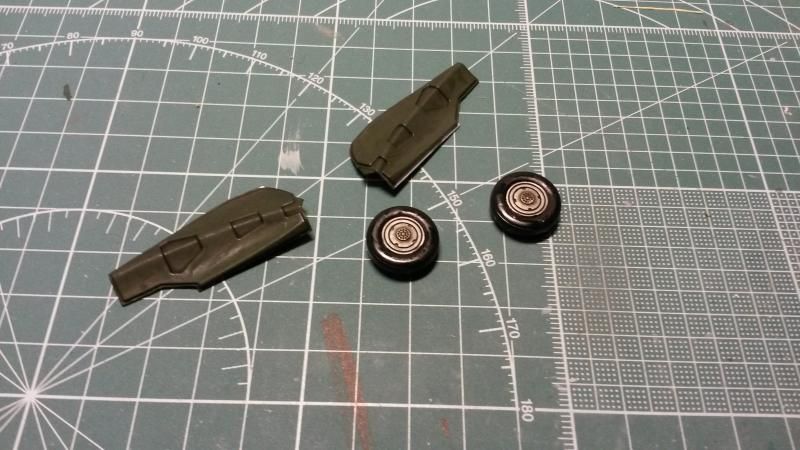
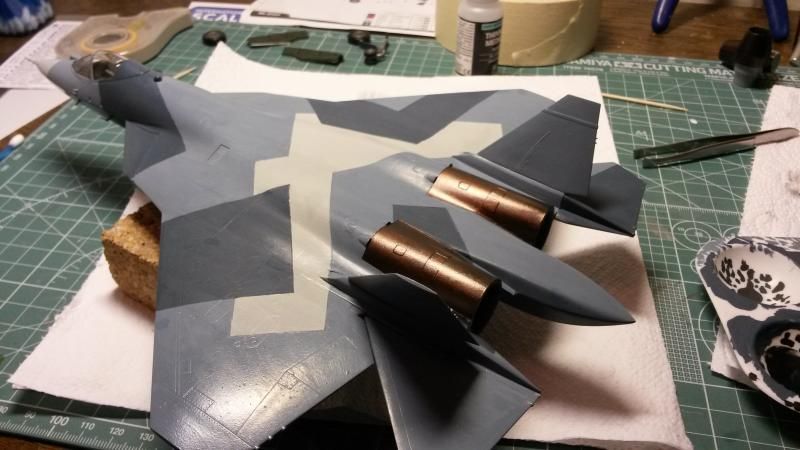
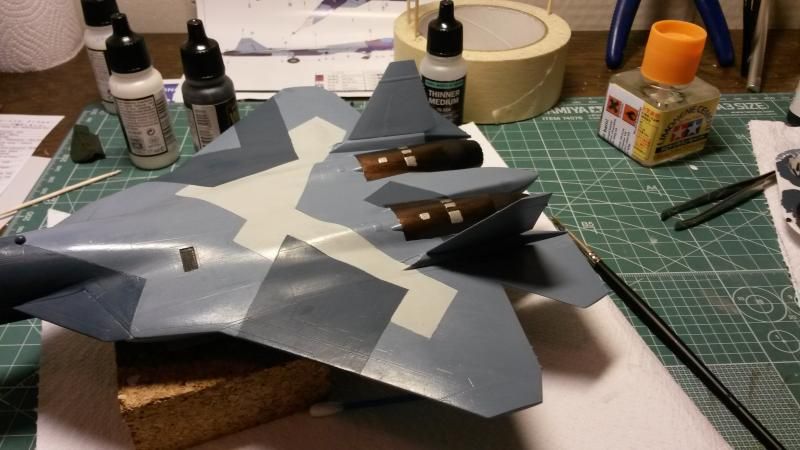
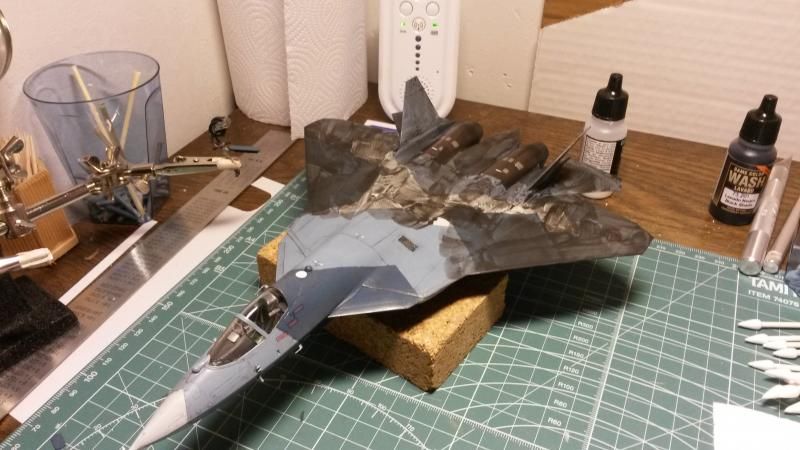
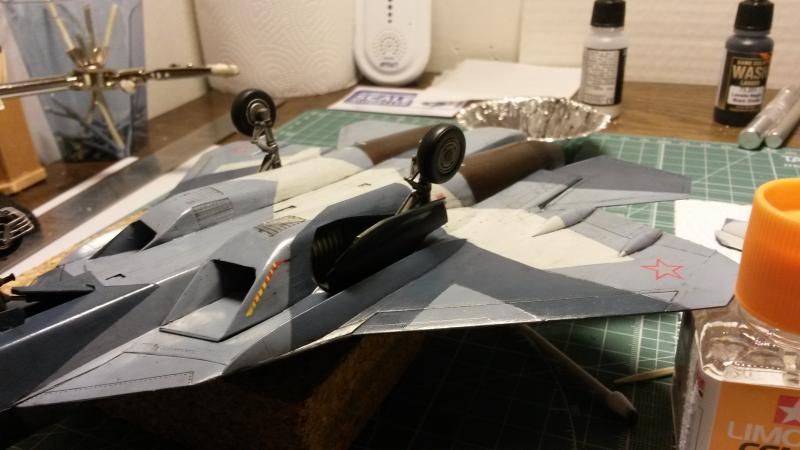
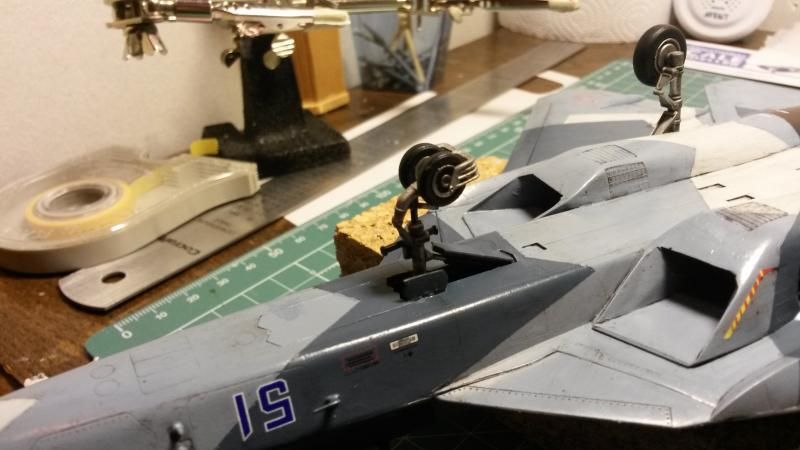
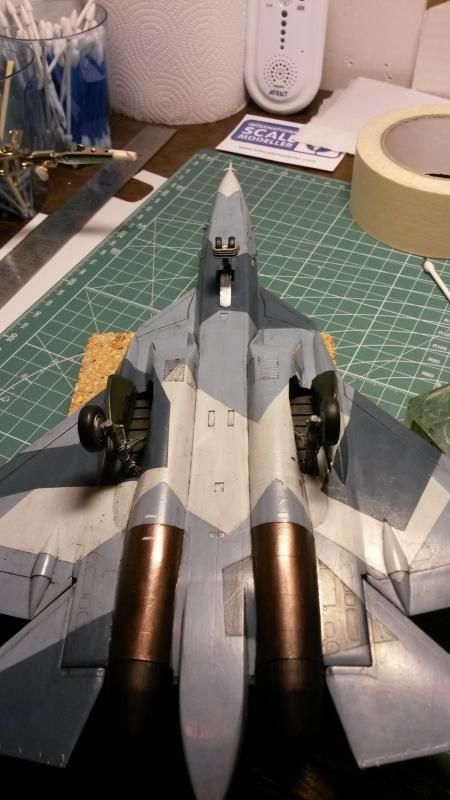
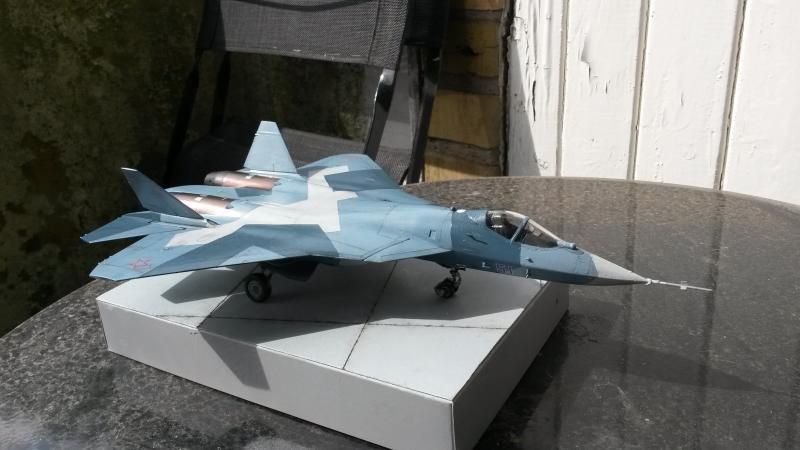
Hobby Boss 1/72 Sukhoi T-50 PAK-FA
Posted: Tue Apr 22, 2014 12:46 pm
The construction of this kit has already proceeded a decent way when posting this so this first post will be ULTRA LONG 
I have done a very thorough kit review in the review section which can be found HERE so I will not do any reviewing here. I will only show sprue shots and the WIP-shots. This is a prototype aircraft that havent seen service to this day (i think) and most of the development is still top secret. This is why there is so few reference photos out there and I guess that's why the paint callouts in the instructions for the interior is so sparce. Most of the paint scheme in the interior and the landing bays are made up by me since I lack the reference for it. The same goes for the details I suppose. I can't really blame Hobby Boss for this since they couldn't find the reference for these things.
In the review I mention the big issue I had with this kit before I started and that was the scale of the kit. The kit feels like its more 1/60 scale than 1/72 and it just feels too big. I will illustrate this better when I come to the ejection seat with a photo.
I feel obliged to tell you that I bought this kit mainly because of the cool camo-scheme on the box art and because it was a new tool. This is my first jet build in ages and also my very first Hobby Boss build so I was pretty excited to build this. Here it goes
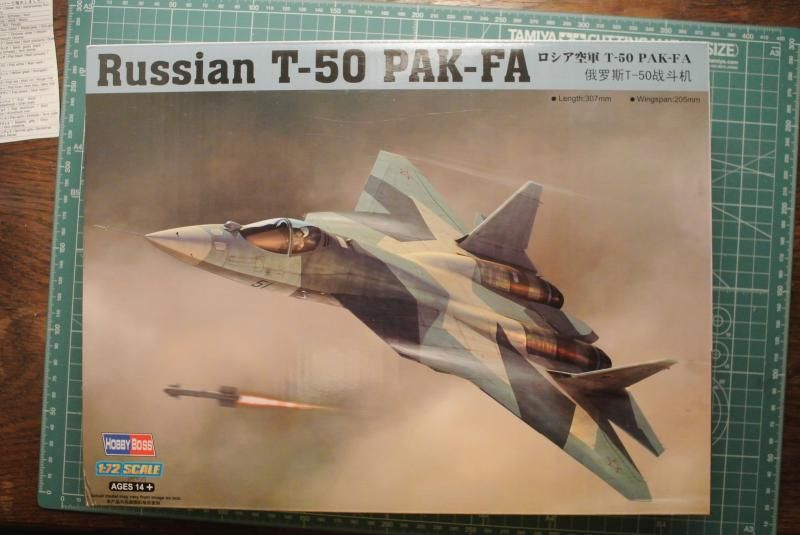
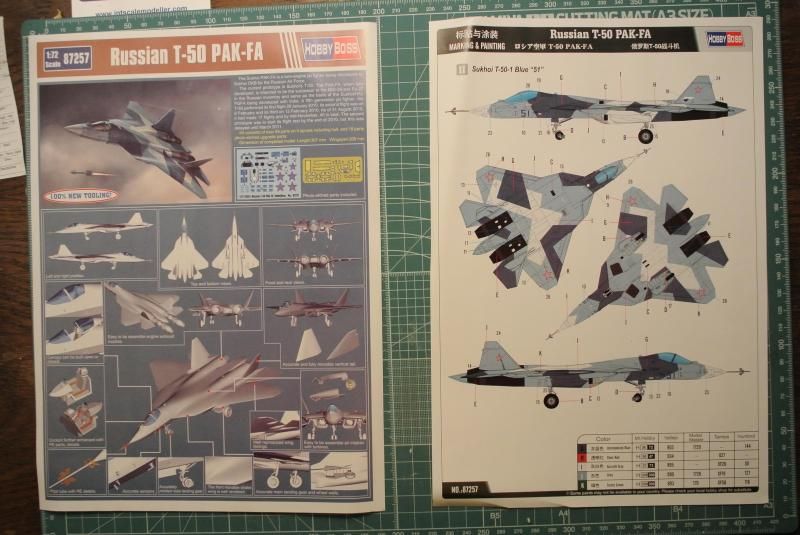
The very cool box art with the very nice camo.
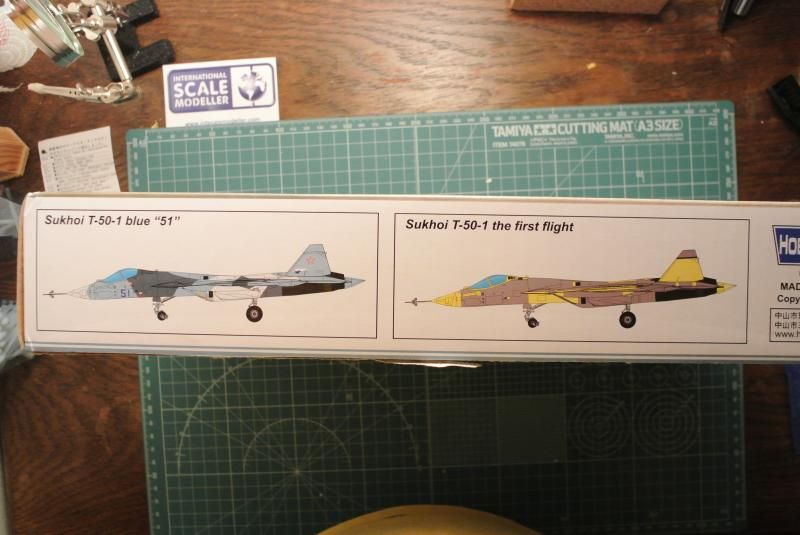
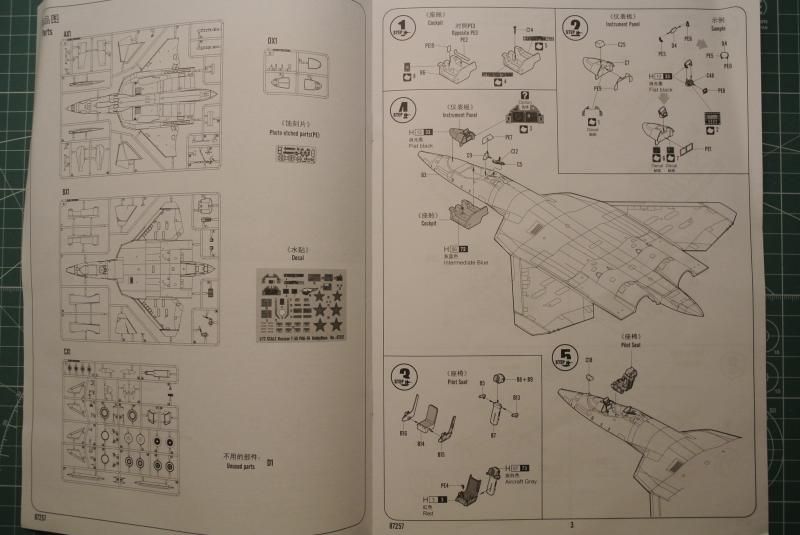
The provided options:
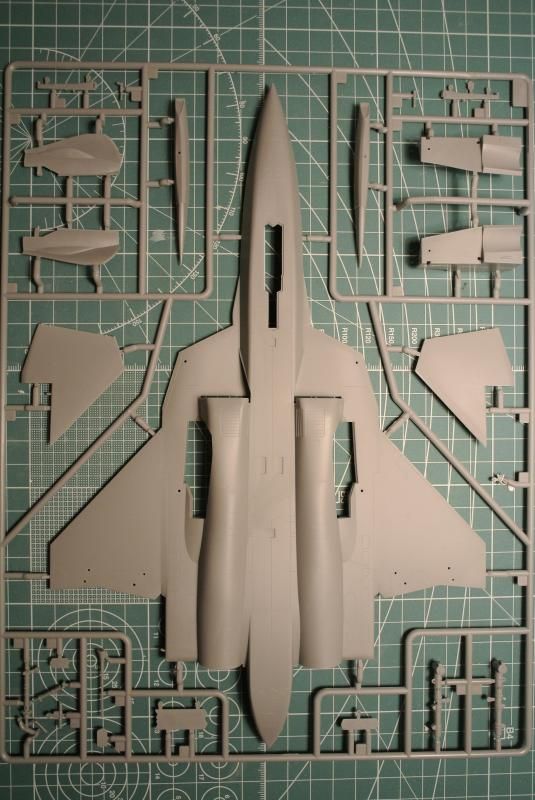
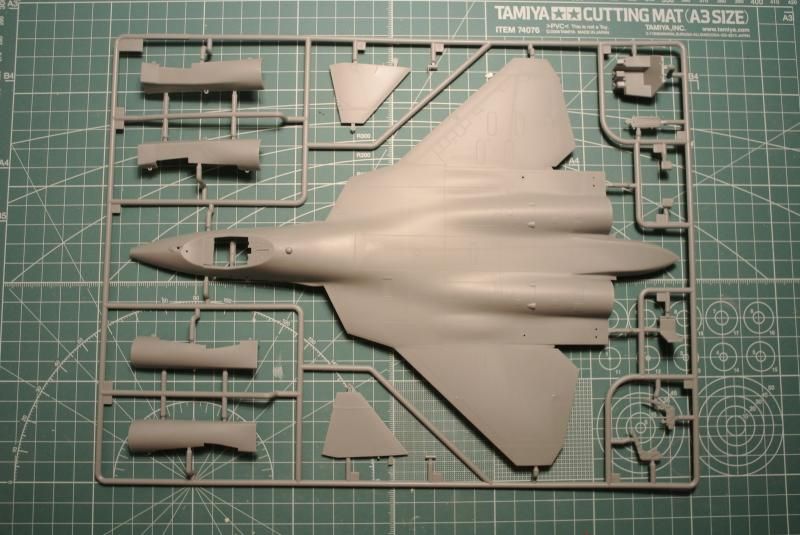
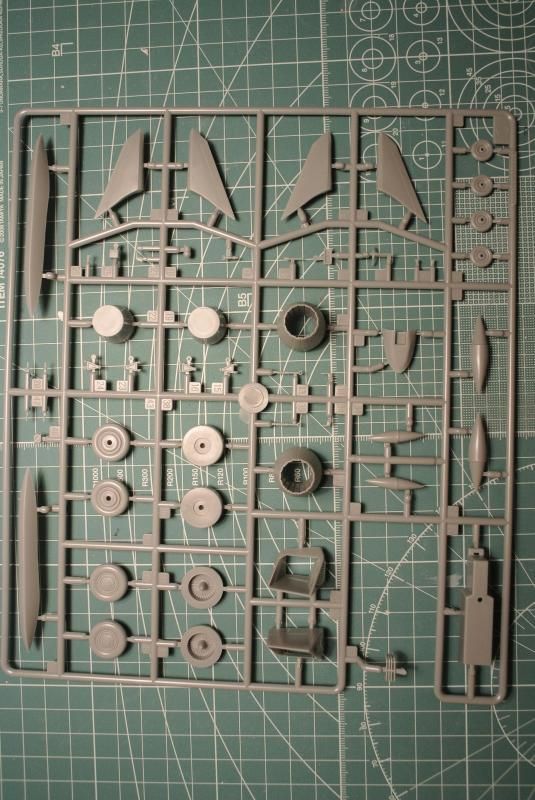
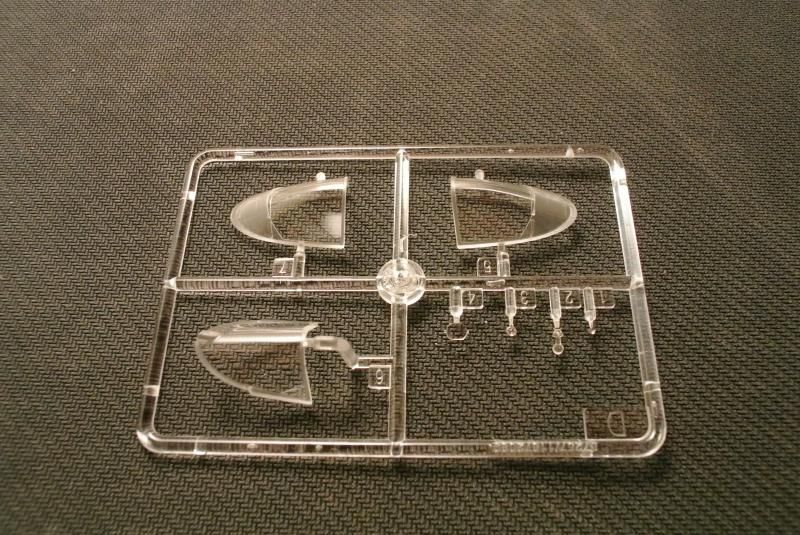
These clear parts are certainly the best looking clear parts I've ever seen on a 1/72 scale. However that might be why, since this is just too big for 1/72
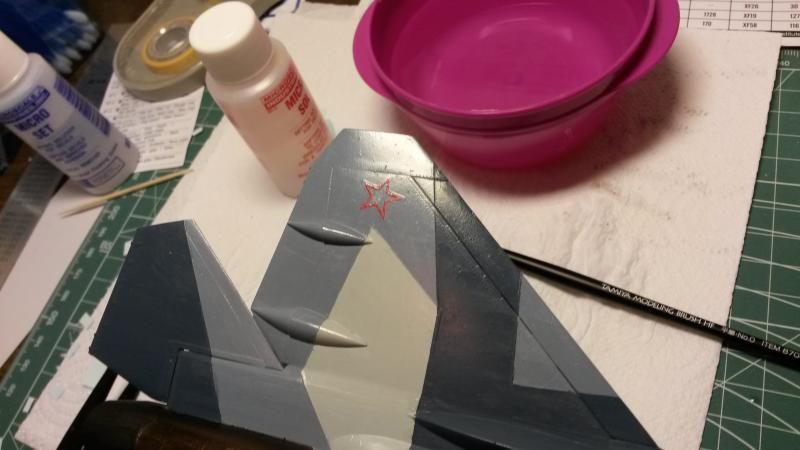
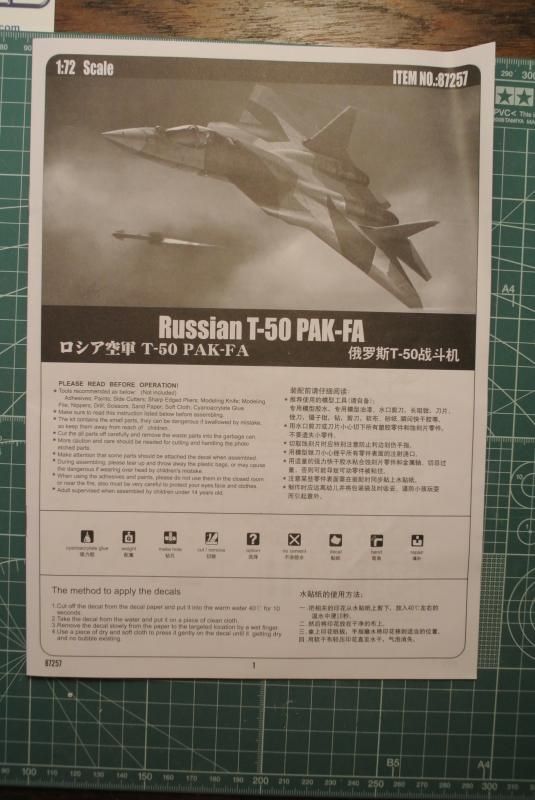
Not sure how to go down with these decals. Do they work with Micro Set/Sol?
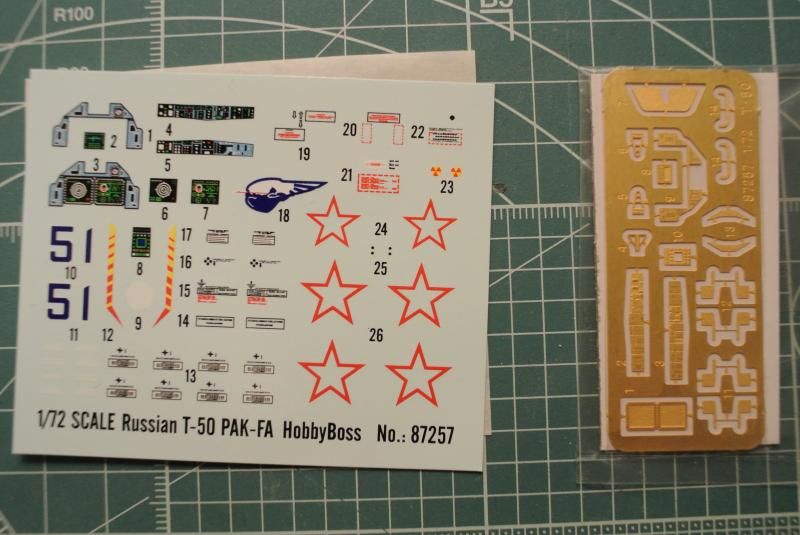
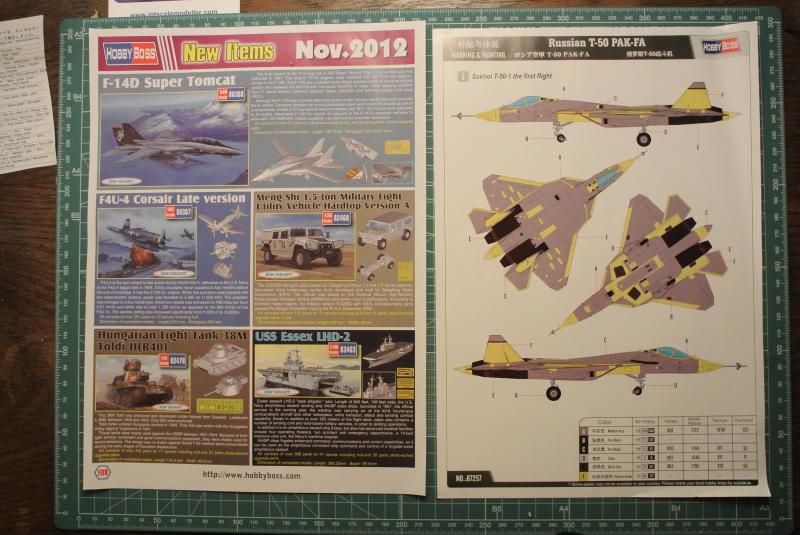
Nice colored paint callouts.
The build is already under way and here follows some construction photograps:
Some very mild scratch building here in the forward landing bays. They were completely blank so I just put some styrene in there to make it look more busy.
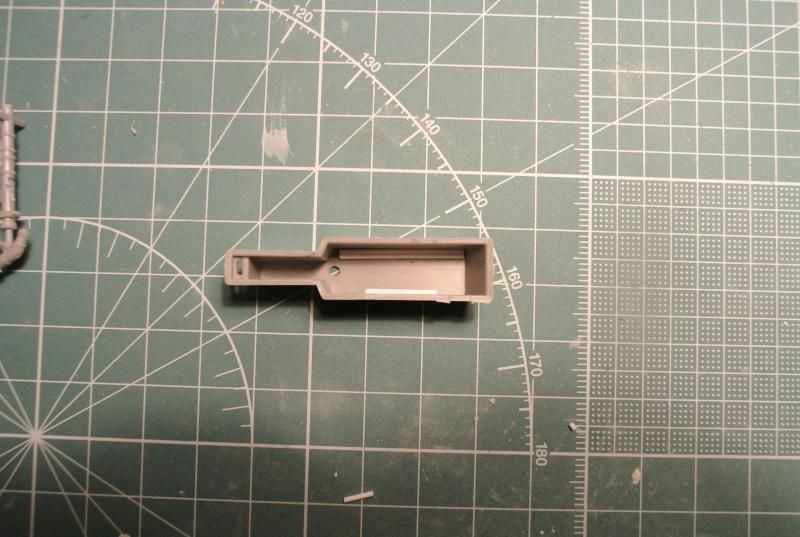
I went for the photo etched option in the cockpit.
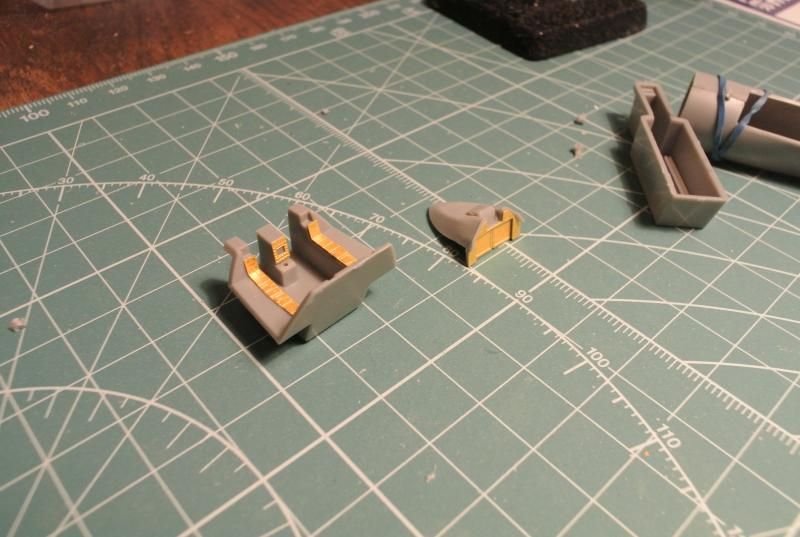
Again, here is the comparison of the two seats (the left one is the seat from my 1/72 Merlin heli) and first is the non constructed comparison.
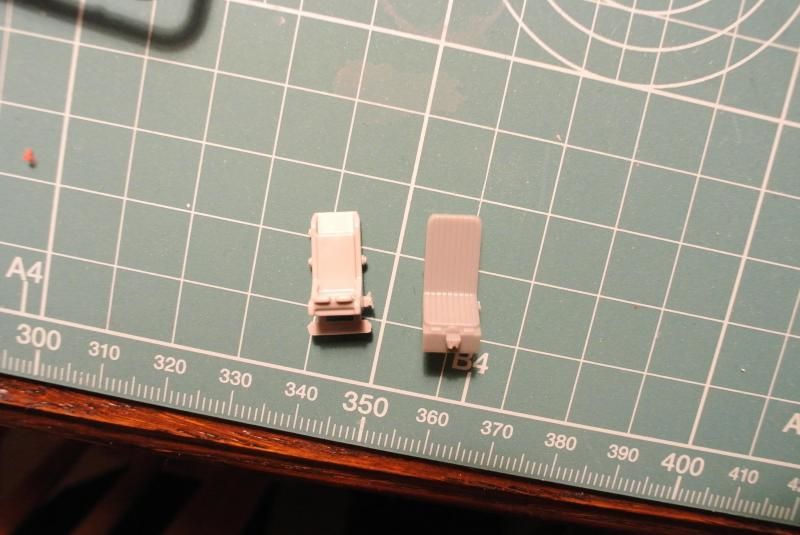
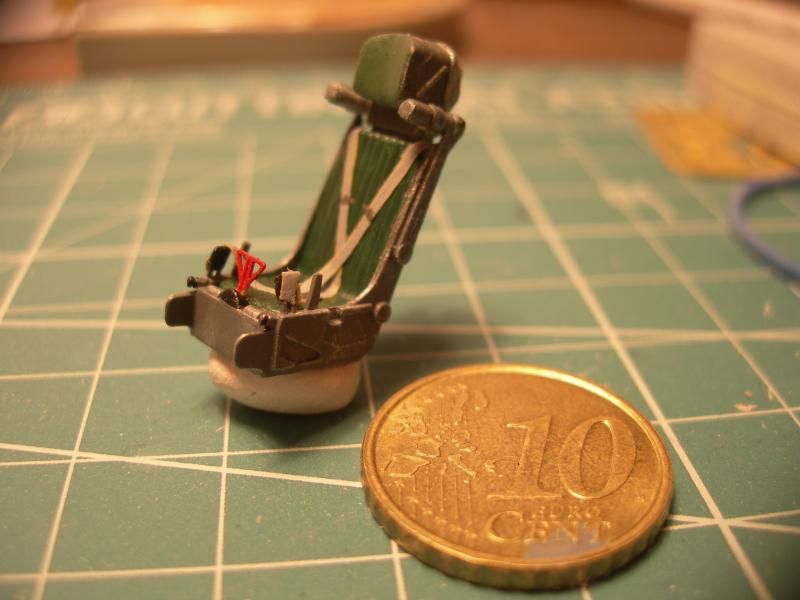
Here is the comparison with the seat built up. The difference is striking. Can't belive Hobby Boss missed this. Looks more like a 1/48 seat to me.
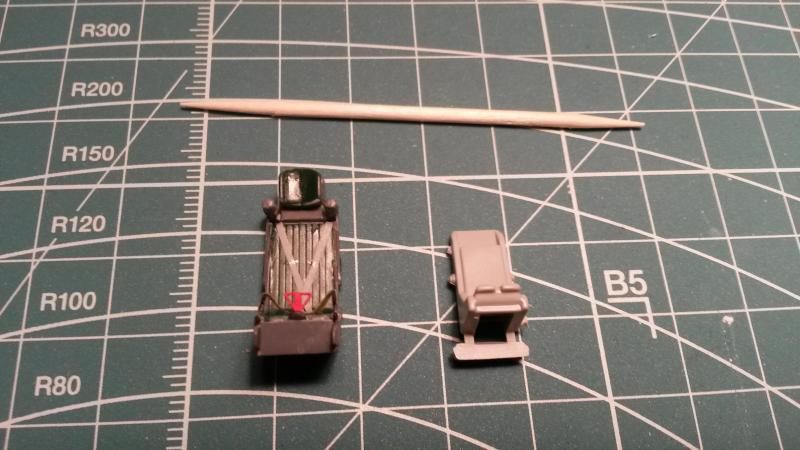
I'm quite happy with the seat in general. Had no reference photos to paint it from. The belts are made out of masking tape. It was really easy to work with this seat cause of it's large size. It consists of 5 different parts, and that's pretty nice.
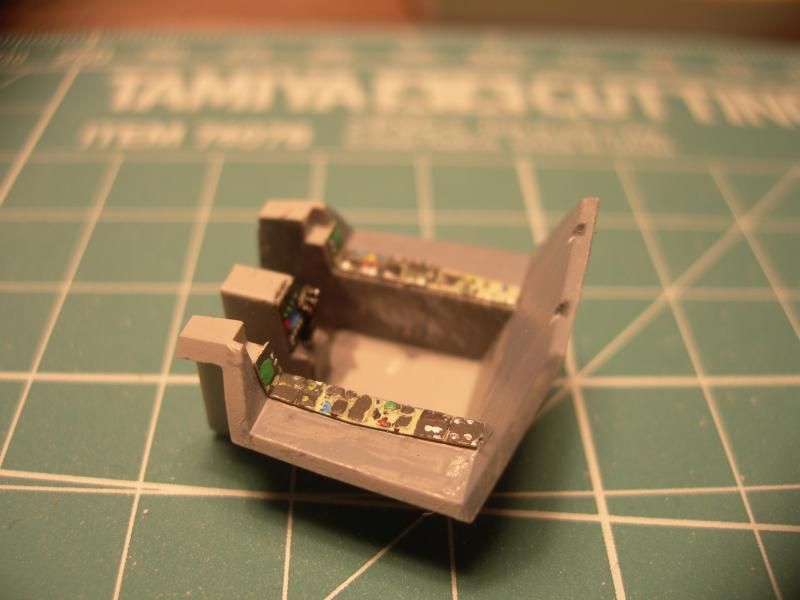
The cockpit is primed and base colored ready to be detailed.
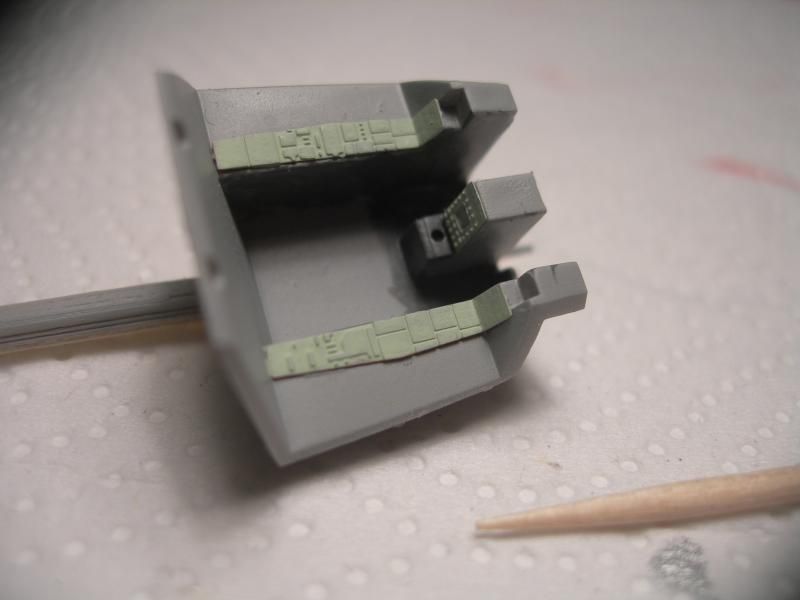
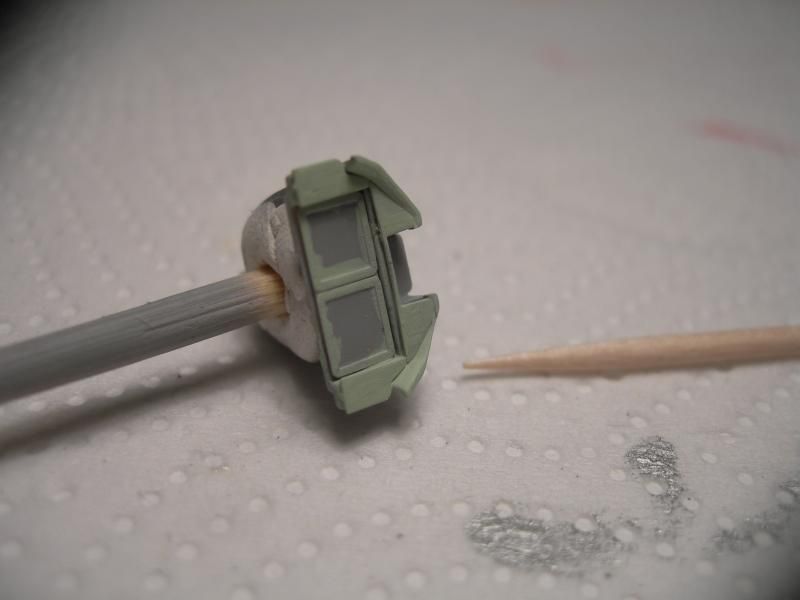
The tub painted up.
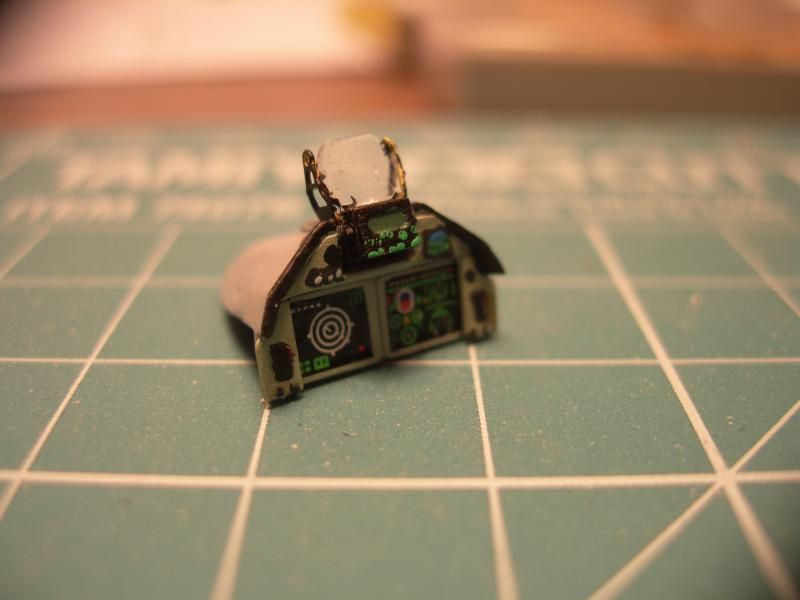
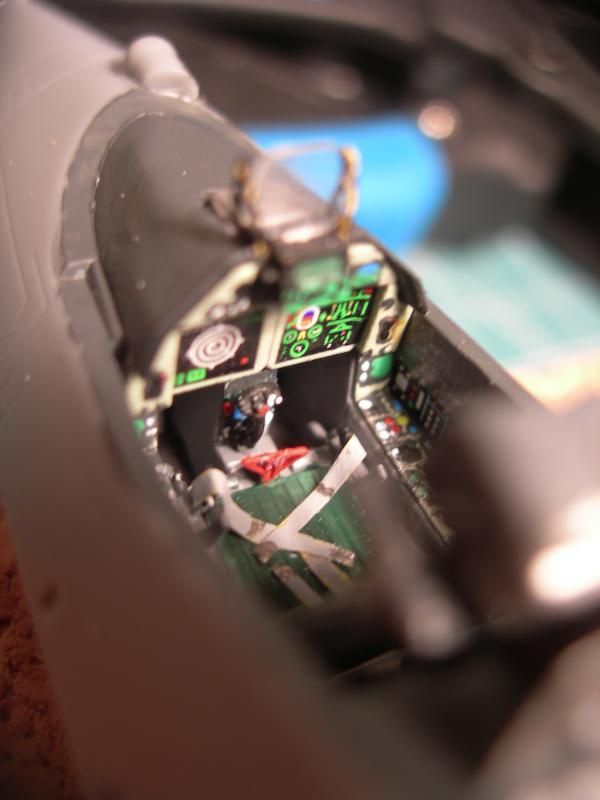
This instrument panel consists of 7 parts plus decals and that's pretty cool for 1/72. Unfortunately the HUD-arms made out of PE had to go because they would'nt fit under the canopy.
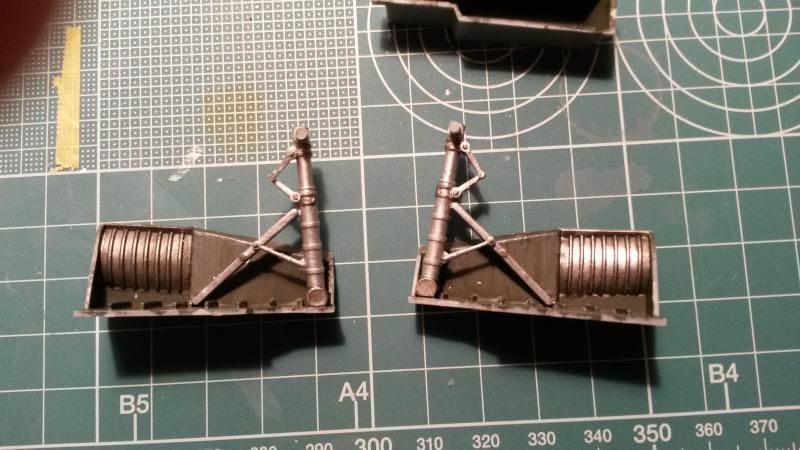
I usually want to build the landing gear last but the construction of this kit prevents me from postponing it.
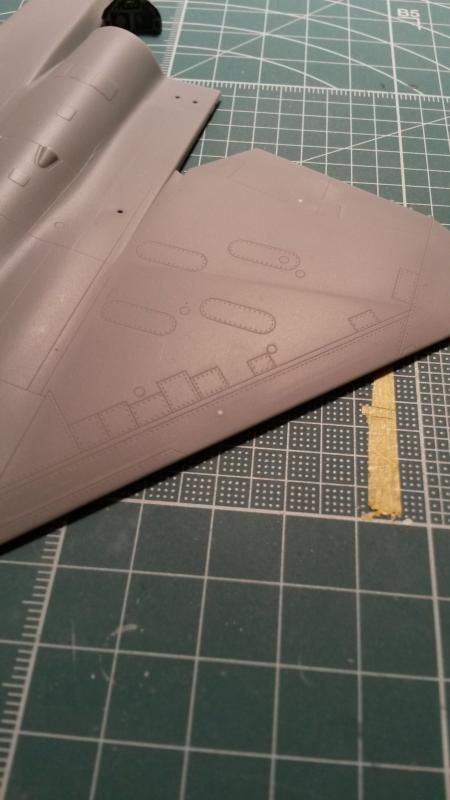
Got rid of the strange marks.
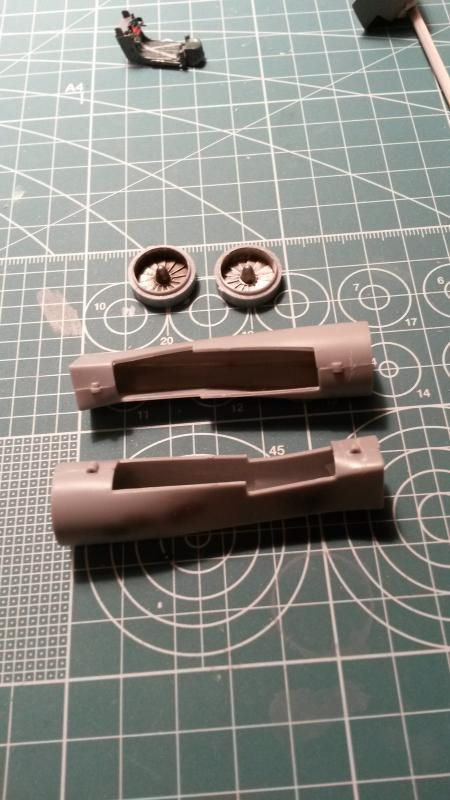
Gluing the intakes. These had a fairly bad fit, and the worst fit so far in the kit. The fit overall so far is pretty good.
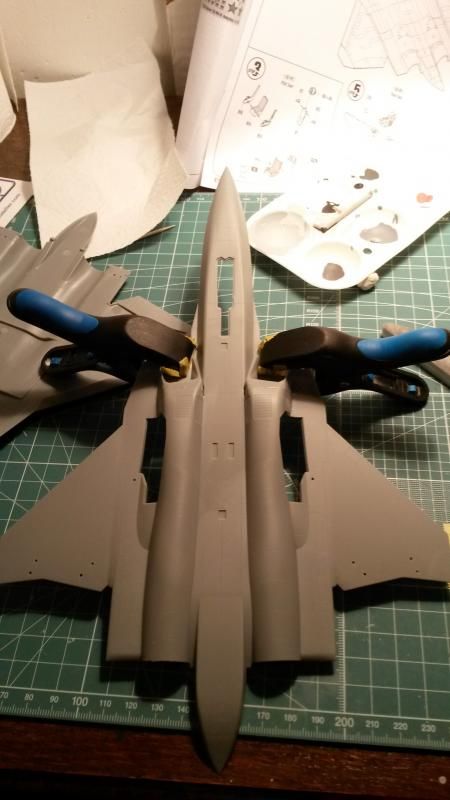
Weighted down the nose. Not sure if it's necessary but Im not the risk taking guy
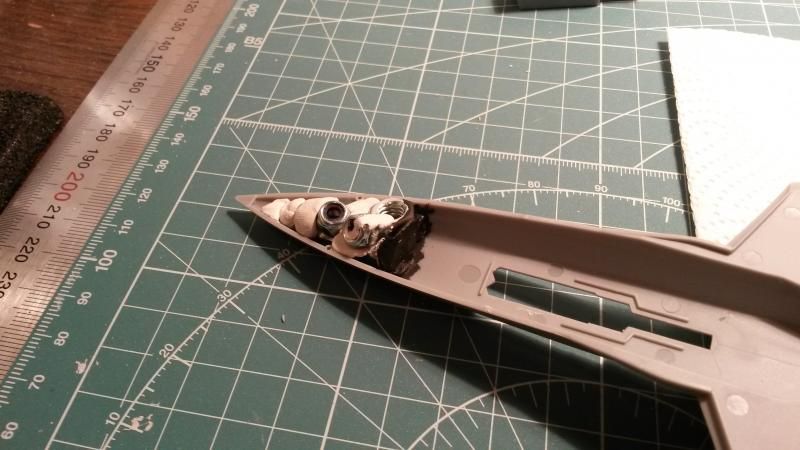
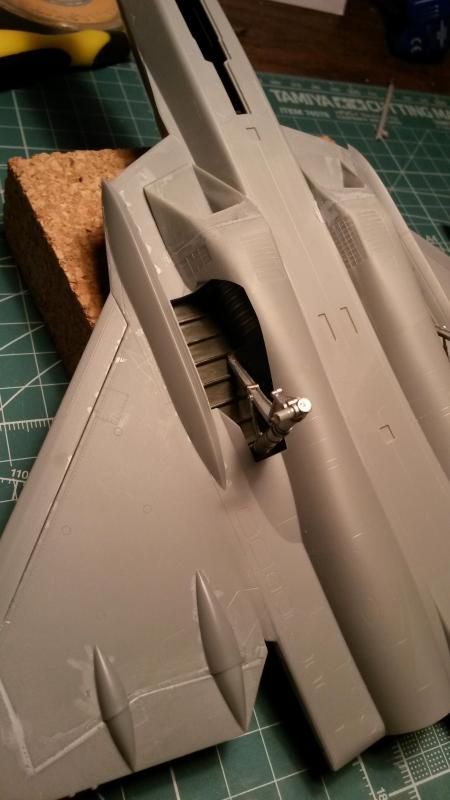
Assembled the intakes together with the landing bay and the glued it in. The tub is also glued in.
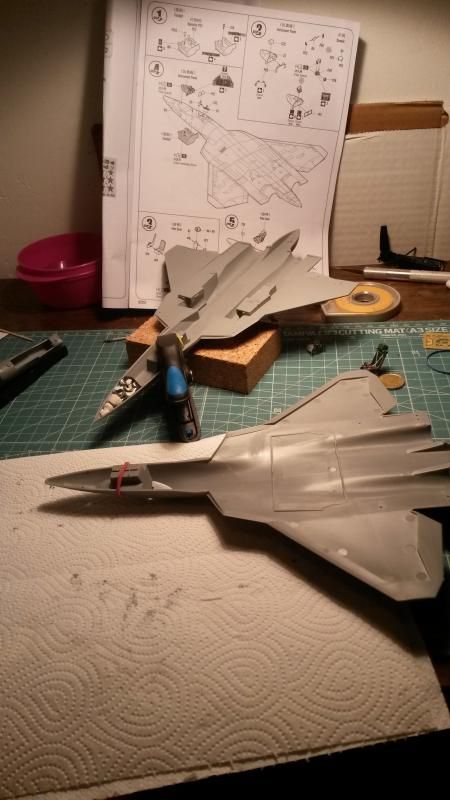
The fusilage glued together.
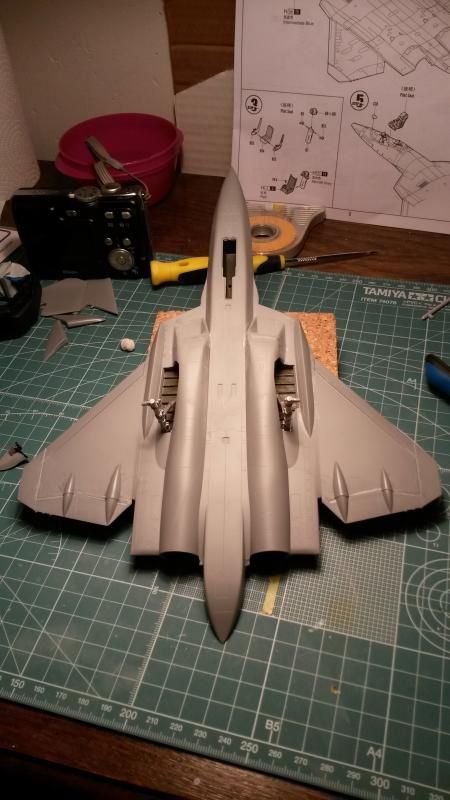
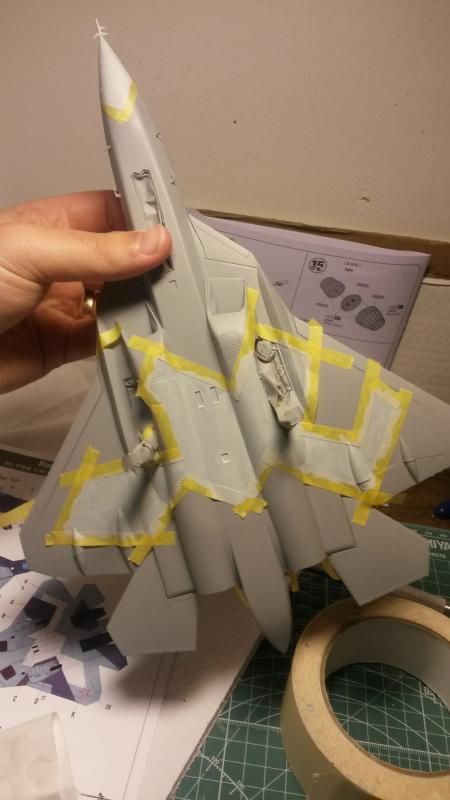
Some filling done and glued on the pylons.
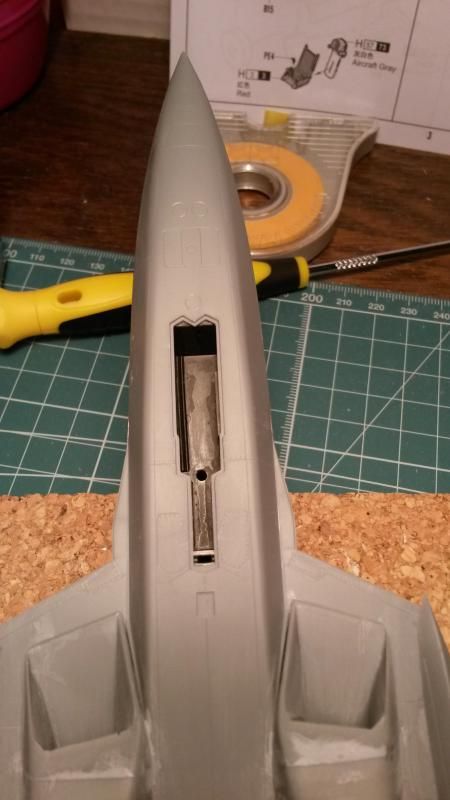
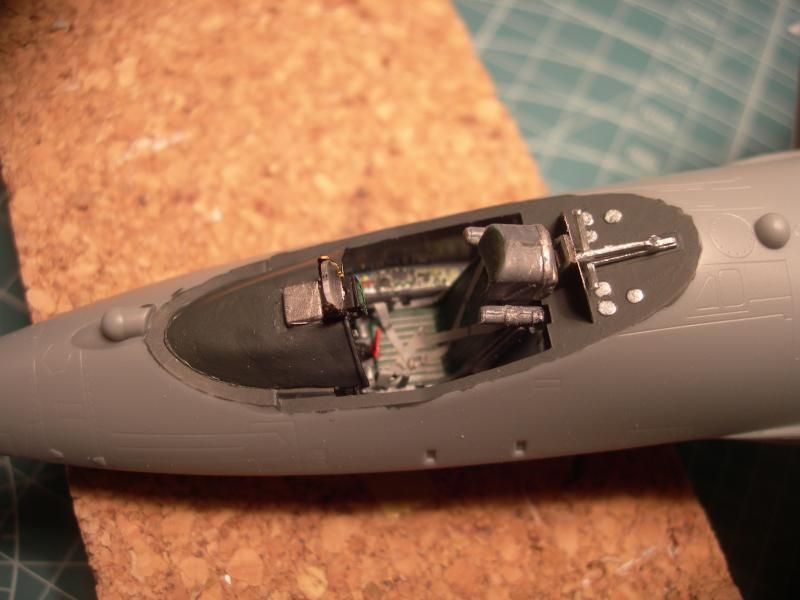
Jammed in the seat to the tub. The canopy attachement-thing behind the seat is made out of photo etch and plastic.
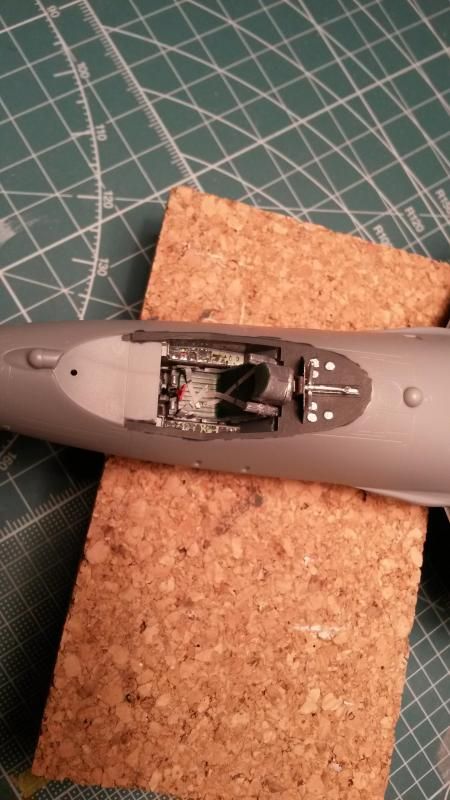

The seat is just too damn big. You can here see the difference between the stick and the ejection lever. How would one fly like that?
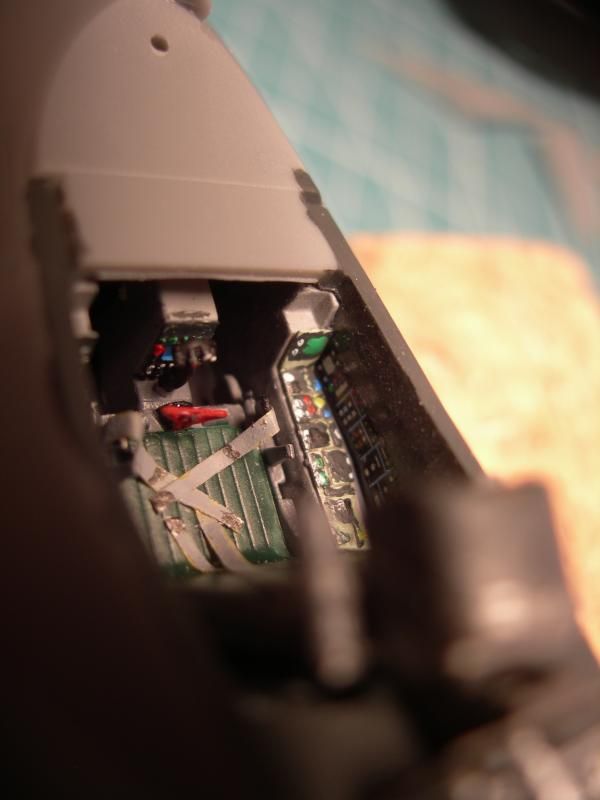
Final cockpit assembly:
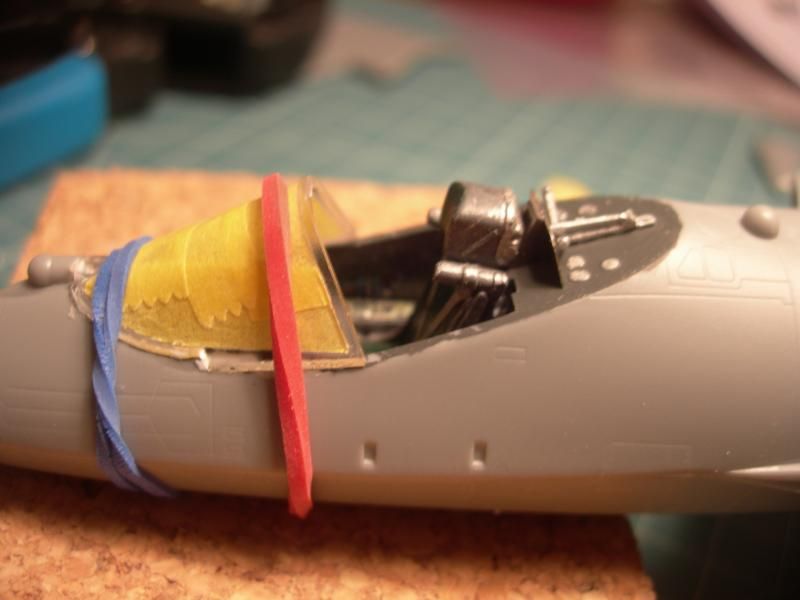
Glueing the canopy using Microscale Krystal Klear
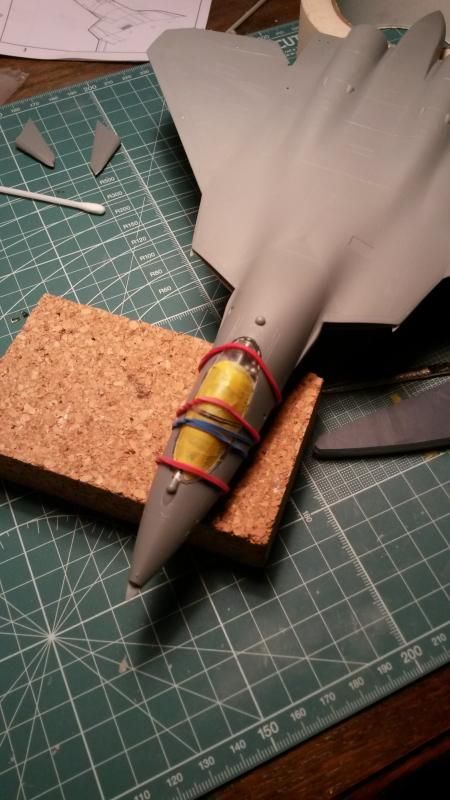
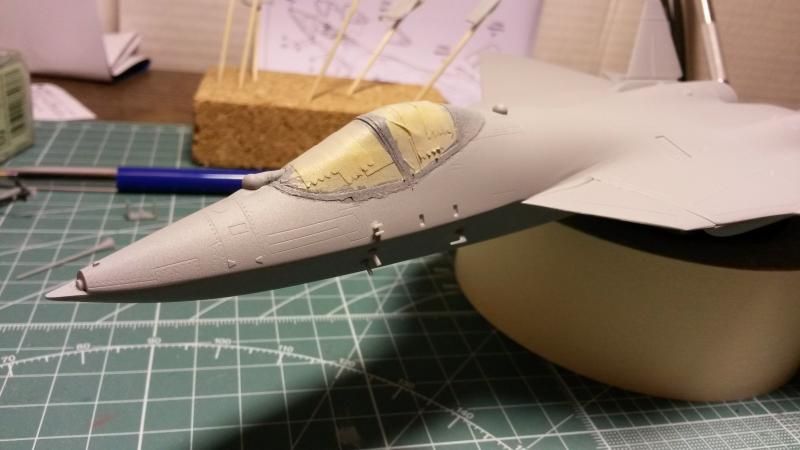
The recessed detail in the canopy can be seen here when I painted the inside colour of the canopy.
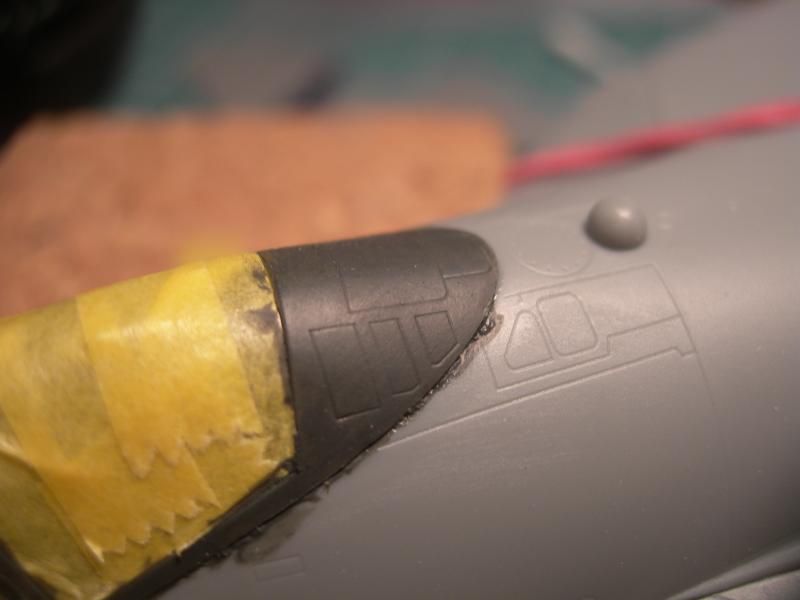
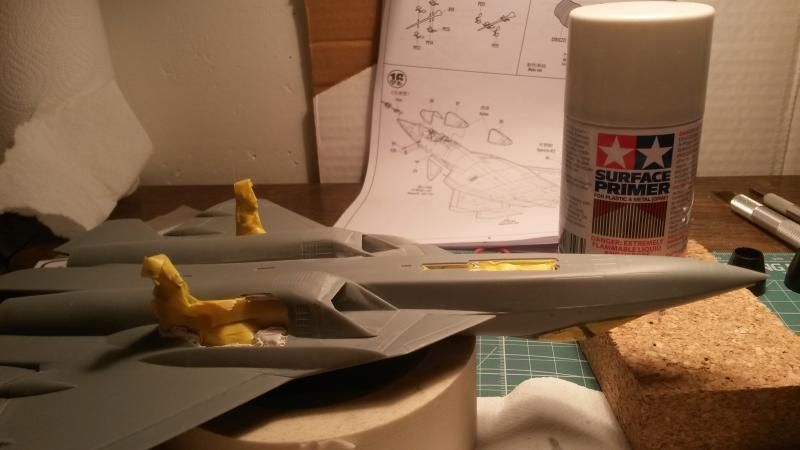
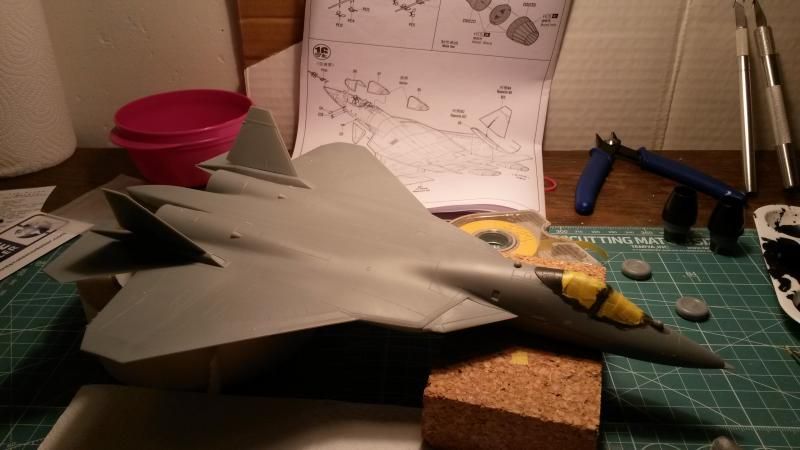
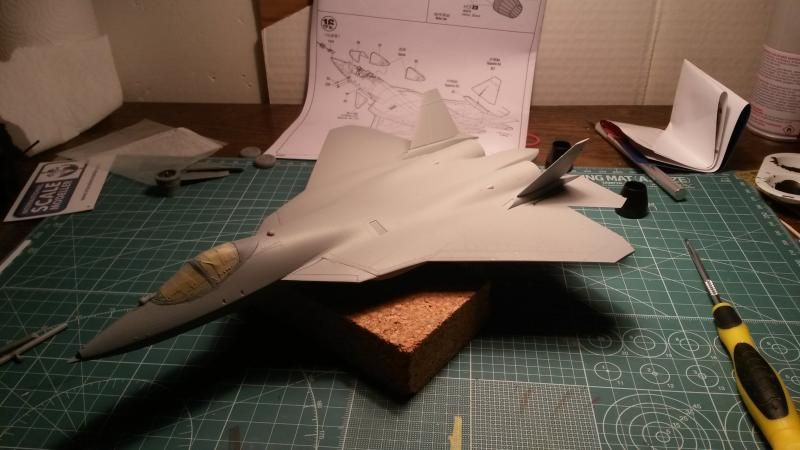
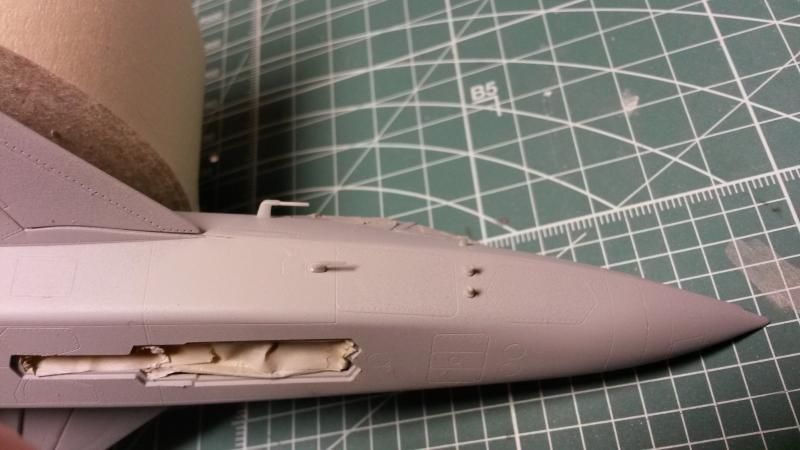
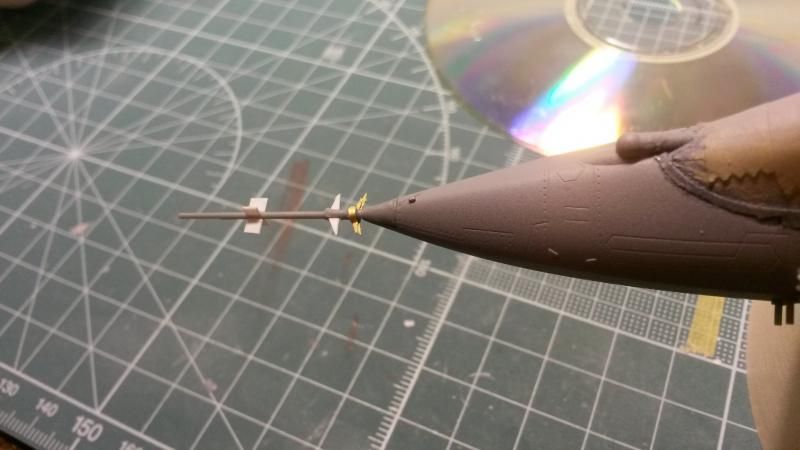
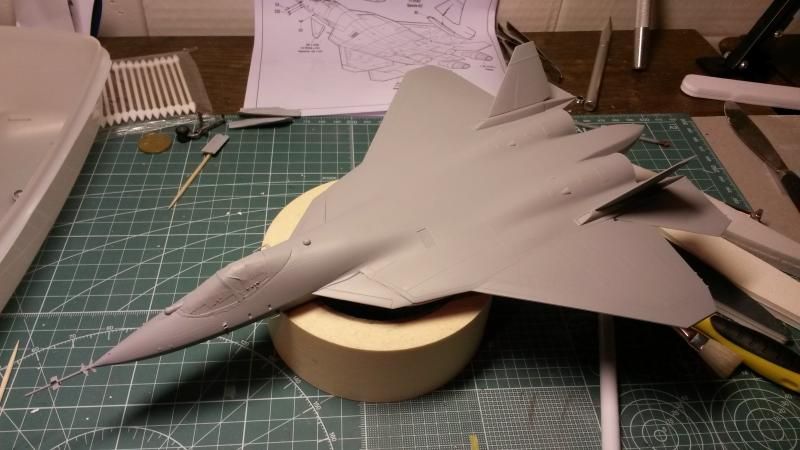
Painted the inside color of the canopy. Glued the front stabilizer and the base for the vertical stabilizer.
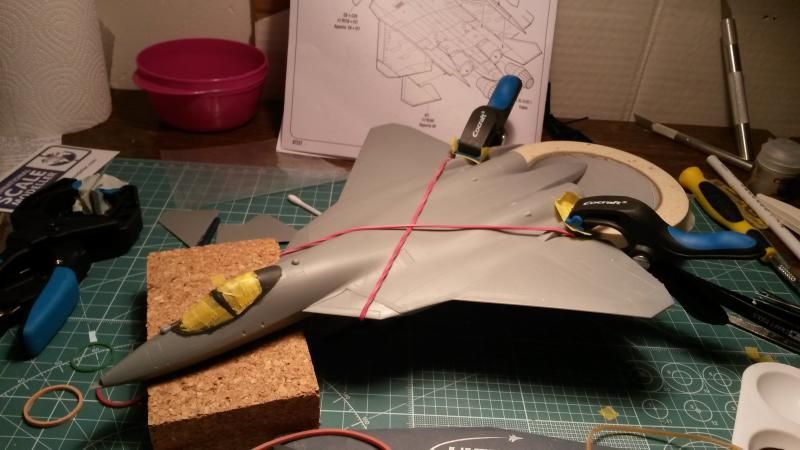
PHEW! This was a long post. Will try and finish this kit pretty fast since the nightfighter SiG has already started and I don't want this hanging about. Until next time,
cheers
I have done a very thorough kit review in the review section which can be found HERE so I will not do any reviewing here. I will only show sprue shots and the WIP-shots. This is a prototype aircraft that havent seen service to this day (i think) and most of the development is still top secret. This is why there is so few reference photos out there and I guess that's why the paint callouts in the instructions for the interior is so sparce. Most of the paint scheme in the interior and the landing bays are made up by me since I lack the reference for it. The same goes for the details I suppose. I can't really blame Hobby Boss for this since they couldn't find the reference for these things.
In the review I mention the big issue I had with this kit before I started and that was the scale of the kit. The kit feels like its more 1/60 scale than 1/72 and it just feels too big. I will illustrate this better when I come to the ejection seat with a photo.
I feel obliged to tell you that I bought this kit mainly because of the cool camo-scheme on the box art and because it was a new tool. This is my first jet build in ages and also my very first Hobby Boss build so I was pretty excited to build this. Here it goes
The very cool box art with the very nice camo.

The provided options:


These clear parts are certainly the best looking clear parts I've ever seen on a 1/72 scale. However that might be why, since this is just too big for 1/72

Not sure how to go down with these decals. Do they work with Micro Set/Sol?


Nice colored paint callouts.


The build is already under way and here follows some construction photograps:
Some very mild scratch building here in the forward landing bays. They were completely blank so I just put some styrene in there to make it look more busy.

I went for the photo etched option in the cockpit.

Again, here is the comparison of the two seats (the left one is the seat from my 1/72 Merlin heli) and first is the non constructed comparison.

Here is the comparison with the seat built up. The difference is striking. Can't belive Hobby Boss missed this. Looks more like a 1/48 seat to me.


I'm quite happy with the seat in general. Had no reference photos to paint it from. The belts are made out of masking tape. It was really easy to work with this seat cause of it's large size. It consists of 5 different parts, and that's pretty nice.

The cockpit is primed and base colored ready to be detailed.


The tub painted up.

This instrument panel consists of 7 parts plus decals and that's pretty cool for 1/72. Unfortunately the HUD-arms made out of PE had to go because they would'nt fit under the canopy.

I usually want to build the landing gear last but the construction of this kit prevents me from postponing it.

Got rid of the strange marks.

Gluing the intakes. These had a fairly bad fit, and the worst fit so far in the kit. The fit overall so far is pretty good.

Weighted down the nose. Not sure if it's necessary but Im not the risk taking guy

Assembled the intakes together with the landing bay and the glued it in. The tub is also glued in.

The fusilage glued together.

Some filling done and glued on the pylons.


Jammed in the seat to the tub. The canopy attachement-thing behind the seat is made out of photo etch and plastic.


The seat is just too damn big. You can here see the difference between the stick and the ejection lever. How would one fly like that?

Final cockpit assembly:


Glueing the canopy using Microscale Krystal Klear


The recessed detail in the canopy can be seen here when I painted the inside colour of the canopy.

Painted the inside color of the canopy. Glued the front stabilizer and the base for the vertical stabilizer.

PHEW! This was a long post. Will try and finish this kit pretty fast since the nightfighter SiG has already started and I don't want this hanging about. Until next time,
cheers
