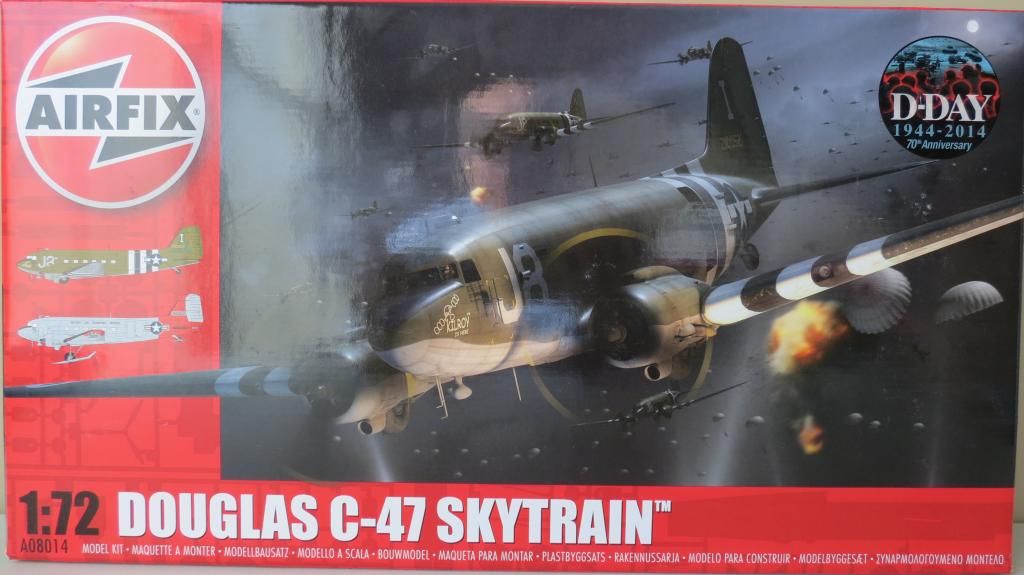
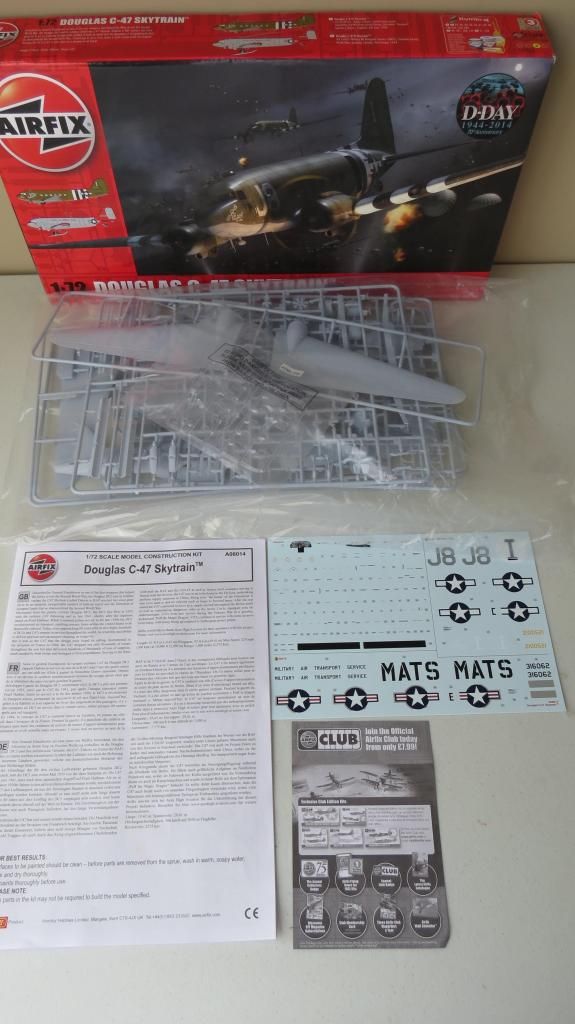
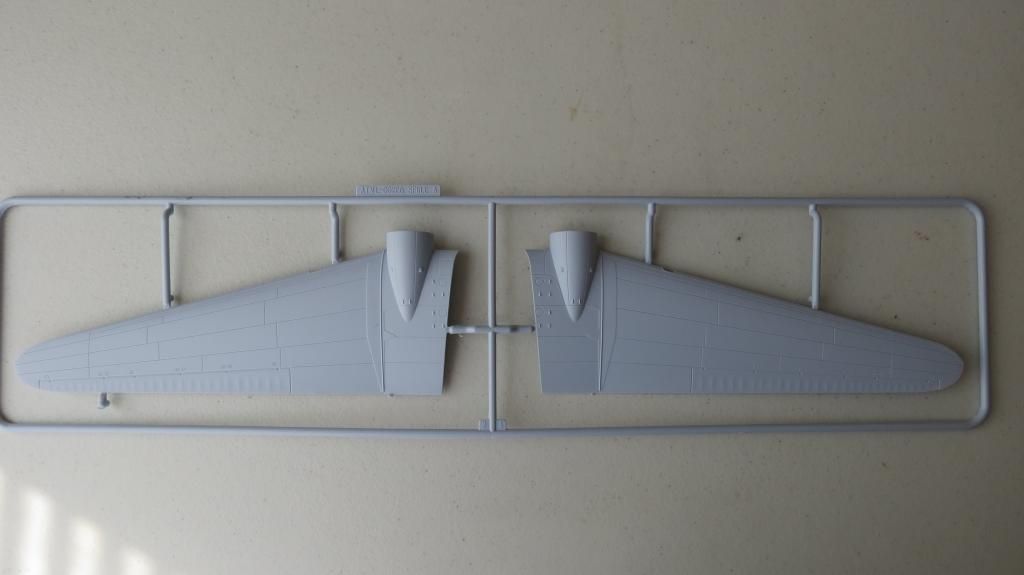
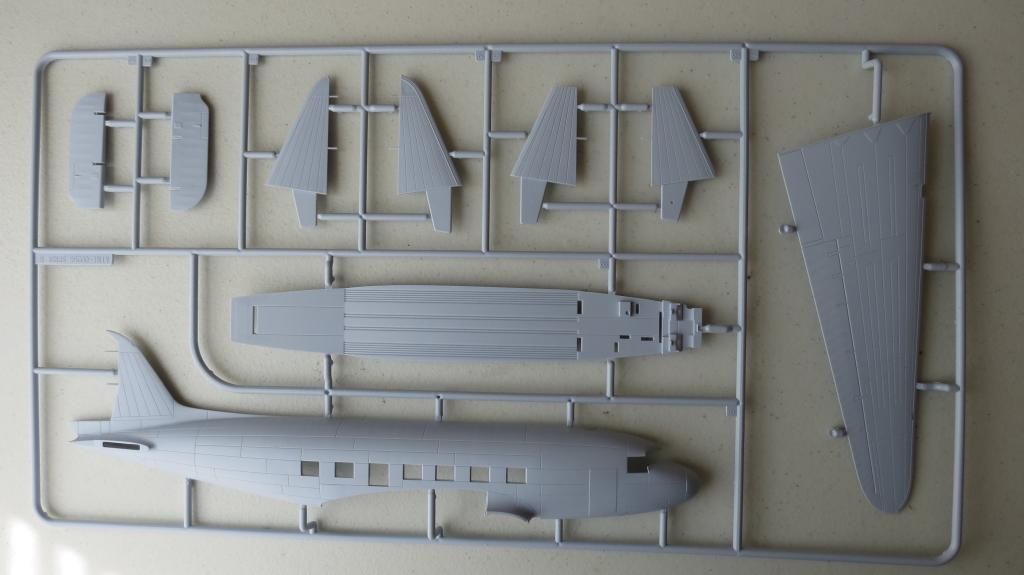
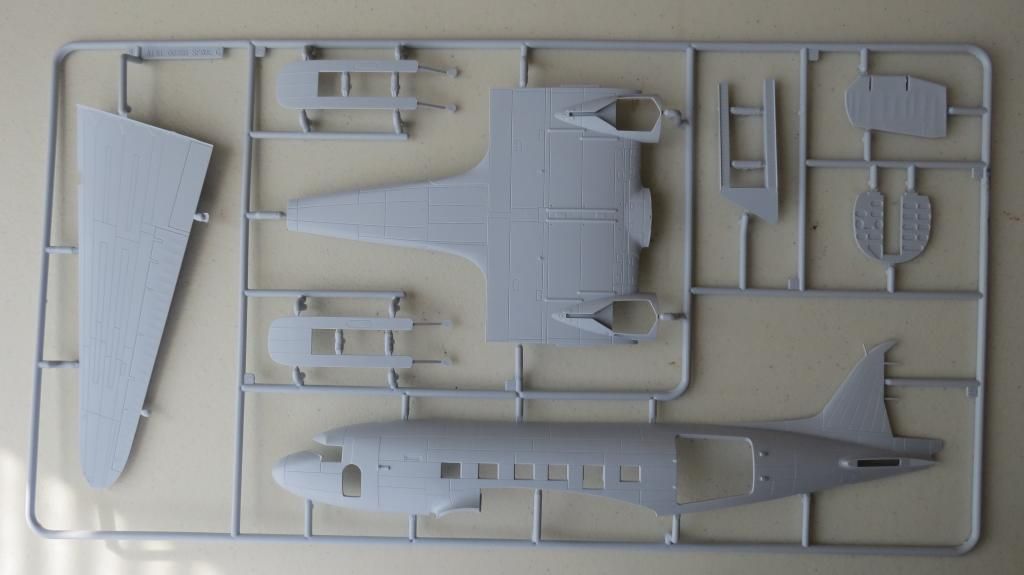
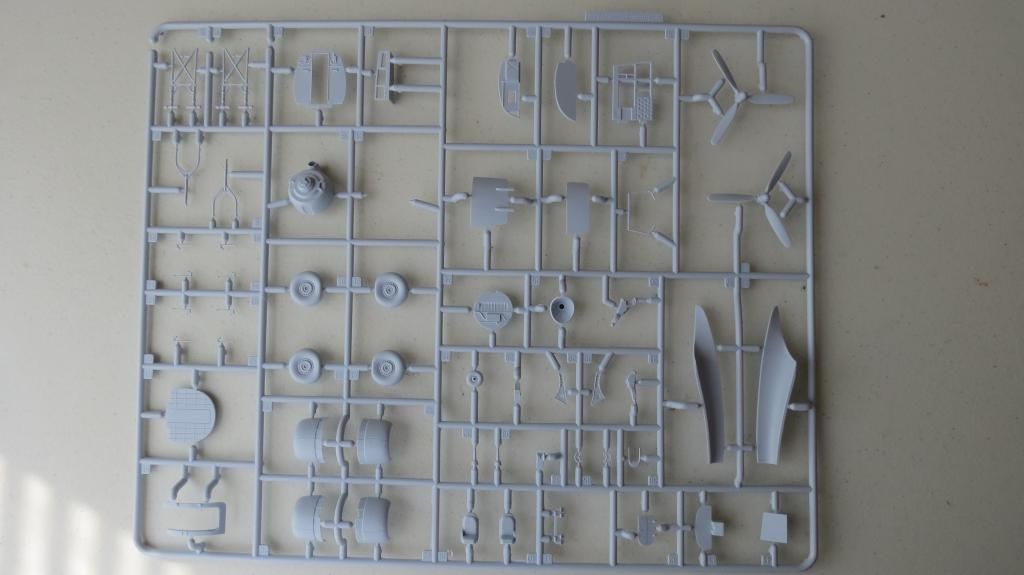
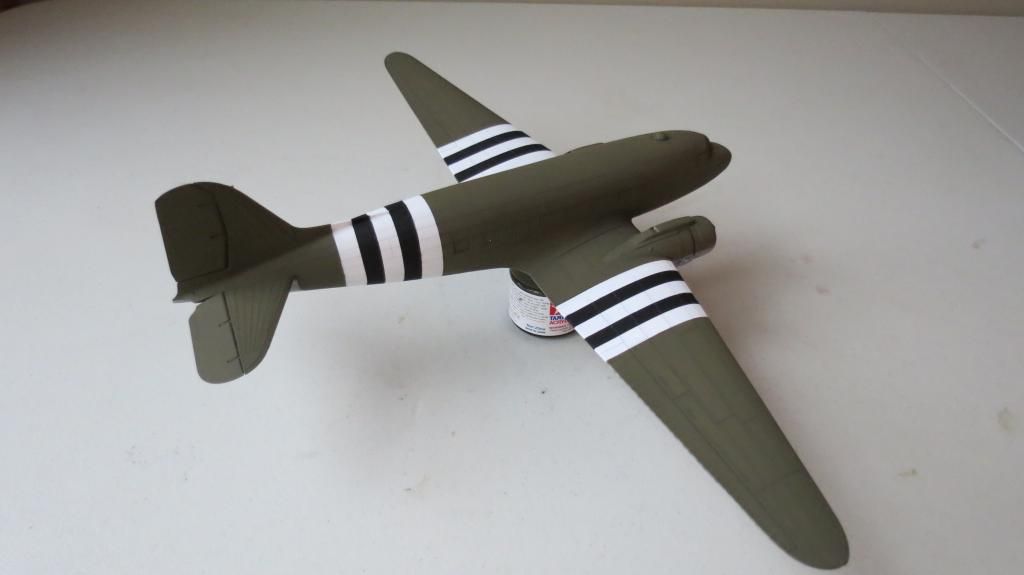
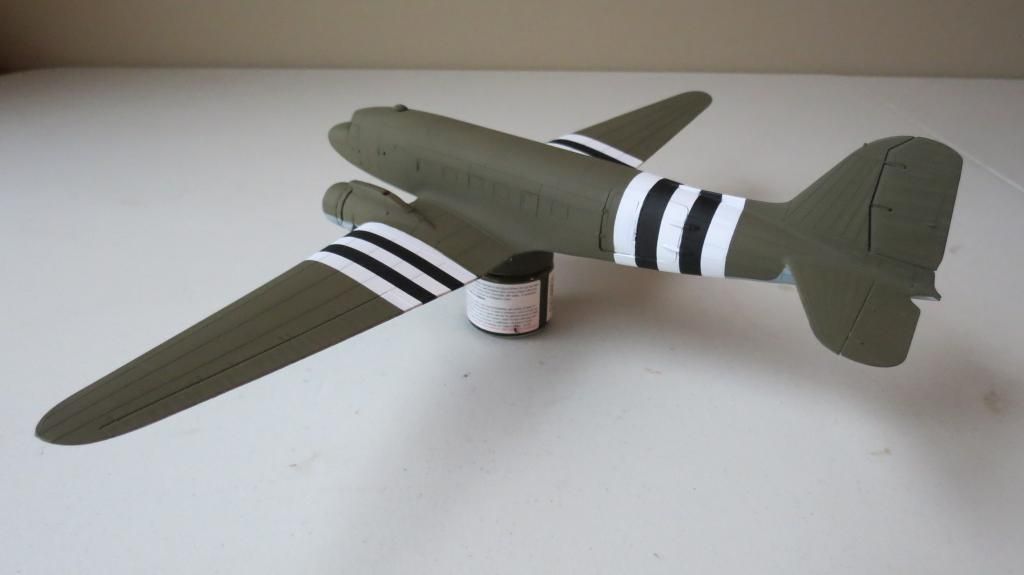
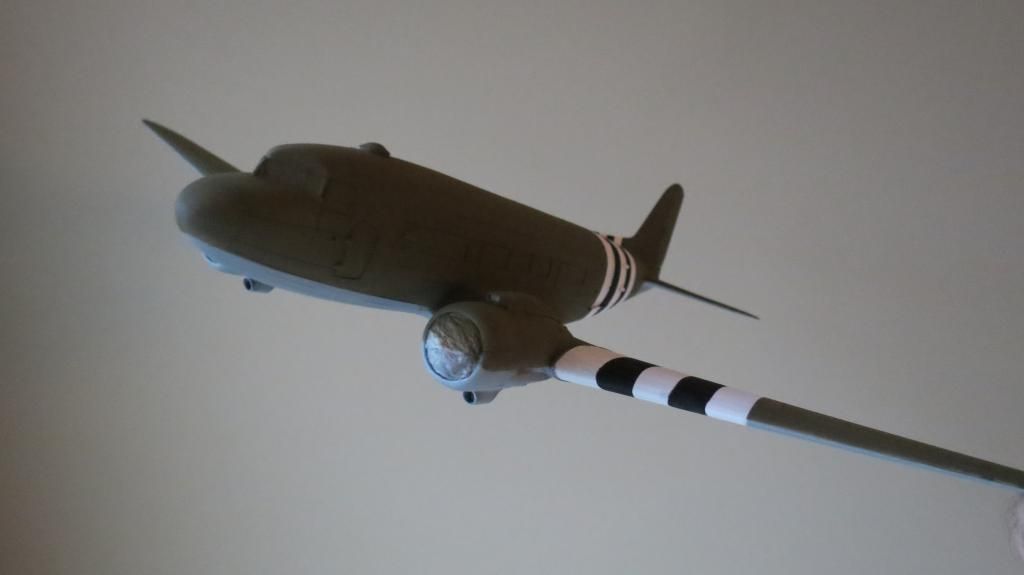
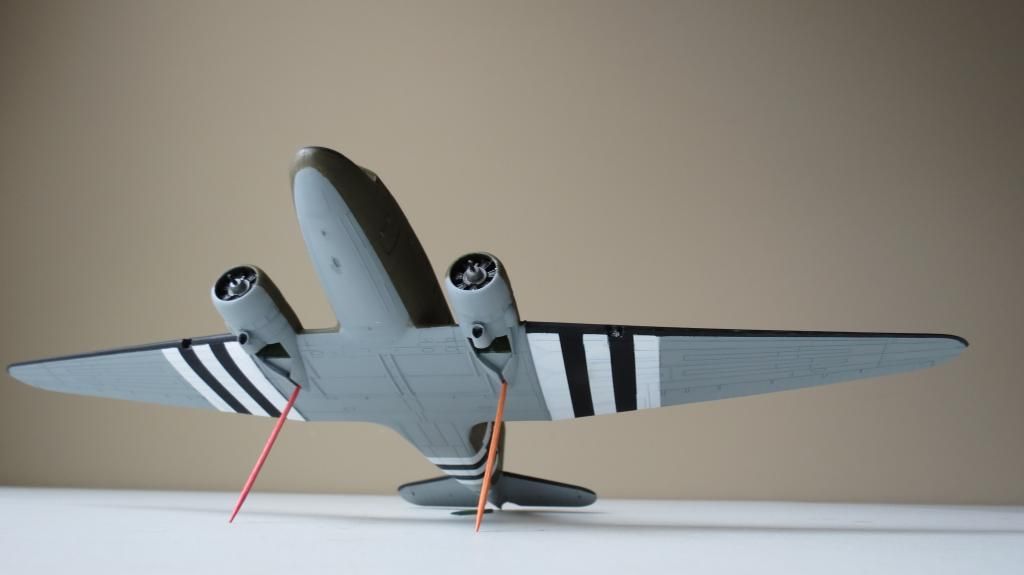
Part 1- Airfix 1/72nd Scale Douglas C-47 Skyraider Build Update Report #2
Stage 2 of Build Update #2
Hello Guys, so I'm back to show you what I got done during stage 2 of my Build Update Report #2;
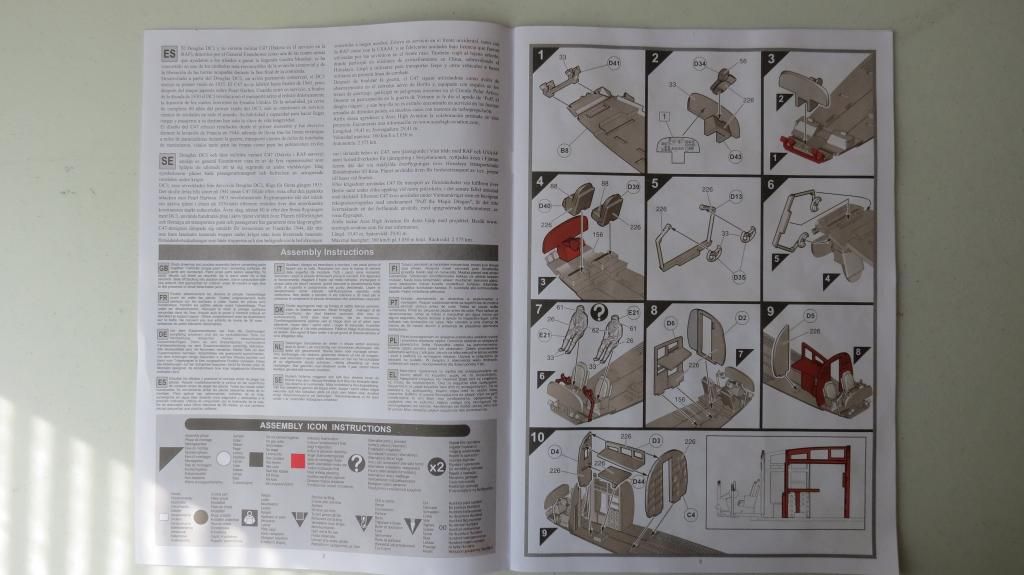
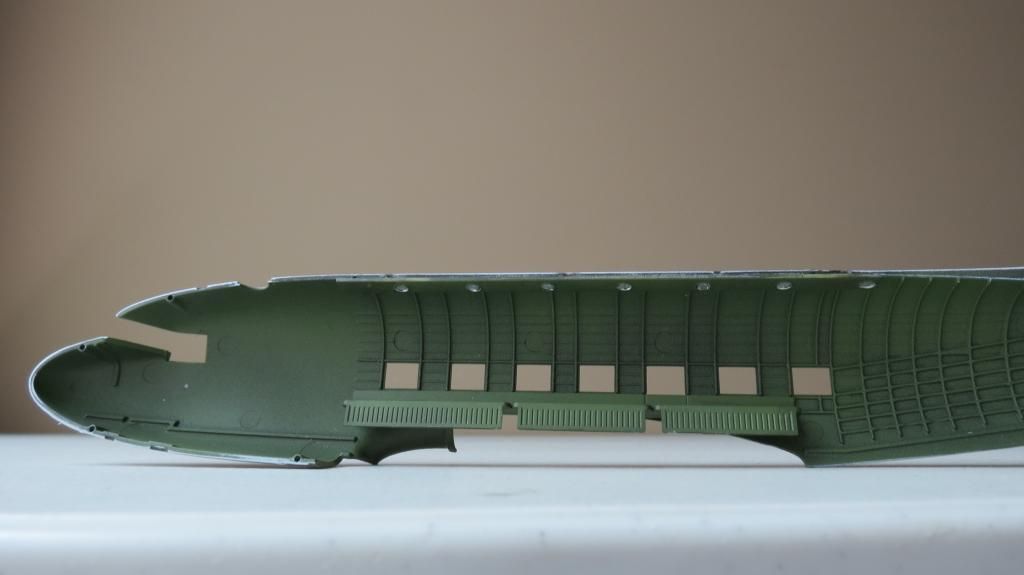
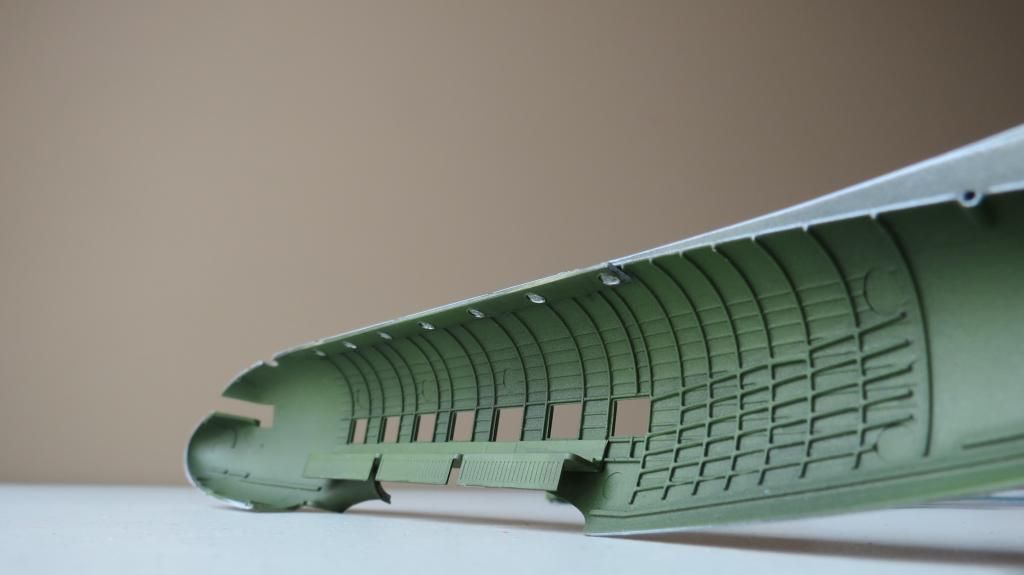
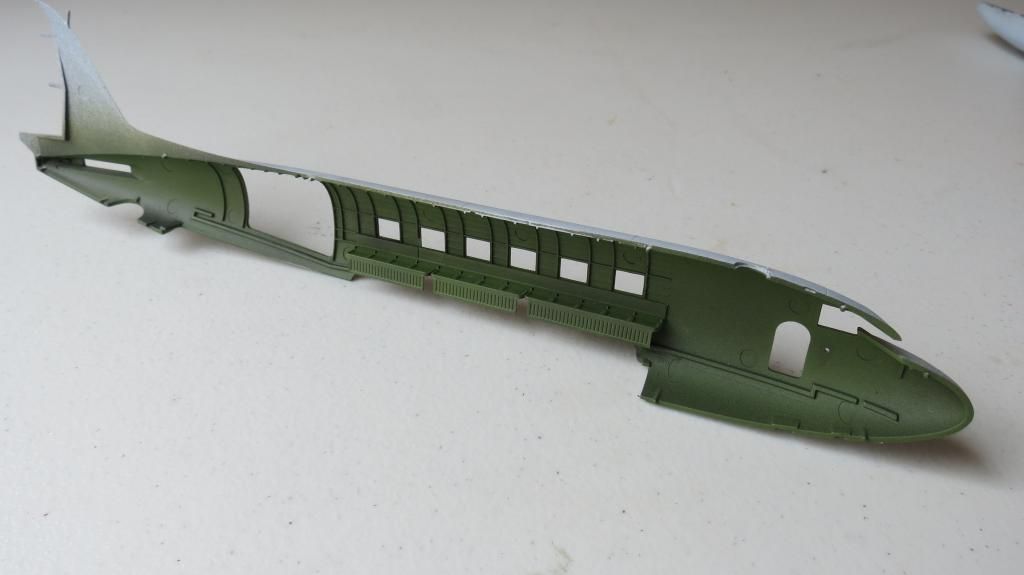
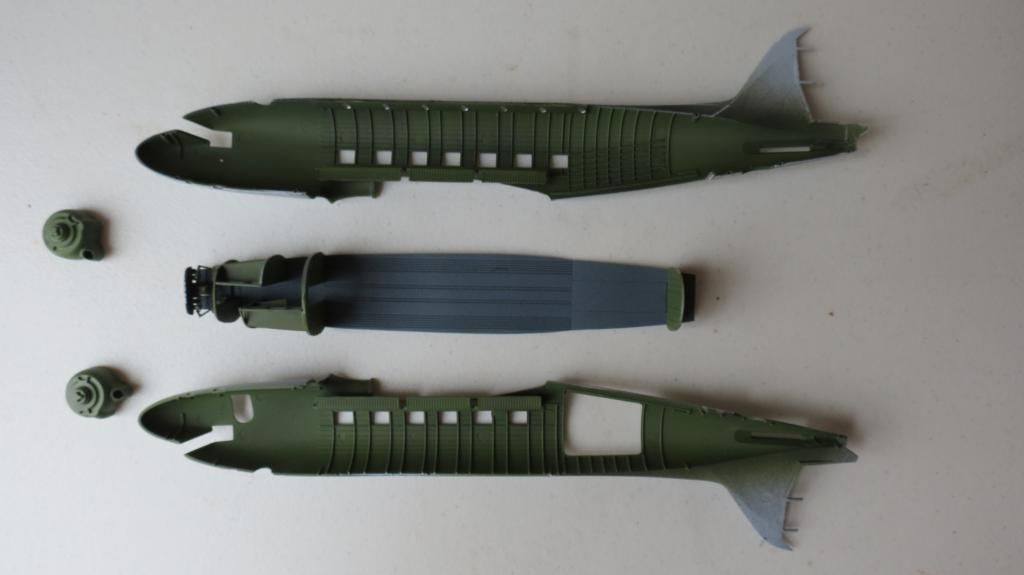
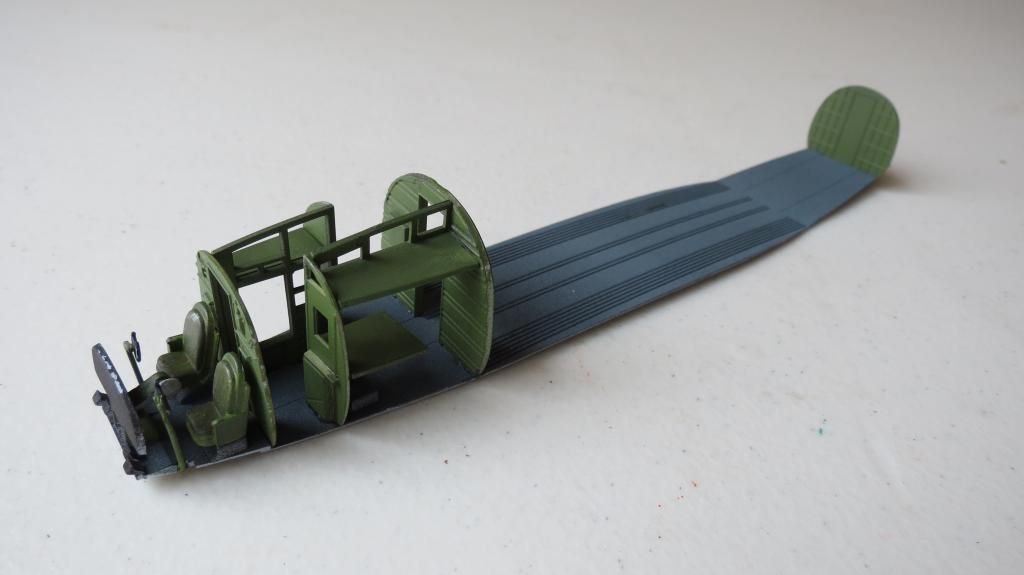
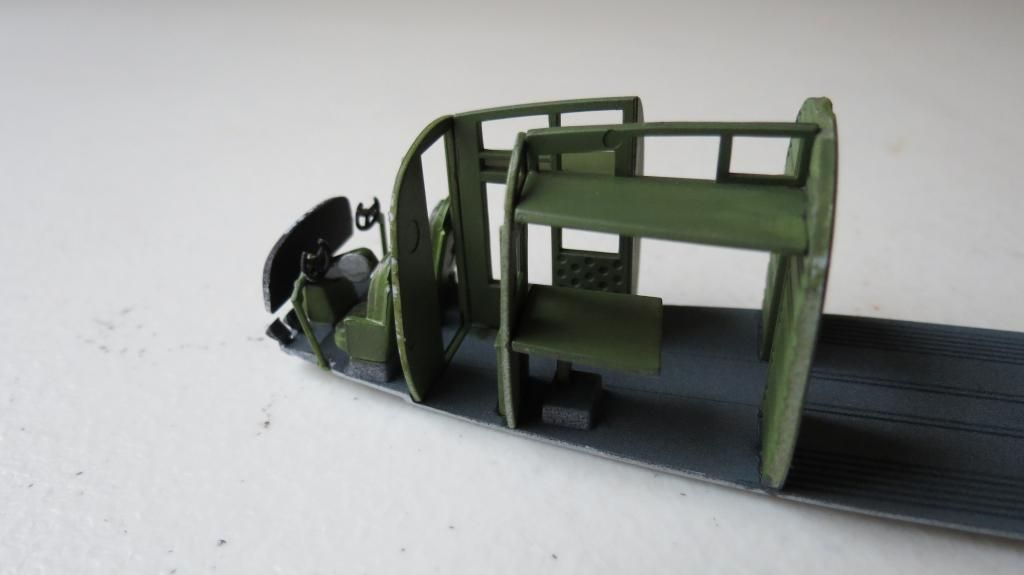
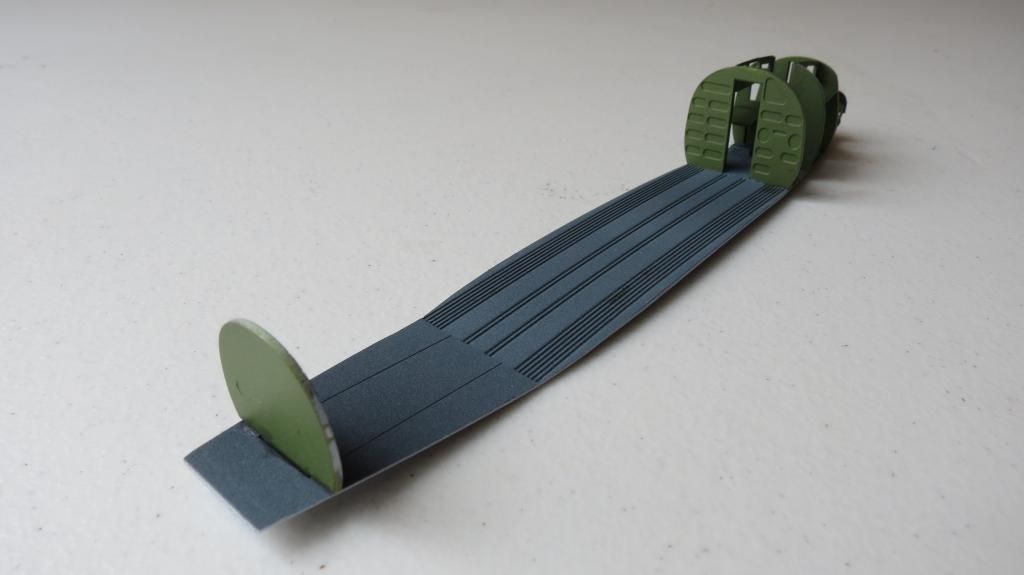
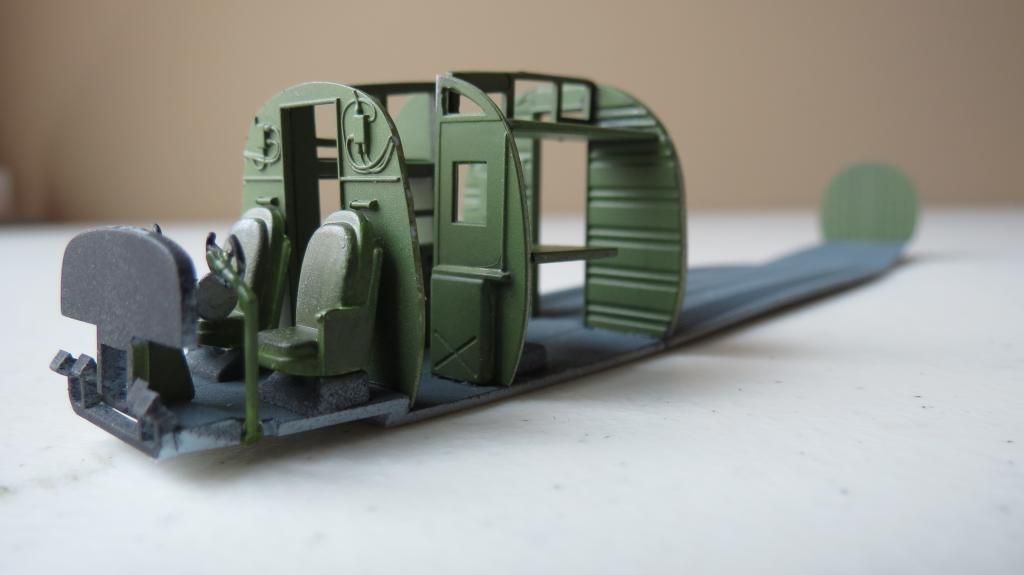
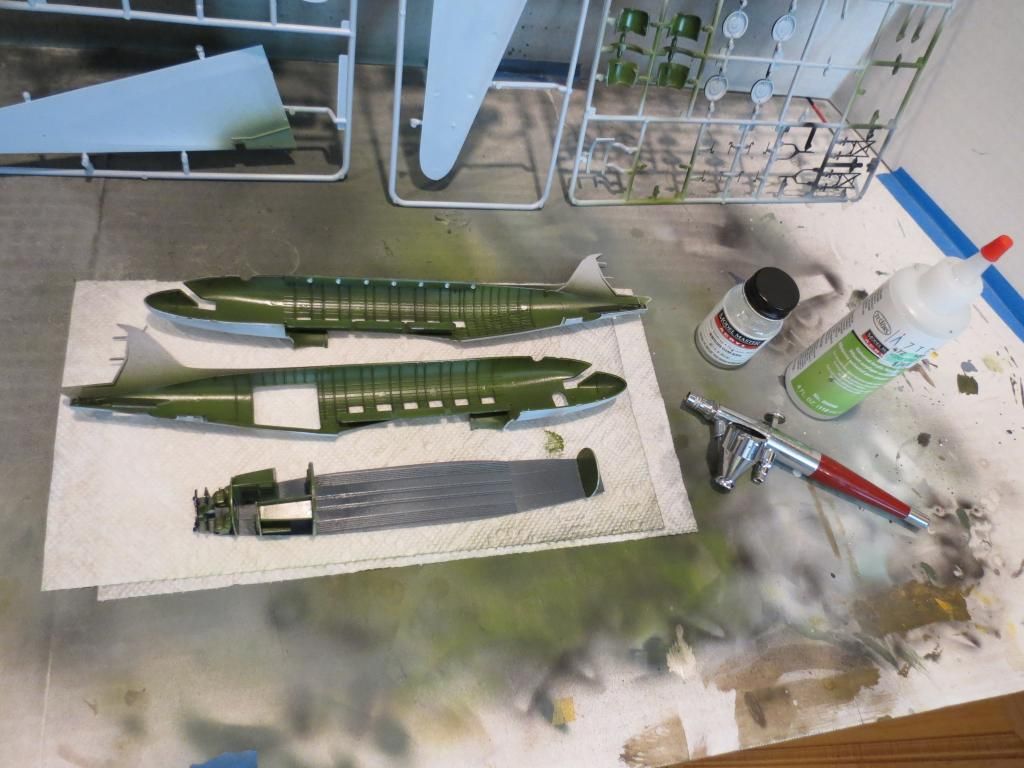
First, the interior assembly was glued into the starboard side fuselage half and clamped until set;

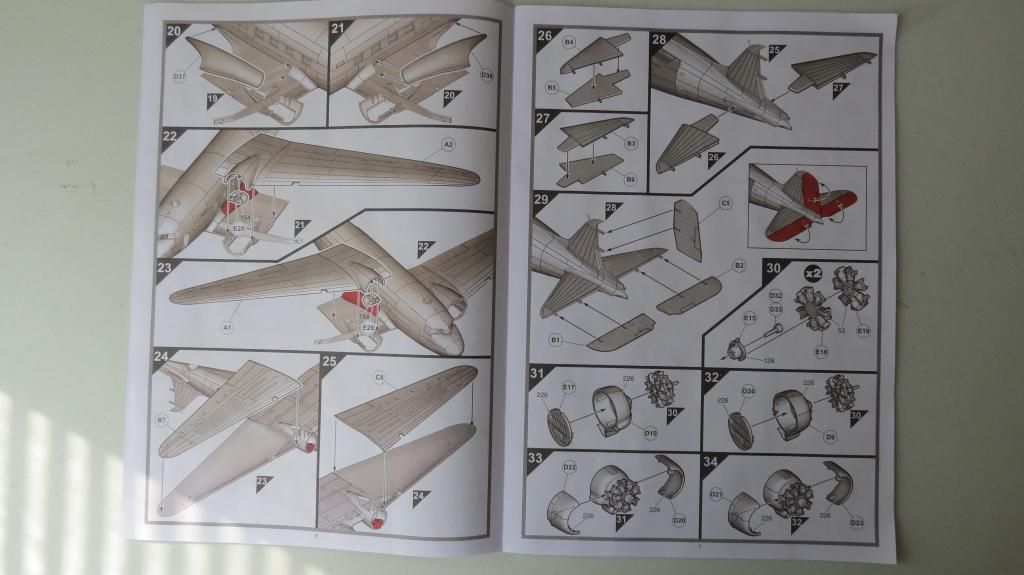
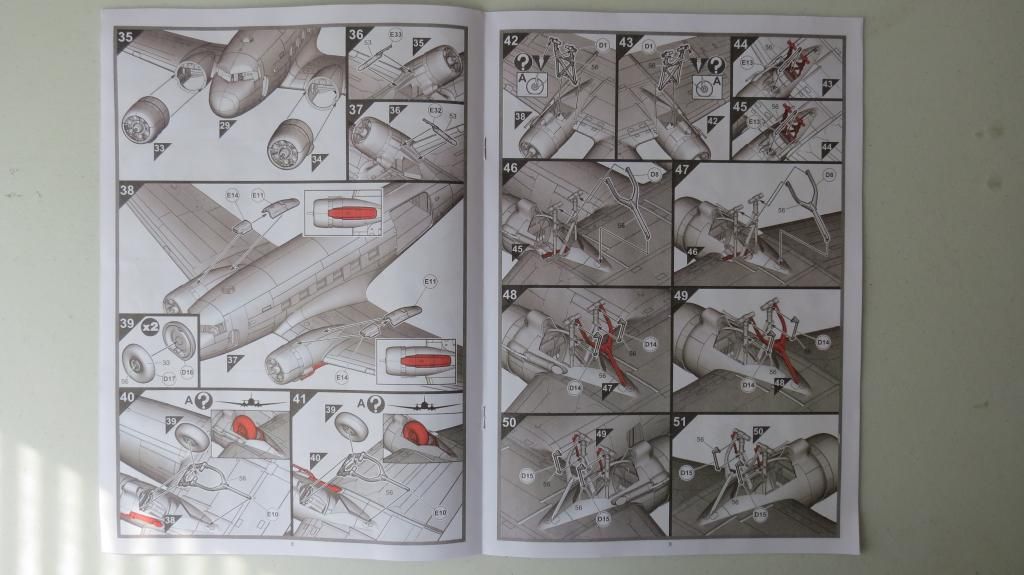
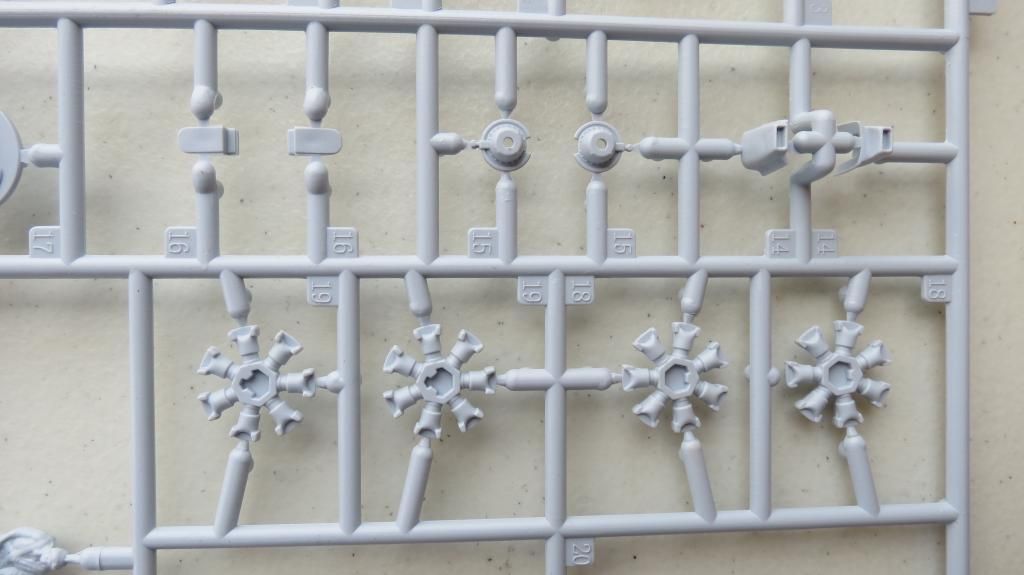
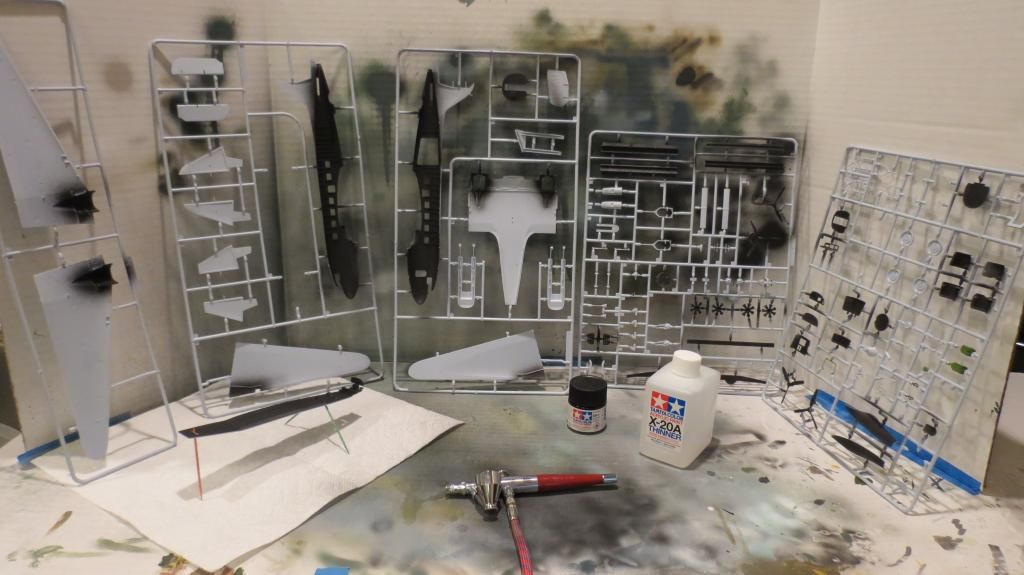
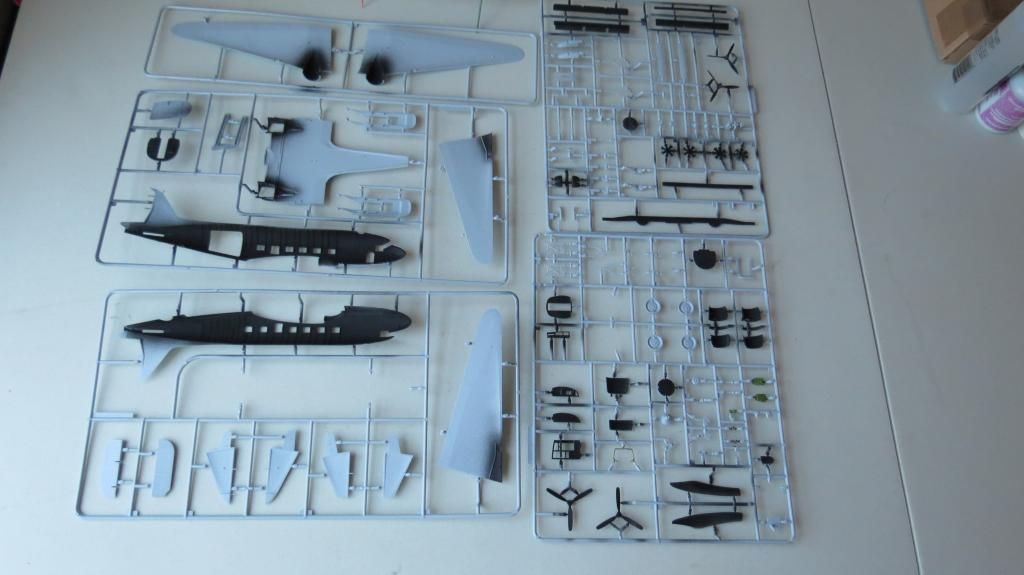
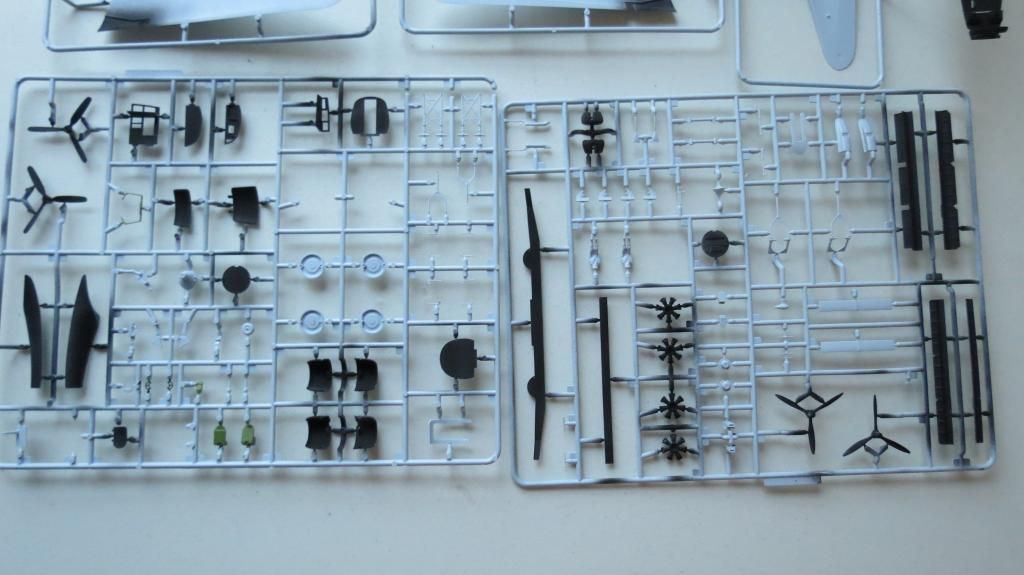
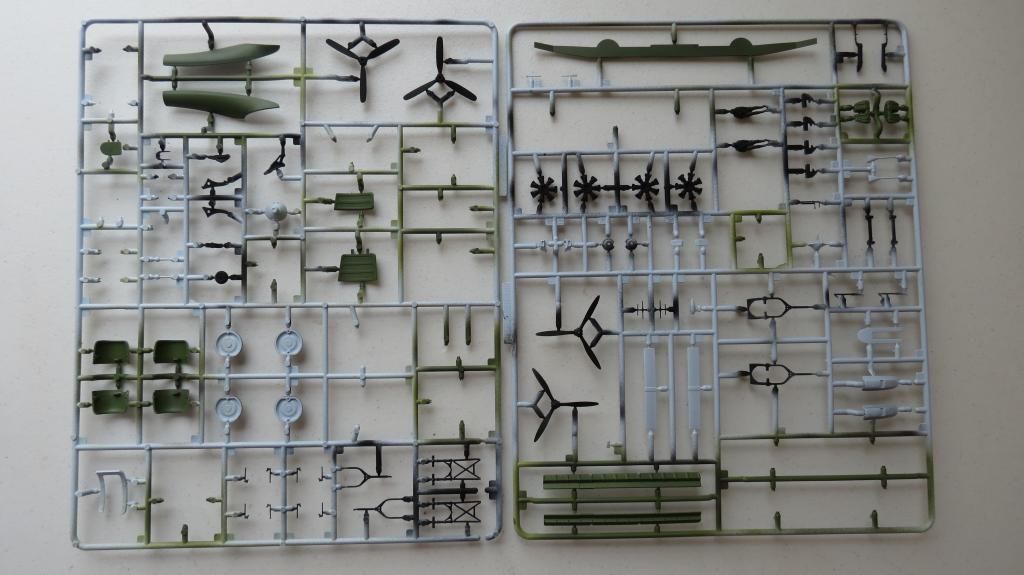
The back to back radial engines were glued together then mounted onto the gear boxes and the wheels were painted;

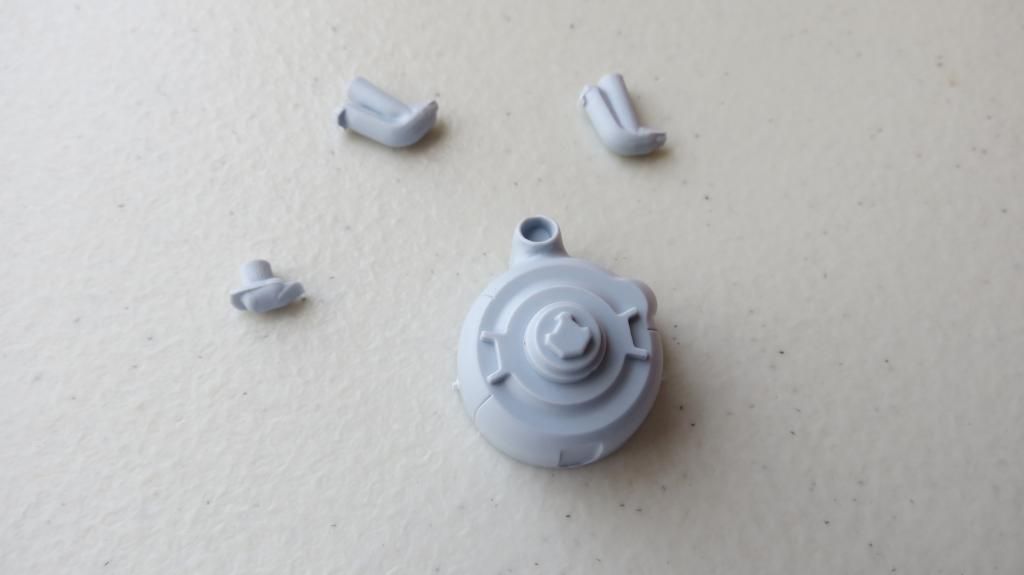
Next, the propeller spindles and bearing covers were mounted to the front of the engines and then the engines were given a oily wash;

The propellers were painted and weathered, the wheels were given a muddy look and then the Engine Cowling covers were placed around the radial engines....

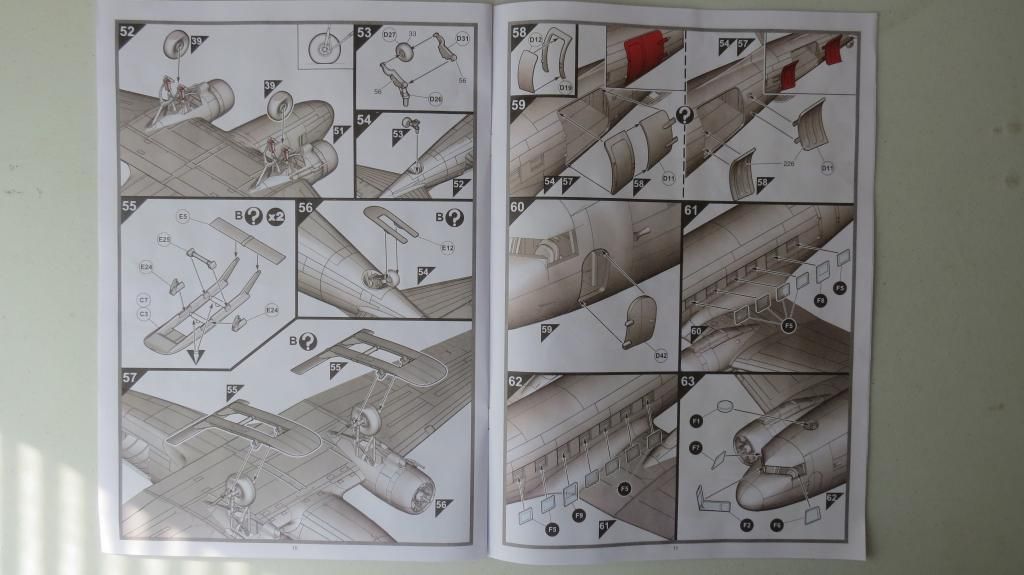
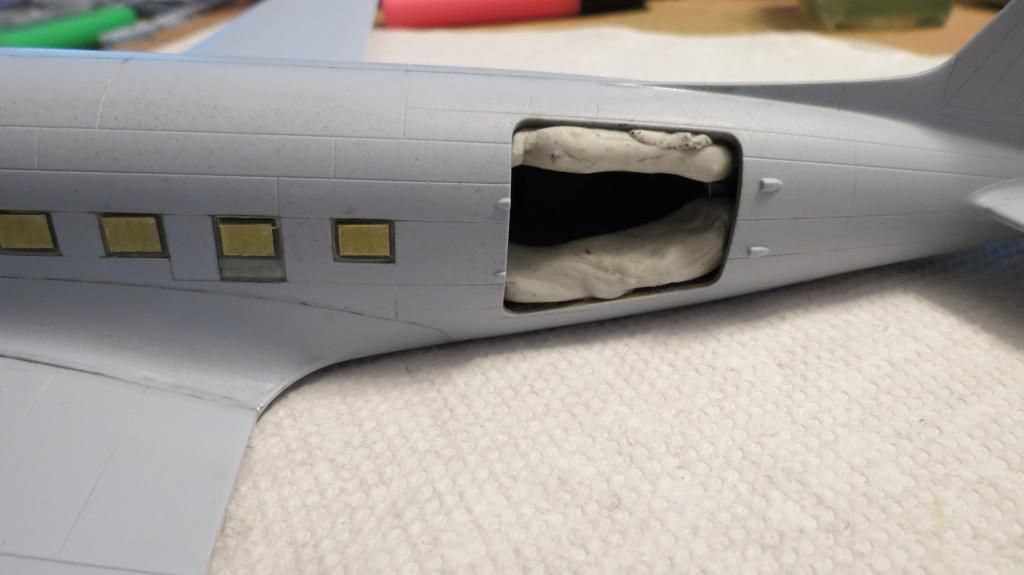
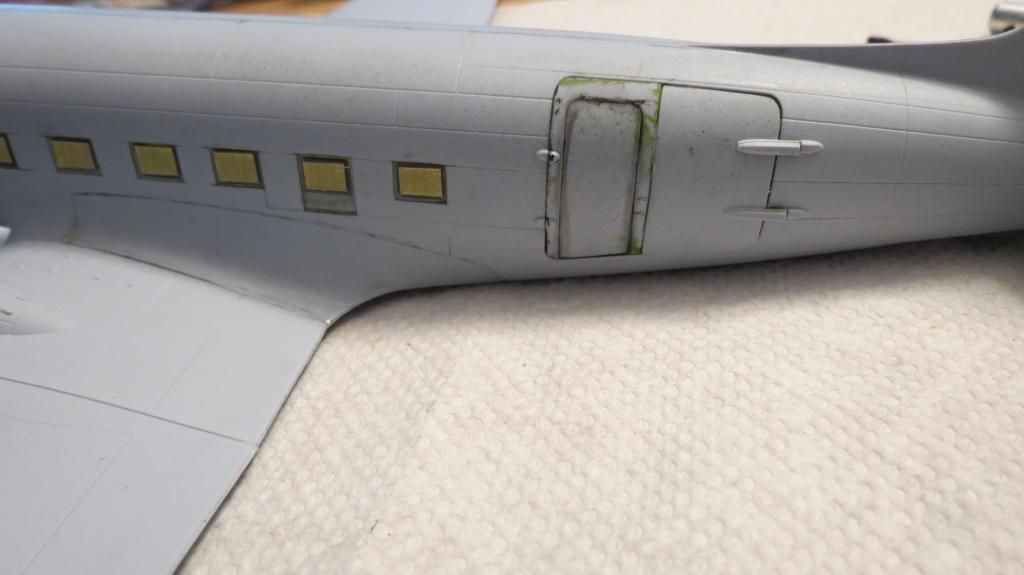
I then weathered the two portside rear fuselage doors, by giving them some paint chipping and mud staining around the bottom edges. I assumed that with heavy traffic from Paratroopers carrying lots of equipment, kit bags, rifles, crates of ammo and wearing dirty boots from a muddy airfield, the internal walls and floors would show some evidence of this...

The main undercarriage wheel struts and rear wheel axle struts were then painted...


These were followed by painting the exhausts and the engine oil tanks...

By this time, the interior assembly had set into the starboard fuselage, so the clamp was removed and a quick check to see how it all looked....


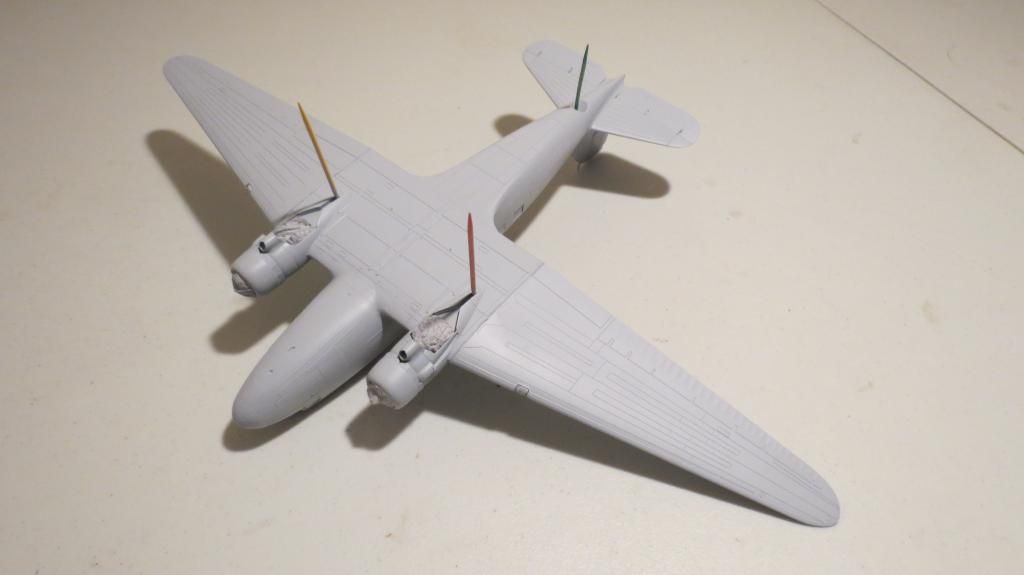
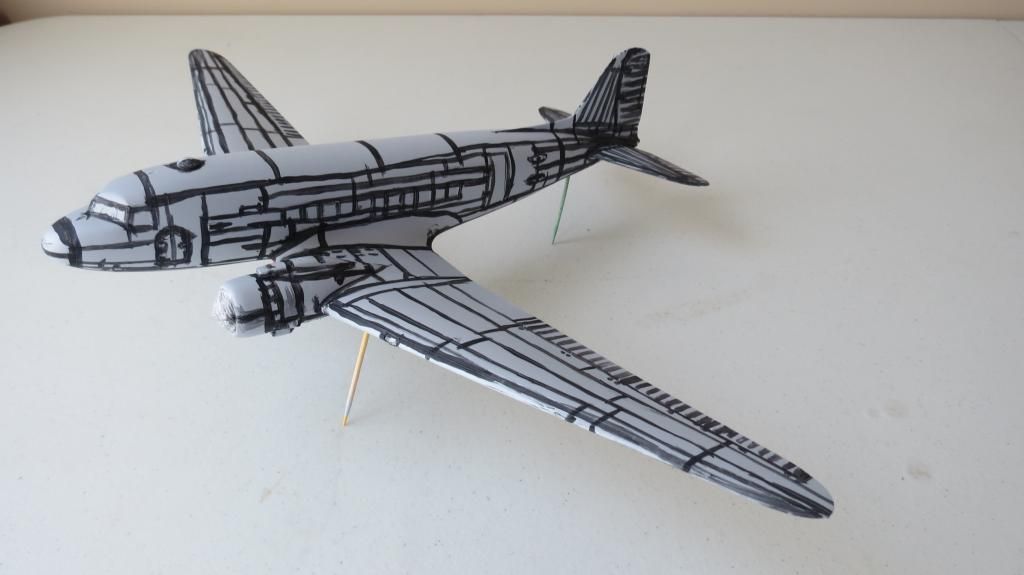
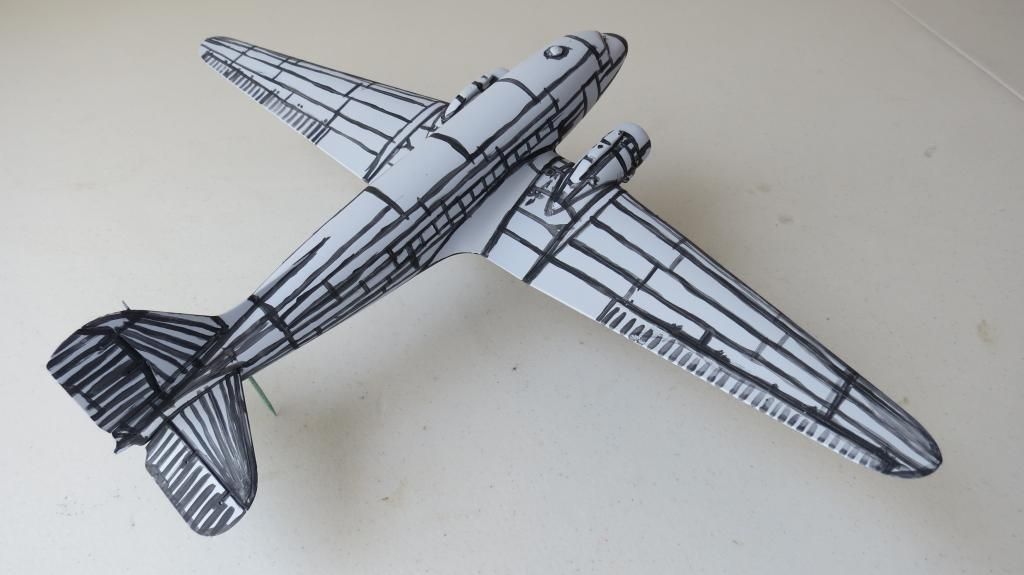
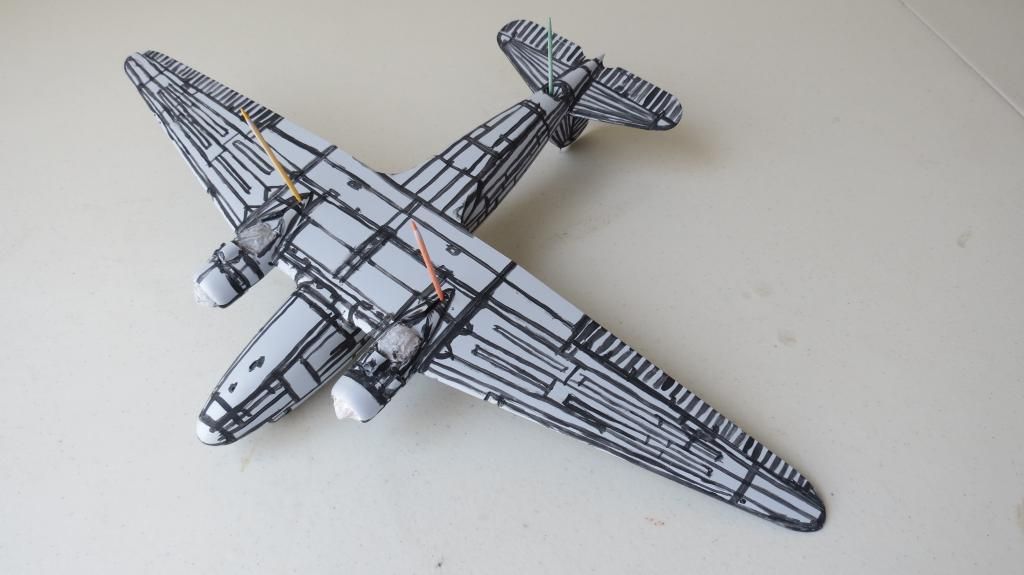
It was now time to assemble all the parts together....

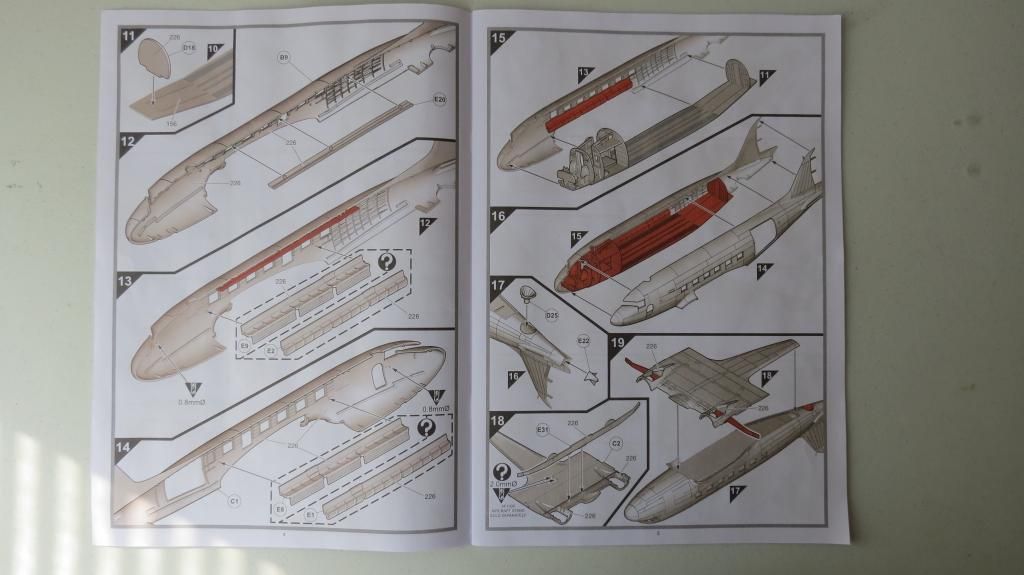
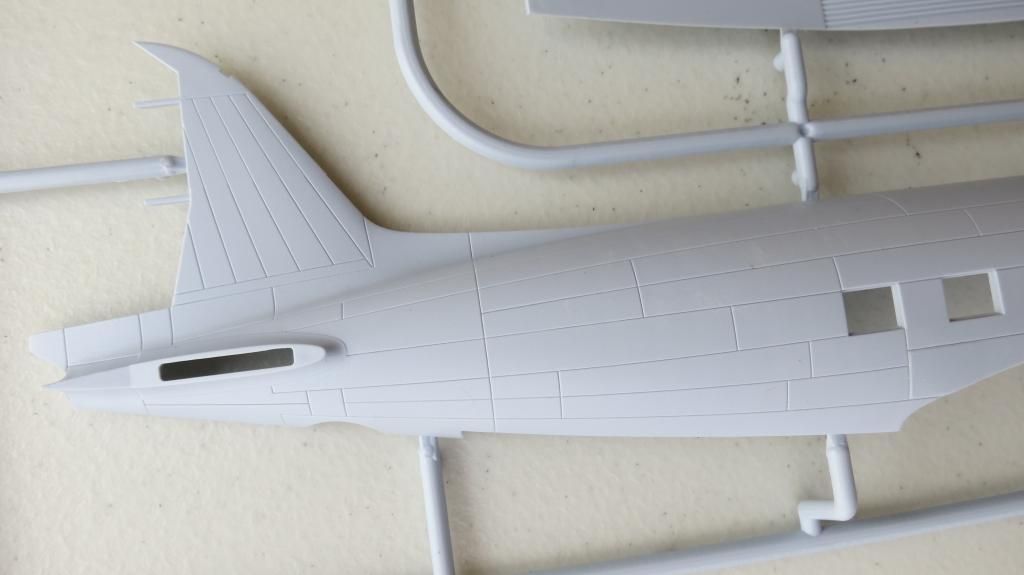
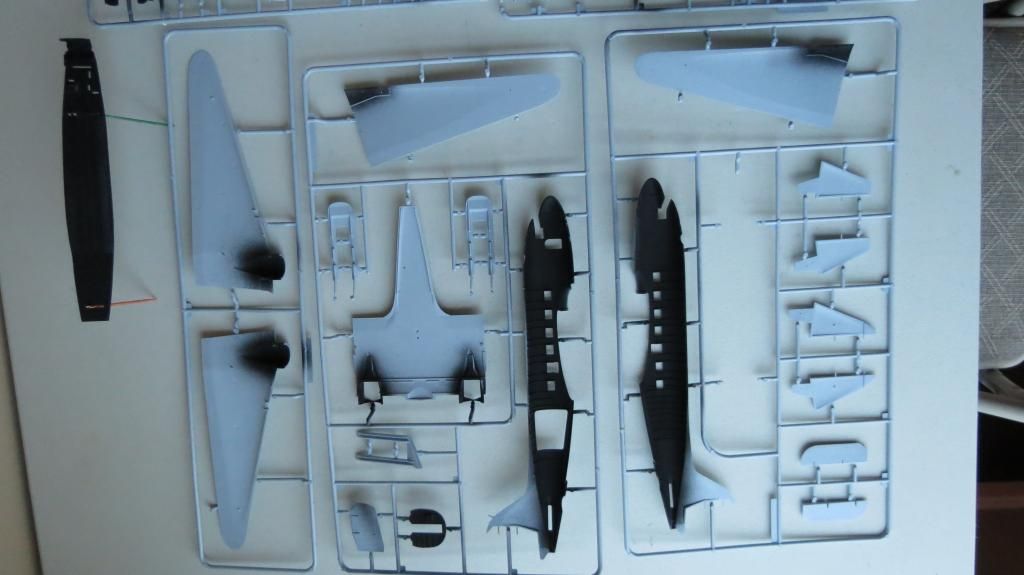
First, the two fuselage halves were glued and taped together until the glue set. They seem to fit well together....

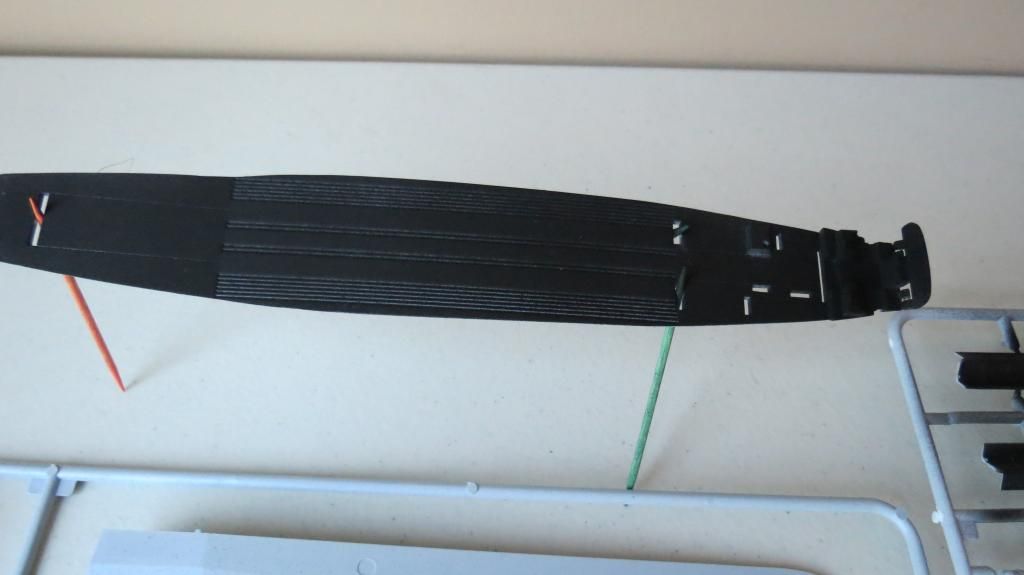
I then glued the central underside section to the bottom of the plane....

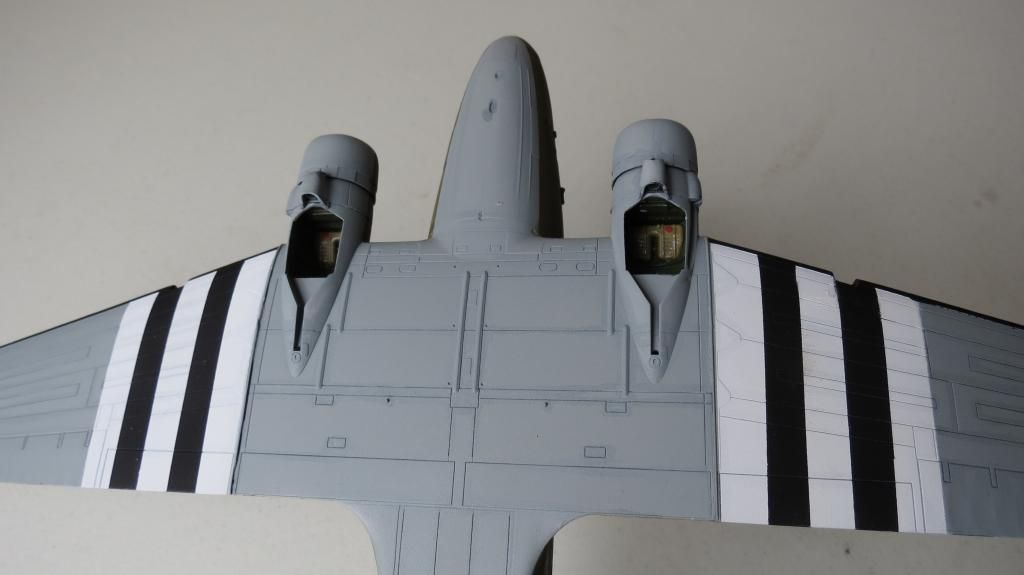
Followed by the port-side wing root filler section. This profiled section required a little patience and I found that when dry fitting it, it stood proud of the surface of the plane. Therefore, I carefully filed around the joining surfaces a bit at a time and re-checked the fit each time, until it sat flush. I then glued it in place....

The same patience and fitting was required with the starboard side wing root fillet section....
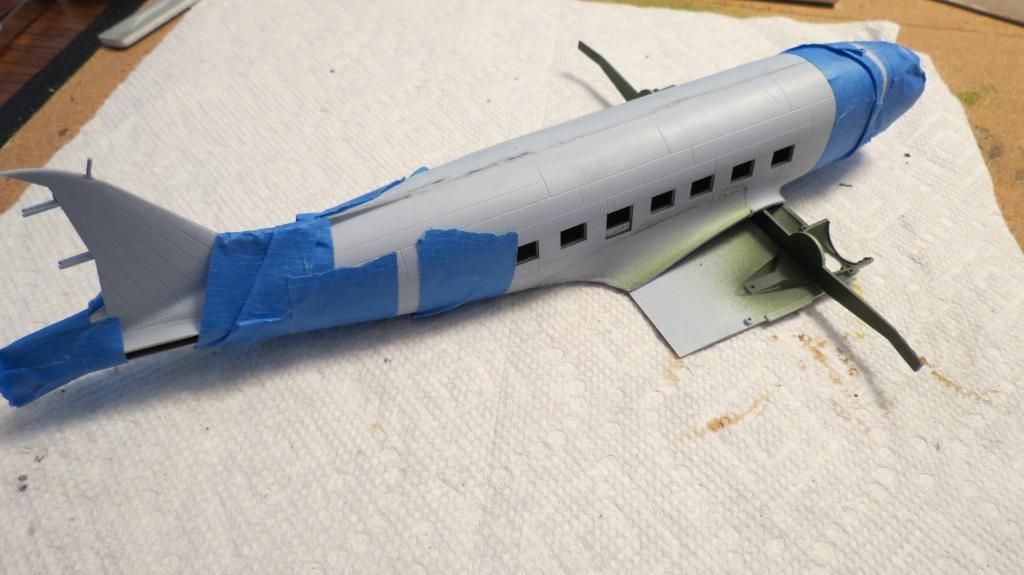
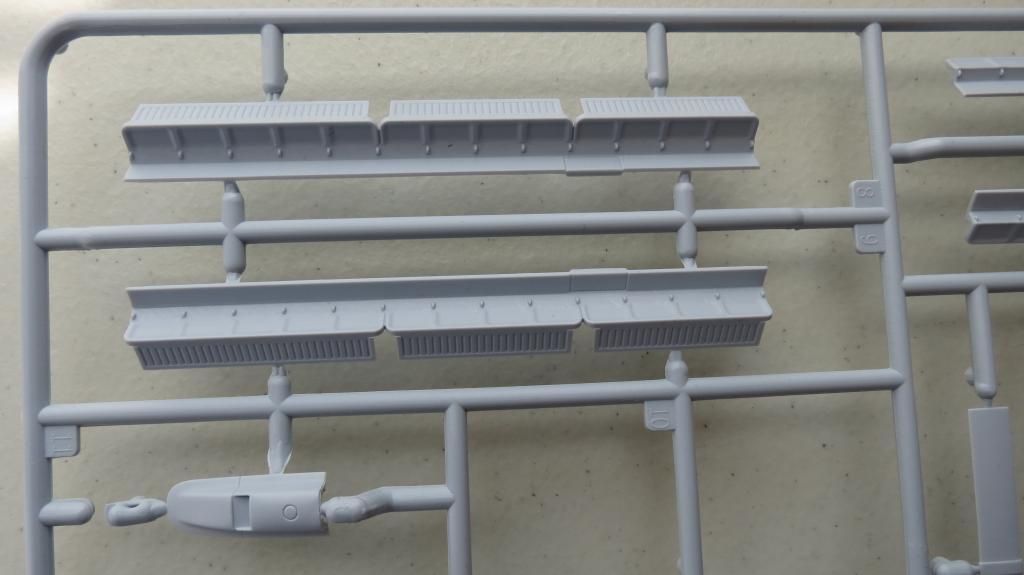
Next, it was time to fit the Engine Oil Tanks into the Engine Nacelles of the Upper Wing halves....
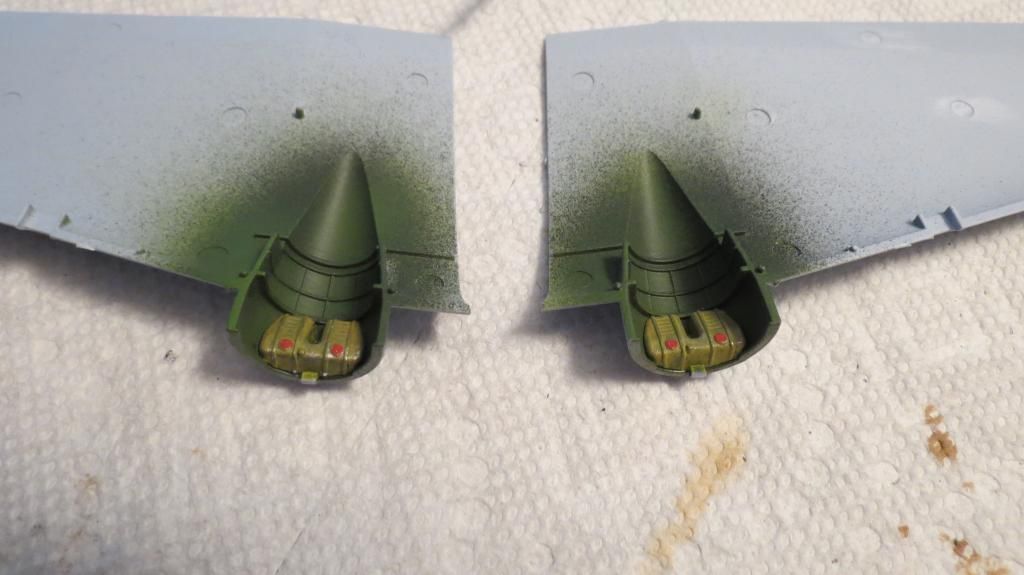
Then the Starboard Side Upper Wing half was glued into place....
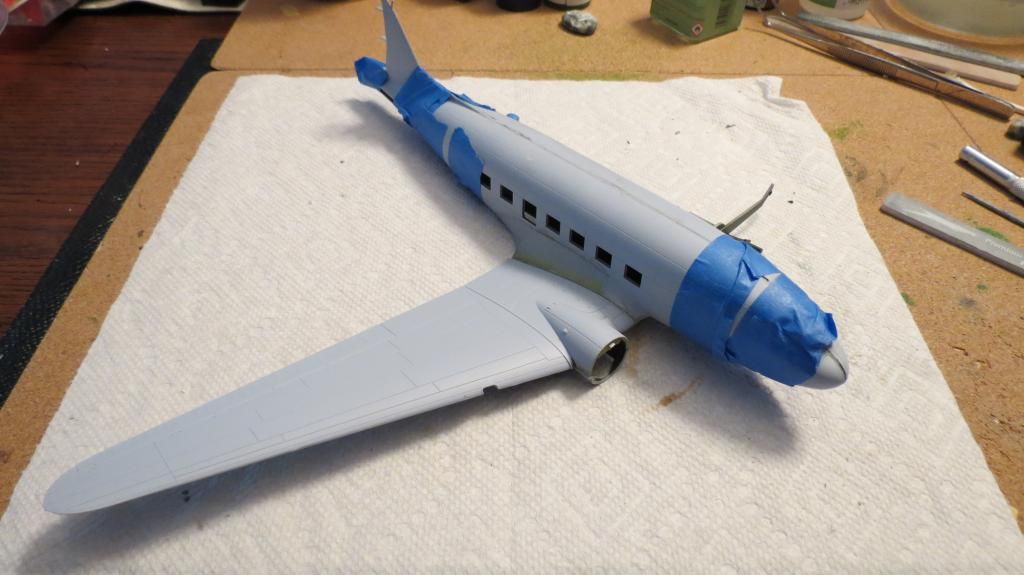
This was followed by the Port-Side Upper Wing half....
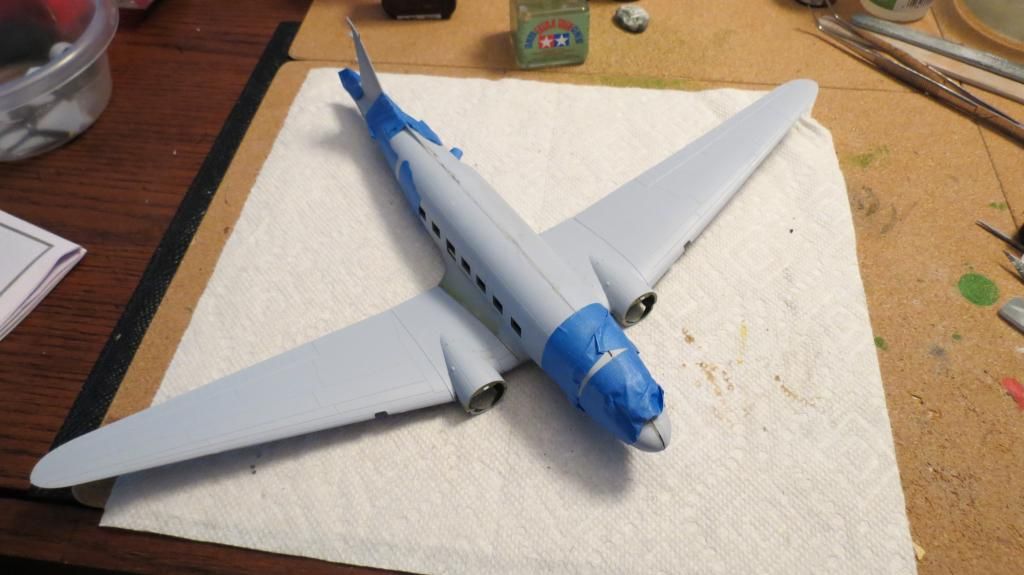
The internal wing braces/struts have the wing leading edge navigation light features on them and they are set back a little from the leading edge. Therefore, I recommend that you paint them silver before assembling the two wing halves together...
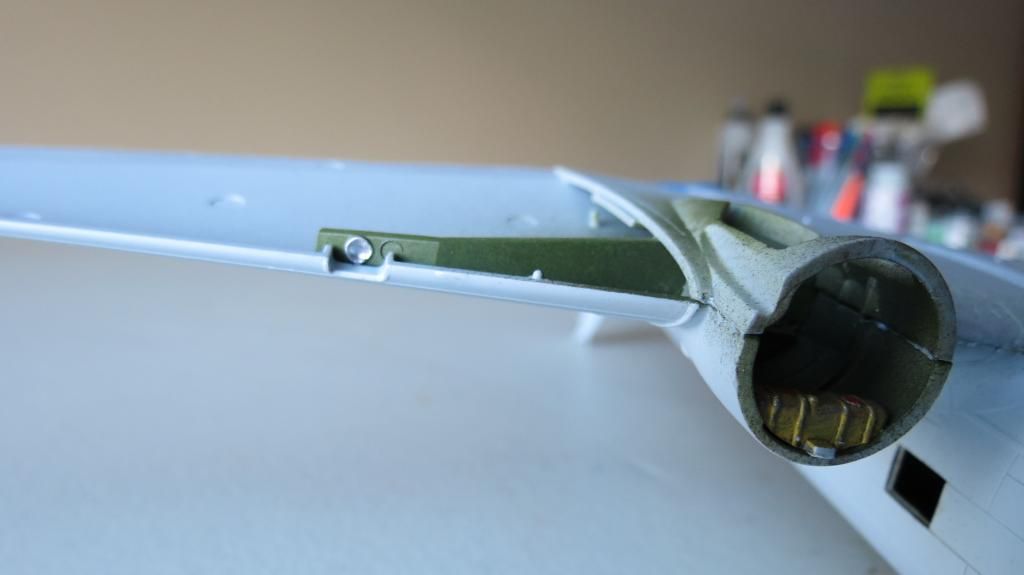
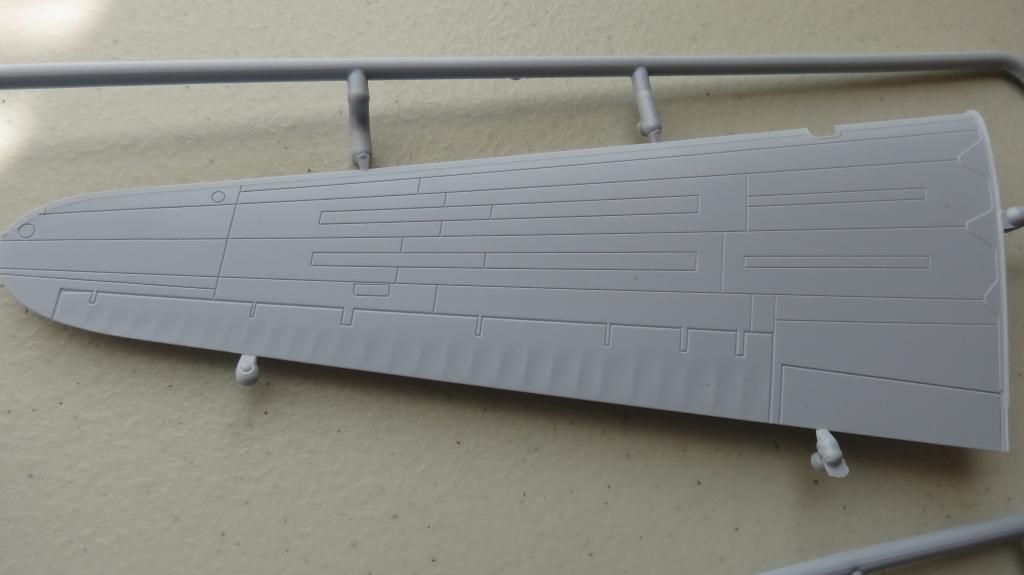
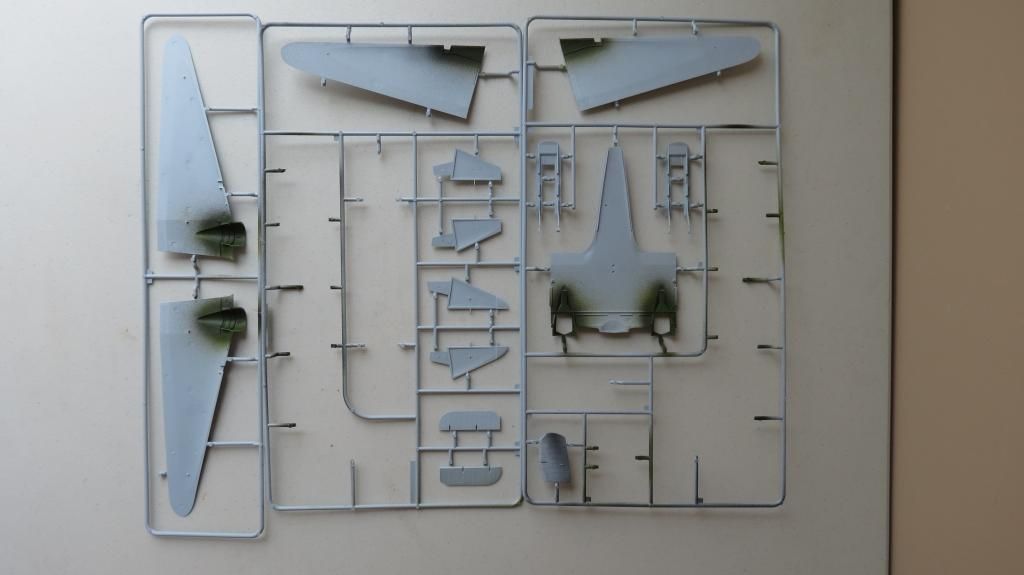
It was now time to assemble the Lower Wing halves onto the Upper Wings to complete the main wing assemblies. But, when dry fitting the Port-Side Lower Wing half, the wing wouldn't close down all the way and a gap was present....
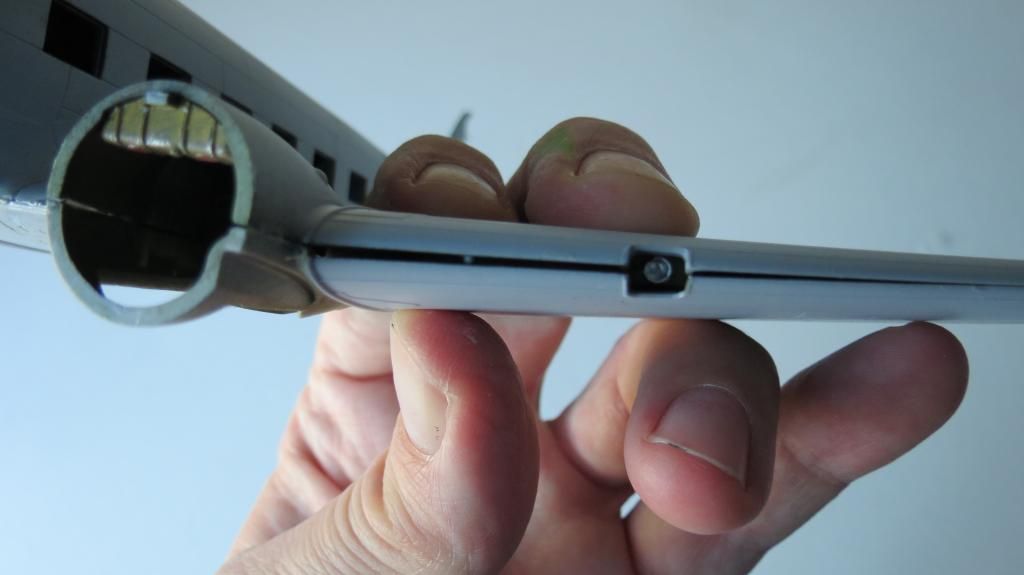
This was due to a combination of the internal wing brace and the thickness of the lower wing section. When those surfaces meet they prevent the wings closing flush. Therefore, I filed down the top surface of the internal wing braces/struts and tried dry-fitting the lower wings again...
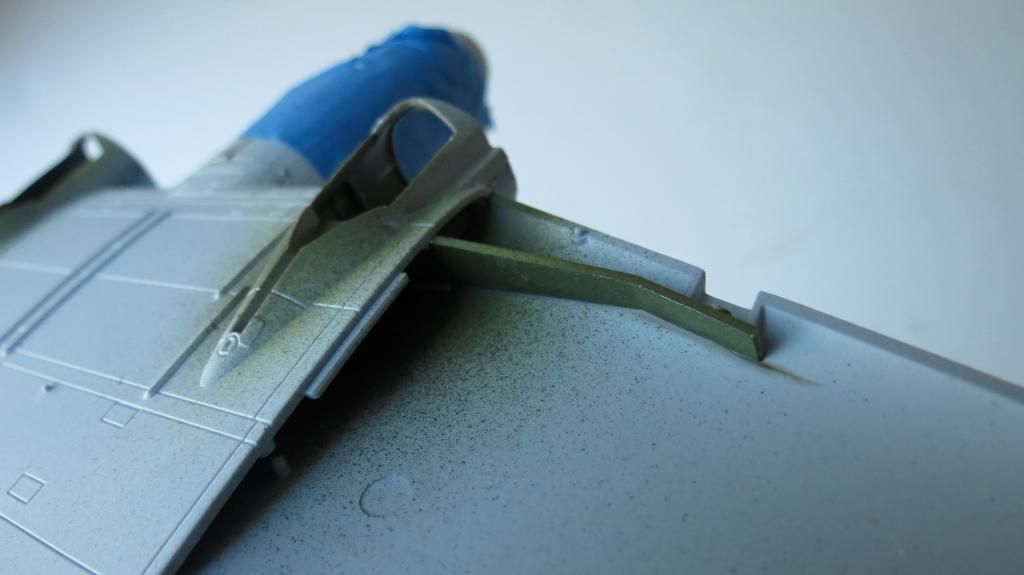
And, it worked a treat, the wings closed up nice and flush and so the lower halves were glued into place, first the Starboard Side....
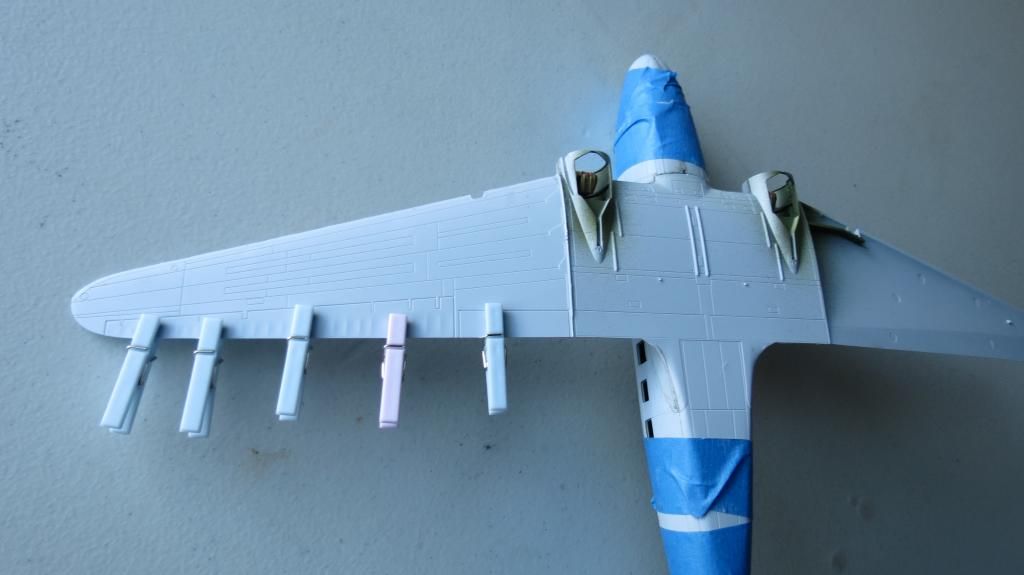
Followed by the Port Side and both wings were "Pegged" to keep the trailing edges together until they set....
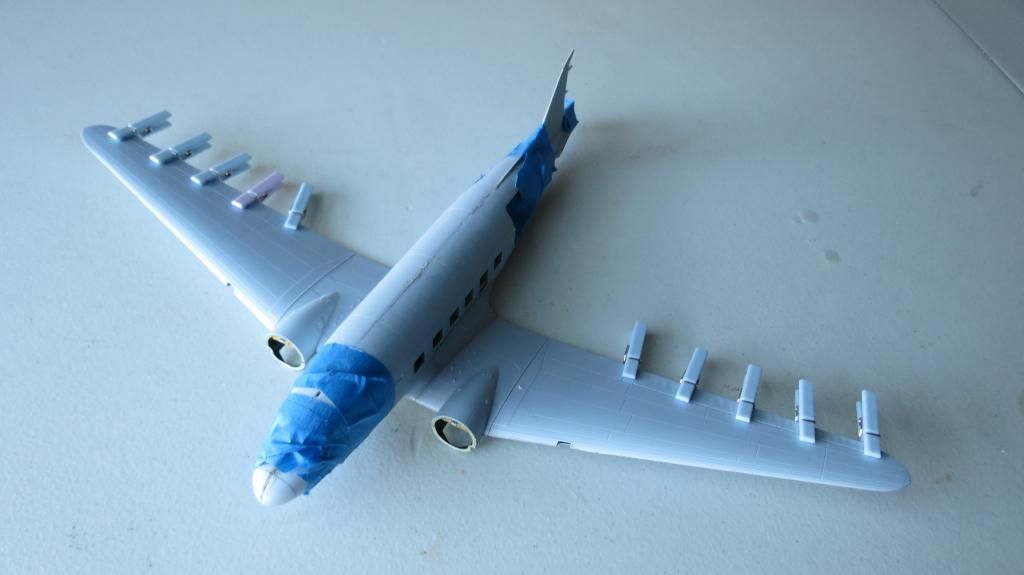
It was now time to add the Horizontal Stabilizers, Flaps and Rudder. First the Horizontal Stabilizers were glued into place....
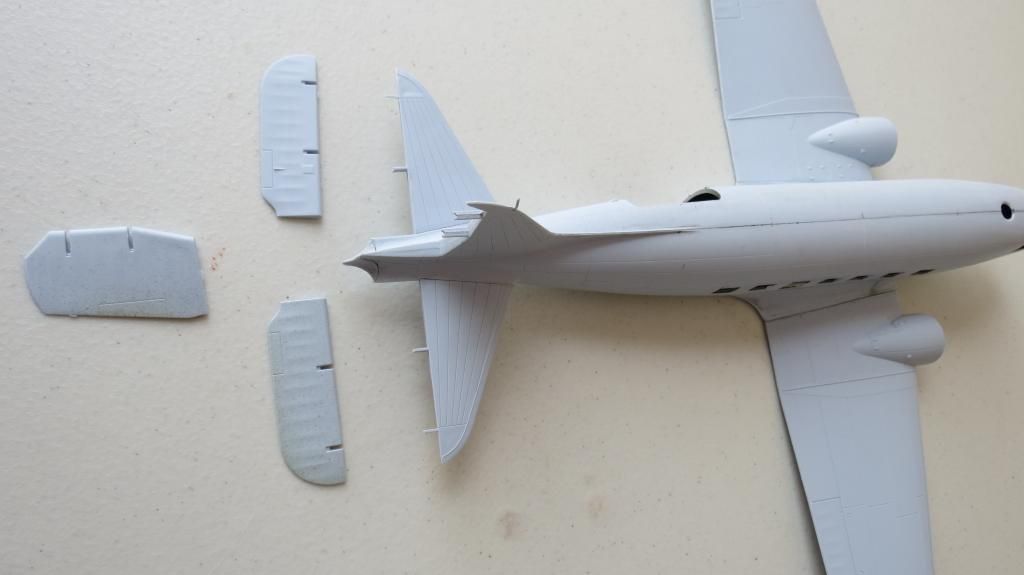
Followed by the Flaps which I positioned in a downward style...

I then fitted the Rudder in place....
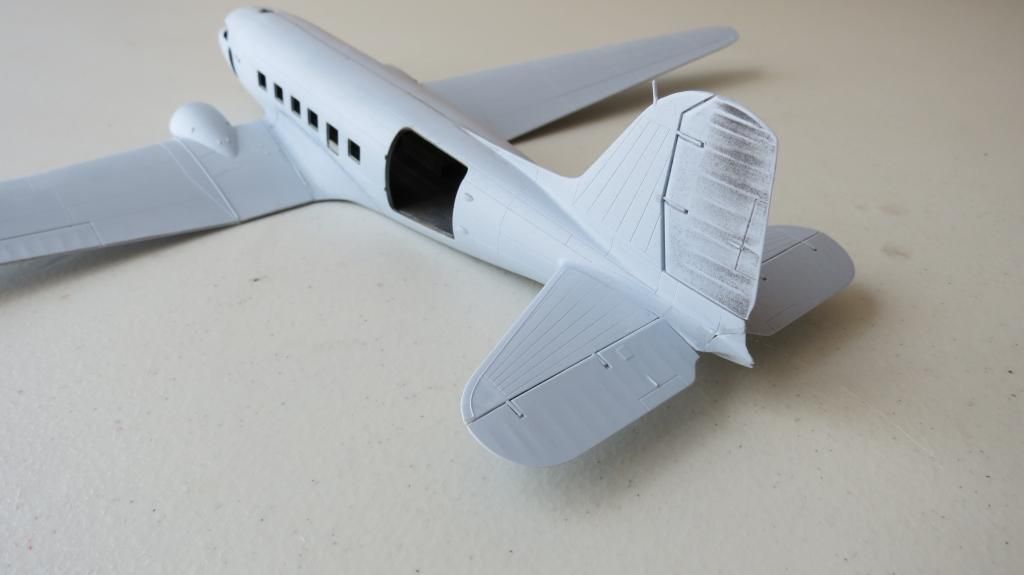
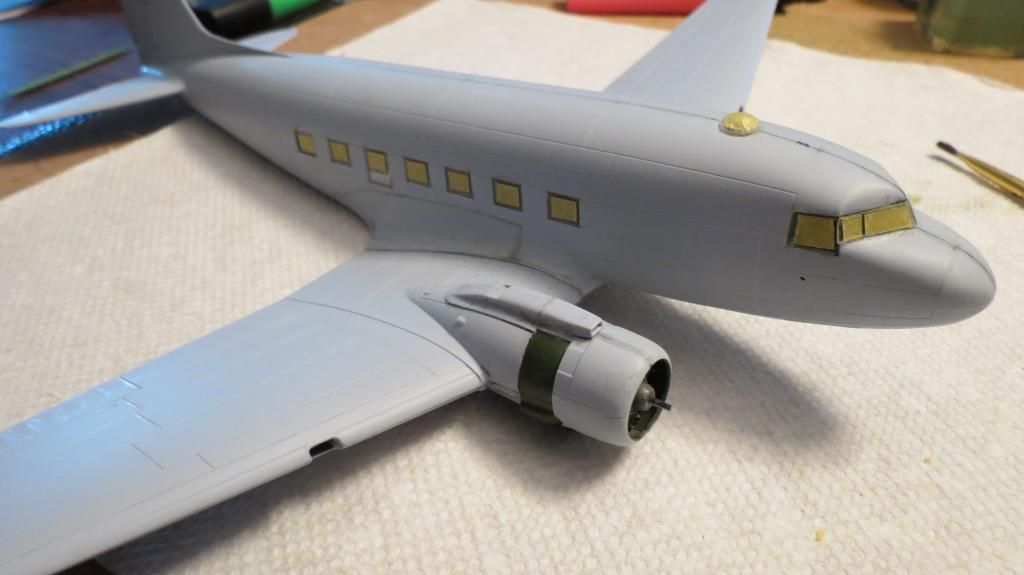
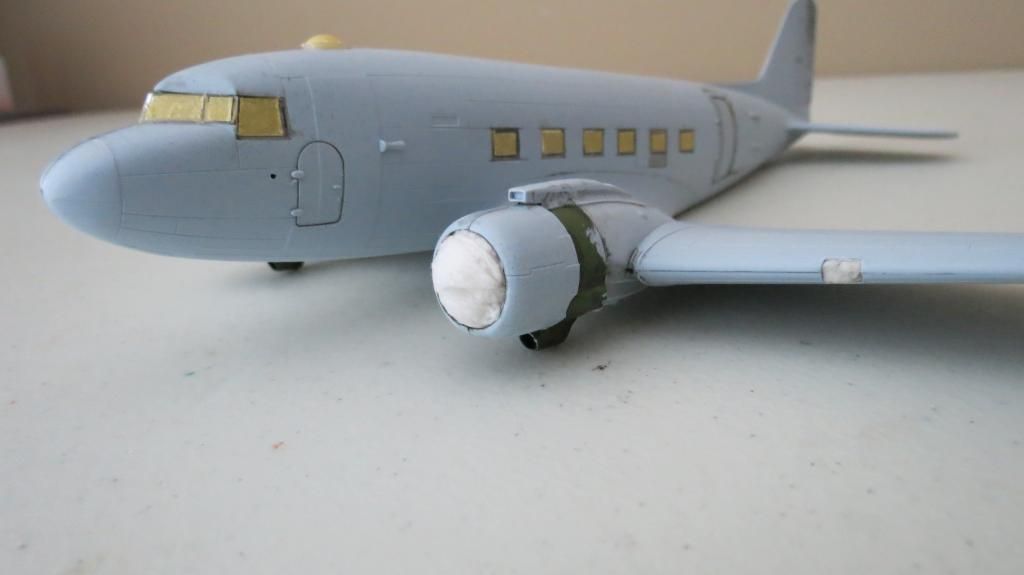
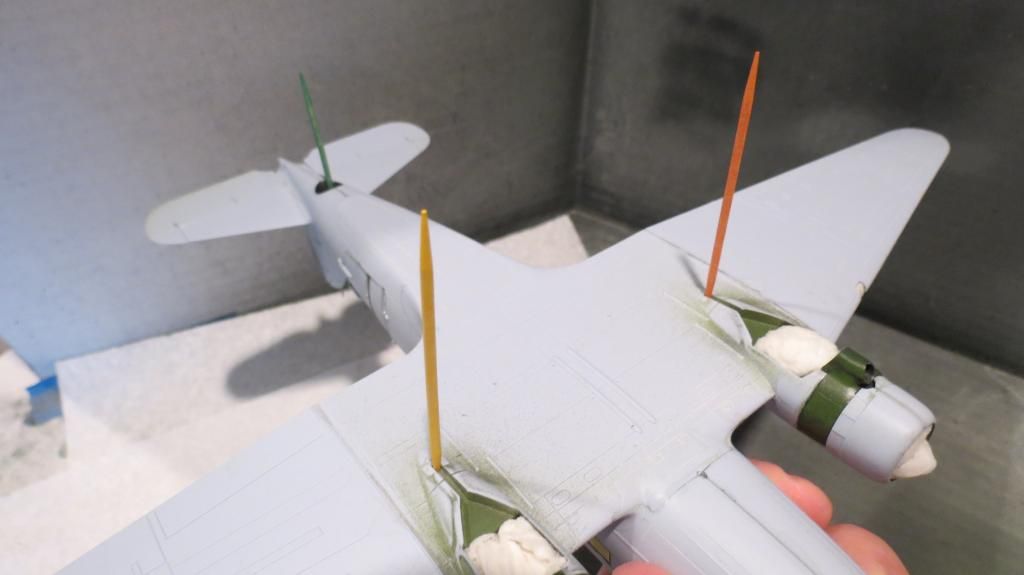
With all the wings in place, it was time to fit the Engines. I started with the Starboard side Engine...
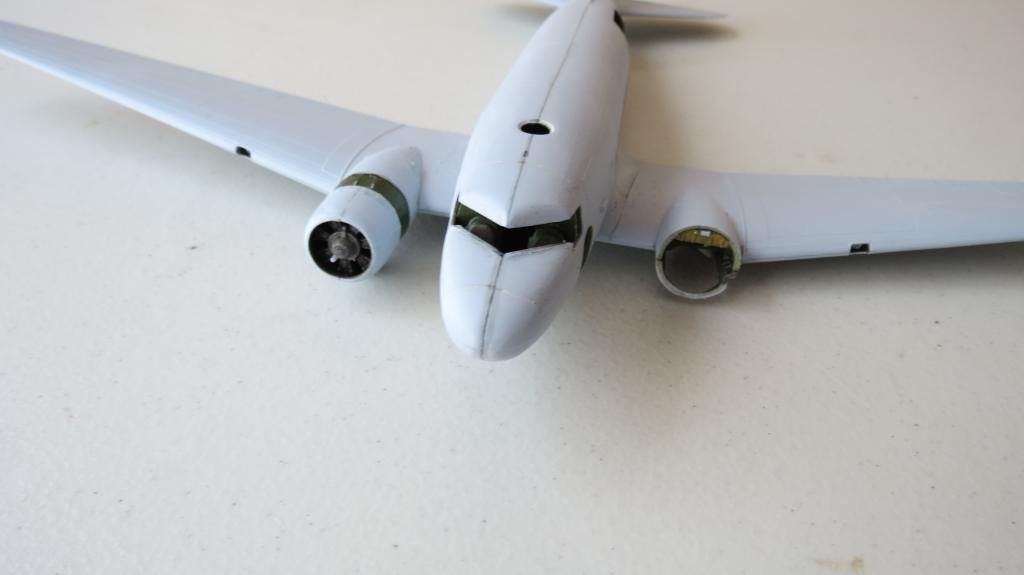
Quickly followed by the Port-Side Engine....
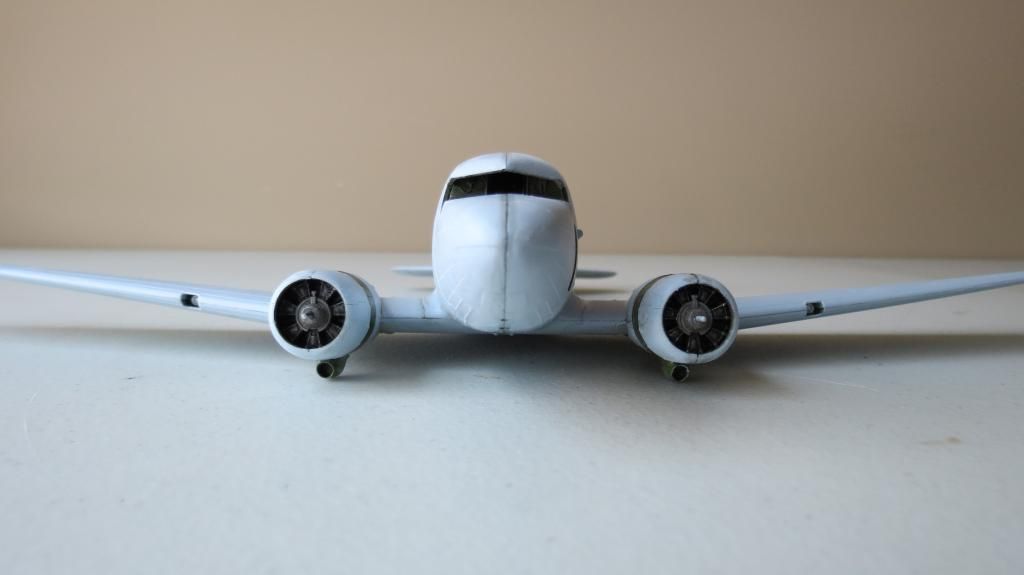
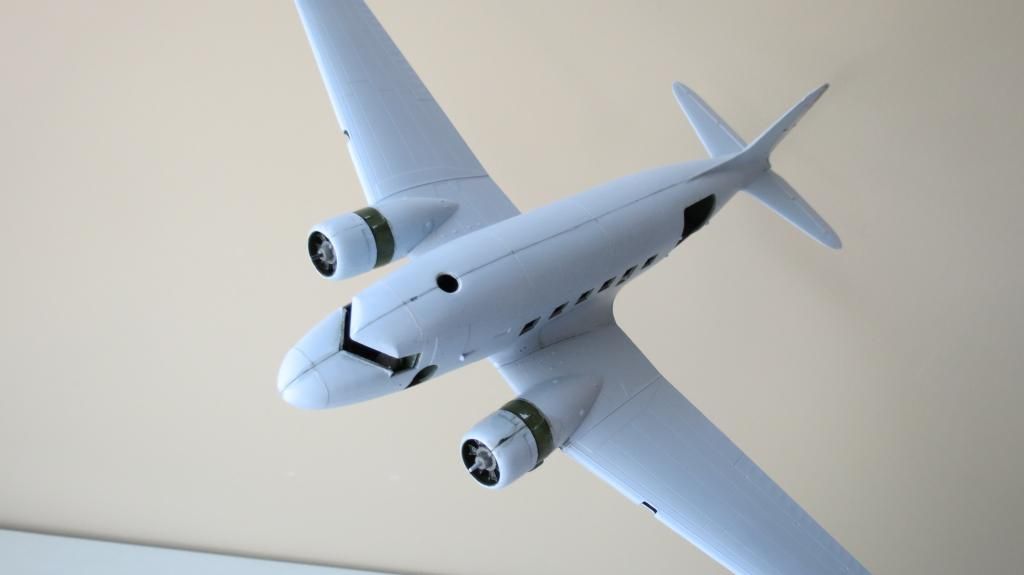
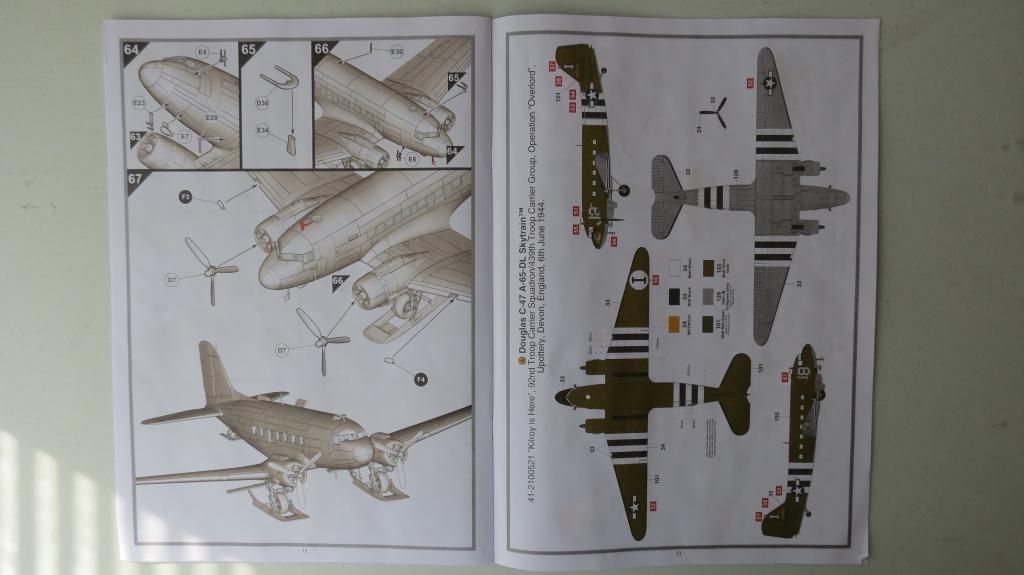
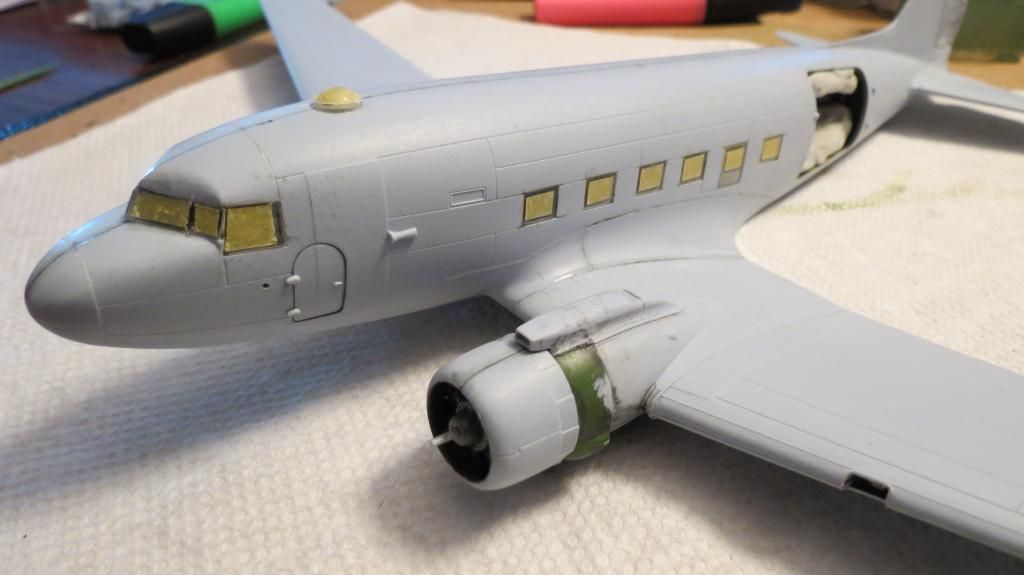
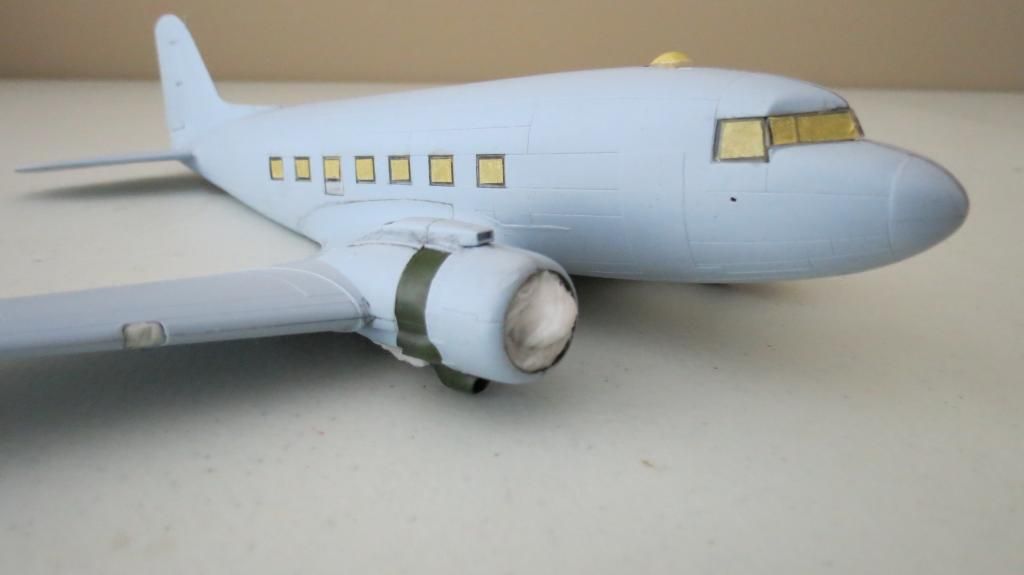
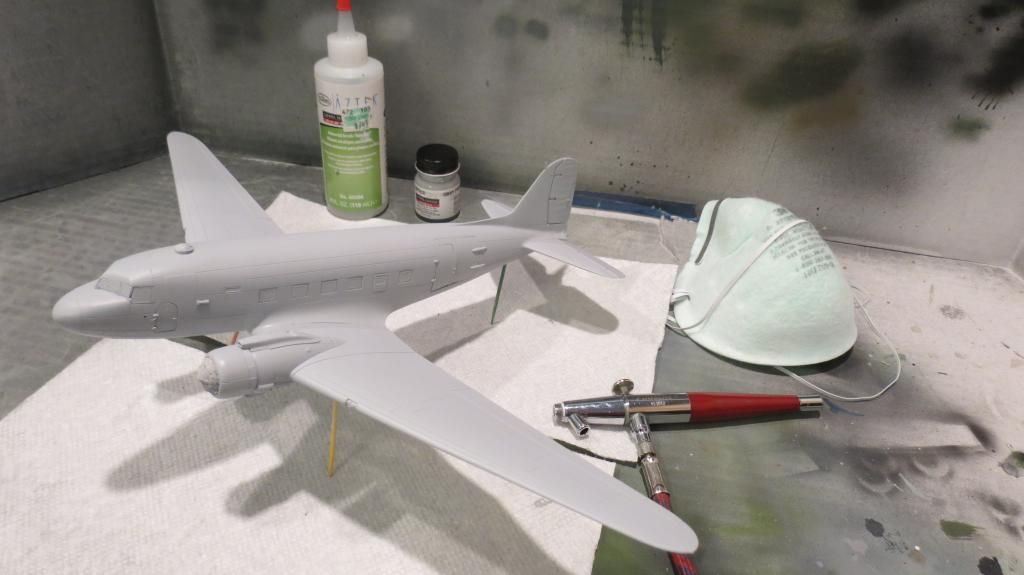
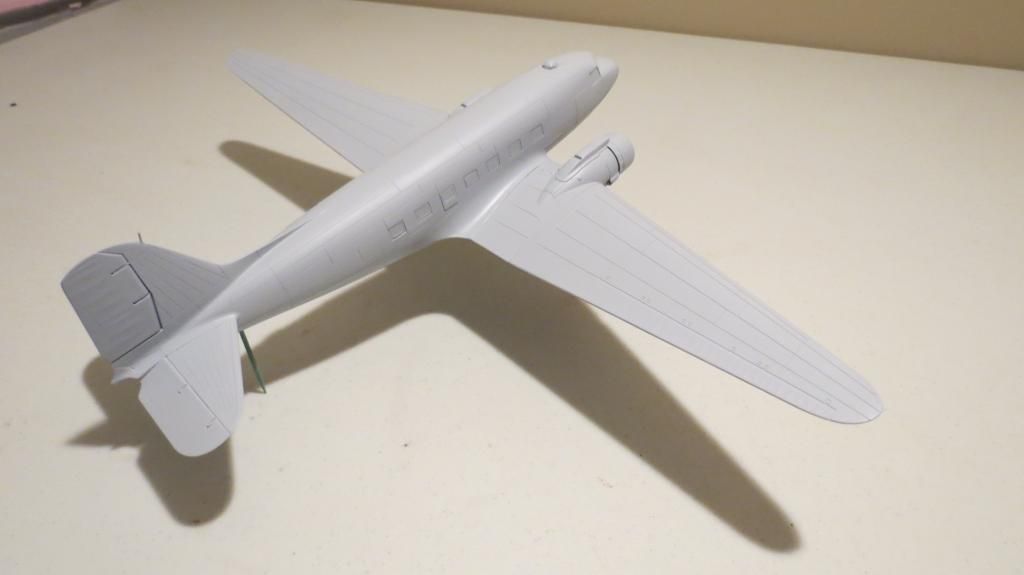
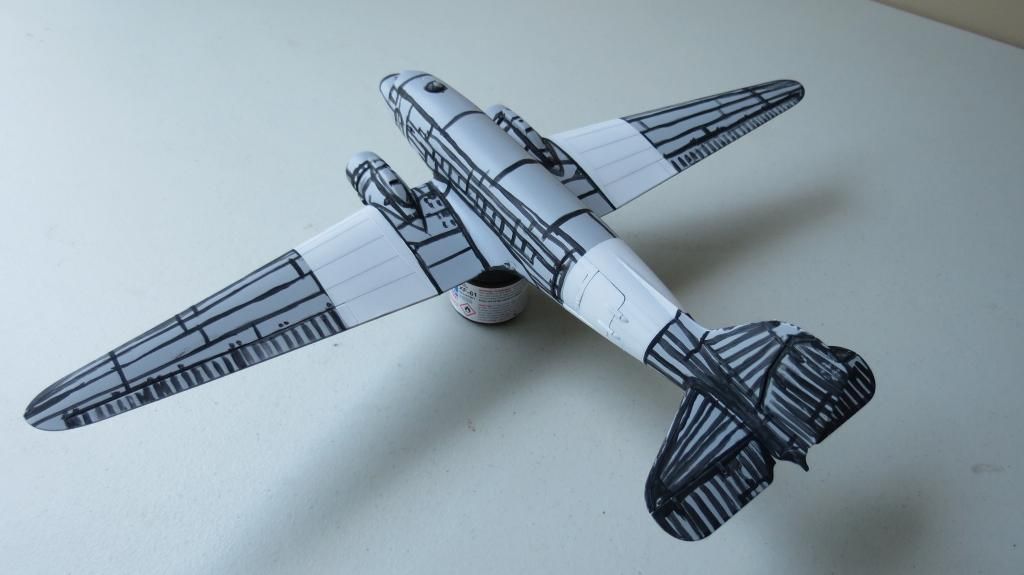
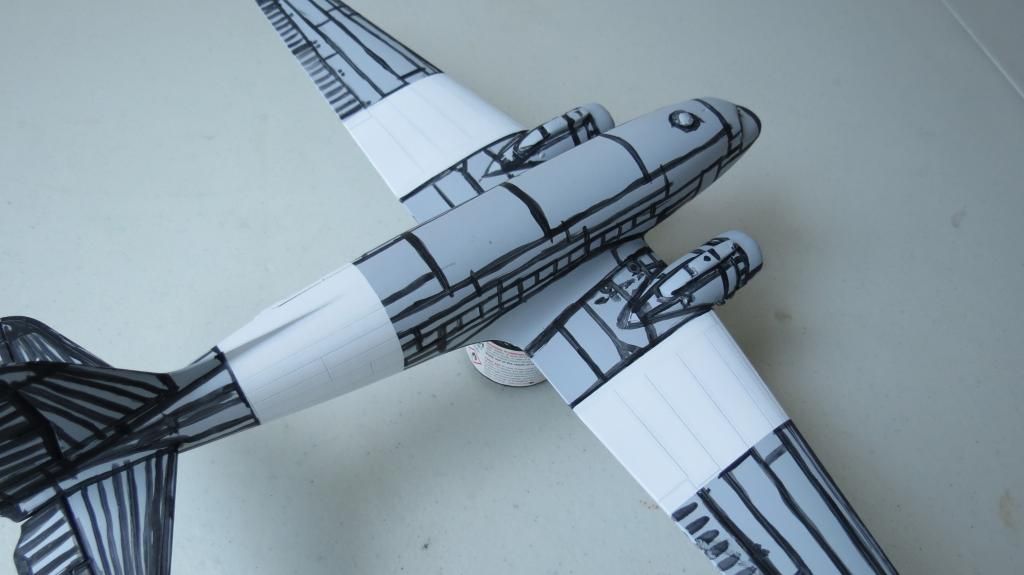
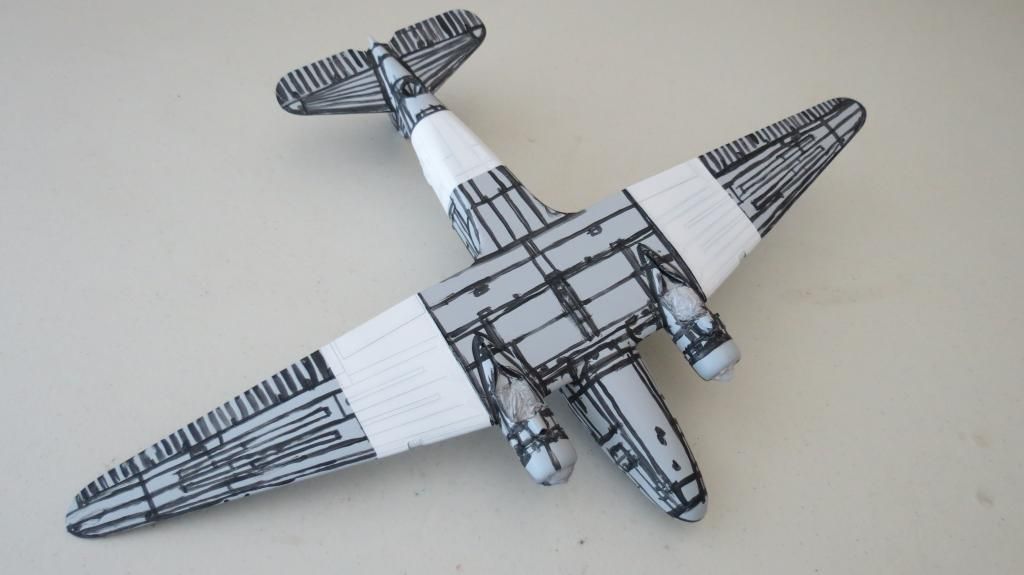
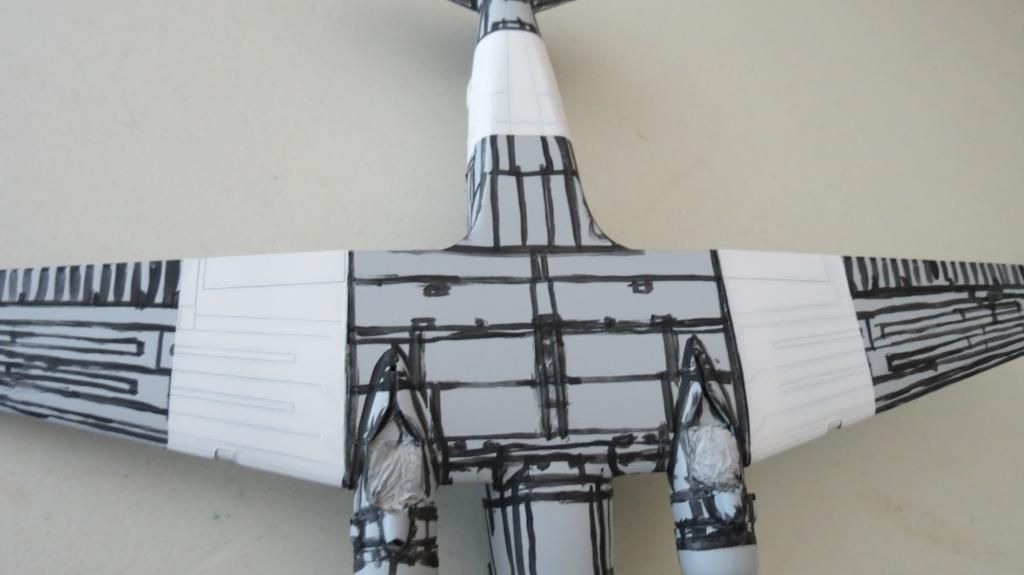
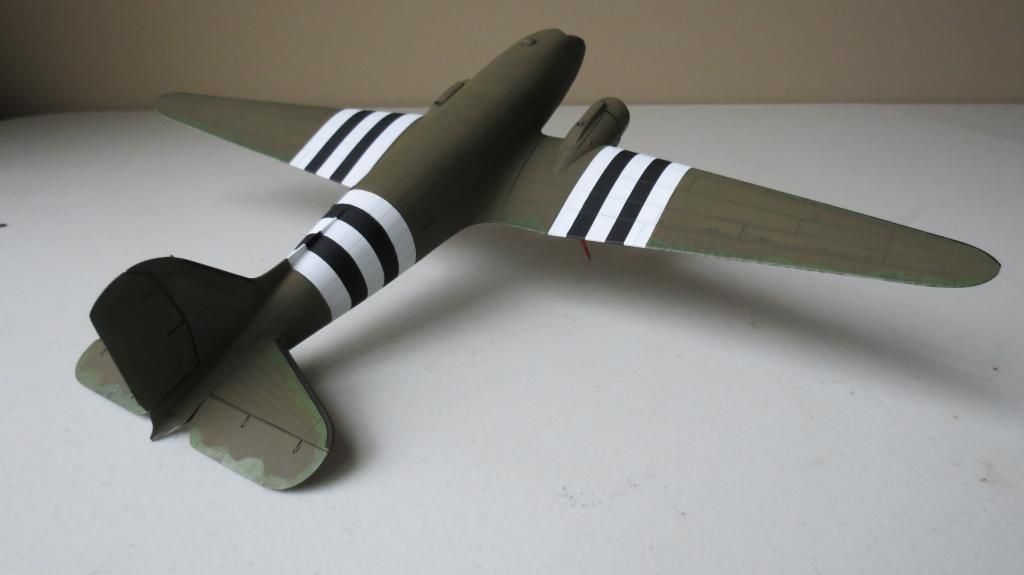
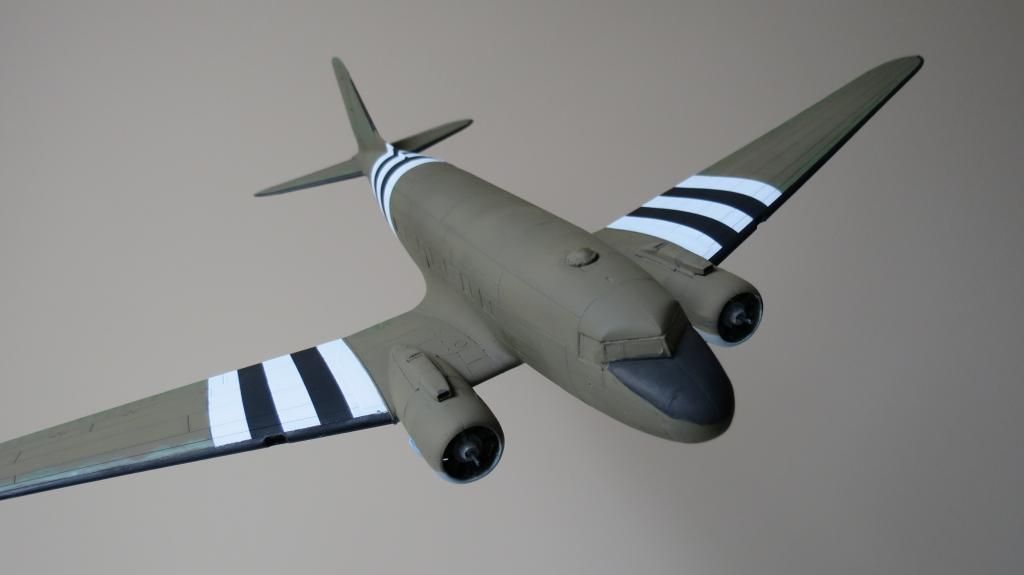
I then added the Air-Intakes on top of the Engine Cowlings and she was all done ready to move on to the next stage....
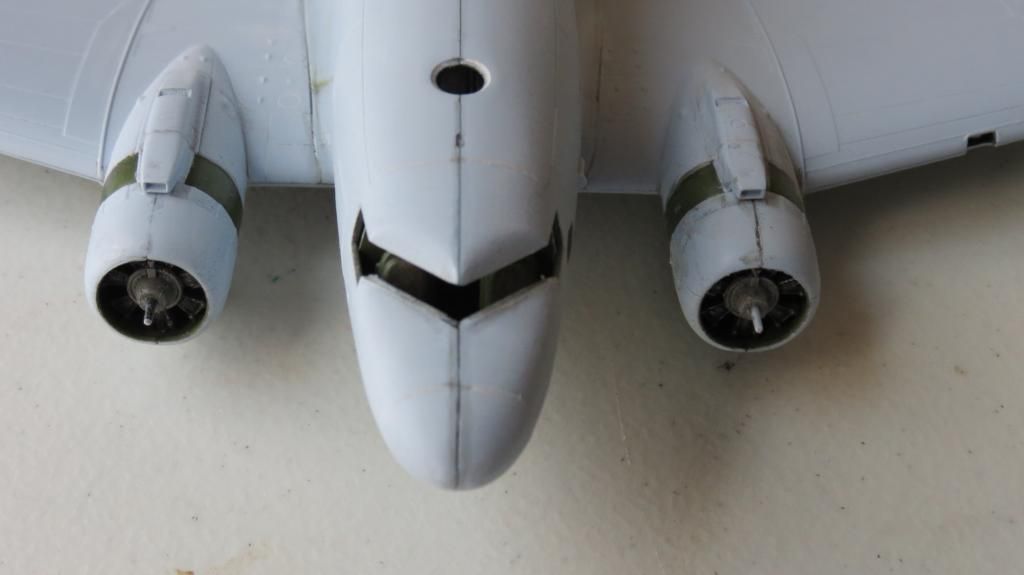
This was my first time using Tamiya Thin cement and although it has an overpowering odor (I had every window open in the home), it is an excellent product for gluing with and it sets really quickly. You can then brush it over seams to provide extra bonding and filling!
So, this stage highlighted a few issues with this model;
a) The Wing Root Fillet Sections need some careful attention, filing down a bit at a time, the rear faces until they sit flush into their locations.
b) When fitting the Lower Wing Section to the Upper Wing Section, they don't close up and a substantial gap is left. Make sure you always dry fit before attempting to glue parts in place. These wing assemblies need some careful attention too as described above to get them to close up flush before gluing.
c) Paint the silver Navigation Lights onto the internal Wing Braces/Struts prior to closing the wing assemblies. They are set back and might be a little difficult to paint without getting silver paint onto the surfaces of the surrounding areas.
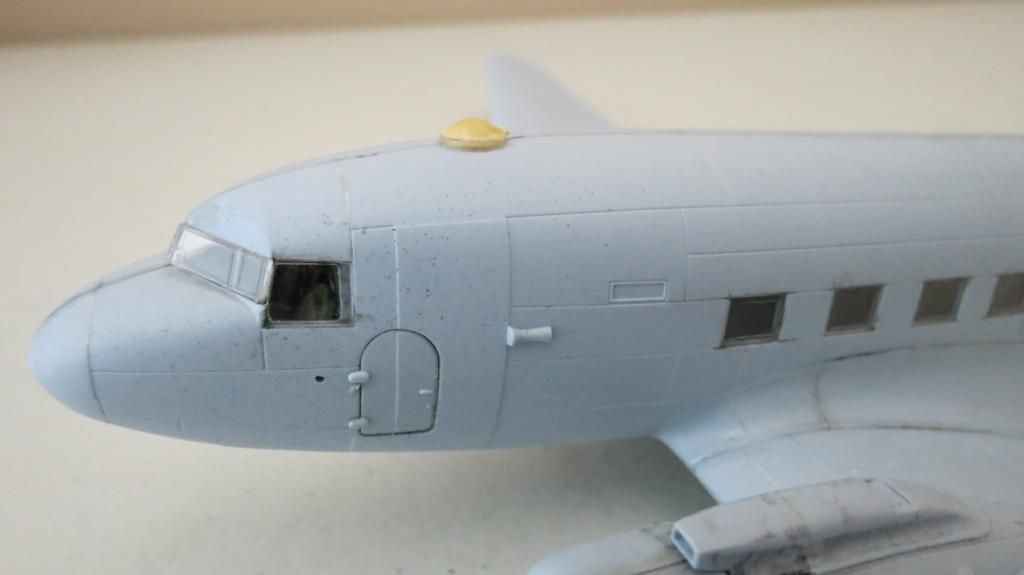
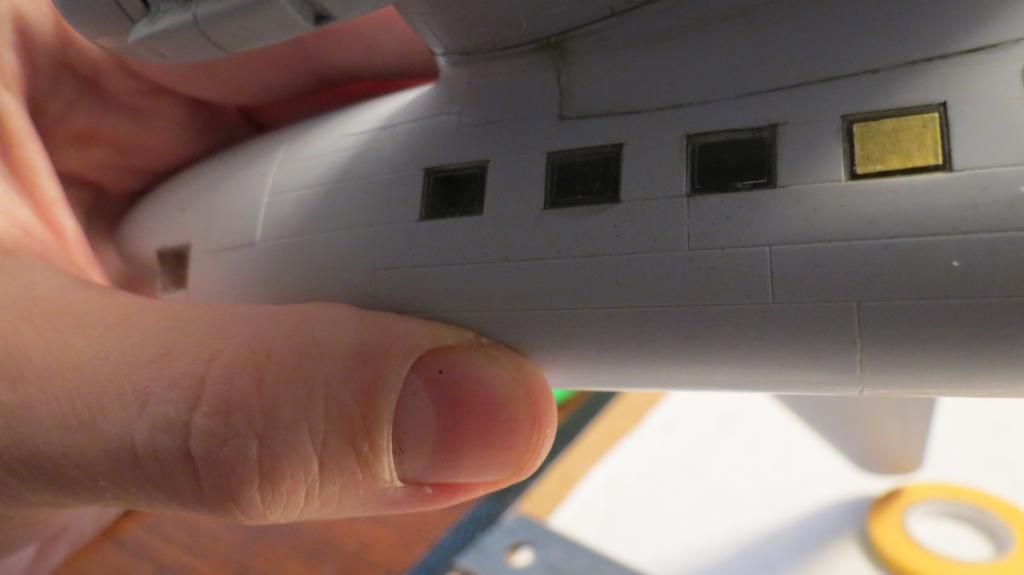
So far, I've really enjoyed this build, and it's going together reasonably well. My next stage for Build Update Report #3 will be to glue in place all the fuselage side windows, the cockpit canopy and the overhead "Bulb" canopy. Temporarily fit the doors into location using White-tack, because I'm going to have the doors open on the completed model, and, then mask everything ready for priming followed by pre-shading.
Thanks for watching guys and feel free to leave constructive comments, criticism, ideas etc.
If you'd like to see my Build Update Report #2 Video on YouTube, here is the link:
[youtube]QFy3qxb-LJA[/youtube]
Thanks for you continued support....
Cheers

Martin
