Hello Guys,
I managed to get some more done in the last couple of days, so here is my build update #2 for the Verlinden 120mm Tall 101st Airborne Paratrooper "Easy Company" figure that is my second part build of this three part project in memory of my Father-In-Law who served with the 101st during WWII.
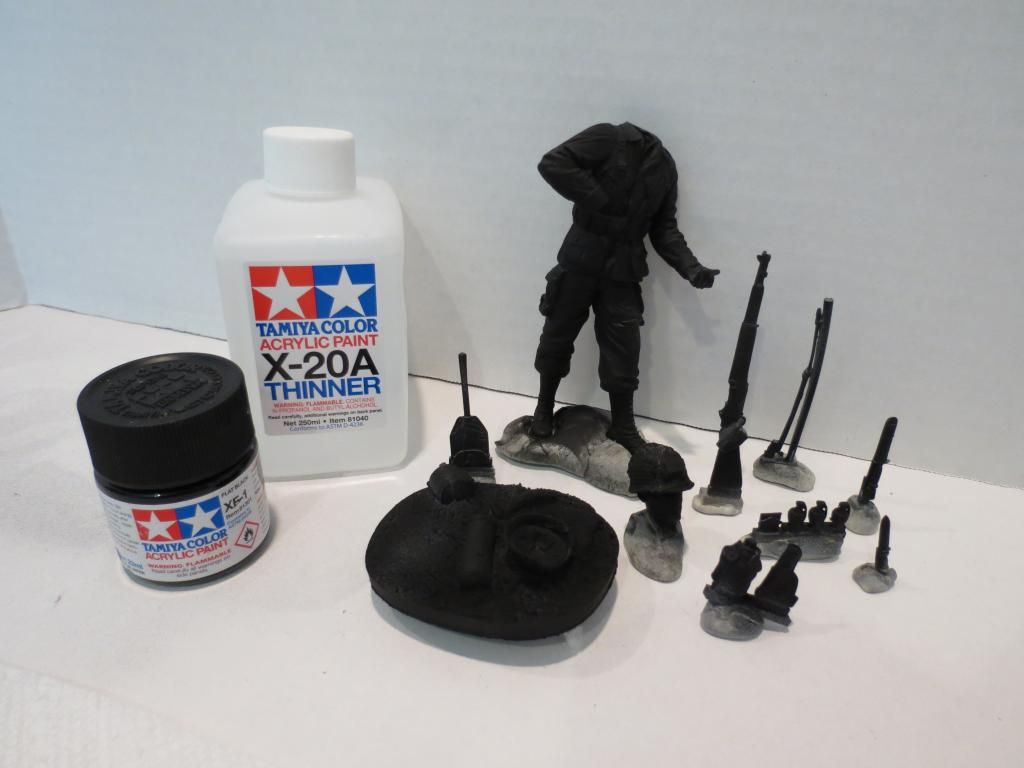
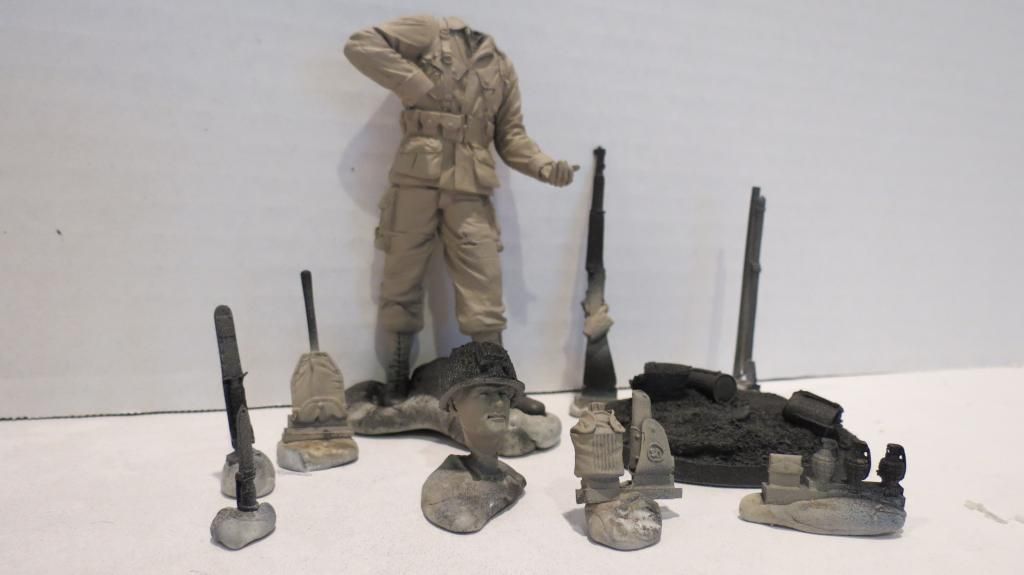
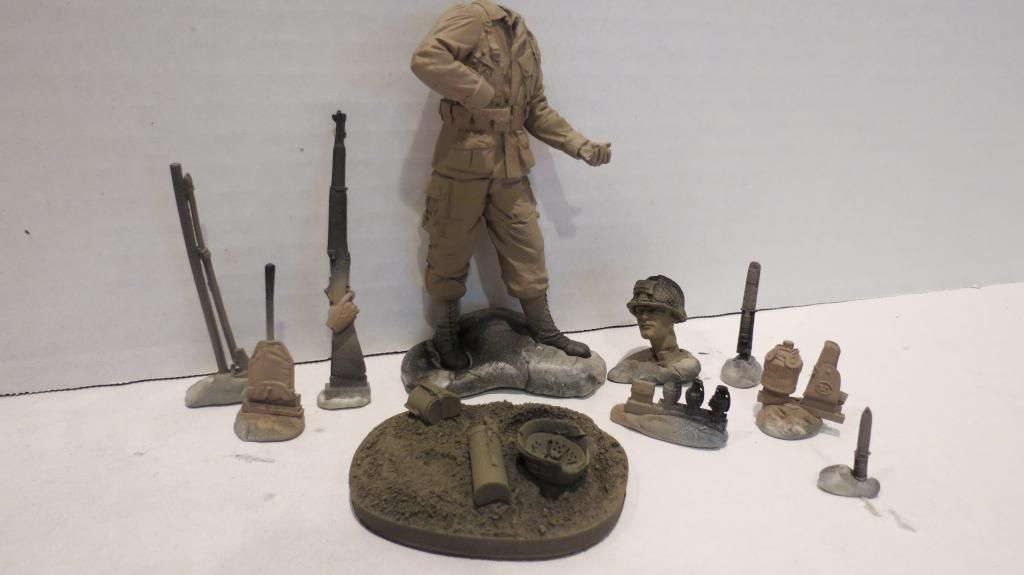
Update #1 ended with all the parts air-brushed with Model Master's grey primer. After that dried, I then air-brushed a Tamiya XF-1 Flat Black base coat on everything. I didn't have any black primer, otherwise I could have saved a step....
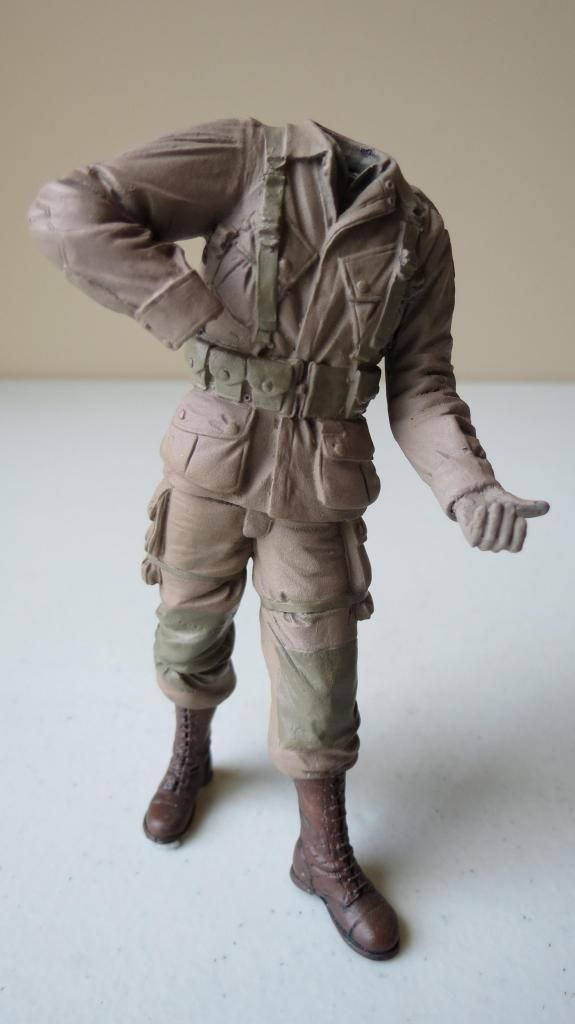
I then played around with different colors, mixing them until I got a shade that I thought would represent a nice base-coat for the uniform, the water flask, the shovel cover, the ammunition pouch and the base/stand. Again, I used Tamiya colors- Flat Earth, Deck Tan and Light Olive Drab....
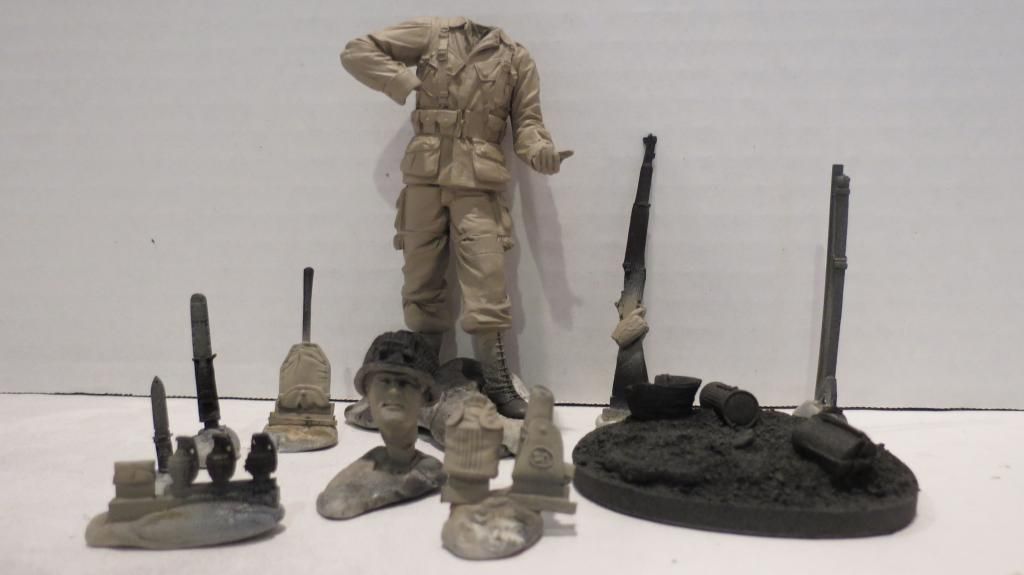
When that base-color had dried, I then air-brushed a light misting of Tamiya Flat Earth onto the parts, including the base....
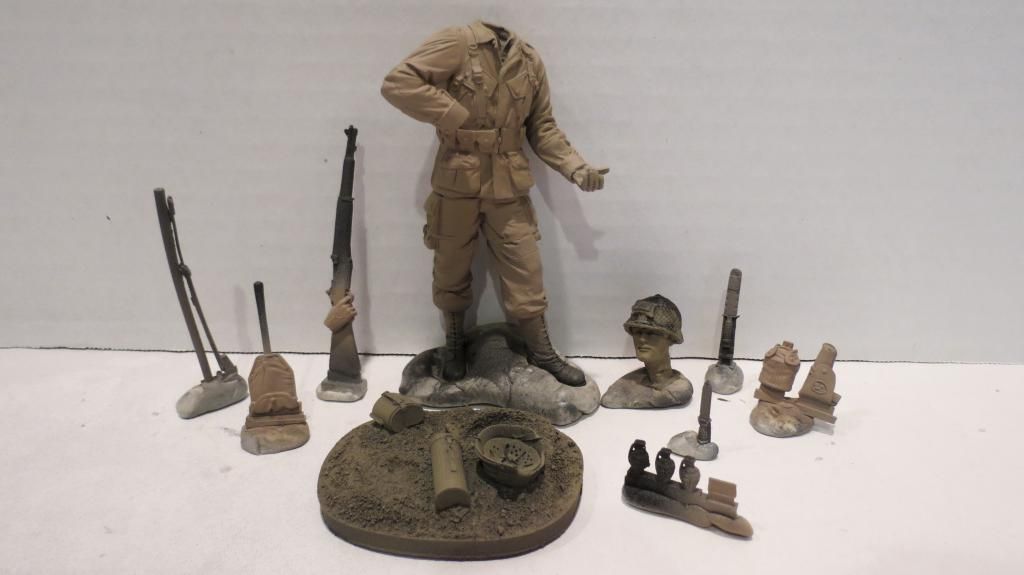
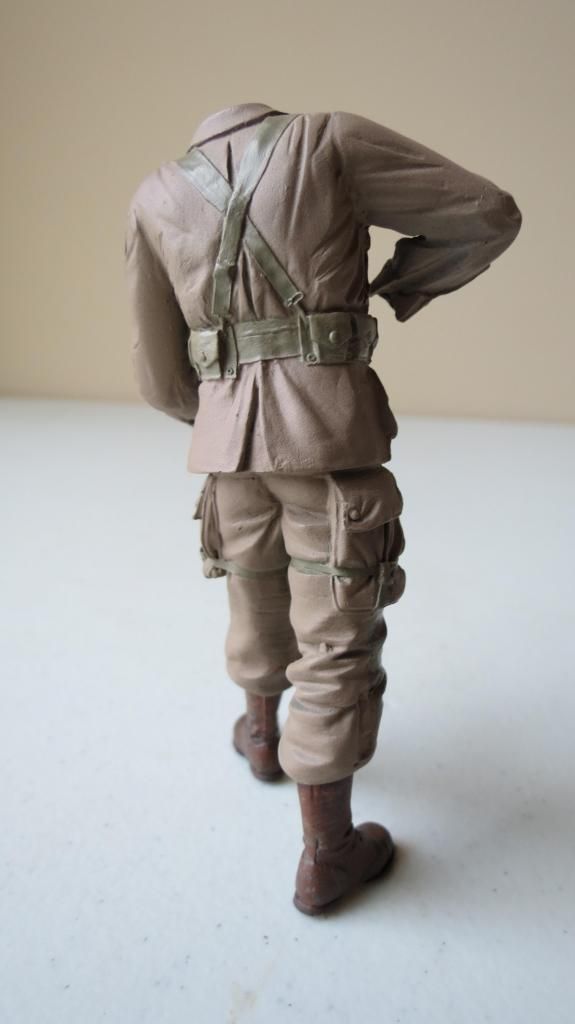
When that had dried, I then air-brushed a light misting of Tamiya Light Olive Drab over the same parts previously misted....
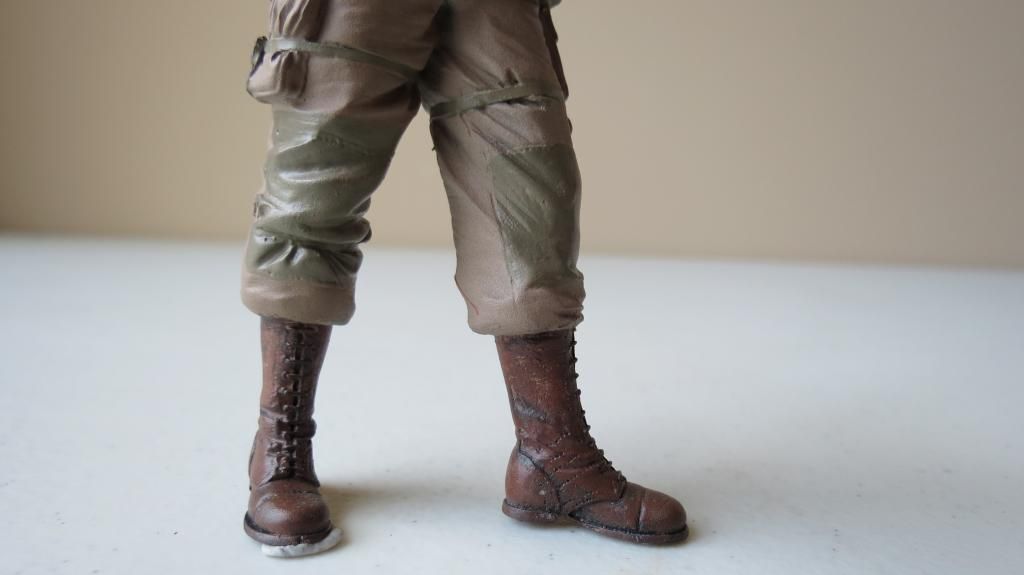
I then hand-painted light olive drab onto the straps and pouches of his utility belt, his knee pads and thigh straps. This was followed by mixing some reds, browns and blacks to create what I thought was a good leather base color and then painted his boots with it...
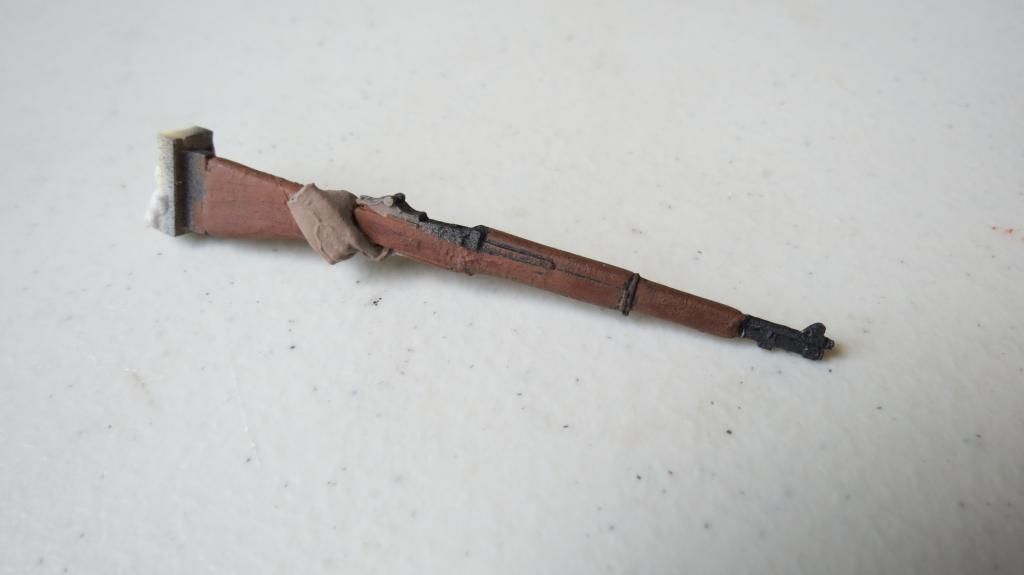
Using the same leather shade, I hand-painted his side-arm holster, the Rifle strap and the sheaths on both of the daggers....
I then mixed a wood color and painted his rifle....
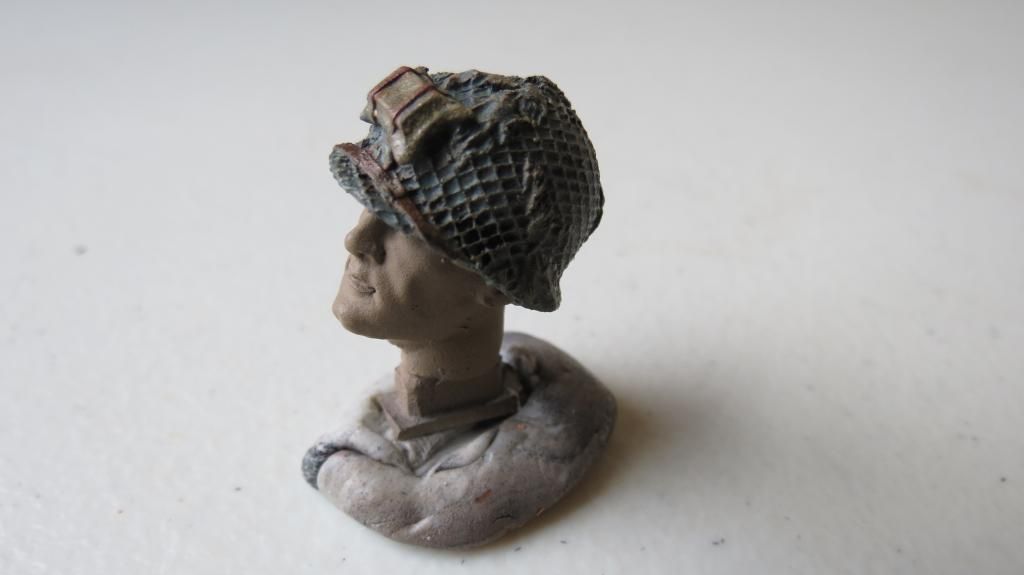
I then worked on his helmet and added a base color for that, plus I painted the leather strap and highlighted some of the details on the helmet...

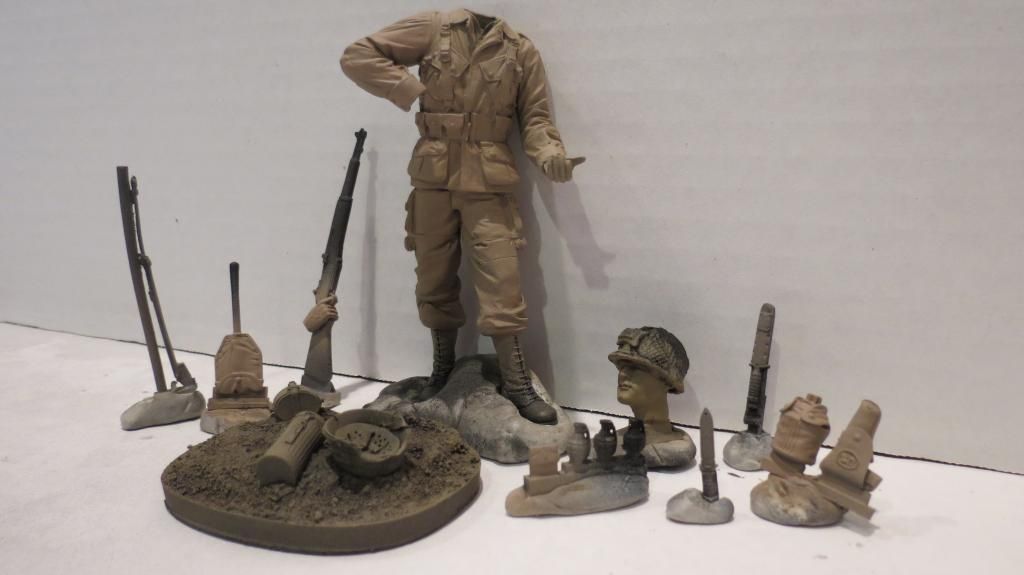
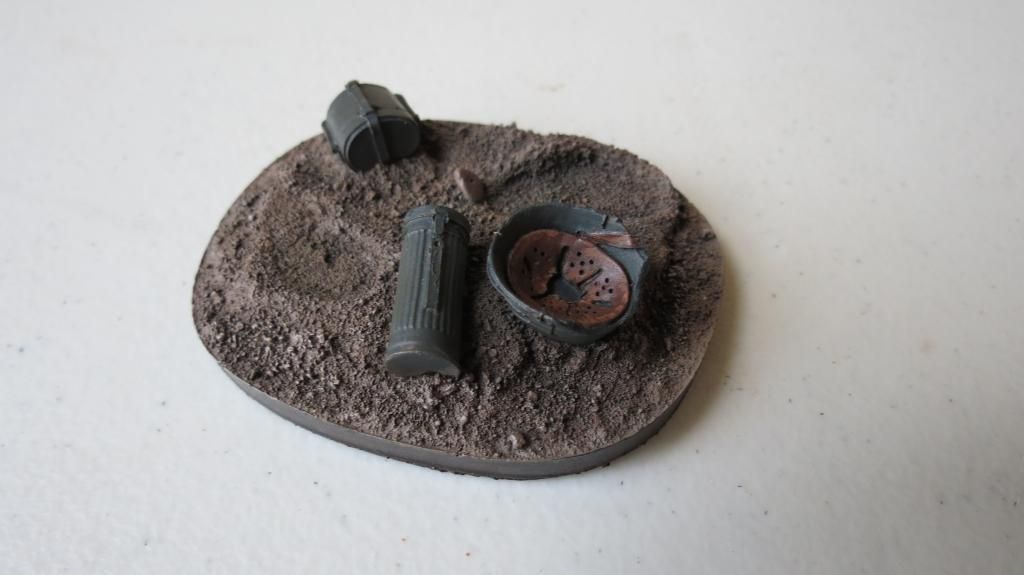
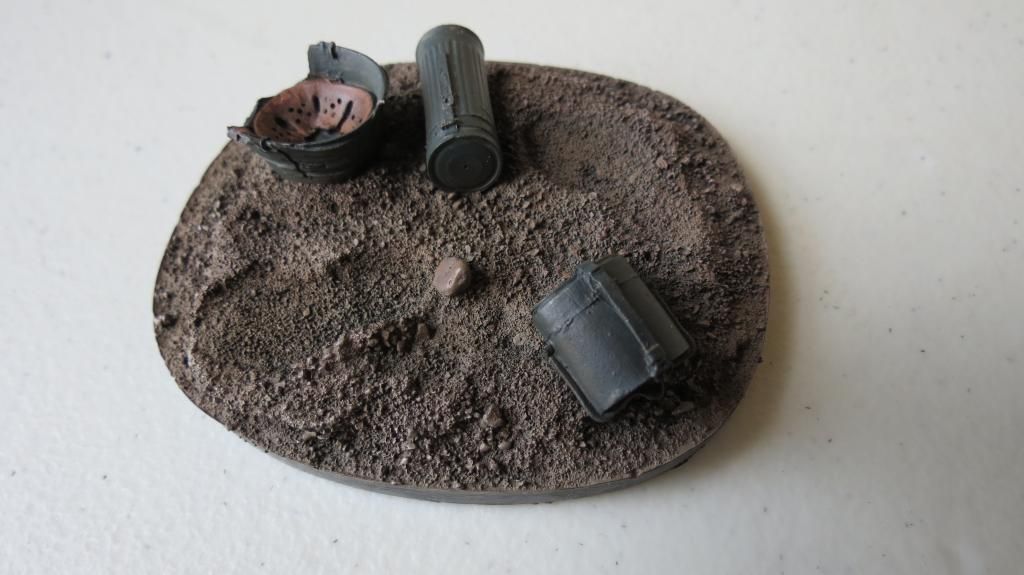
It was now time to do some work on the base/stand. I started off by mixing a black-green color for the German items- Gas Canister, Flask and Helmet, painted that on as the base color, then I painted the interior leather cushion on the helmet. After that, I highlighted the "mud" on the base with a light shade to bring out some of the pebbles....
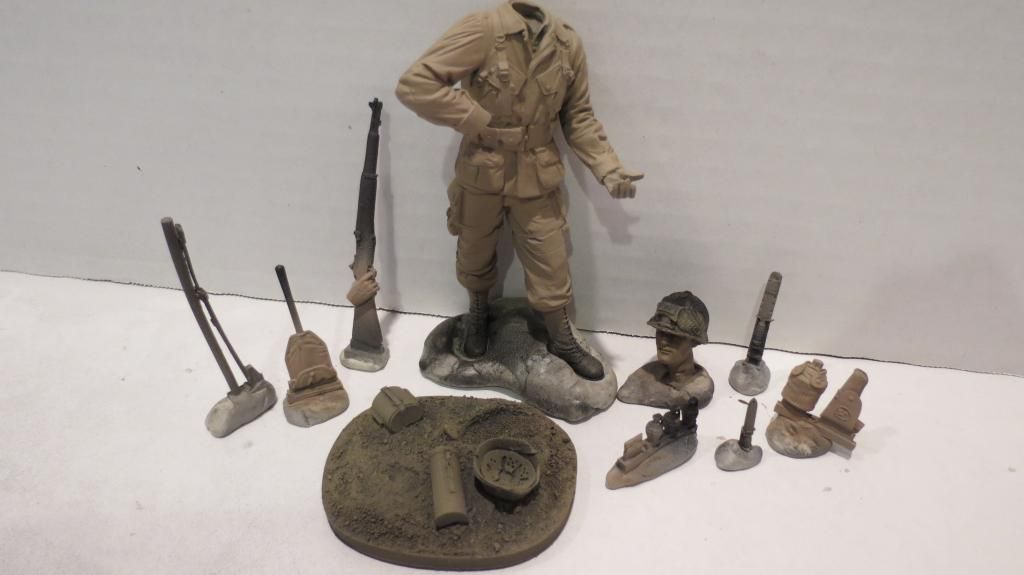
The following three images show the figure temporarily located onto the stand and his Rifle temporarily held in place to give you an idea how it is starting to look....
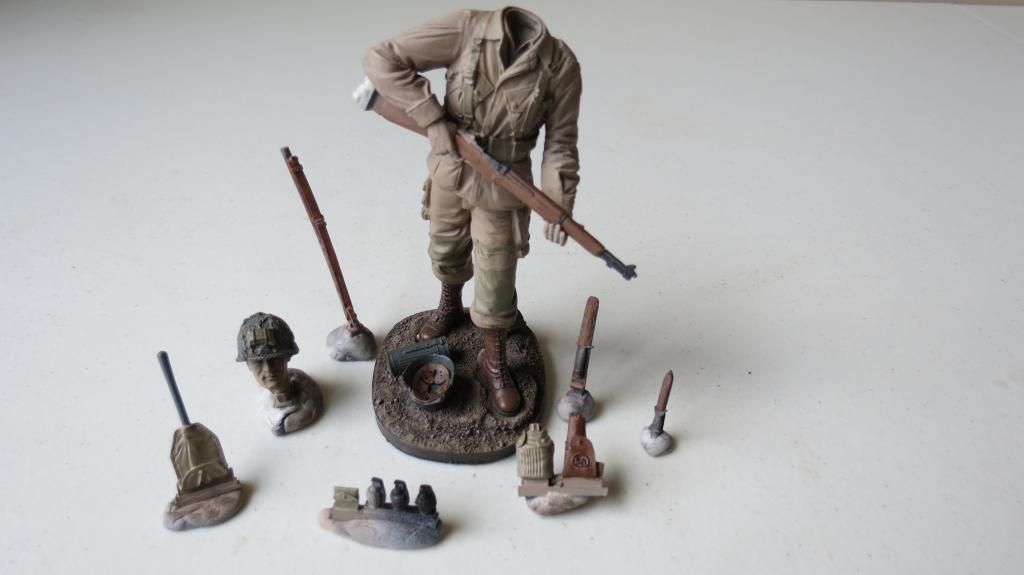
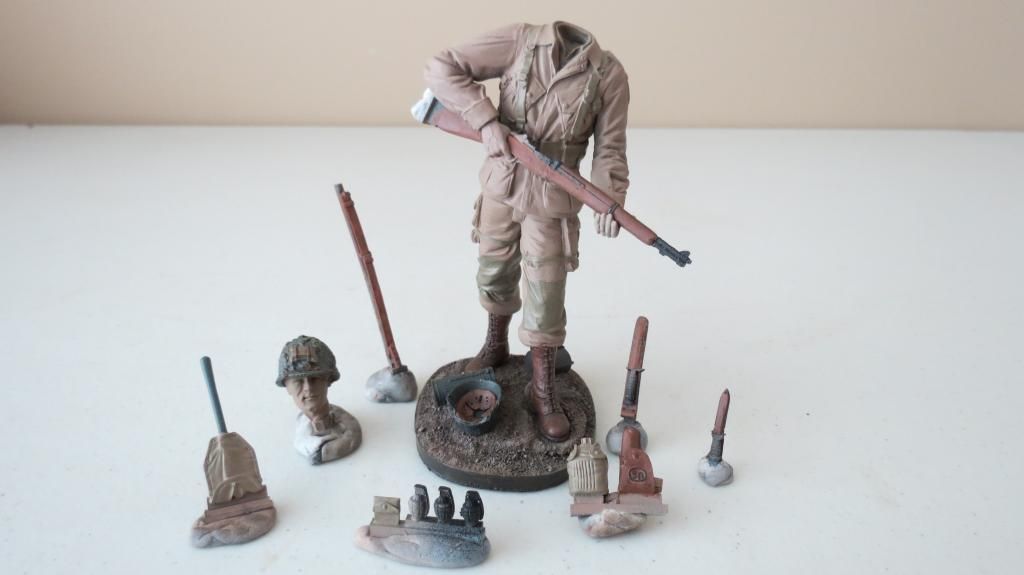
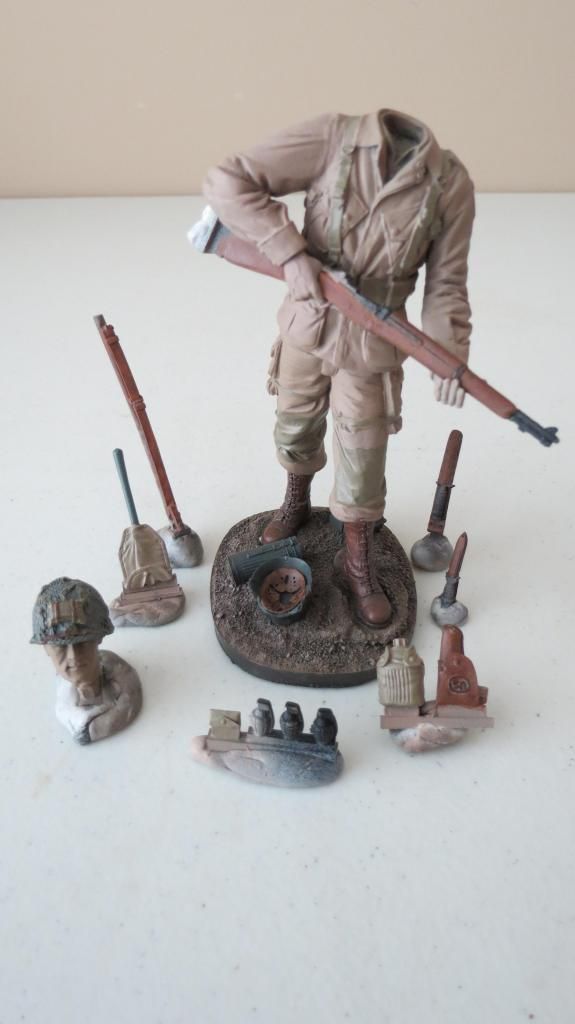
So, that's my build update #2 completed. I hope you like what has been done so far and please live comments including any constructive criticism, which is most welcomed considering I've only built aircraft before and this is my first ever attempt at a figure

There's still a lot more to do on all the parts...paint chipping on the metal containers and German helmet, paint his face, the grenades, the gun, the daggers, his rifle and then apply shading into the folds and creases of his uniform, followed by washes to create more depth.
If you'd like to watch my Build Update #2 Video on YouTube, here is the link for that:
[youtube]ZANyzhOe1CE[/youtube]
Thanks for watching and your continued support and comments throughout this three part project, it's greatly appreciated!

Cheers

Martin