Hi guys
So with the end of this SIG coming closer by the minute
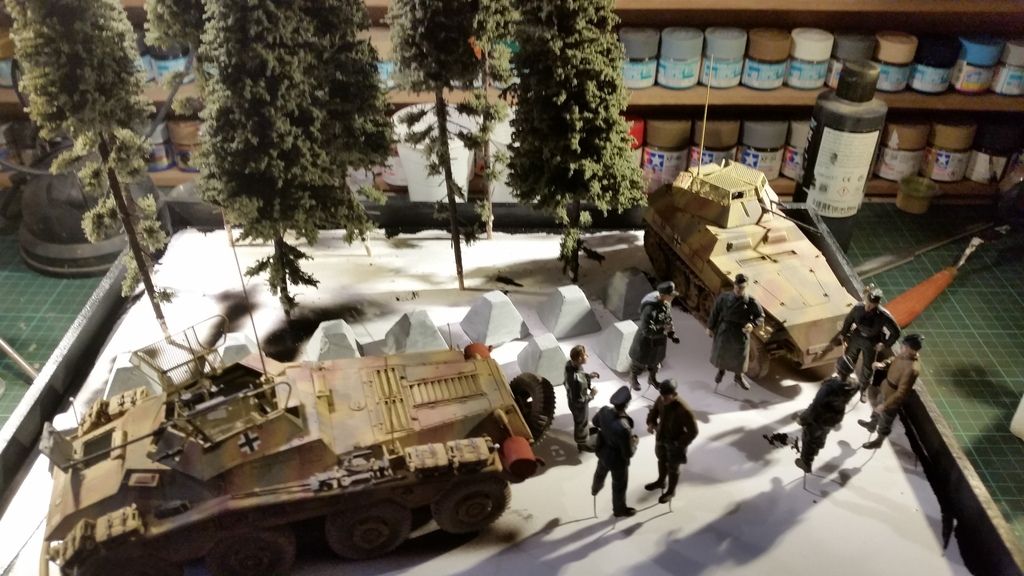
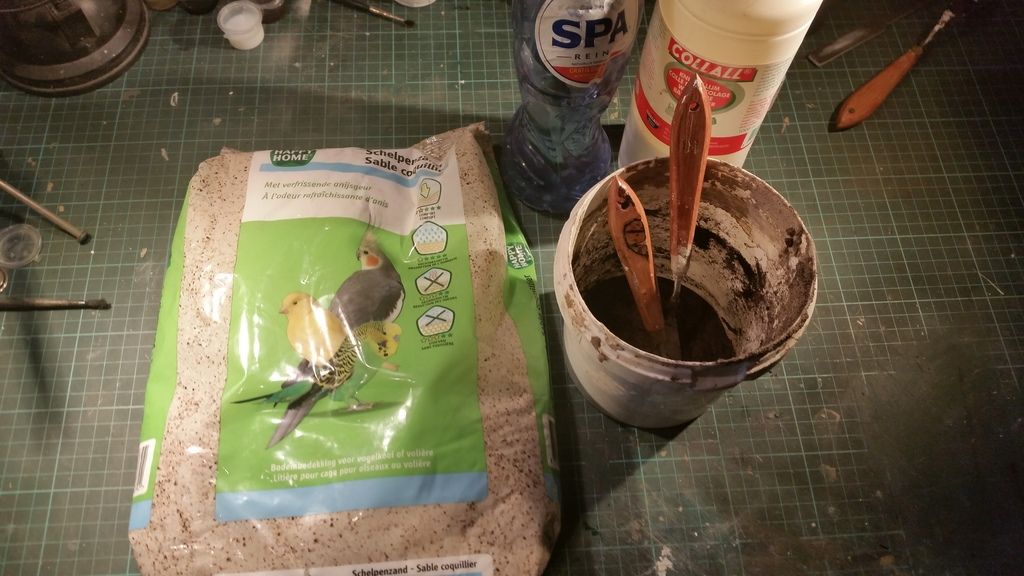
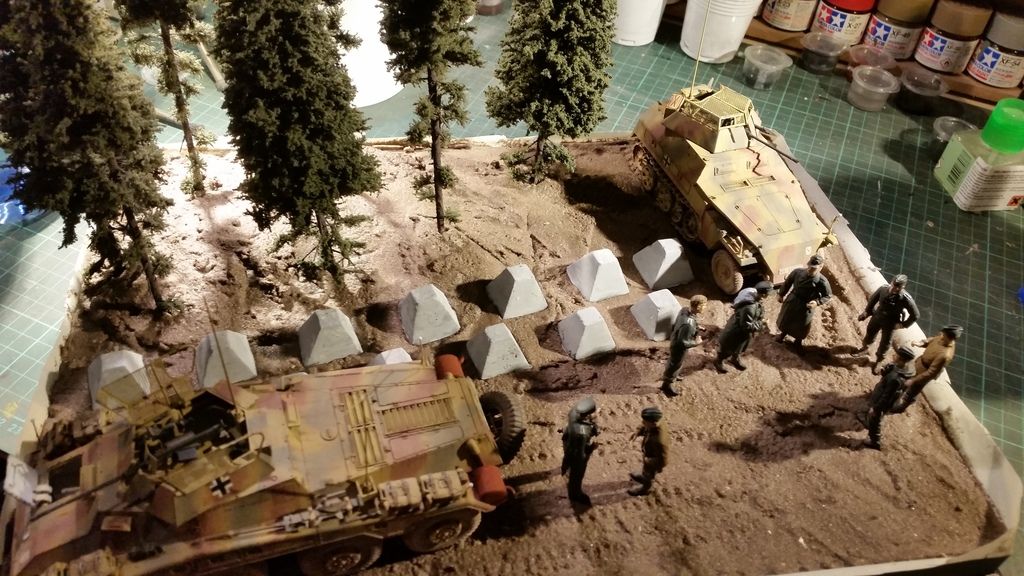
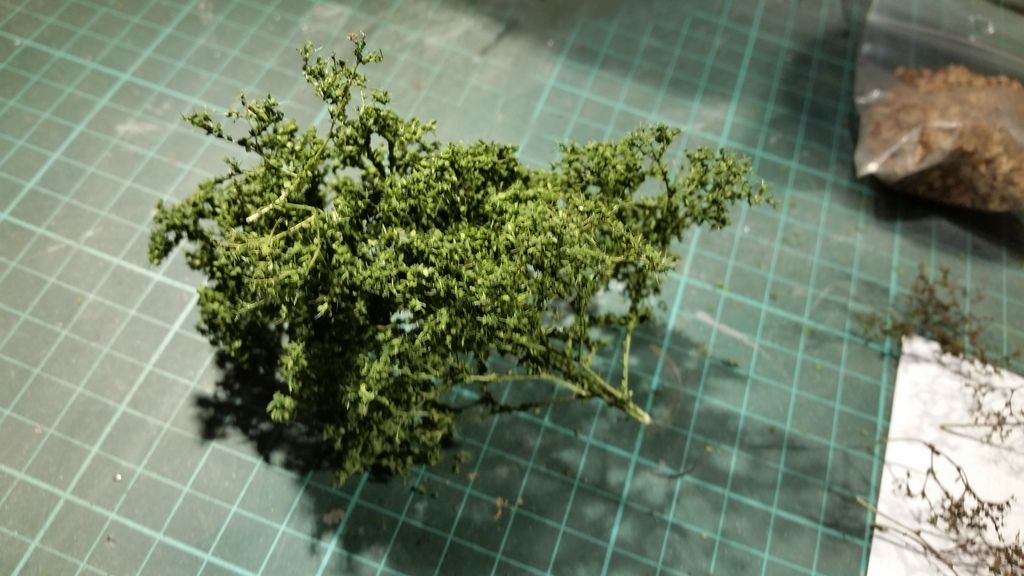
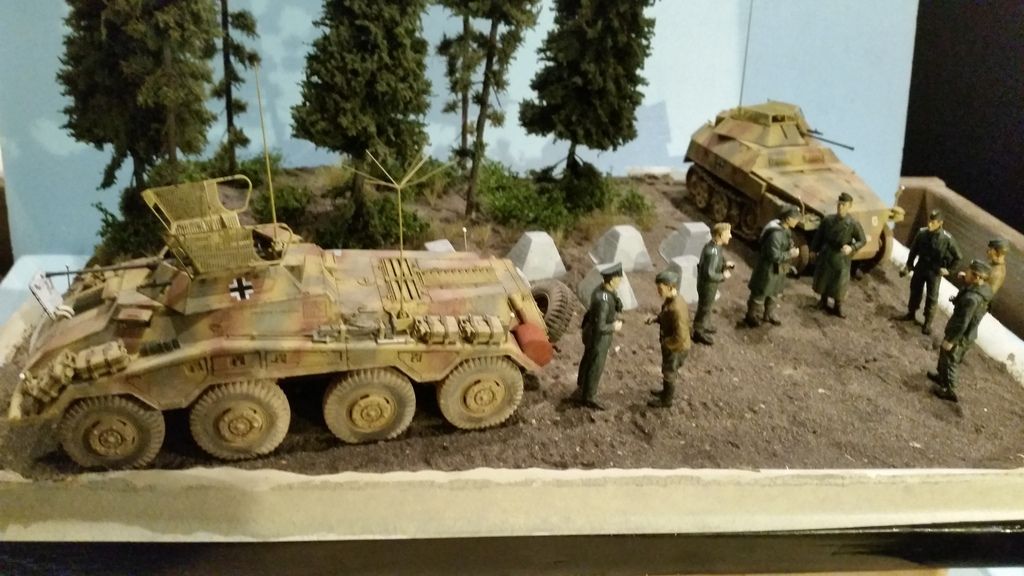
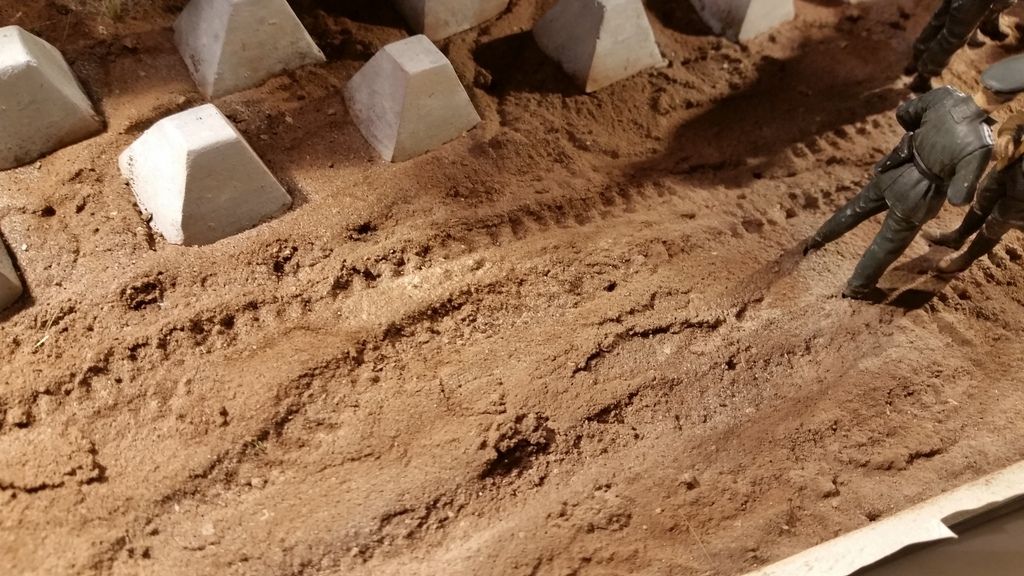
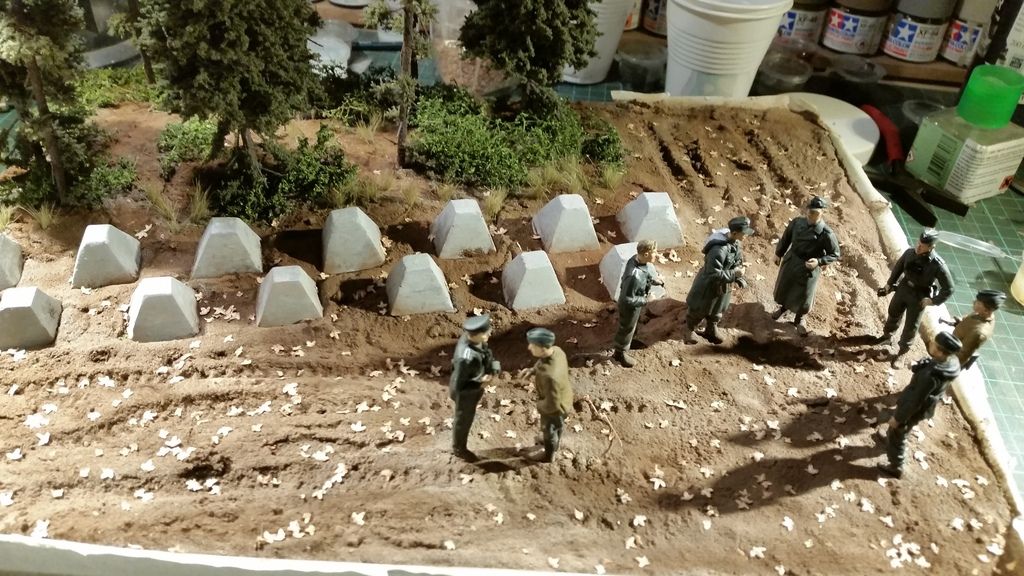
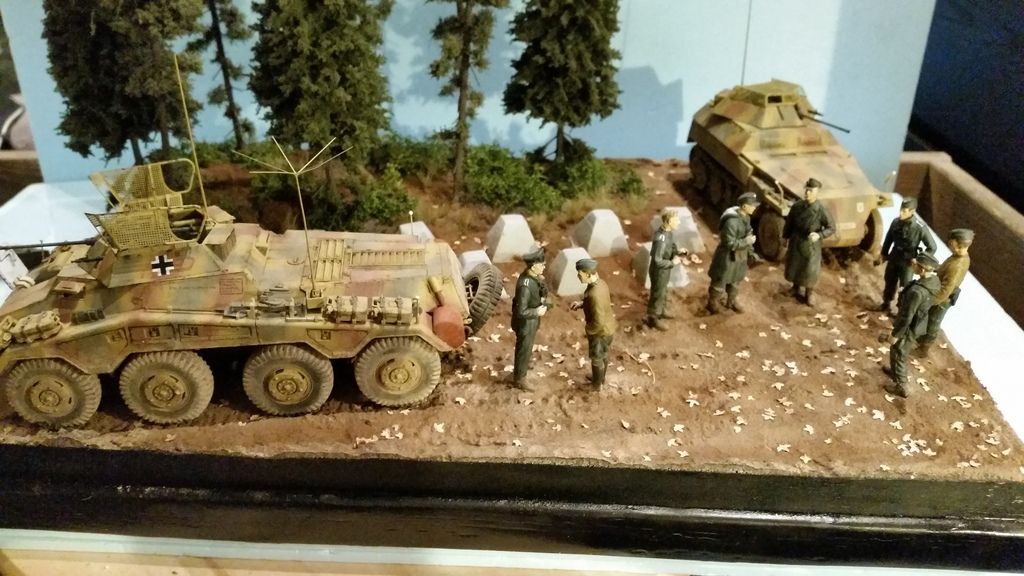
I thought it was time to do some updates as i am nearly done with the build but the groundwork of the diorama is still drying a bit
So while that is happening i will do those updates
For this one i will do the painting and weathering of the vehicles
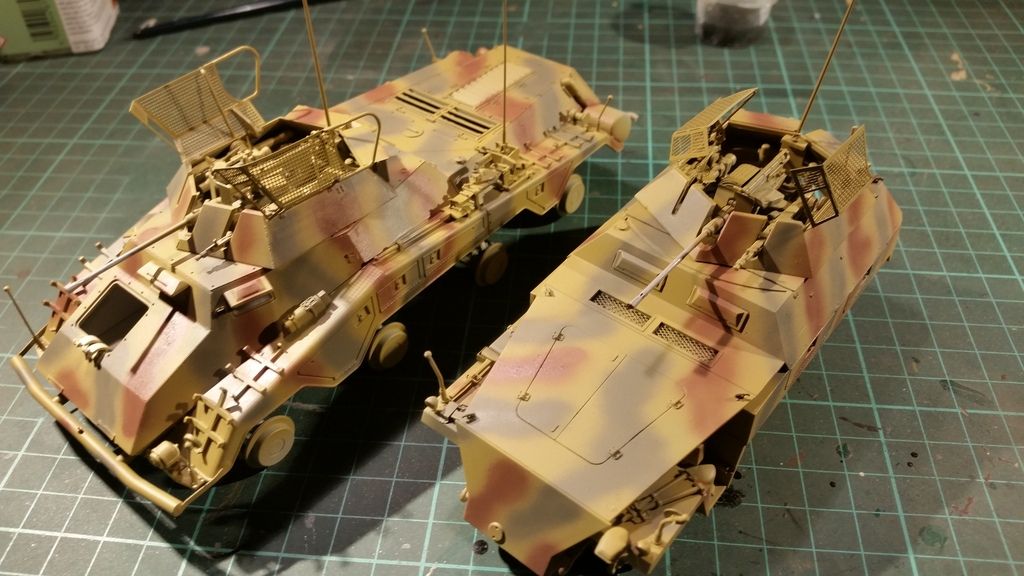
I don't have step by step photo's of the camoscheme
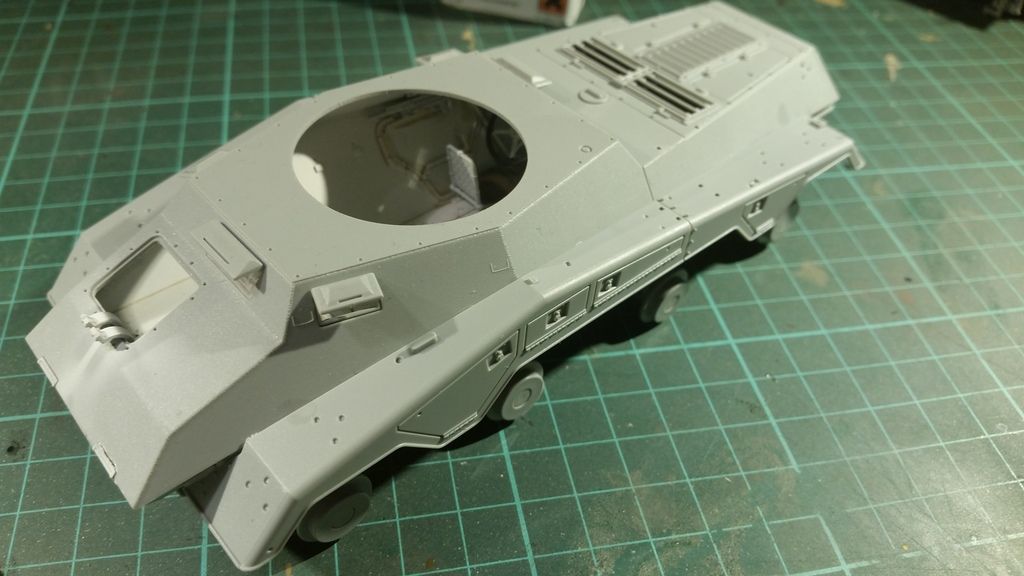
But the base is mr hobby aqueous H403 dark yellow
The dark green and red brown are both feom tamiya and where dulled down with buff color to make them look more fades
I didn't do any form of pre shading or panelfading on them as i thought the weathering would do enough this time
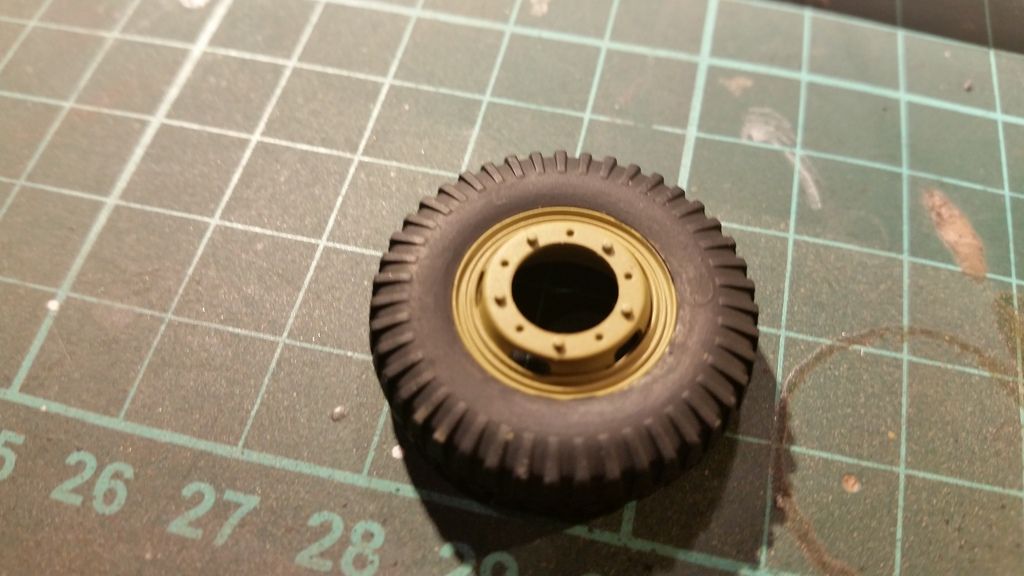
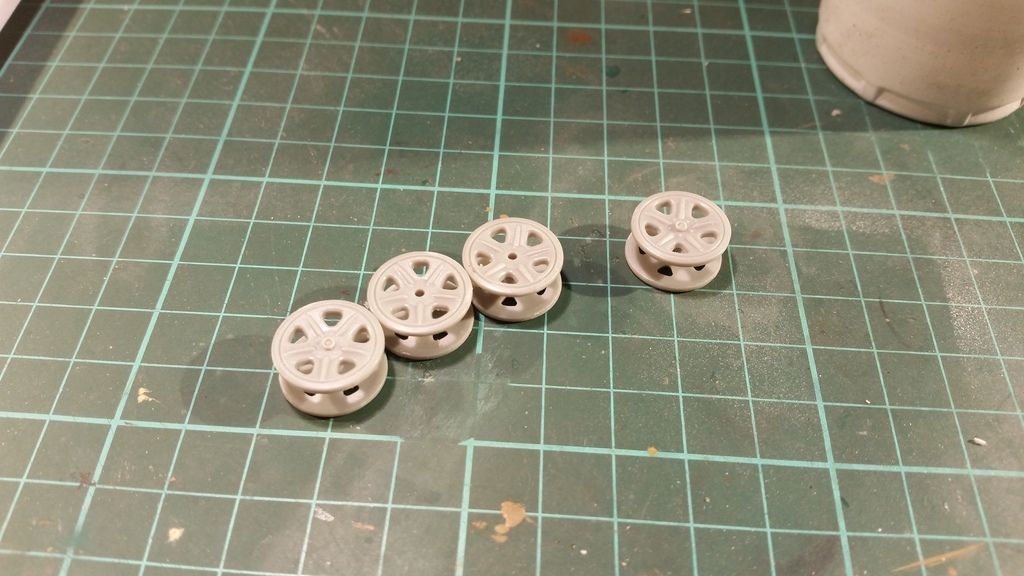
To start the detail painting i began with the wheels and tyres
The wheels are in the basecolor of the vehicle and the tyres are painted with a 4:1 mix of vallejo black and german grey to make this very dark grey color wich is nearly black
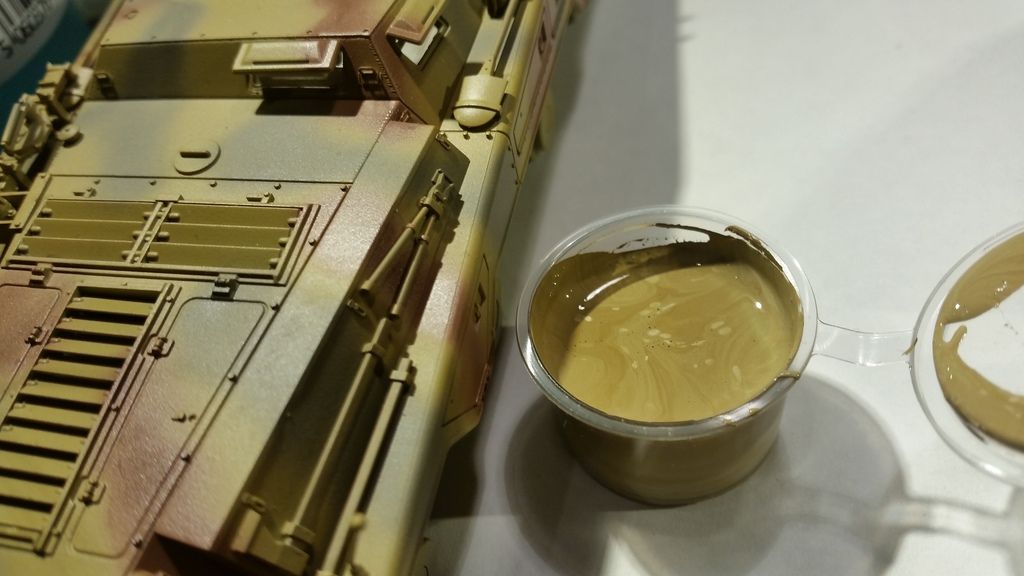
I then started with the tools
I always begin with the handles
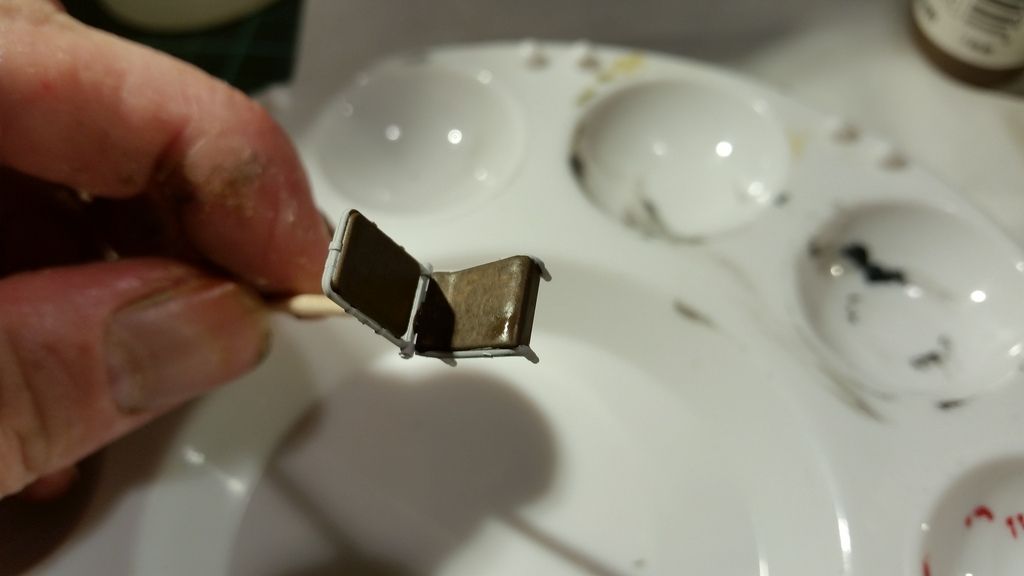
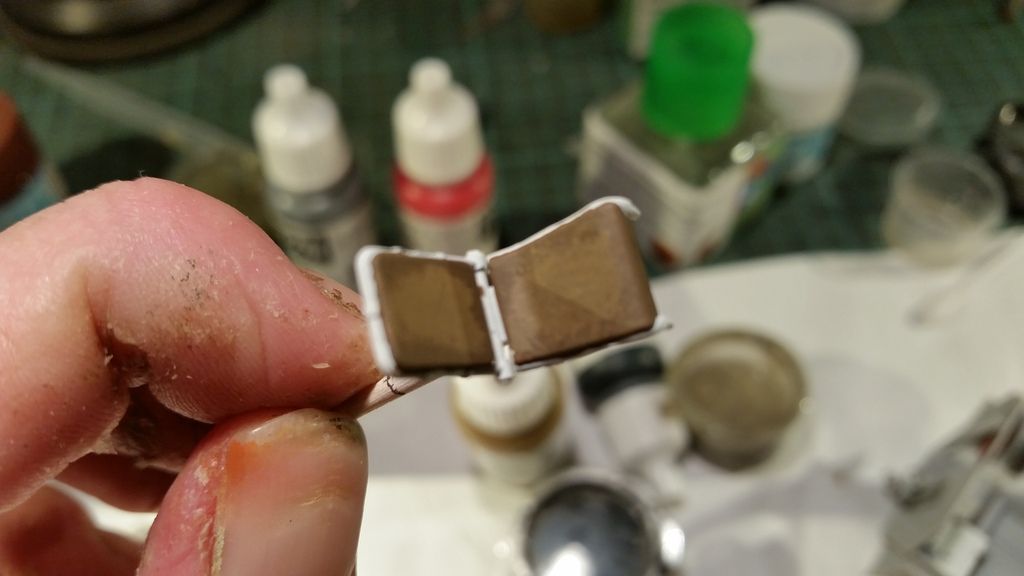
As a basecolor i make a mix of Vallejo English uniform and white in a 4:1 ratio
As it is hard to see on the vehicle i placed the cup of pai t next to it so you get an idea of the color
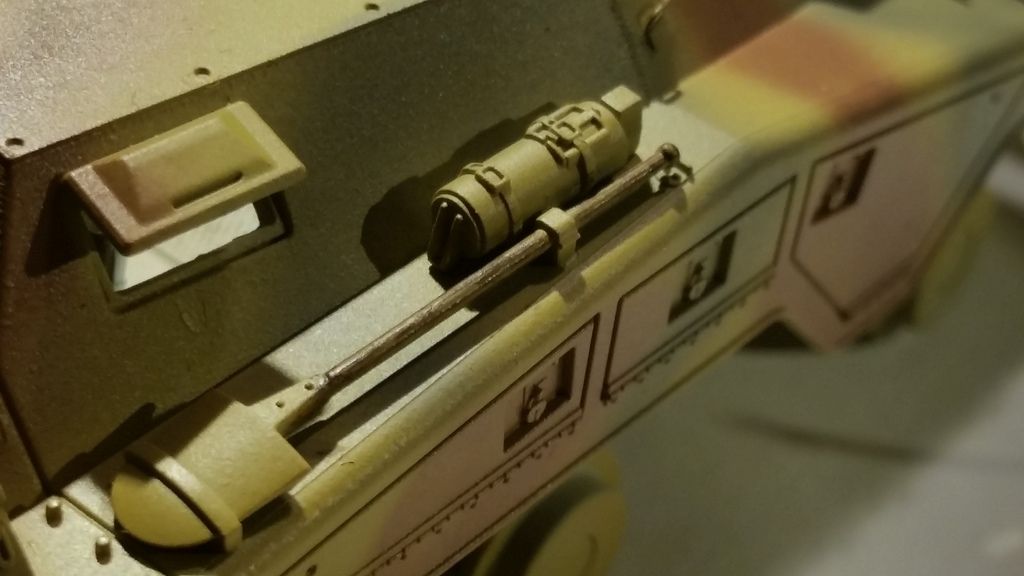
To make them look like they have a woodgrain and a laquered finish i use vallejo smoke
This is applied in a similar way as you would do with dru brushing but i leave more on the brush so i can drag the paint over the tool handle
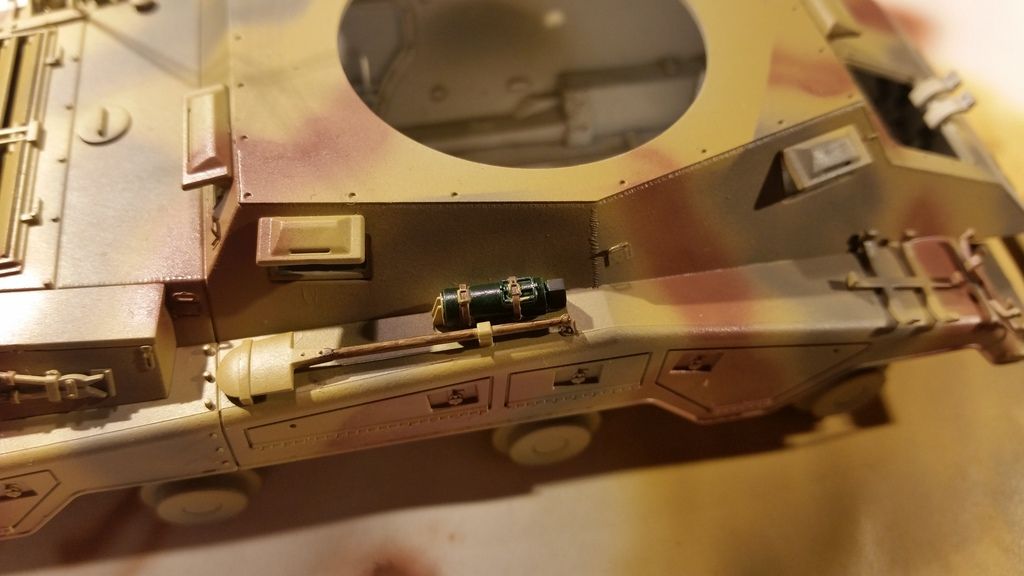
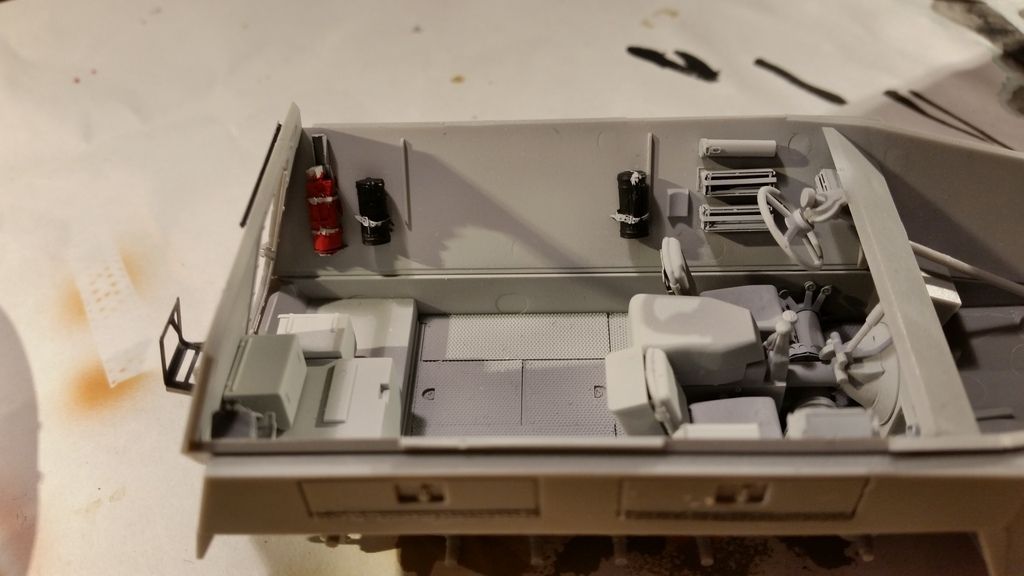
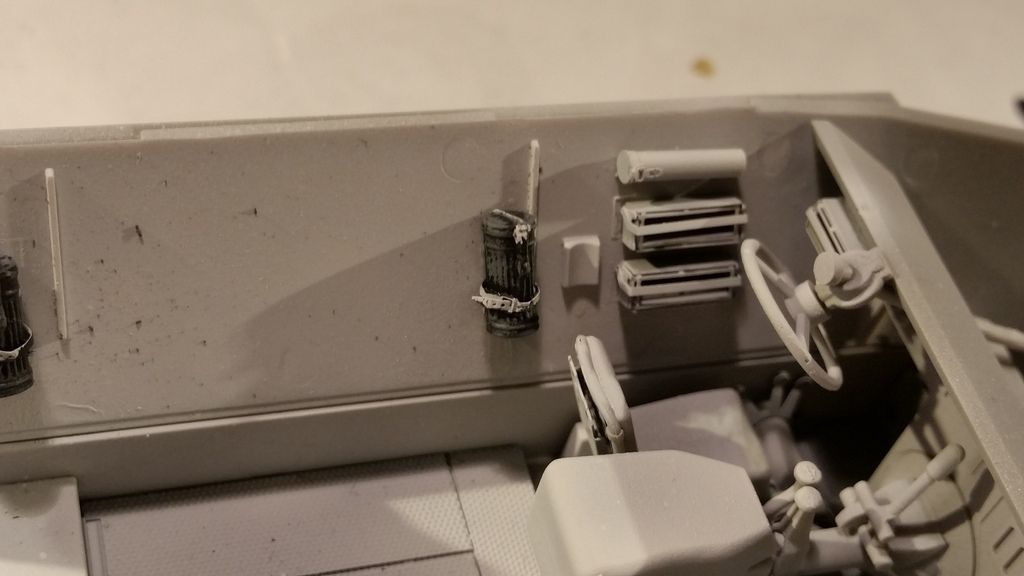
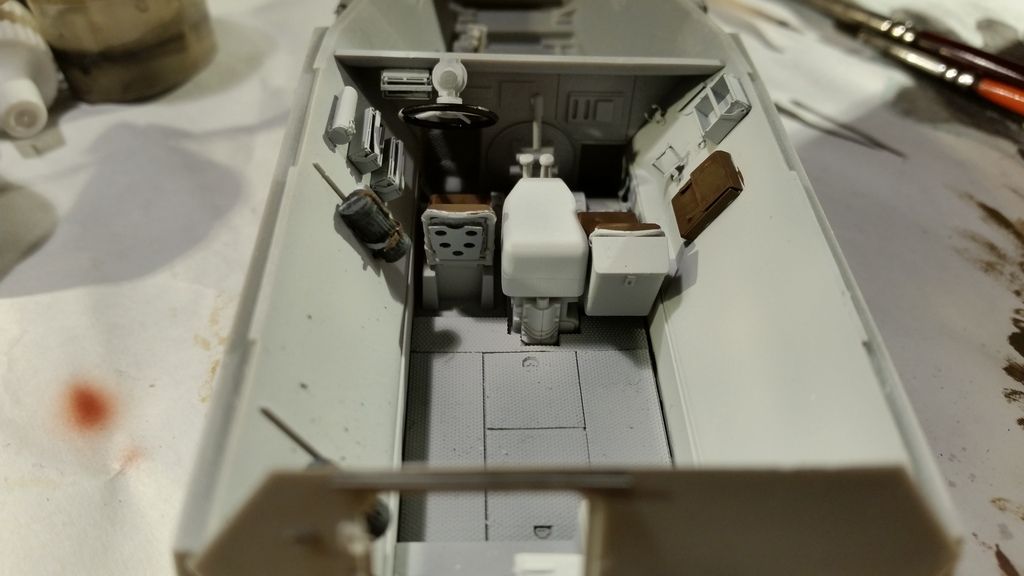
While the tools where drying i painted the fire extinguishers with vallejo military green
The straps that hold them in place are painted with vallejo leather brown
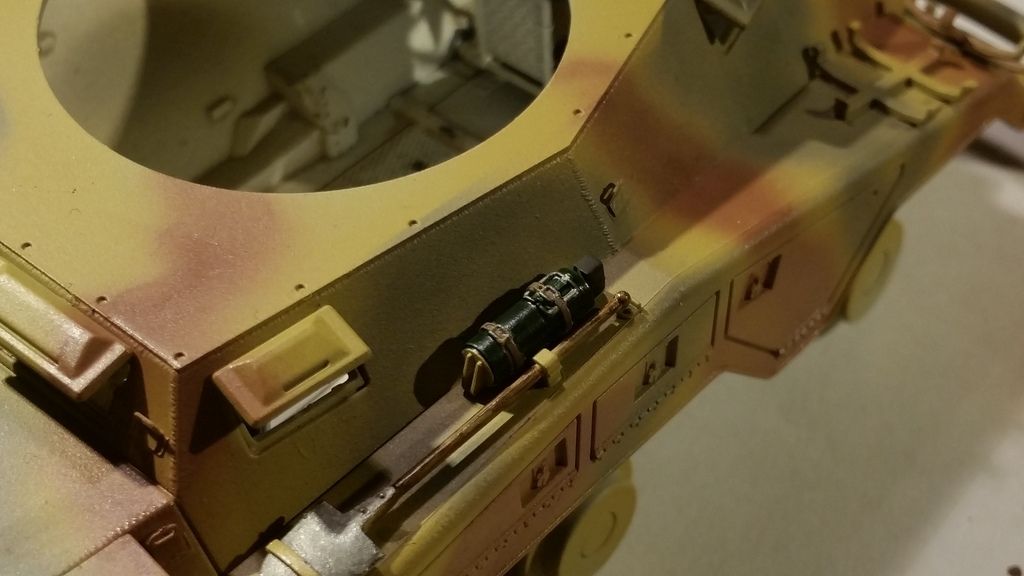
The straps where finished by painting the buckles with mr metal color stainless steel
The head of the fire extinguishers where painted wuth the same paint as i used on the tyres
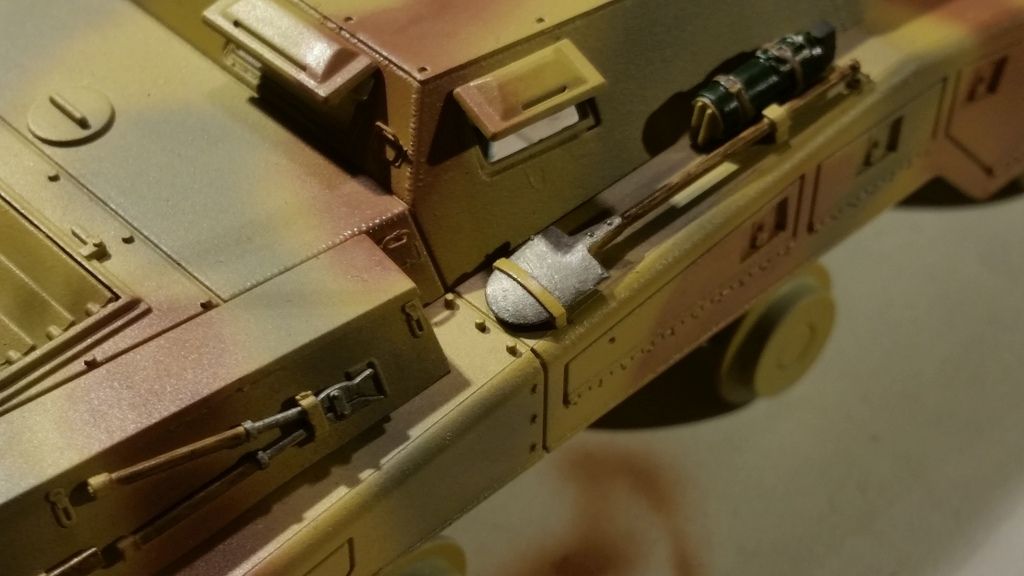
The metal parts of the tools where also painted with the mr metal color stainless steel to finish them
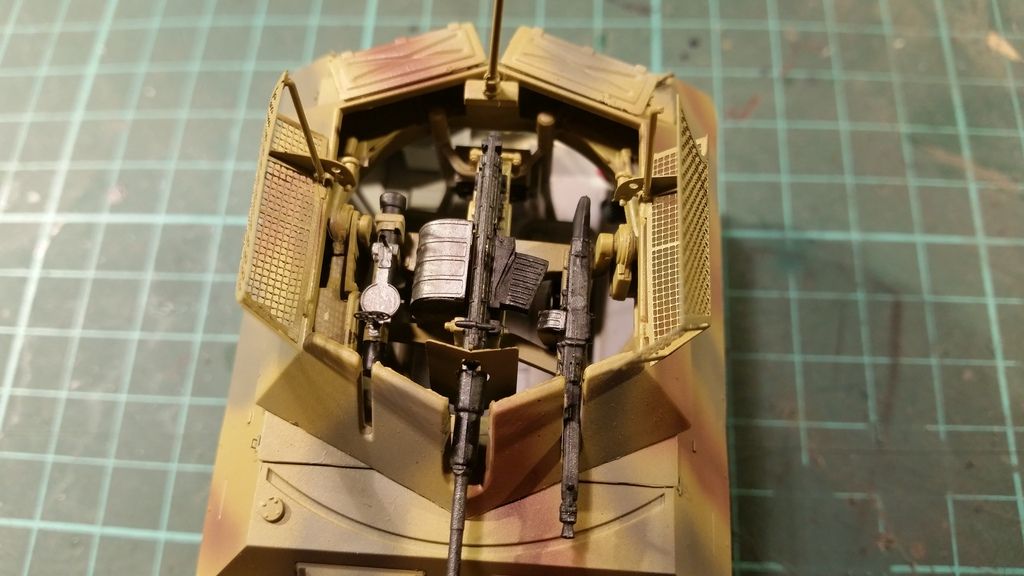
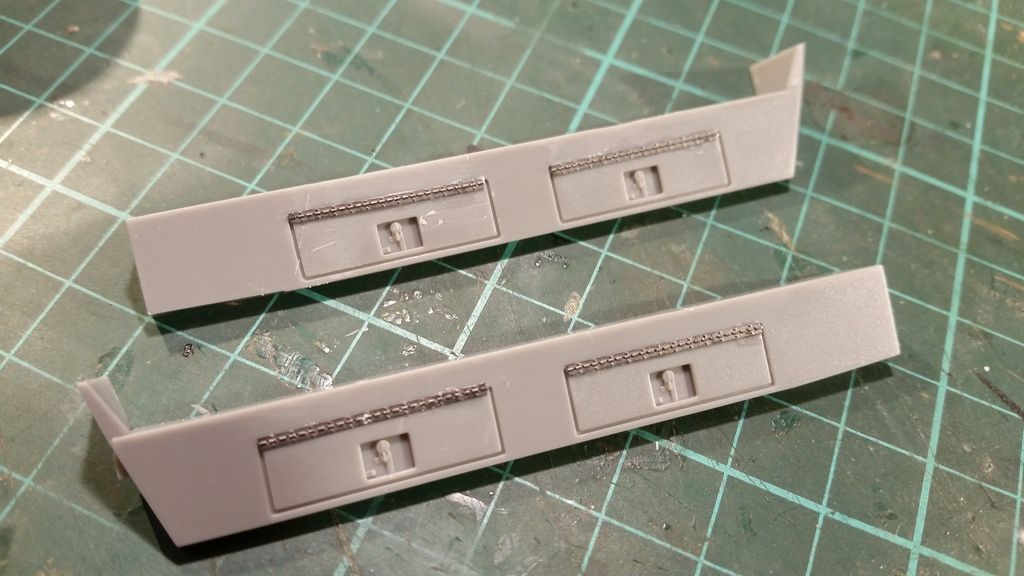
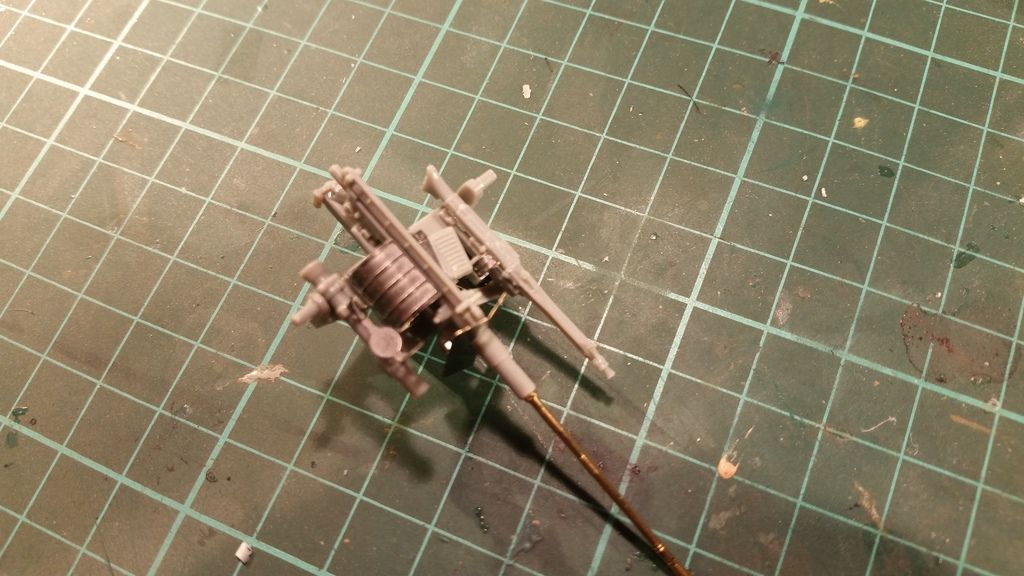
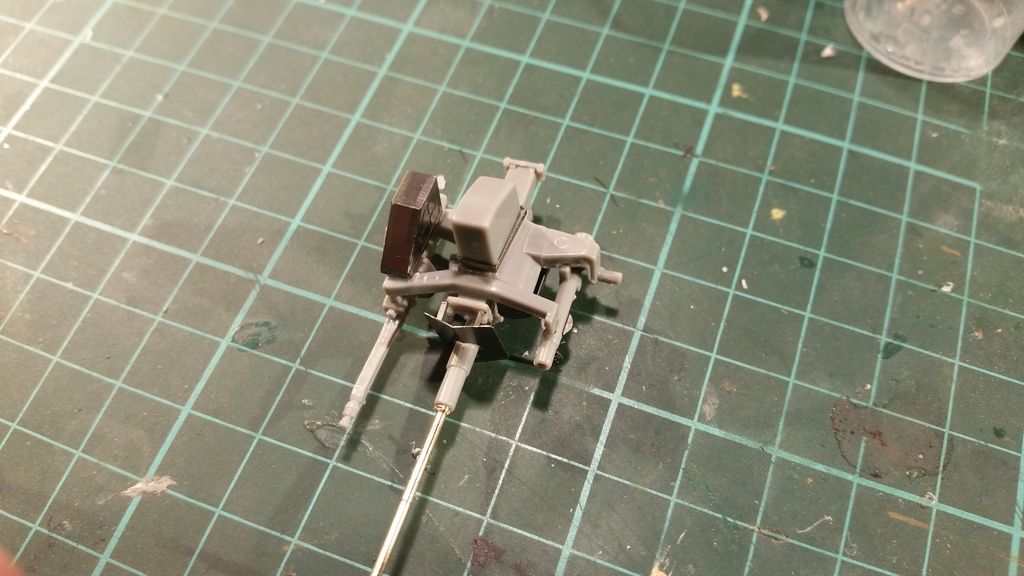
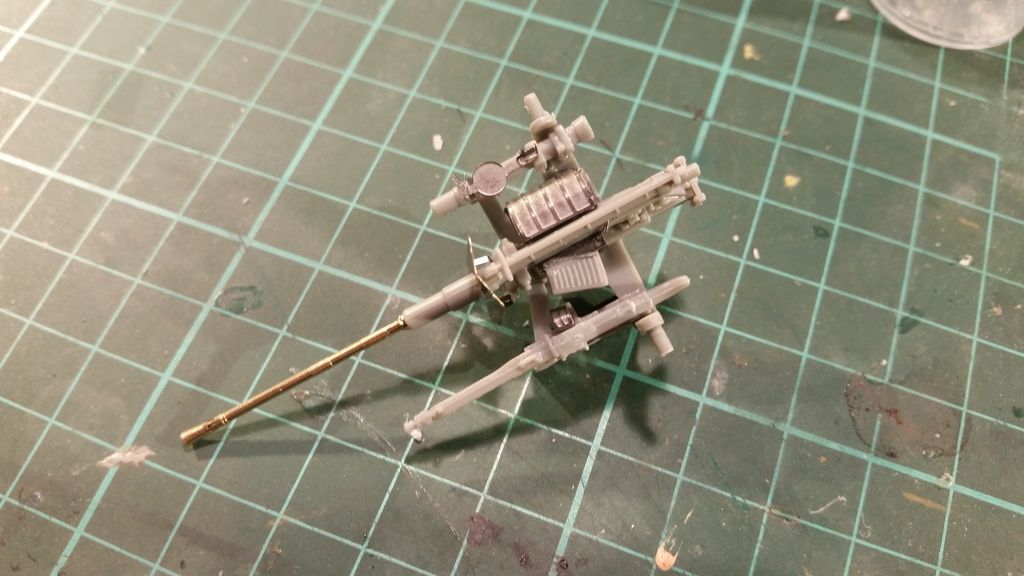
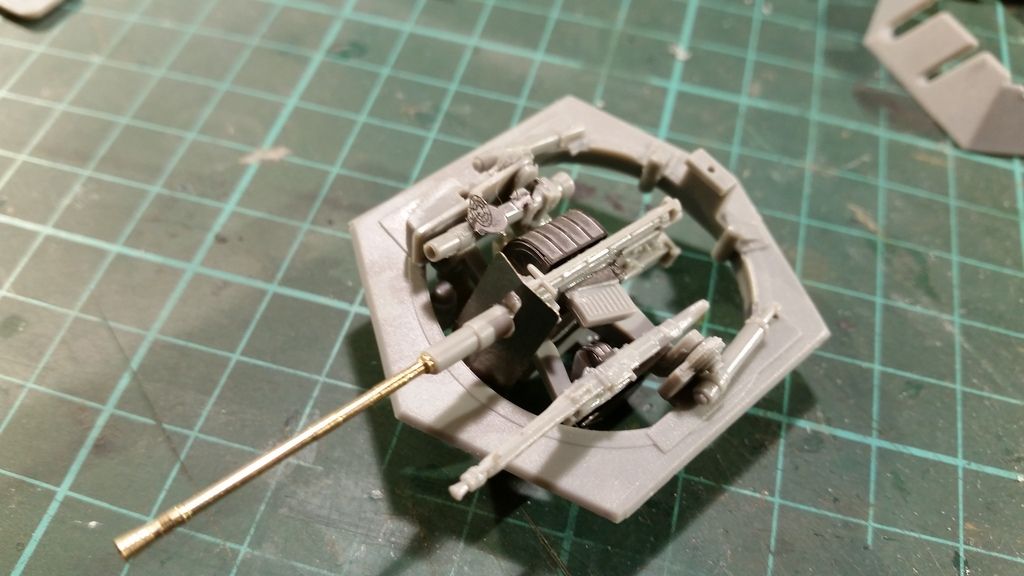
The 2cm cannons and the MG42 where painted with mr metal color dark iron and slightly vuffed around the raised details
The covers that are mounted next to the guns are painted in the stainless steel color and where also slightly buffed
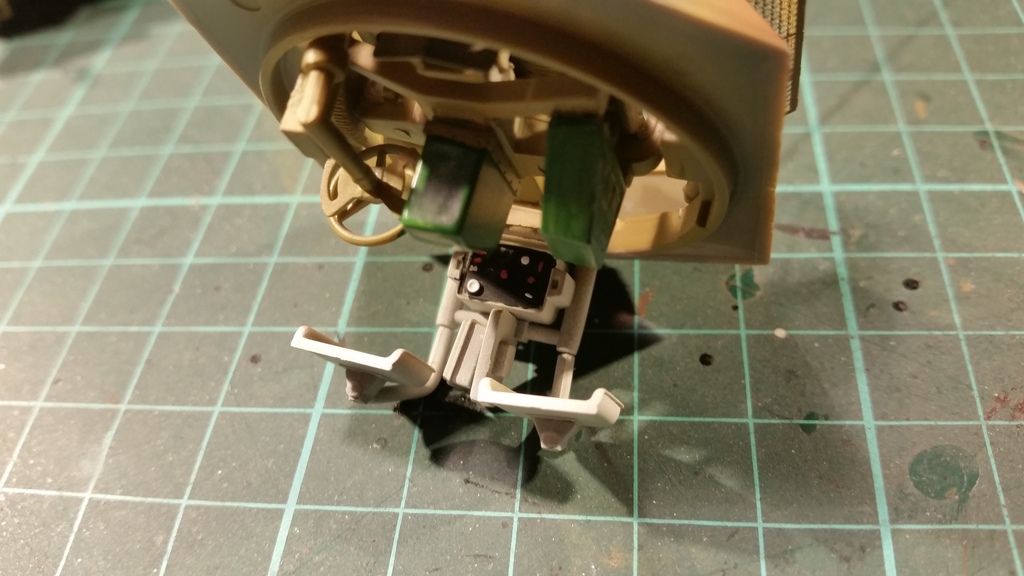
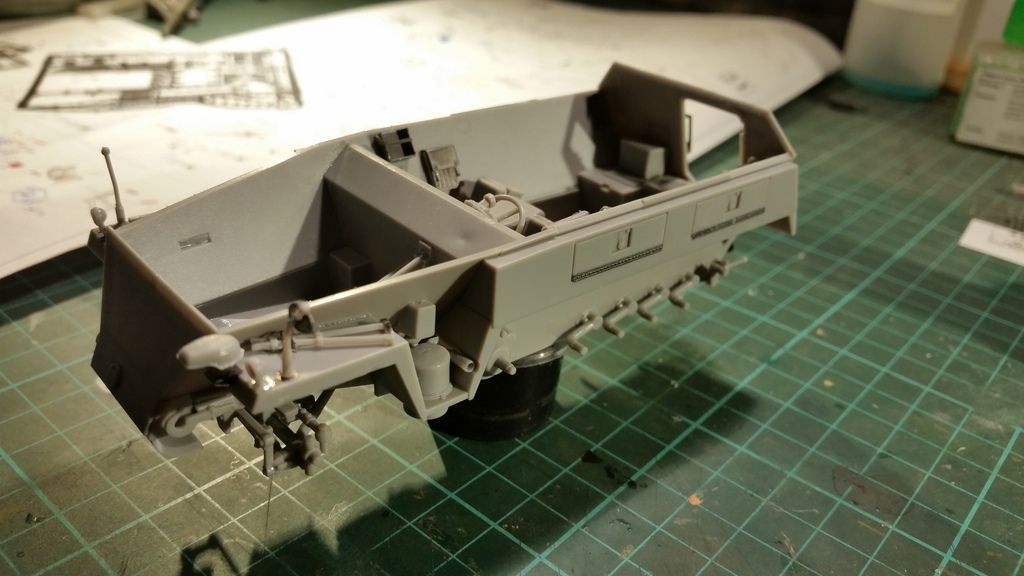
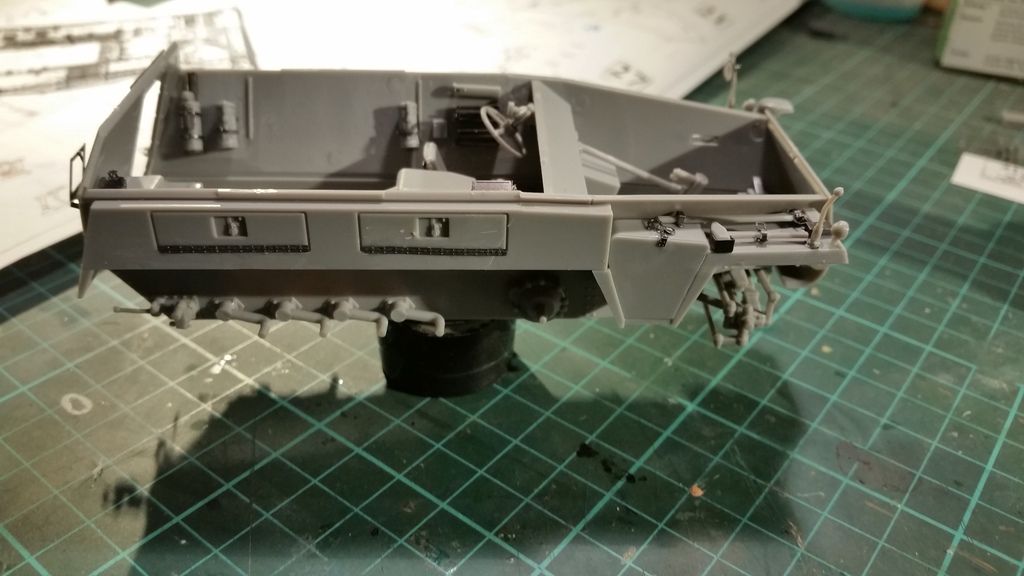
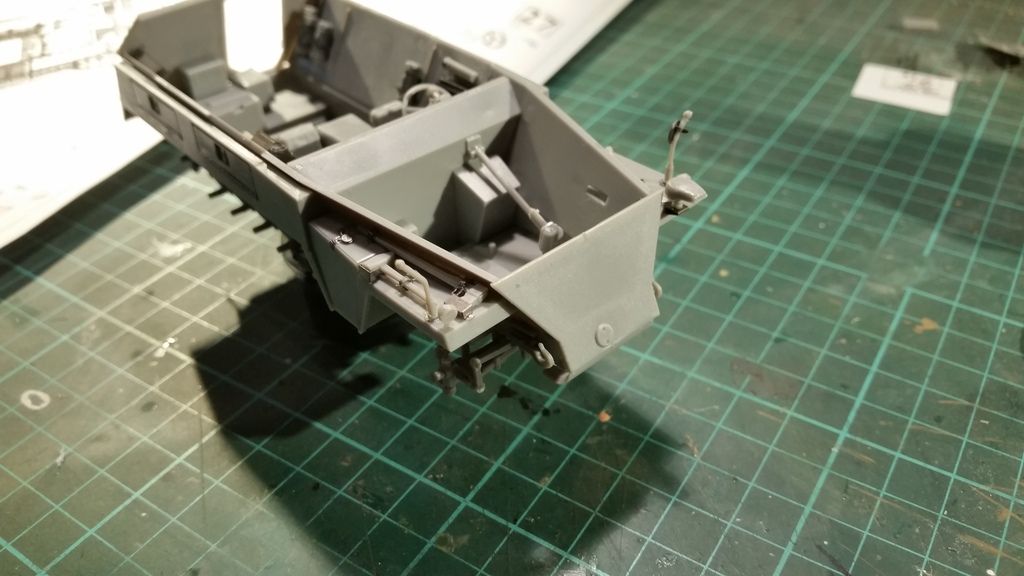
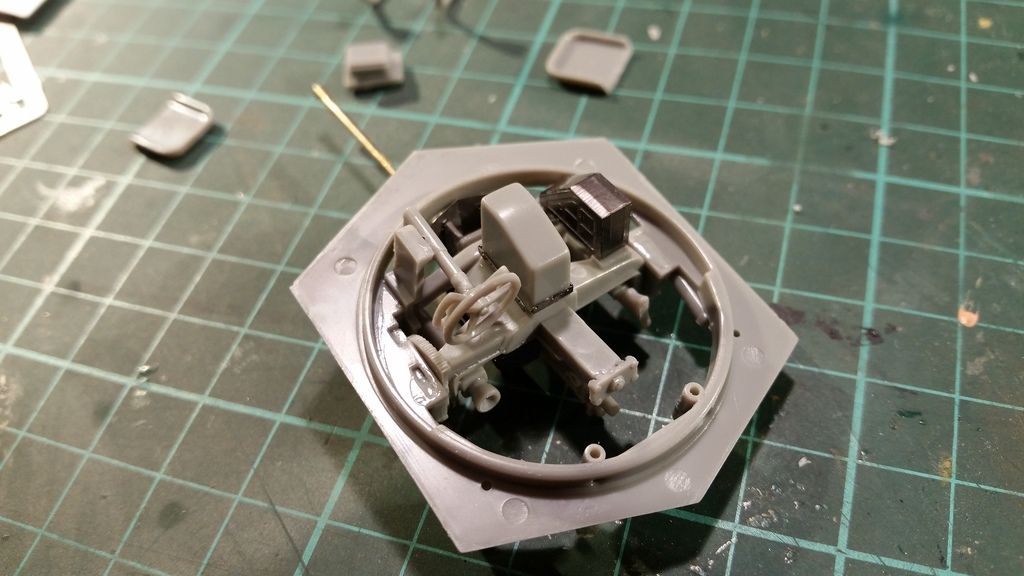
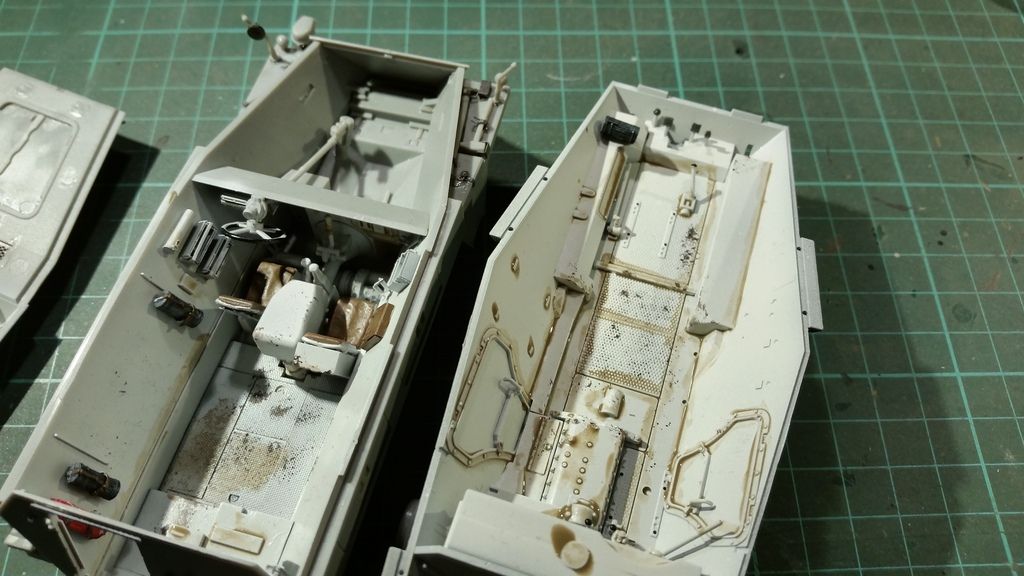
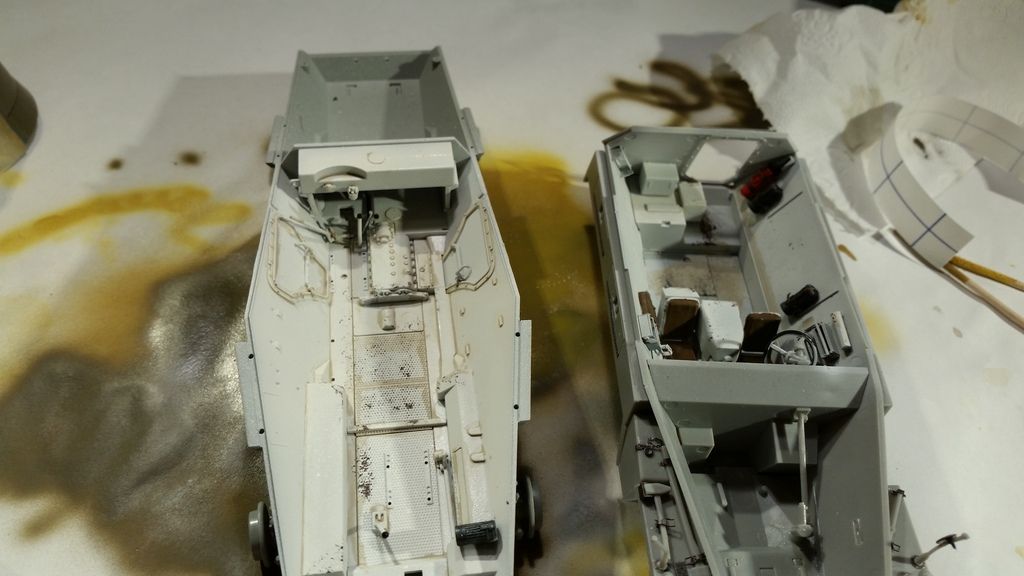
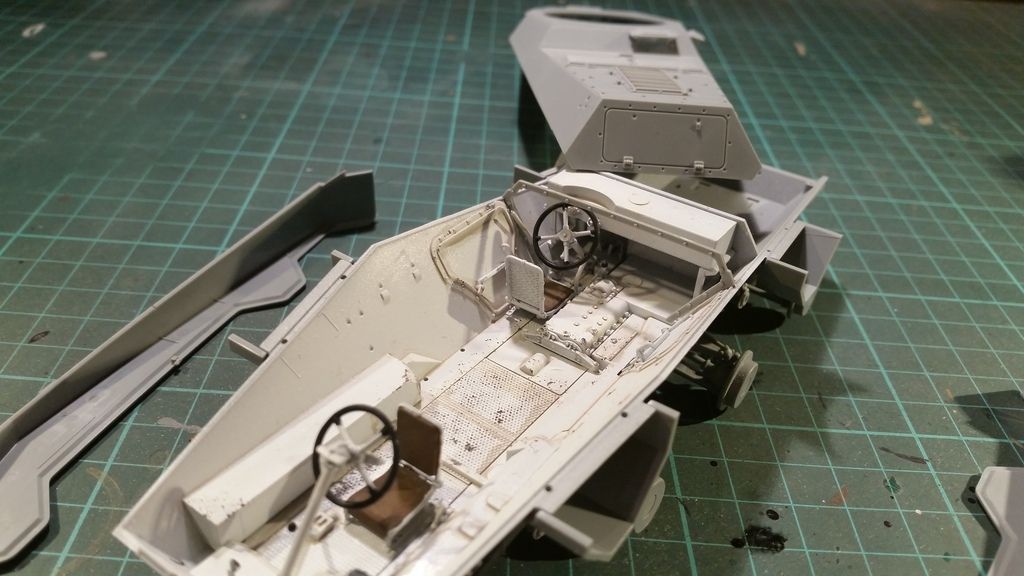
To complete the interior work i sprayed the lower parts of the turret with the same creme weiss as i used for the rest of the interior
The radio has some vallejo red and white on it to make it look a bit more intresting
The shell casing boxes are painted with vallejo german camo bright green
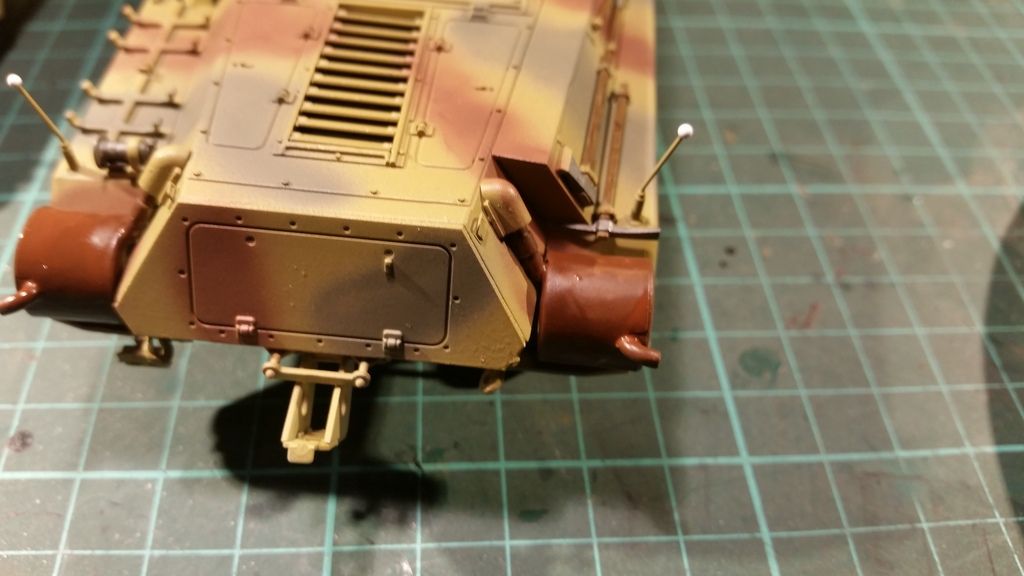
Since all the other painting jobs where done i started working on the exhausts
I use 3 colors from the Ammo for Mig range
This is the first one and it is old rust
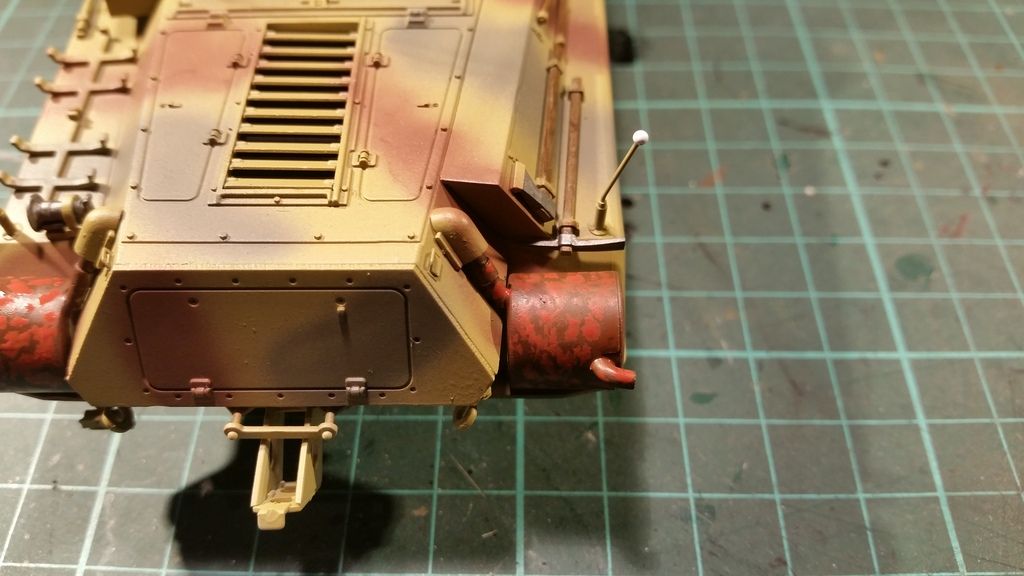
I then stippled the second color on them
This is dark rust
I try to make it look as random as i can so it will look better in the end
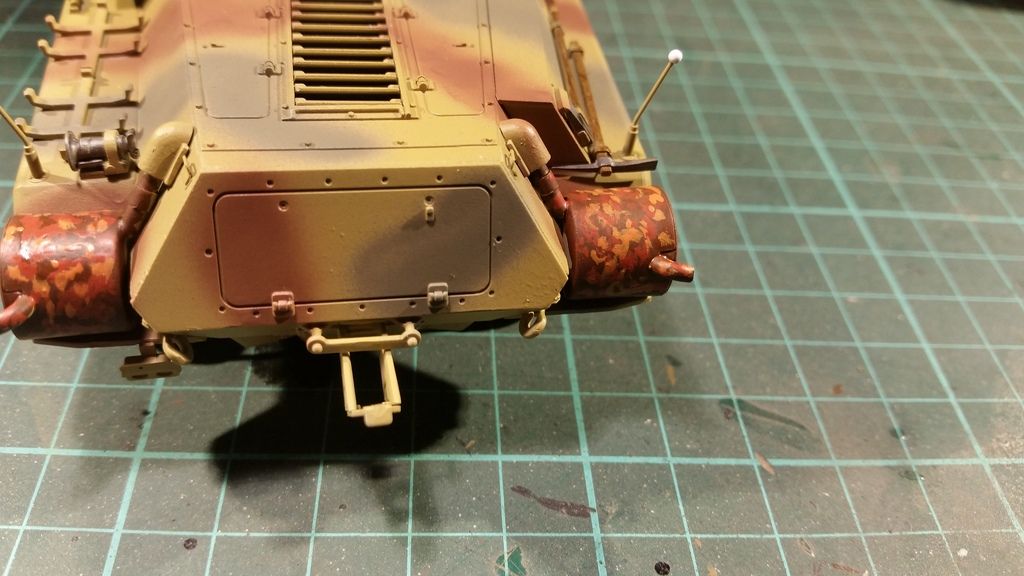
And the last color was added in the same way as the second
This time i used medium rust
At this point is looks very unrealistic but it only serves as a base for the pigments later on
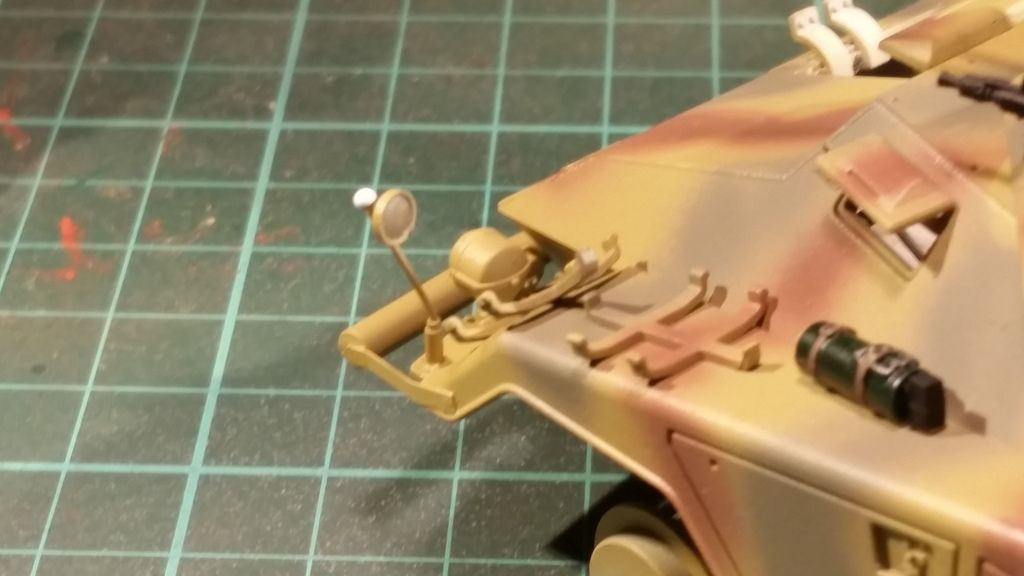
The mirror is painted with mr metal color chrome silver
And the heads of the width indicators where painted white as that seemed to be the most common color used by German forces
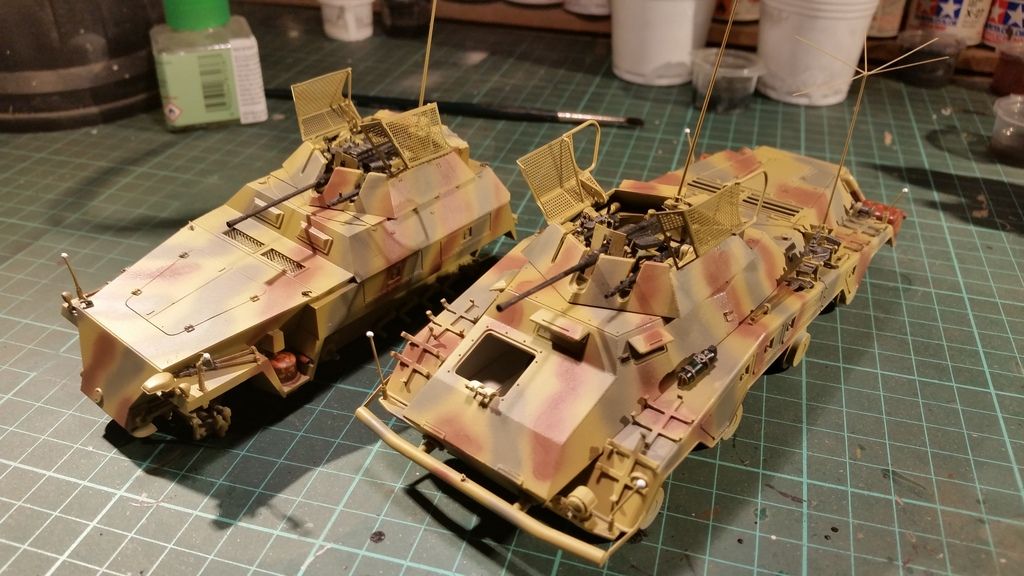
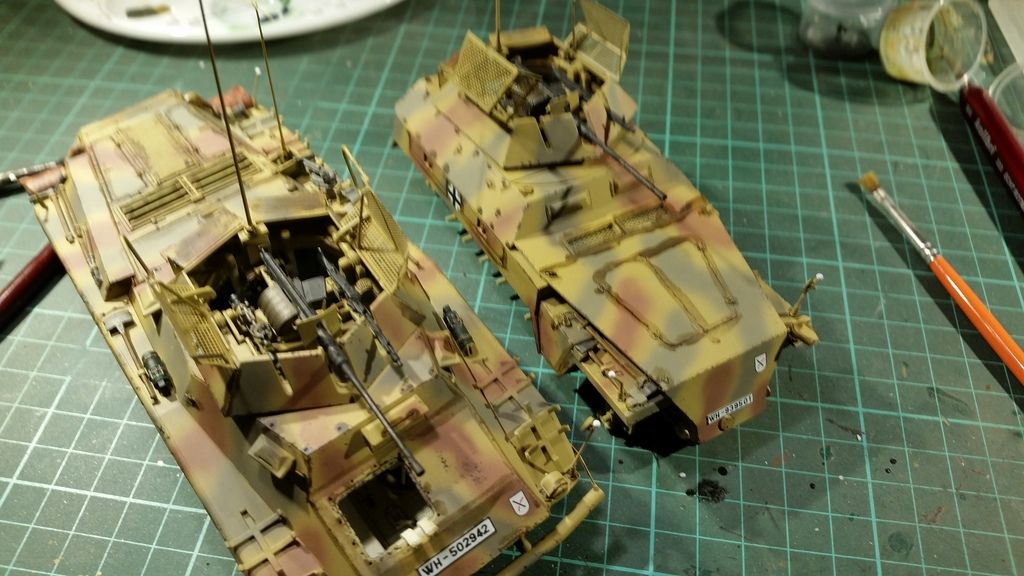
Here are the vehicles after the painting stages
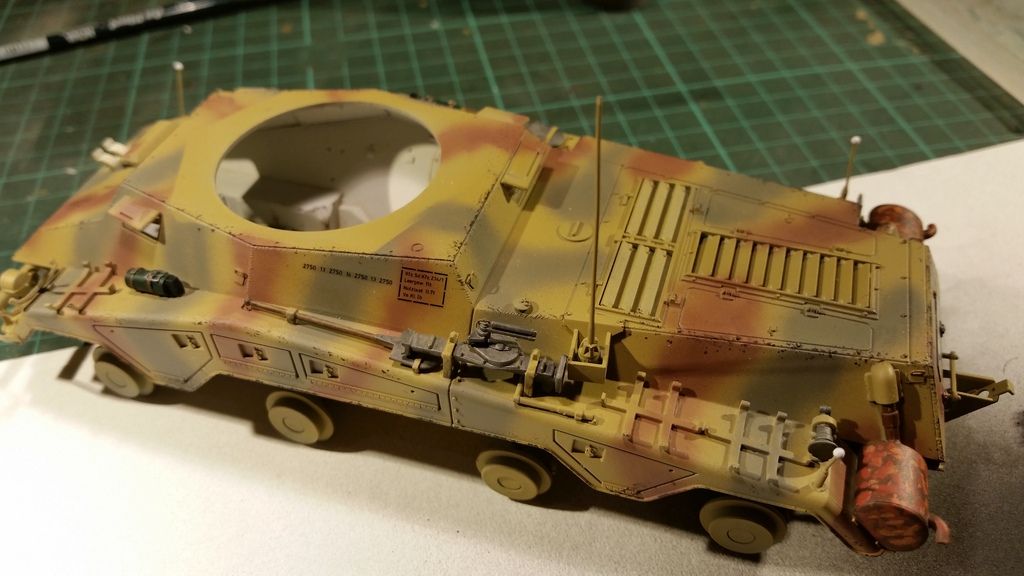
After a coat of vallejo satin varnish i applied the decals
For armor i prefer satin varnish over the now very popular Alclad aqua gloss as this varnish is just as strong but is easier to cover later on to get a flat finish
With the help of some microscale micro sol the decals went on without any problem
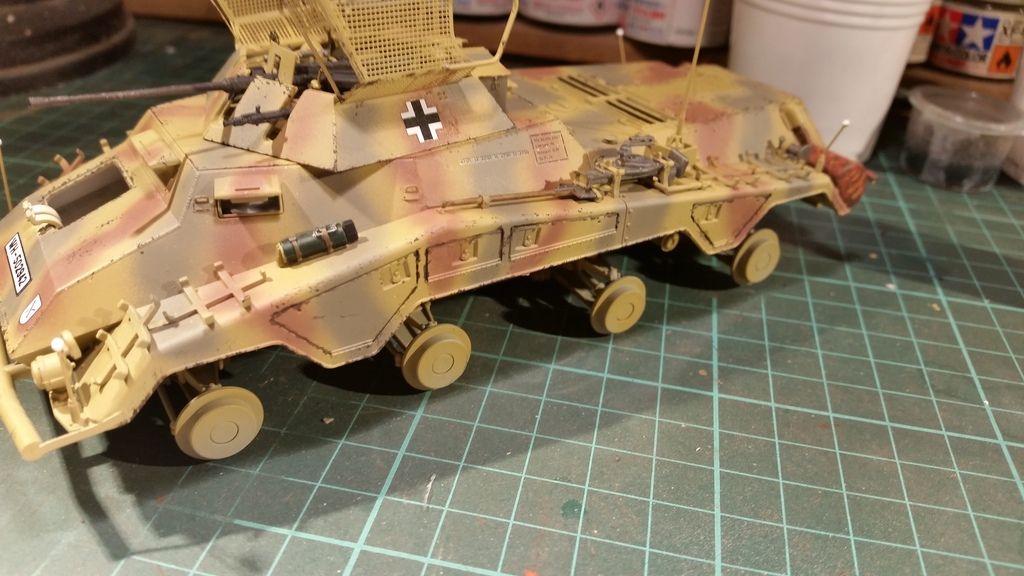
I then started to add chipping
I used both a fine brush and a sponge where possible
I used vallejo german camo black brown for this
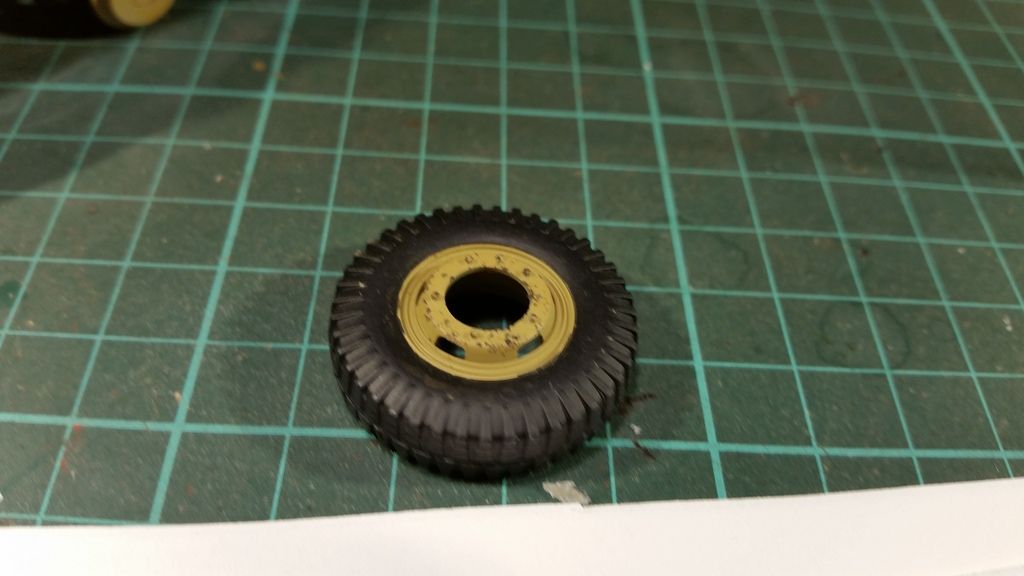
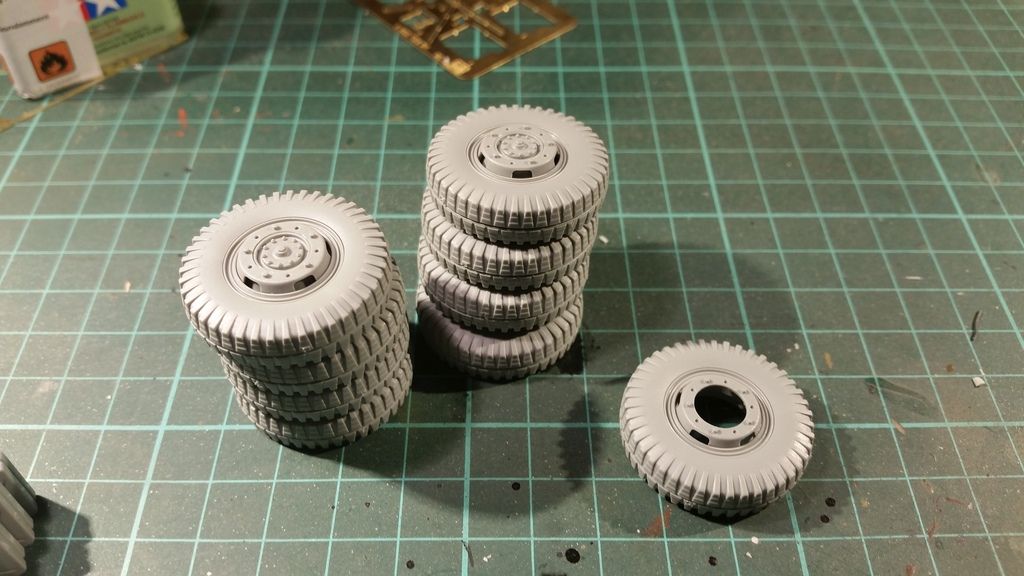
The wheels also received some chipping
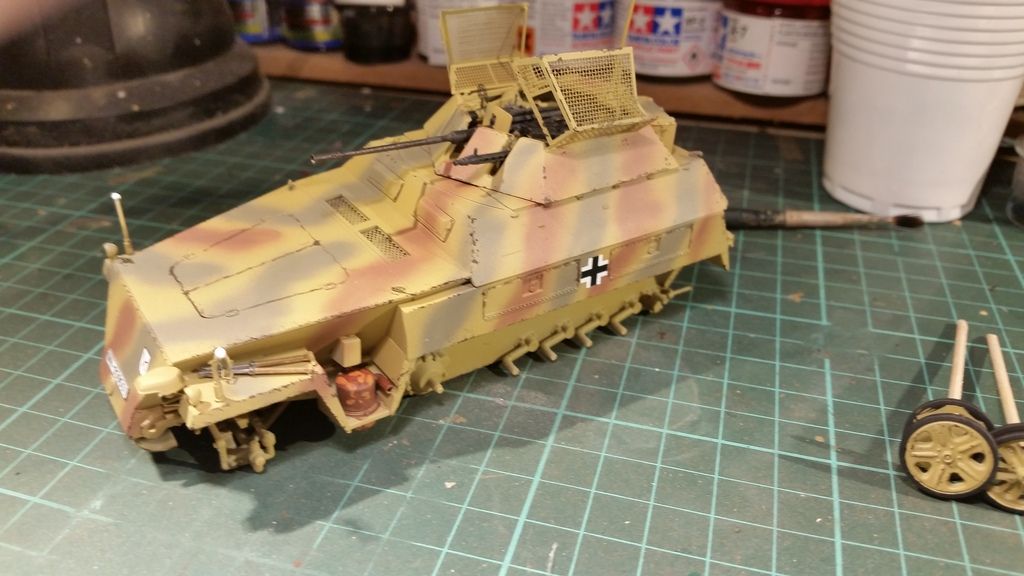
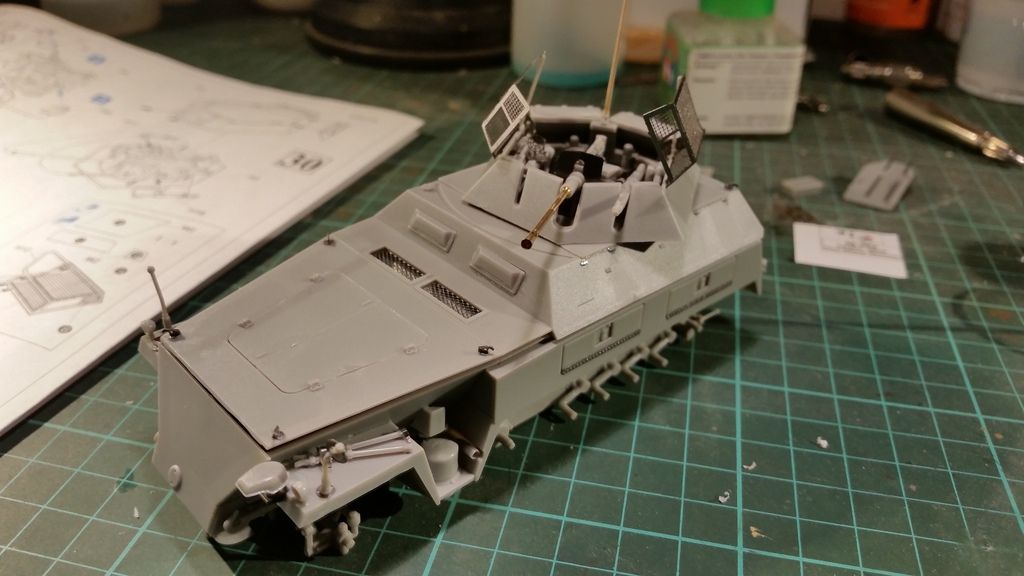
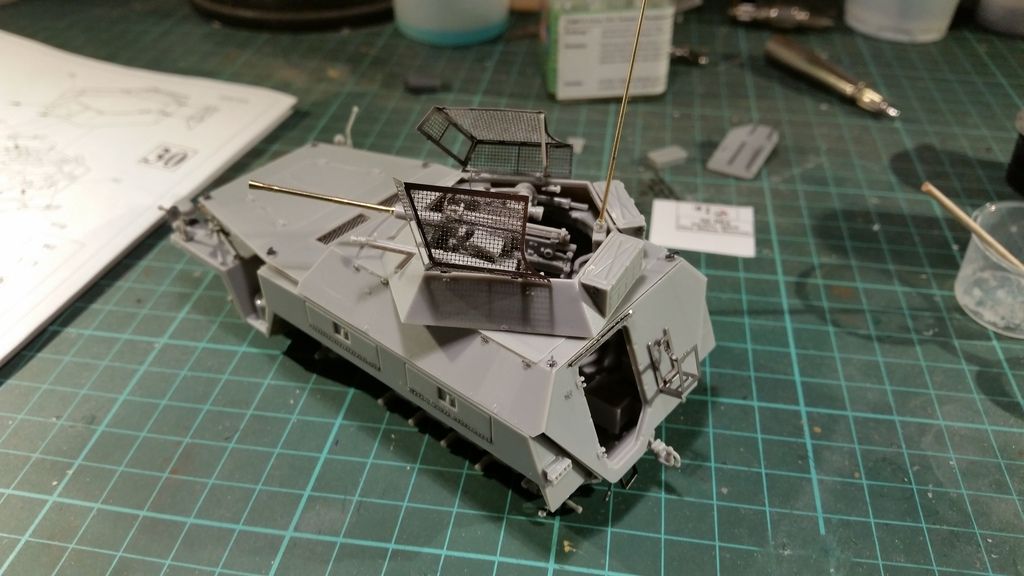
Just to show you guys the half track at this point of the build
It has all the same things to it as the 234
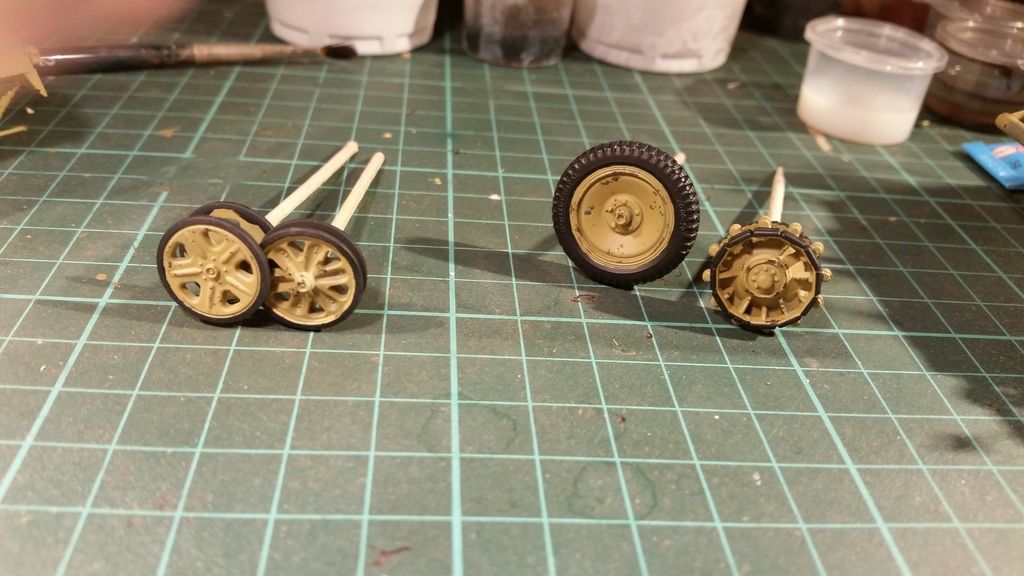
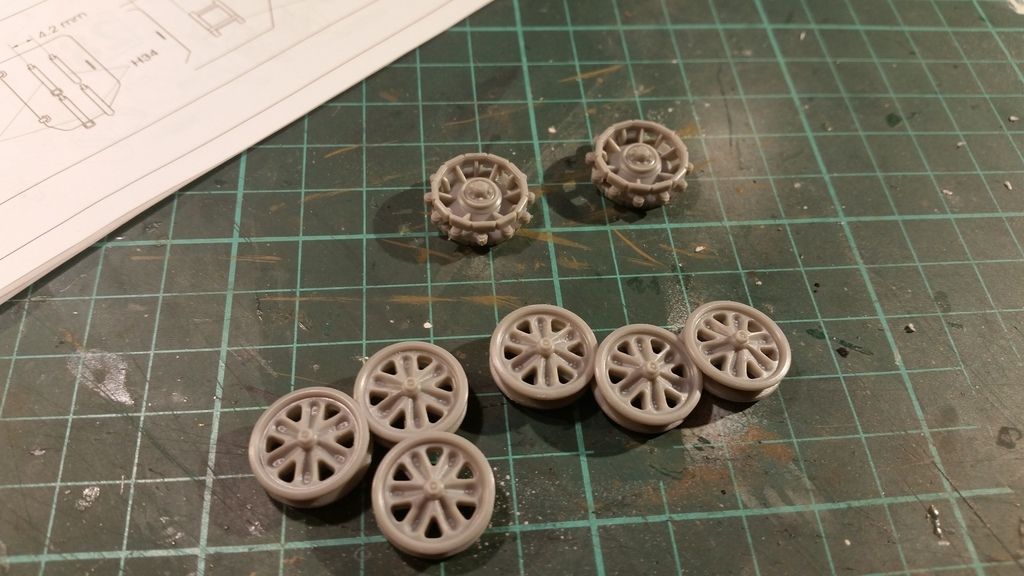
The wheels of the half track
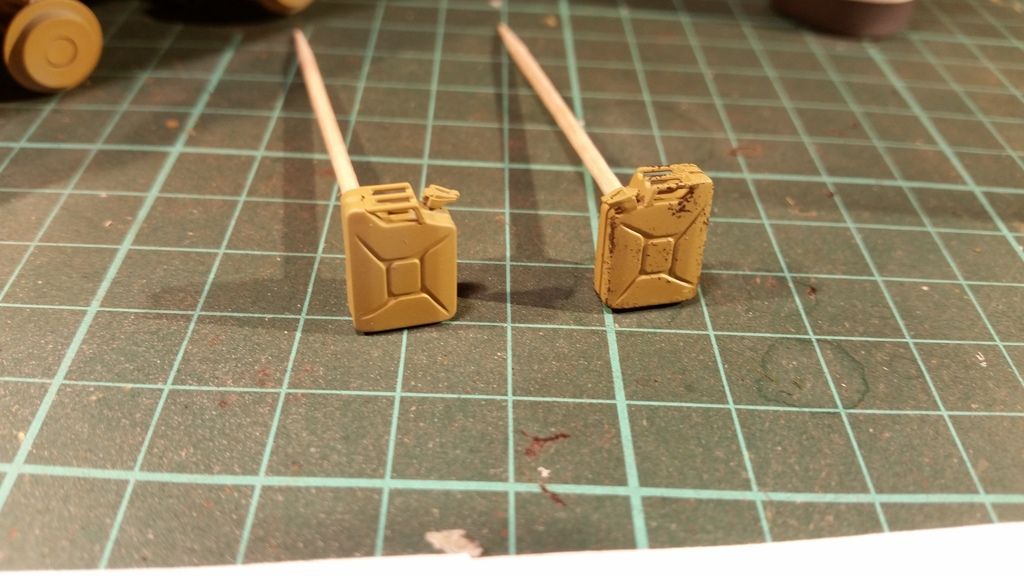
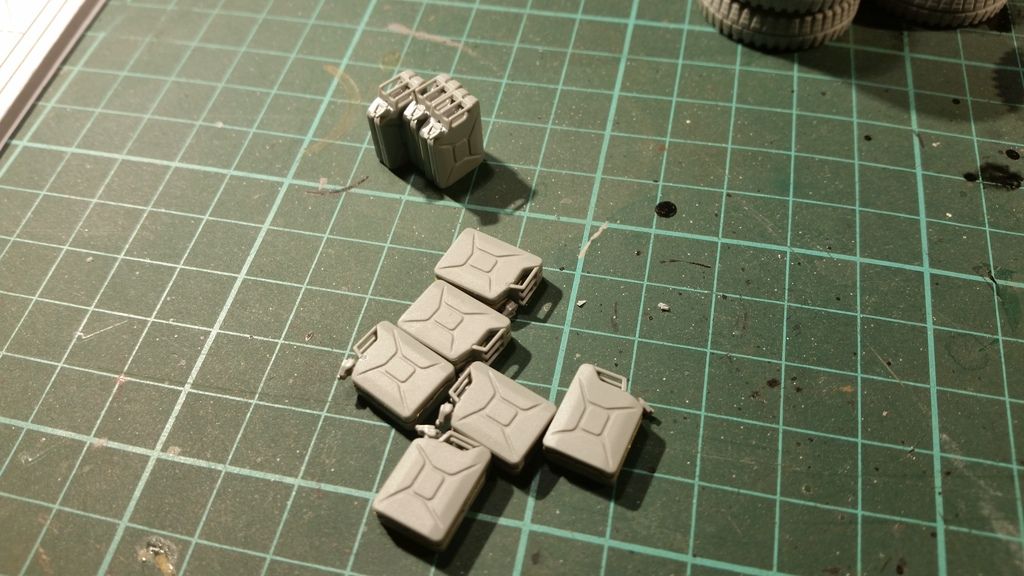
And while i was at it here are the jerrycans
Both in the base color and with paintchipping
After the chipping was done i gave the models another coat of the satin varnish
And once that was dey i applied AK DAK wash on all the raised details and panel lines
I left it around the raised details like bolts and rivets but all other excess wash was removed with a brush moistened with thinner and some toiletpaper ( unused ofcourse

)
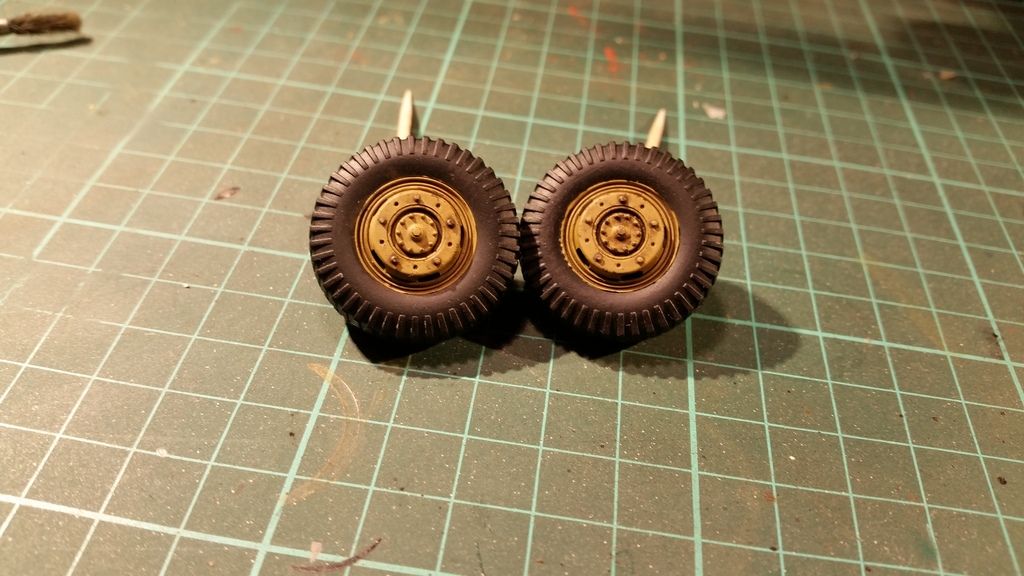
The same wash was used on the wheels
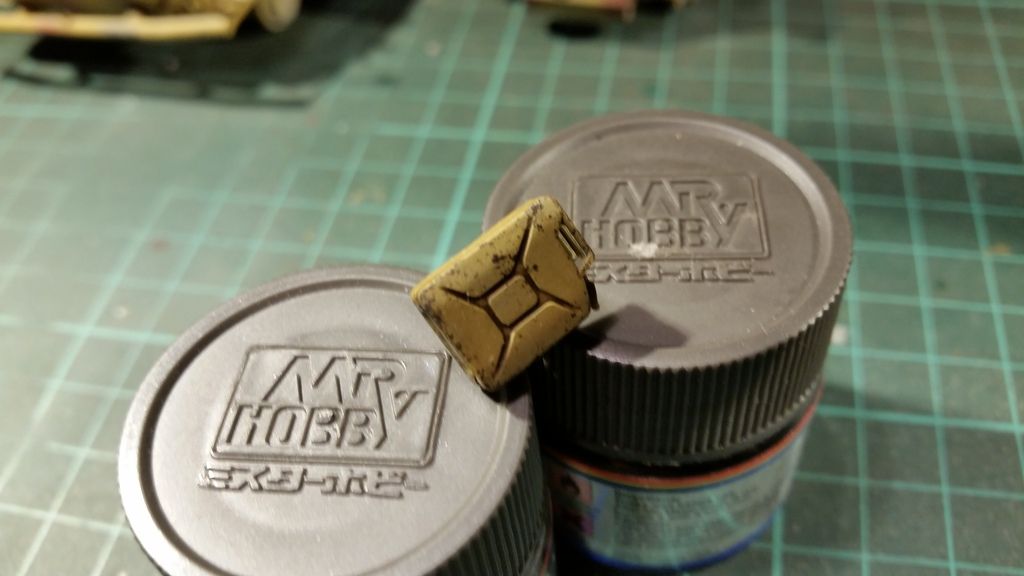
And the jerrycans
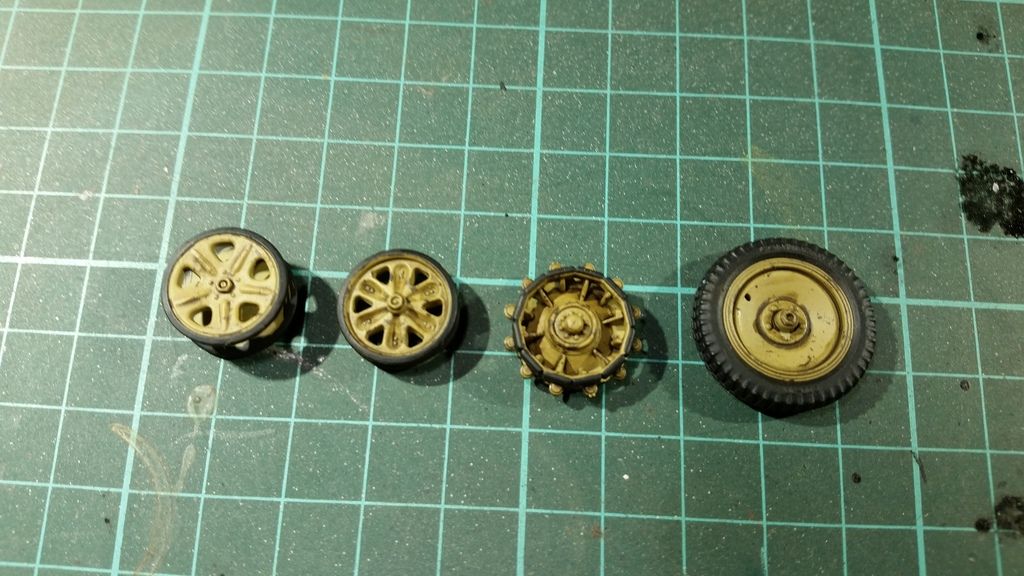
And on the half tracks running gear
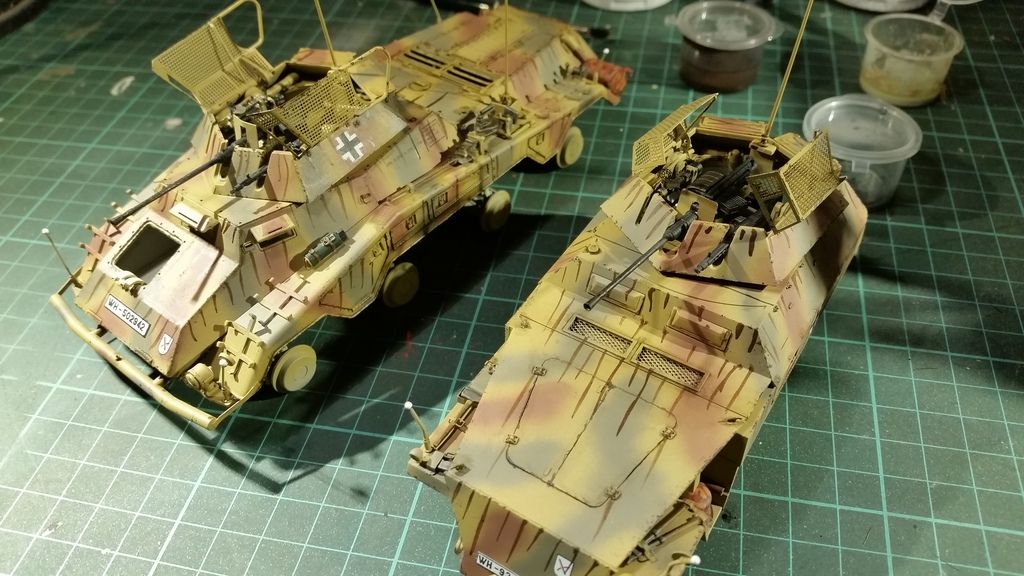
I then started working on the streaking effect
You can do this with oil paints and with pre made streaking grimes
I used the AK streaking grime for dark yellow vehicles as this is a dark brown
I applied small stripes on all the vertical parts of the vehicles
And left them to dry for about 30 to 60 minutes
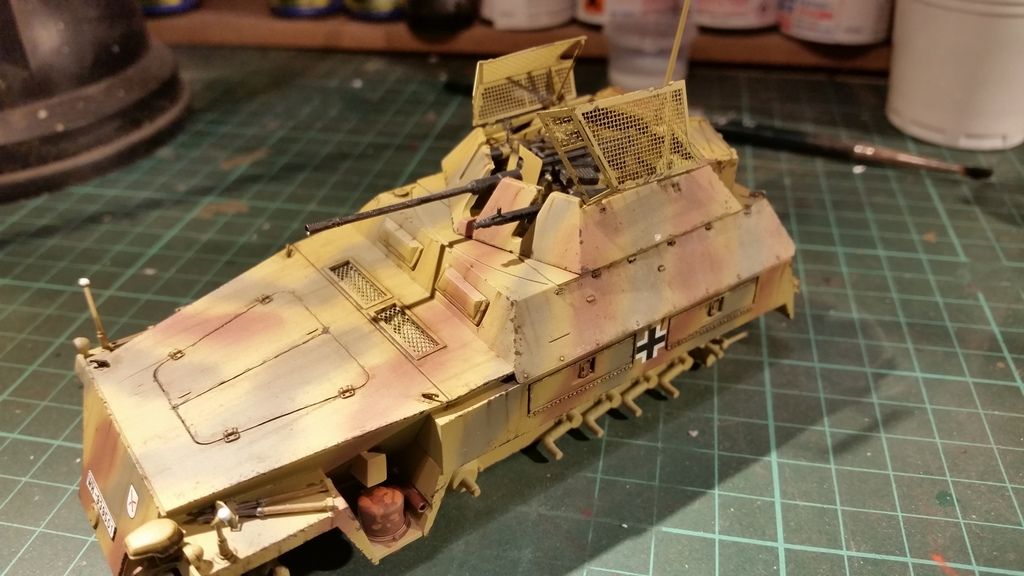
Then using a flat brush and thinner you can make them thinner and transparent untill they are less visible
It depends on your own taste how far you remove them and in this build i removed most of the streaking to leave only very thin streaks of dirt on the surfaces
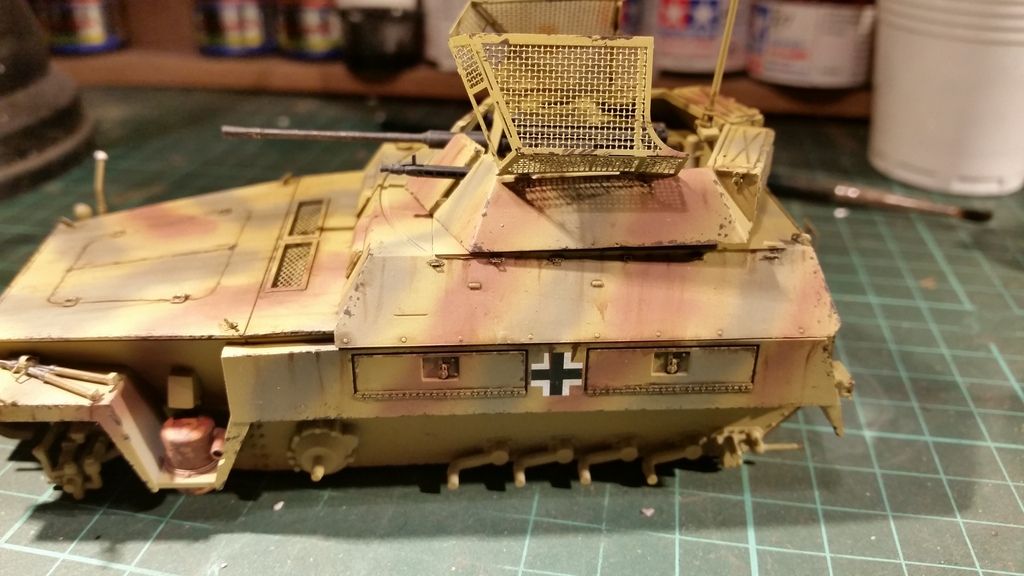
Herr you can see the end result a bit better
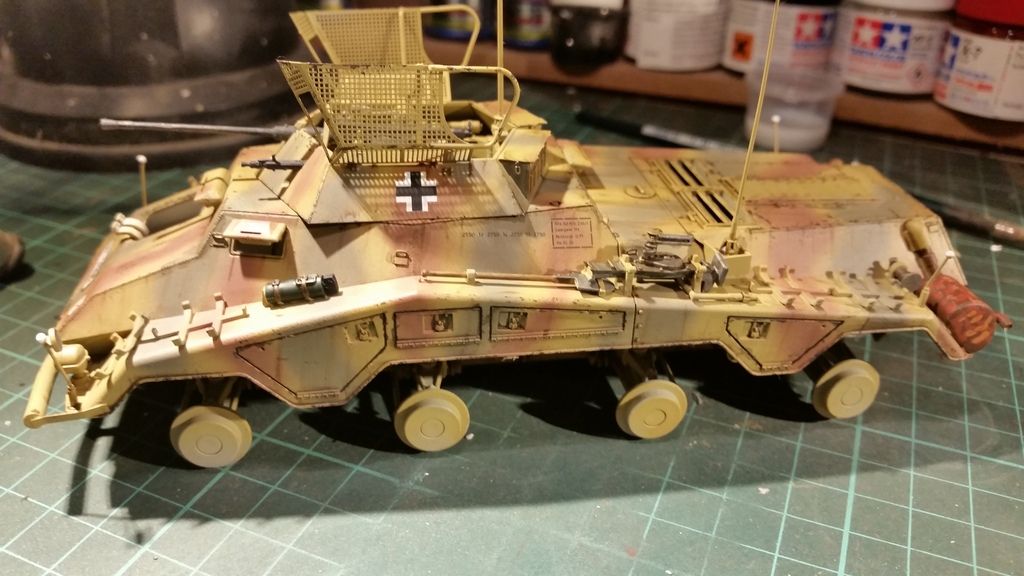
And the streaking effects on the 234
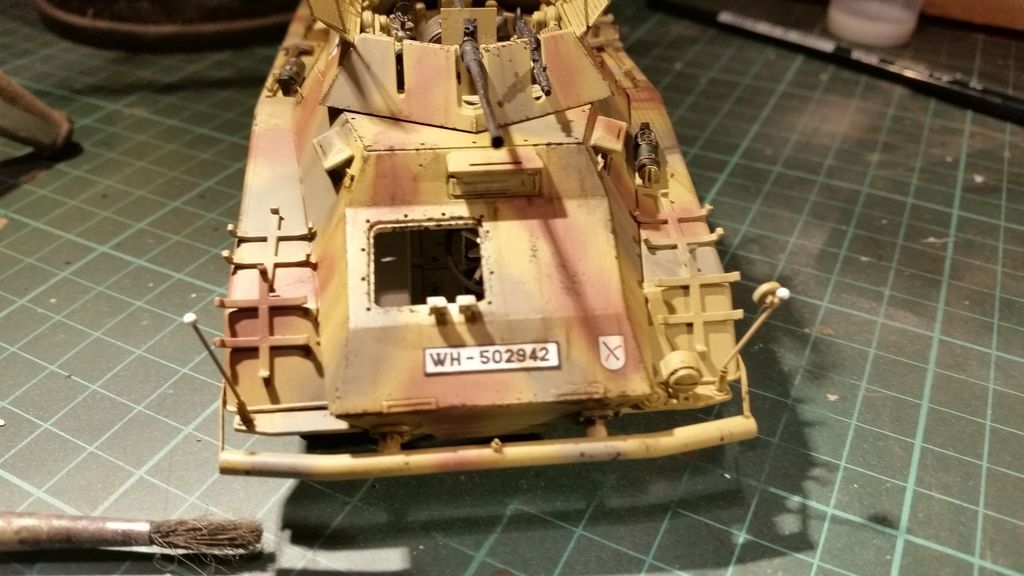
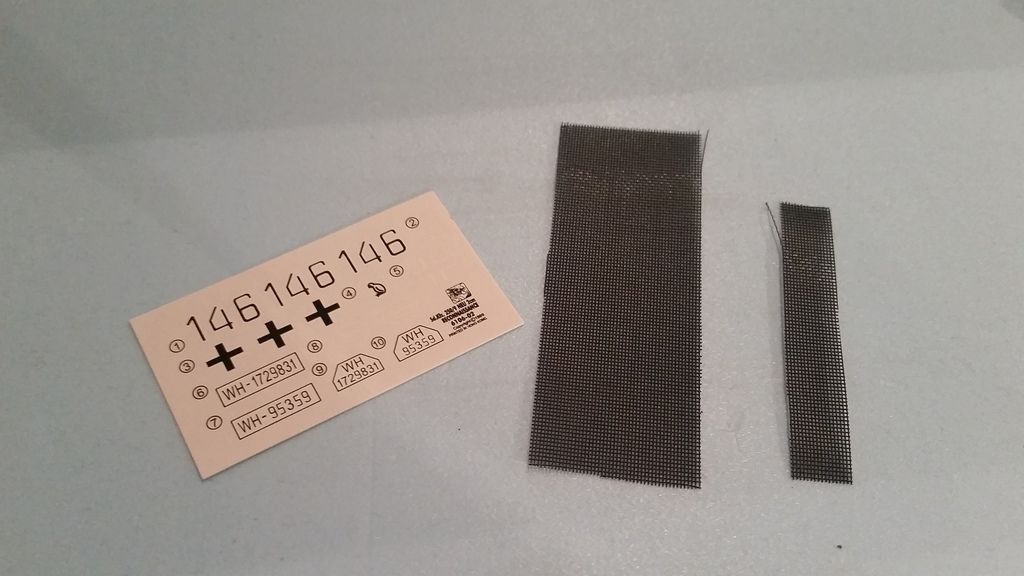
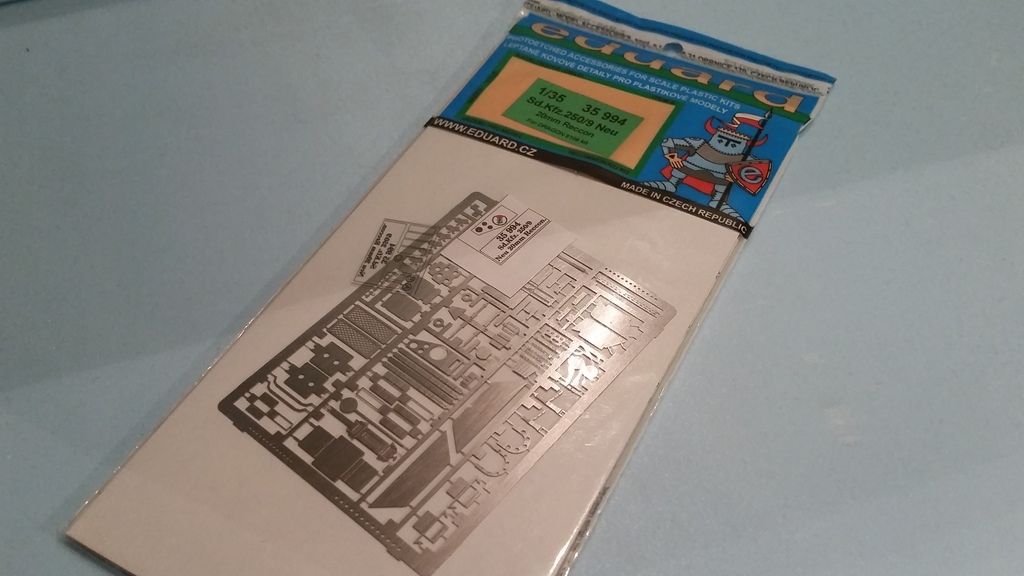
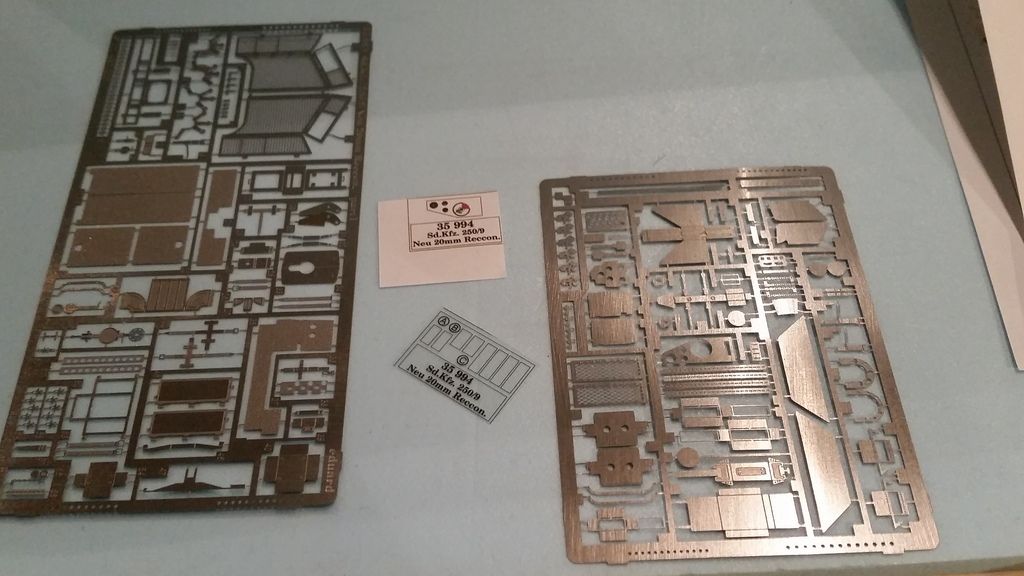
And as i was far too lazy to slap on a decal number plate with individual numbers i picked some Eduard pre printed photo etch plates and glued those on the vehicles
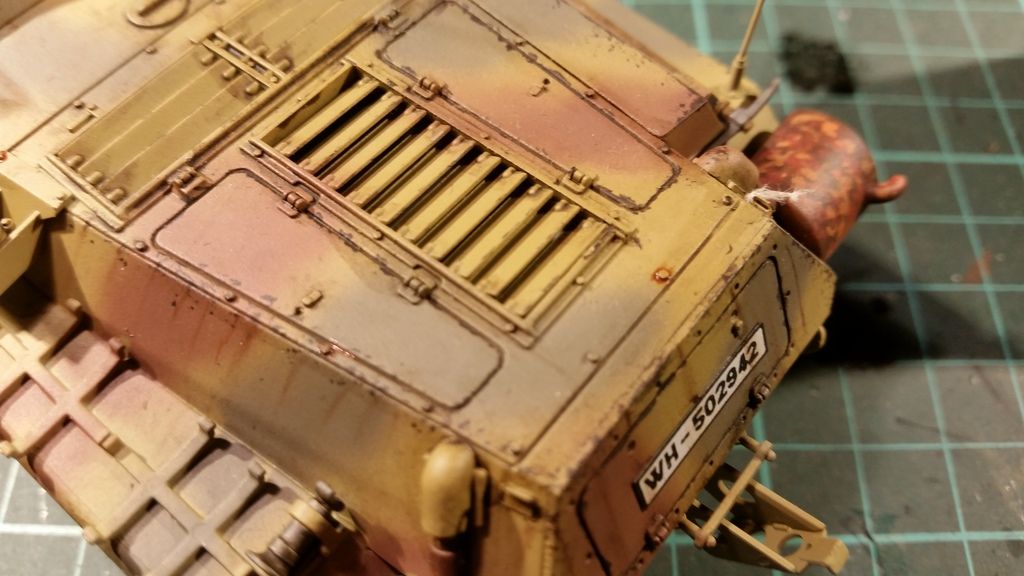
Only a few spots of rust where added
I used Mig production light rust effects for this
For those who don't know this product it is a rust colored wash
I then had a little shocker
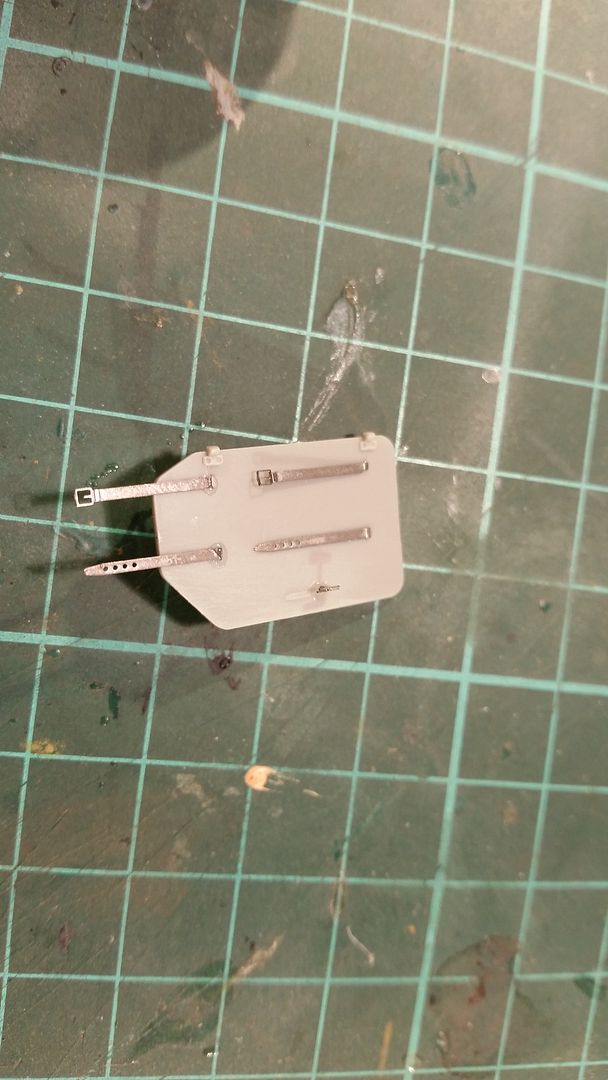
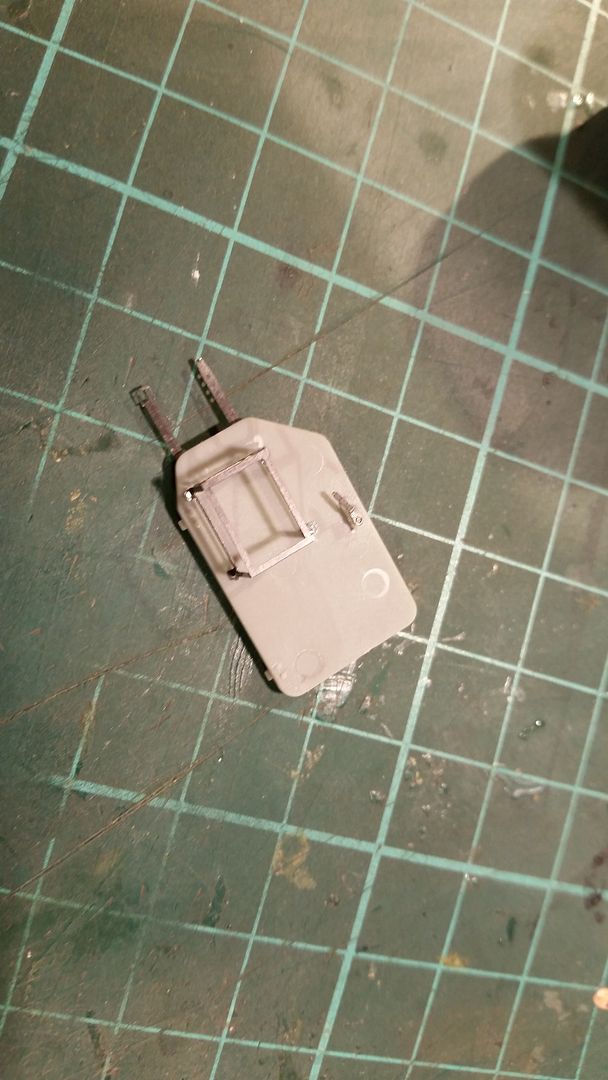
I didn't like the thick and ugly straps for the jerrycans that where in the kit
So i had to make some of my own
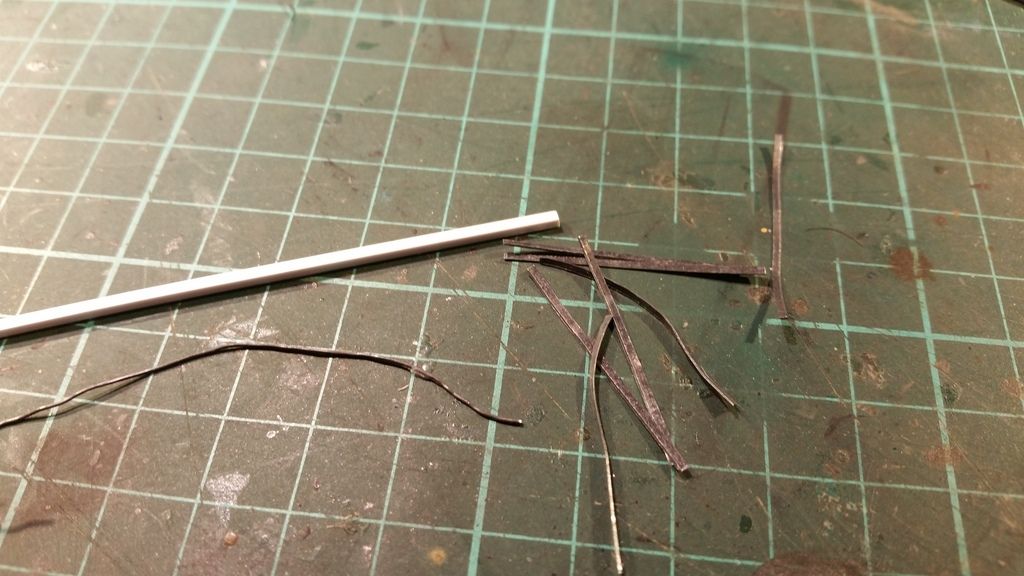
I used lead wire and lead foil that i have cut into strips
The square stryren rod is to shape the leadwire
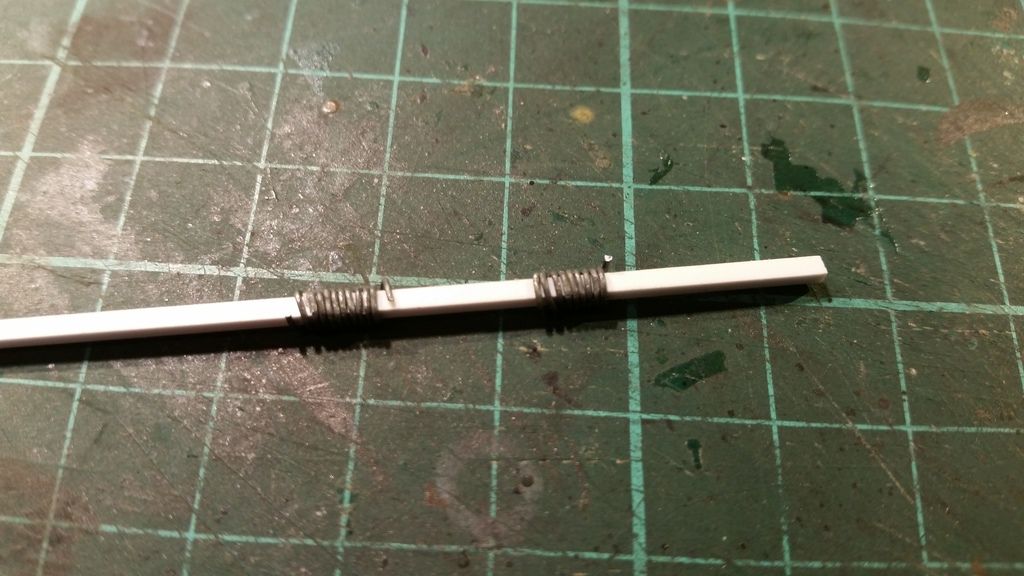
I rolled the wire around the rod to make a square spiral
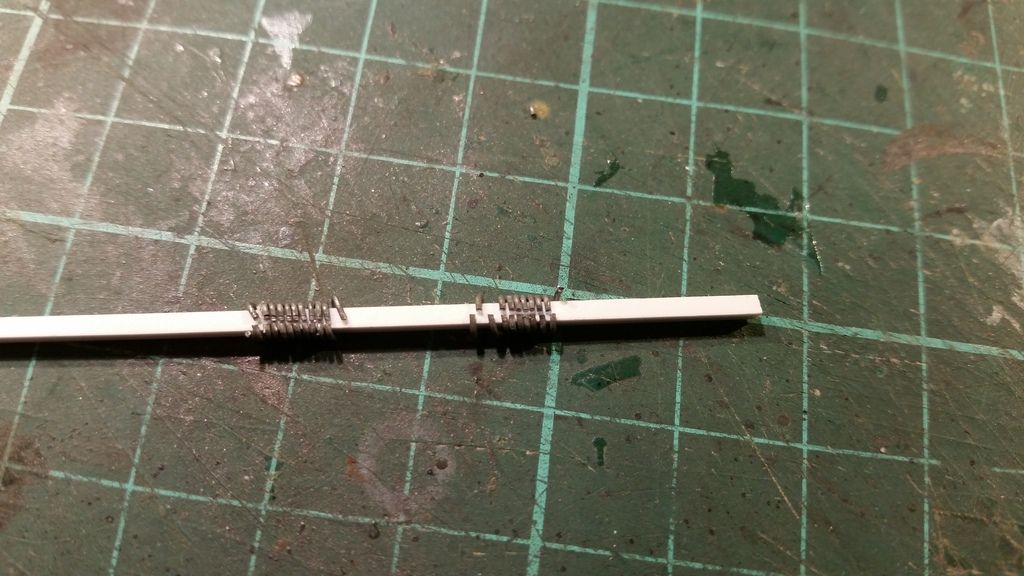
I then cut them in the middle to get individual buckles
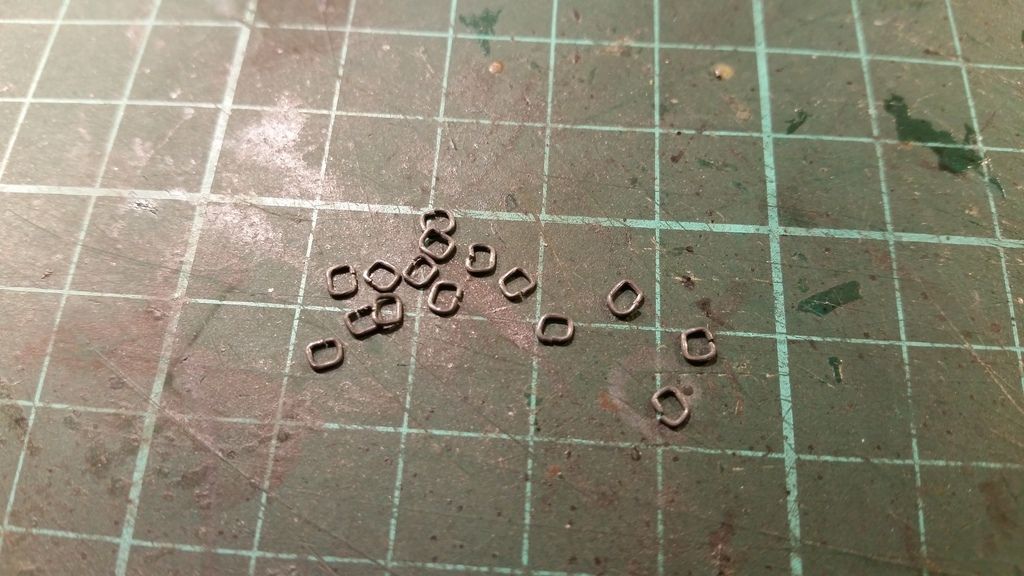
This is how they look when you remove them from the rod
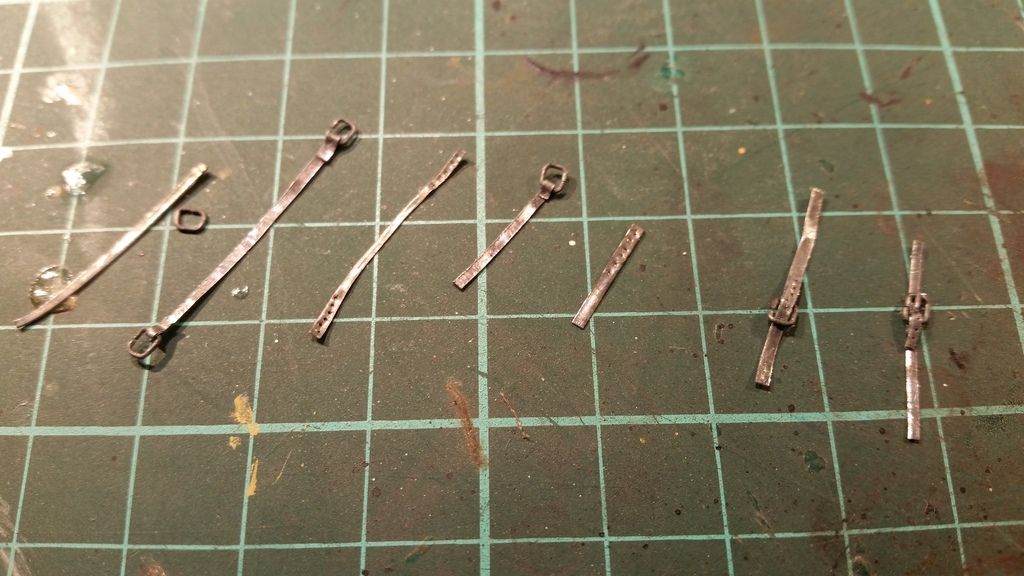
Here are all the steps
I made small holes in 1 strip for each strap to resemble the holes for the locking pin
The other strip was pulled through the buckles and folded and glued together
When both sides are ready i glued them together and added a.small pin to finish them
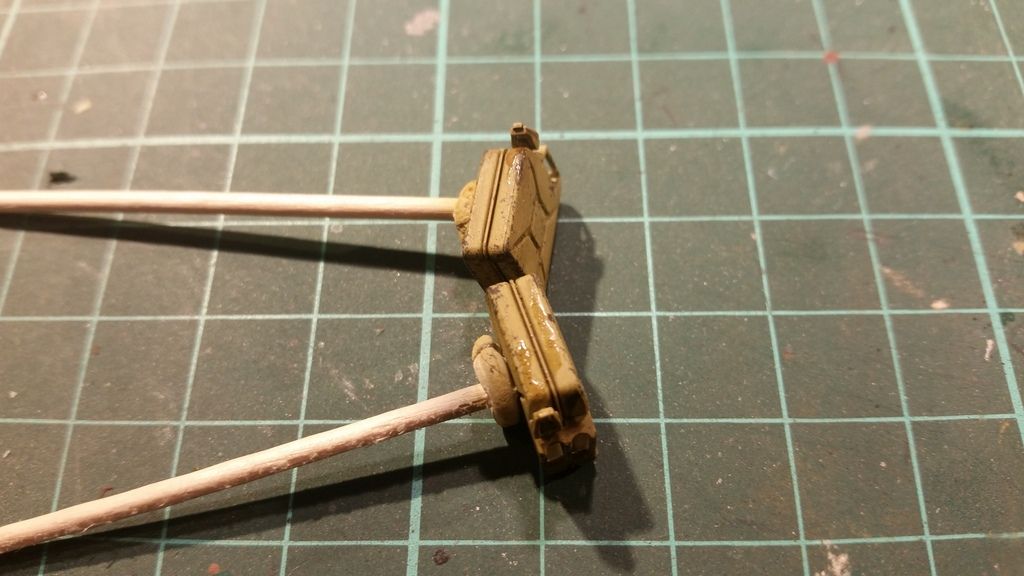
Just before i glued the jerrycans in the holder i added a small streak of fuel residue with the help of AK fuel stains
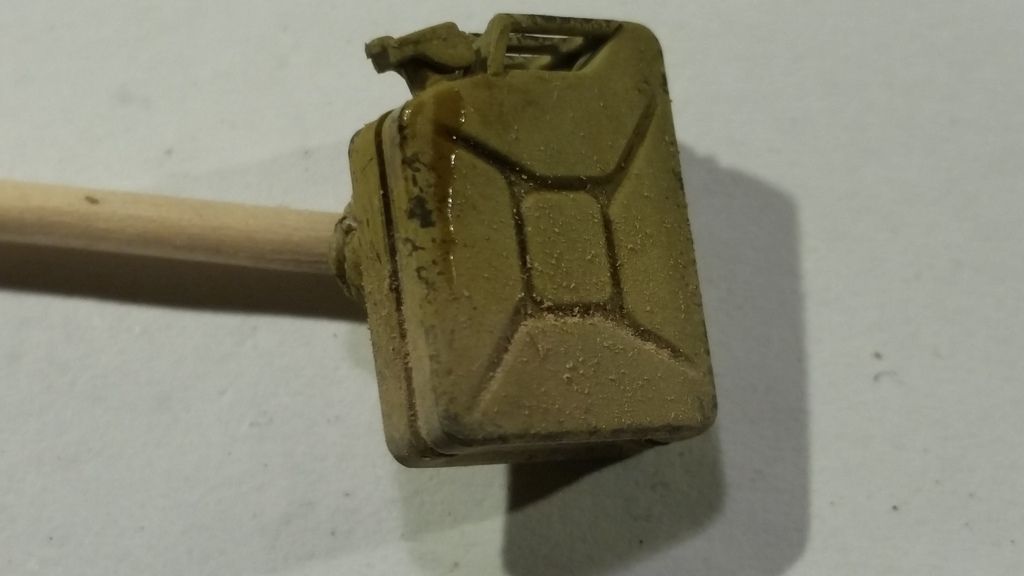
To finish the jerrycans i added some dust on the lower part of each can
Now they are ready to go on the vehicle
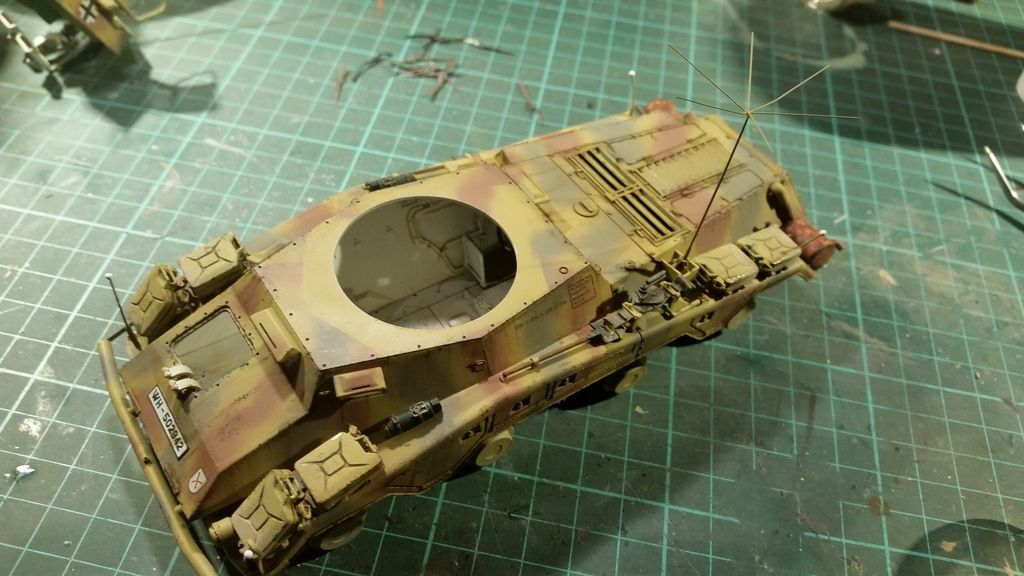
Here they are placed
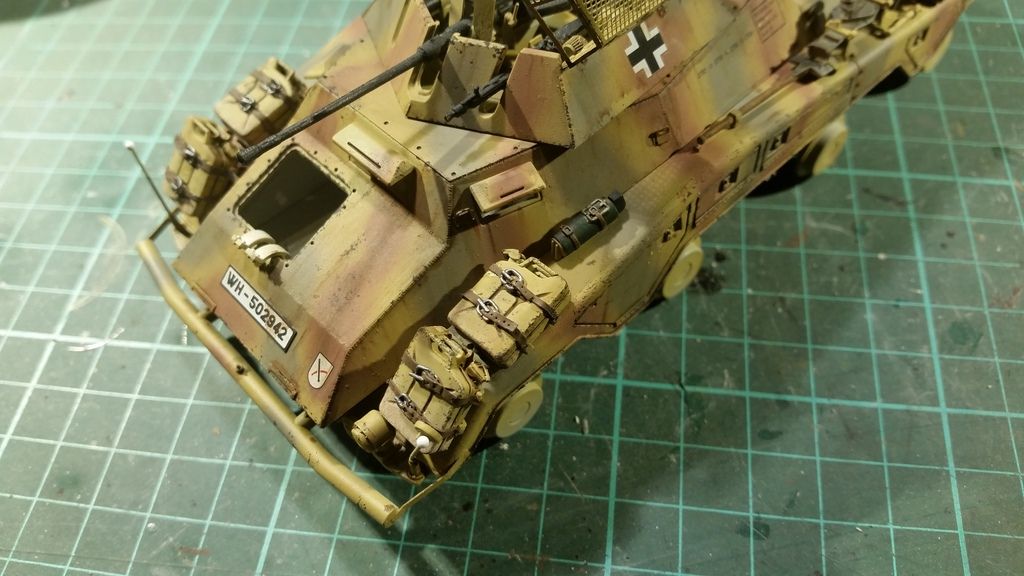
And the straps where fitted
They are painted with vallejo leather broen and mr metal color stainless steel like the other ones on the vehicles
Once all the paints on the vehicles where dry i sprayed them with AK ultra matte varnish wich i hardly thin at all and in this way 1 coat will do most of the times
Then i started to prepare for the mud and dust effects
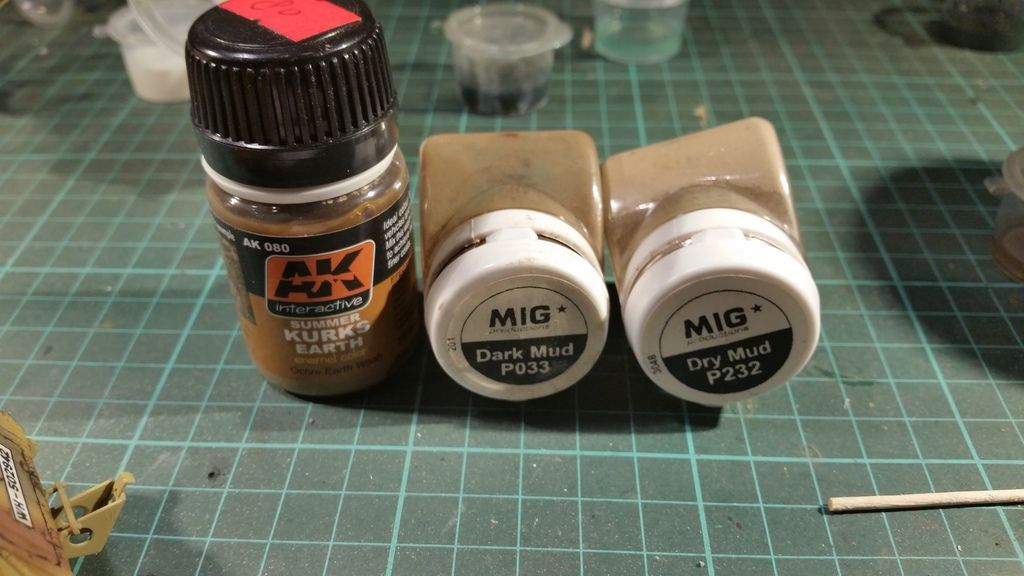
I used these 3 products for them
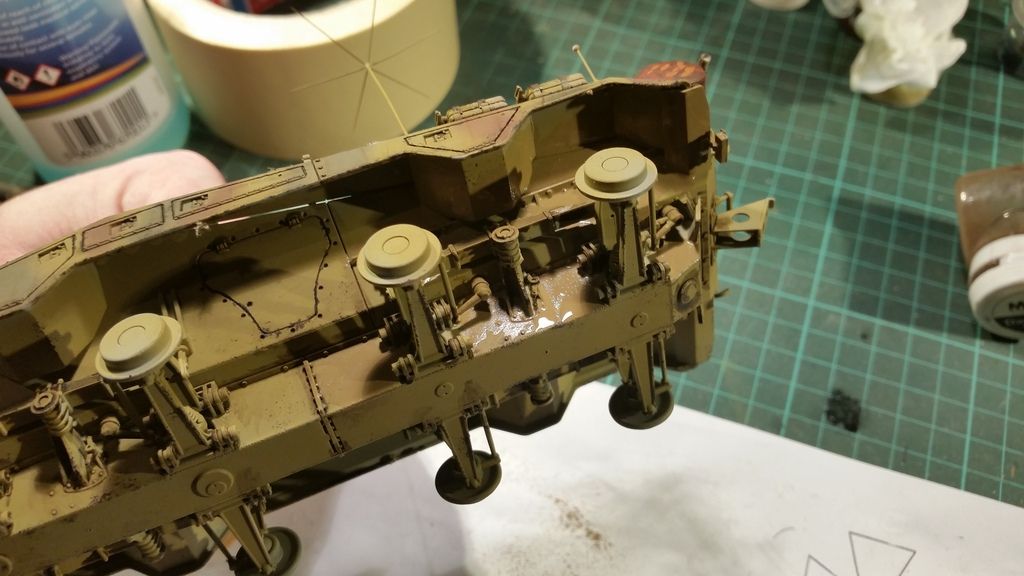
First i brush the Kursk earth effects on the hull
This serves as a glue for the pigments
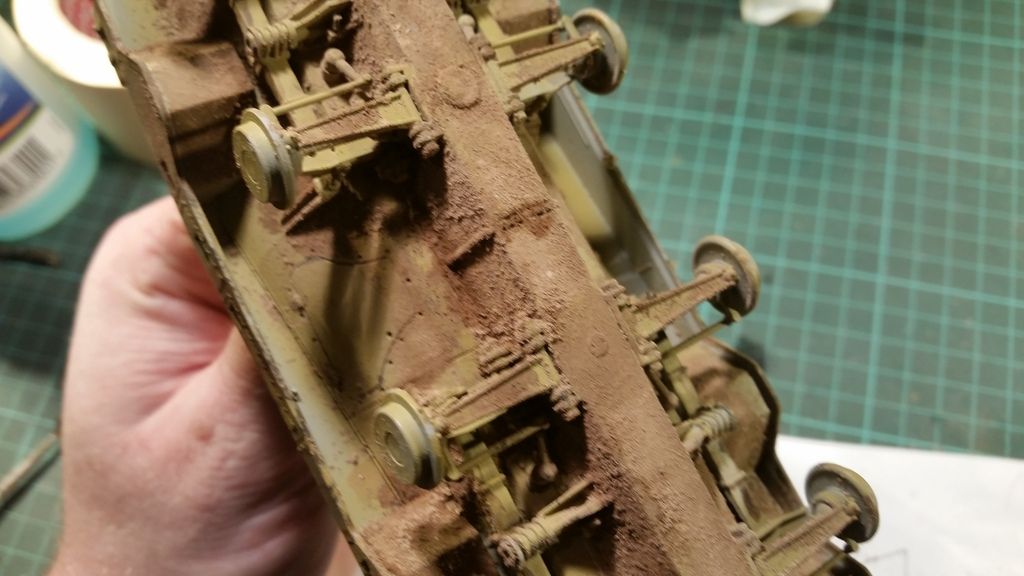
While that was still wet i added the pigments
I used the dry mud for the most parts and in some corners and recessed areas i used the darkmud to make it look like that was still wet
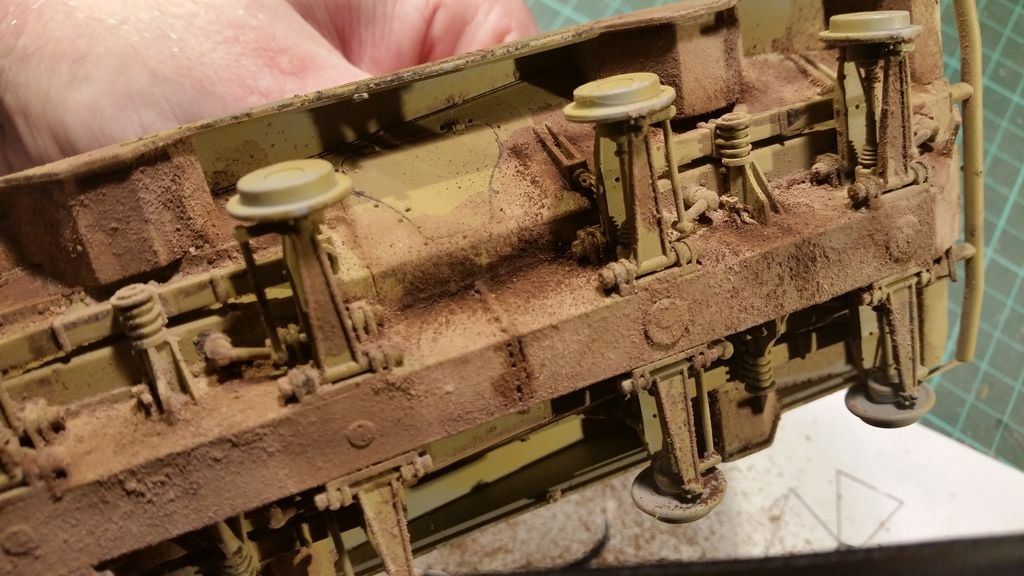
A better view of the entite hull of the 234
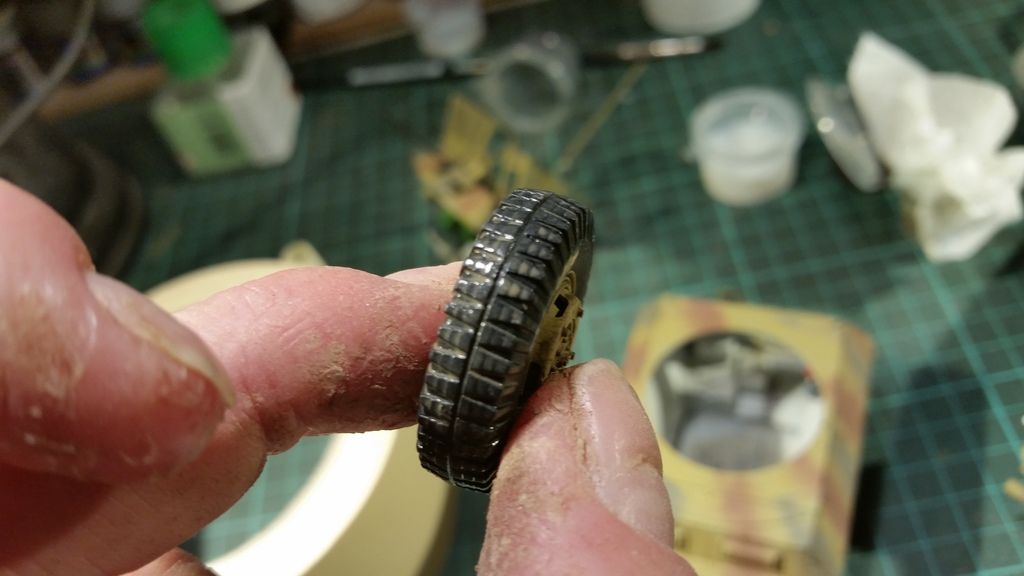
The wheels where given the same treatment but this time i replaced the AK product with Ultimate light dirt wash
This was done to test if i could actually use it for things like this as i haven't used the Ultimate washes that much at this point
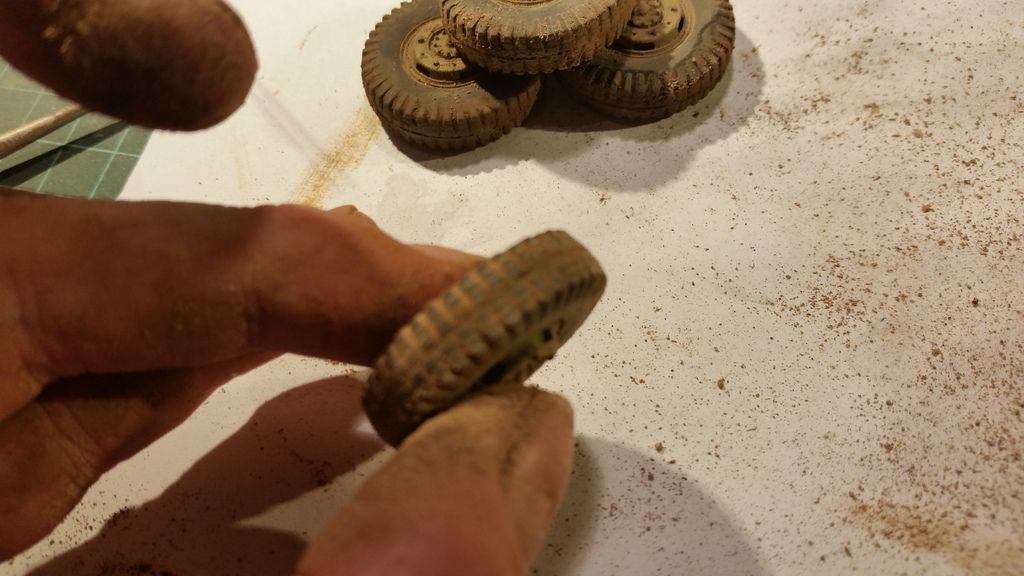
They where then covered with the same pigments as before
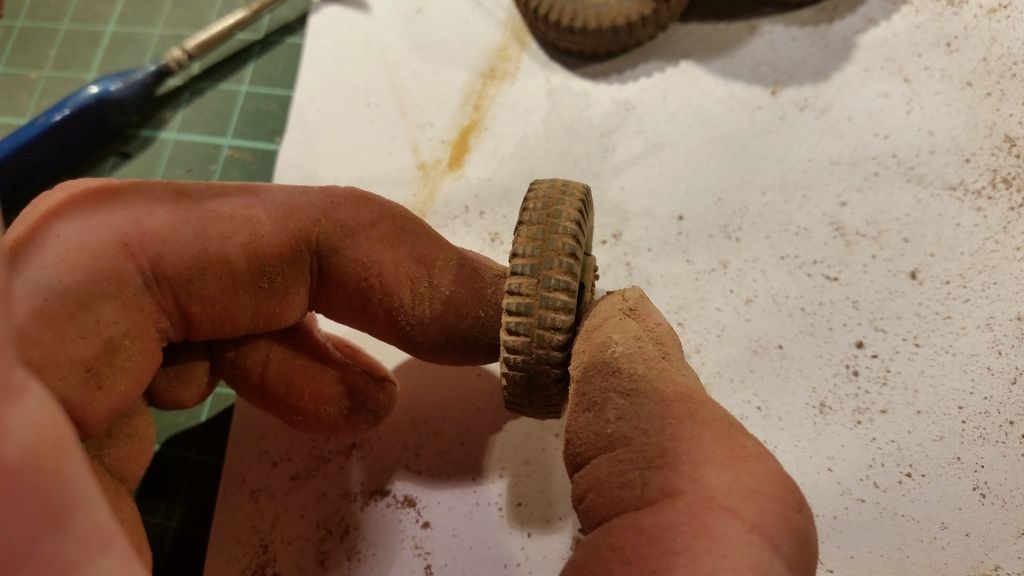
I rubbed of the excess pigments with a old brush
And the sides where cleaned a bit too
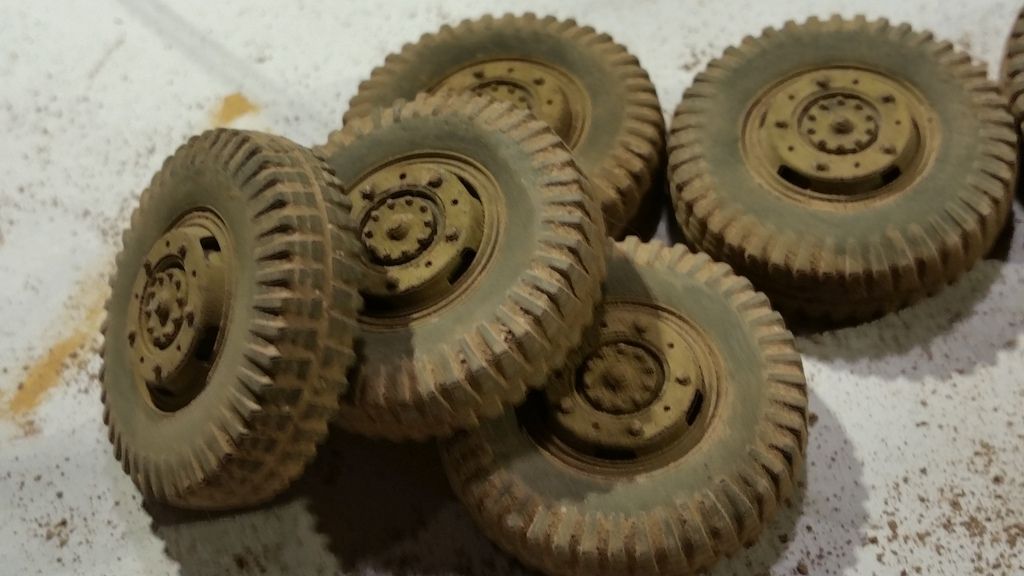
And this is how i finished the wheels
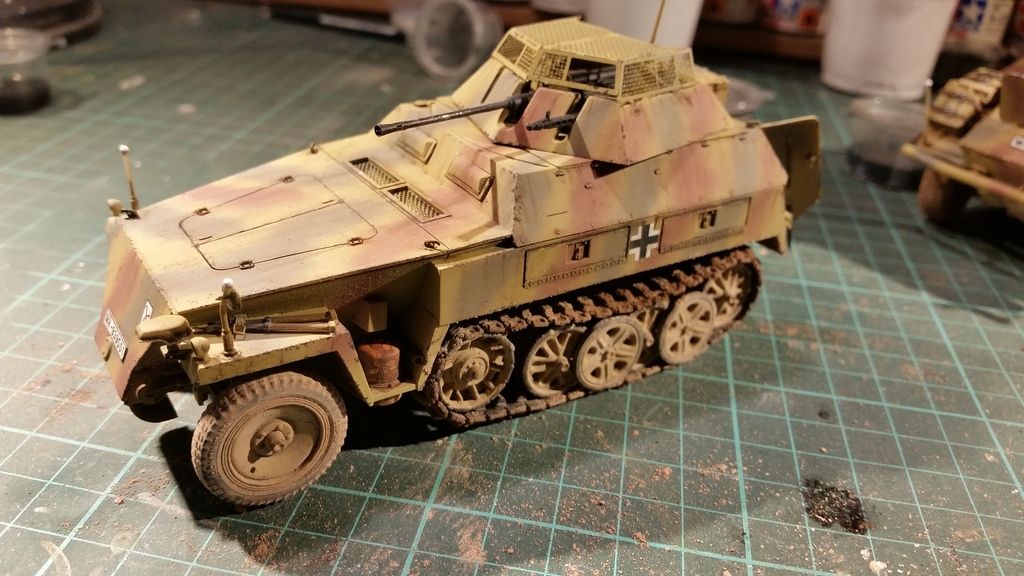
I forgot the photo for the tracks but i don't have any big secret on how i made them
They where primed in Ammo grey primer and then painted black
The metal was brush painted with mr metal color dark iron and then buffed a bit
They where then glued on the vehicle and received some pigments to blend them in with the rest
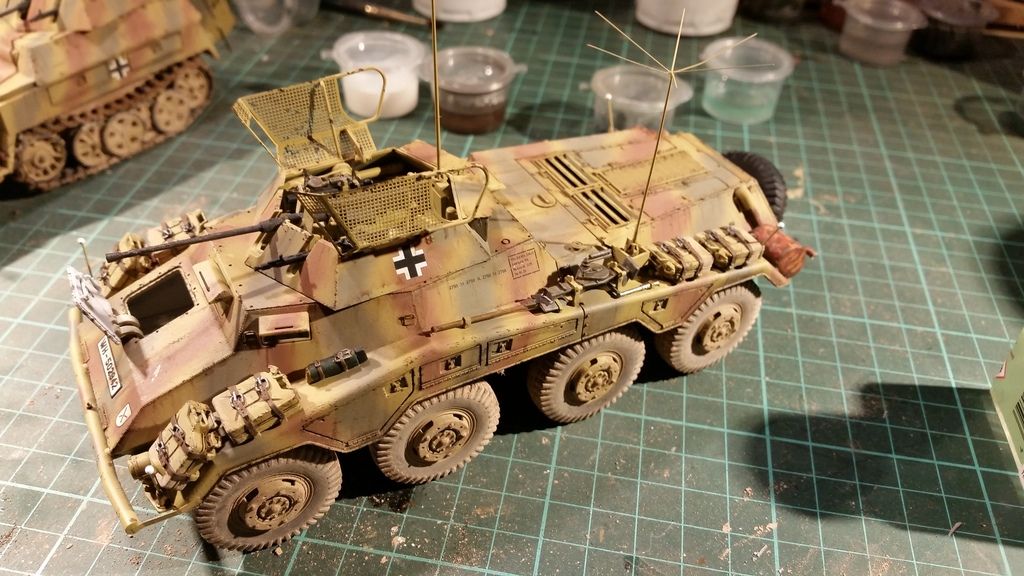
This is how the 234 looks with the massive wheels installed
After i made this photo i decided that it needed some more pigments on the sides so i added those later
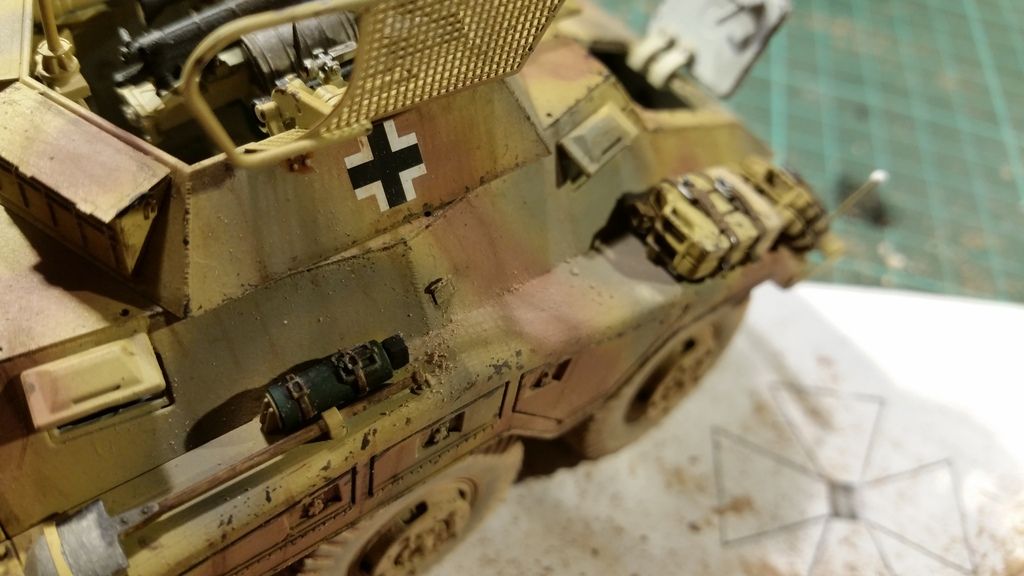
I dusted the fenders flat surfaces with the dry mud pigments
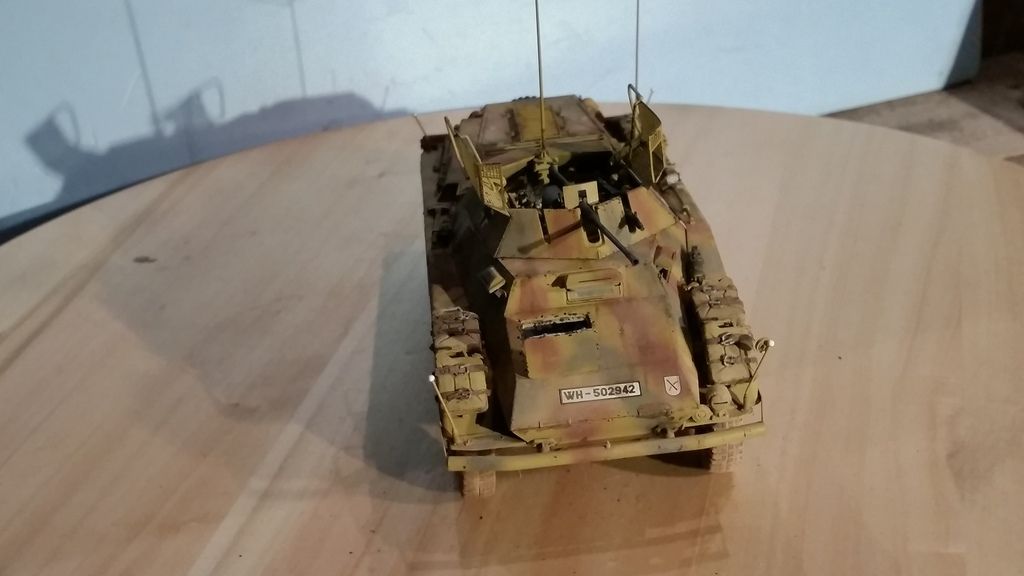
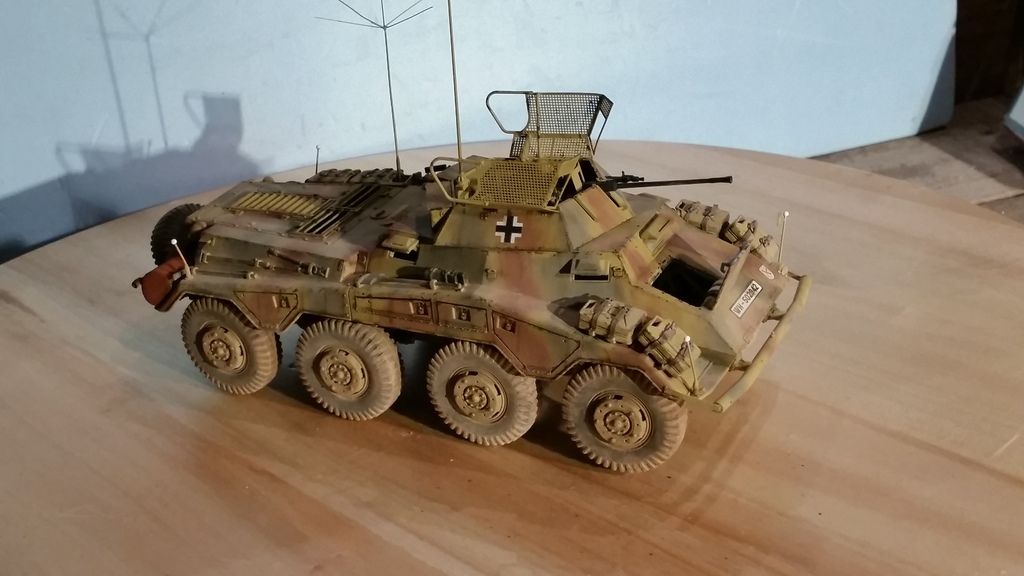
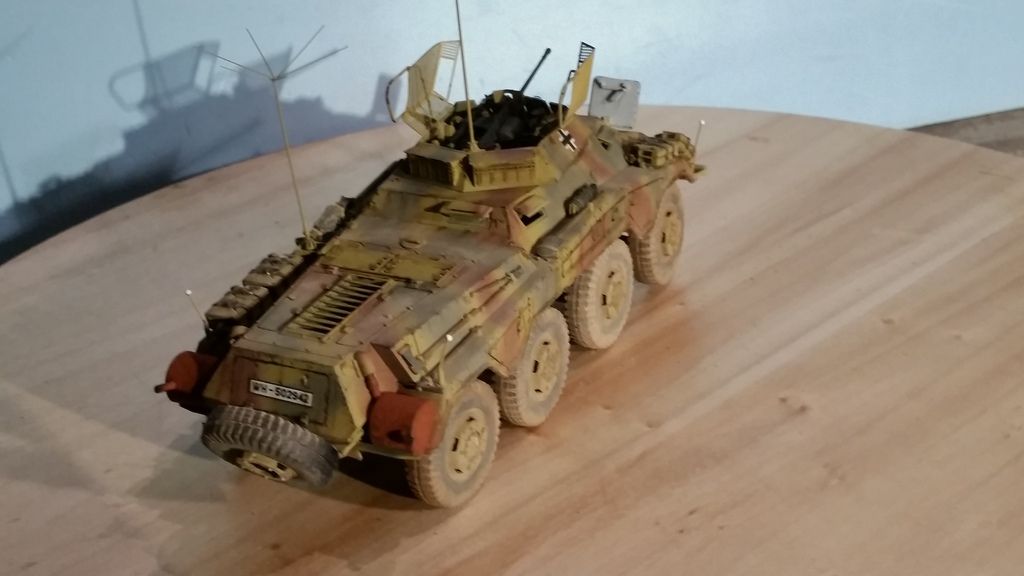
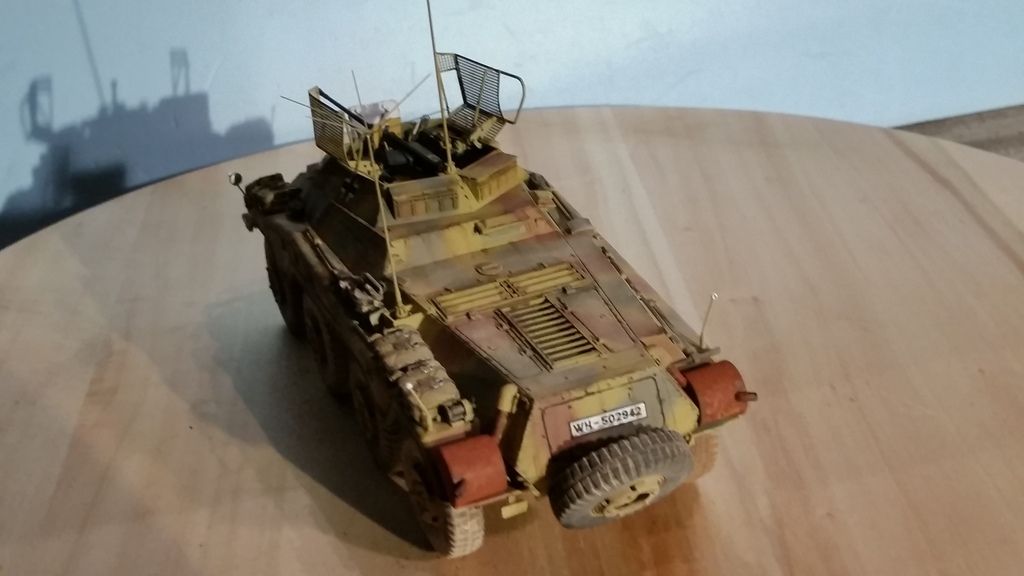
And that was the complete rub down on how i painted and weathered these vehicles
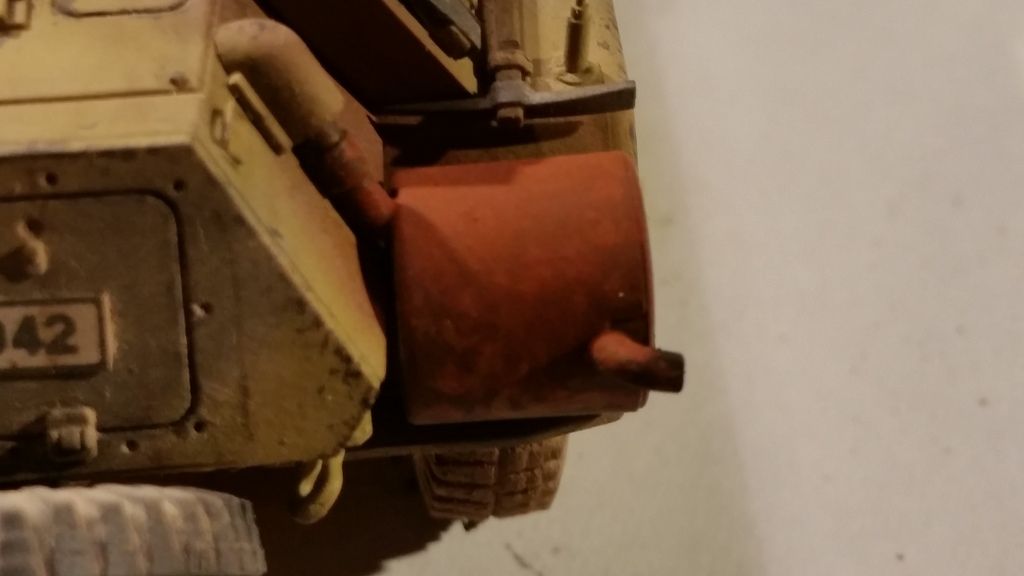
I then added mig prod. railroad rust to the exhausts
As you can see there is some tonal variation in them allthough not as much as i hoped for
The tips where dusted with a little bit of black smoke pigment for the soot
I now have a small mini reveal on the 2 vehicles and then call this update done
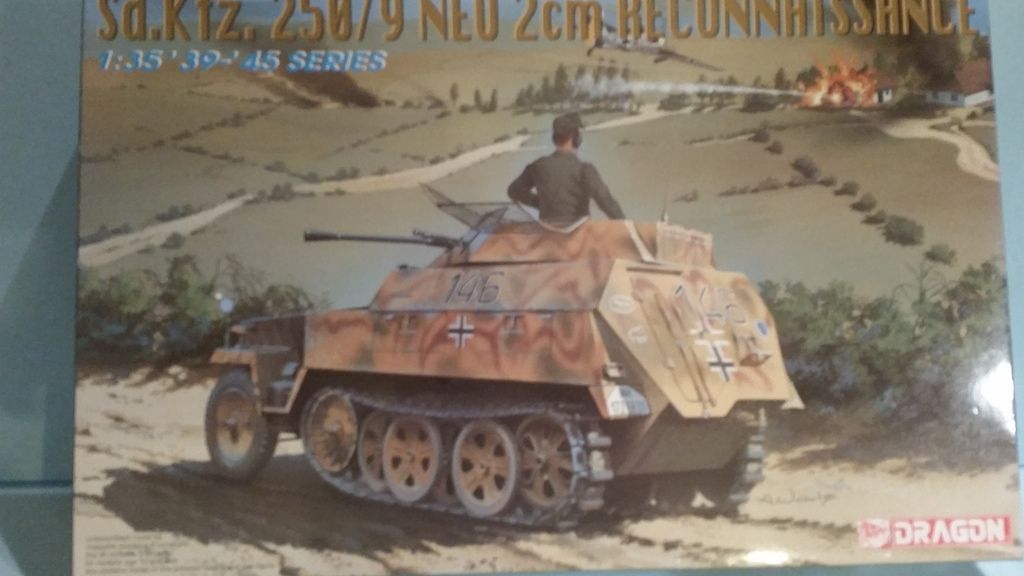
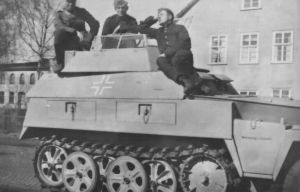
First up the sd.kfz. 250/9
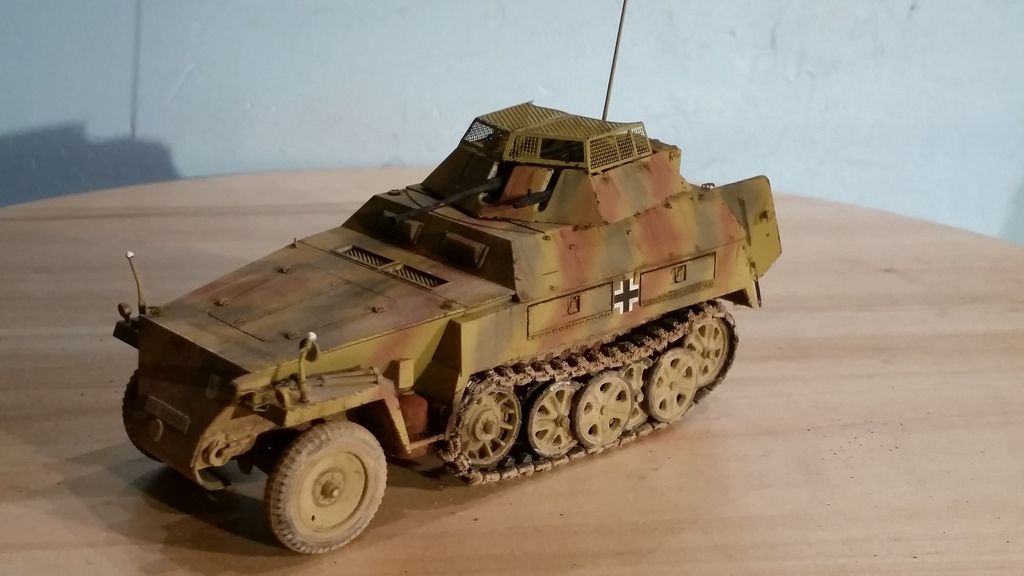
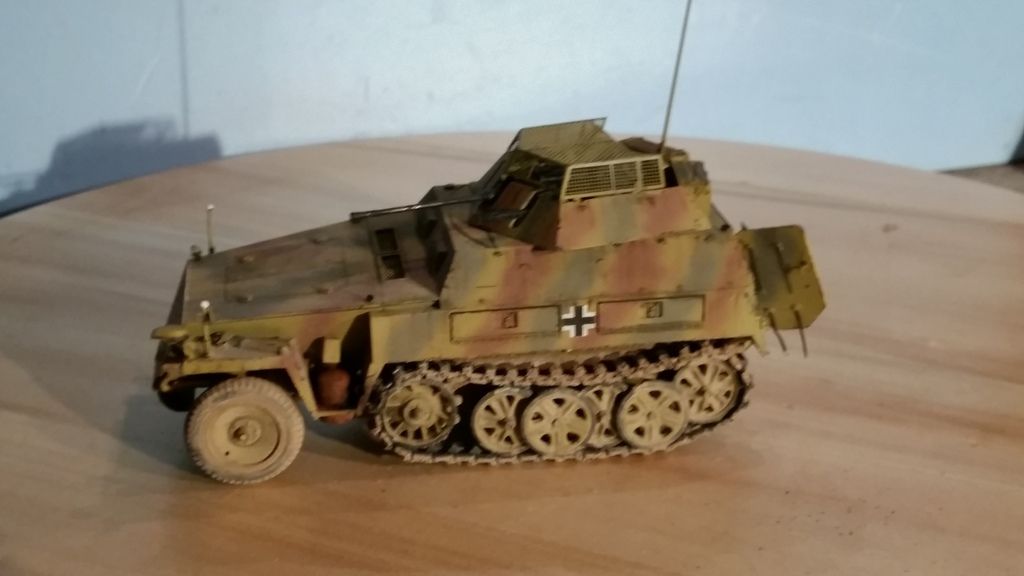
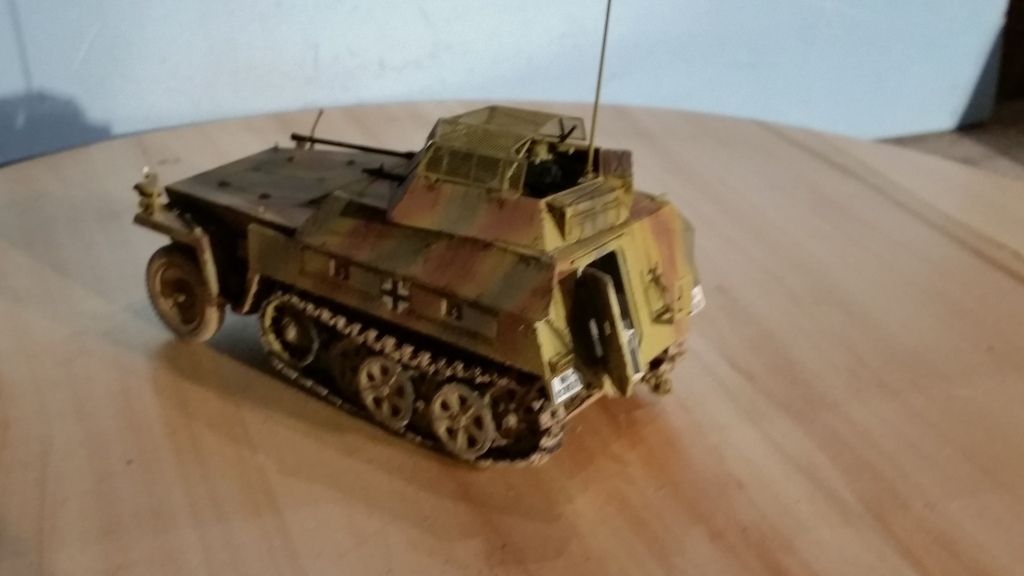
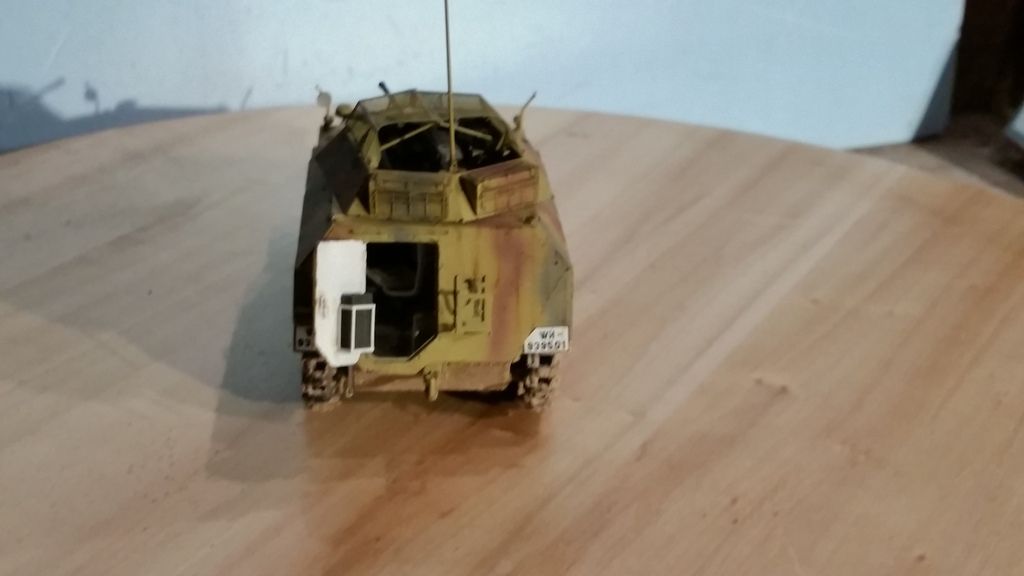
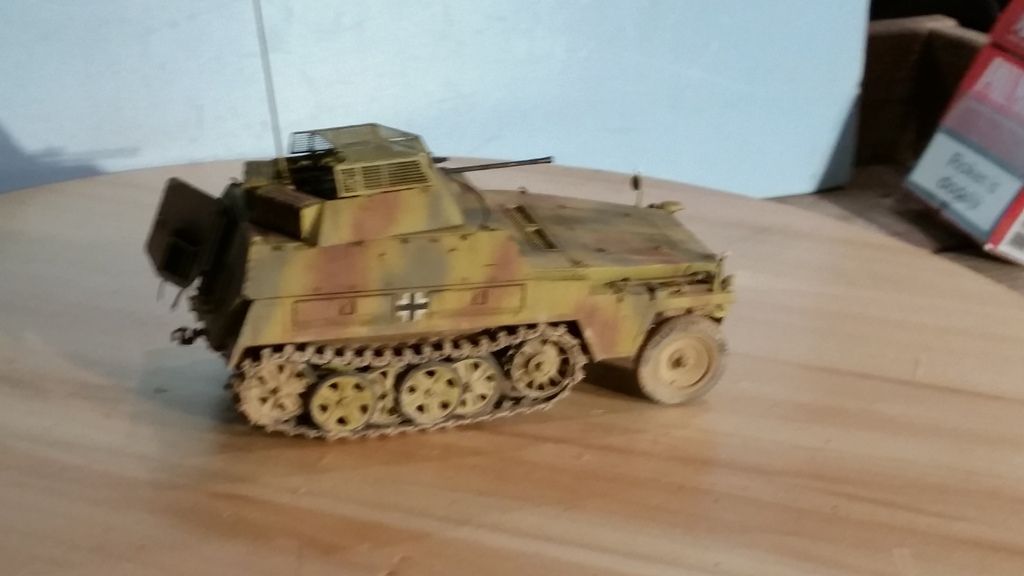
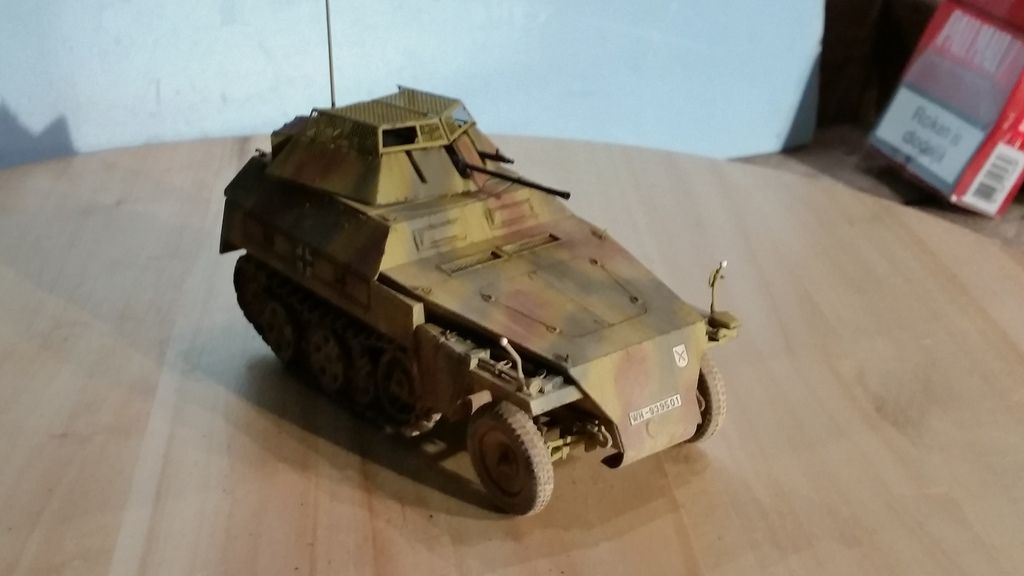
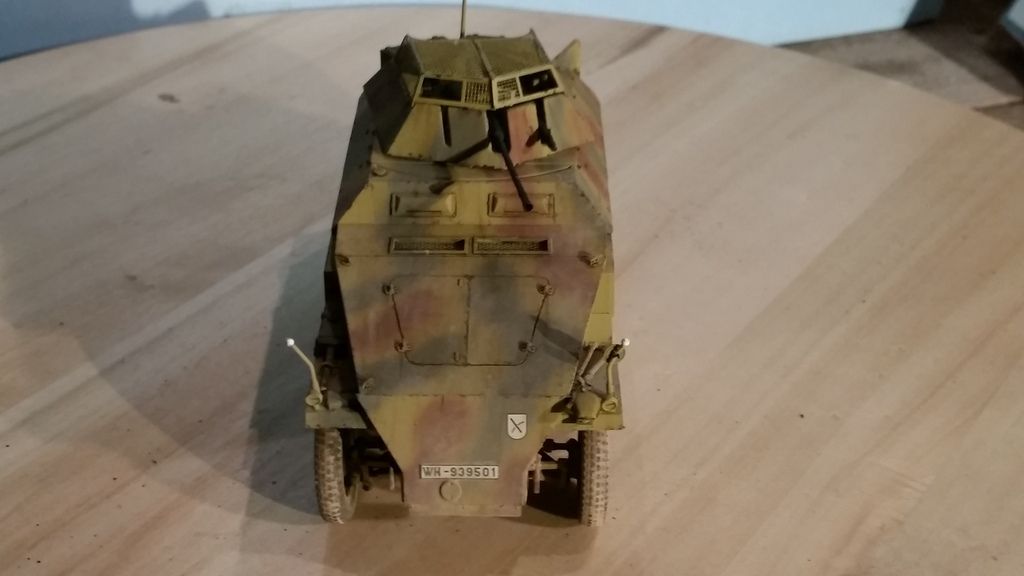
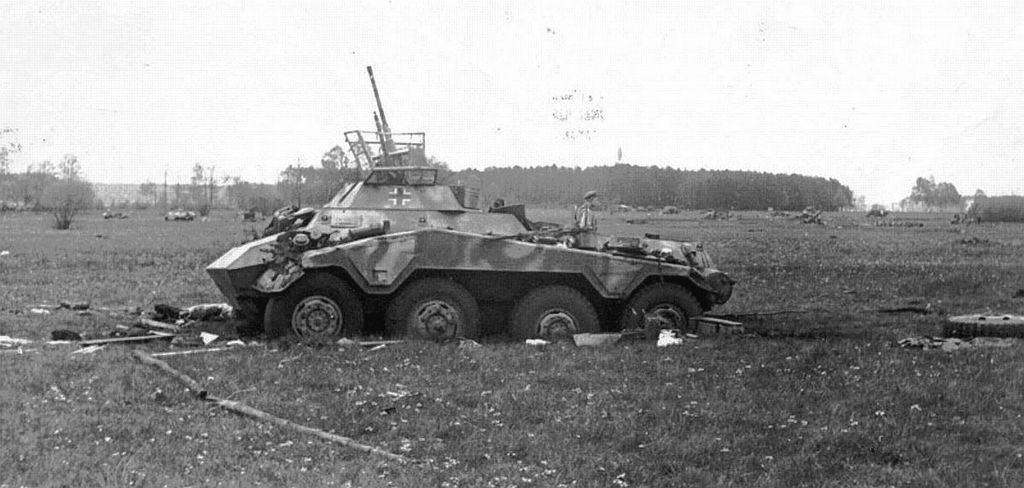
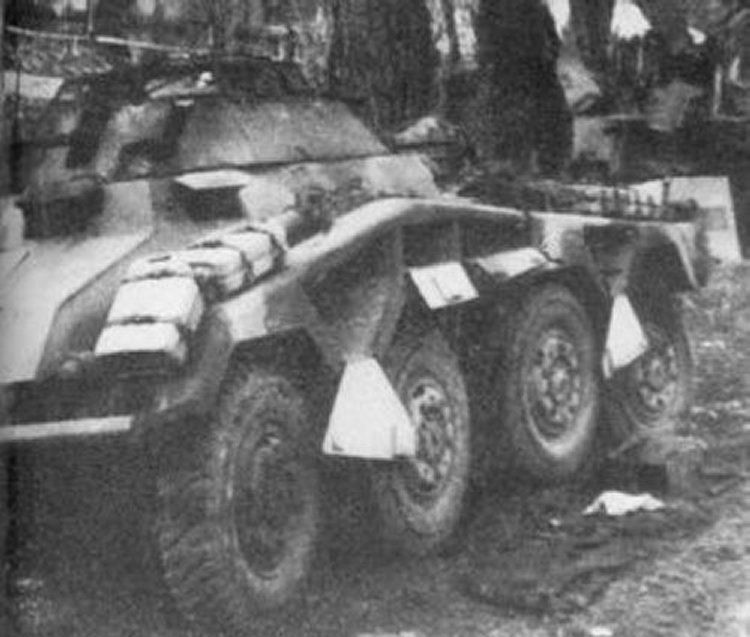
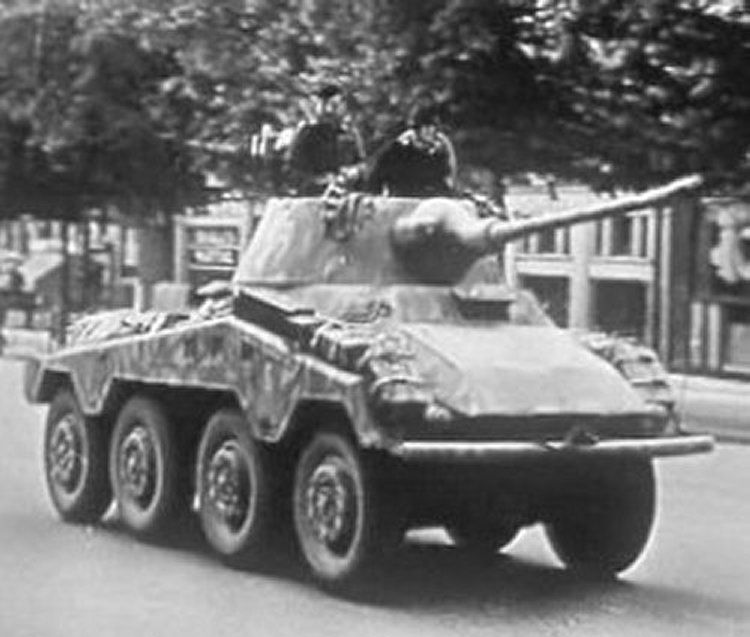
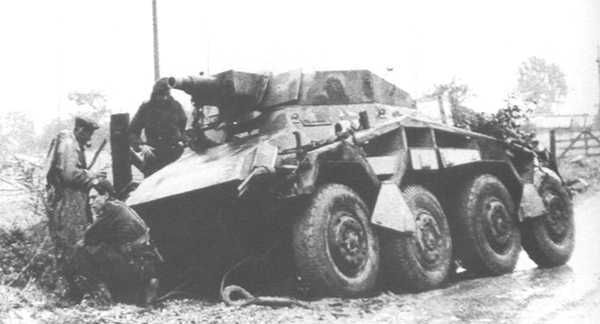
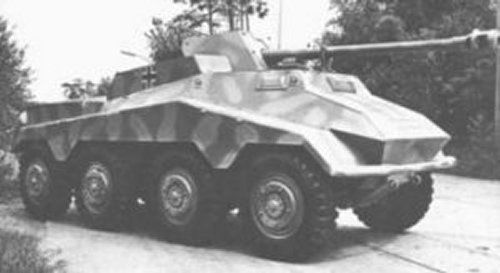
And the sd.kfz. 234/1
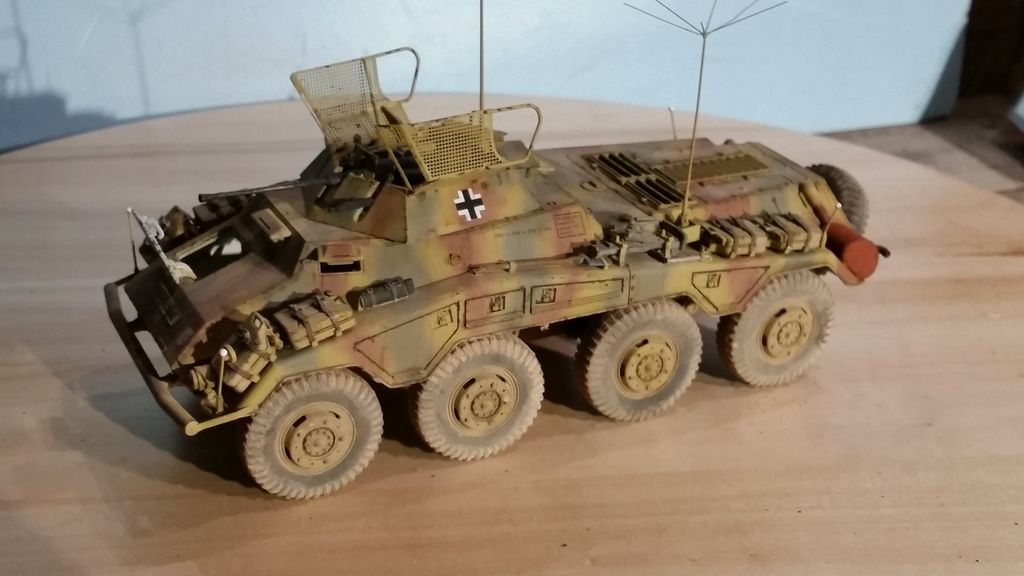
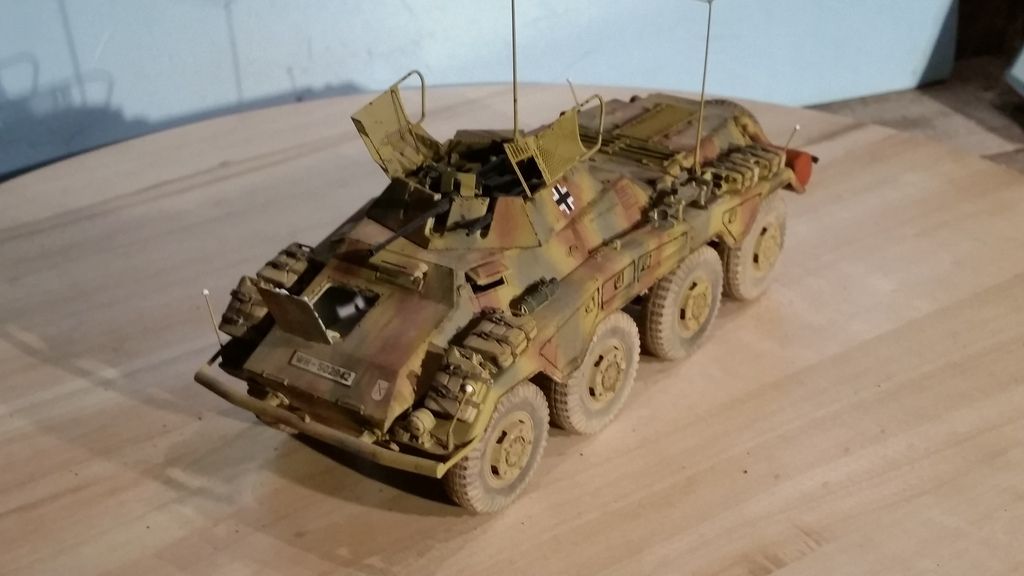
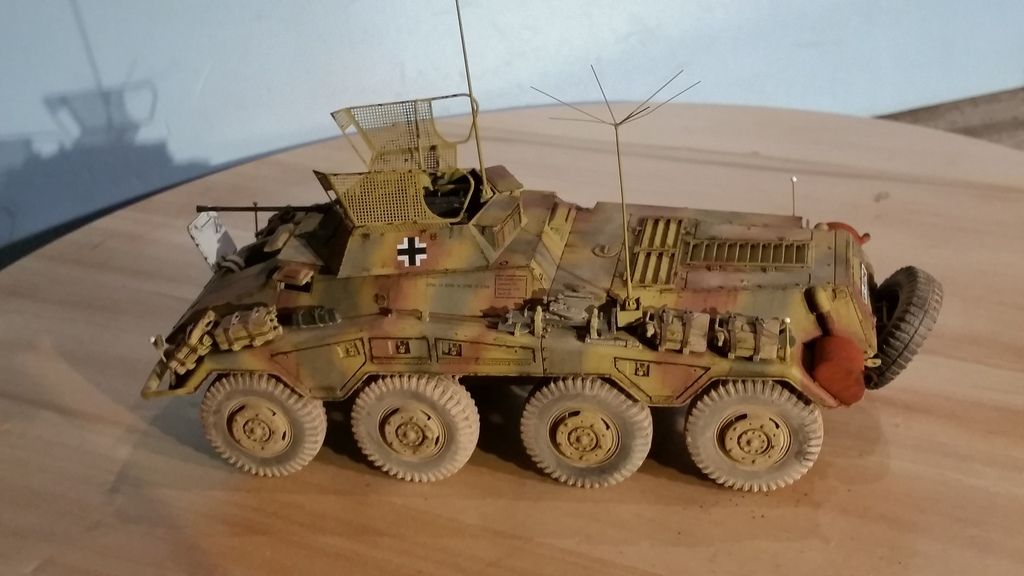
So that is all i have for now
I hope you like it and be prepared i will be bothering you guys some more the upcoming day while i finish this build and my other entry in the sig
Happy modelling
Cheers Mark
