
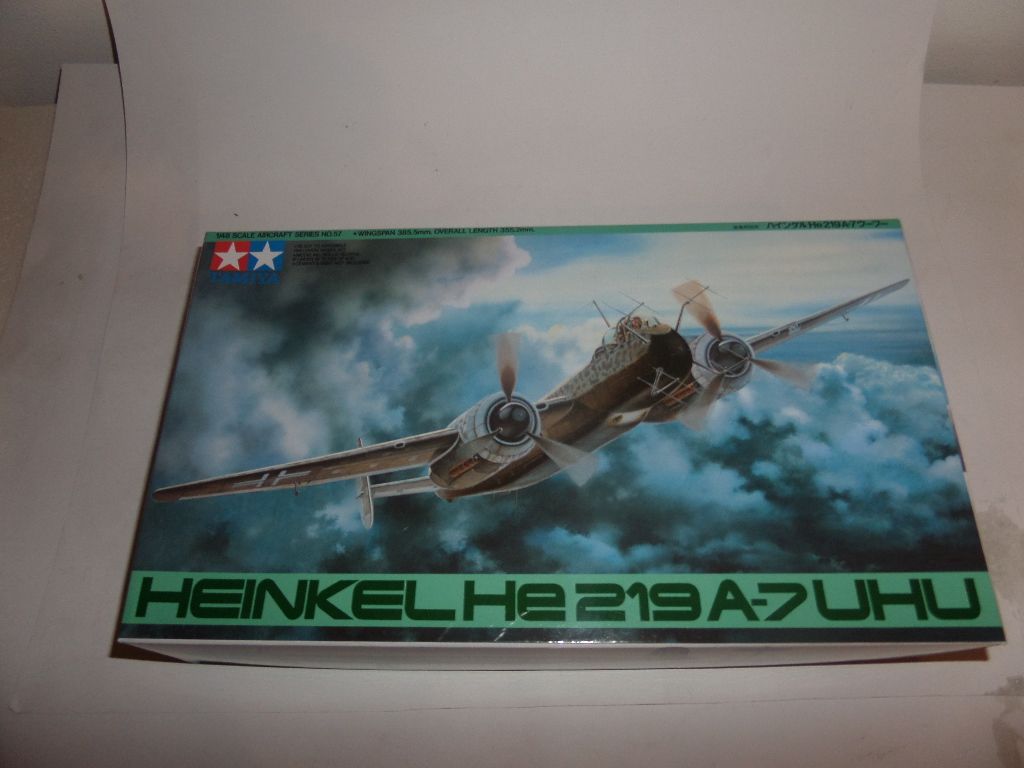
1/48 Heinkel HE 219A7 UHU
Moderator: T3hGuppy
-
rodrant

- Chief Warrant Officer 2

- Posts: 1774
- Joined: Wed Feb 19, 2014 9:22 pm
- Location: Maia - Portugal

1/48 Heinkel HE 219A7 UHU
Will be my first entry ...it was hard to choose as about 90 % of my stash is from Tamiya 

Cheers ,
António
On the Bench
a lot of stuff right now
António
On the Bench
a lot of stuff right now


Re: 1/48 Heinkel HE 219A7 UHU
Those funky German designs always catch my eye. Good luck!

Backlog Progress: |||||||||||||||-------|----------|----------| 26/80
On the bench: Hasegawa 1/72 Tatiana's Vanship
Last Completed: Bandai HGUC Geara Zulu // Hasegawa 1/48 J2M3Raiden Prisoner of War
On the bench: Hasegawa 1/72 Tatiana's Vanship
Last Completed: Bandai HGUC Geara Zulu // Hasegawa 1/48 J2M3Raiden Prisoner of War


Re: 1/48 Heinkel HE 219A7 UHU
Nice choice mate.
Will
"A thing of orchestrated hell- a terrible symphony of light and flame."
Edward R Murrow
"A thing of orchestrated hell- a terrible symphony of light and flame."
Edward R Murrow


Re: 1/48 Heinkel HE 219A7 UHU
Nice! I didn't know tamiya did this kit, I don't envy you the paint job though! 
Chief
-
PrivatePublic
- Staff Sergeant

- Posts: 168
- Joined: Wed Oct 14, 2015 12:45 pm
- Location: Kiwiland

Re: 1/48 Heinkel HE 219A7 UHU
Saw one of these down at the LHS, will be interesting to see how it goes 


Re: 1/48 Heinkel HE 219A7 UHU
I'm in on tis one

 #32
#32
Revell 1:72 Type IXC/40 U-Boat

Meng 1:48 Messerschmitt Me410 B-2/U2/R4 Heavy Fighter
Miniart 1:35 T-54-2 Soviet tank

-
DarksideHobbies
- Corporal

- Posts: 68
- Joined: Fri Sep 02, 2016 1:15 am
Re: 1/48 Heinkel HE 219A7 UHU
Looking forward to seeing this one!
-
rodrant
- Chief Warrant Officer 2
- Posts: 1774
- Joined: Wed Feb 19, 2014 9:22 pm
- Location: Maia - Portugal
Re: 1/48 Heinkel HE 219A7 UHU
Time to make a start on this GB , and this will be my first build , maybe the more quick one , and I still have a boat to finish in the floatty thing SiG
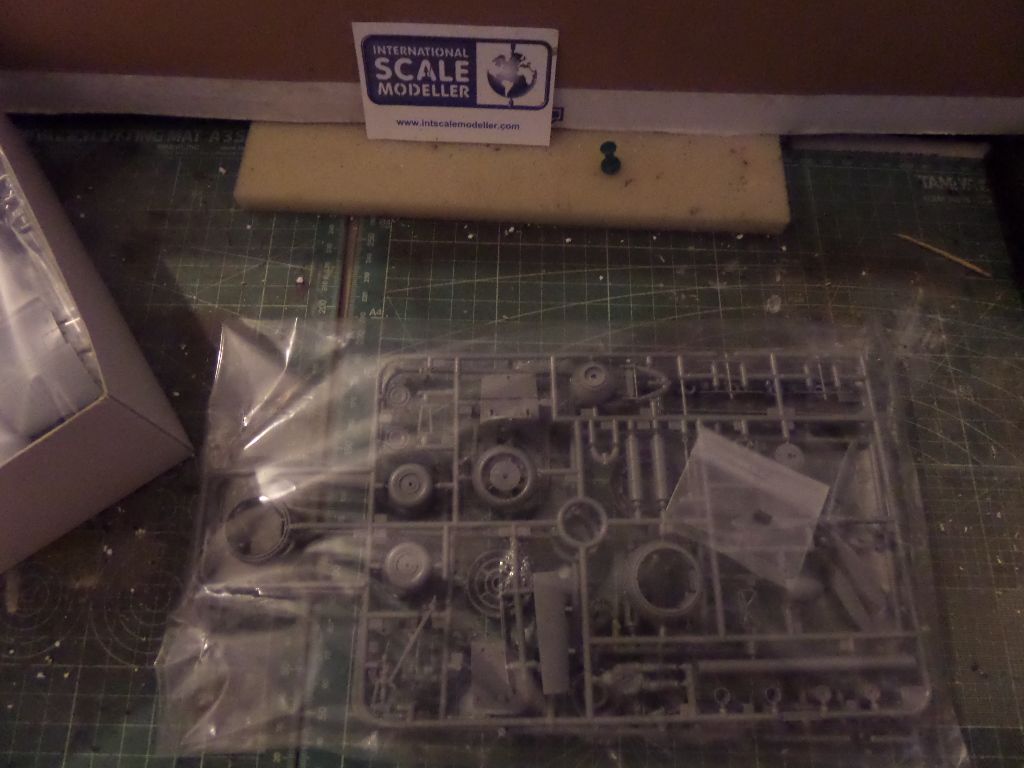
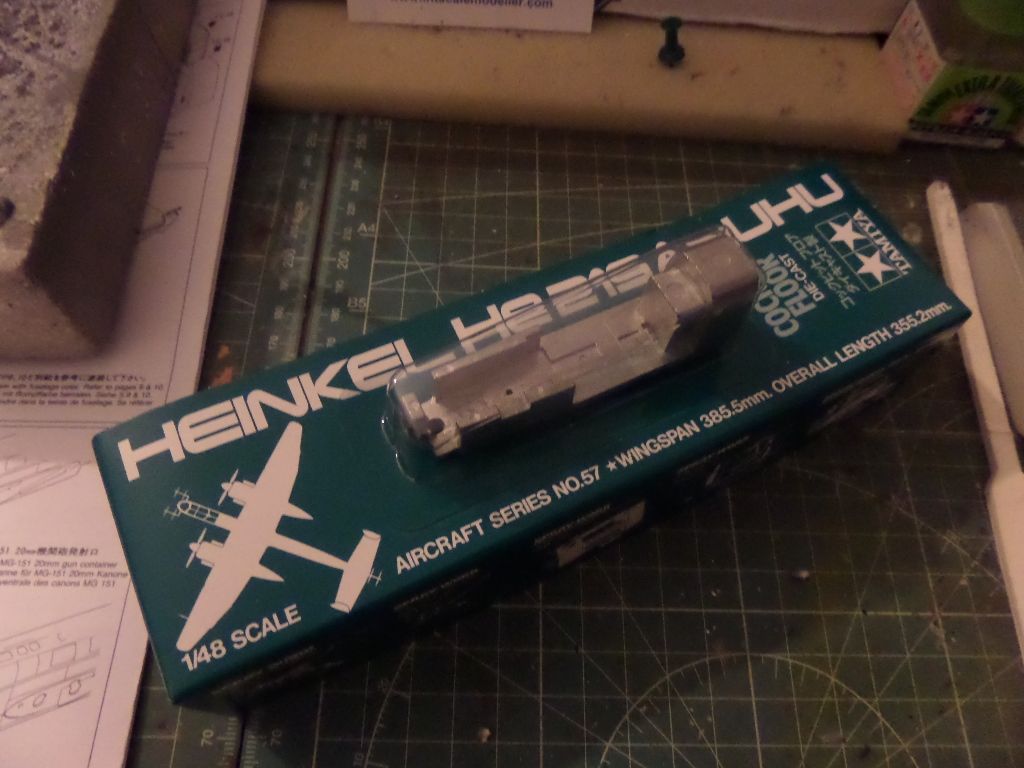
So , here are some photos of the kit ...the sprues in the usual Tamiya Plastic Bags ...
Hmmmm ...Cockpit masks ...I didn't remember but seems that I bought this and place on the box , I will use them as they are ok to use , right ?

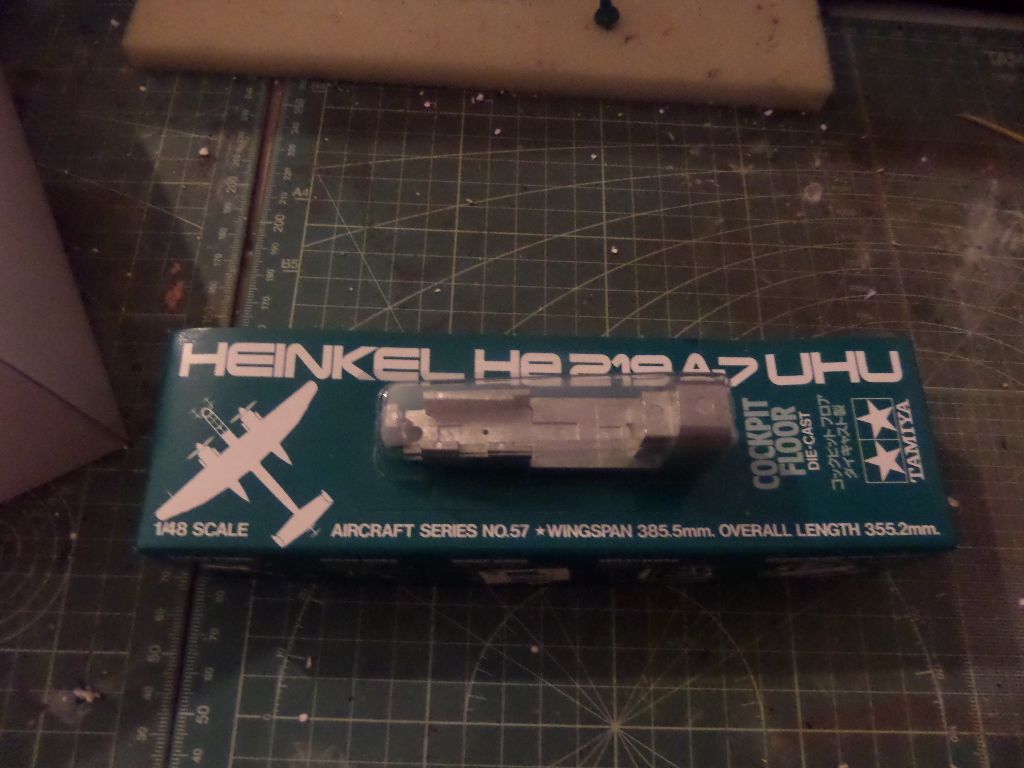
Some metal part , seems Tamiya solved the weight on the nose making this as the support for the cockpit and as the weight on the plane nose ....nice !
Wheels sprues and some other stuff ...
Wings
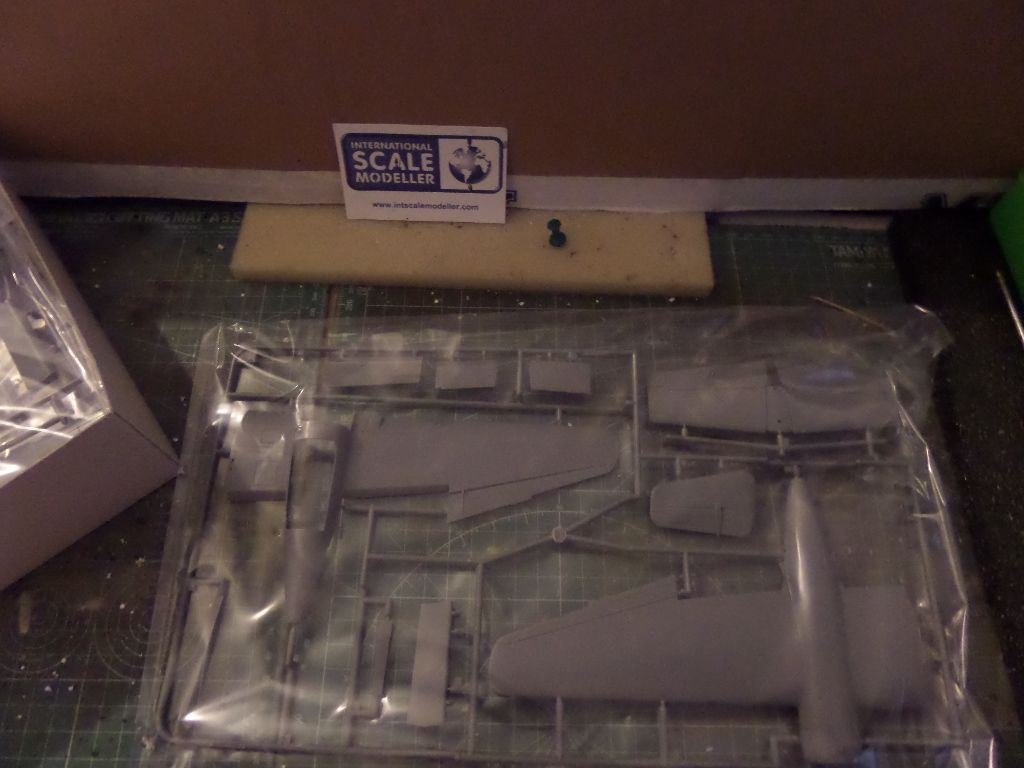
More wings and rear wing .in this bag are the clear parts sprue , and this isn't very usual and they seem not damaged but we will see on the build
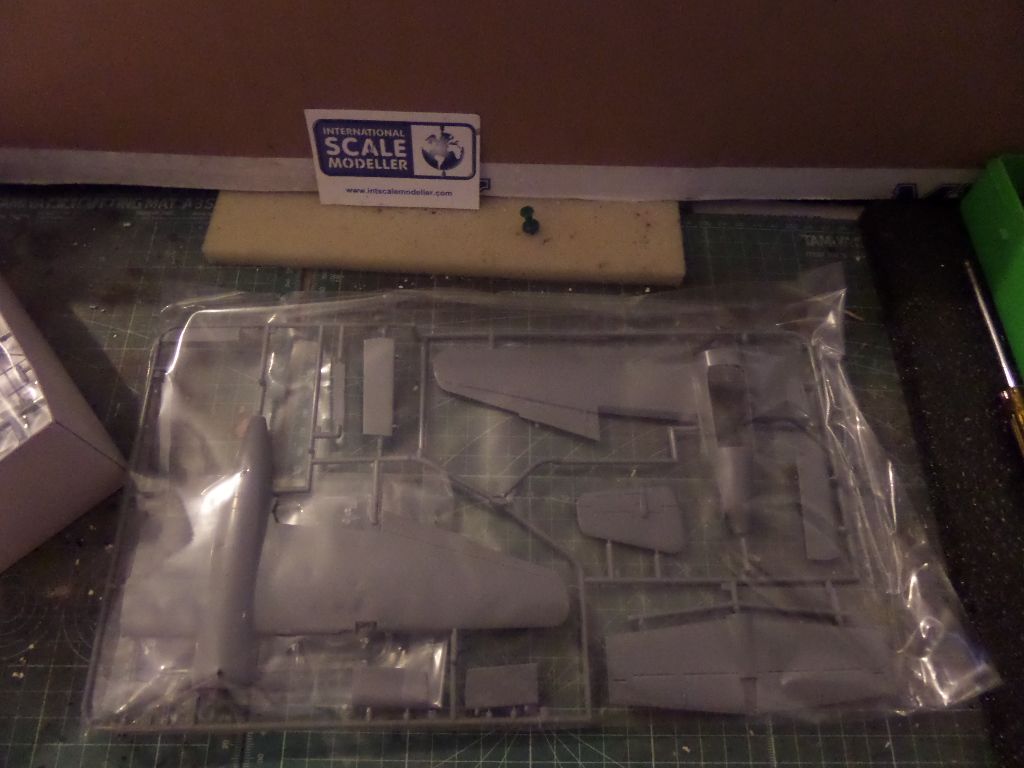
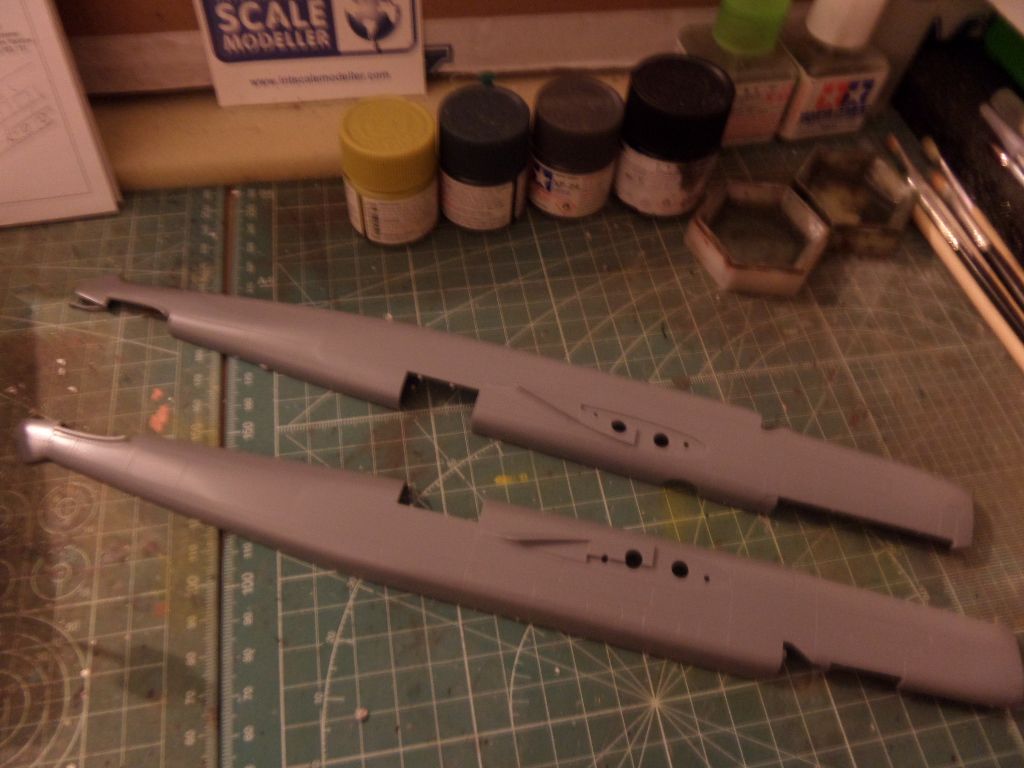
Fuselage

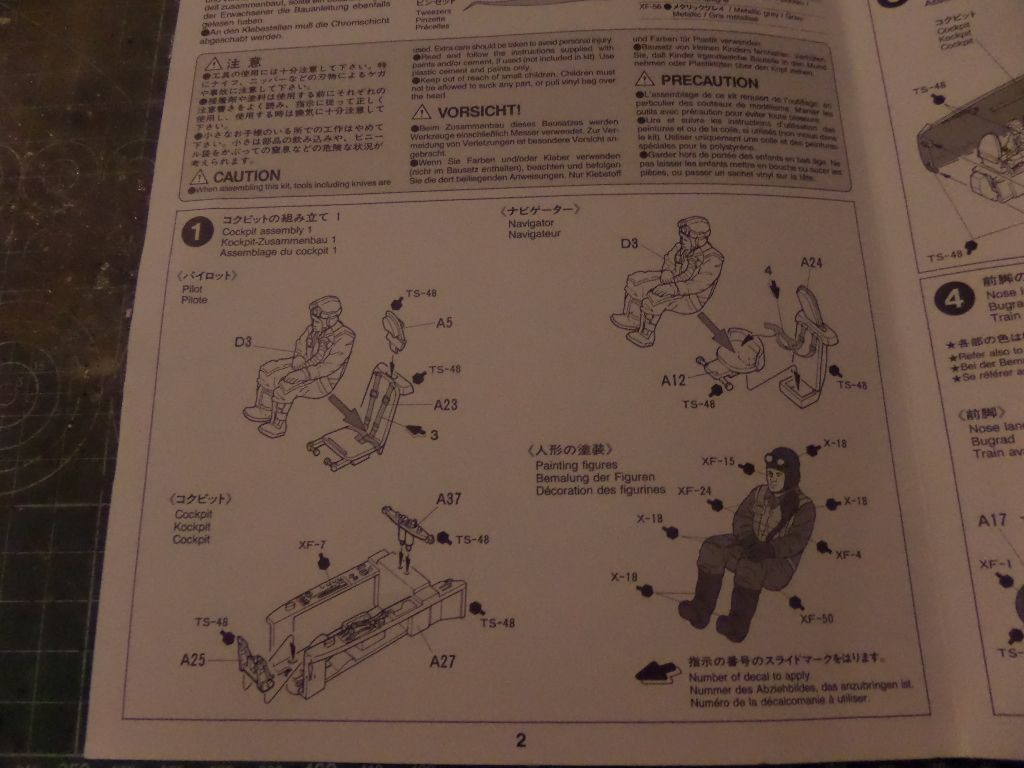
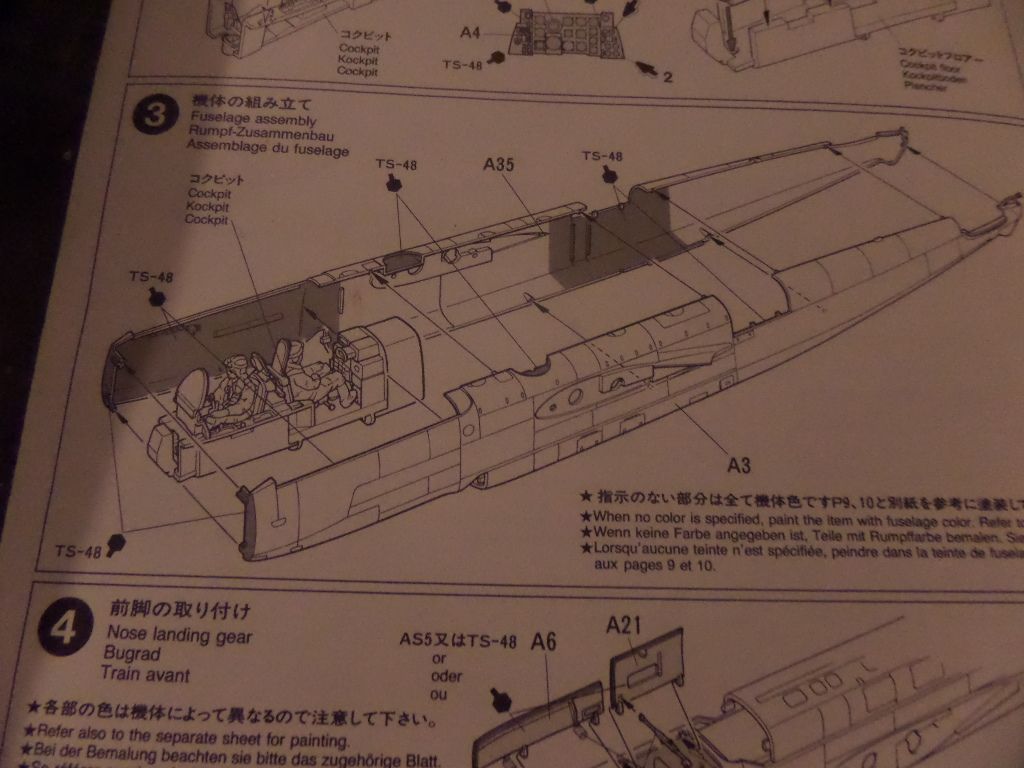
Instructions

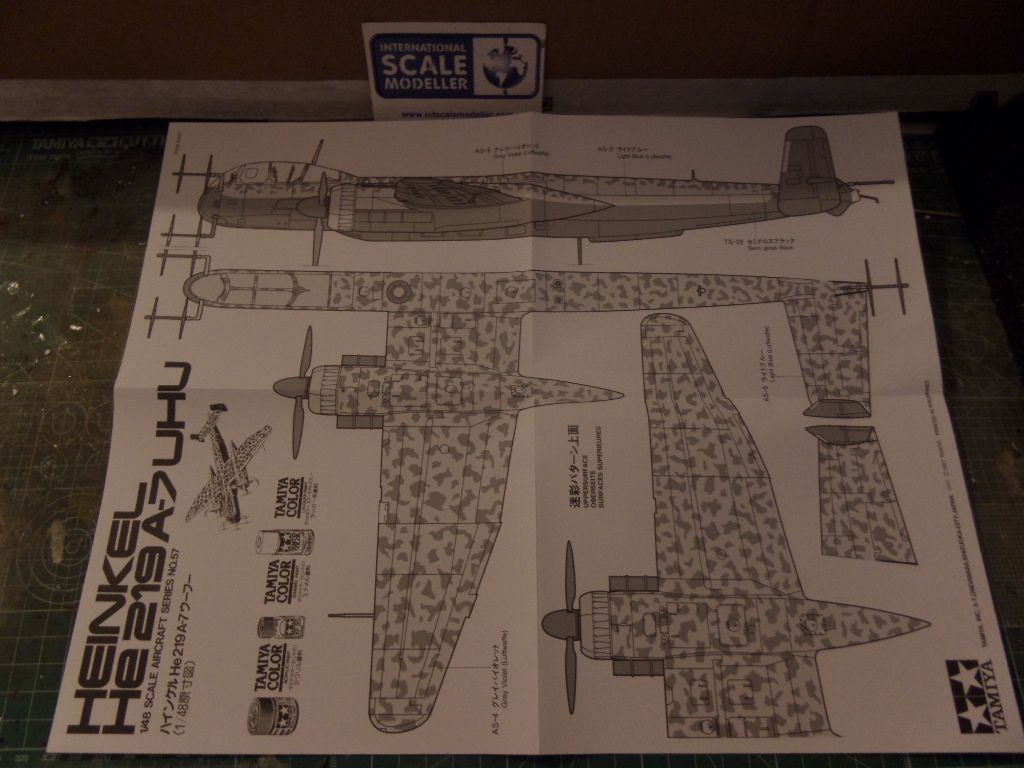
Color schemes ...two here
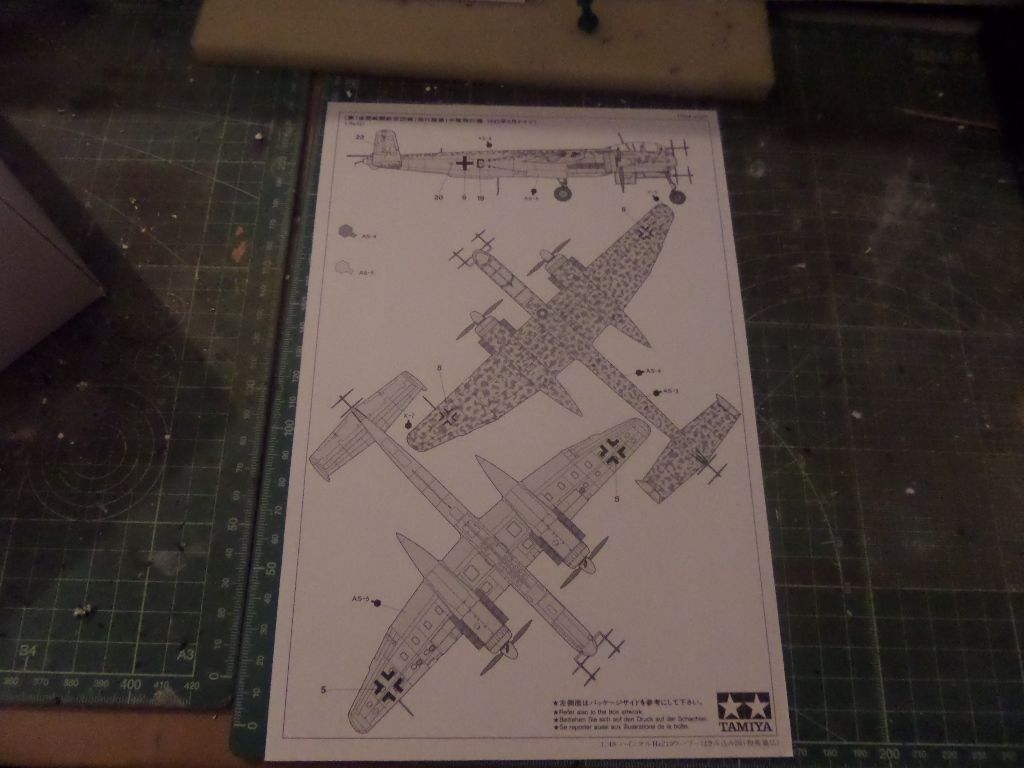
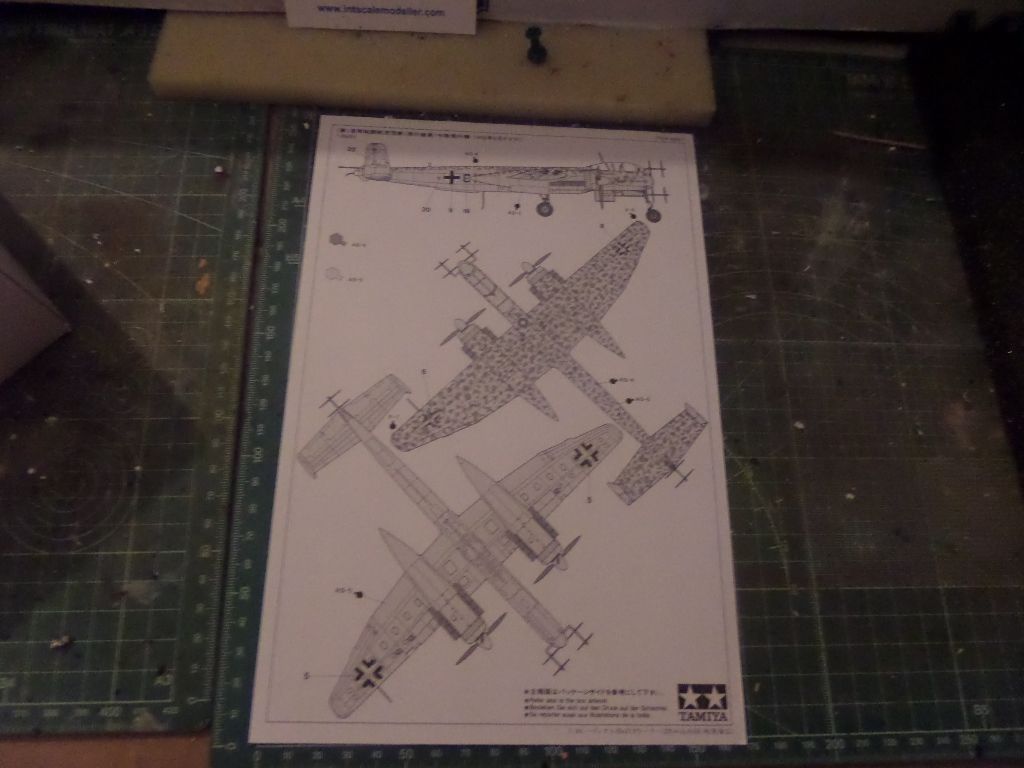
they are similar , diferent NJG.
And a full size color scheme , and the one I will do
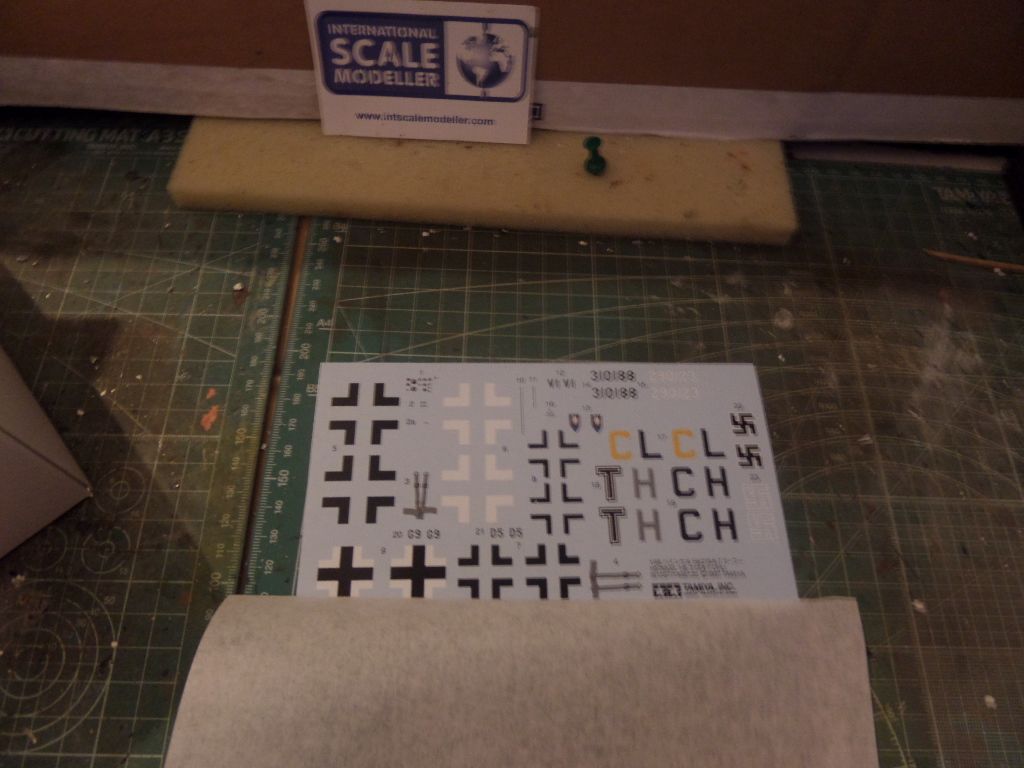
Decals ...
For the History and some nice details and History I advice to check this site , it is very nice also to see some other planes and a lot of info
http://www.militaryfactory.com/aircraft ... aft_id=489
and off we go to the build , some updates here soon
So , here are some photos of the kit ...the sprues in the usual Tamiya Plastic Bags ...
Hmmmm ...Cockpit masks ...I didn't remember but seems that I bought this and place on the box , I will use them as they are ok to use , right ?

Some metal part , seems Tamiya solved the weight on the nose making this as the support for the cockpit and as the weight on the plane nose ....nice !

Wheels sprues and some other stuff ...

Wings

More wings and rear wing .in this bag are the clear parts sprue , and this isn't very usual and they seem not damaged but we will see on the build

Fuselage

Instructions

Color schemes ...two here


they are similar , diferent NJG.
And a full size color scheme , and the one I will do

Decals ...

For the History and some nice details and History I advice to check this site , it is very nice also to see some other planes and a lot of info
http://www.militaryfactory.com/aircraft ... aft_id=489
and off we go to the build , some updates here soon
Cheers ,
António
On the Bench
a lot of stuff right now
António
On the Bench
a lot of stuff right now
-
rodrant
- Chief Warrant Officer 2
- Posts: 1774
- Joined: Wed Feb 19, 2014 9:22 pm
- Location: Maia - Portugal
Re: 1/48 Heinkel HE 219A7 UHU
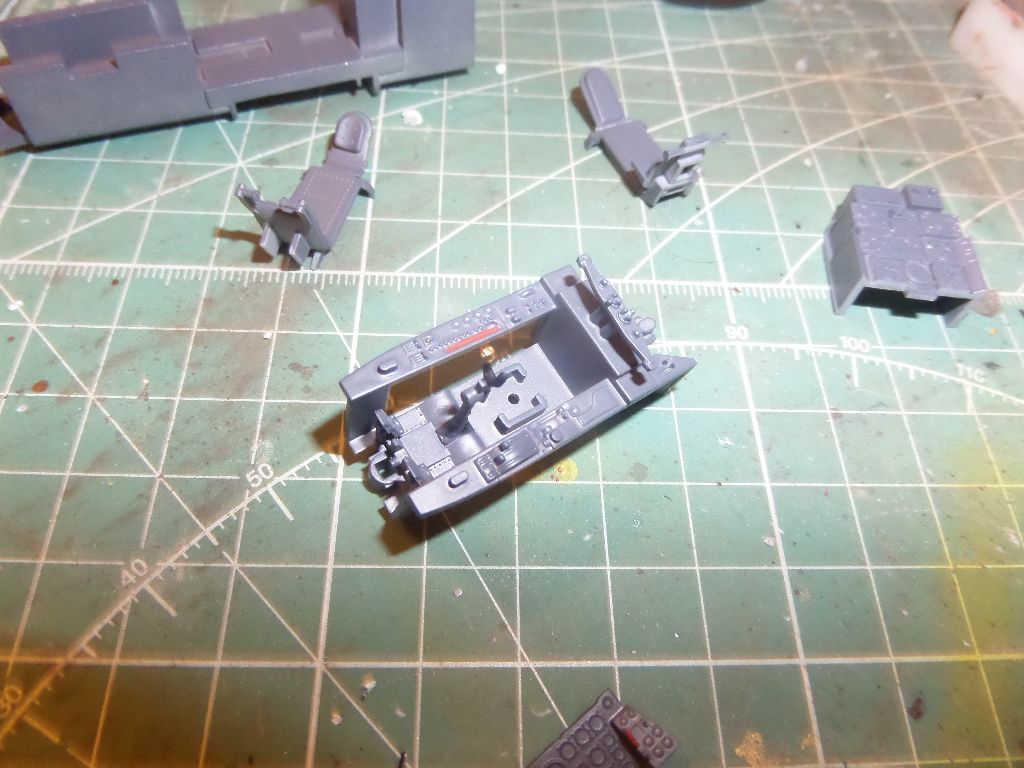
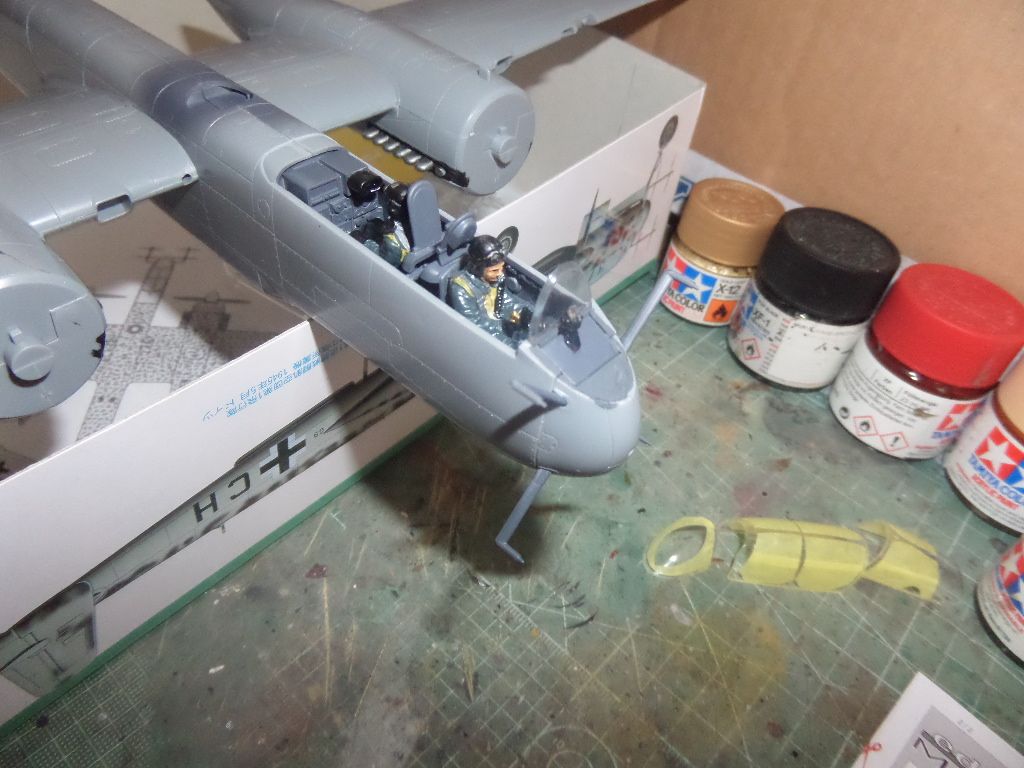
I started the build , and the first parts will be the cockpit of the plane :

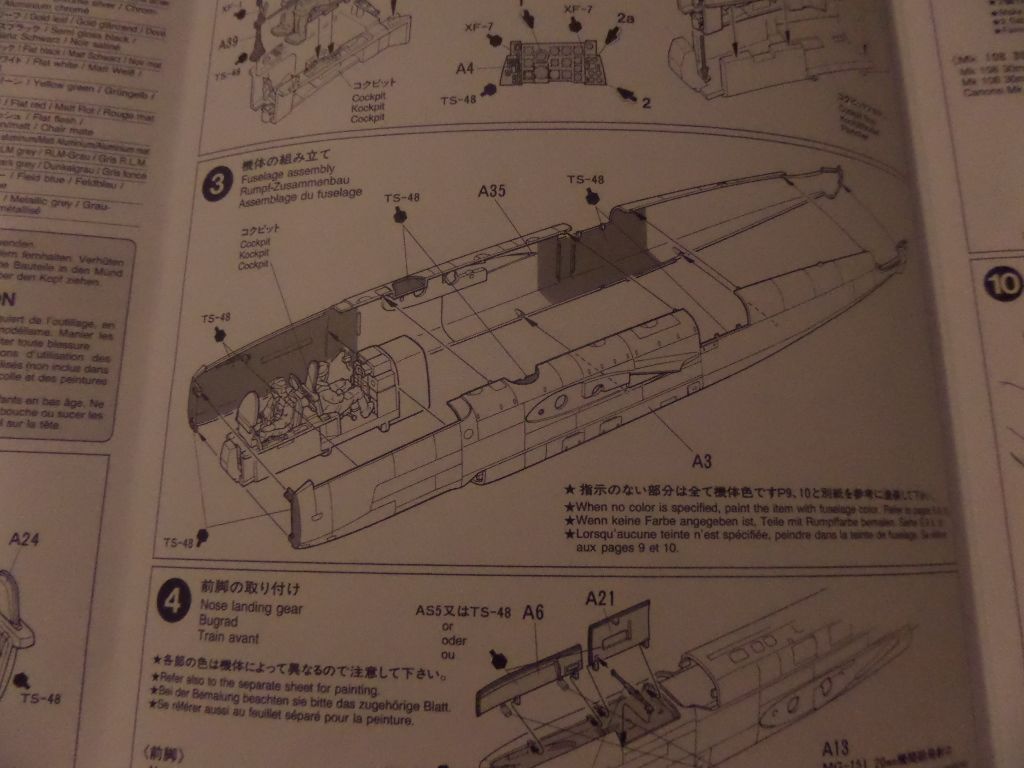
And he cockpit to the fuselage halves
The pilots are not that good but decided to use them , not often we get the pilot figures and in this case I will use them
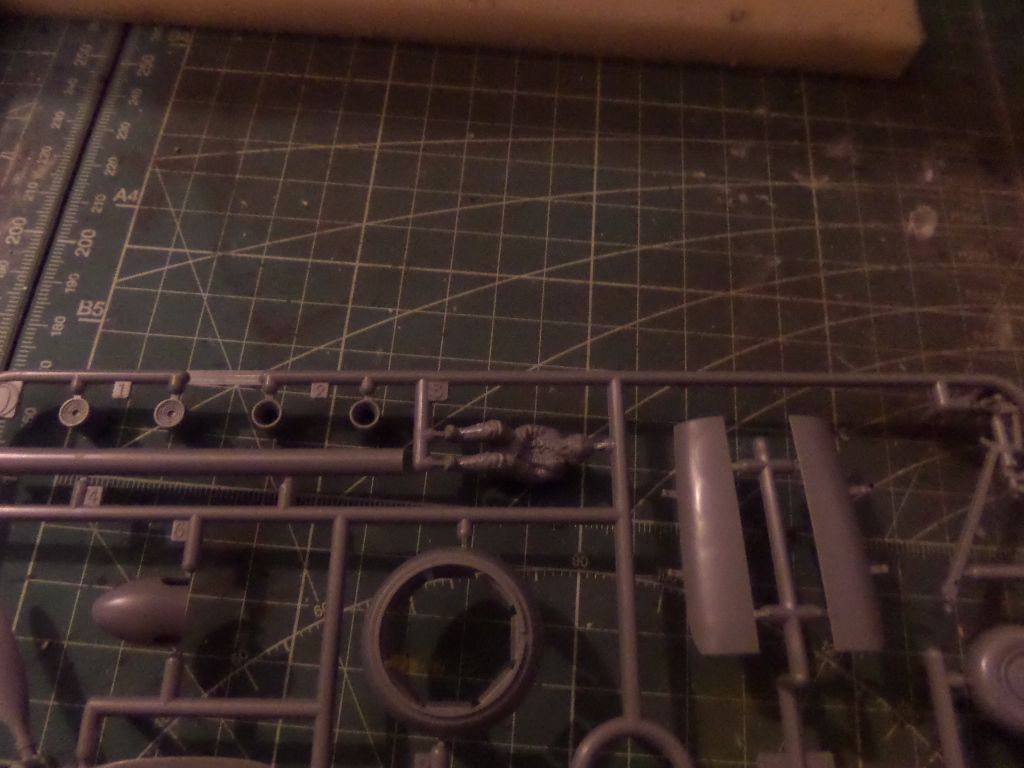
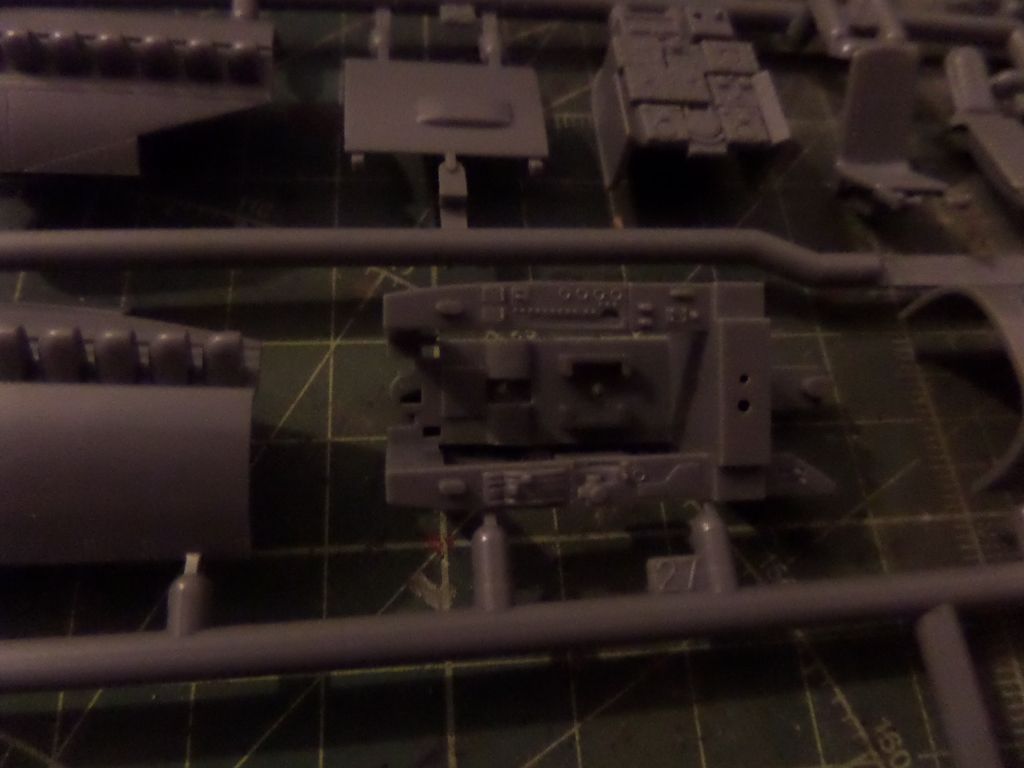
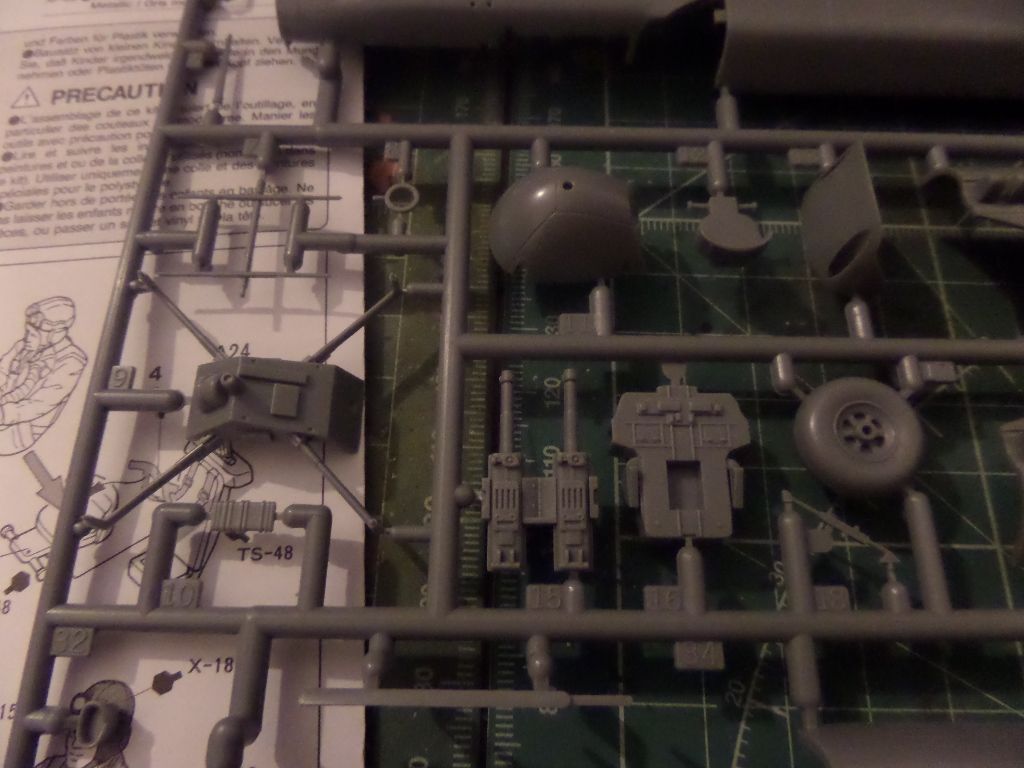
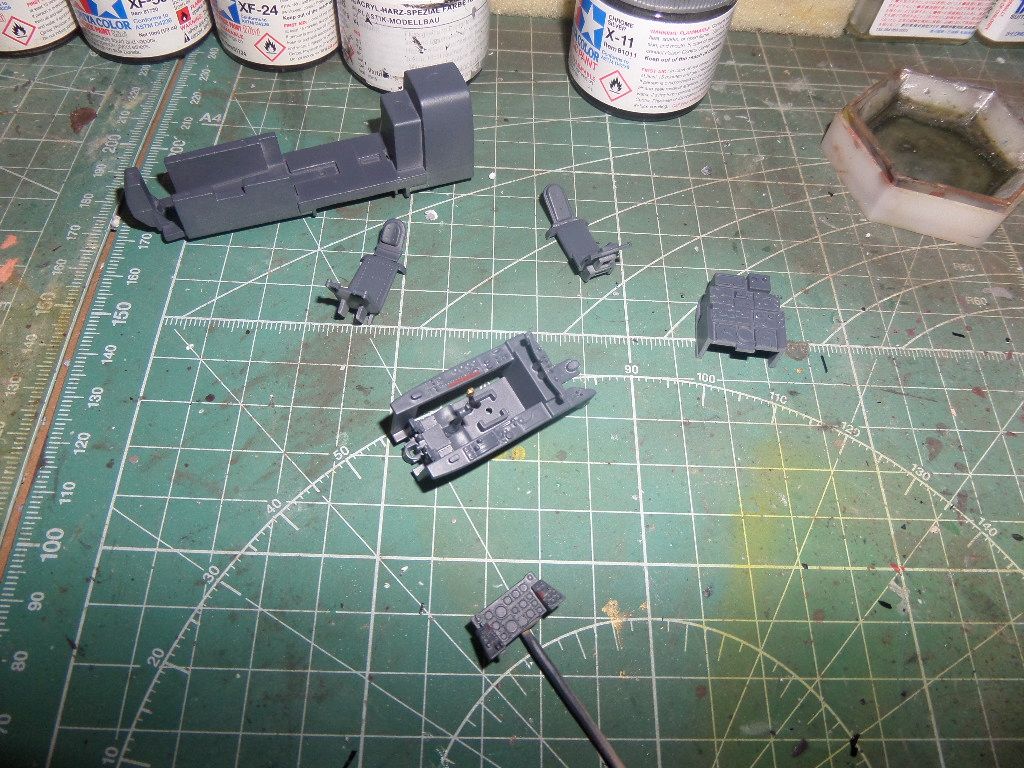
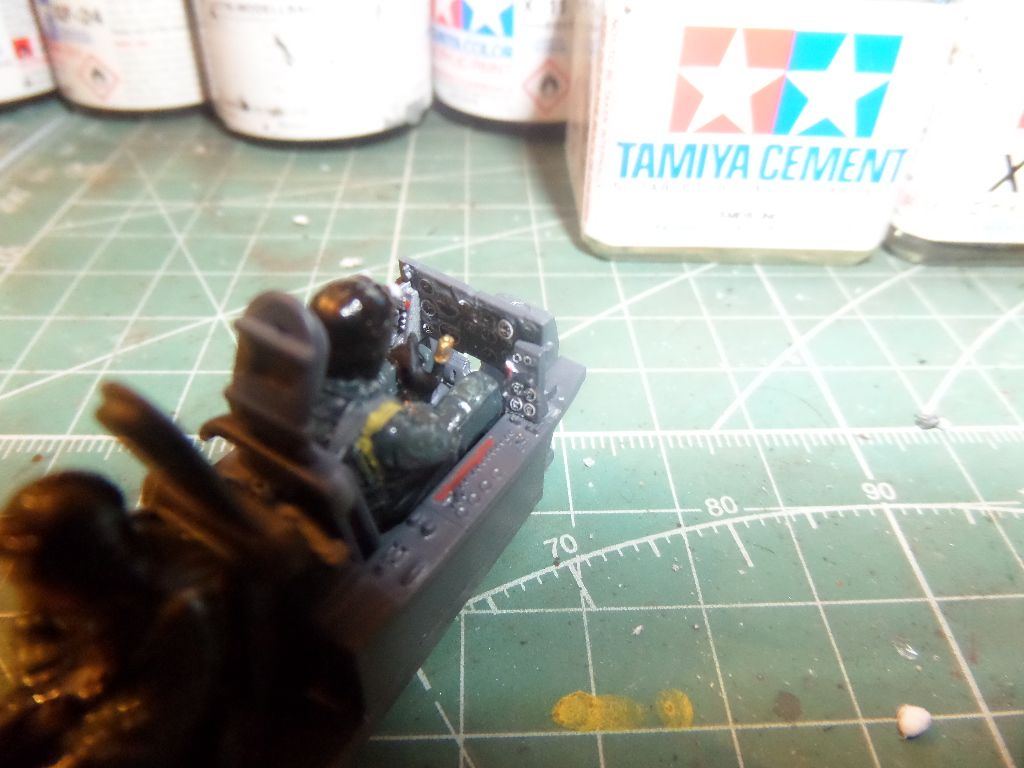
Some very nice detail of the kit , here some detial on the radio/radar panel of the navigator
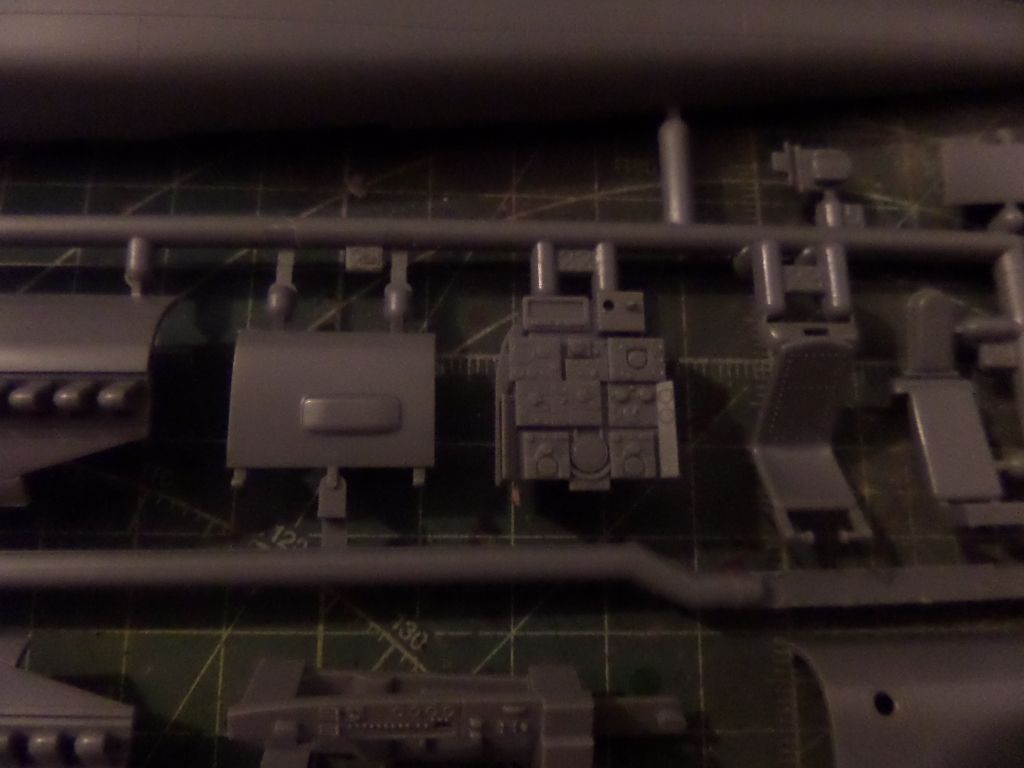
Cockpit
Fuselage , and it seems a very nice way to fix the wings ...will see as this is always a headache
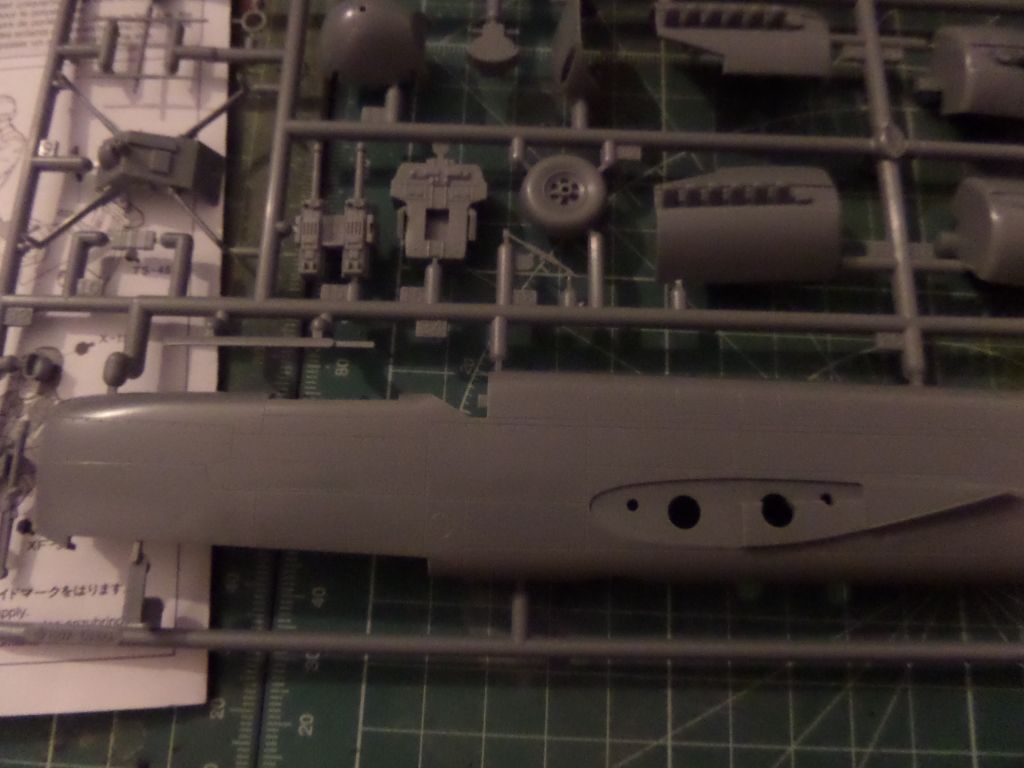
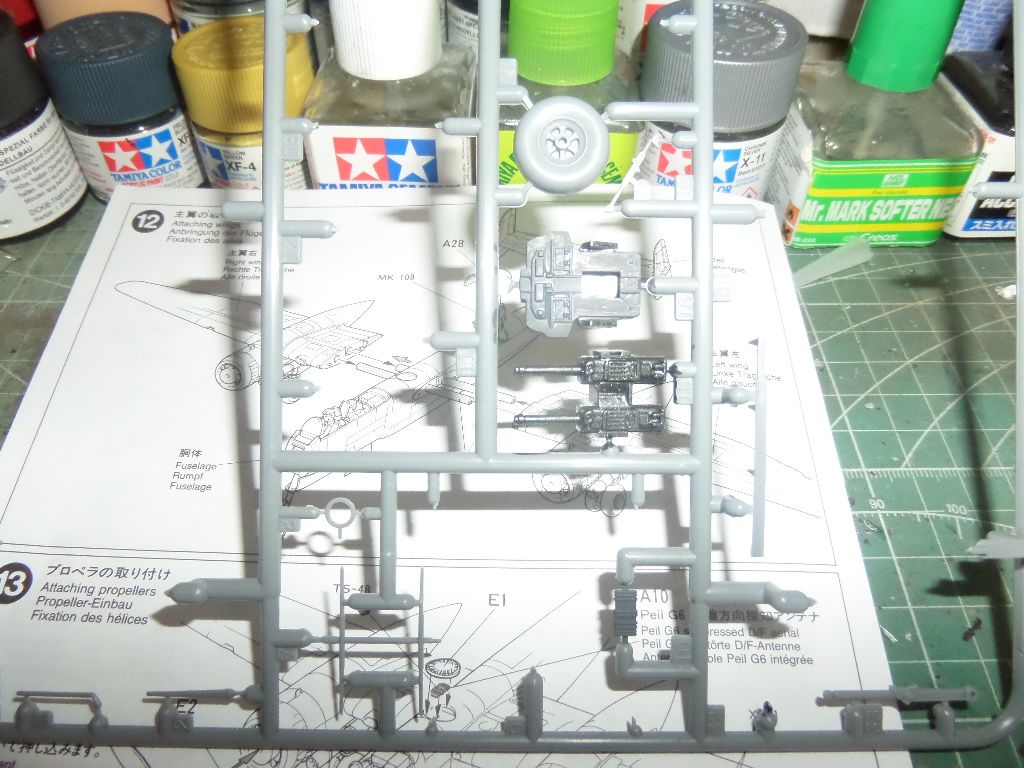
The ventral double cannon used on this planes ...'Schrage Musik'
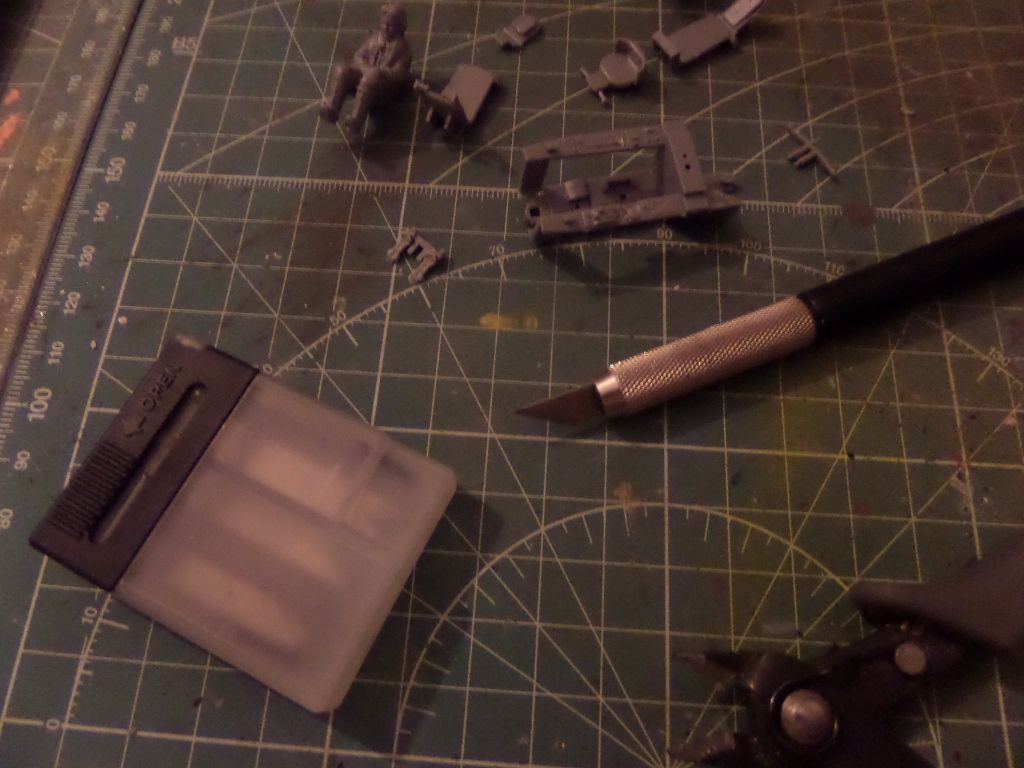
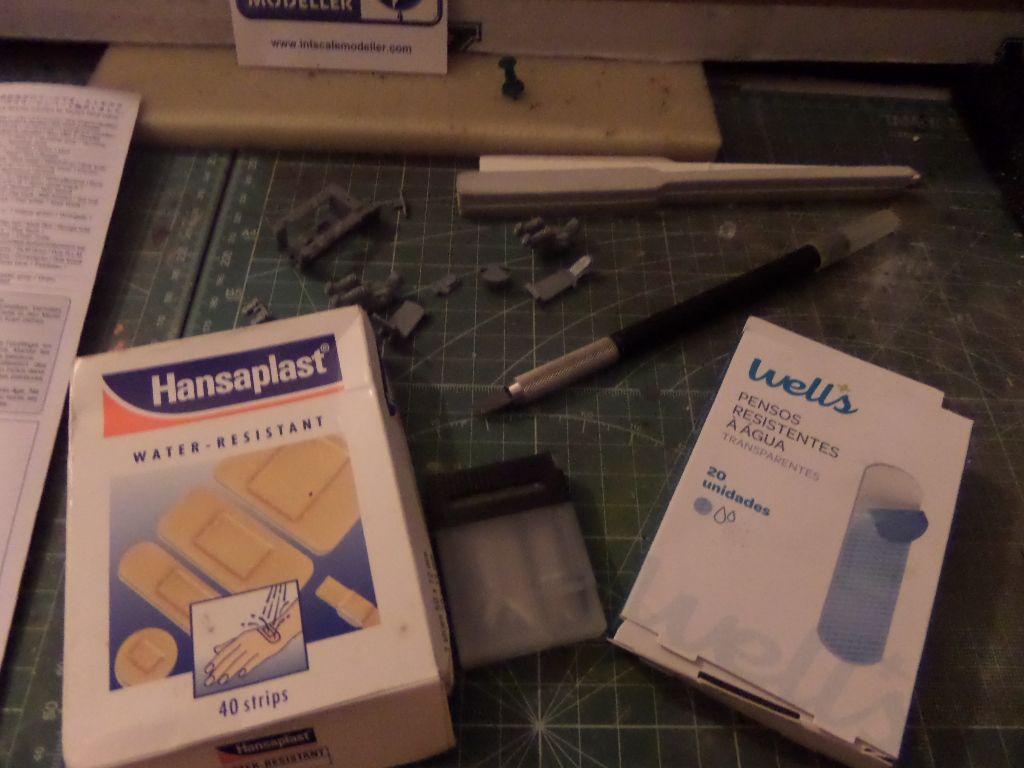
New Blade for this build
And you never know ...with new lades and just in case some bandages
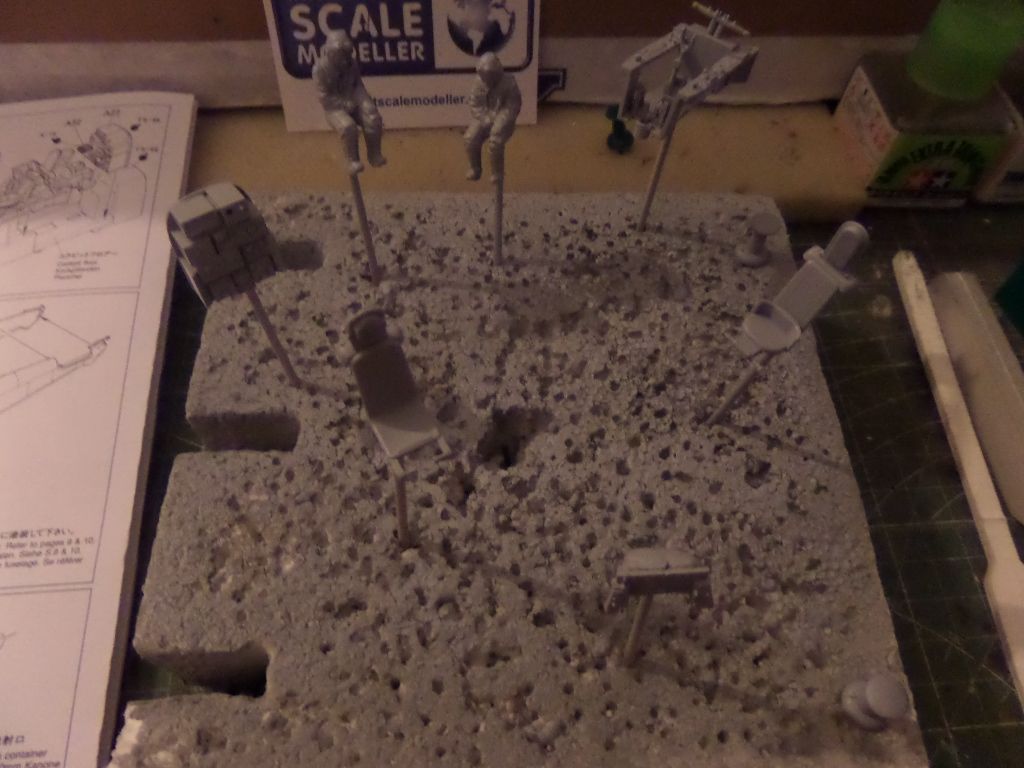
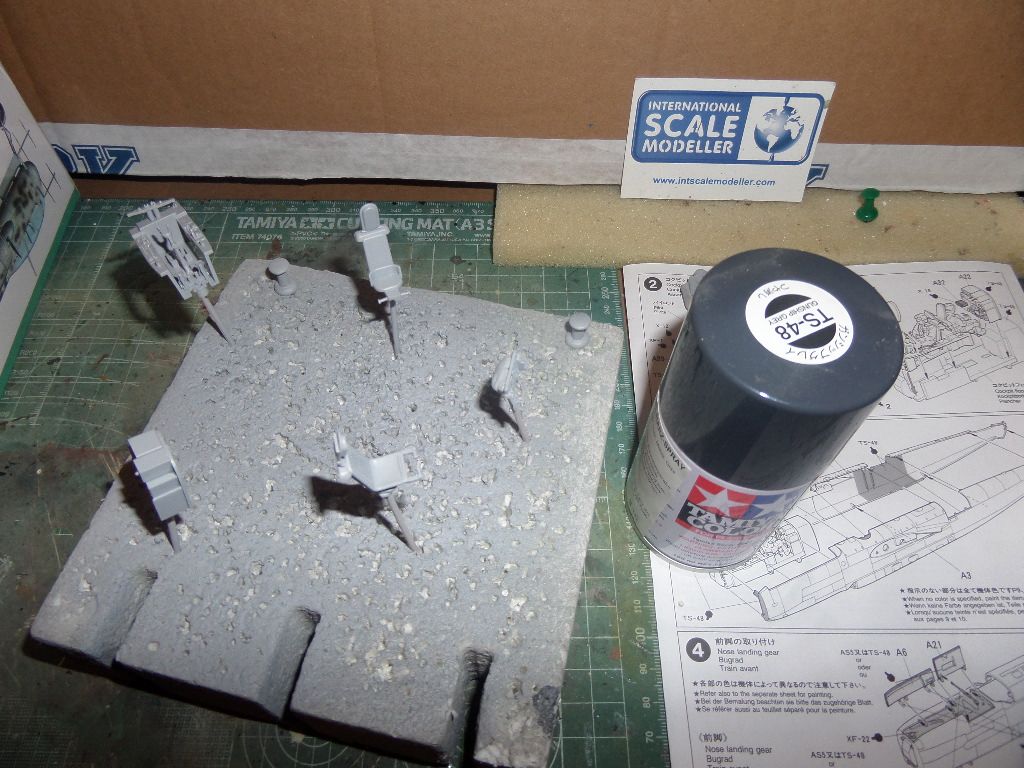
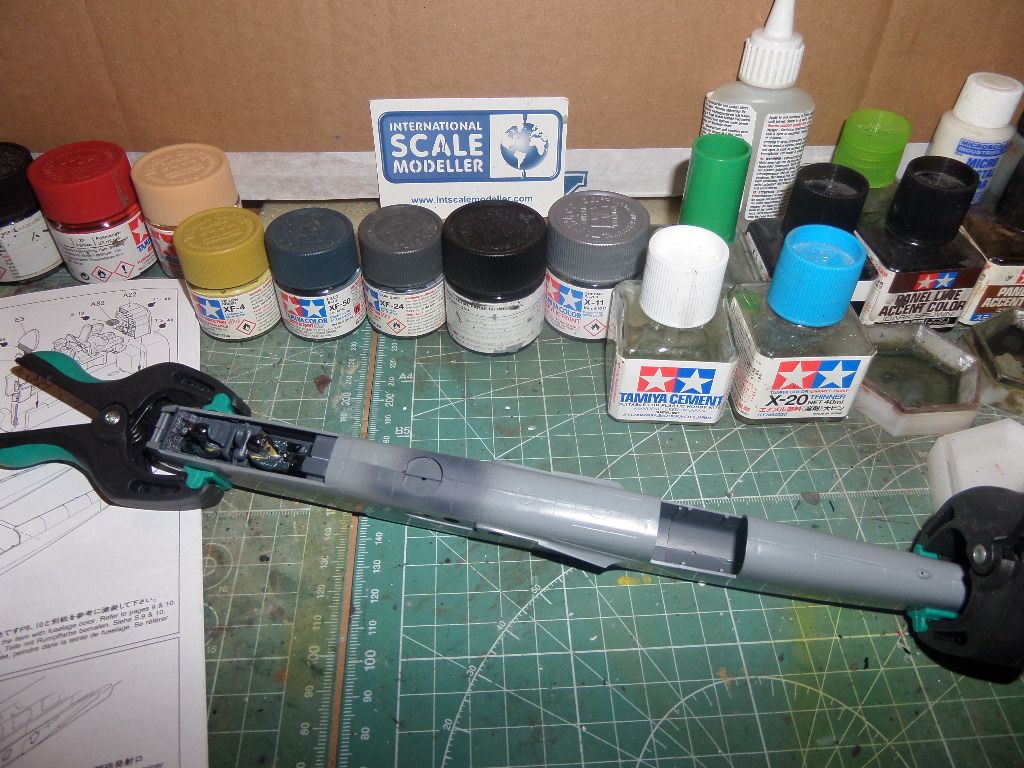
Some stuff ready to be painted , I will prime this , not usual to me to prime the cockpits , I only paint , this time I decided to paint as the main colour will be some Tamiya Spray TS-48 Gunship Grey

Primed with some Tamiya Spray Primer
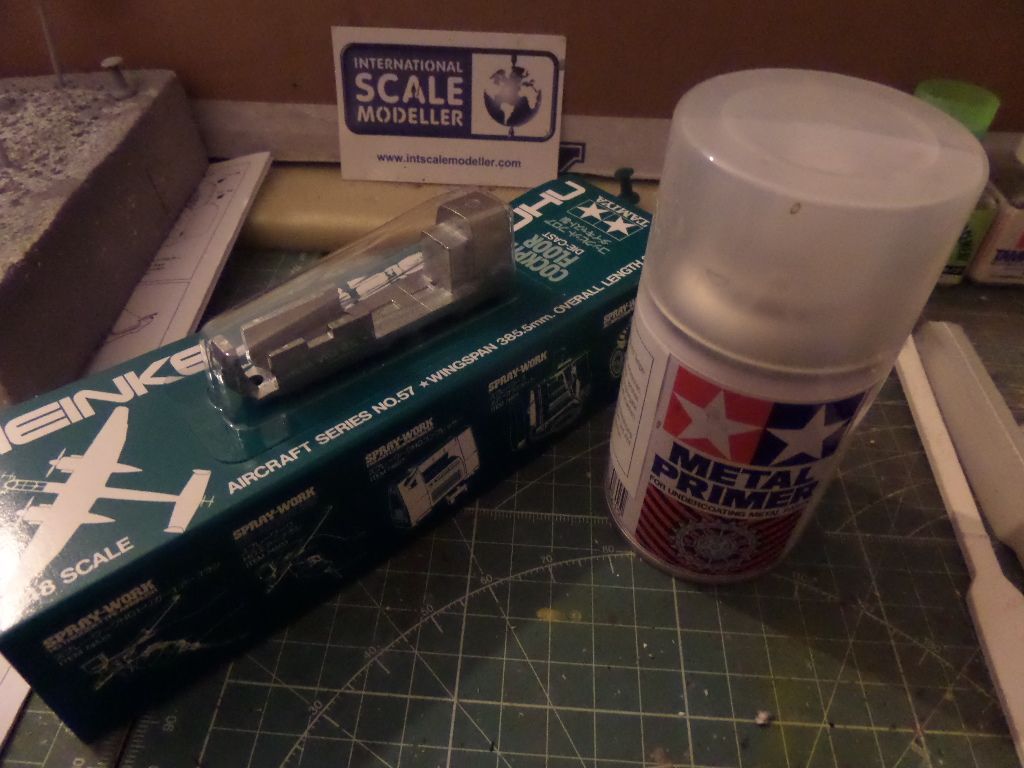
The pice of metal to be used as the cockpit structure , also it is a weight to the nose of the plane , being a carachteristic plane , this will prevent that he will lift off the ground as the tail structure is not in the ground
For this will use some metal Primer from Tamiya , and then paint with the TS-48
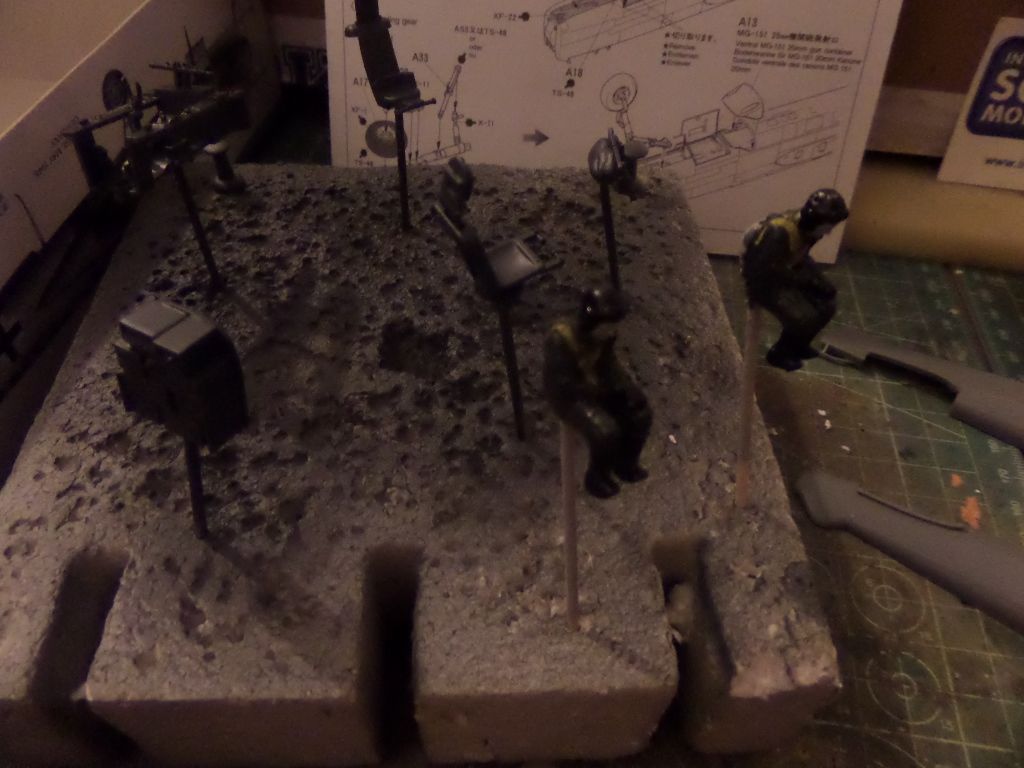
Already painted and pilots painted
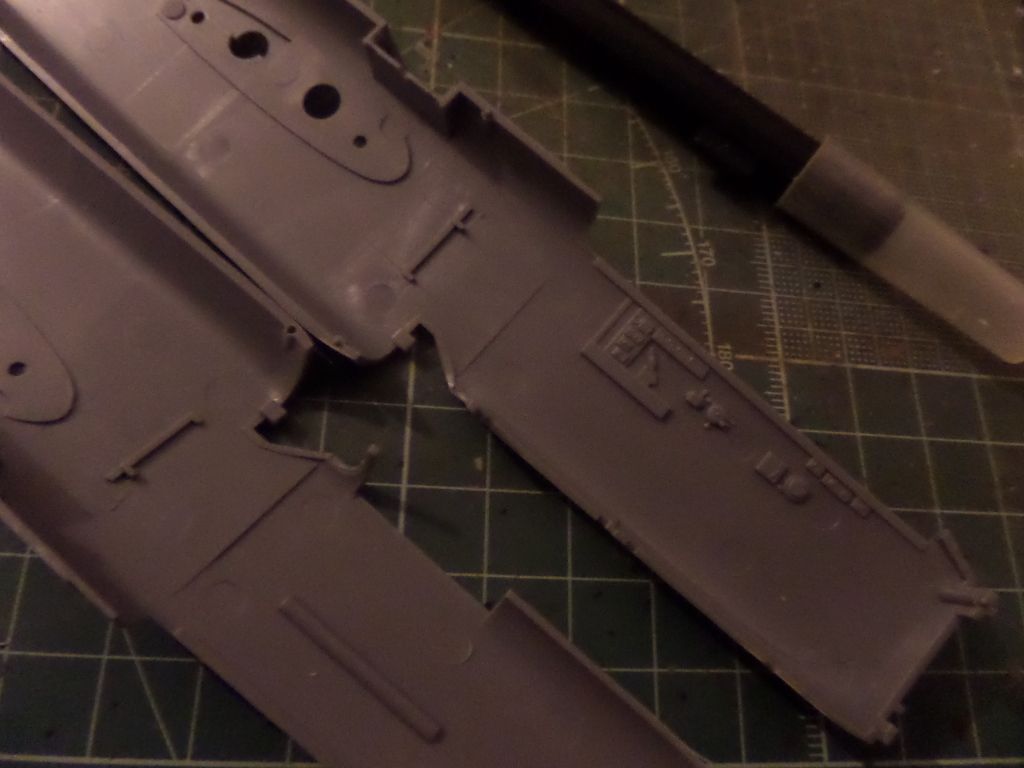
The fuselage halves , also will be painted in some interior
The shadow areas to be painted
Some ejection mould marks
The cockpit parts ready to assemble it
First decals in instrument panels
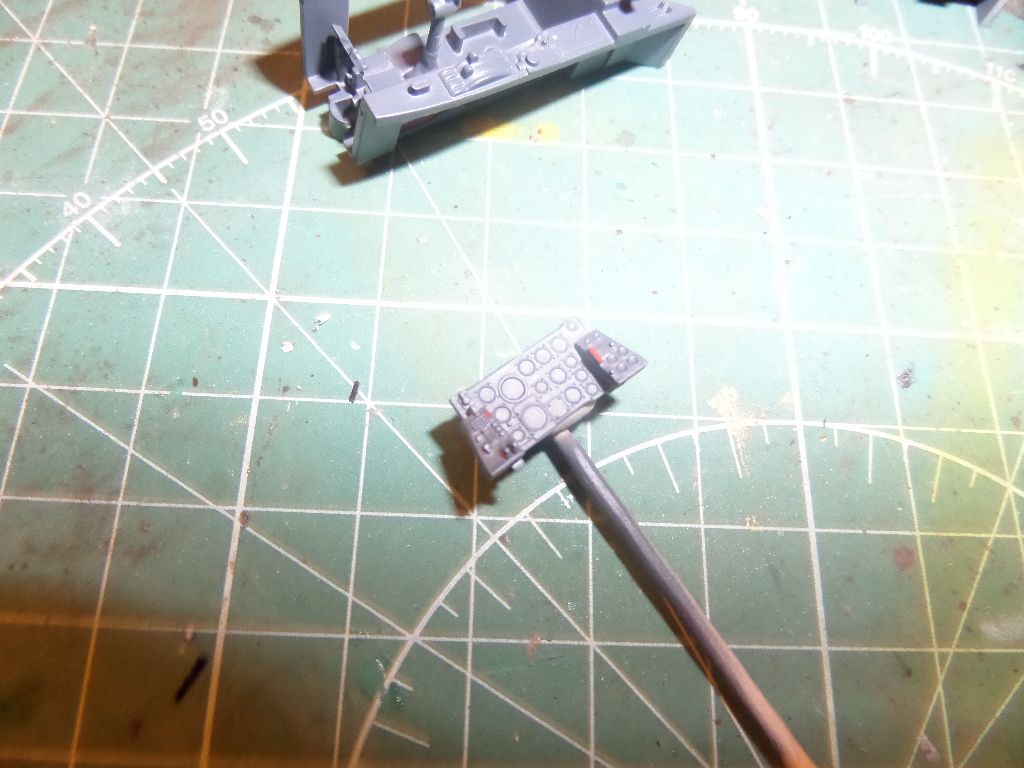
And voilá
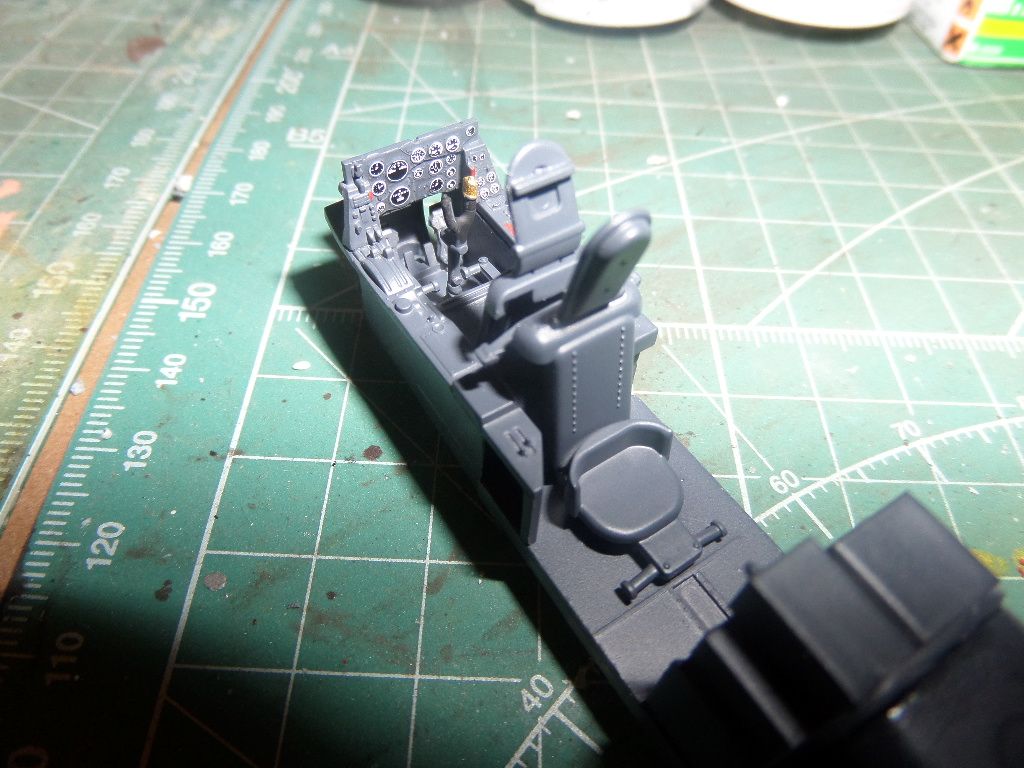
Still missing the observation googles in the radio/radar instrument
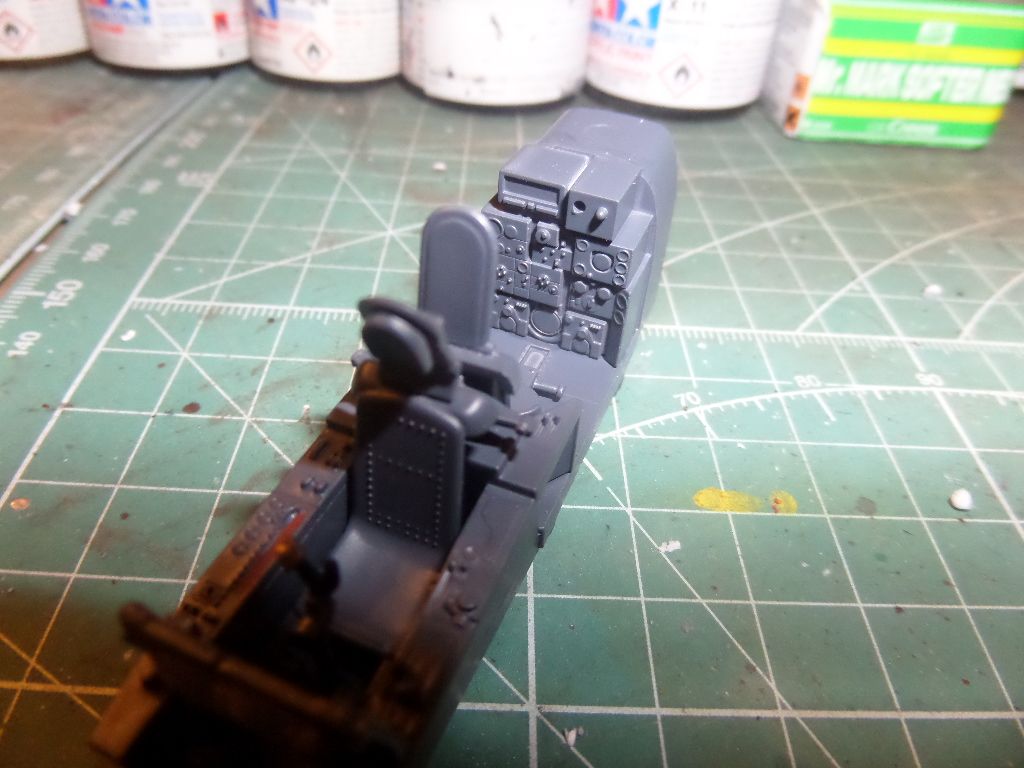
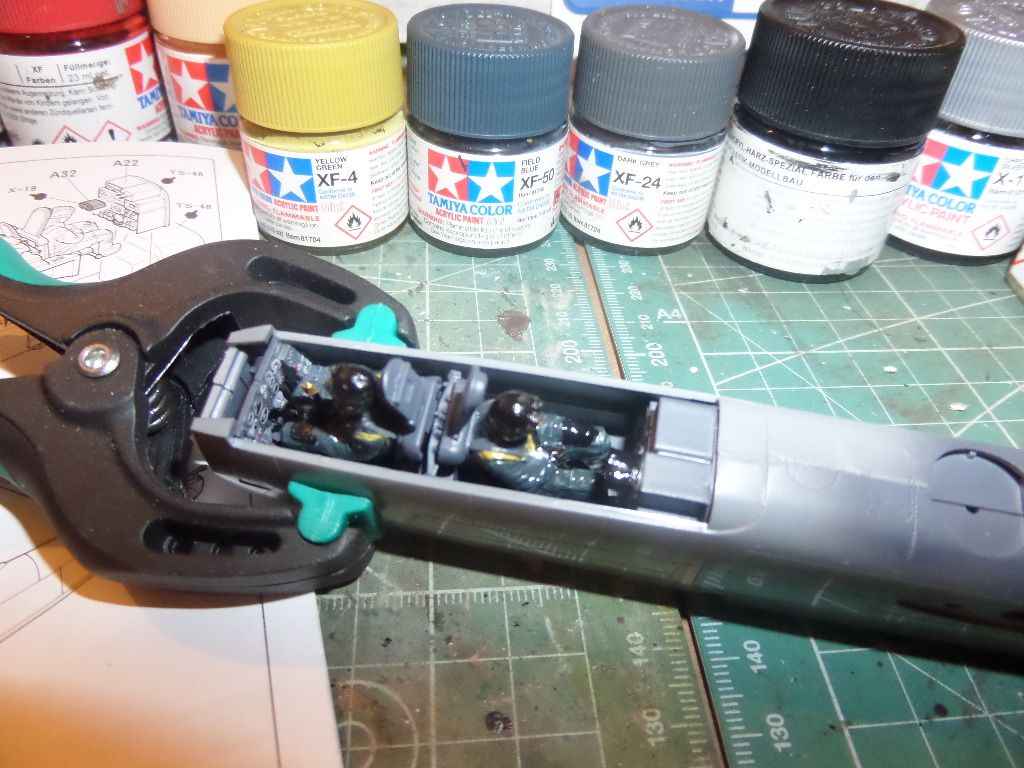
The crew in their places , it is pitty that both are in the same position , Tamiya could add some different detail here , but they are ok , and I think that will be nice after all closed , in my opinion , some PE instruments will add some great detail to the build , not in this GB however
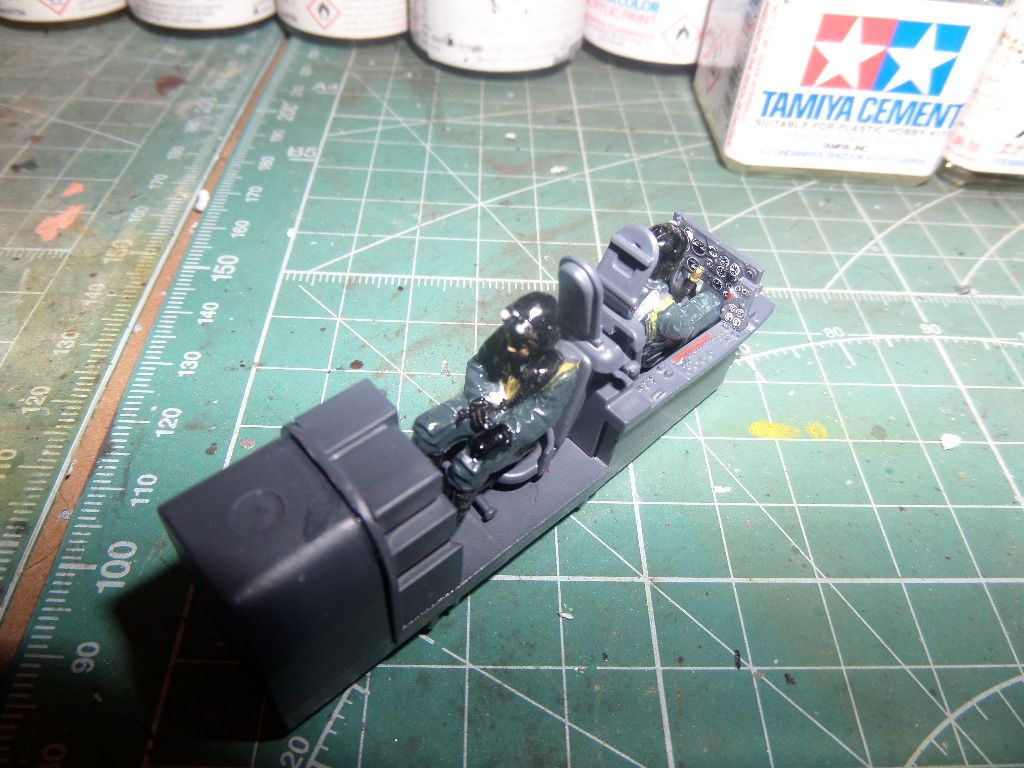
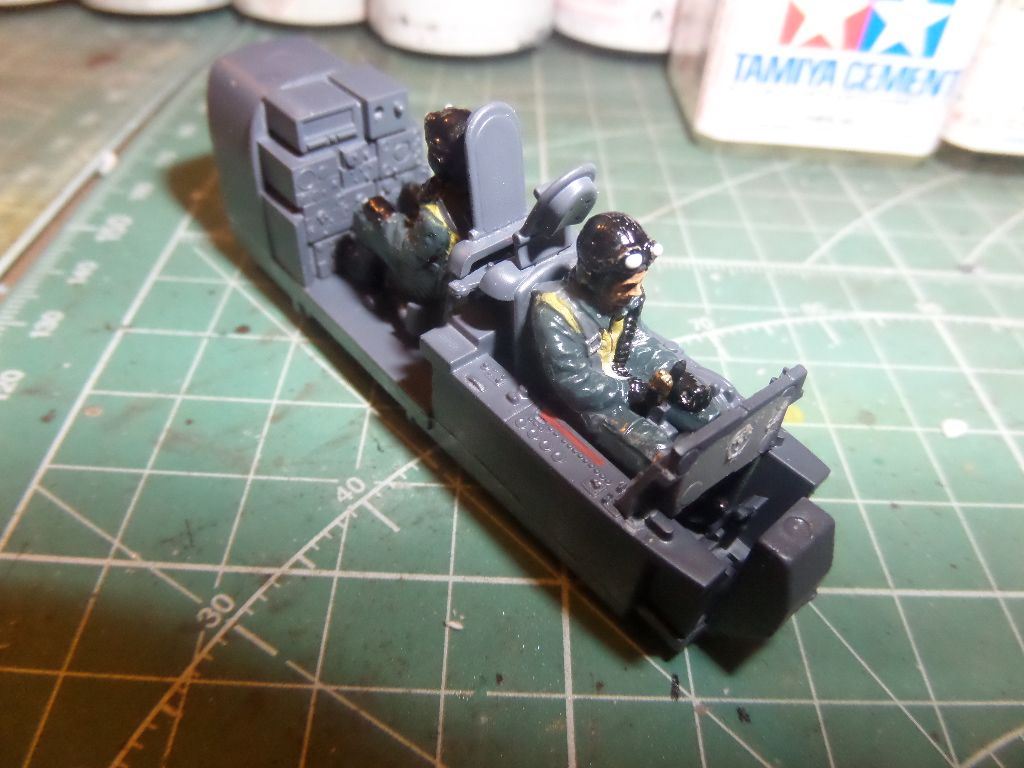
I put some Microscale Krystal Clear in their googles , it was an idea to see the end effect and if can recreate the glass
Now to add the cockpit to the fuselage , but still is drying , so tomorrow will be the next step !
Oh for gluing the plastic to the metal used some CA glue , even the plastic fitted precisely on the metal structure some glue was needed , the instructions lack this information , and that is unusual in tamiya , but seems that it also indicates that this kit has some age now !


And he cockpit to the fuselage halves

The pilots are not that good but decided to use them , not often we get the pilot figures and in this case I will use them

Some very nice detail of the kit , here some detial on the radio/radar panel of the navigator

Cockpit

Fuselage , and it seems a very nice way to fix the wings ...will see as this is always a headache

The ventral double cannon used on this planes ...'Schrage Musik'

New Blade for this build

And you never know ...with new lades and just in case some bandages

Some stuff ready to be painted , I will prime this , not usual to me to prime the cockpits , I only paint , this time I decided to paint as the main colour will be some Tamiya Spray TS-48 Gunship Grey

Primed with some Tamiya Spray Primer

The pice of metal to be used as the cockpit structure , also it is a weight to the nose of the plane , being a carachteristic plane , this will prevent that he will lift off the ground as the tail structure is not in the ground

For this will use some metal Primer from Tamiya , and then paint with the TS-48


Already painted and pilots painted

The fuselage halves , also will be painted in some interior

The shadow areas to be painted

Some ejection mould marks

The cockpit parts ready to assemble it


First decals in instrument panels

And voilá


Still missing the observation googles in the radio/radar instrument
The crew in their places , it is pitty that both are in the same position , Tamiya could add some different detail here , but they are ok , and I think that will be nice after all closed


I put some Microscale Krystal Clear in their googles , it was an idea to see the end effect and if can recreate the glass

Now to add the cockpit to the fuselage , but still is drying , so tomorrow will be the next step !
Oh for gluing the plastic to the metal used some CA glue , even the plastic fitted precisely on the metal structure some glue was needed , the instructions lack this information , and that is unusual in tamiya , but seems that it also indicates that this kit has some age now !
Cheers ,
António
On the Bench
a lot of stuff right now
António
On the Bench
a lot of stuff right now
-
DarksideHobbies
- Corporal
- Posts: 68
- Joined: Fri Sep 02, 2016 1:15 am
Re: 1/48 Heinkel HE 219A7 UHU
Looking good!
-
Cymru

- Sergeant Major of the Army

- Posts: 1216
- Joined: Wed Mar 16, 2016 4:32 pm
- Location: Wales
- Contact:

Re: 1/48 Heinkel HE 219A7 UHU
Coming along nicely
Hanger:
STASH
WIP:
Current Projects
Orange Air Virtual Airline
Orange Air - Flying the virtual skies since 1996
STASH
WIP:
Current Projects
Orange Air Virtual Airline
Orange Air - Flying the virtual skies since 1996
-
rodrant
- Chief Warrant Officer 2
- Posts: 1774
- Joined: Wed Feb 19, 2014 9:22 pm
- Location: Maia - Portugal
Re: 1/48 Heinkel HE 219A7 UHU
New update on the Owl Build
After the cockpit ready I fixed it in the fuselage, and te fit is very nice, no issues at all , still some clamps needed to help the glue do the work
I will still make a Matt coat on the cockpit ...all very shinny to me
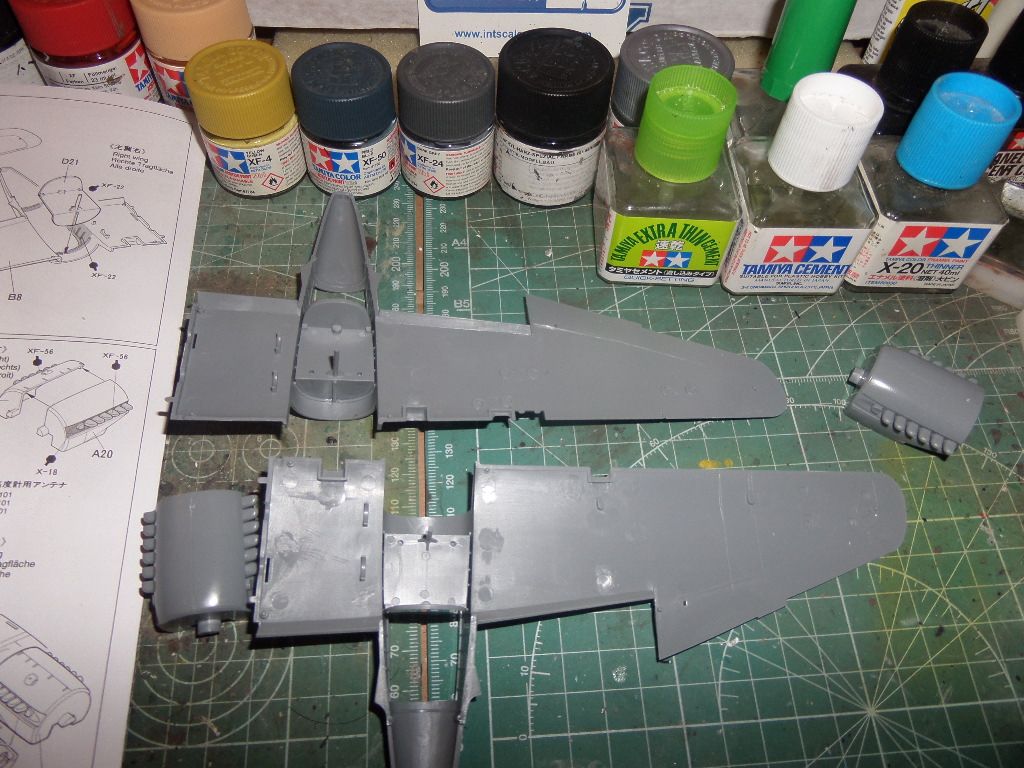
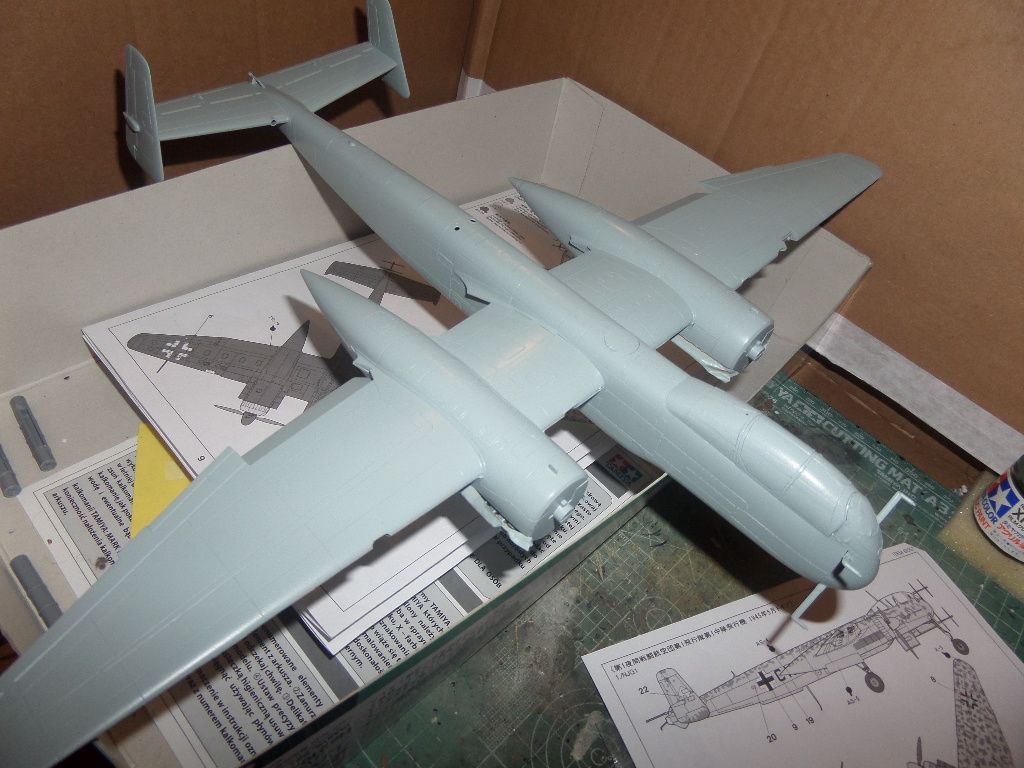
Wings and engines
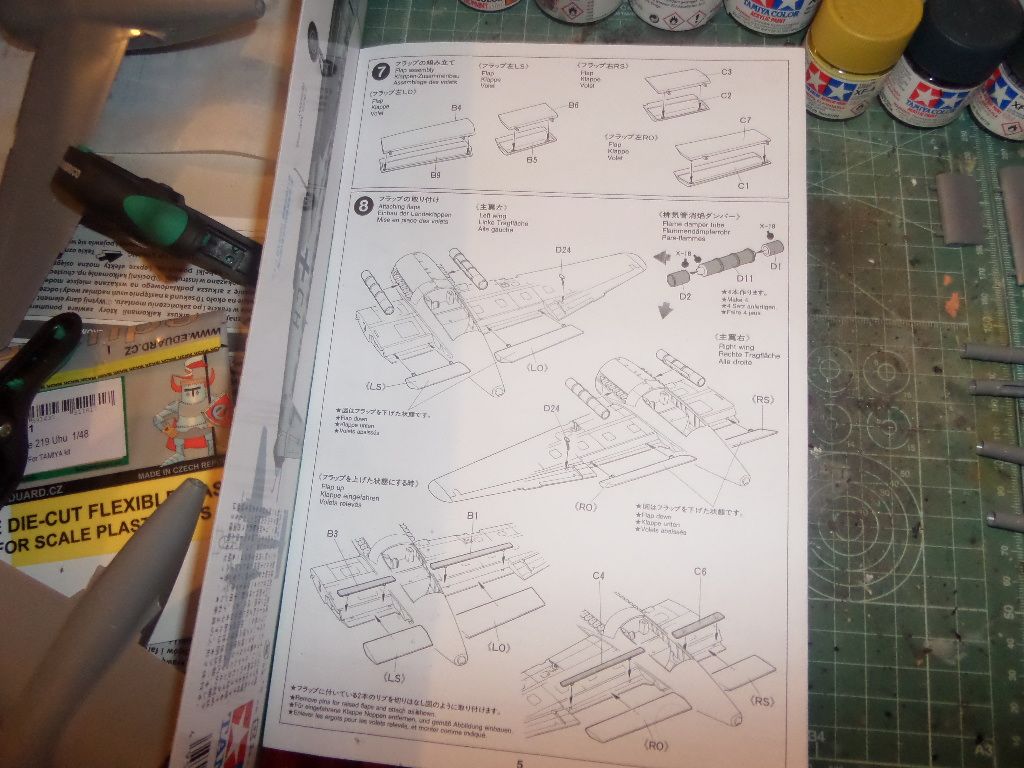
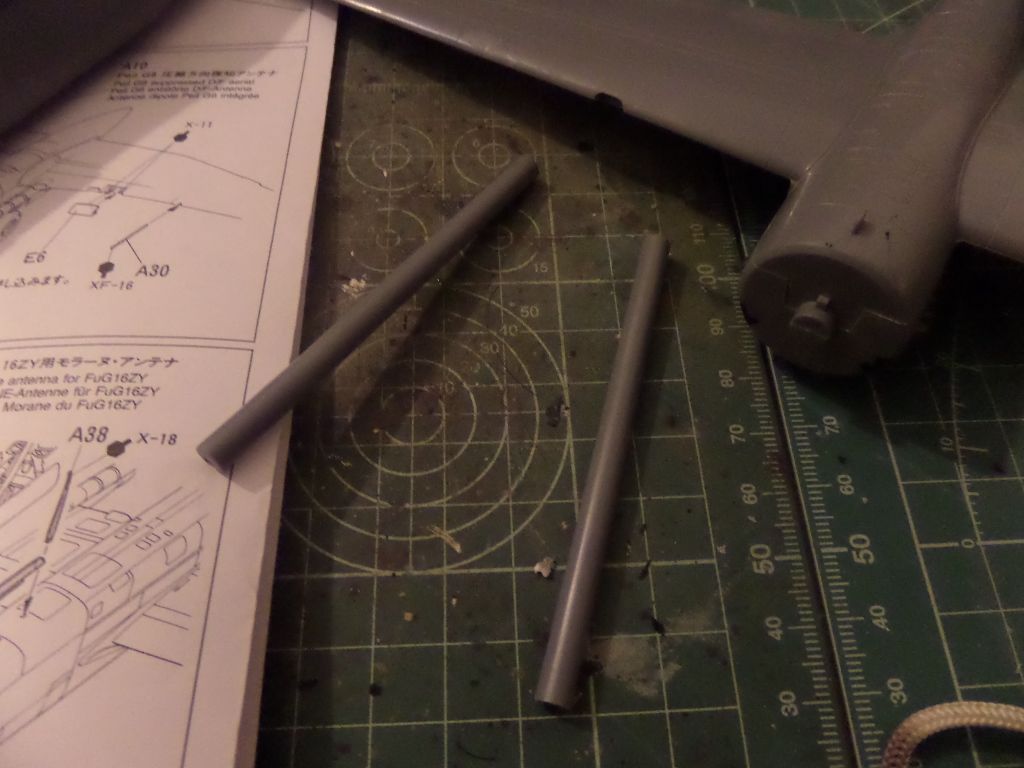
Flaps and engines flame dumpers tubes , think I will only add them in the end and paint them apart
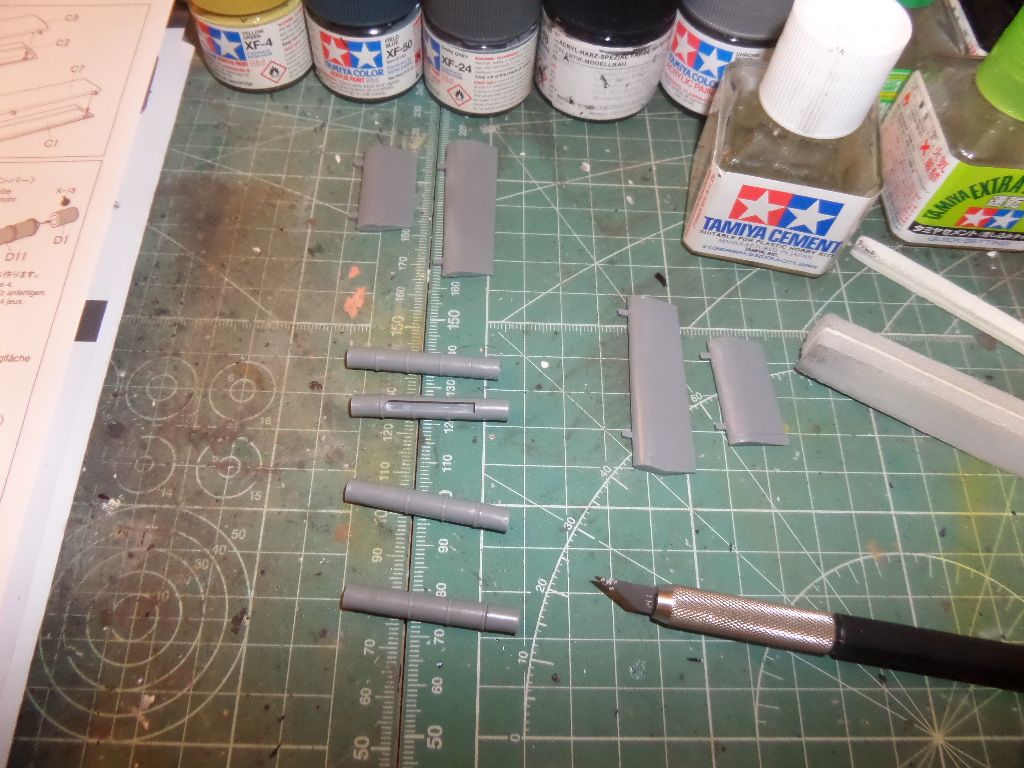
Two possible presentations , flaps up or down , will do it up
This plastic rods will be to fix the wings to the fuselage
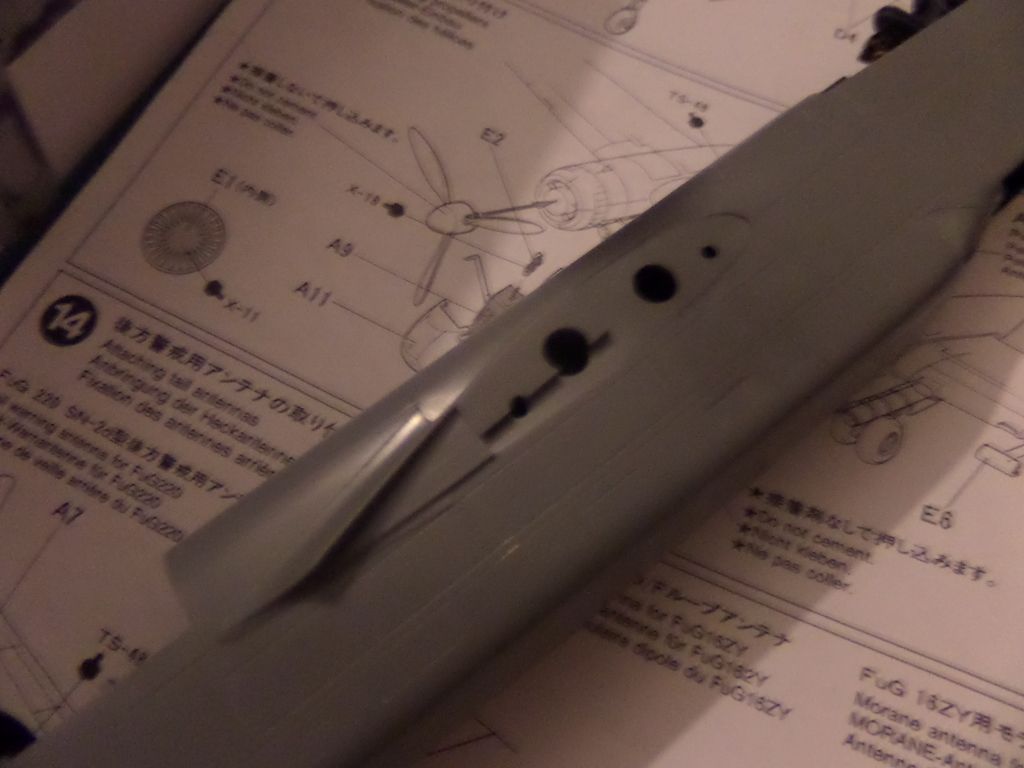
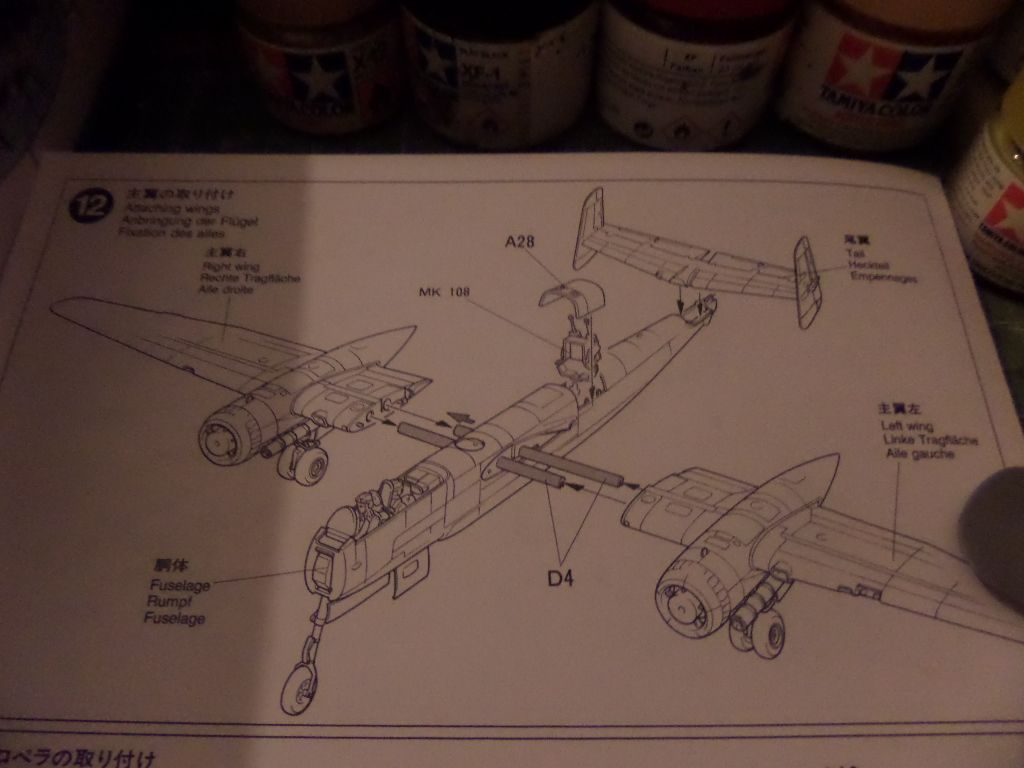
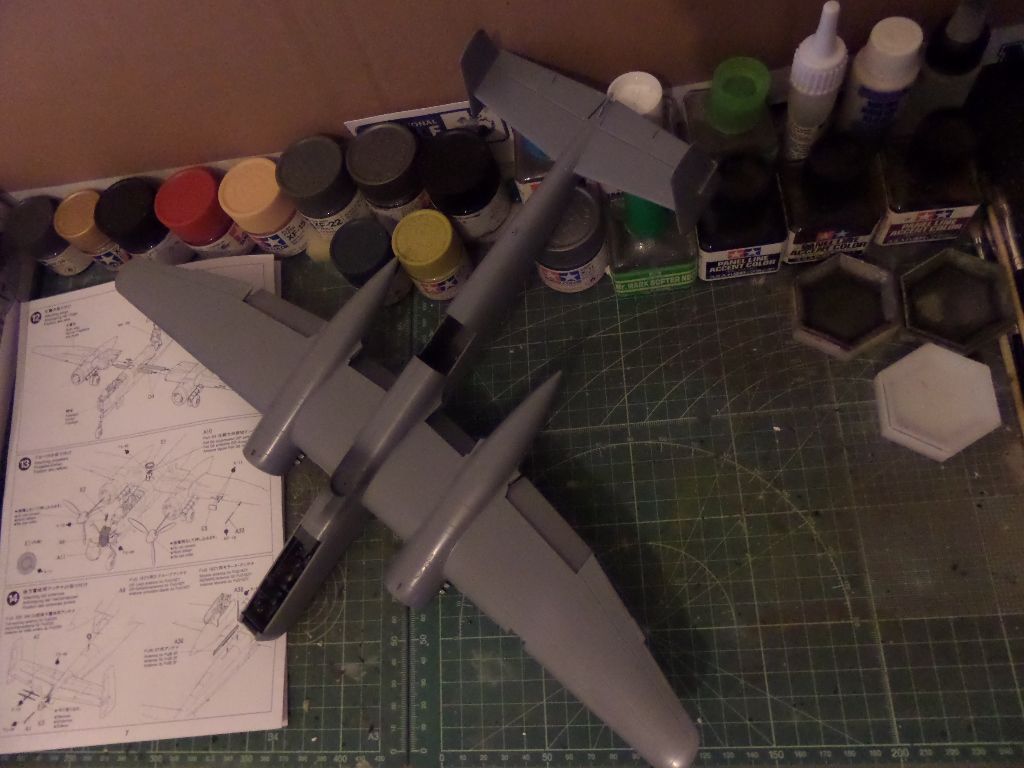
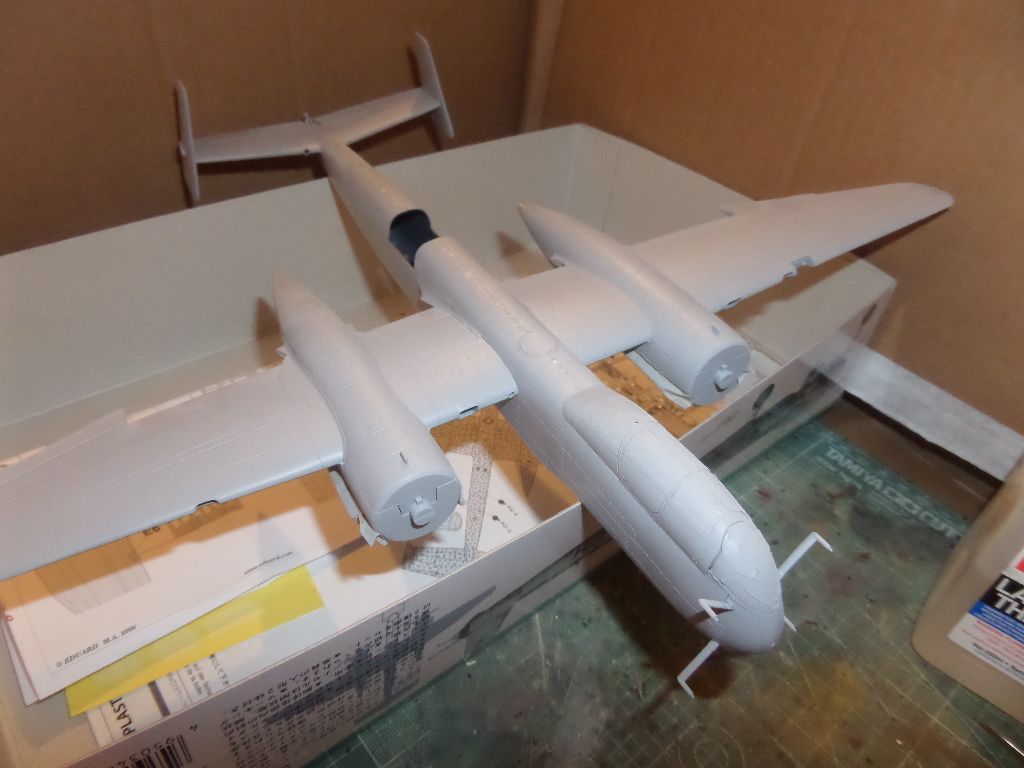
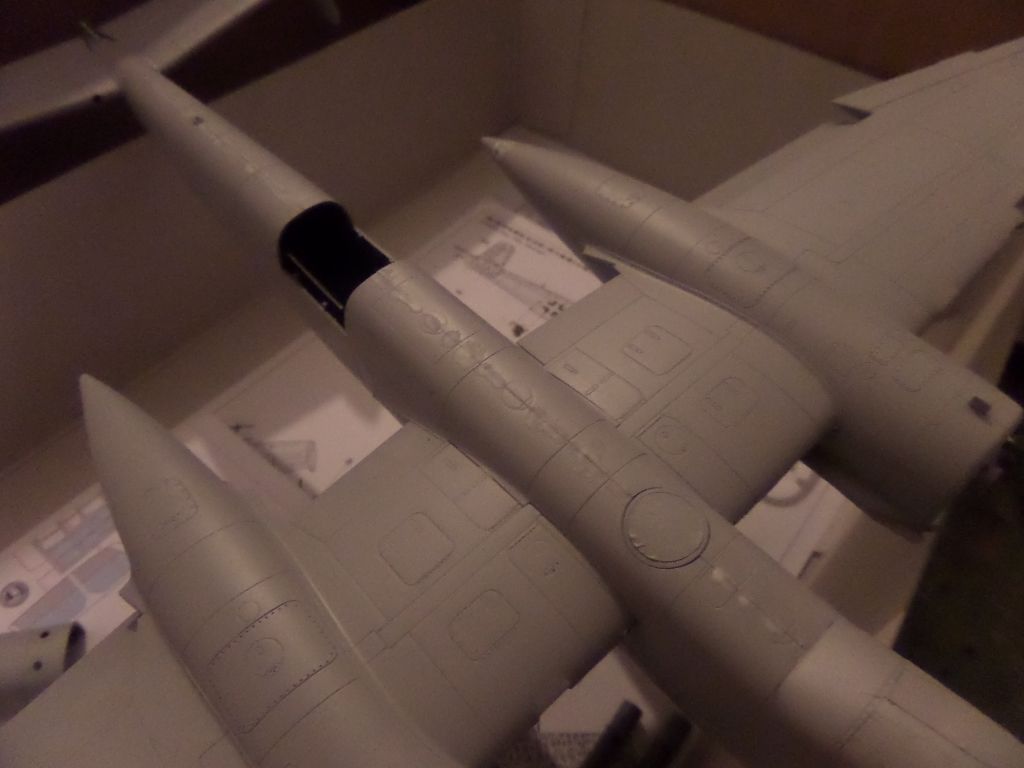
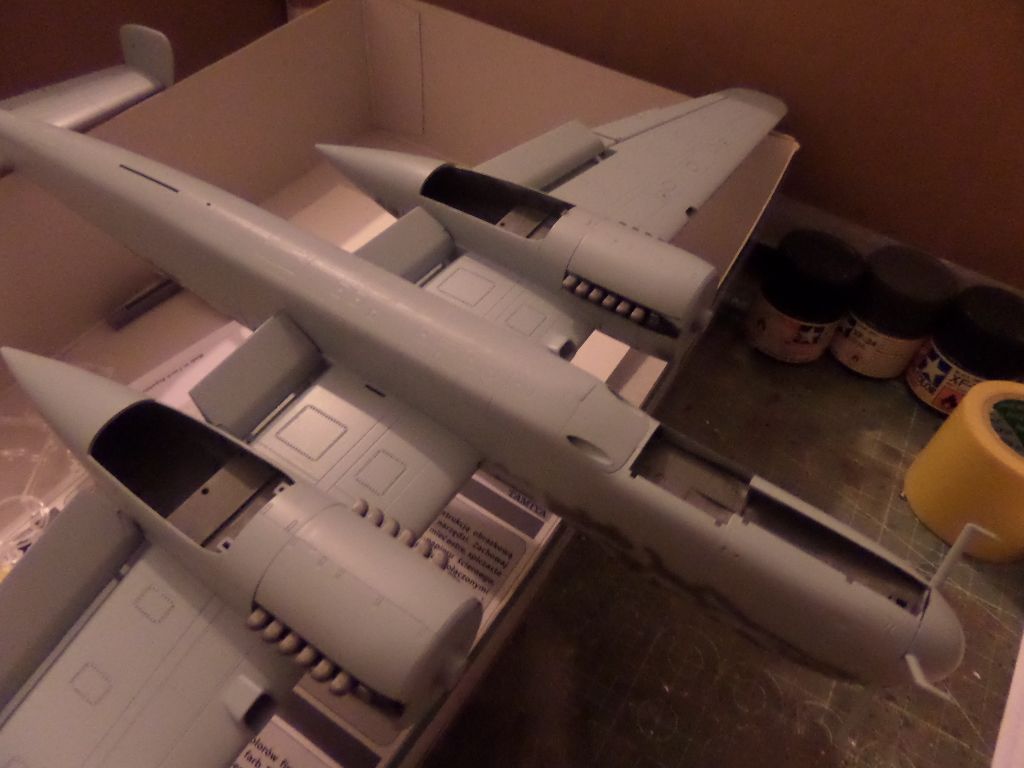
and placed , again a very nice fit ! the opening in the up fuselage is to place the dorsal 20 mm double cannon , named 'Shrage Musik' it was placed pointing up , the idea was to the UhU fly until bellow the bombers , at night and for example the LAncasters do not had no turret bellow , the bombers will be hit from bellow when less expected, still som ecrews wiuld thought to have been hit by flak and not by a fighter ...this was used in some planes in WWI , also the Ju-88 C had in late war the same system , but also the Japanese used similar guns in the GEcko and the Shitei II Kai .
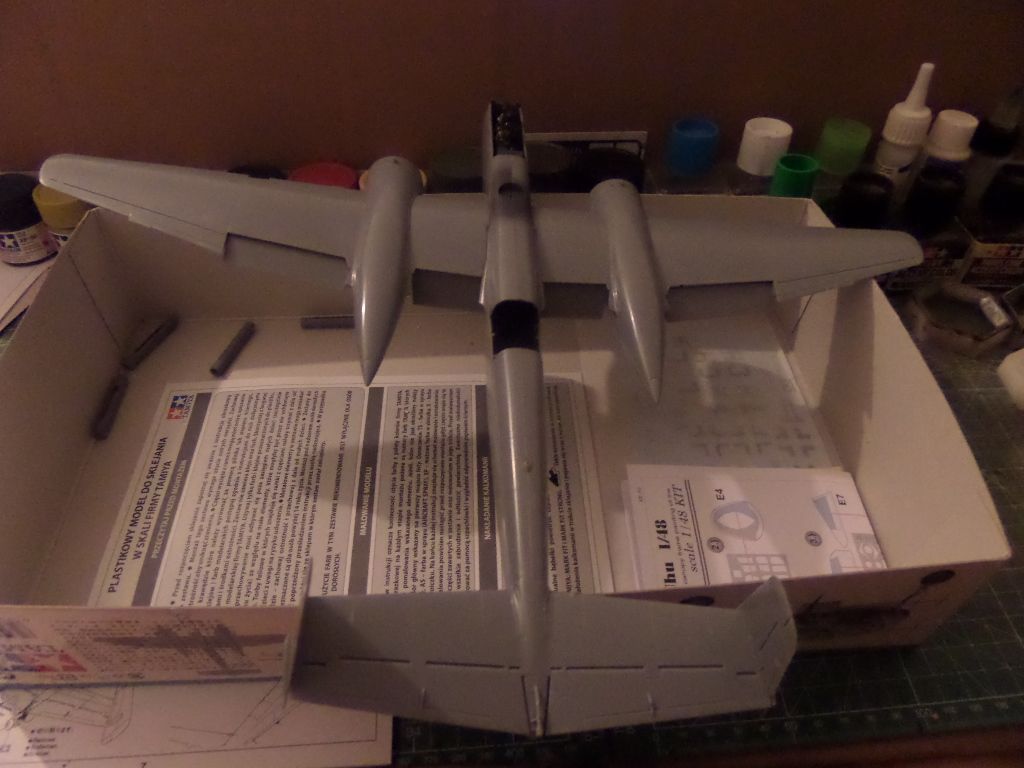
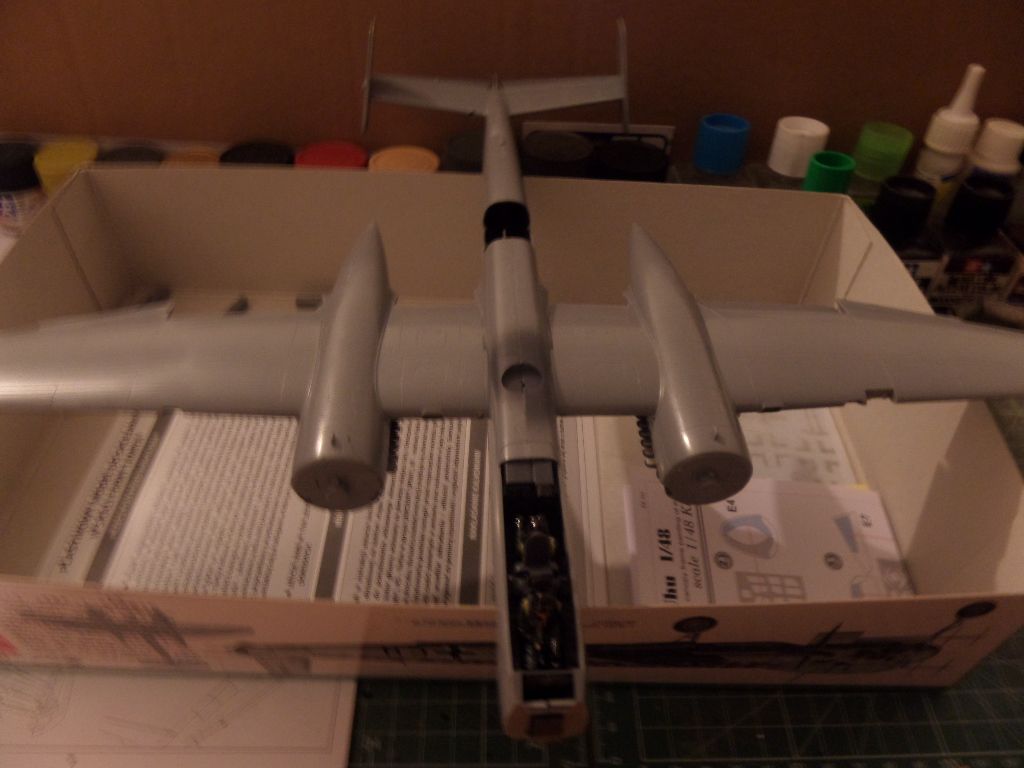
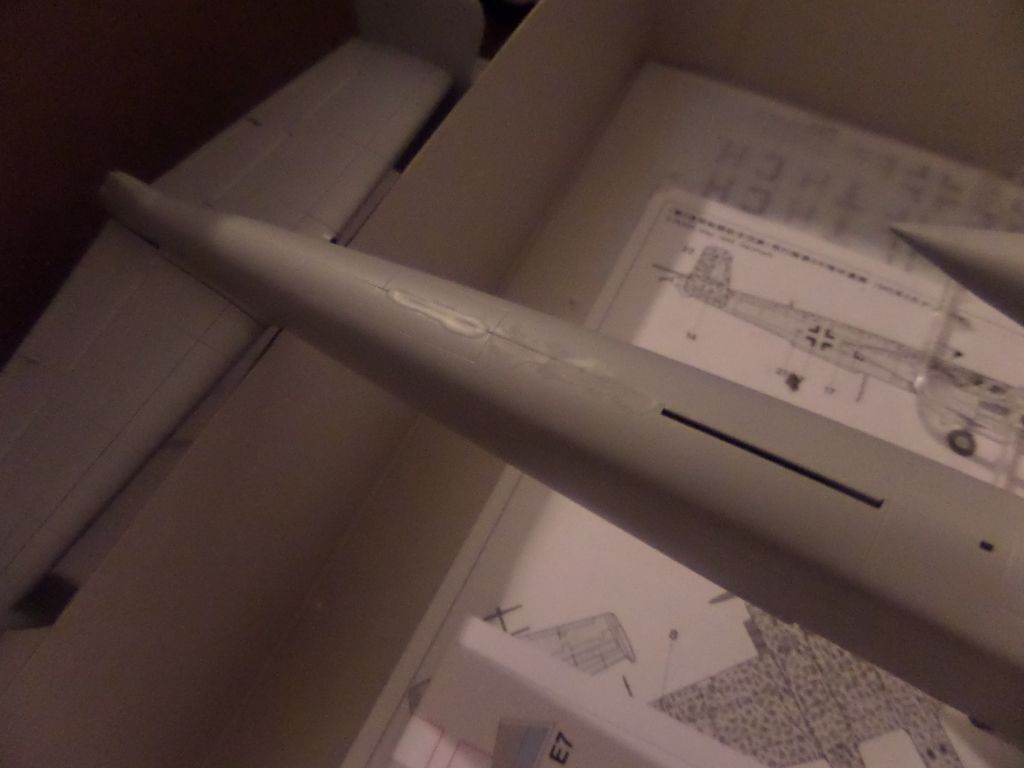
It is a Big Plane
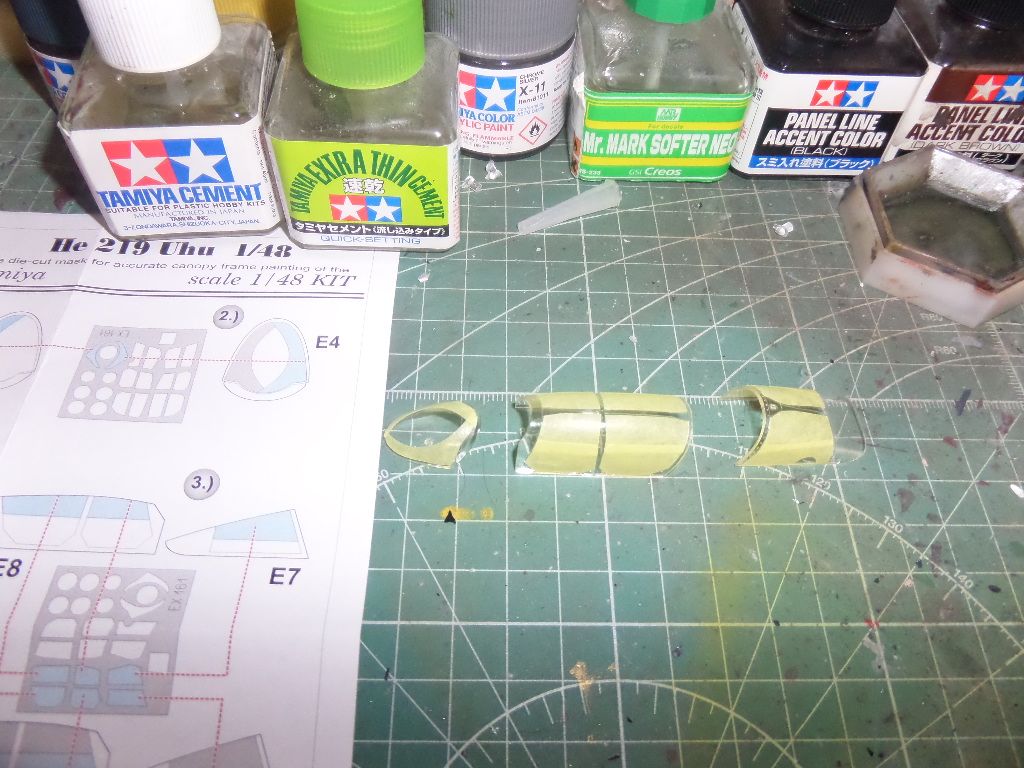
Masked the canopy using Eduard MAsks not the most perfect fit , must say !
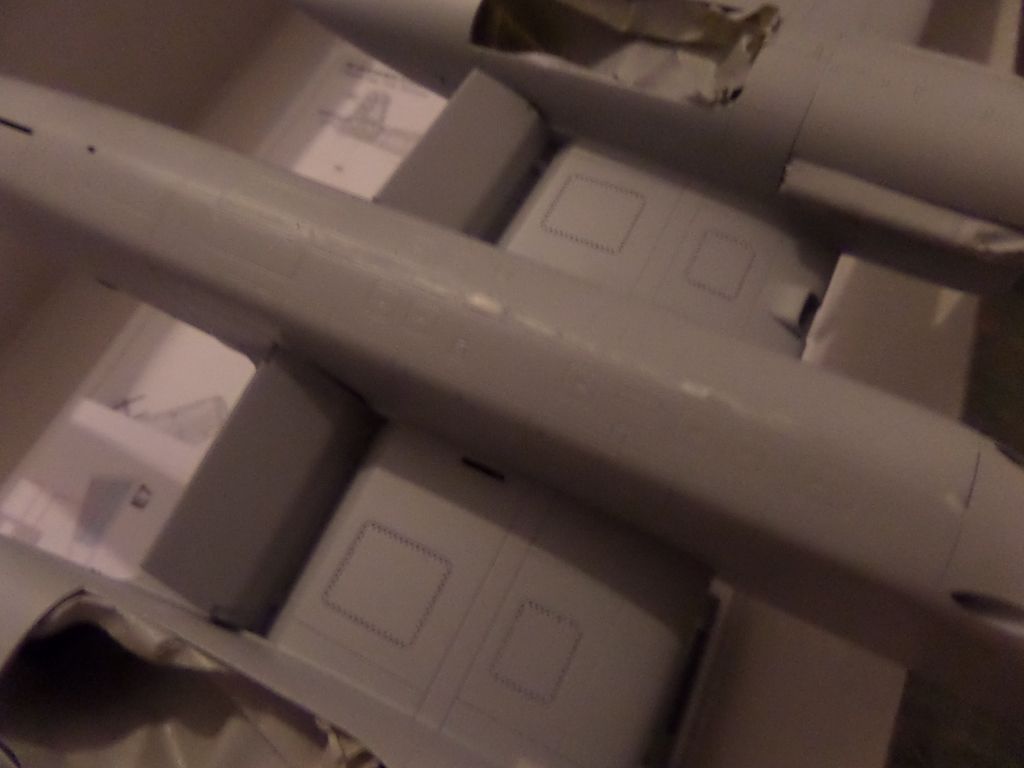
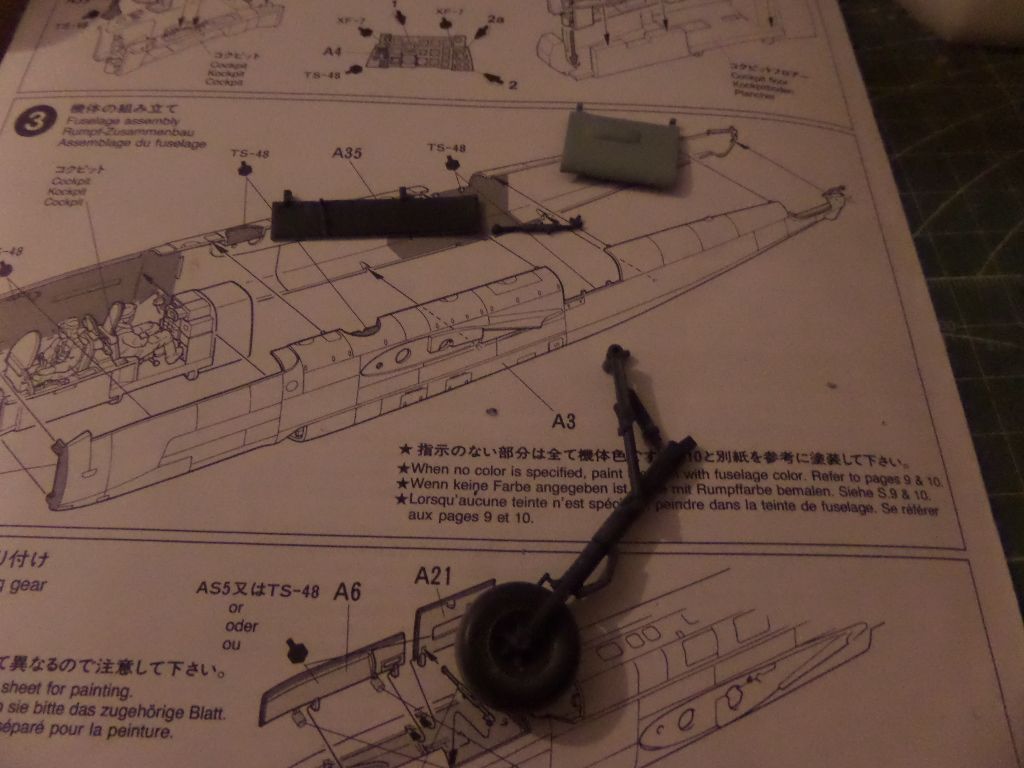
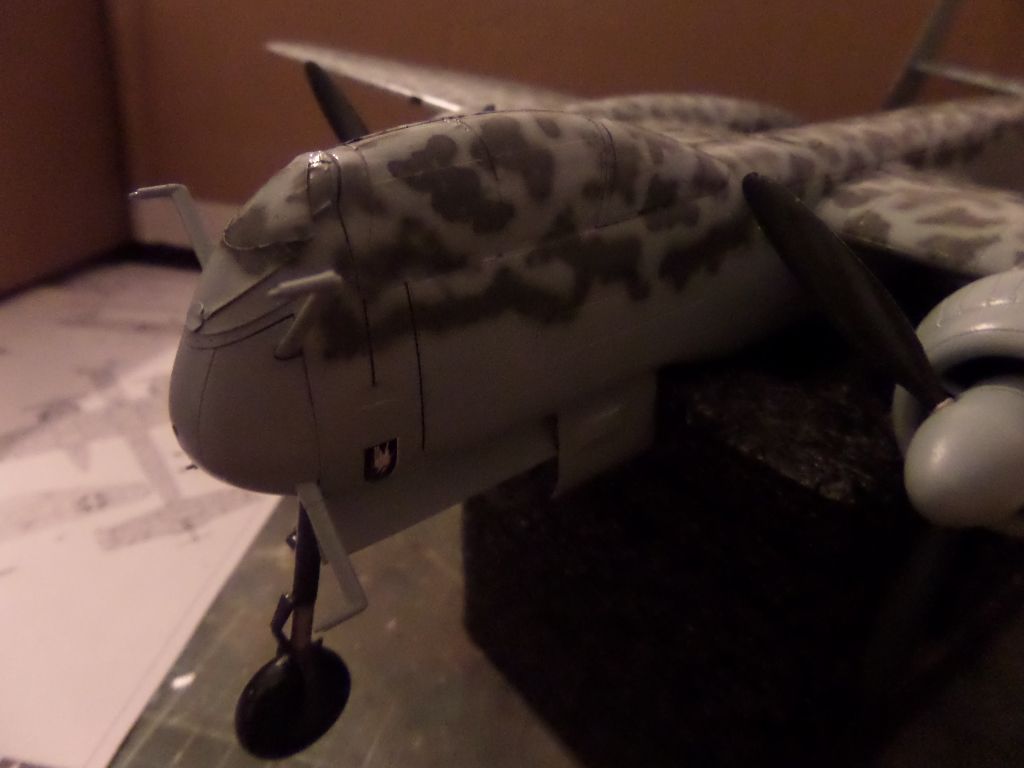
Some that instructions missed , the suport for the nose radar antennas should be painted with TS-48 8or XF-24 as it seems to me the same color ) , but the remaining panel should also be painted in my opinion

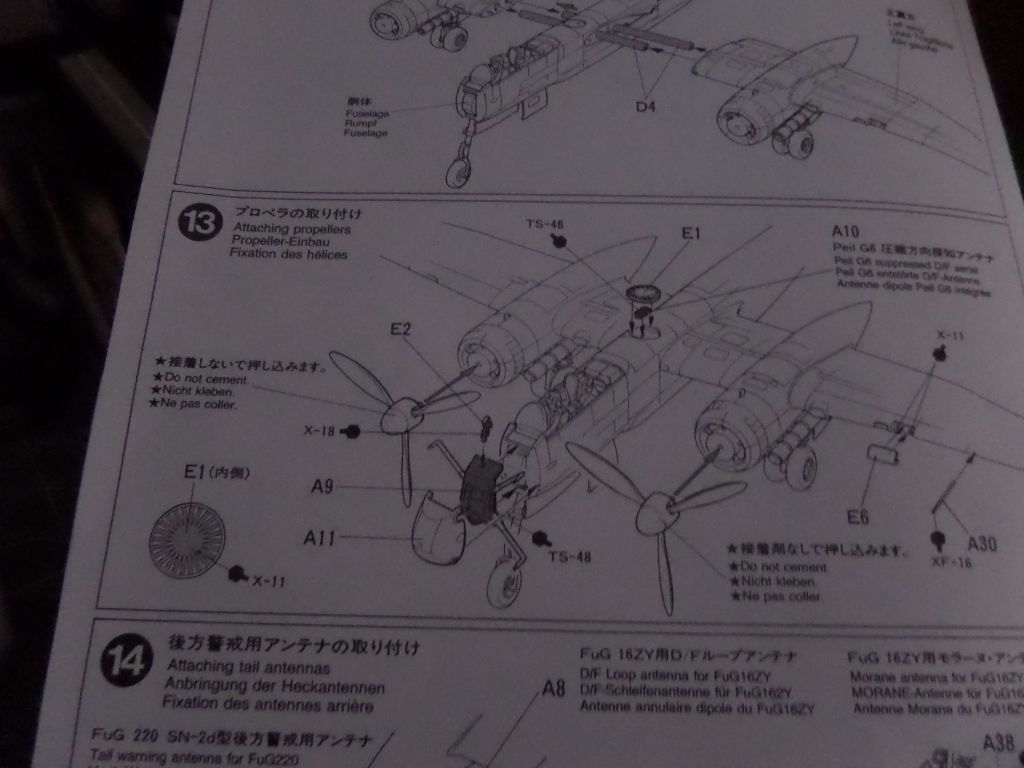
So I painted before I would place the canopy
Ventral cannon and support painted in sprue using brush ...
Canopy added , the front canopy has only side masks so and Eduard also didn0t mention that should use MAskol or some other liquidmask , but I use some of the spare masking paper to fill this in
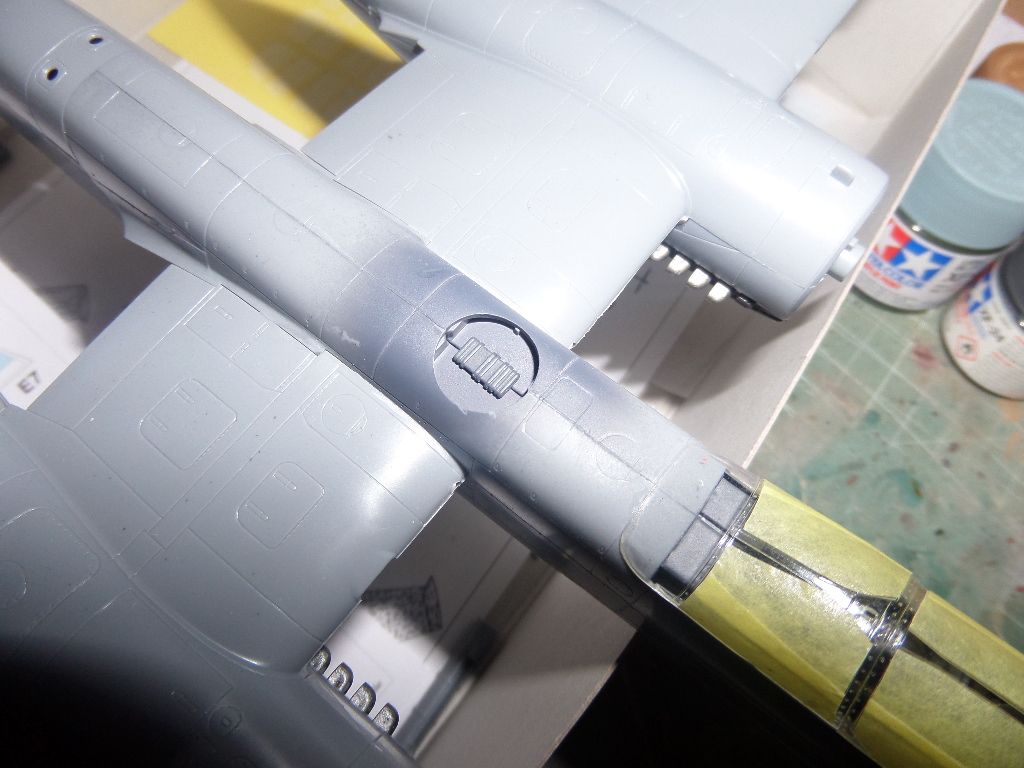
Before masking place the Peil G6 supressed D/F aerial
And masked all parts bellow that shouldn't be primed and painted with fuselage colour , will go for the all Sky blue with the Grey violet mottling , also a scheme from the NG/J1
and today will be Primed , and will need to check some places where to place the putty , specially in the ventral fuselage , the kit is from 1997 , and some sprues and the way as the kit was linked to them reveals that , in some more recent kits you will have less to sand in where the sprues are fixing the kit ...well but we must usesome putty and sanders , if not wasn't fun
After the cockpit ready I fixed it in the fuselage, and te fit is very nice, no issues at all , still some clamps needed to help the glue do the work

I will still make a Matt coat on the cockpit ...all very shinny to me

Wings and engines

Flaps and engines flame dumpers tubes , think I will only add them in the end and paint them apart

Two possible presentations , flaps up or down , will do it up

This plastic rods will be to fix the wings to the fuselage


and placed , again a very nice fit ! the opening in the up fuselage is to place the dorsal 20 mm double cannon , named 'Shrage Musik' it was placed pointing up , the idea was to the UhU fly until bellow the bombers , at night and for example the LAncasters do not had no turret bellow , the bombers will be hit from bellow when less expected, still som ecrews wiuld thought to have been hit by flak and not by a fighter ...this was used in some planes in WWI , also the Ju-88 C had in late war the same system , but also the Japanese used similar guns in the GEcko and the Shitei II Kai .


It is a Big Plane

Masked the canopy using Eduard MAsks not the most perfect fit , must say !

Some that instructions missed , the suport for the nose radar antennas should be painted with TS-48 8or XF-24 as it seems to me the same color ) , but the remaining panel should also be painted in my opinion


So I painted before I would place the canopy

Ventral cannon and support painted in sprue using brush ...

Canopy added , the front canopy has only side masks so and Eduard also didn0t mention that should use MAskol or some other liquidmask , but I use some of the spare masking paper to fill this in

Before masking place the Peil G6 supressed D/F aerial


And masked all parts bellow that shouldn't be primed and painted with fuselage colour , will go for the all Sky blue with the Grey violet mottling , also a scheme from the NG/J1

and today will be Primed , and will need to check some places where to place the putty , specially in the ventral fuselage , the kit is from 1997 , and some sprues and the way as the kit was linked to them reveals that , in some more recent kits you will have less to sand in where the sprues are fixing the kit ...well but we must usesome putty and sanders , if not wasn't fun
Cheers ,
António
On the Bench
a lot of stuff right now
António
On the Bench
a lot of stuff right now

Re: 1/48 Heinkel HE 219A7 UHU
Looks great. And glad you're thinking safety first with those plasters! Wish I was that prepared last time I sliced my finger open!
On the bench:
Revell 1/48 Eurofighter Typhoon 'Bronze Tiger'
Revell 1/32 Hawker Hunter
Revell 1/48 Eurofighter Typhoon 'Bronze Tiger'
Revell 1/32 Hawker Hunter
-
rodrant
- Chief Warrant Officer 2
- Posts: 1774
- Joined: Wed Feb 19, 2014 9:22 pm
- Location: Maia - Portugal
Re: 1/48 Heinkel HE 219A7 UHU
Ads24 wrote:Looks great. And glad you're thinking safety first with those plasters! Wish I was that prepared last time I sliced my finger open!
Really I was joking of course , but I also slice one or three times when I change the blades, seems inevitable, it like putting a new matt and spill tamiya glue on it
Cheers ,
António
On the Bench
a lot of stuff right now
António
On the Bench
a lot of stuff right now
-
rodrant
- Chief Warrant Officer 2
- Posts: 1774
- Joined: Wed Feb 19, 2014 9:22 pm
- Location: Maia - Portugal
Re: 1/48 Heinkel HE 219A7 UHU
Quick update , and painting the fuselage ...
First some putty must be placed , a lot for my mistakes
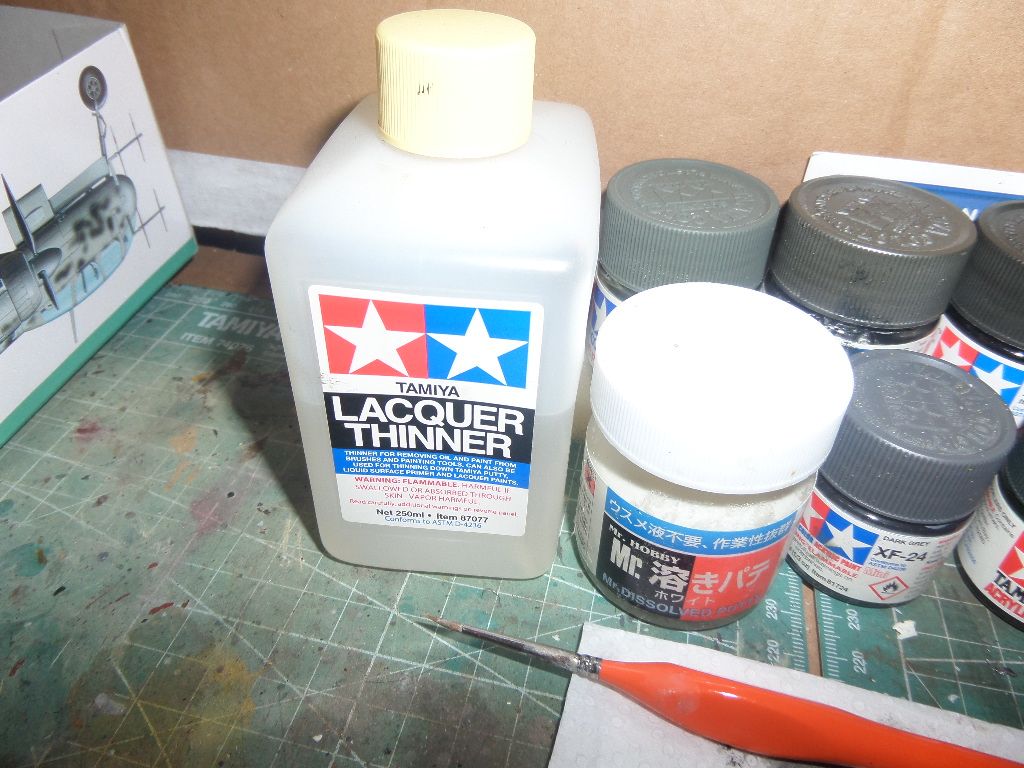
so tools , MrHobby liquid putty , some lacuer thinner and off we go ...
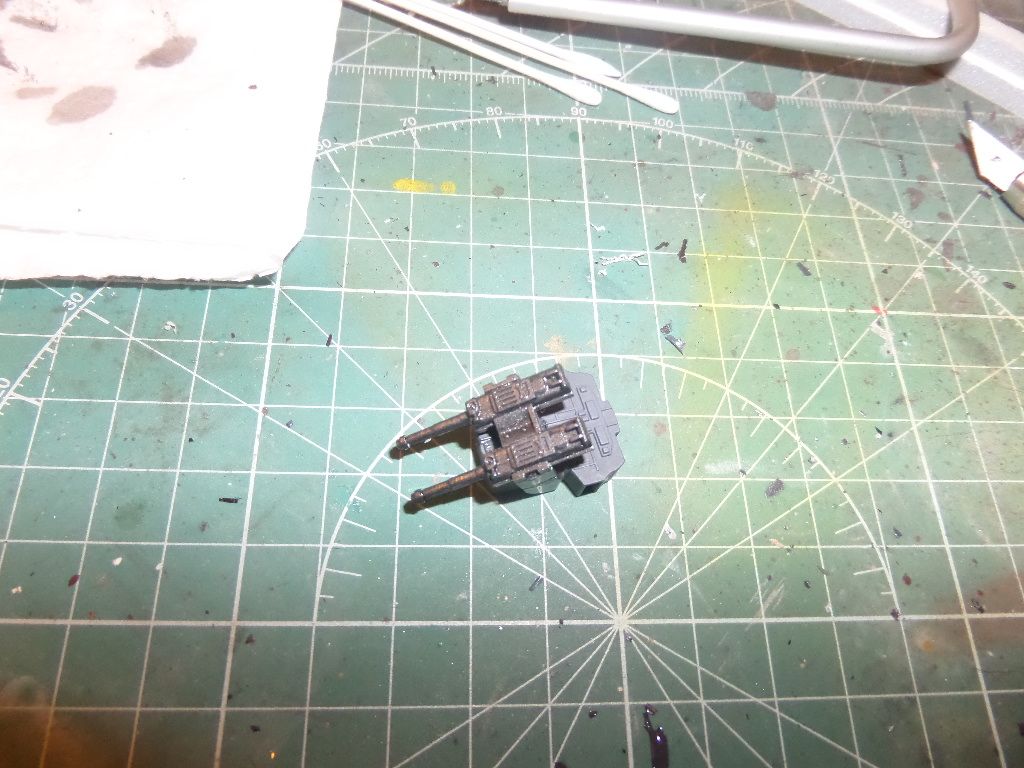
The ventral guns
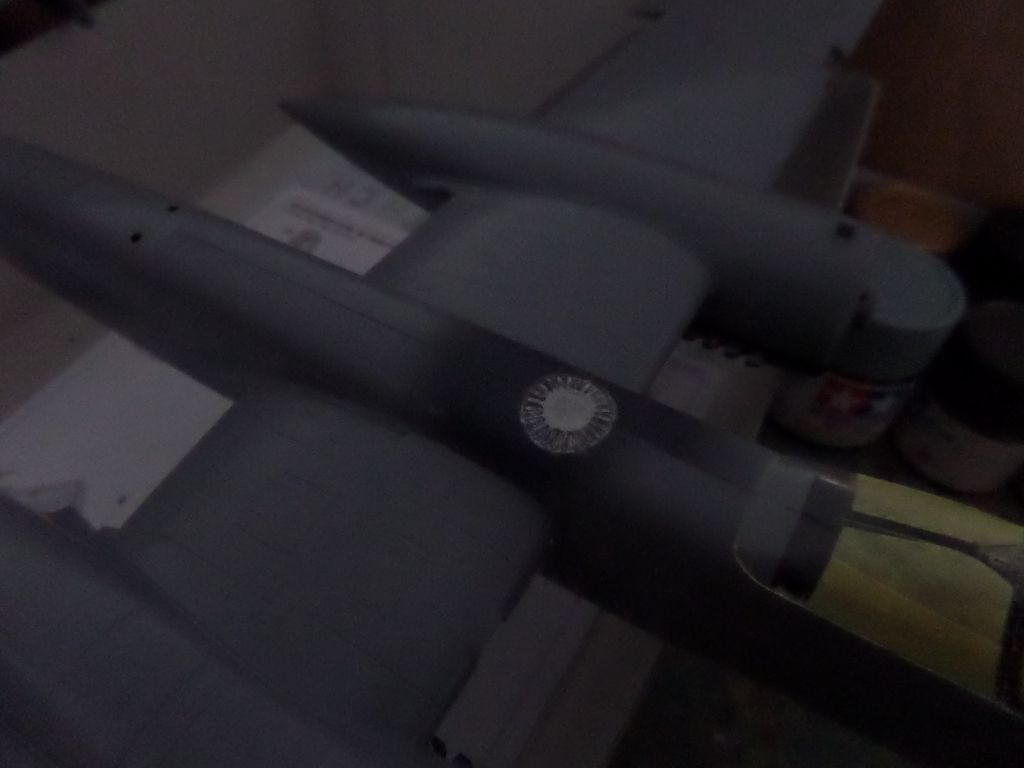
Mr Owl primed
on the dorsal on top , the way how the kit is done is almost impossible not to use putty and sanders ...and this plane has a lot of panels ...
on bottom also , again a lot of detial and panels
Tru blue , in this particular Tamiya AS-5 Spray Sky Blue
the choosen color scheme ...

And at first I thought in using this masks from Eduard ...

Tamiya advise to use Tamiya AS-4 Gray Violet (Luftwaffe) So I thought it would be easy doing the mottling with this :
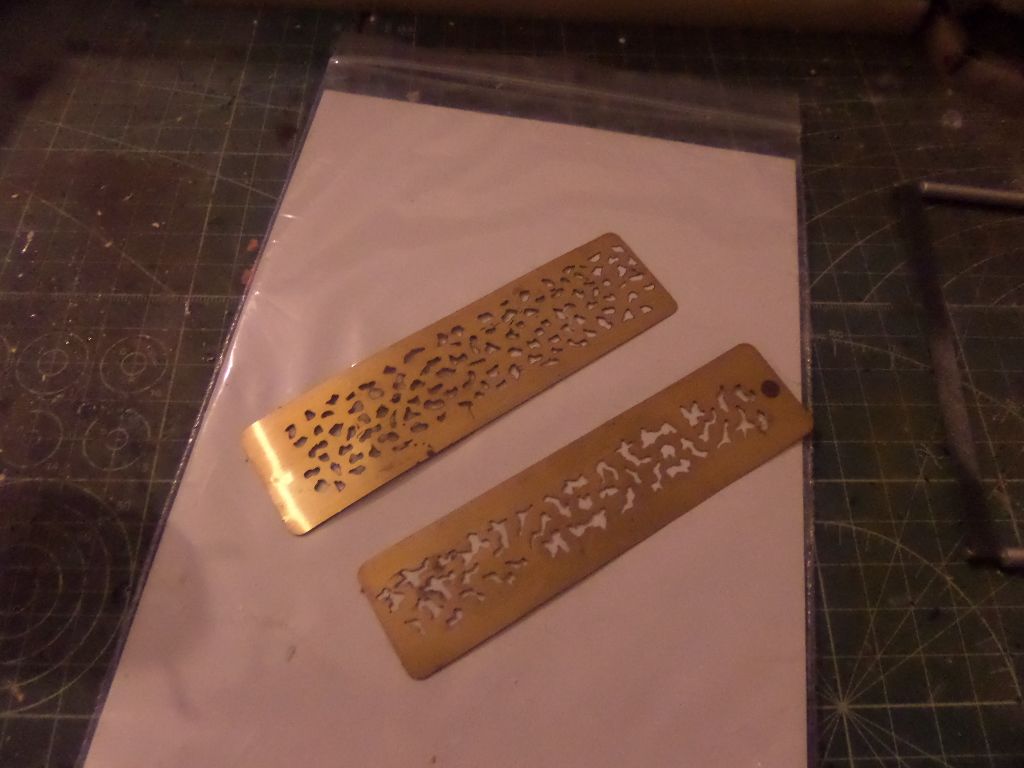
Hmmm
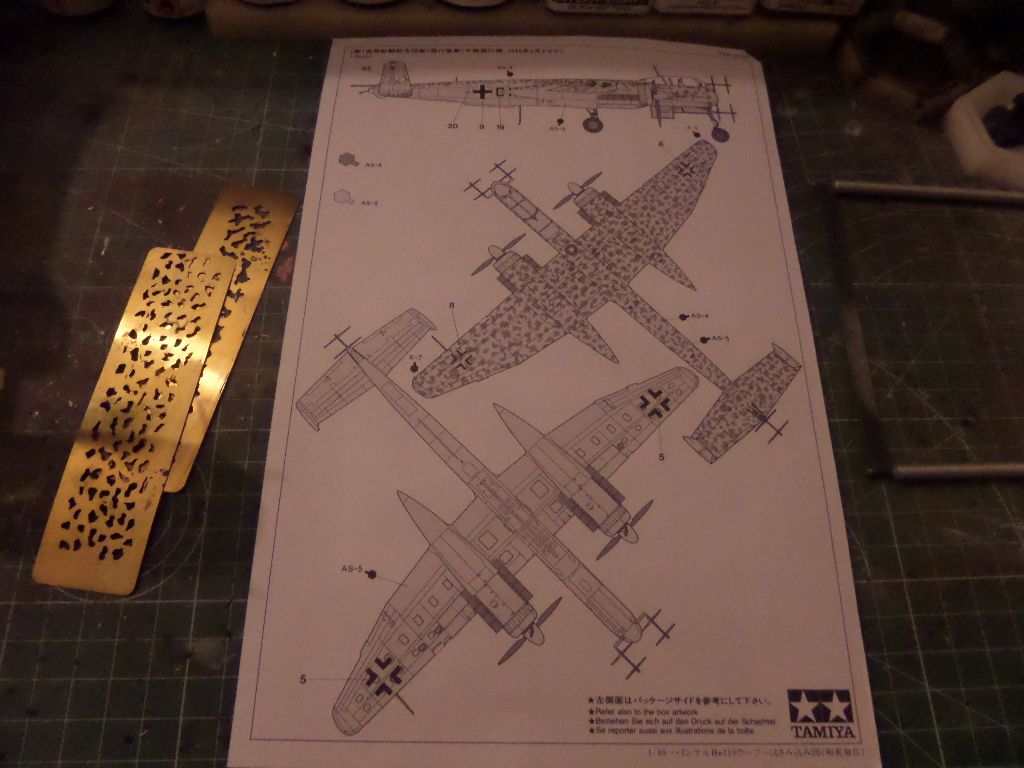
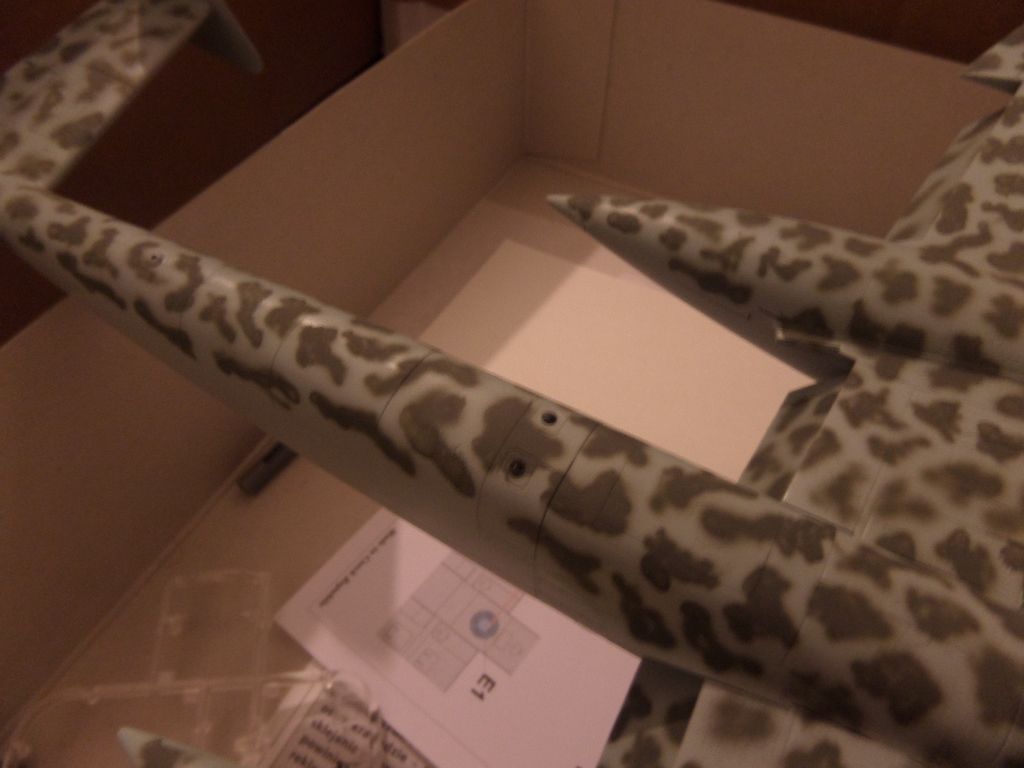
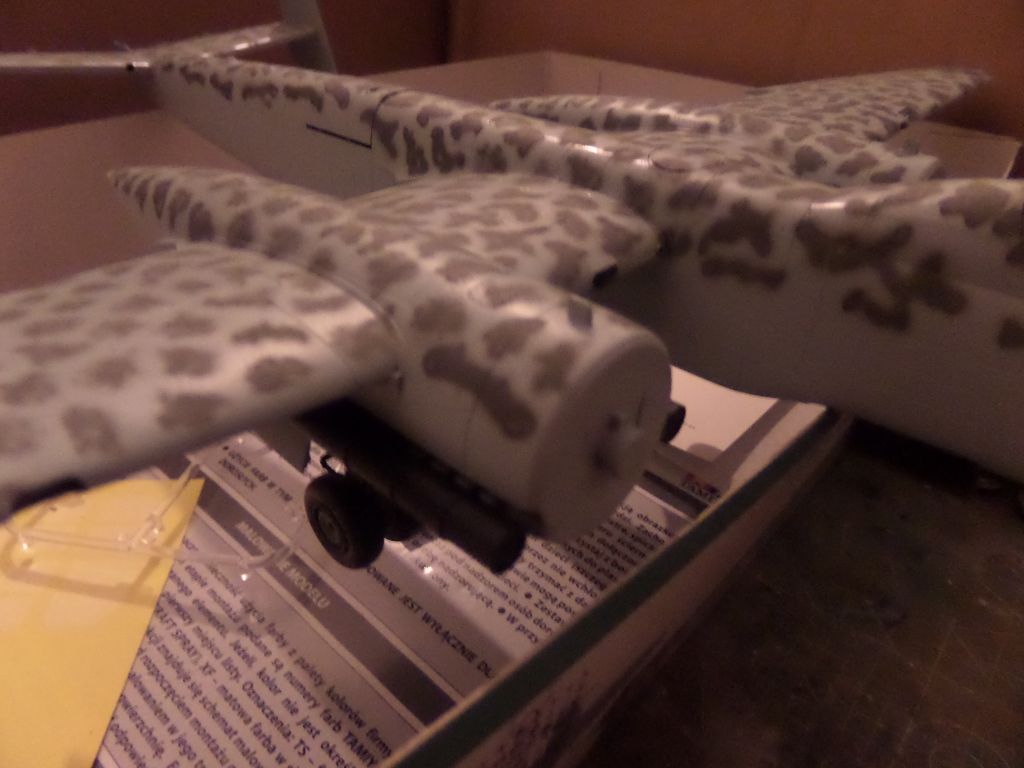
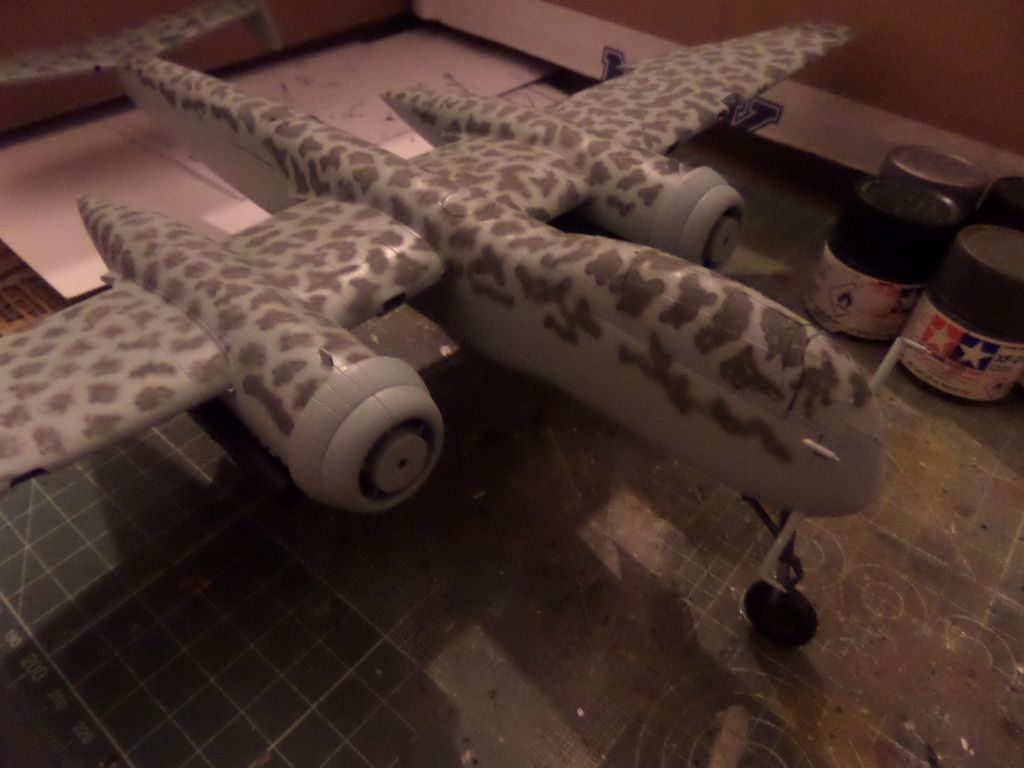
Wrong ..this masks could be usefull , and I already tried them before in small mottling , I mean the camos with some lateral motling could be done using this carefully , not in this one , so and after two tries , I get to spray again the AS-5 on some experiment done in one of the wings ...and decided to go soing this using Tamiya XF-22 and Airbrush ...Very diluted paint nd low pressure on the compressor , and keeping cleaning the needle and ths is the final result ..I'm not convinced , but in the end will see how it goes , painting this at free hand is hard , specially on such large surface , but the final result is a beautifull camouflage !
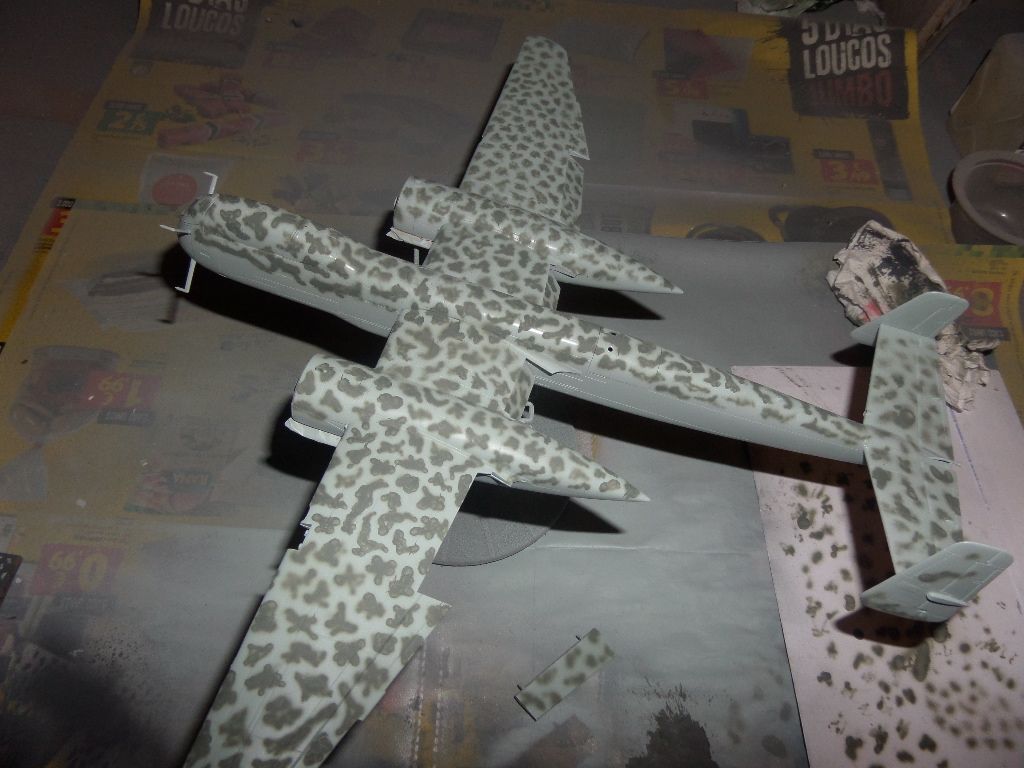
Now to the small bits , coating , decalling and so on
First some putty must be placed , a lot for my mistakes
so tools , MrHobby liquid putty , some lacuer thinner and off we go ...

The ventral guns

Mr Owl primed

on the dorsal on top , the way how the kit is done is almost impossible not to use putty and sanders ...and this plane has a lot of panels ...

on bottom also , again a lot of detial and panels


Tru blue , in this particular Tamiya AS-5 Spray Sky Blue

the choosen color scheme ...

And at first I thought in using this masks from Eduard ...

Tamiya advise to use Tamiya AS-4 Gray Violet (Luftwaffe) So I thought it would be easy doing the mottling with this :

Hmmm

Wrong ..this masks could be usefull , and I already tried them before in small mottling , I mean the camos with some lateral motling could be done using this carefully , not in this one , so and after two tries , I get to spray again the AS-5 on some experiment done in one of the wings ...and decided to go soing this using Tamiya XF-22 and Airbrush ...Very diluted paint nd low pressure on the compressor , and keeping cleaning the needle and ths is the final result ..I'm not convinced , but in the end will see how it goes , painting this at free hand is hard , specially on such large surface , but the final result is a beautifull camouflage !

Now to the small bits , coating , decalling and so on
Cheers ,
António
On the Bench
a lot of stuff right now
António
On the Bench
a lot of stuff right now
Re: 1/48 Heinkel HE 219A7 UHU
Haha! As long as you don't get the extra thin on the sliced open finger! Ouch!rodrant wrote: Really I was joking of course , but I also slice one or three times when I change the blades, seems inevitable, it like putting a new matt and spill tamiya glue on it
On the bench:
Revell 1/48 Eurofighter Typhoon 'Bronze Tiger'
Revell 1/32 Hawker Hunter
Revell 1/48 Eurofighter Typhoon 'Bronze Tiger'
Revell 1/32 Hawker Hunter
-
pourquoi61

- Sergeant Major of the Army
- Posts: 1289
- Joined: Tue Feb 16, 2016 12:57 pm
- Location: Ilkeston, Derbyshire

-
rodrant
- Chief Warrant Officer 2
- Posts: 1774
- Joined: Wed Feb 19, 2014 9:22 pm
- Location: Maia - Portugal
Re: 1/48 Heinkel HE 219A7 UHU
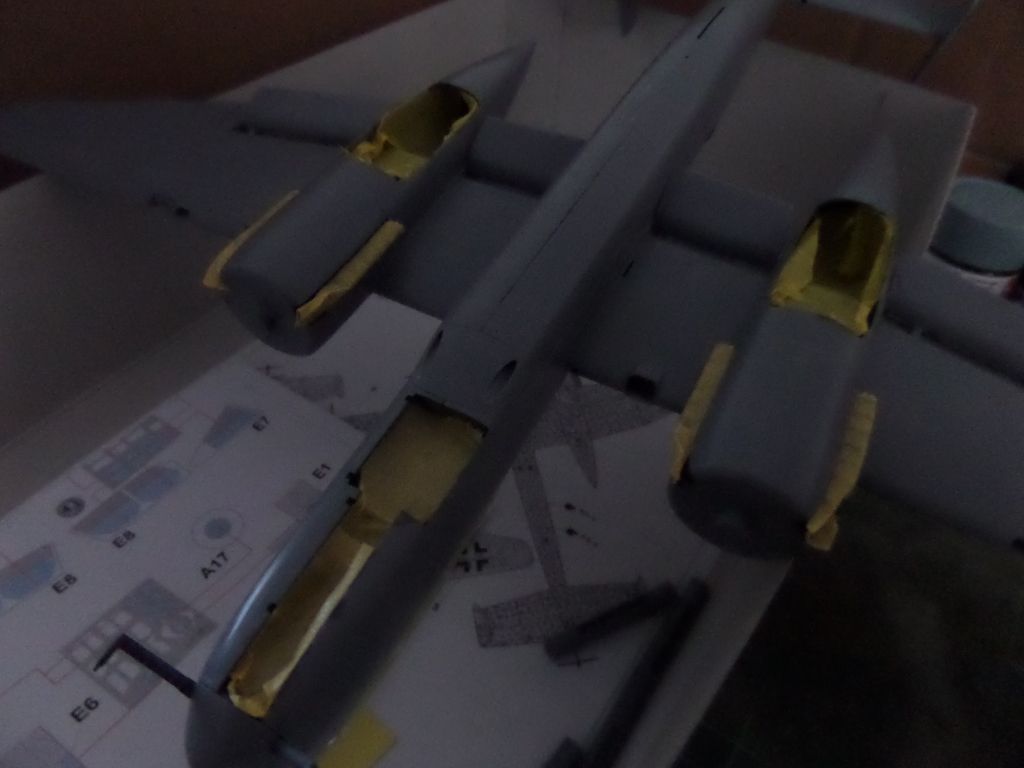
After the painting marathon , time to do wheels , antenas and all the little small pieces of the plane
Front Whell bay
And this is the underface after all masking gone
The engine exausts will be covered by the flame dumper tubes

Placed the dorsal gun 'Schrage Musik' double Mk 108 30 mm Kanonen , I drilled the tip ofit so it just look more real
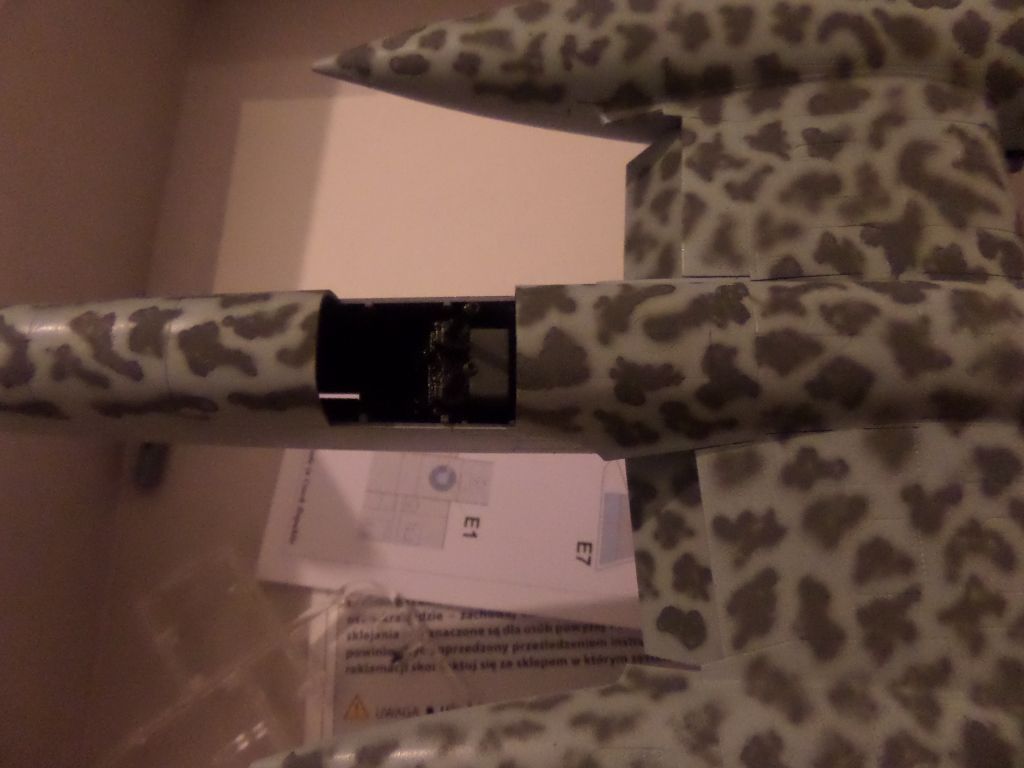
With the cover , think I will let it open and do not glue it so we can take a look to the gun
All this will go to paint now , the engine radiator grills and covers will be painted with the AS-5 Blue from the fuselage, the propeler blades with XF-27 Black Green , strange stuff that this color wasn't in the main list of coolours that it is usual in Tamiya instructions ...
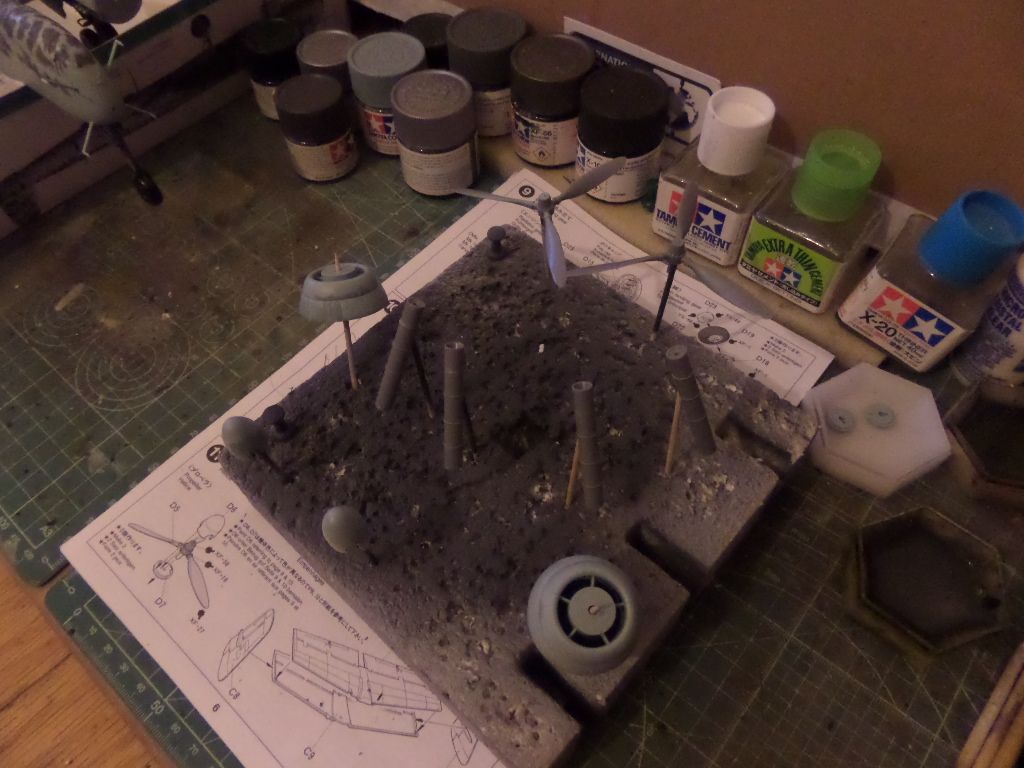
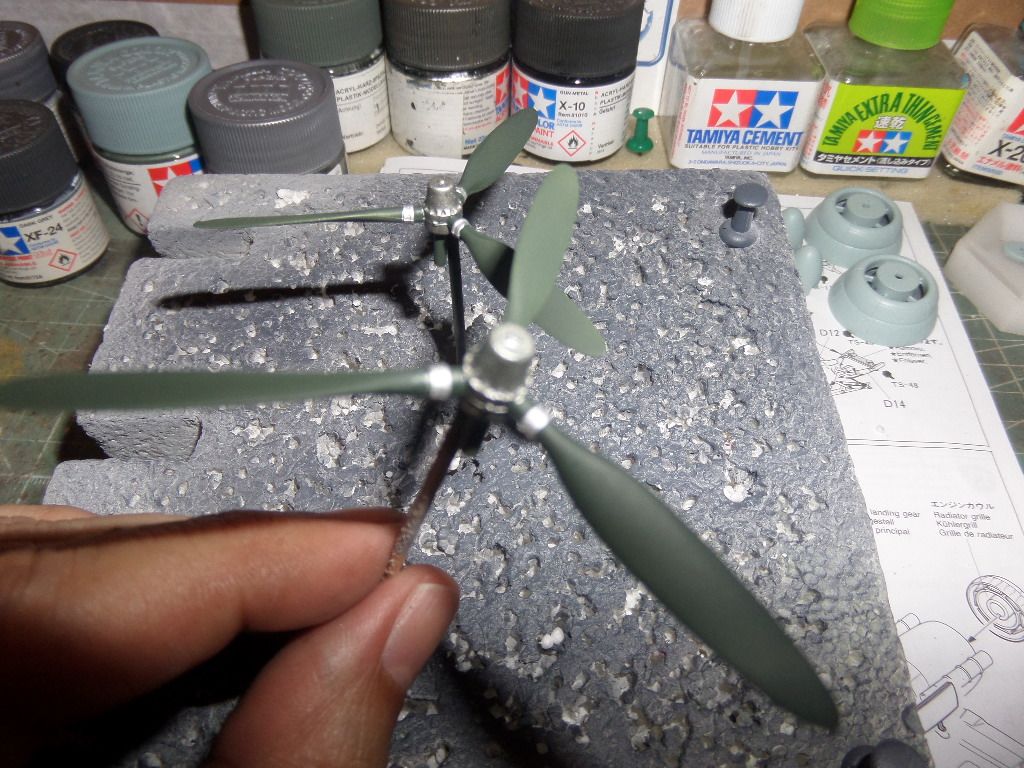
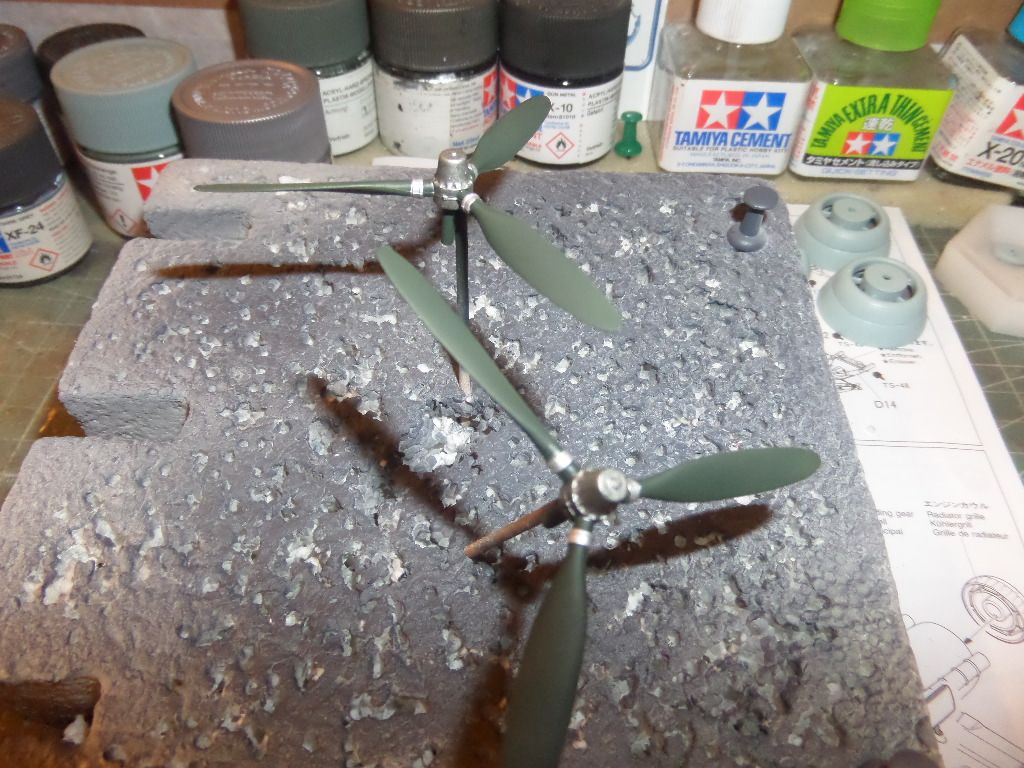
All painted and ready to go to the plane
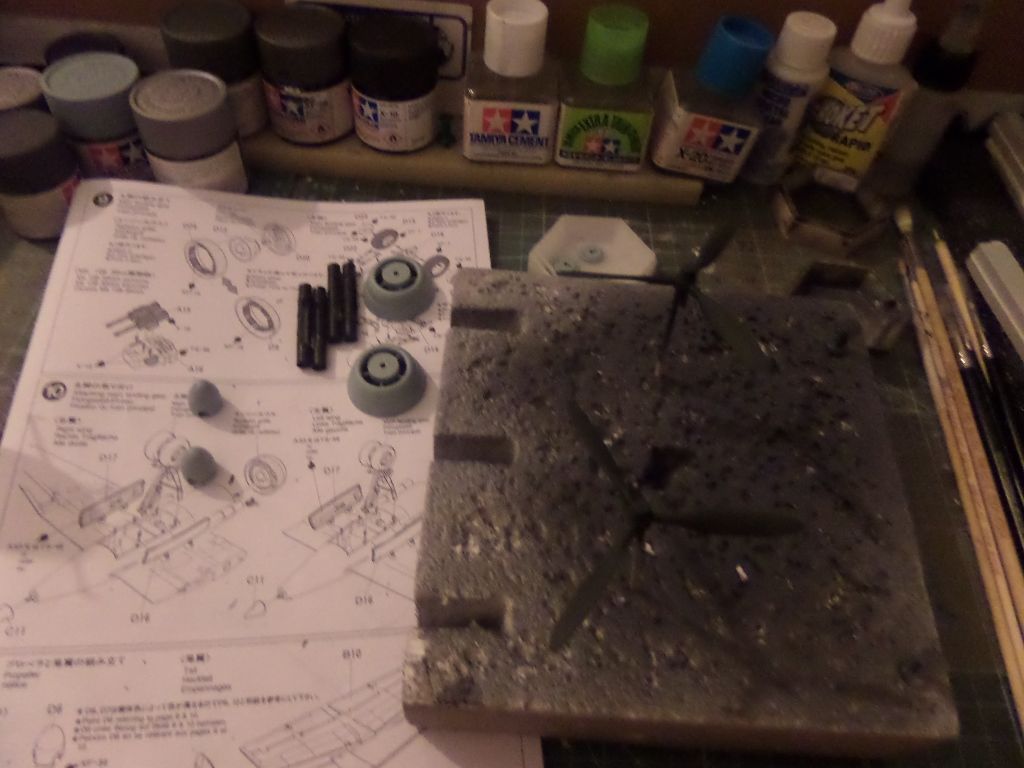
Some X-11 and XF-16 apllied on the propelers
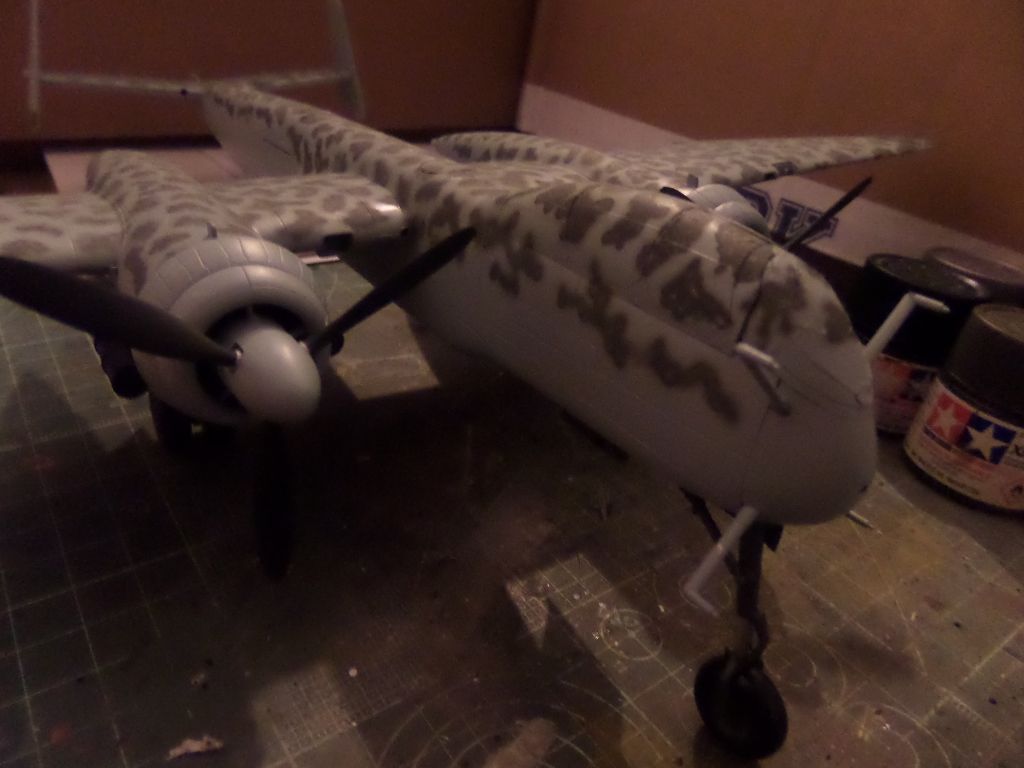
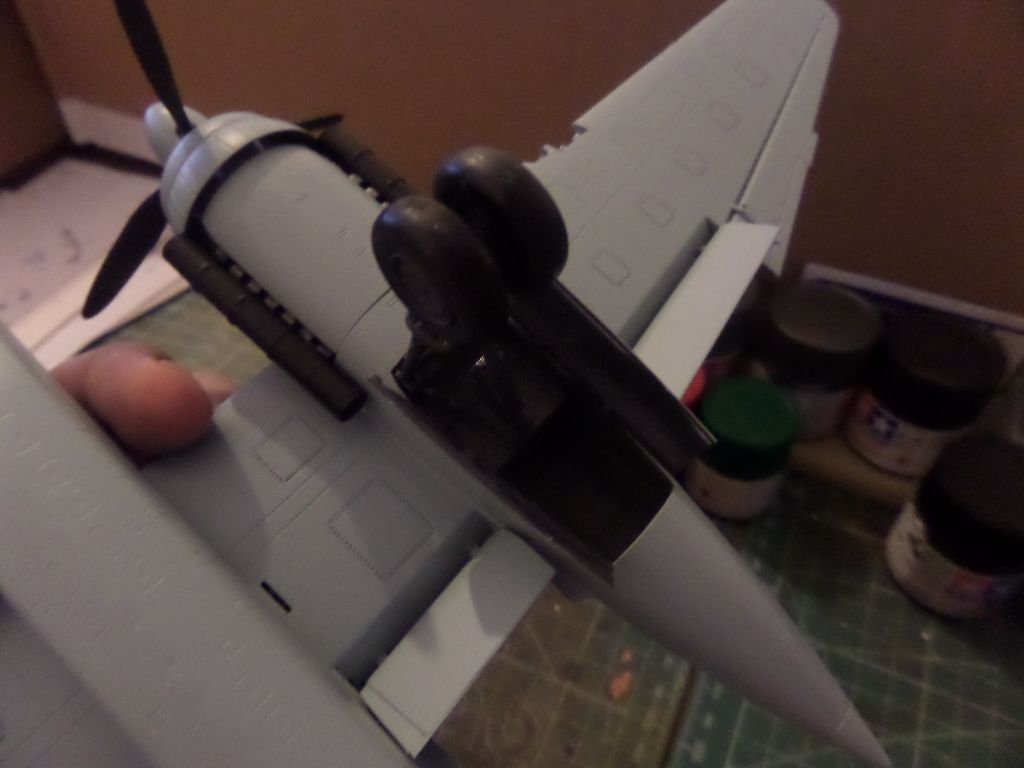
Flame dumper tubes added ! All Black (XF-18)
Engine Radiators
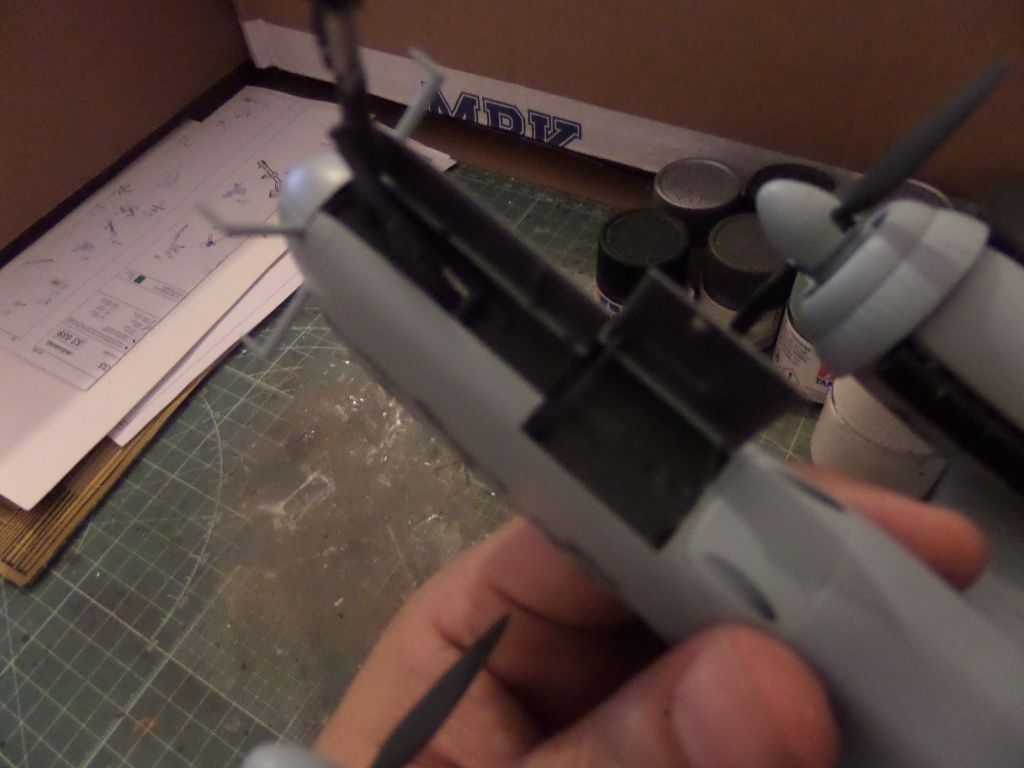
Propelers and it looks like a plane now !
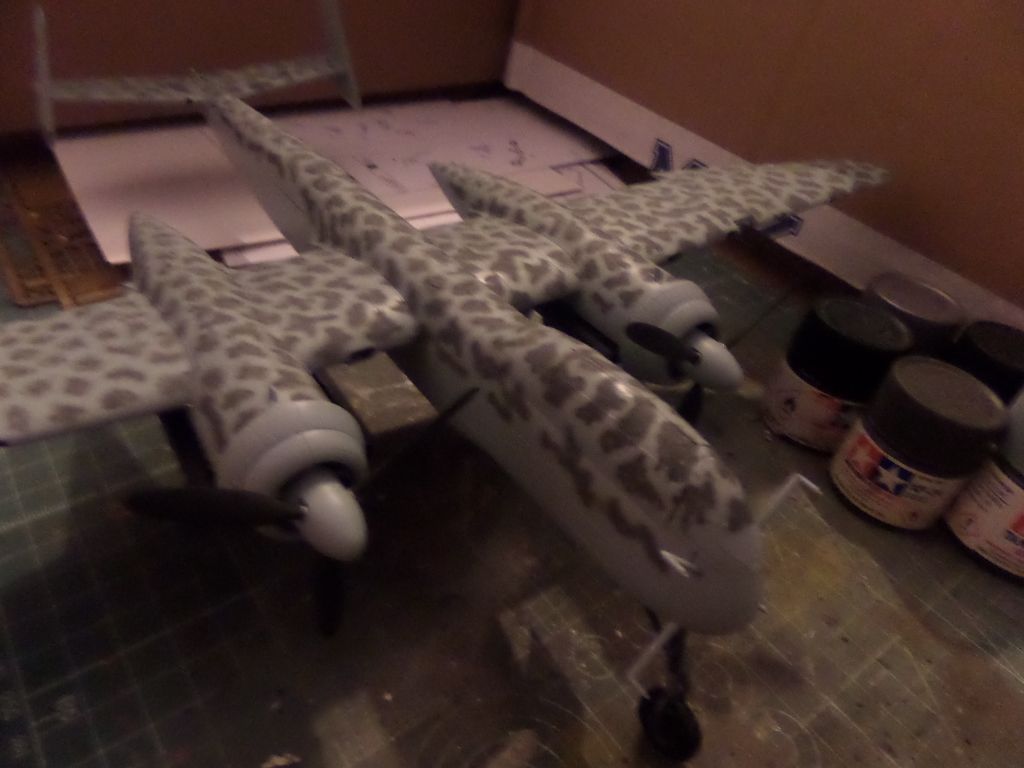
Nice silhouete
Small bits to place after the decalling and weathering
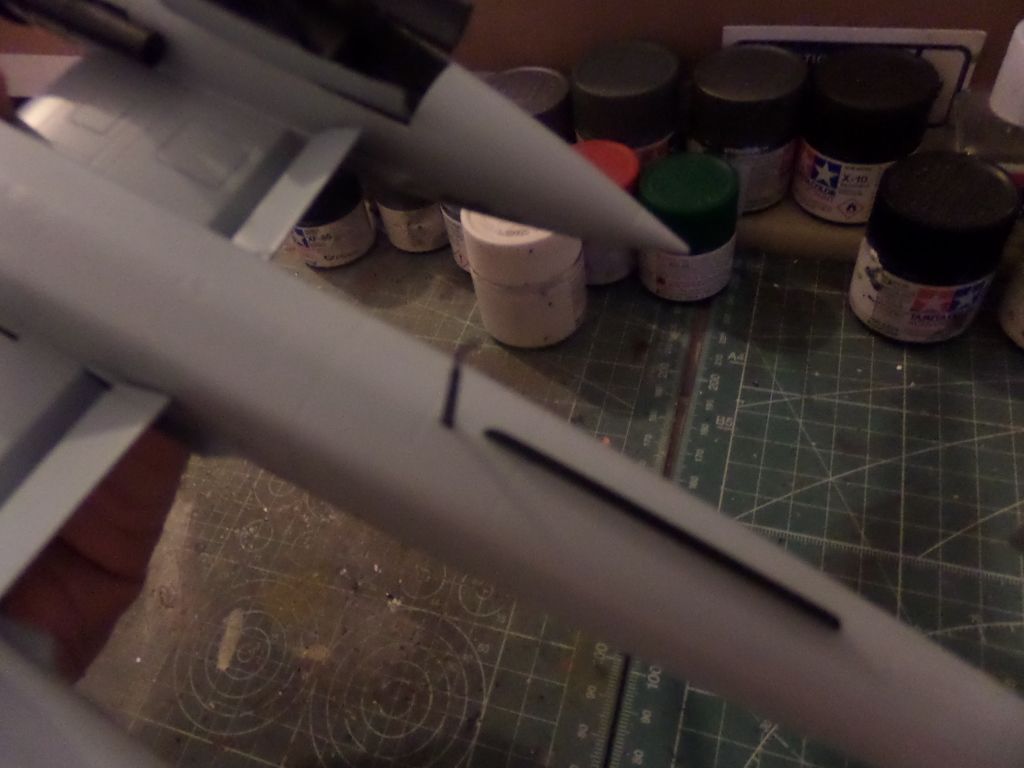
Underside antenas , the Morane Antenna for FuG 16ZY and the Antenna for FuBI 2F (the one looking as a flap )
wing landing gear , almost no glue needed and one of the few Landing gears that I manage to place without any issues at all , nice the double whell
Front gear ...
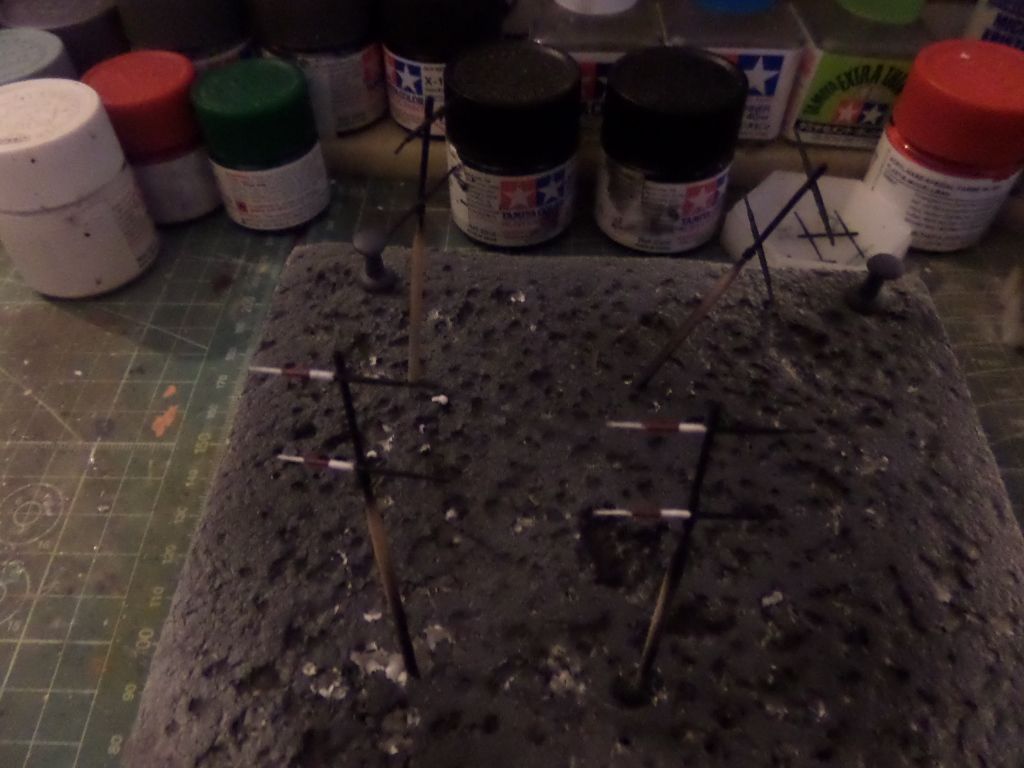
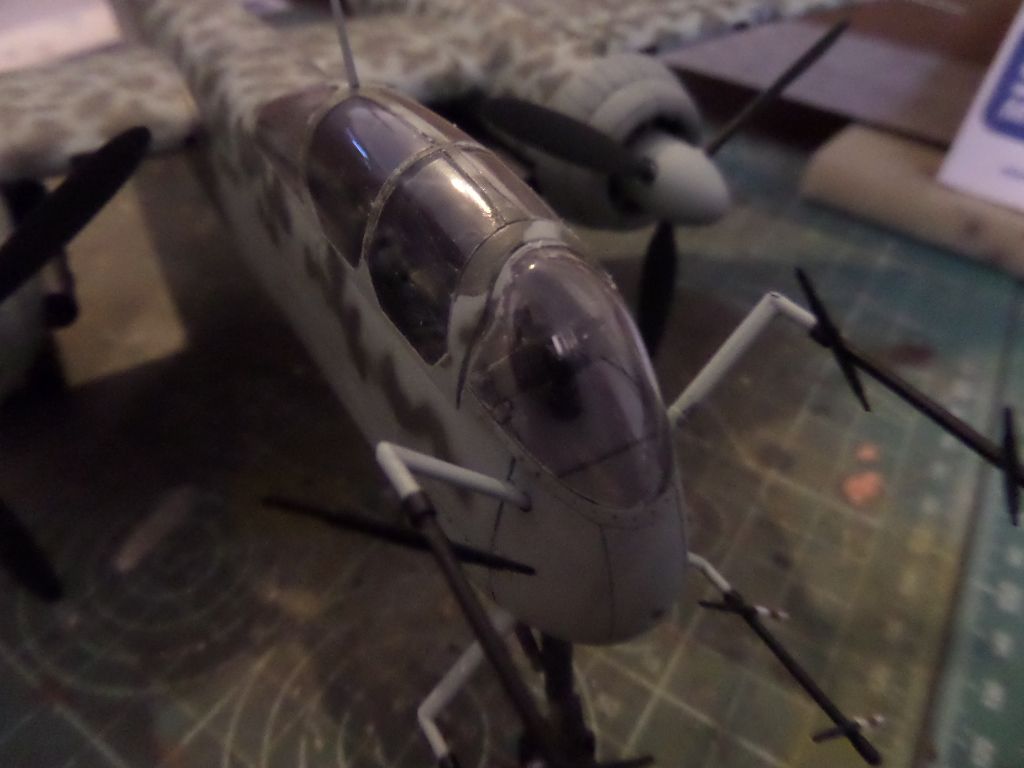
Now one more 'confusing step' for painting the nose front antennas , in the paining scheme call it is mentioned to paint them X-18 Semi Gloss Black , on the other hand the instruction on the detail paintimg ( the bellow ones should be black but the under side should have white and red stripes ) calls for using XF-1 (Flat Black) , so I choose XF-1 Flatblack , even all the others (the ventral and rear ones ) have X-18 ... not the best instructions Tamiya ...not the best ...but 1997 is some years now ...
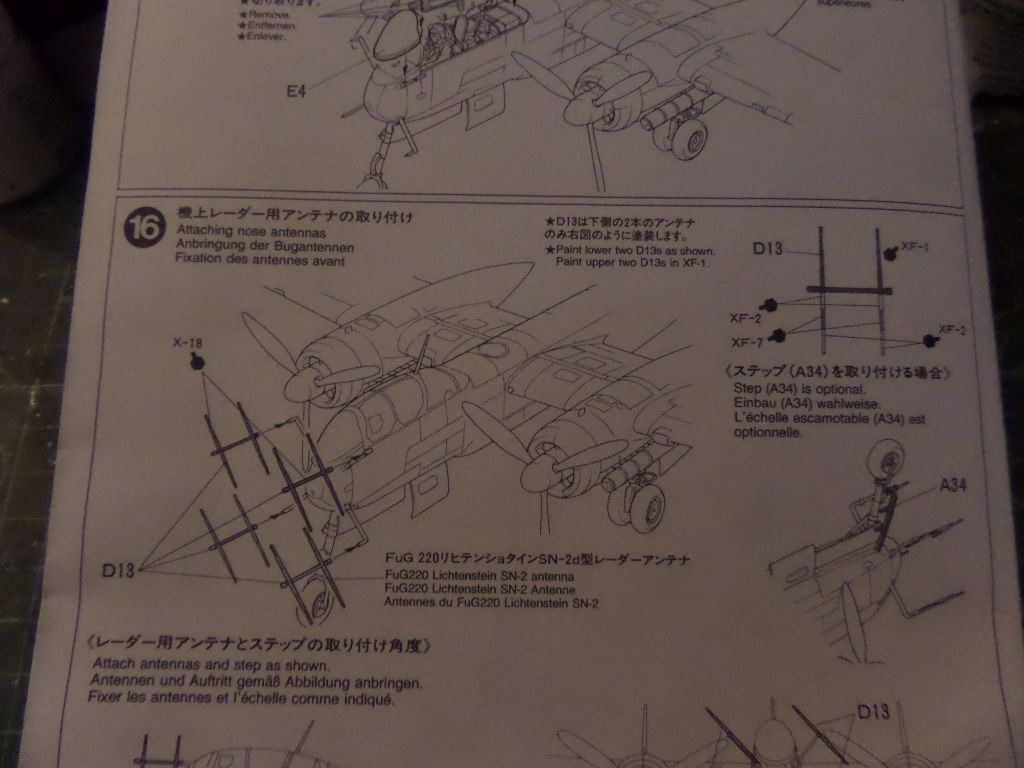
Also here are the nose antenas ready to place
Now Clear coat on the plane and will go for decalling and weathering the plane !
Front Whell bay

And this is the underface after all masking gone

The engine exausts will be covered by the flame dumper tubes

Placed the dorsal gun 'Schrage Musik' double Mk 108 30 mm Kanonen , I drilled the tip ofit so it just look more real

With the cover , think I will let it open and do not glue it so we can take a look to the gun

All this will go to paint now , the engine radiator grills and covers will be painted with the AS-5 Blue from the fuselage, the propeler blades with XF-27 Black Green , strange stuff that this color wasn't in the main list of coolours that it is usual in Tamiya instructions ...

All painted and ready to go to the plane

Some X-11 and XF-16 apllied on the propelers


Flame dumper tubes added ! All Black (XF-18)

Engine Radiators

Propelers and it looks like a plane now !

Nice silhouete

Small bits to place after the decalling and weathering

Underside antenas , the Morane Antenna for FuG 16ZY and the Antenna for FuBI 2F (the one looking as a flap )

wing landing gear , almost no glue needed and one of the few Landing gears that I manage to place without any issues at all , nice the double whell

Front gear ...

Now one more 'confusing step' for painting the nose front antennas , in the paining scheme call it is mentioned to paint them X-18 Semi Gloss Black , on the other hand the instruction on the detail paintimg ( the bellow ones should be black but the under side should have white and red stripes ) calls for using XF-1 (Flat Black)

Also here are the nose antenas ready to place

Now Clear coat on the plane and will go for decalling and weathering the plane !
Cheers ,
António
On the Bench
a lot of stuff right now
António
On the Bench
a lot of stuff right now
-
rodrant
- Chief Warrant Officer 2
- Posts: 1774
- Joined: Wed Feb 19, 2014 9:22 pm
- Location: Maia - Portugal
Re: 1/48 Heinkel HE 219A7 UHU
After a Clear Coat , time for decals ;

Strange, the kit brings the squadron Badge for NJG1 but no indication in instructions where to place it , so I went and search on my reference books ...
The decals were ok to apply , even always carefull with Tamiya decals didn't have any issue !
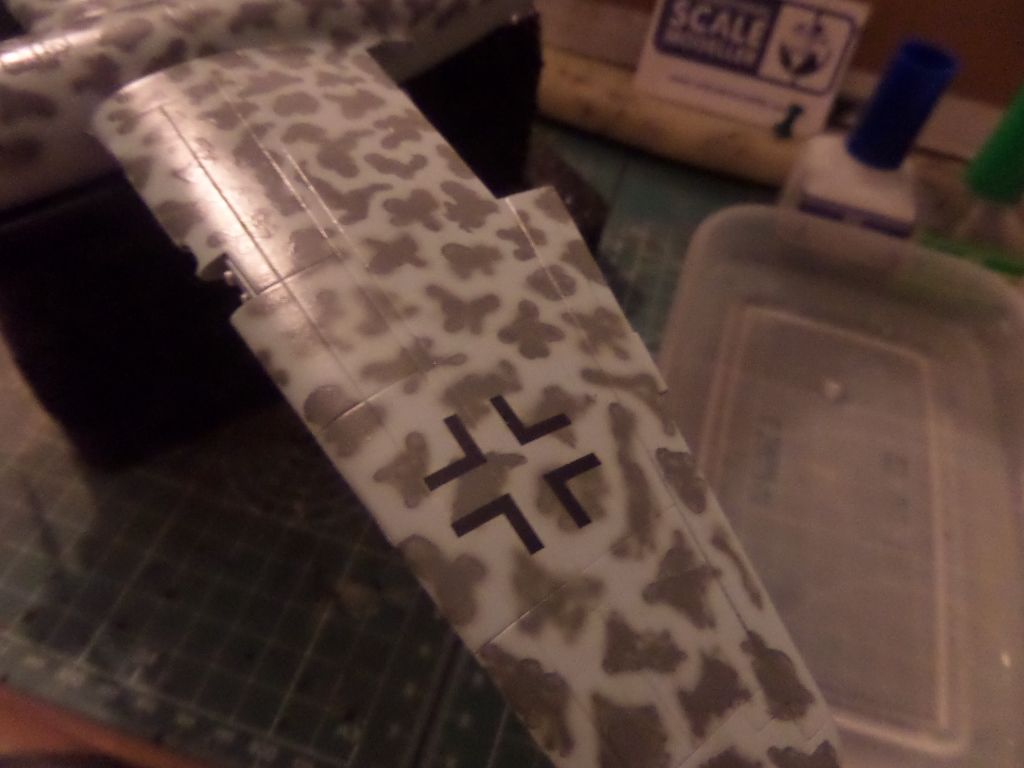
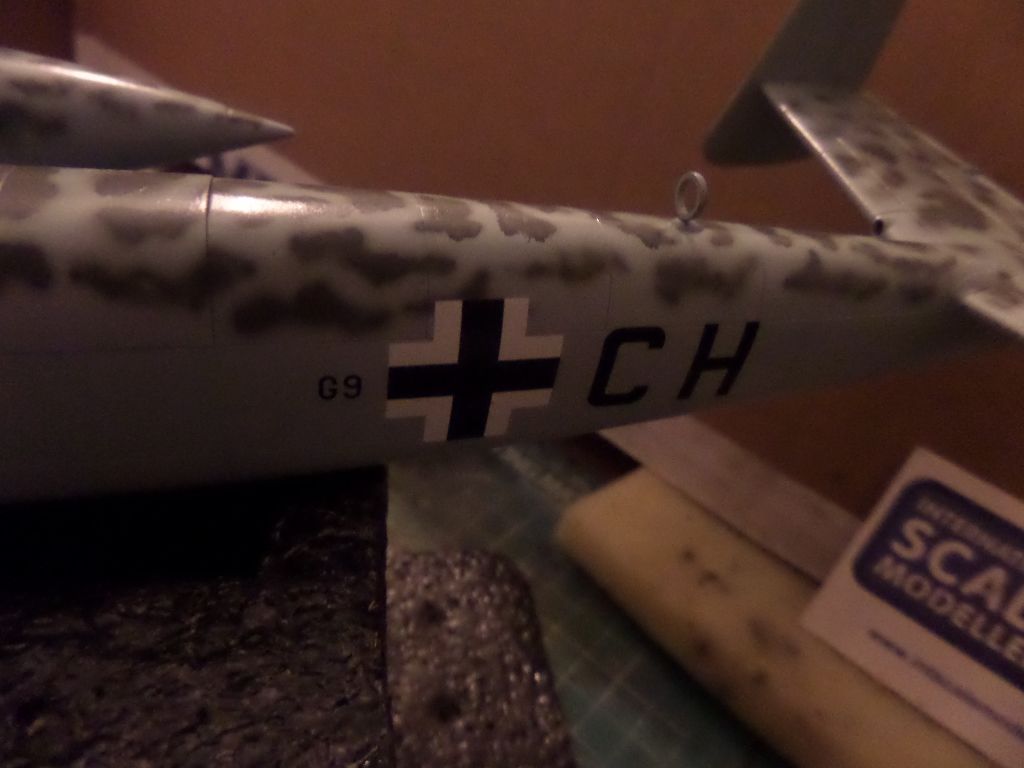
The swastika was placed again on the spot that some reference books indicated for this Squadron
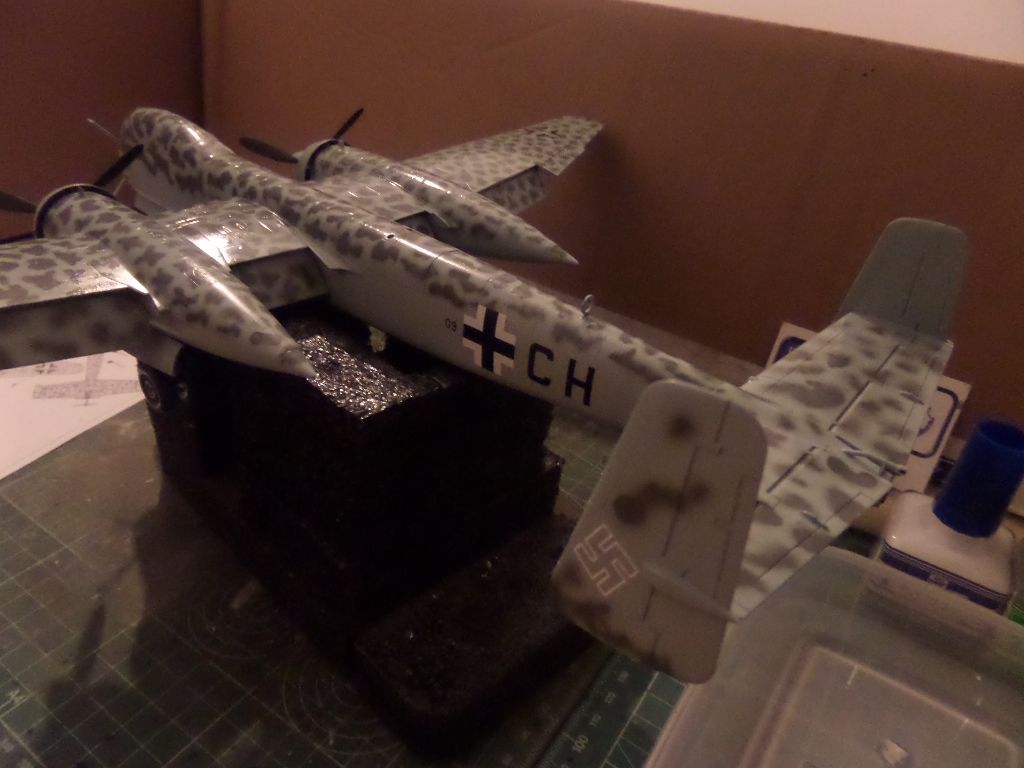
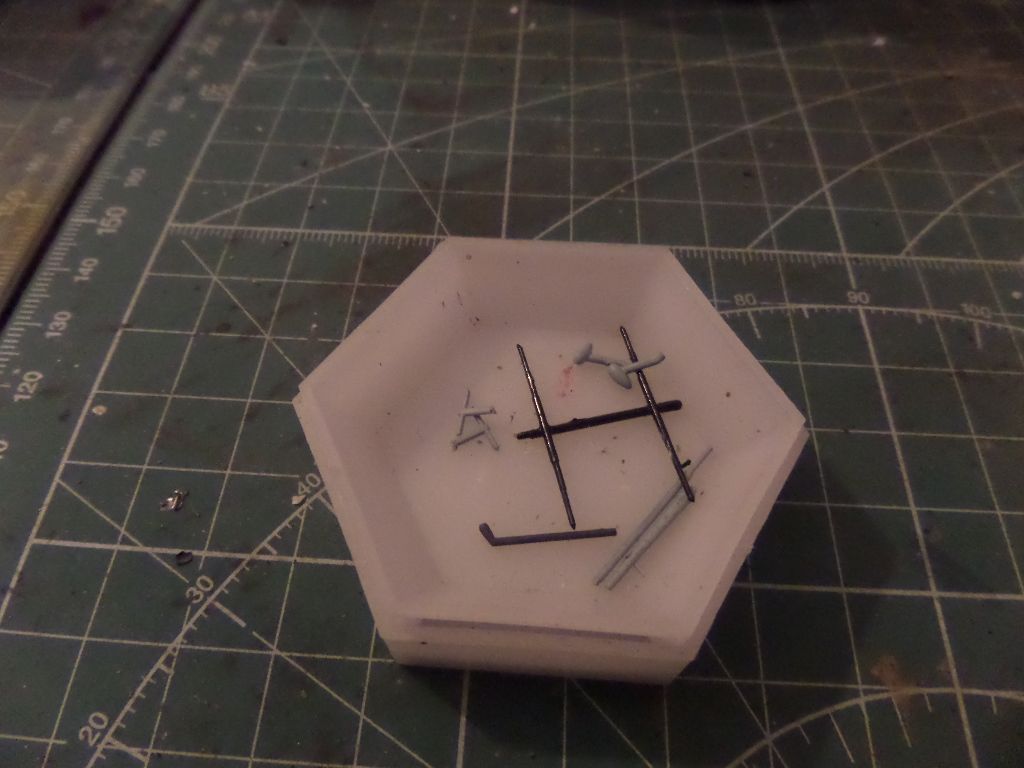
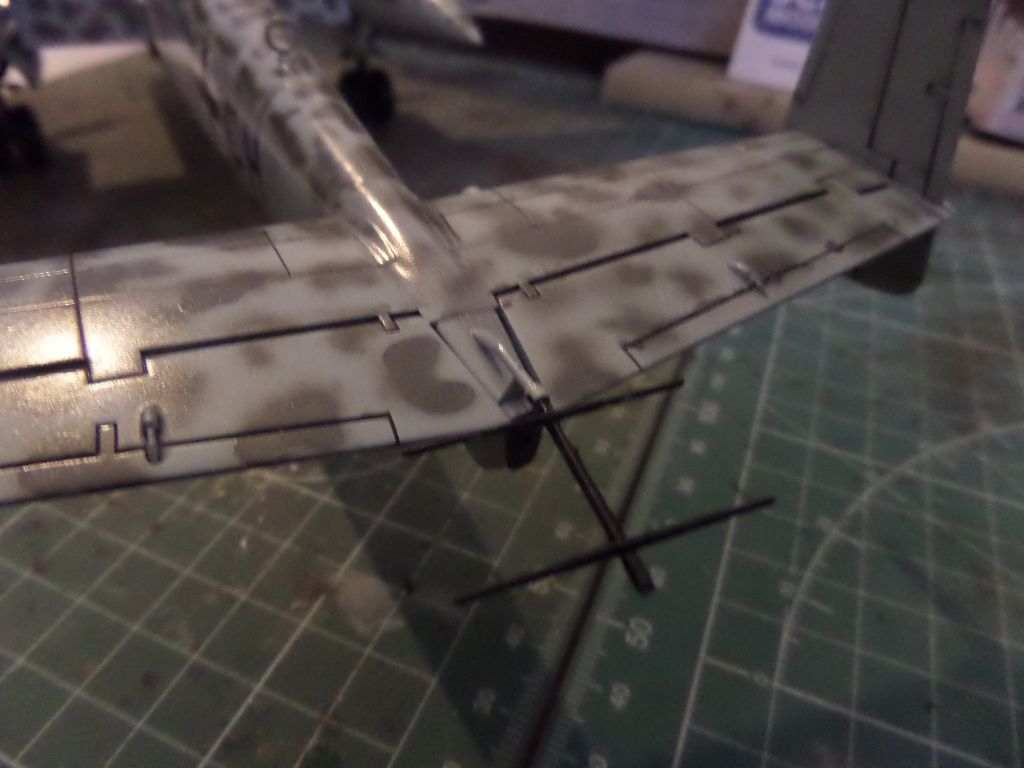
Work to place the Radar antennas

This one of the tail is one Big favourite to get lost someday
After a matt coat , time to remove those masks , before I apllied only Panel Accent Line form Tamiya and some Weathering MAster on soot and some rust in the motor cover exausts
, but off we go to the Reveal Photos here :
http://intscalemodeller.com/viewtopic.php?f=532&t=19749

Strange, the kit brings the squadron Badge for NJG1 but no indication in instructions where to place it , so I went and search on my reference books ...

The decals were ok to apply , even always carefull with Tamiya decals didn't have any issue !


The swastika was placed again on the spot that some reference books indicated for this Squadron

Work to place the Radar antennas

This one of the tail is one Big favourite to get lost someday

After a matt coat , time to remove those masks , before I apllied only Panel Accent Line form Tamiya and some Weathering MAster on soot and some rust in the motor cover exausts

, but off we go to the Reveal Photos here :
http://intscalemodeller.com/viewtopic.php?f=532&t=19749
Cheers ,
António
On the Bench
a lot of stuff right now
António
On the Bench
a lot of stuff right now
Re: 1/48 Heinkel HE 219A7 UHU
Very nice work
#32Revell 1:72 Type IXC/40 U-Boat
Meng 1:48 Messerschmitt Me410 B-2/U2/R4 Heavy Fighter
Miniart 1:35 T-54-2 Soviet tank
