Tamiya US M113 ACAV

All your build threads here...

Moderator: T3hGuppy

Post Reply
Gauzer
Corporal
Corporal
Posts: 64
Joined: Tue Mar 22, 2016 10:44 am
Location: Berlin
Scotland

Tamiya US M113 ACAV

Post by Gauzer »

Found this in a box, IIRC I bought it many years ago on a bring and buy, never opened it up, was supposed to be for the start of a Vietnam skirmish game but I lost interest.

Image

Image

So OOB, I opened it up and the kind chap before had done nothing at all, apart from putting some bits in ziplock bags.

I know OOB is the rule, but I just have to show you what else was in the box.

Image
All complete too, I think I got a bargain at £5.

No more progress as I am foolishly excited to getting back into this and am just looking at the bags with a grin on my face SWMBO is just shaking her head and giving me the look that only women can give.
User avatar
schweinhund227
Chief Warrant Officer 4
Posts: 2627
Joined: Fri May 24, 2013 9:51 pm
Location: Ontario,Canada
Contact:
Canada

Re: Tamiya US M113 ACAV

Post by schweinhund227 »

Even for an Old Gal ! she can still turn heads once done right...

Have fun ! its a Tamiya after all !
Hawkeyehayden
New Recruit
Posts: 3
Joined: Wed Jul 09, 2014 4:04 am

Re: Tamiya US M113 ACAV

Post by Hawkeyehayden »

Great deal and an interesting topic. I have the command and control version from tamiya. Thinking of building that for the GB. Have fun with this one.
Gauzer
Corporal
Corporal
Posts: 64
Joined: Tue Mar 22, 2016 10:44 am
Location: Berlin
Scotland

Re: Tamiya US M113 ACAV

Post by Gauzer »

Information on the M113, some of which I did not know.

The M113 was developed by Food Machinery Corp. (FMC), which had produced the earlier M59 and M75 Armored personnel carriers. The M113 bears a very strong resemblance to both of these earlier vehicles. The M75 was too heavy and expensive to be useful; its weight prevented amphibious capability, and being transported by air. The lightened M59 addressed both of these problems, but ended up with too little armor, and was unreliable as a result of efforts to reduce its cost.

The M113 was developed to provide a survivable and reliable light tracked vehicle able to be air-lifted and air-dropped, by C-130 and C-141 transport planes. The original concept was that the vehicle would be used solely for transportation, bringing the troops forward under armor and then having them dismount for combat; the M113 would then retreat to the rear. Entering service with the U.S. Army in 1960, the M113 required only two crewmen, a driver and a commander, and carried 11 passengers inside the vehicle. Its main armament was a single .50-caliber (12.7 mm) M2 Browning machine gun operated by the commander.

On 30 March 1962, the first batch of 32 M113s arrived in Vietnam, and were sent to two Army of the Republic of Vietnam (ARVN) mechanized rifle companies, each equipped with 15 of the APCs. On 11 June 1962, the two mechanized units were fielded for the first time.[12] During the Battle of Ap Bac in January 1963, at least fourteen of the exposed .50 caliber gunners aboard the M113s were killed in action, necessitating modifications to improve crew survivability. Soon, makeshift shields formed from metal salvaged from the hulls of sunken ships were fitted to the carriers, which afforded better protection. But, finding that this material could be penetrated by small arms fire, subsequent shields were constructed from scrapped armored vehicles.

The ARVN 80th Ordnance Unit in South Vietnam developed the shield idea further and commenced engineering general issue gun shields for the M113. These shields became the predecessor to the standardized armored cavalry assault vehicle (or ACAV) variant and were issued to all ARVN mechanized units during the early 1960s. The ARVNs had modified the M113s to function as "amphibious light tanks" and not as battle taxis as U.S. designers had intended. Instead of an armored personnel carrier, the ARVN used the carried infantry as extra "dismountable soldiers" in "an over-sized tank crew". These "ACAV" sets were eventually adapted to U.S. Army M113s with the arrival of the army's conventional forces in 1965. The vehicles continued to operate in the role of a light tank and reconnaissance vehicle, and not as designed in theater. Still, the M113 could carry 11 infantrymen inside, with two crewmen operating it.

The U.S. Army, after berating the Vietnamese for flouting battle doctrine, came out with their own ACAV version. This more or less standardized ACAV kit included shields and a circular turret for the .50-caliber M2 machine gun in the track commander (TC) position, two M60 machine guns with shields for the left and right rear positions, and "belly armor"—steel armor bolted from the front bottom extending 1/2 to 2/3 of the way towards the bottom rear of the M113. The two rear machine gunners could fire their weapons while standing inside the rectangular open cargo hatch. This transformed the M113 into a fighting vehicle, but the vehicle still suffered from its lightly armored configuration, having never been designed for such a role.

M113 armored cavalry assault vehicle (ACAV) variant

M113 ACAV in Vietnam, 1966
The "armored cavalry assault vehicle" or "ACAV", was a concept and field modification pioneered by the ARVN in 1963 during the Vietnam War. The ARVN troops utilized the M113 armored personnel carrier as an infantry fighting vehicle, and more often than not, as a light tank by fighting mounted rather than as a "battle taxi" as dictated by U.S. Army doctrine.

After it was found that the commander and cargo hatch positions were extremely exposed, and hence the commander and troops were vulnerable to enemy fire, South Vietnamese engineers thought out a simple and cheap remedy to this problem: Initially, field expedient shields and mounts were made from sunken ships, but this was soft metal and could be penetrated by small arms fire. Then armor plate from scrapped armored vehicles was used; this worked well, and by the end of 1964 all ARVN ACAVs were equipped with gun shields. For the U.S. Army, ACAV sets were produced industrially in Okinawa for the 12.7 millimetres (0.50 in) machine gun, and rear aft and starboard M60 machine gun positions. Finally, the ARVN's ACAV modifications were adopted by the U.S. Army in Vietnam, and by 1965 the full ACAV set was mass-produced in the U.S. The kit included shields and circular turret armor for the commander's M2 12.7 mm machine gun, and two additional 7.62 mm M60 machine guns, again with shields, fitted on either side of the top cargo hatch. This kit could be retrofitted to any M113. ACAV sets were sometimes fitted to the M106 mortar carrier, but the different rear hatch found on this vehicle required the left M60 machine gun to be fitted to the extreme rear instead of the side. Many kits were added in the field, but at least in the case of the 11th Armored Cavalry Regiment, the vehicles had their ACAV sets installed in the U.S. prior to their deployment to Vietnam in 1966 from Fort Meade, Maryland. Additional armor in the form of a mine protective kit under the hull was also frequently fitted.
Gauzer
Corporal
Corporal
Posts: 64
Joined: Tue Mar 22, 2016 10:44 am
Location: Berlin
Scotland

Re: Tamiya US M113 ACAV

Post by Gauzer »

So after getting my finger out and actually opening the bags of sprue I made a start, this is just main body with some of the internal fittings, well I say some it is seat backs, boxes/fuel tank? Radio and back door.
Image

Floor, engine, bulkheads, drivers controls and seats. No idea why I put the engine in as it can't be seen, unless I make hatches movable. Oh and drivers seat and tow rope thing for back door.
Image

Flooring dry fitted to see what can be seen, what cant. Back door is scraped to bits at my cack handed way of getting rid of massive pin marks.
Image

Wheels, went together easily with a rubber grommet thing, not much flash at all, still have to scrape up the rubber to make it look used.
Image

Painted white with Halfords undercoat, engine was painted in various shades of metal from Foundry, I find them to be pretty good metalics for brushing. Then a quick thinned down wash of Vallejo gloss varnish. Once dry, in about 10 mins I could have moved on but waited about 4 hours to cure better. Then a liberal dosing of foundries black wash. Once this was dry, about 2 hours ish was able to drybrush the engine with more (spearpoint) foundry in various places, a wee dab of colour for a couple of pipes and a bottle thingy. The reason for waiting so long is that the wash, if not totally dry comes off when drybrushing, I forgot this and started again :wall:
Image

Whilst waiting for engine to dry I place a couple of transfers on bulkhead, they transfers are quite thick, but on having a look at some pictures of the real thing these appeared to slapped on and were not always straight or as smooth as a babies bum, so they will be fine.
Image

This is the cooling gubbings that fits on the roof, the same was done, spary of white, varnish and a wash. You can see the difference in the hatch cover which had no varnish. The radiator frame was painted in olive green and a liberal dosing of black for the radiator vanes?
Image
User avatar
schweinhund227
Chief Warrant Officer 4
Posts: 2627
Joined: Fri May 24, 2013 9:51 pm
Location: Ontario,Canada
Contact:
Canada

Re: Tamiya US M113 ACAV

Post by schweinhund227 »

Not sure if the fuel tank is correct... maybe for the older Gas version ?
but still great value for the money !

keep up the good work :thumb2:
Gauzer
Corporal
Corporal
Posts: 64
Joined: Tue Mar 22, 2016 10:44 am
Location: Berlin
Scotland

Re: Tamiya US M113 ACAV

Post by Gauzer »

So the cooling radiaors, fan and other stuff, a few washes, bit of drybrushing and pigments put on a with a reddish brown wash.
Image

Engine bay, again washes and drybrushing then same reddish brown wash with pigmets sprinkles on. When dry finger to take of some pigments on raised surfaces. Still to finish off with a black wash in places for the oily crap that is engines in a dusty environment.
Image

Overhead of vehicle, a few washes to dull down the white. Then pigments layered on with washes and thinners, some of excess removed with the trusty wet finger in preparation of some drybrushing of aluminium for deck plates.
Image

Dry fitted roof and front just to see what it looked like, not too shabby, or rather shabby enough for not having done any modelling for quite a while. If it was not OOB would be able to fil bins with crap and have on the additions to the roof, straps, radio's, etc. Seats need a bit more of a wipe off, they are white and there is supposed to be cushions but they are added after so will just leave them whit... ish. Again damp finger cleaned up where warning lable is on engine bulkhead.
Image

Engine bay with (bonnet????) up. Just a bit more oily washes and I think the bay is done.
Image
Gauzer
Corporal
Corporal
Posts: 64
Joined: Tue Mar 22, 2016 10:44 am
Location: Berlin
Scotland

Re: Tamiya US M113 ACAV

Post by Gauzer »

Just undercoated, I found a can of Halfords white primer. When I say "just" I mean a week ago, just got round to uploading the pictures.
Image

Image
Gauzer
Corporal
Corporal
Posts: 64
Joined: Tue Mar 22, 2016 10:44 am
Location: Berlin
Scotland

Re: Tamiya US M113 ACAV

Post by Gauzer »

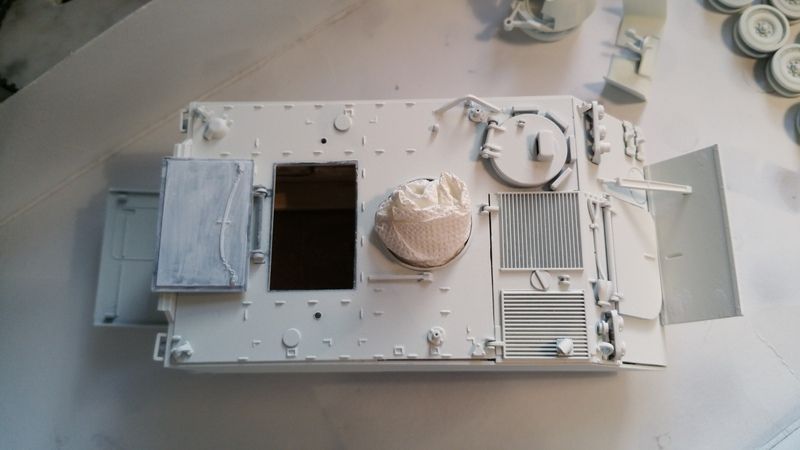
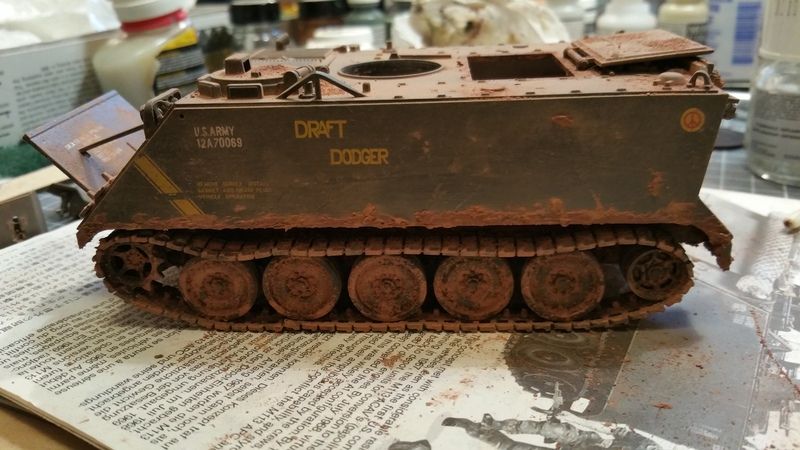
Got all excited and carried away so I forgot to take pictures of it in just the basic colour, all it was was OD with a few drops of light sand. The gloss was vallejo and 2 light coats.
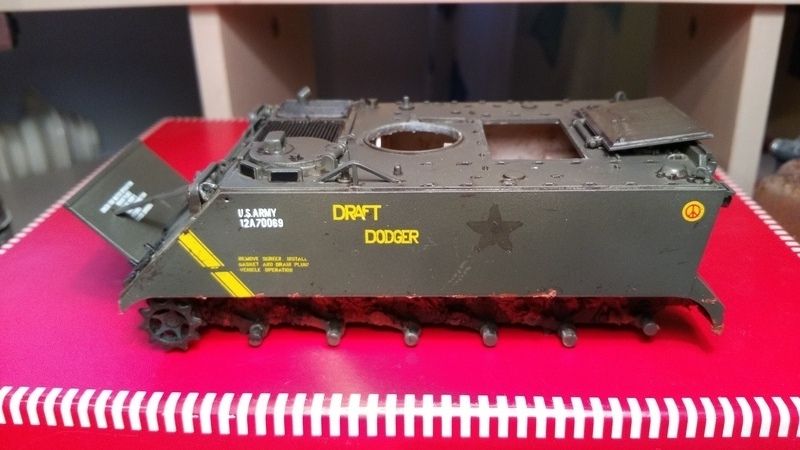
The transfers were old and a bit cracked and torn, I forgot to take pictures of them and send them to Lee so I could use others. I managed to use them and touched up with paint and micro sol. I did use a brand new blade and cut round the edge of the transfers which seemed to help. Once dry I sprayed 3 layers of gloss to get rid of the edge of the transfer.
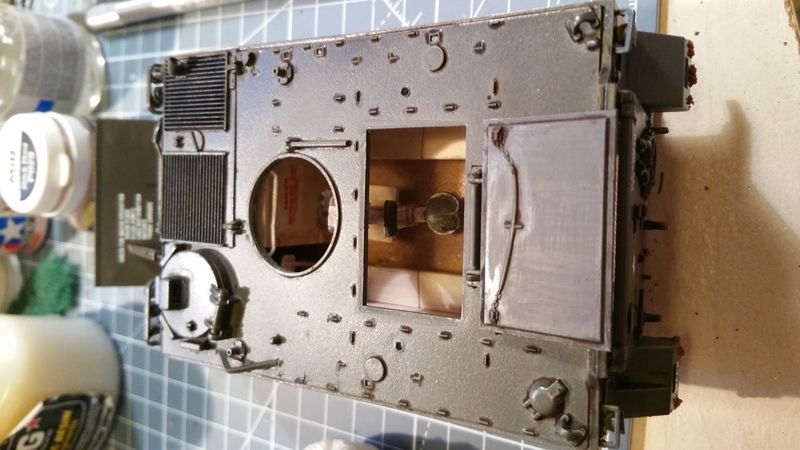
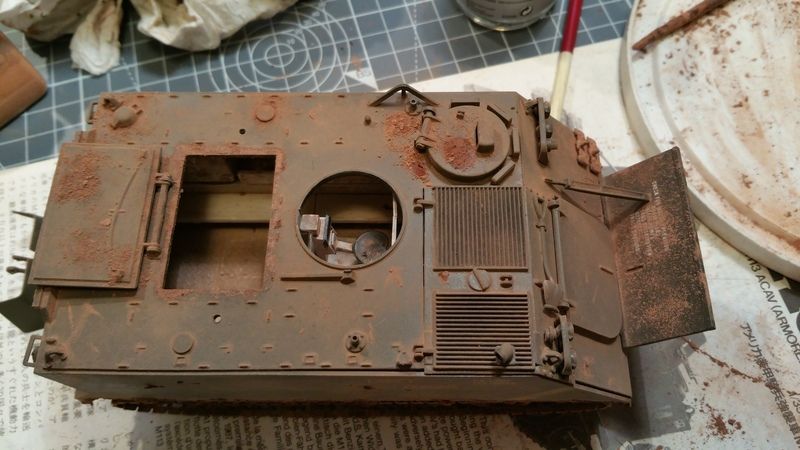
Once this was dry I mixed up a dark brown(van dyke brown) wash with zest it which is an artists paint diluter and brush cleaner, with the added bonus it smells of oranges. This wash was just pin washed round all the sticky out bits and door surrounds, was not really that careful as I was planning to cover with dust anyway.
I painted over the side stars as I put them on and then realised this unit either didn't have them or over painted them.
There is a very light sponge chipping with German camo brown and some rubbing with the scouring pad along the sides.
O started making up some mud with mig African Earth pigment as it is quite reddish.
Image

Image

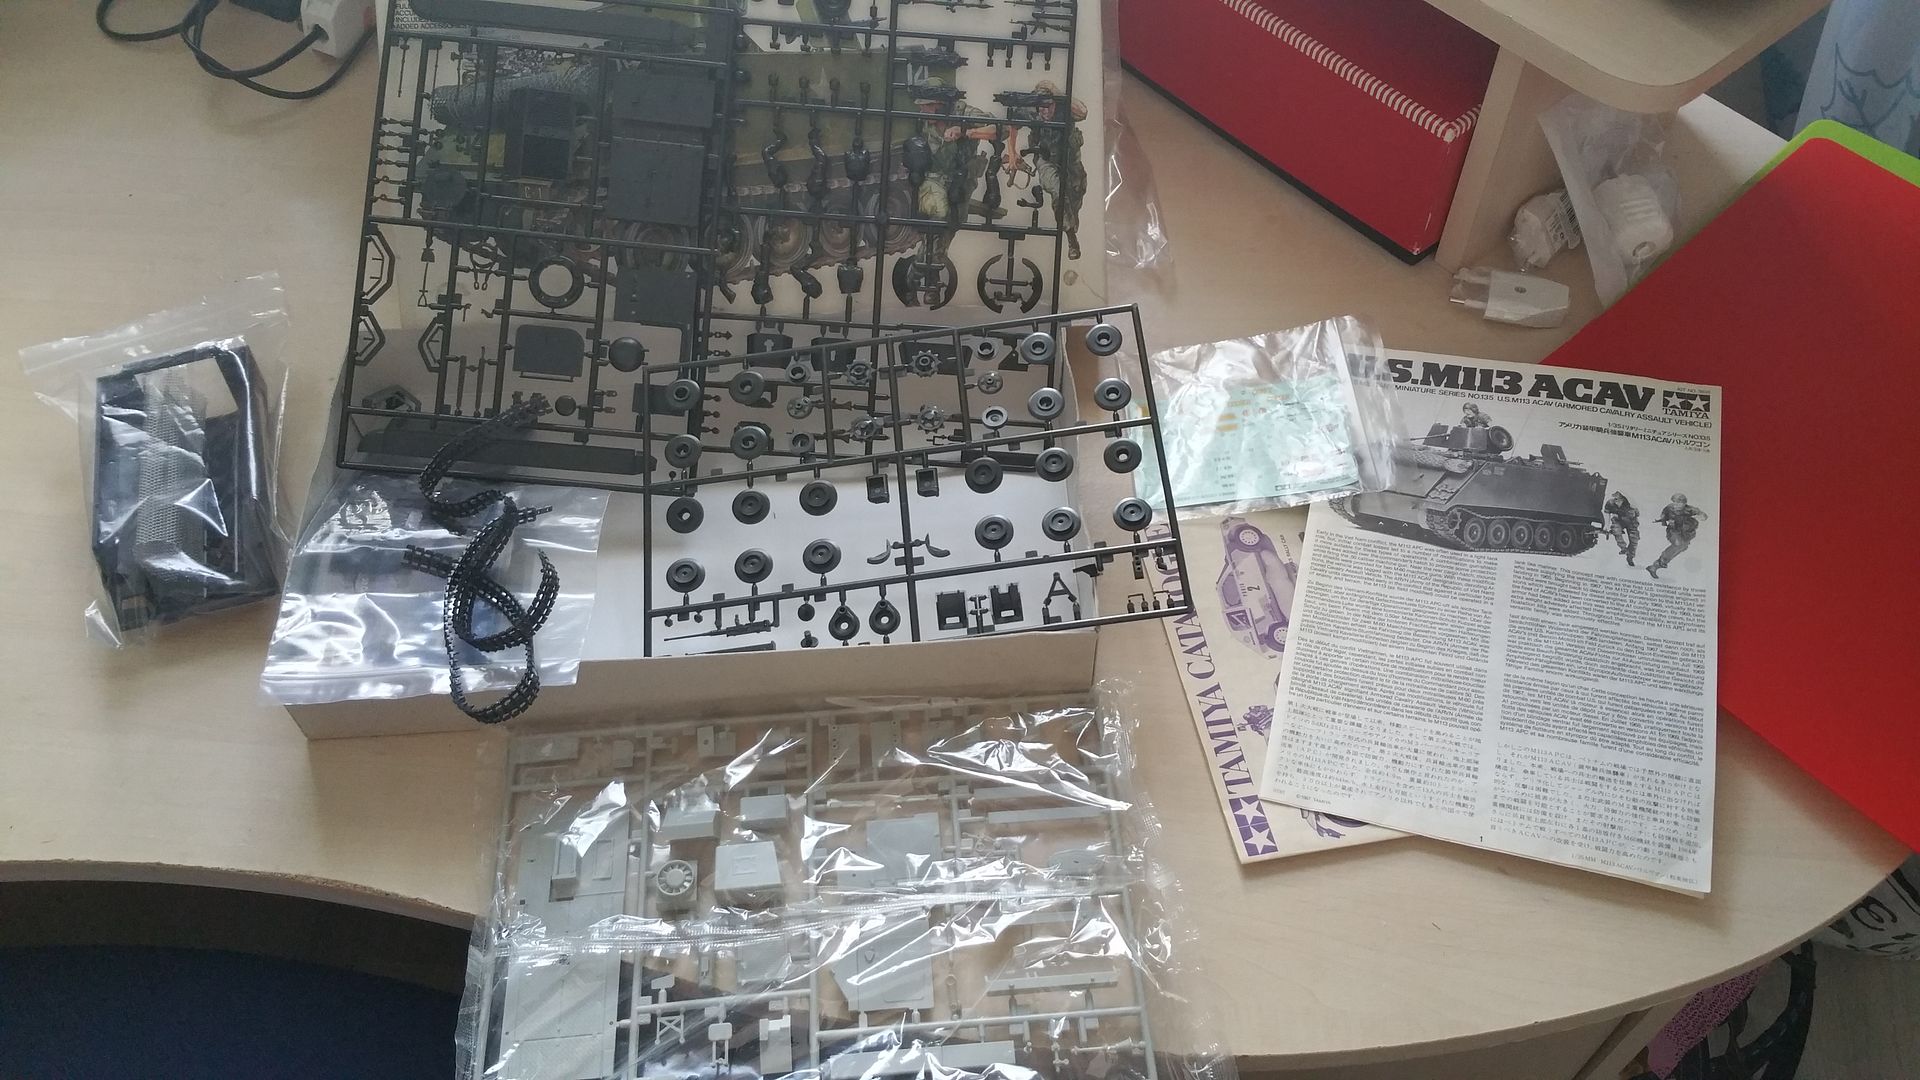
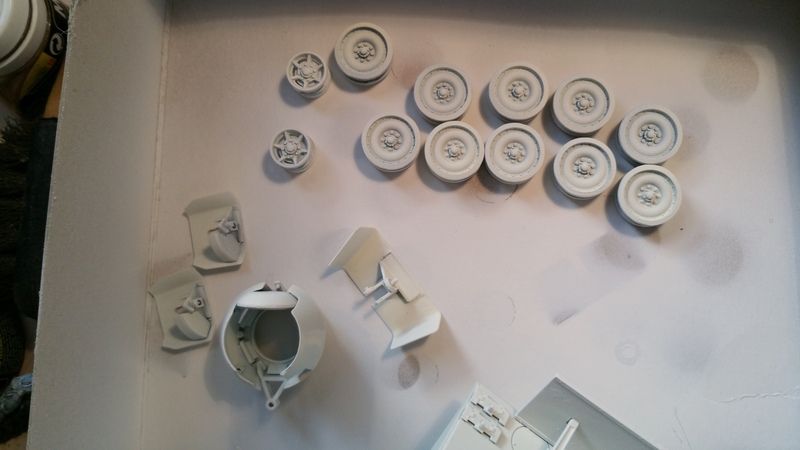
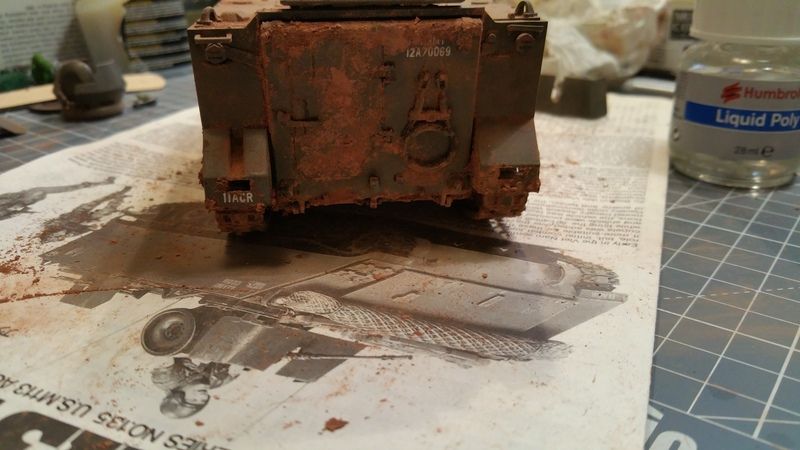
I forgot to again take pictures of it with the running gear on and tracks without and weathering, I forgot. The tracks were the old rubbery things from Tamiya and as this was an old kit they were quite scrunched up, I got them as good as I could by getting a bowl of hot water, soaking them in it this, then using some staples I attached weights to one end and a strong peg to the other and hung them up on the washing line, after 3 times most of the worst kinks were out, they are still bloody awful though.
Tracks were stuck on with superglue and the little pins melted. I may actually tie them down with thread, not decided yet, if I go this way, would need to muddy up the tracks more.
So then just went round dusting everywhere, some places getting thicker amounts others not so much. I used make up brushes and Ultimate thinner to fix some of it.
Image

Image

Image

Image

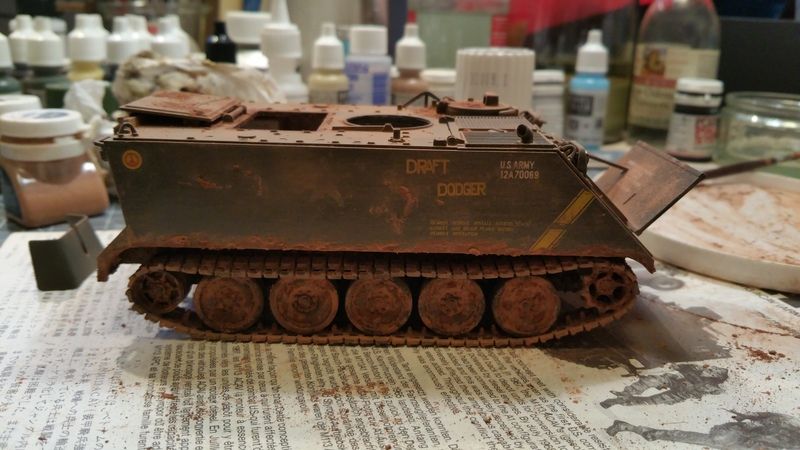
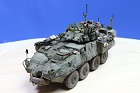
This is where I am at at present. Still to do more mud, more dust, add weapons and the few extras that came with the kit, more dust, do the crewman and the 2 others, more dust. I am trying to work out what Dio to do or even if I will do one.
Post Reply

Return to “Builds”