hi guys
so the build hasn't been going according to plan
the photo etch upgrades i had ordered long before this build started haven't showed up yet so instead of the Jagdpanzer IV i started with the Sherman
it was this kit
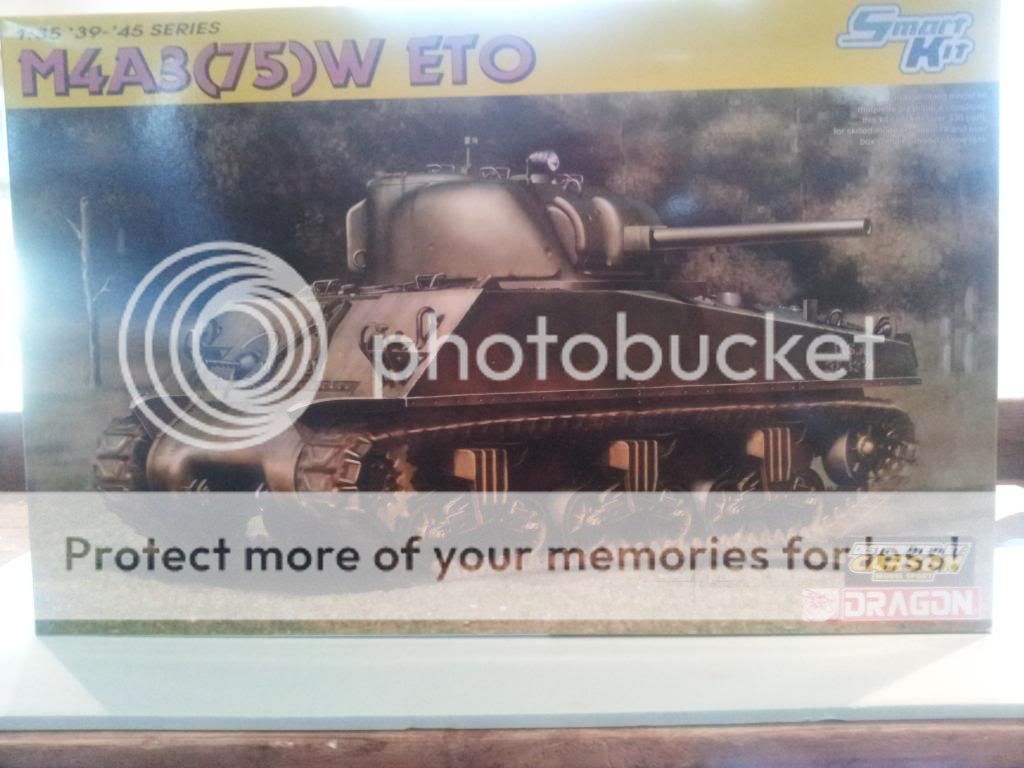
a 2011 release by Dragon wich after a check on scalemates proved to be a older kit with some new parts
in the end it was about a single sprue i think as most of the parts looked older with solid molded on handles and that kind of things
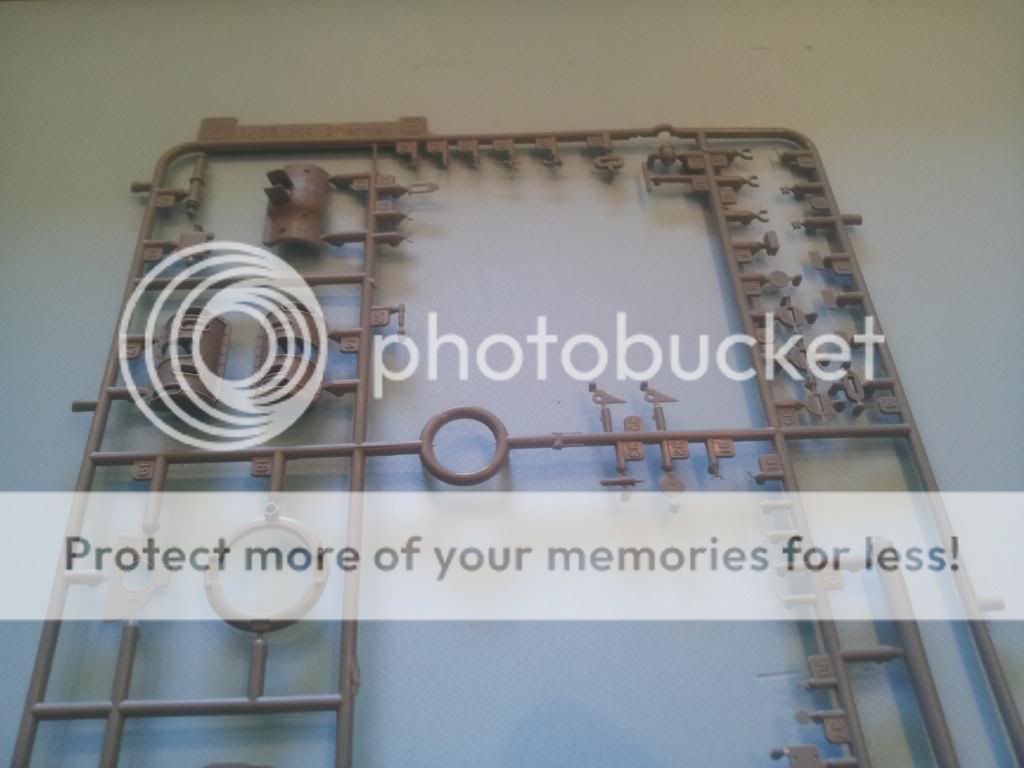
but here are some pics of the content of the kit
i put these on the forum before when i made a review of this kit so i have a few more then just the sprueshots
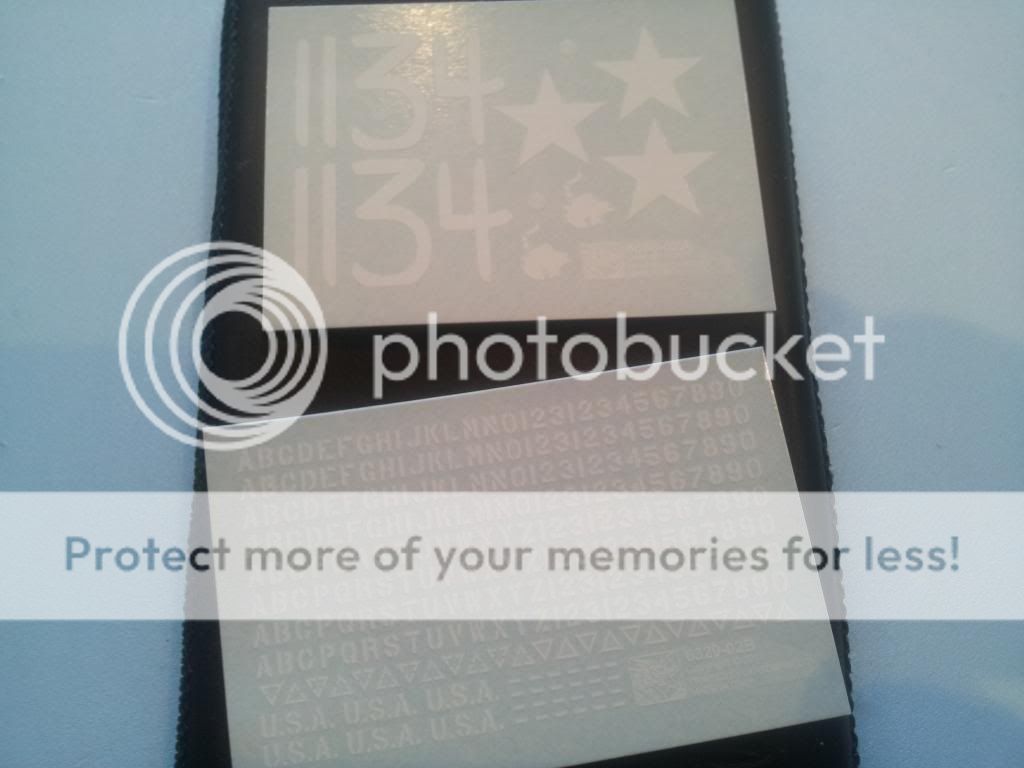
the decals with enough numbers to make your own custom vehicle number
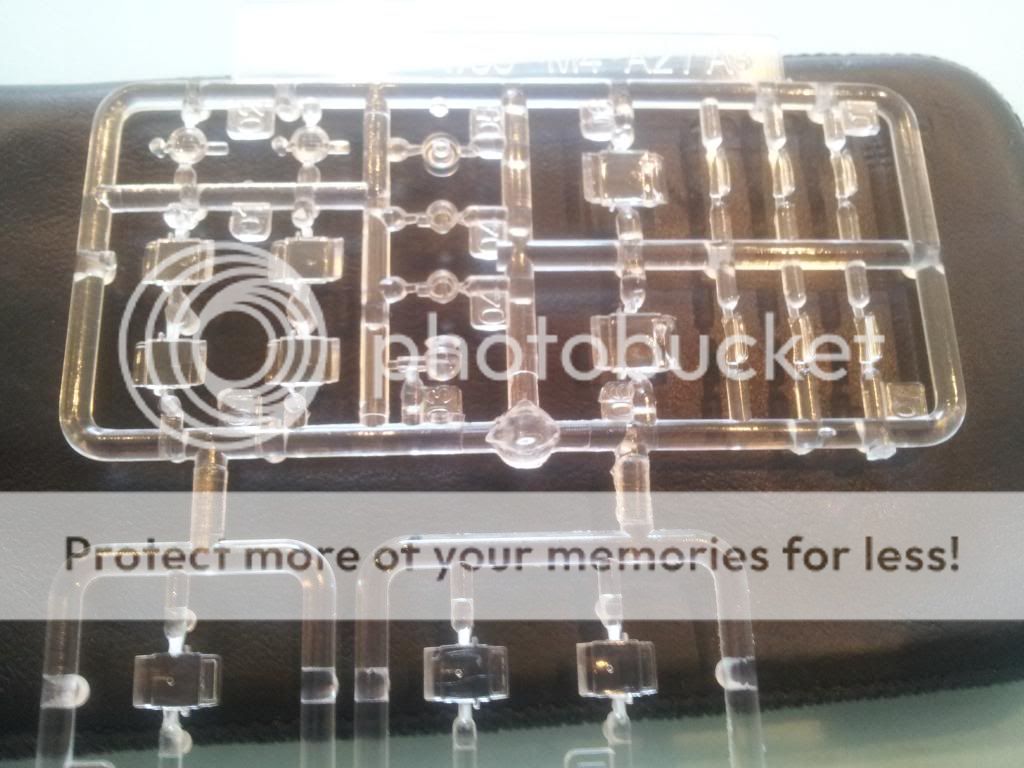
some clear parts for the periscopes and lights

a little fret of photo etch
it looks decent but not the best i have ever seen
the number where all mixed up but there aren't that many parts on it so you can find what you need on it fairly quick
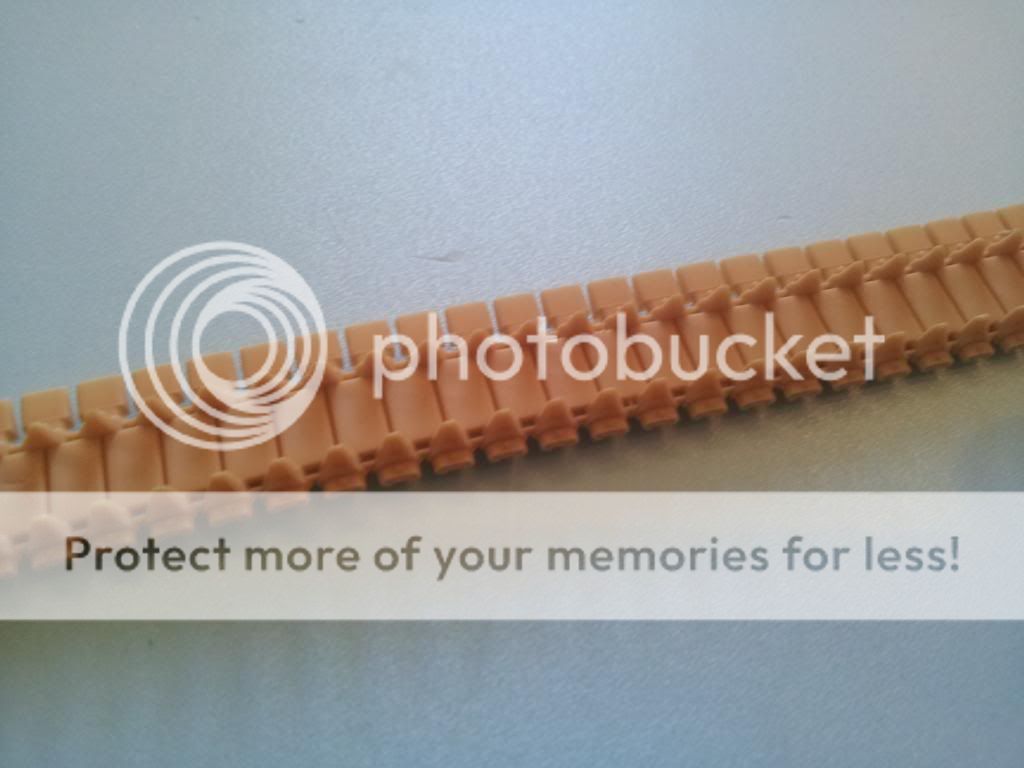
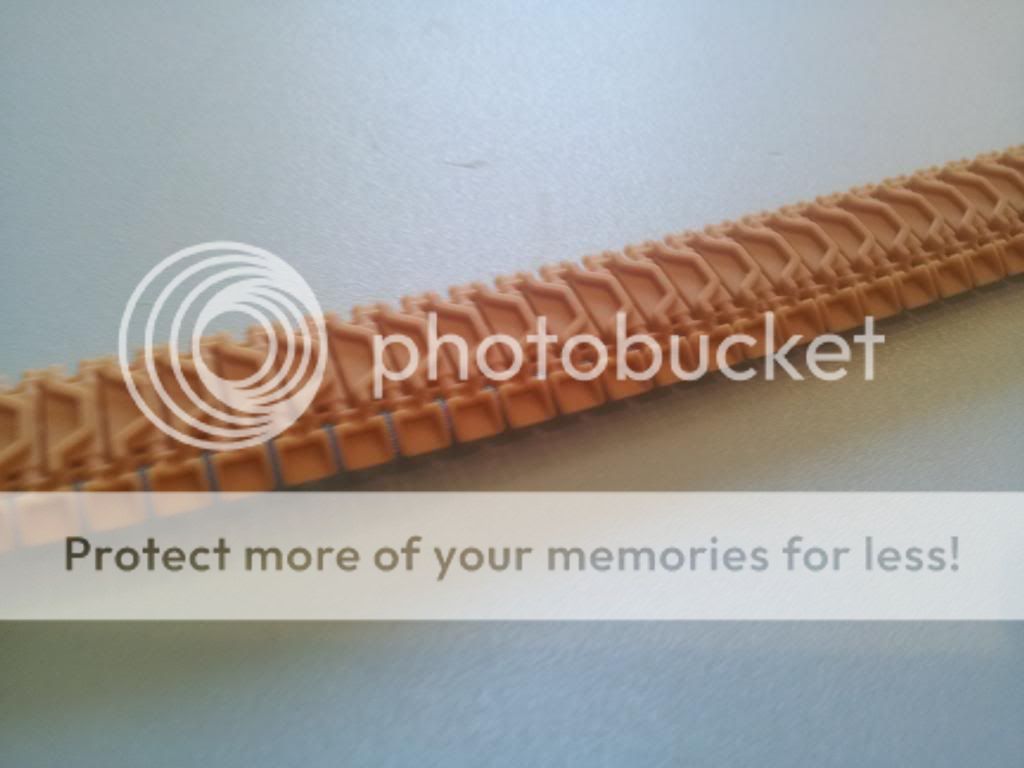
for once i don't mind the ds tracks
as a Sherman has some tension on it's tracks so no sag is present
so i don't plan to get some aftermarket tracks for it
a browning .50 mg
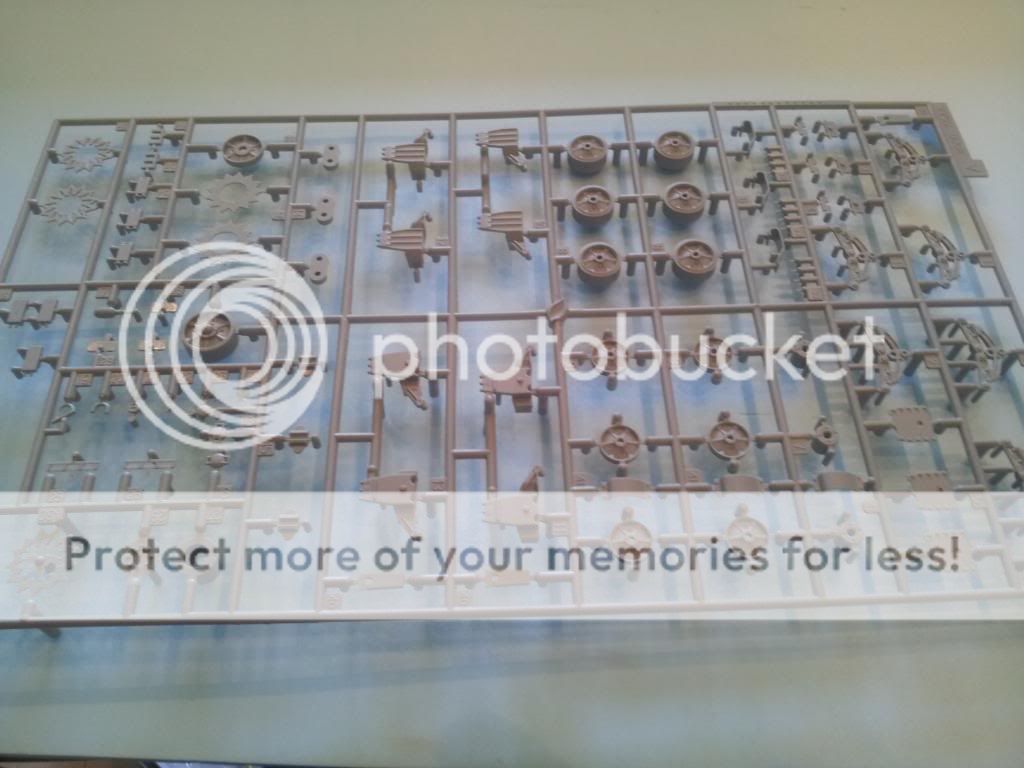
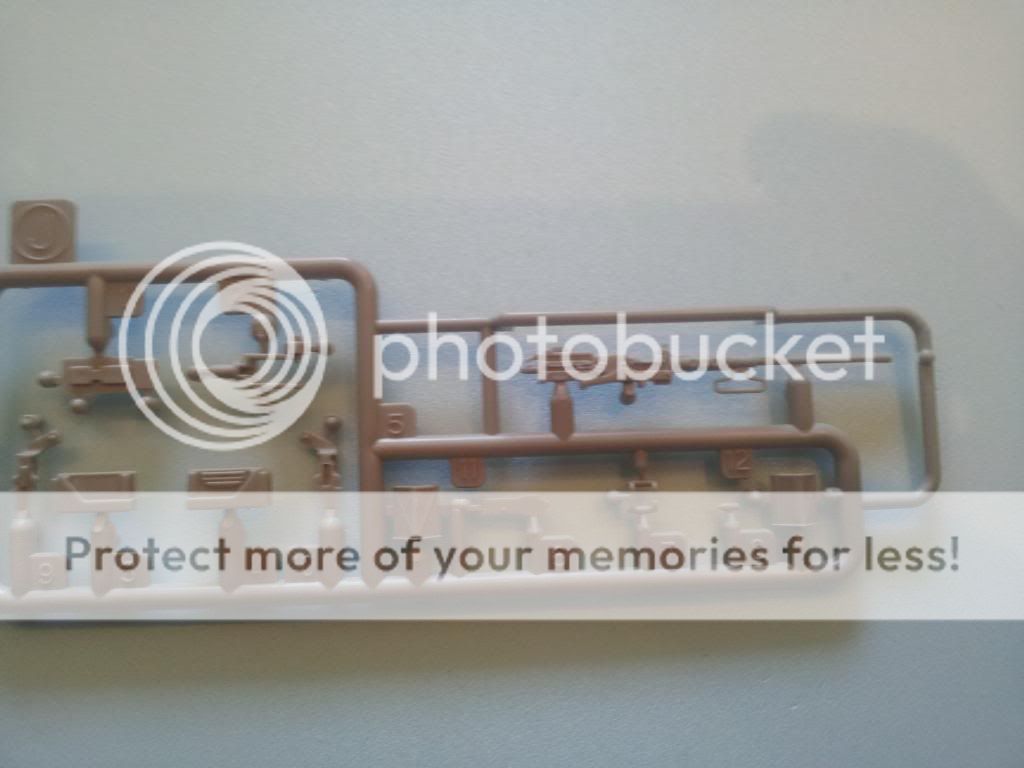
running gear parts
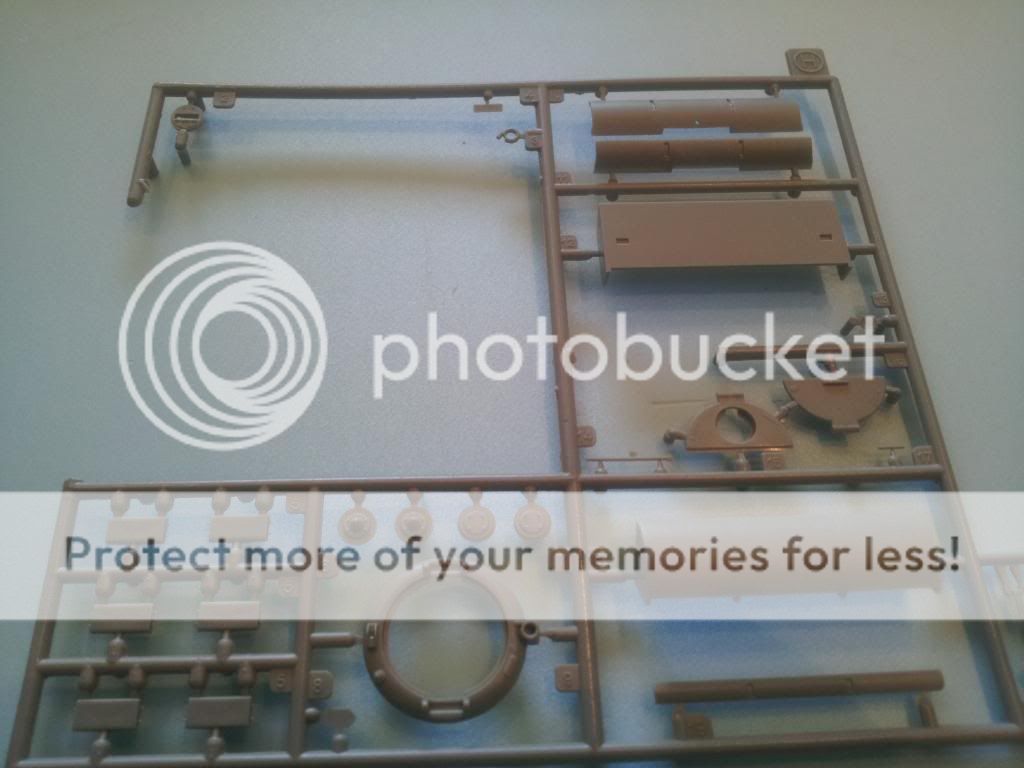
mixed bits and pieces
some are for the big exhaust cover on the back
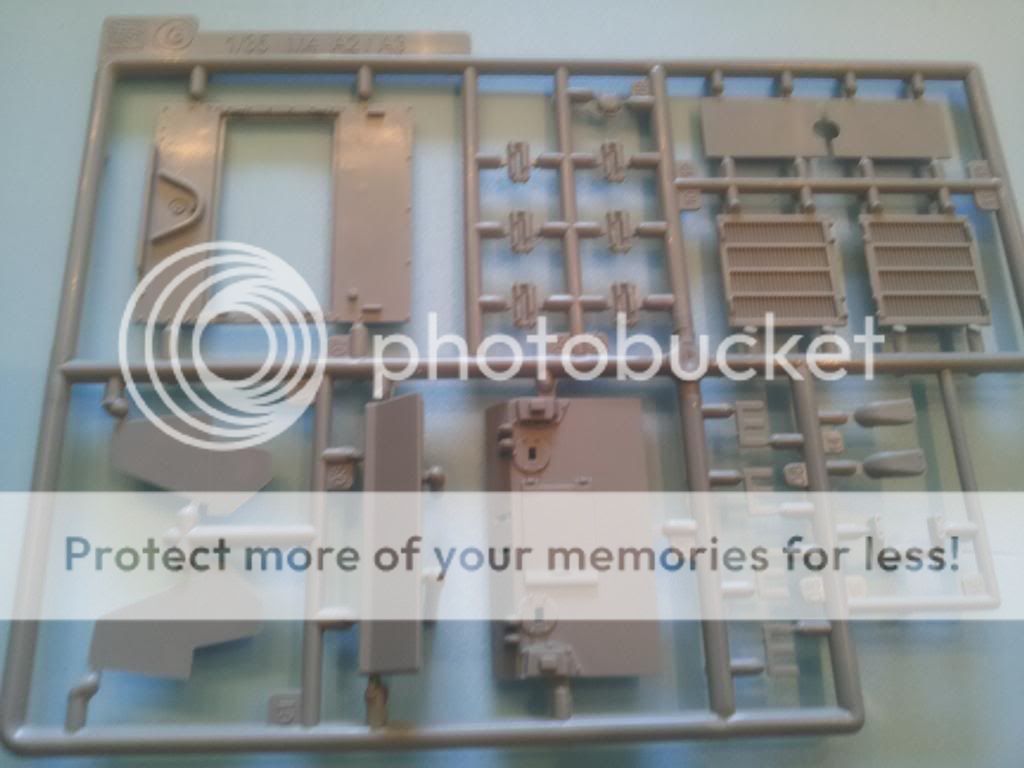
various other parts
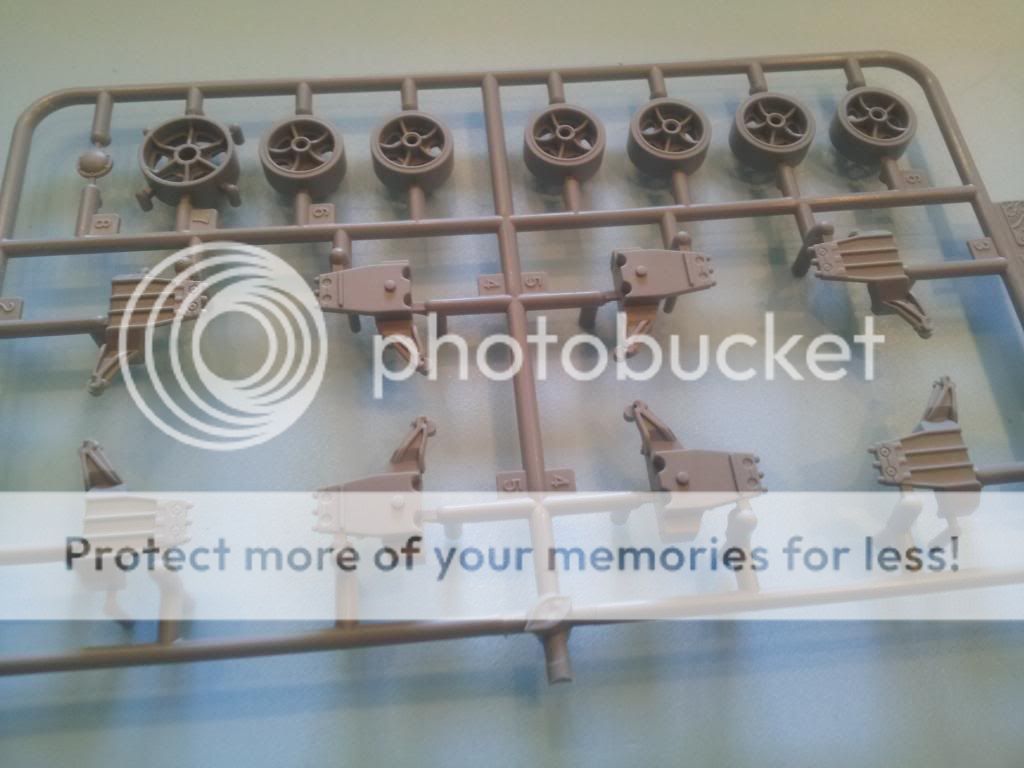
more running gear and wheels
the hull tub

turret and gun parts
the casting texture on the parts looks pretty good
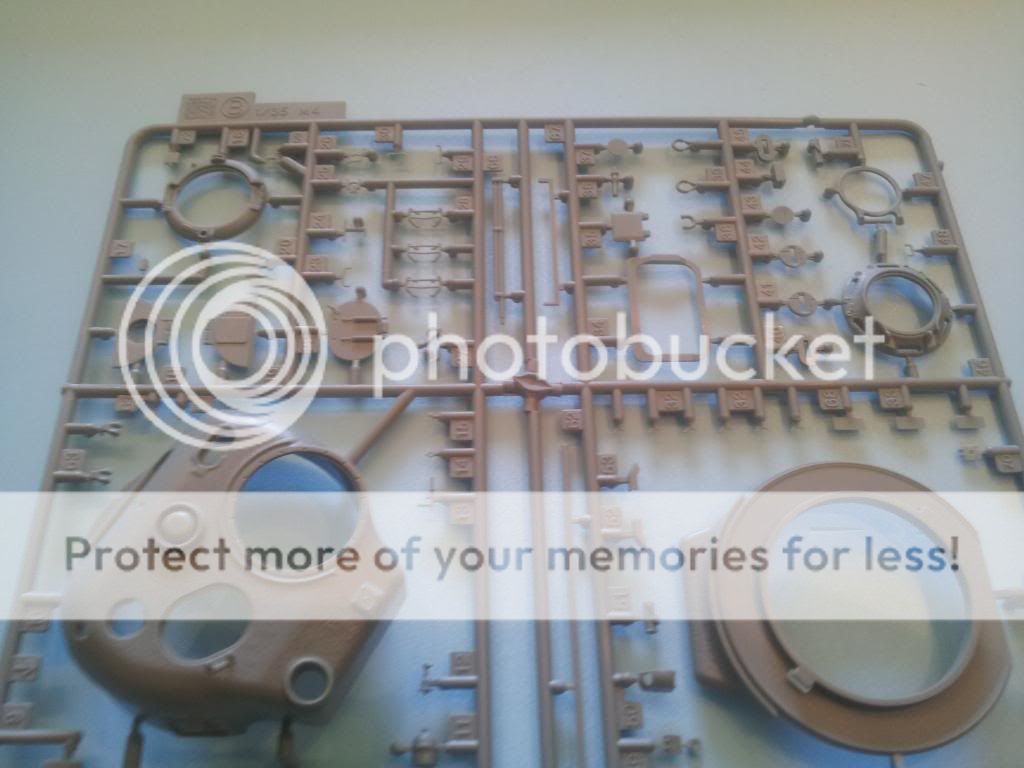

turret parts
again an nice texture on these parts
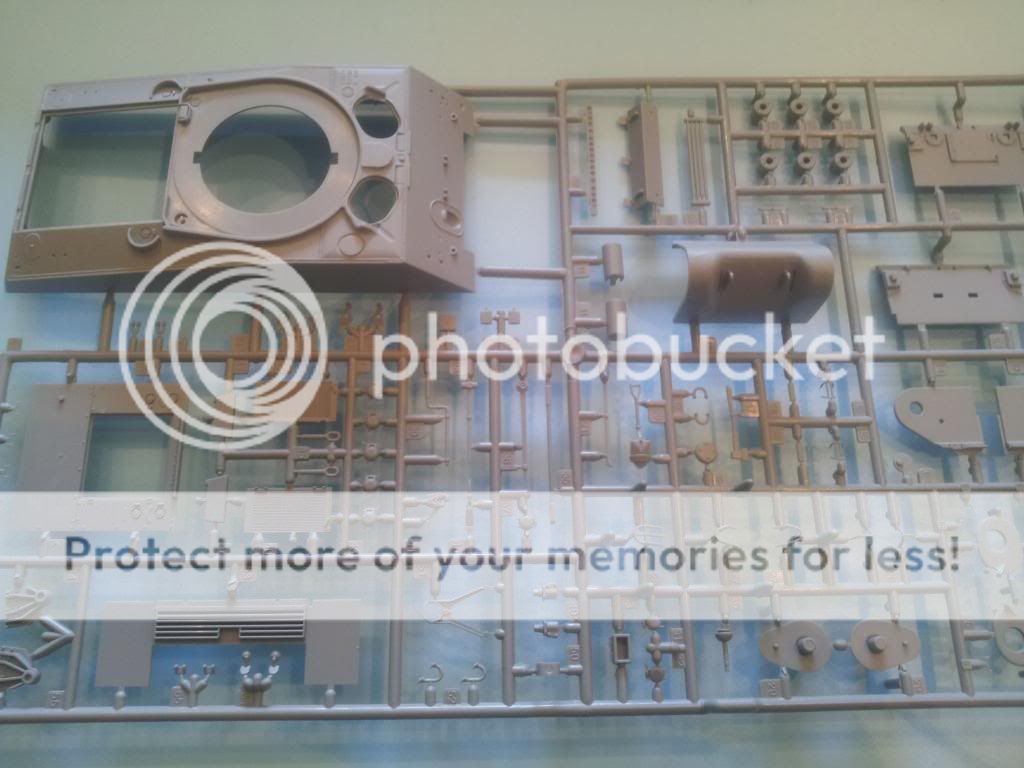
a big sprue with hull parts
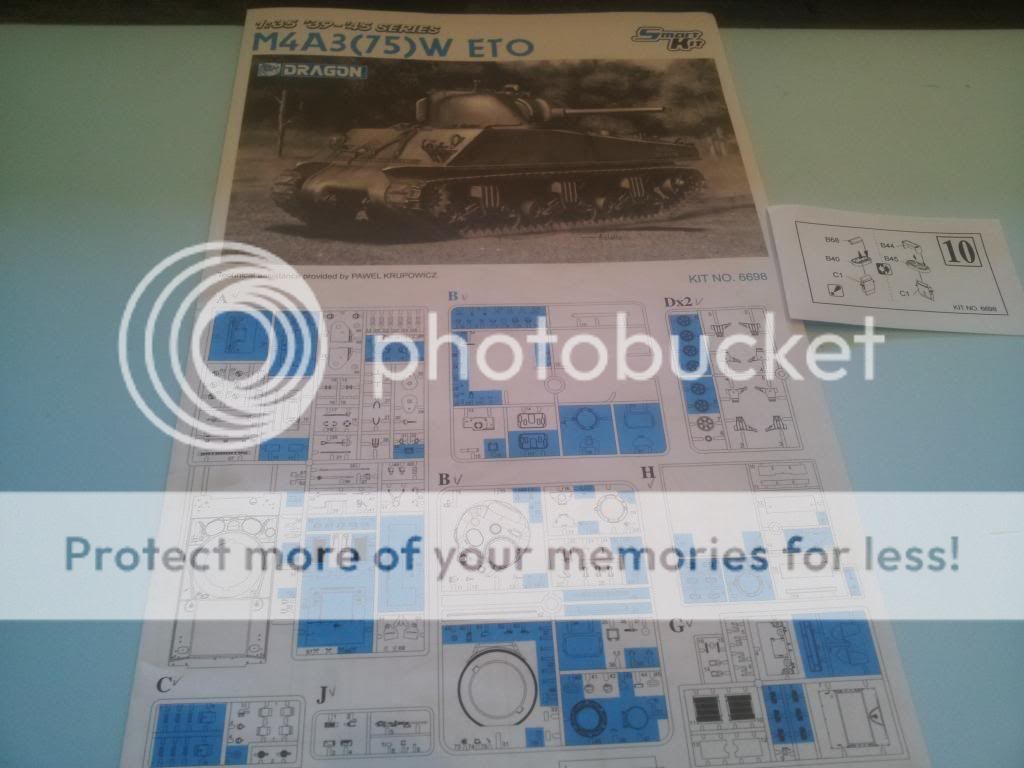
and finally some instructions and a correction sheet (needed to be bigger though i found more errors)
so to my untrained eye it looks pretty good but i never build this kit before and it is my first Sherman in several years since i made the Italeri kit a few years ago
so here is the building part for the Sherman
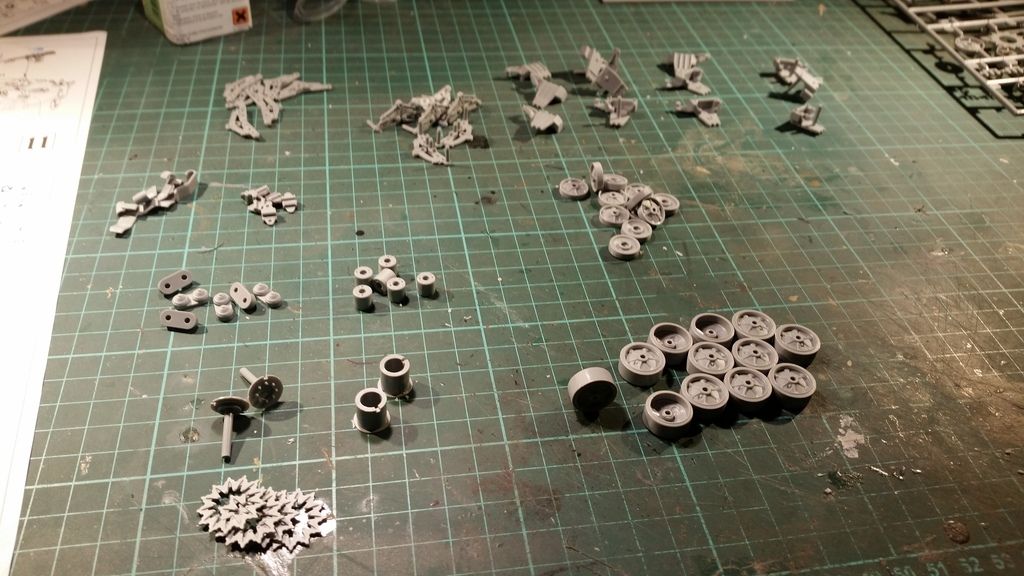
like with almost every armor kit you get to start with the wheels
i skipped that step untill i actuall needed the wheels for year s i don't like the big amount of clean up work
but these days i just do them first to get that task out of the way
as you can see you need a pretty big amount of parts for the 2 drive sprockets and 6 bogies
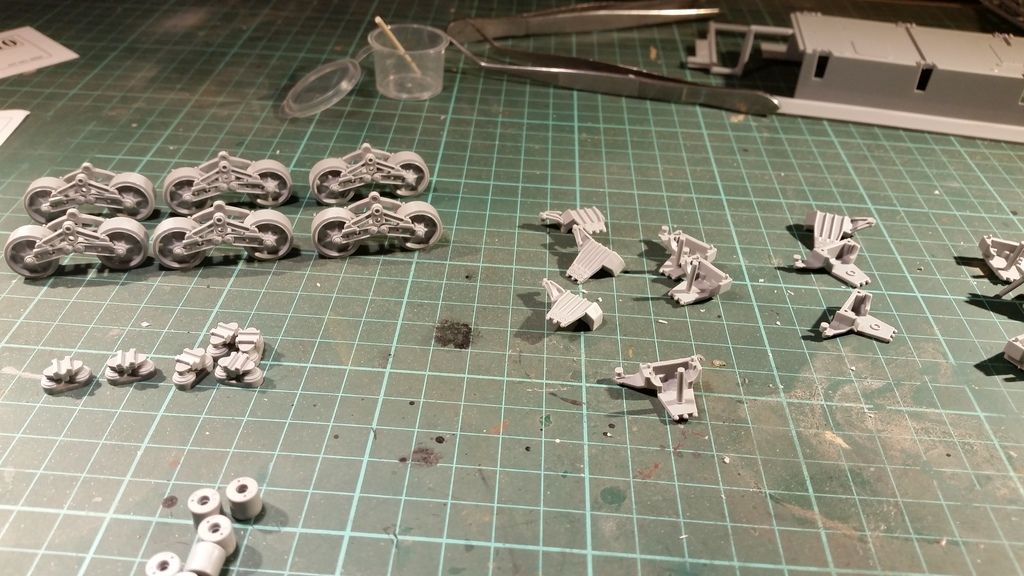
half way through the proces of building them
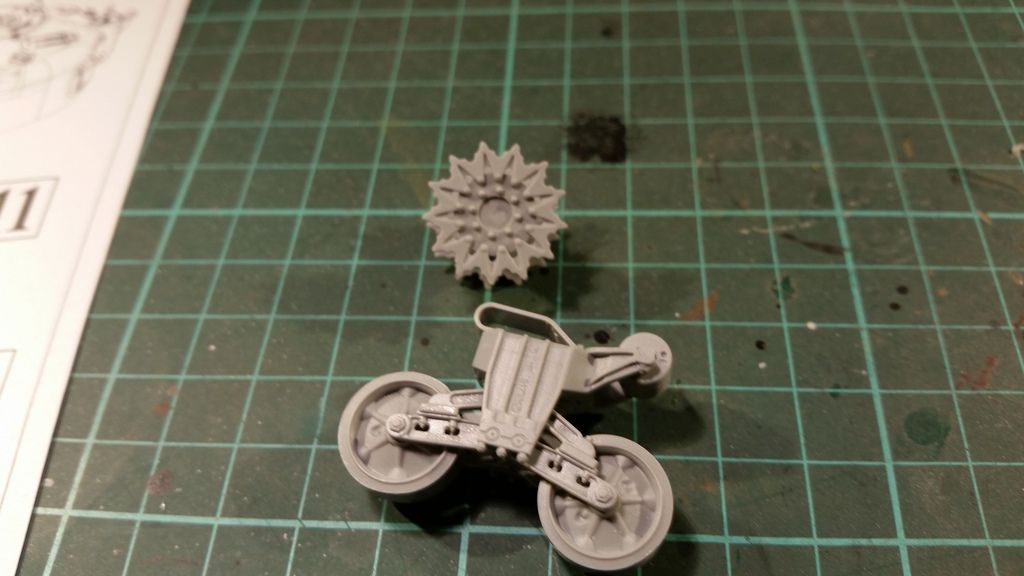
and the finished parts
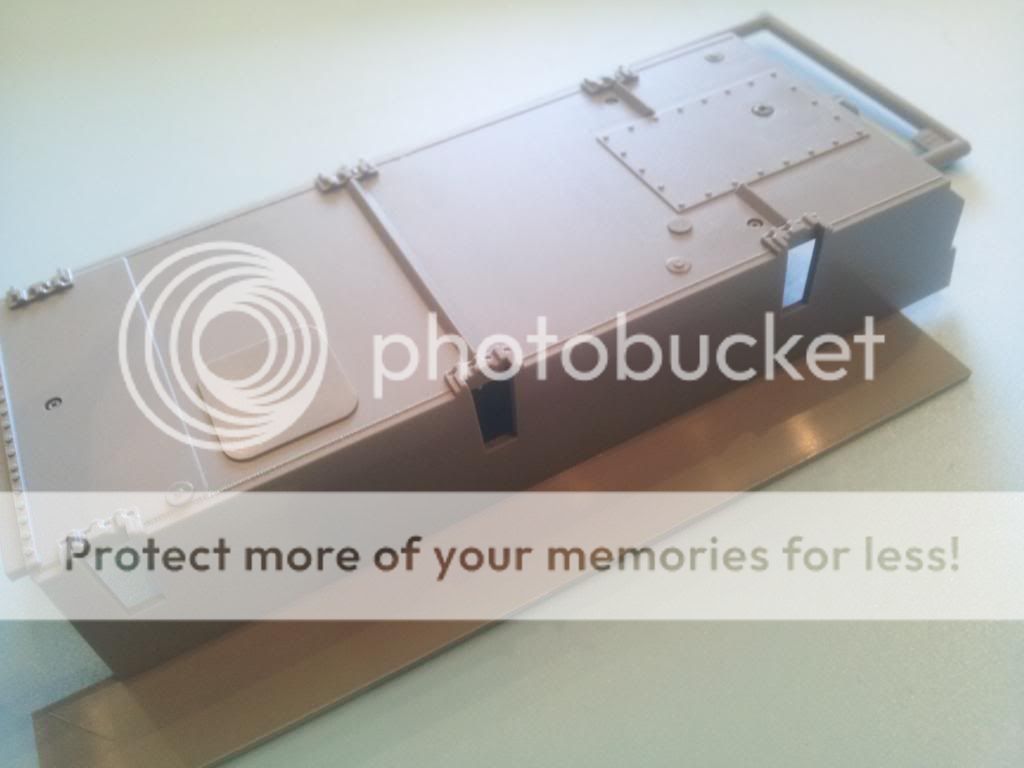
then you get to do some work on the hull
i don't get the idea of the sponsons
you need to add the last part to them but they are glued together on the thin sides of the part , there is nothing that reinforces them so i glued a trip of styrene on the inside to make sure they went on straight and that they are a bit stronger
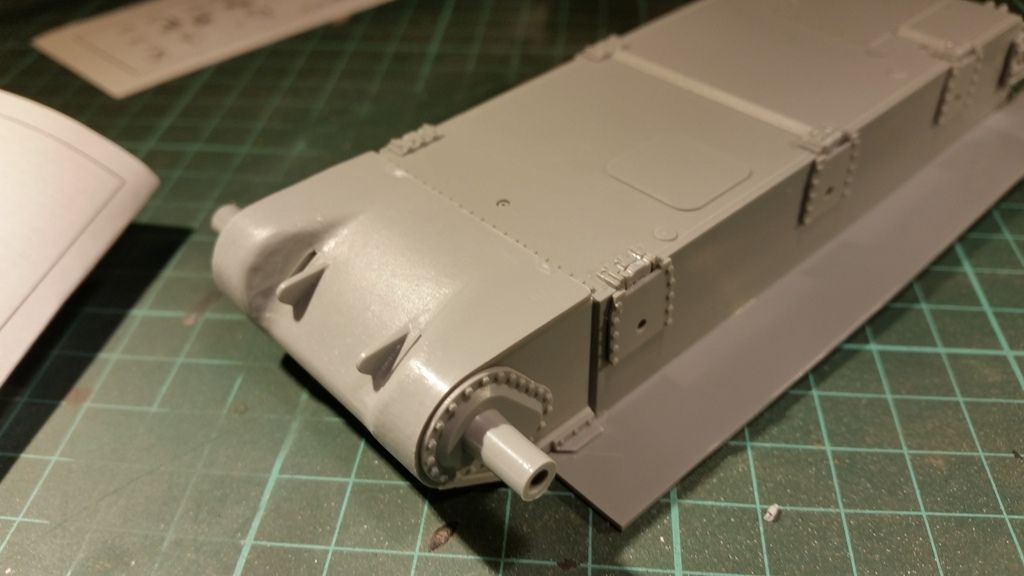
the rear of the hull is installed
i found the amount of detail a bit disapointing but it will be very hard to see later on
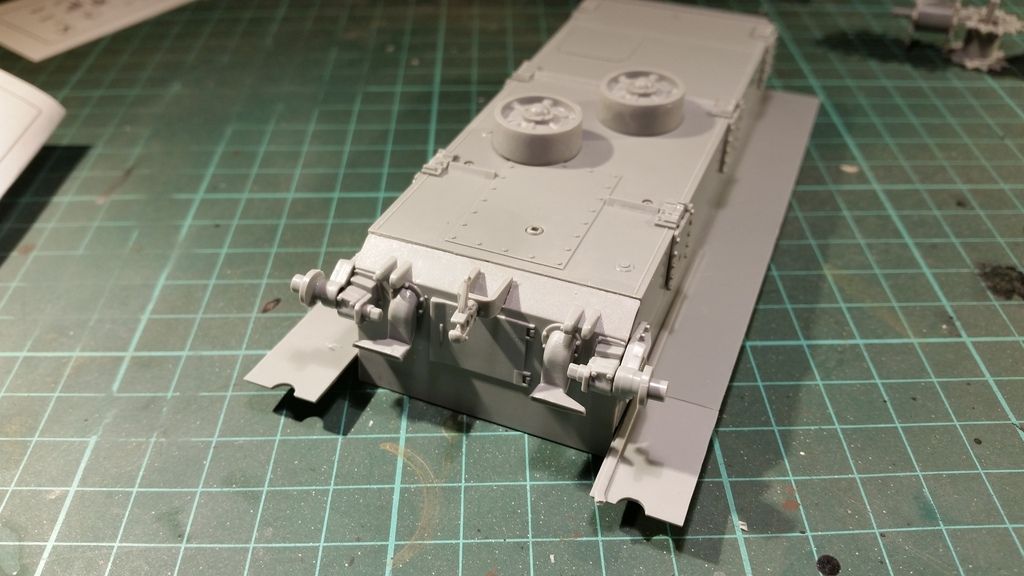
the front was glued on aswell
it just looks a bit weird to me as the transmission cover actually slides over the front of the hull (maybe it is just me)
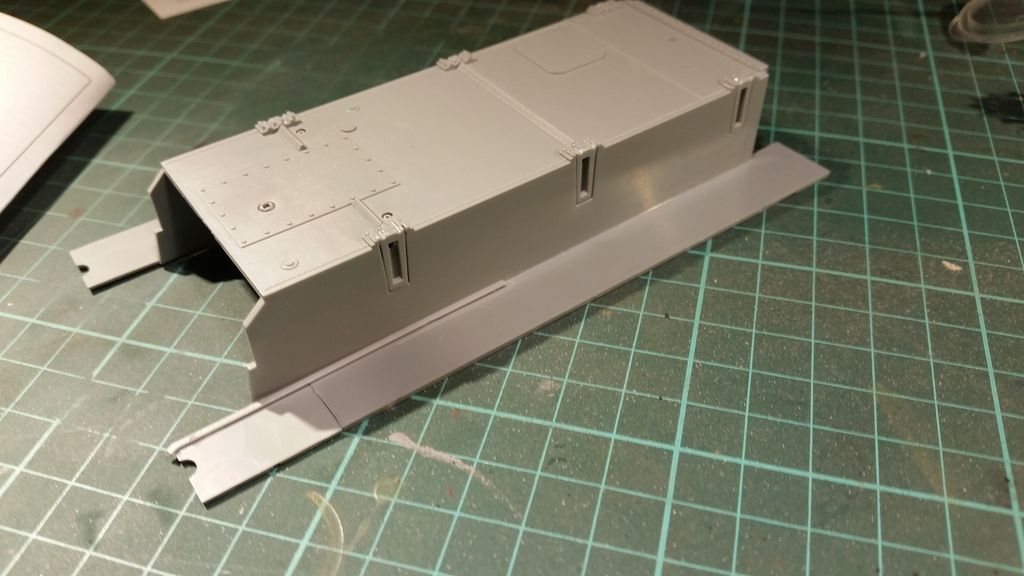
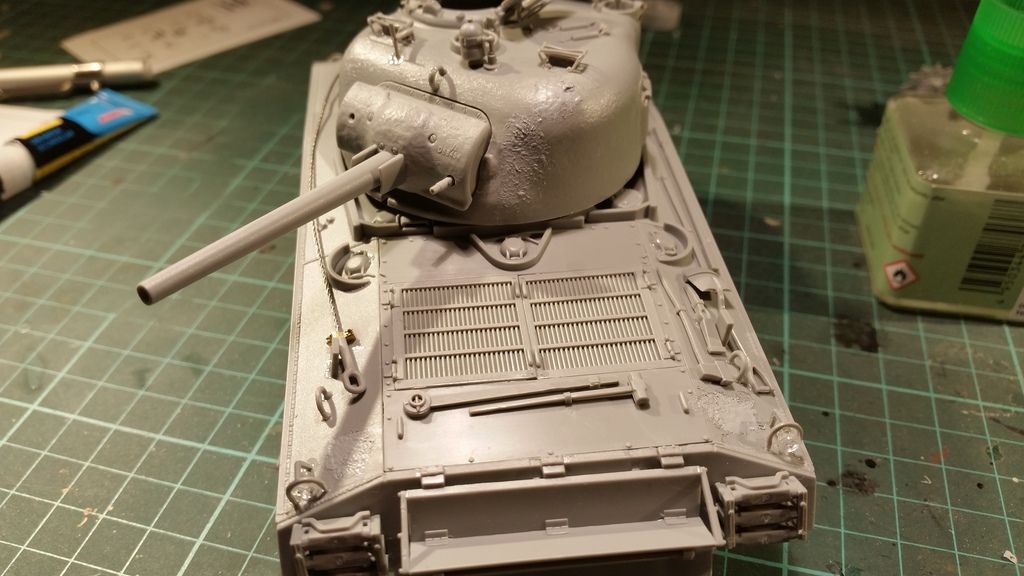
then the top of the hull was added
there was a slight gap where the bolted strip and the lwer hull meet but i filled it with some disolved sprue as a filler and that worked out fine and in 1 try

the engine covers where added
the holes for the tools are all filled in the kit so you need to drill them out before you glue the hull halfs together
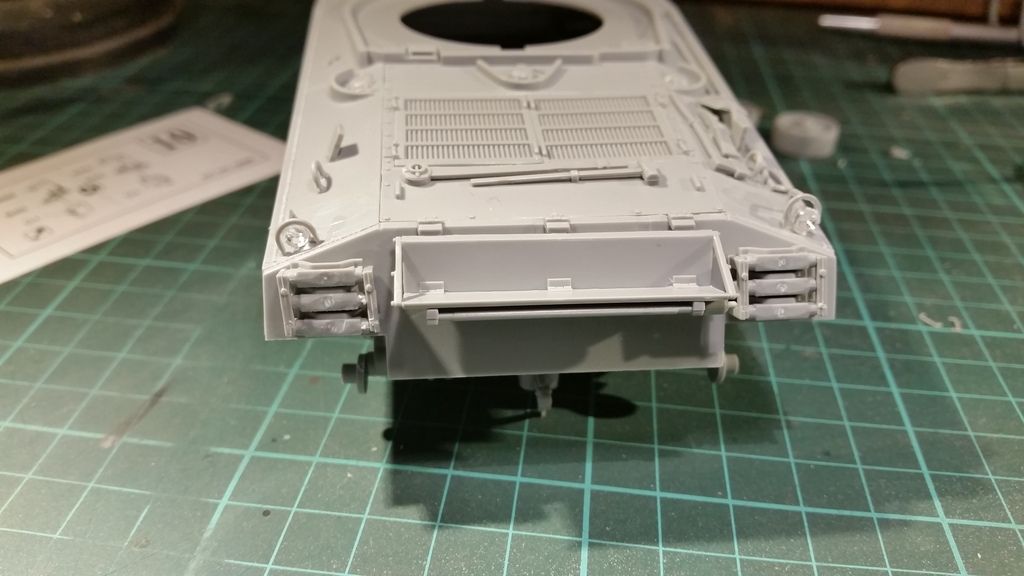
then the spare track links and stowage rack where added wich basicly completes the hull up to this point (as per instructions)
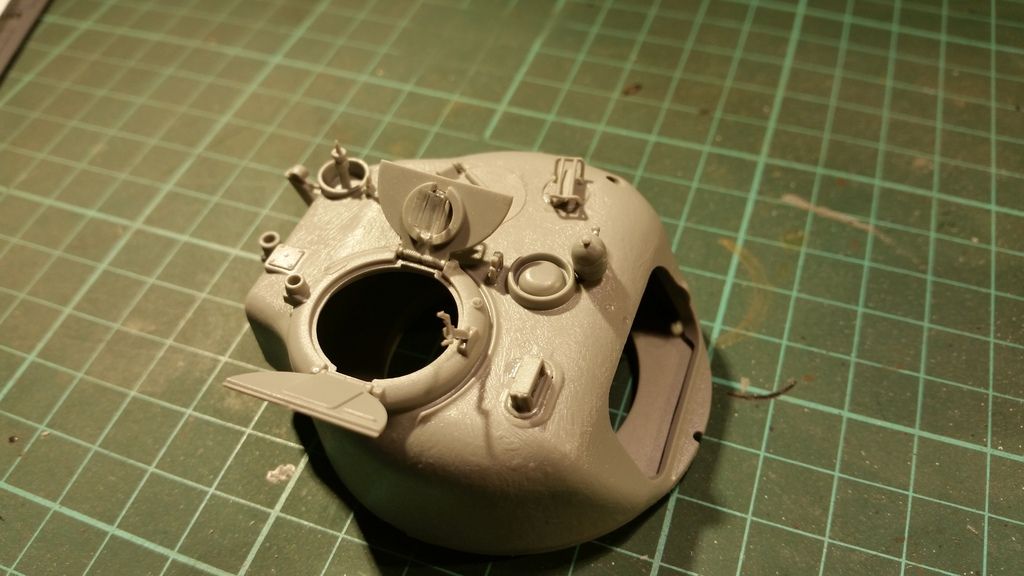
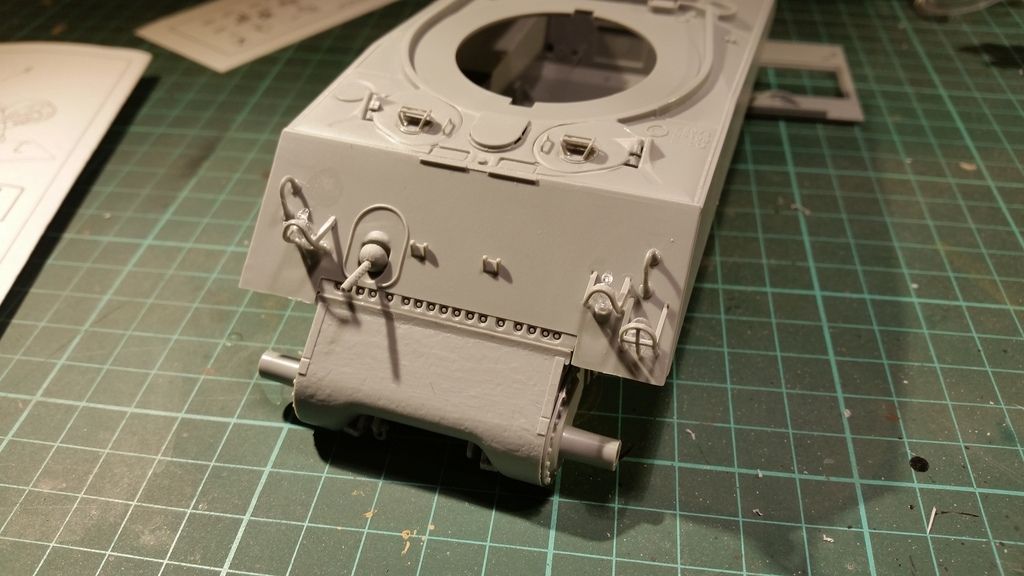
the turret was a real morale boost
this is actually 1 step in the instructions but they forget to tell you that you need to glue the bottom of the turret on it
more little parts are added
another booboo by dragon
that square ring you see in the turret (where the gun goes) it isn't even mentionned in the instructions so if you build this kit make sure you use it or the gun won't fit
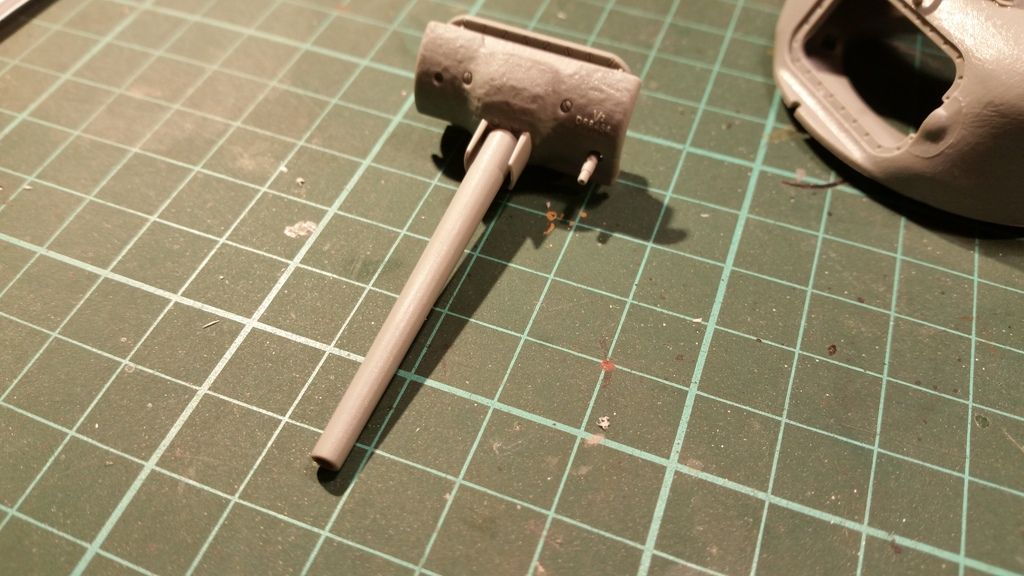
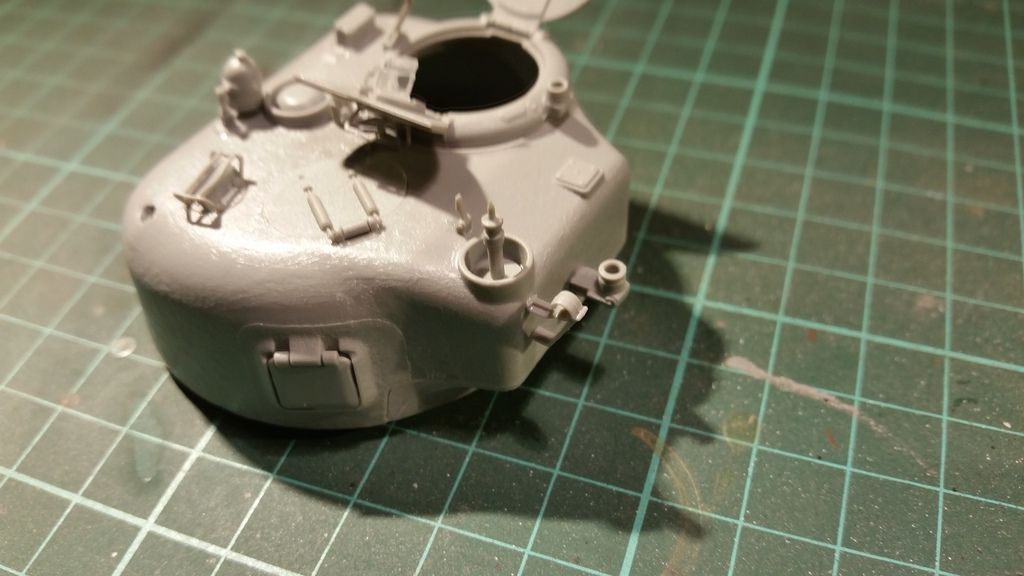
the gun assembly
too bad it doesn't come with the breech like with the german vehicles
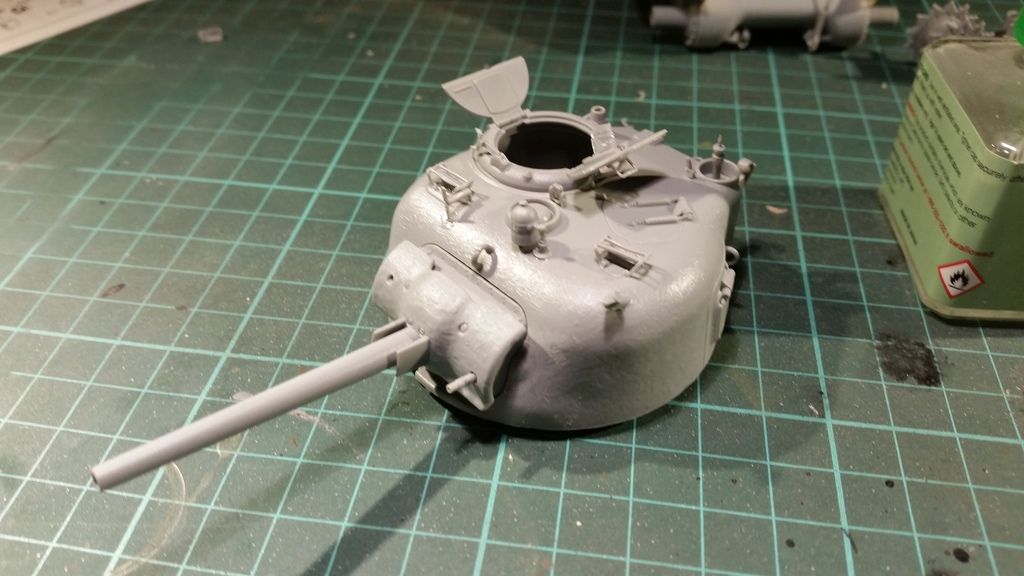
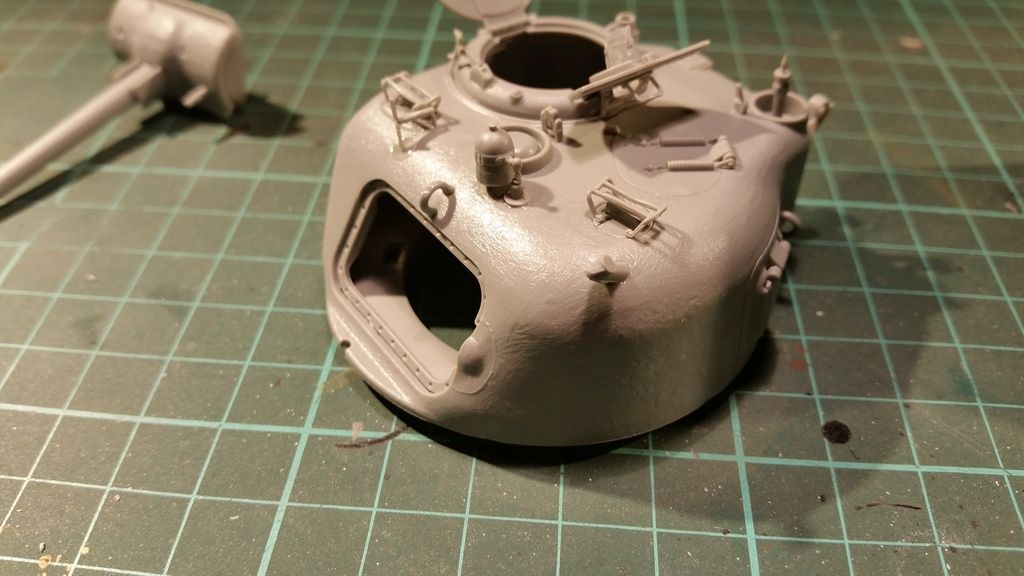
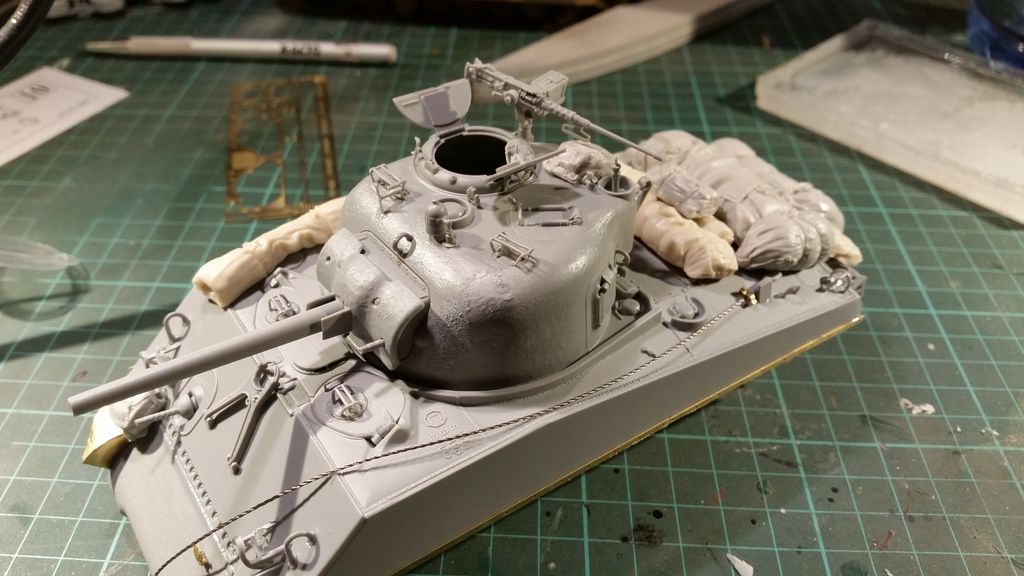
the gun was added

the browning mg was th last part to be added to the busy turret
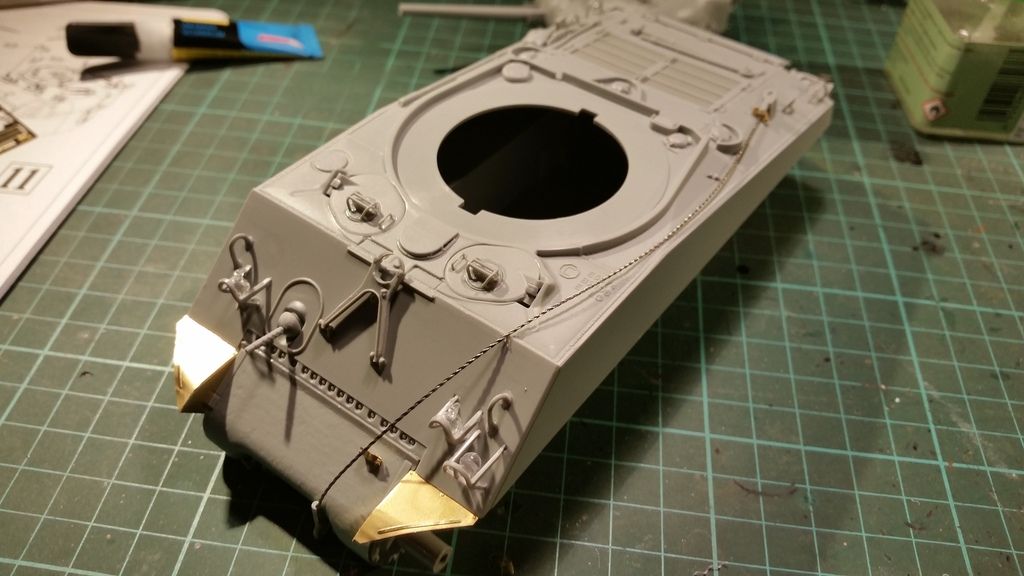
to finish it up i added the steel towcable and the pe fenders
they want you to cut the metal wire at 190mm wich proves to be a bit big so i made it 150mm long wich seems more correct to me
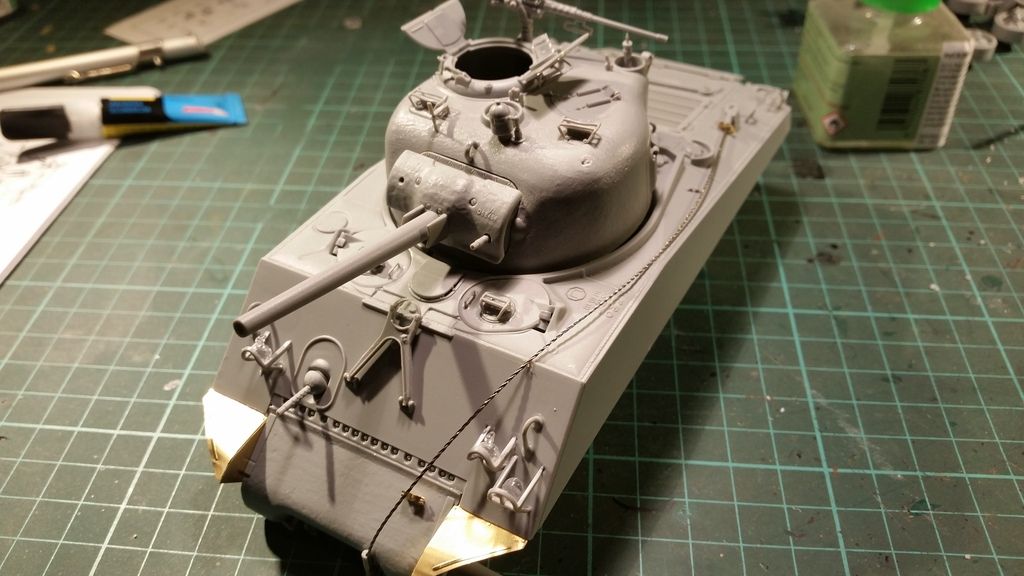
everything slammed together
i didn't see anything in the instructions that should be placed in the hole in the turret (upper left side) so i filledthat up with some sprue and finished that and other placed where the texture was damaged with some mr surfacer 1200
i picked up a few stowage sets last sunday so i played around with those a bit
this is roughly how it will look in the end
the set are from Blast models wich is from France i think (he was talking French anyway)
but the sets where pretty cheap and look good
they are actually ment for a M4 Sherman (grey parts) and a M-10 (yellowish parts)
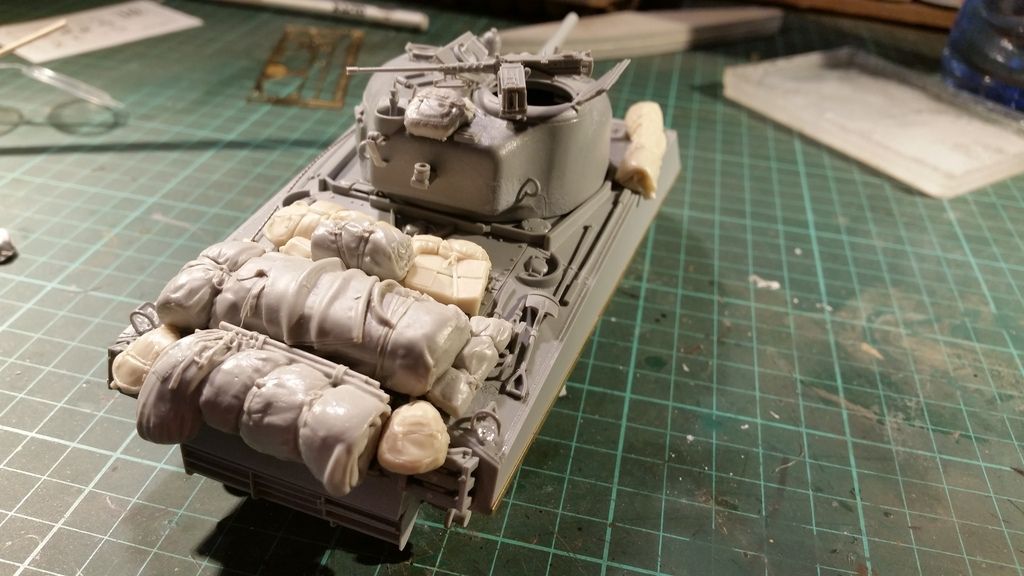
from a different angle
i plan on leaving off the tarp that is on the front as it doesn't look right to me in the end
so all the stowage will be concentrated on the back of the tank
and it leaves me with more free space on the front to play with some weathering and painting later
so that is all i have on the Sherman so far
it is still waiting for some paint but i will do that when i get to paint the Jagdpanzer IV aswell ,it saves me some time with the cleaning of the bench and airbrush
there is a slight change of plans though
like i mentionned before my pe sets haven't turned up yet
so while i was at a show i decided that i would have a look for a replacement kit and leave the old dragon kit for another day
so this
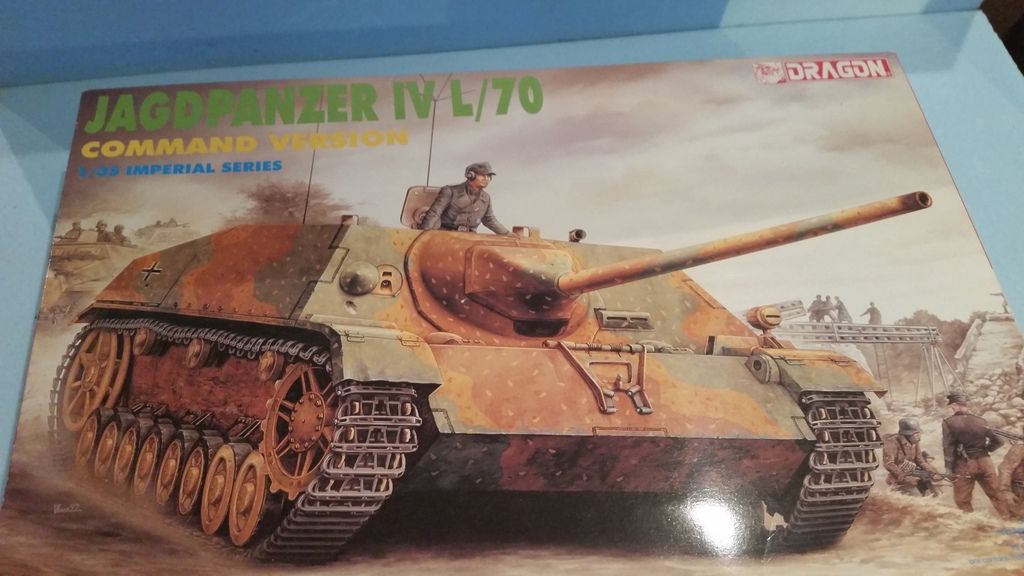
turned into this
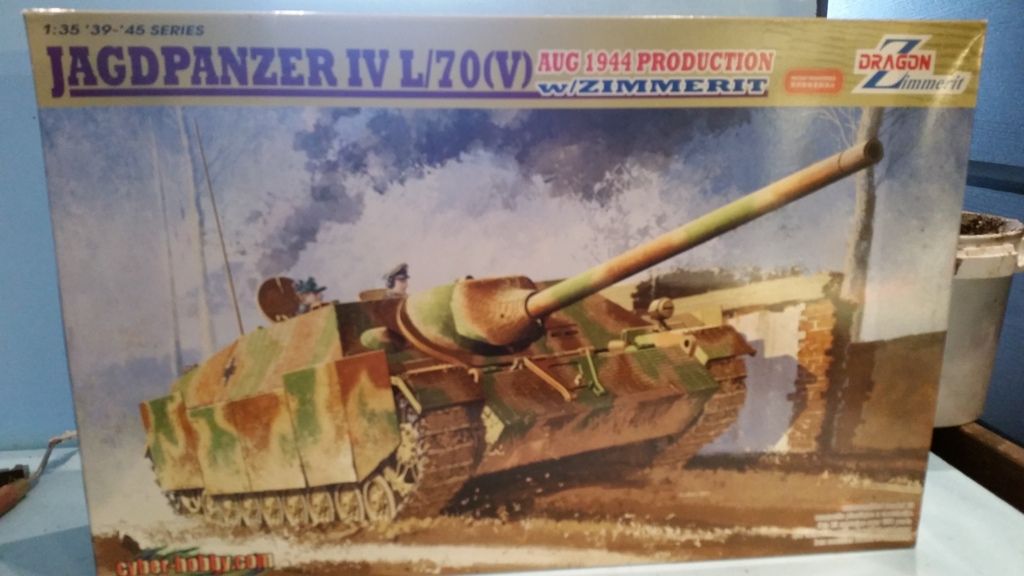
this is a more recent kit and i have build one in the past ,so i know i like the kit
as it will have some hatches open i am thinking about making some interior details
and i have some upgrades for it but more on theat in the next update
thanks for stopping by and see you soon
cheers ,Mark