Page 1 of 1
Tamiya 1/35 Panther Ausf. A
Posted: Fri Sep 02, 2016 6:53 am
by Snyder72
Here is my enter into the "I Heart Tamiya" GB...
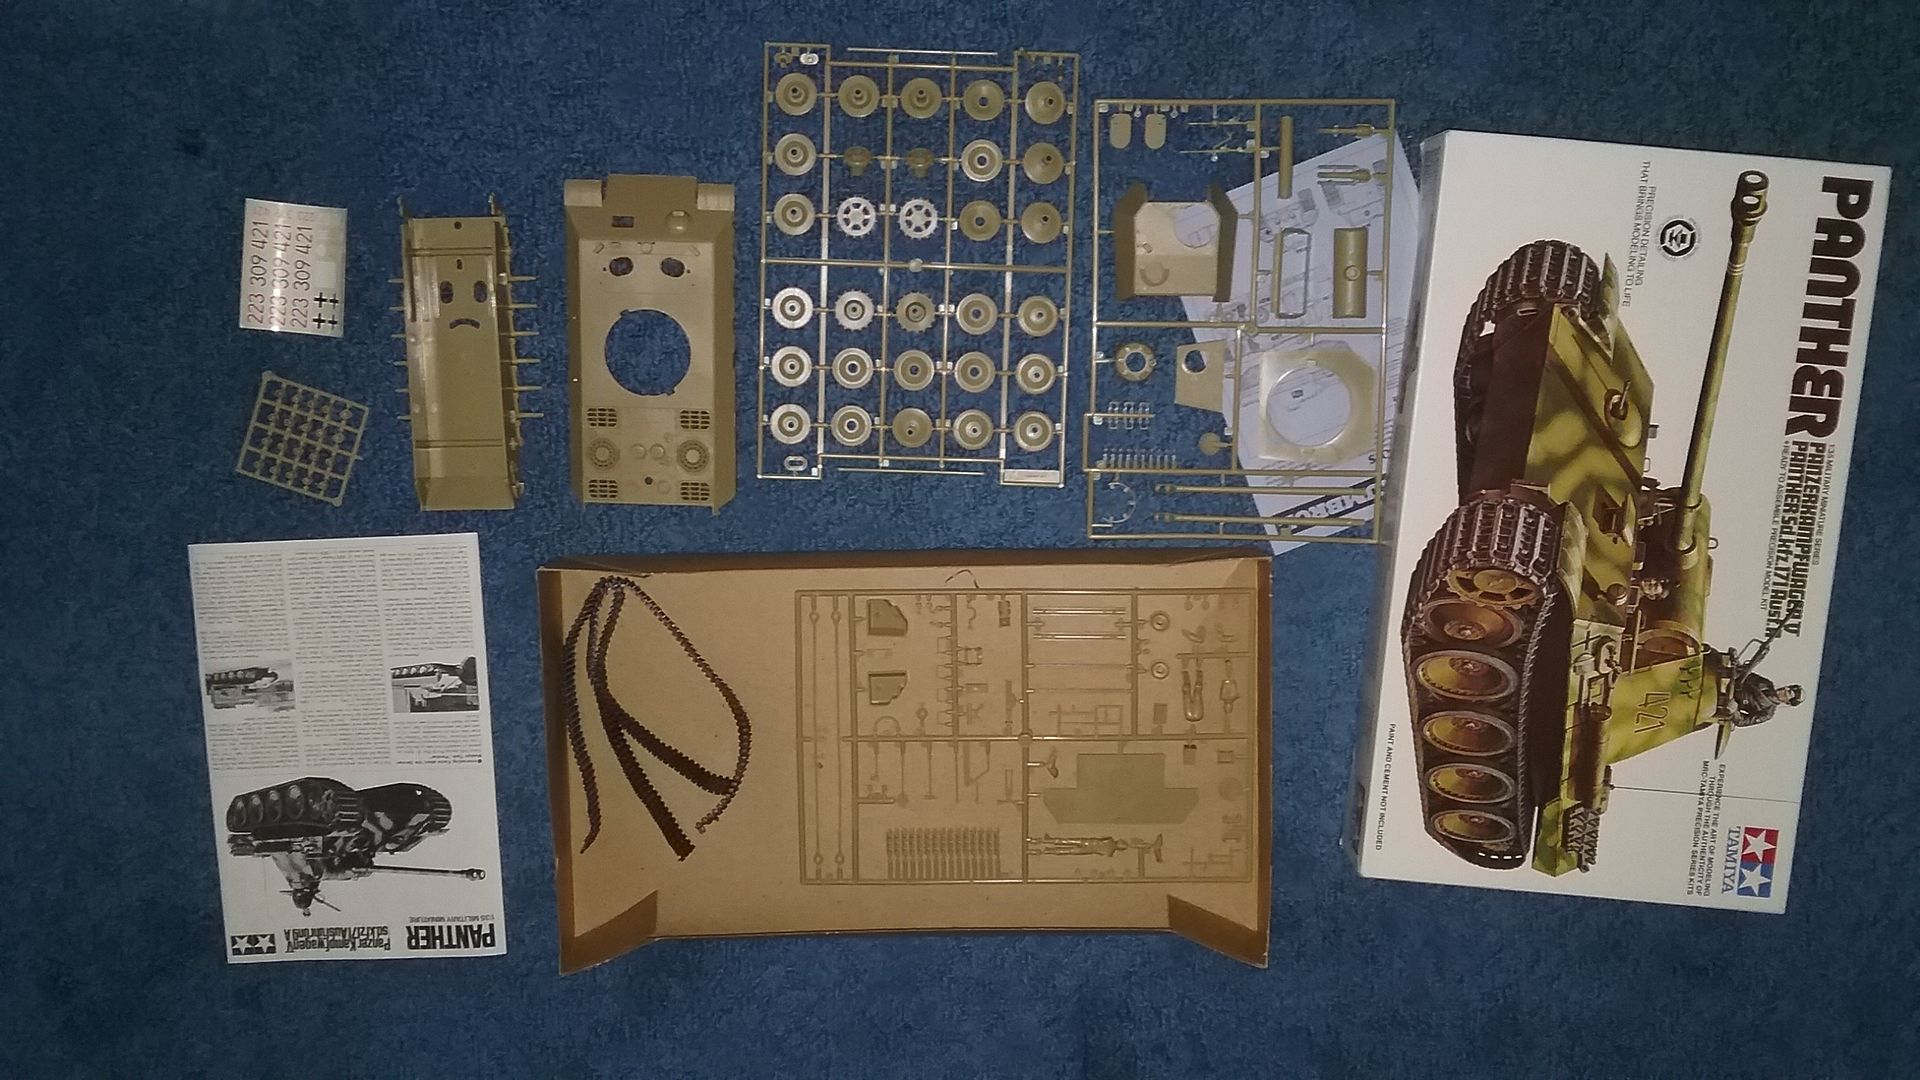
More to come...
Thank you
Re: Tamiya 1/35 Panther Ausf. A
Posted: Fri Sep 23, 2016 5:35 am
by Snyder72
Hello Everyone!!!
I was finally able to get some work done on the Panther.
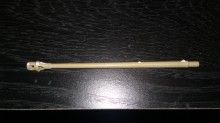
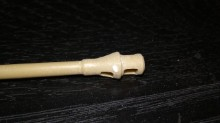
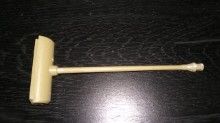
First, Since the mold was from 1969, I decided to tackle the 2 piece barrel. The fit wasn't that good, so I slowly glued it and held it for over an hour to try to get it to align & not want to bend with the warp that was in it...
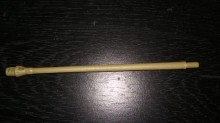
After gluing
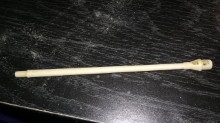
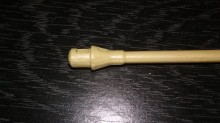
After initial sanding
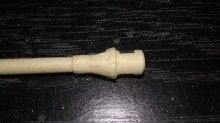
After filling
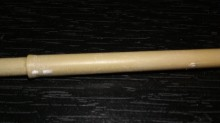
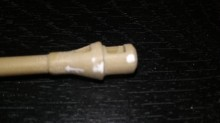
Hopefully, final sanding
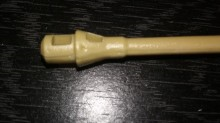
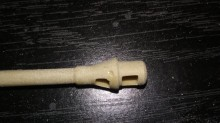
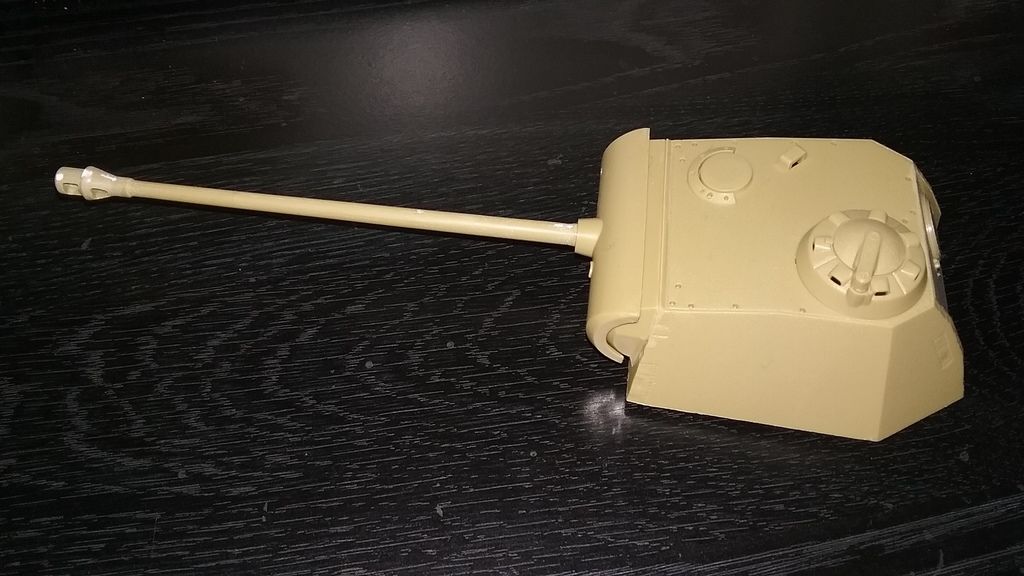
Then I finally got the barrel and mantlet assembly together.
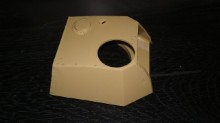
Then started on the turret. The fit wasn't great there either...
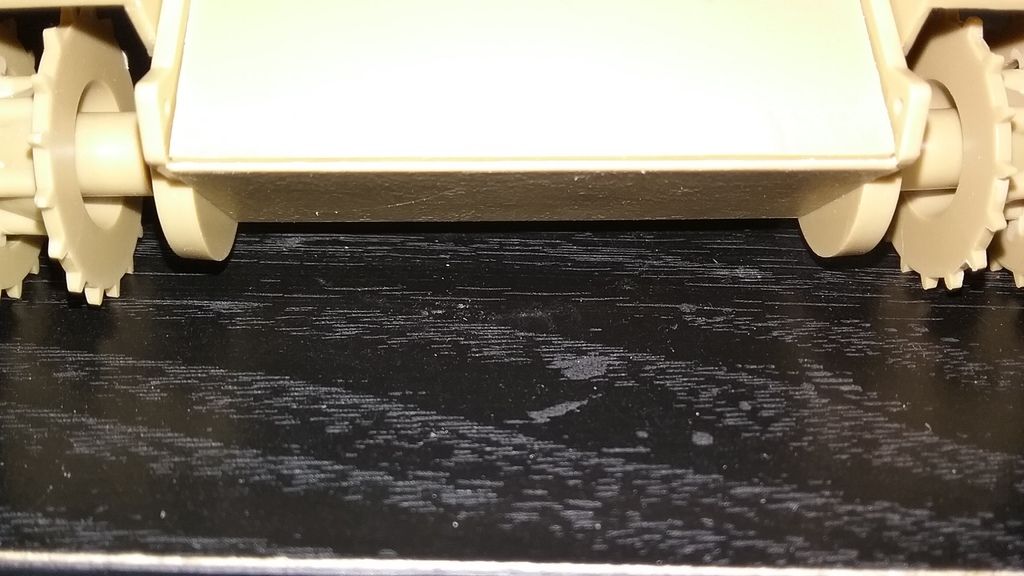
I then decided to play with the drive sprockets and idlers. The kit idlers came with teeth and the instructions called for the teeth to be cut off. I did so without thinking of taking pictures first, oops!!! Sanded them down smooth and buffed the area. It will look good with a metallic finish on that area...
Next update coming soon!!!
Thank you
Re: Tamiya 1/35 Panther Ausf. A
Posted: Sat Oct 08, 2016 9:28 am
by Snyder72
Hello again,
Slow progress is being made, but it is progress!!!
The turret is together
Some of the interior has been blacked out with Tamiya XF-69 NATO Black
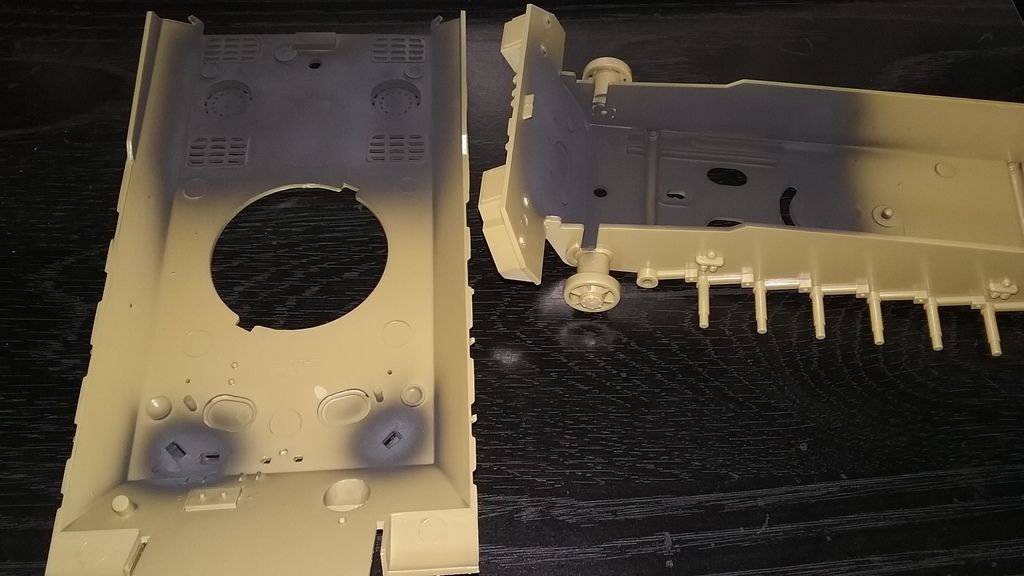
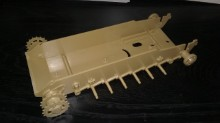
Dry fitting the upper and lower hull together, I noticed some areas the will need work and filling.
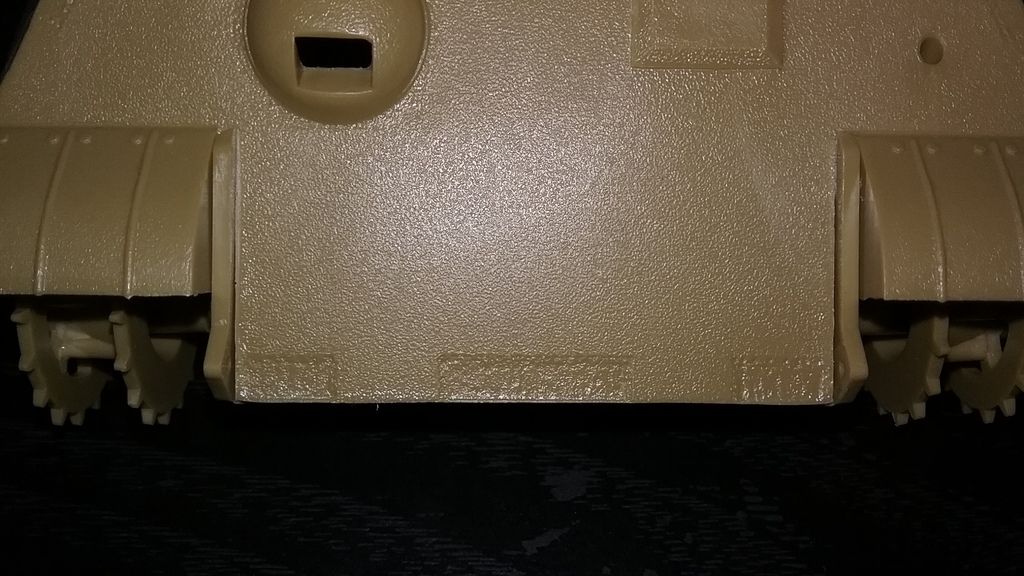
And a little warp in the upper hull
Now, a minor delay is expected for the coming week. In my infonaut wisdom

, I thought that it would be a good idea to smash my finger in between two pieces of metal at work.


These are the "nicest" pictures before turning almost black and swelling even more
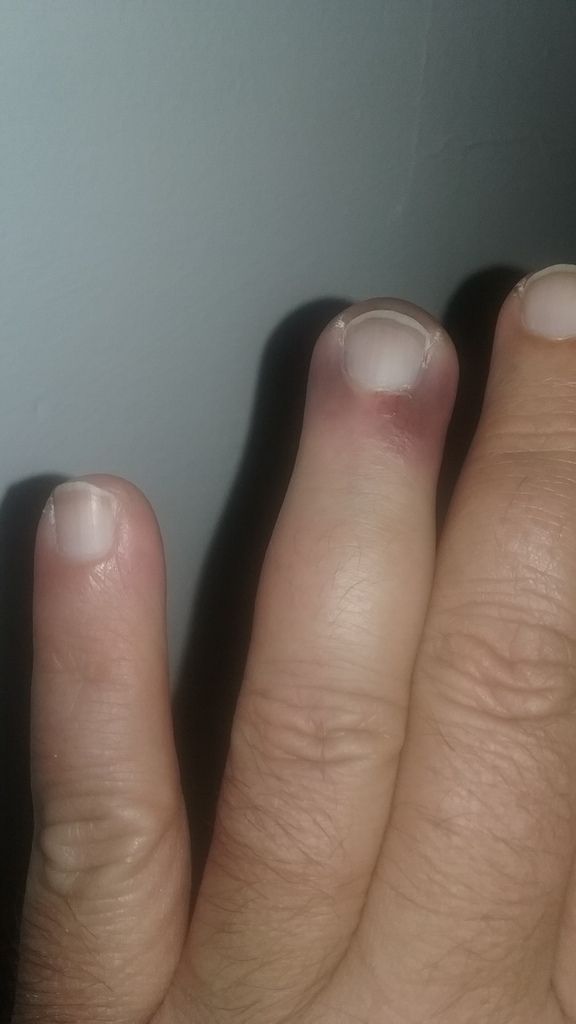
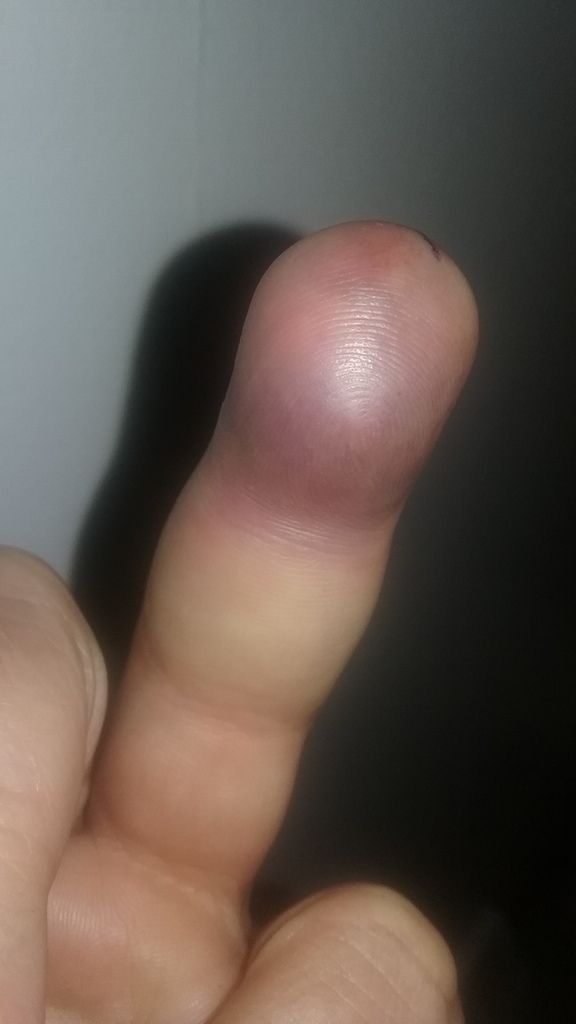
I'm hoping that the finger nail doesn't fall out!!!


So, hopefully I'll have another update up soon...
Thank you
Re: Tamiya 1/35 Panther Ausf. A
Posted: Sat Oct 08, 2016 9:44 am
by Snyder72
Hello again,
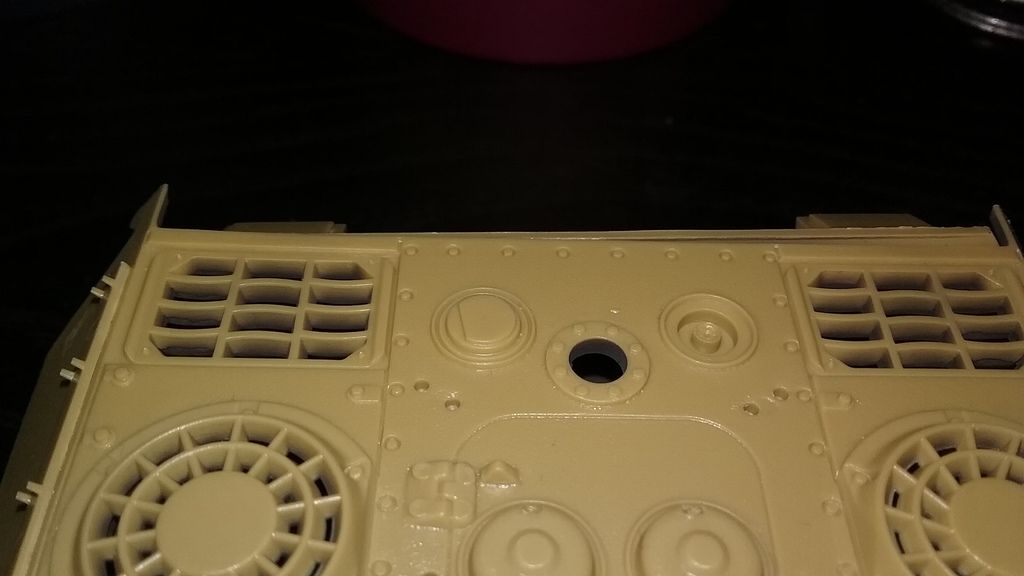
I forgot to mention that after looking at the exhaust, something had to be done
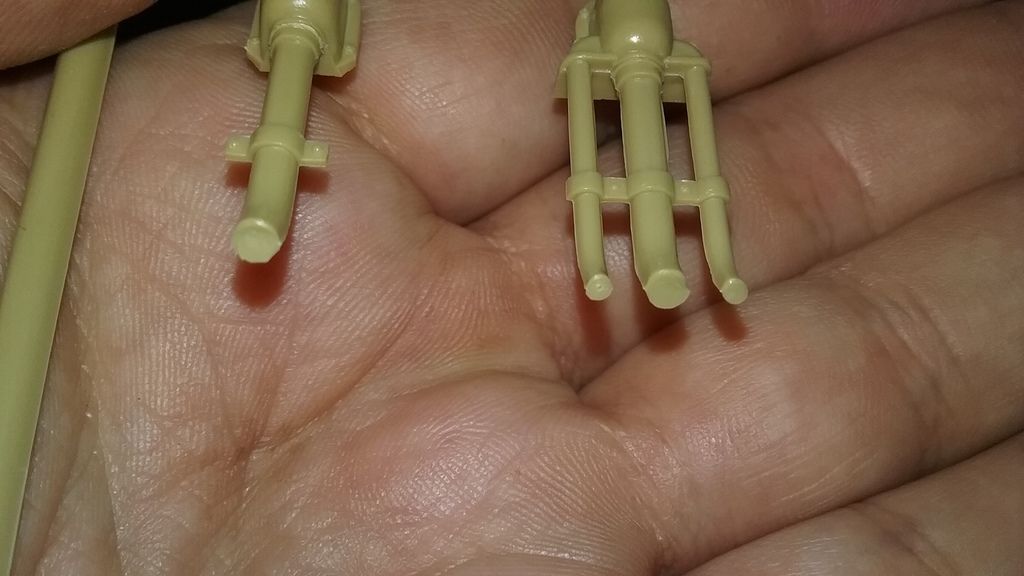
The solution was a #61 drill bit and a hobby knife for the large holes. The small holes just needed a #72 drill bit
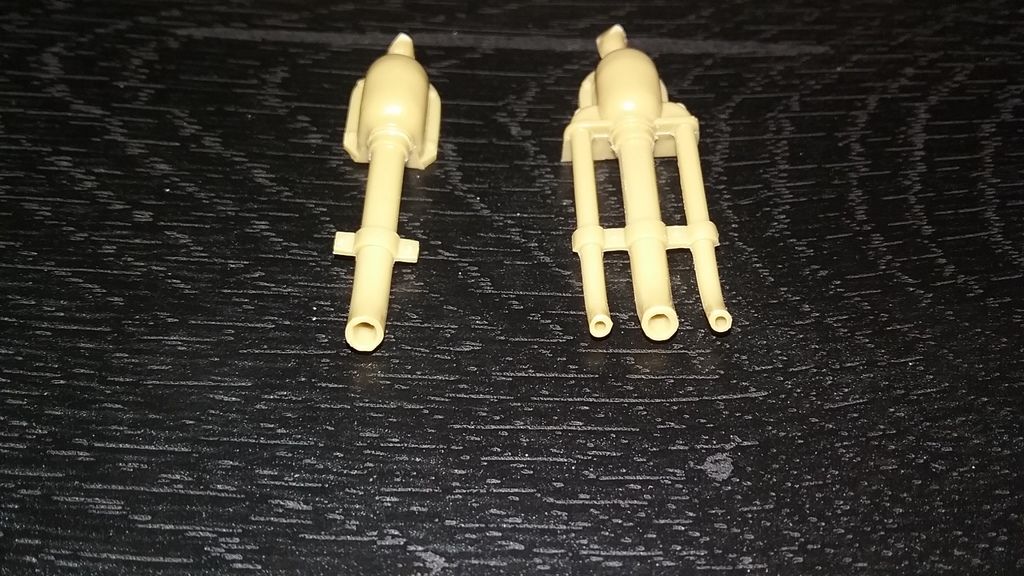
This has been the most exciting thing about this build so far, besides my finger.


#Genius


More updates to come!!!
Thank you


