Slade's Model Arcadia - Tamiya 1/48 F4U-1A Corsair
Posted: Sat Sep 17, 2016 7:06 pm
Hello everyone, my name is Ben however I am probably more well know for my Youtube account Slade's Model Arcadia.
I would like to introduce my first ever GB project. It is a Tamiya 1/48 Vought F4U-1A Corsair and will be my first ever Tamiya Aircraft. I recently finished a Revell Bf109 G-10 which was a 1978 and was an absolute Bear of a build. It really sapped my plane mojo so I am hoping this will help to re-kindle some of it back. Having built many of Tamiya's vehicles I was very excited to get my hands on one of their aircraft and from looking at the sprues I can see why.
Anyway without further ado I hope you enjoy my build thread. I am certainly sure I will!
(Before I begin I would just like to apologise to 'onemac' for stepping on your toes slightly for building the exact plane that you are building however, I did the slightly silly thing of choosing my model before looking at what someone else was doing. I hope this will not cause too much of a problem)
The following pictures are of the obligatory un-started variety from the box as well as some more detailed shots of the sprues. The ones following those are of the majority of the paints and tools I will be using (I have only included the primary paints I will be using although I will be using other colours for some of detailed parts). The keen eyed among you may see that some of the tools I will be using are of course the famous Ultimate sanding sticks. This will be my first model using a proper panel line was and also my first using Mr Hobby Aqueous paints.
I would just like to add that as per the rest of the models I make, this aircraft will be entirely brush painted as I do not own an airbrush or have the money to buy one at the moment. I am planning to get one at some point however I will have to make do with brushes for now
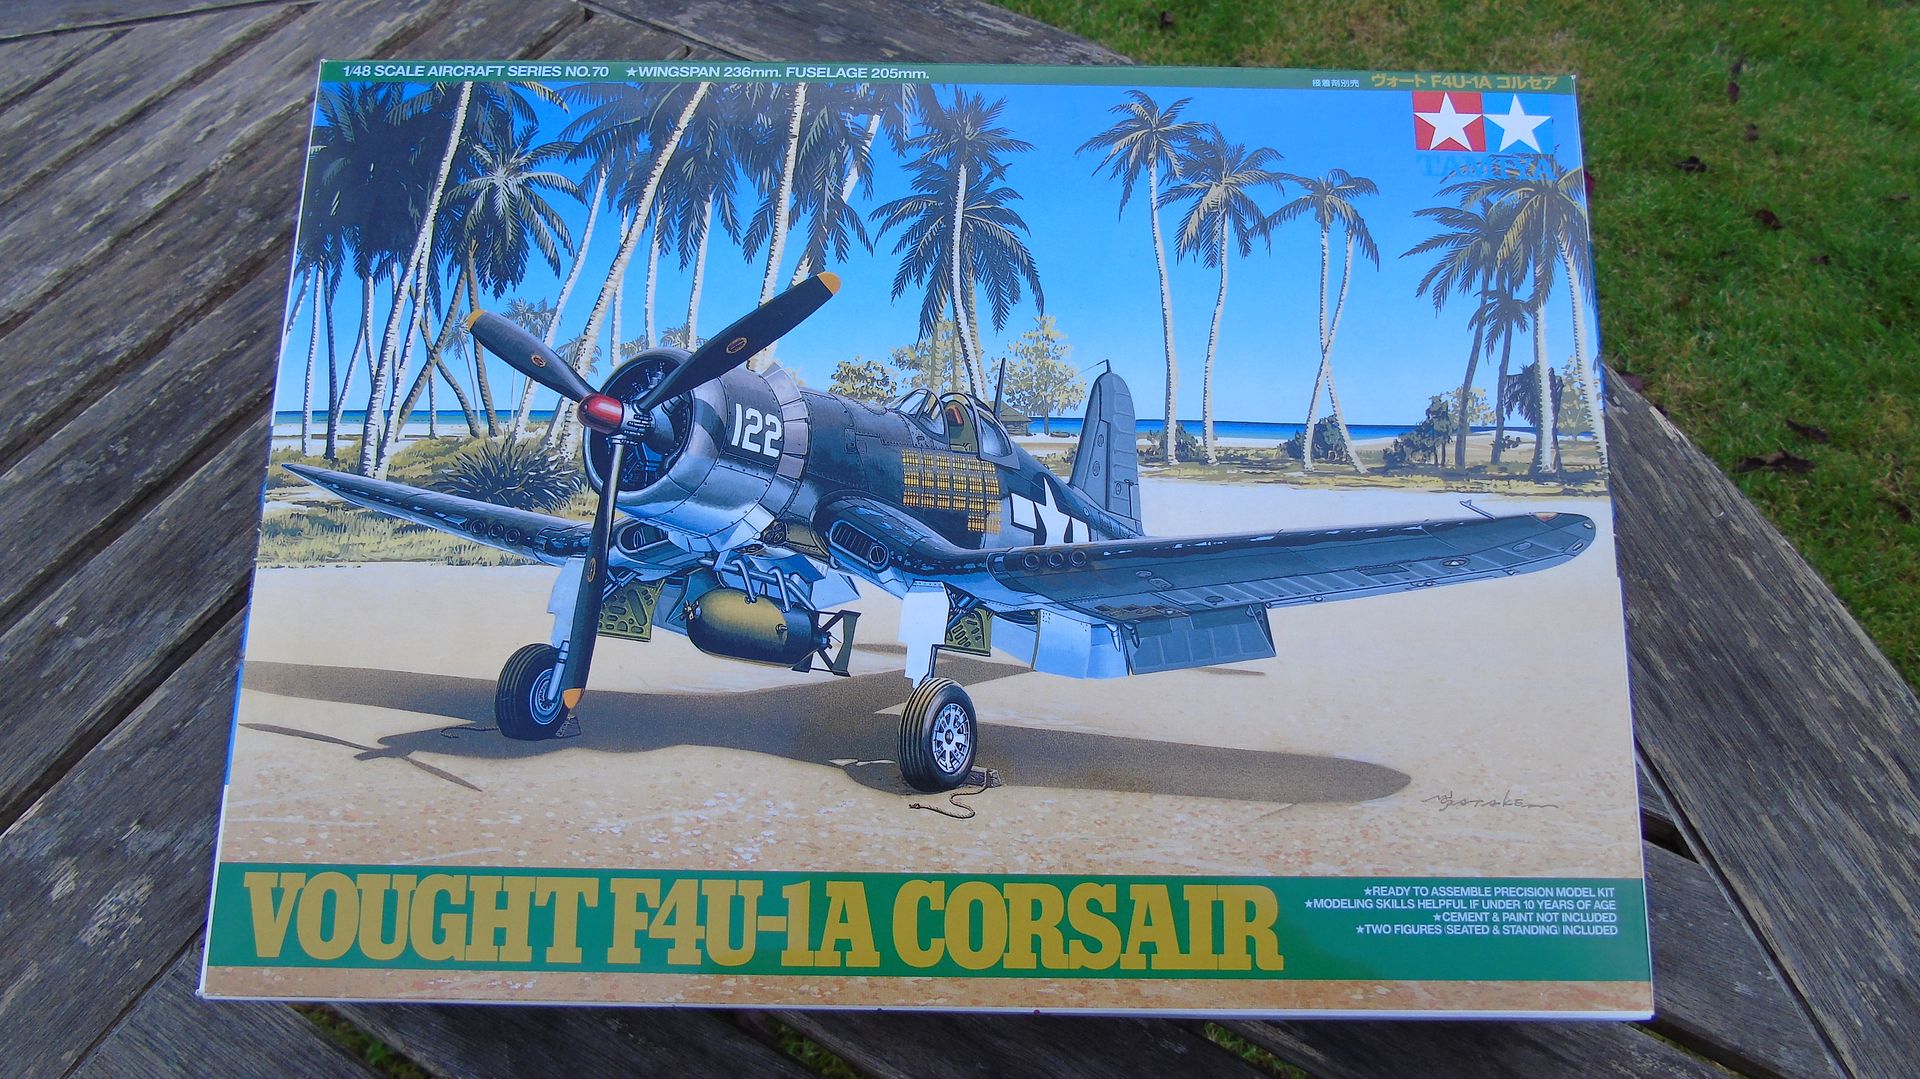
Picture 1: Nice box art on this one. I always appreciate a piece of good looking box art.
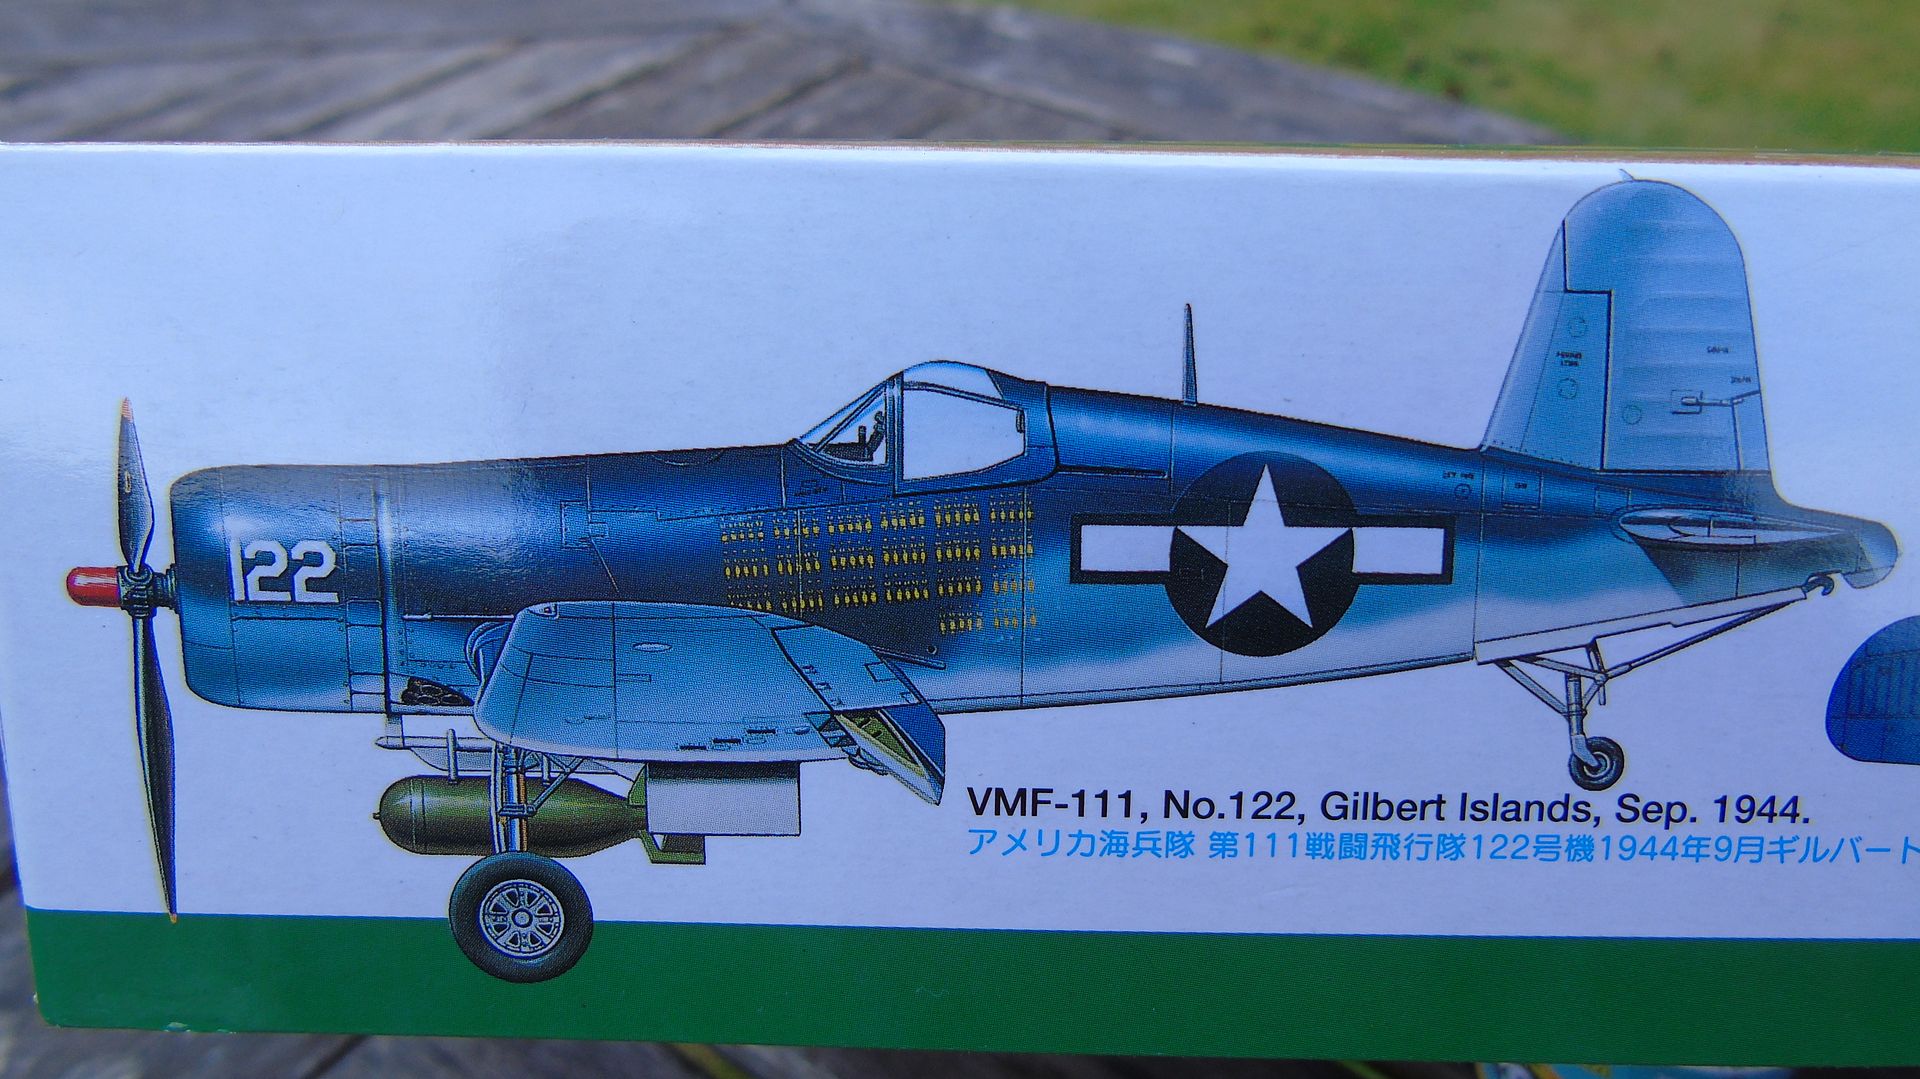
Picture 2: Decal scheme 1.
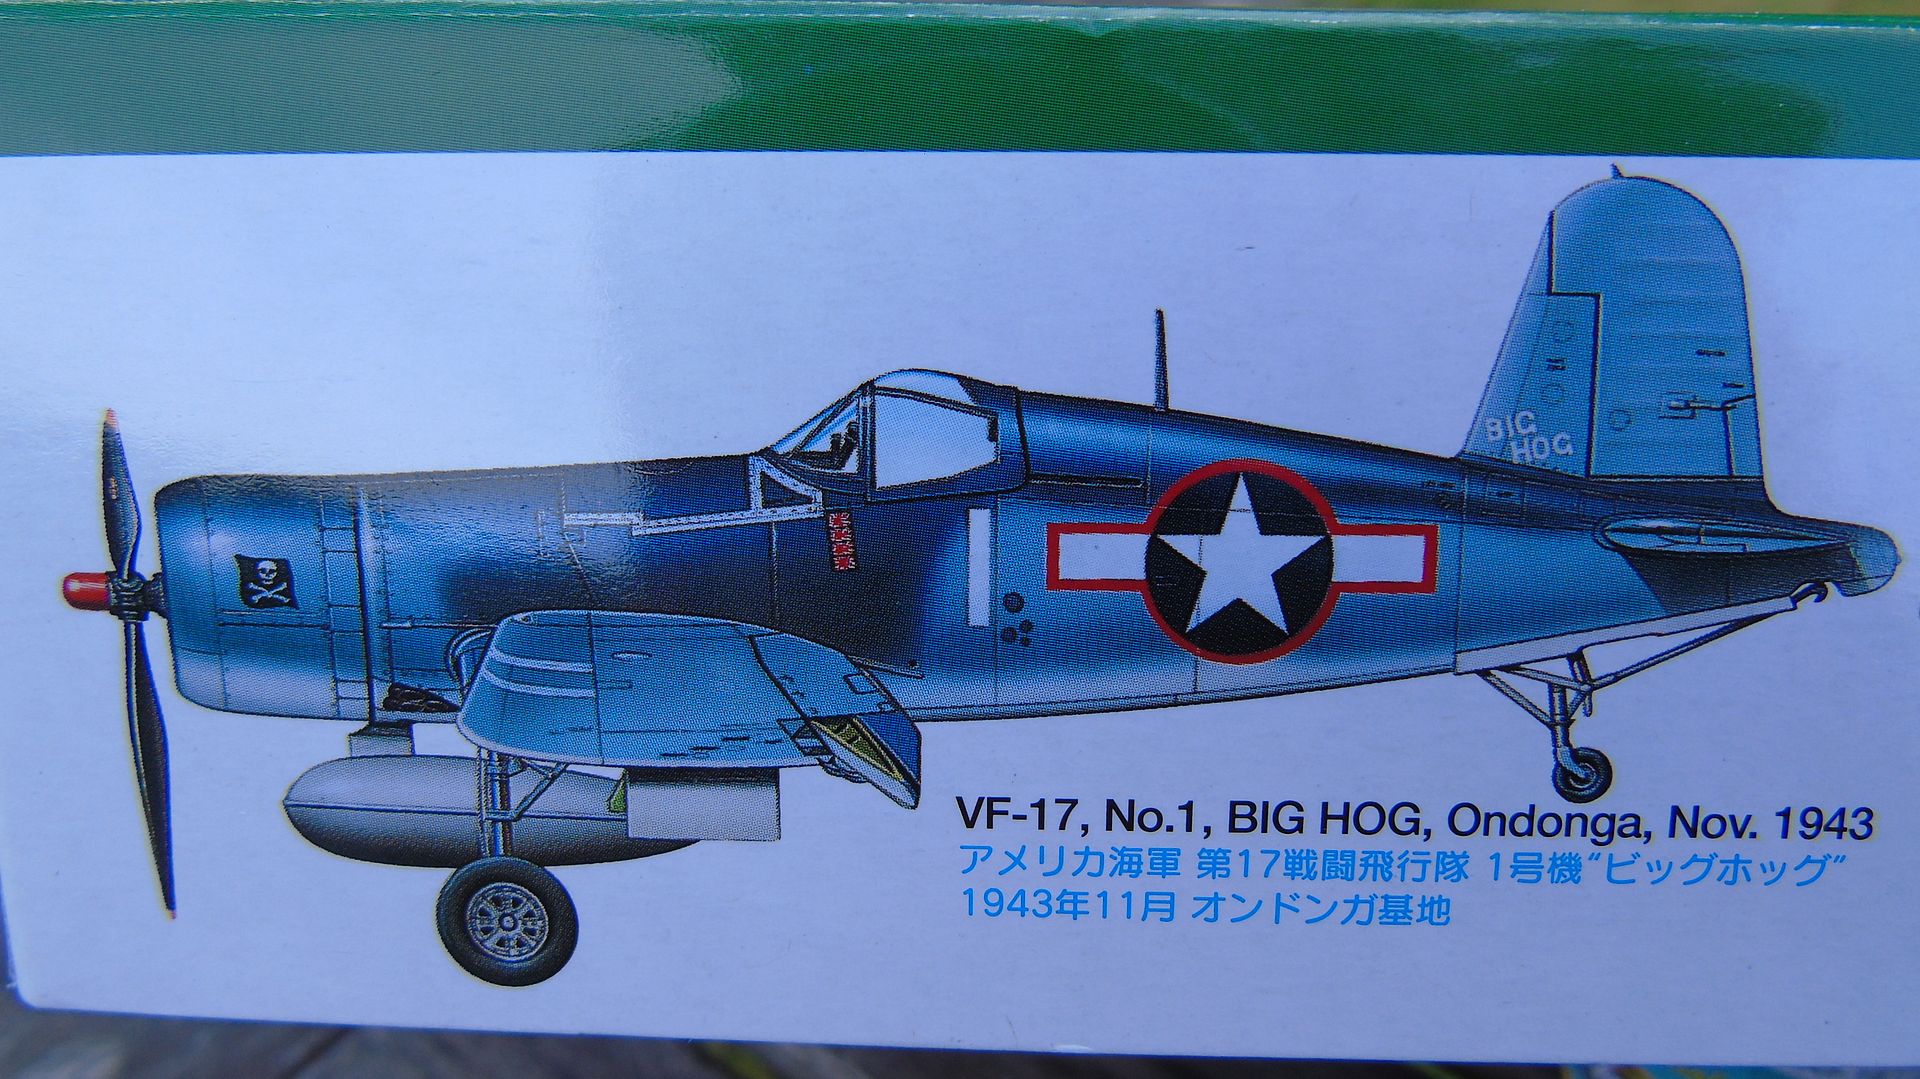
Picture 3: Decal Scheme 2.
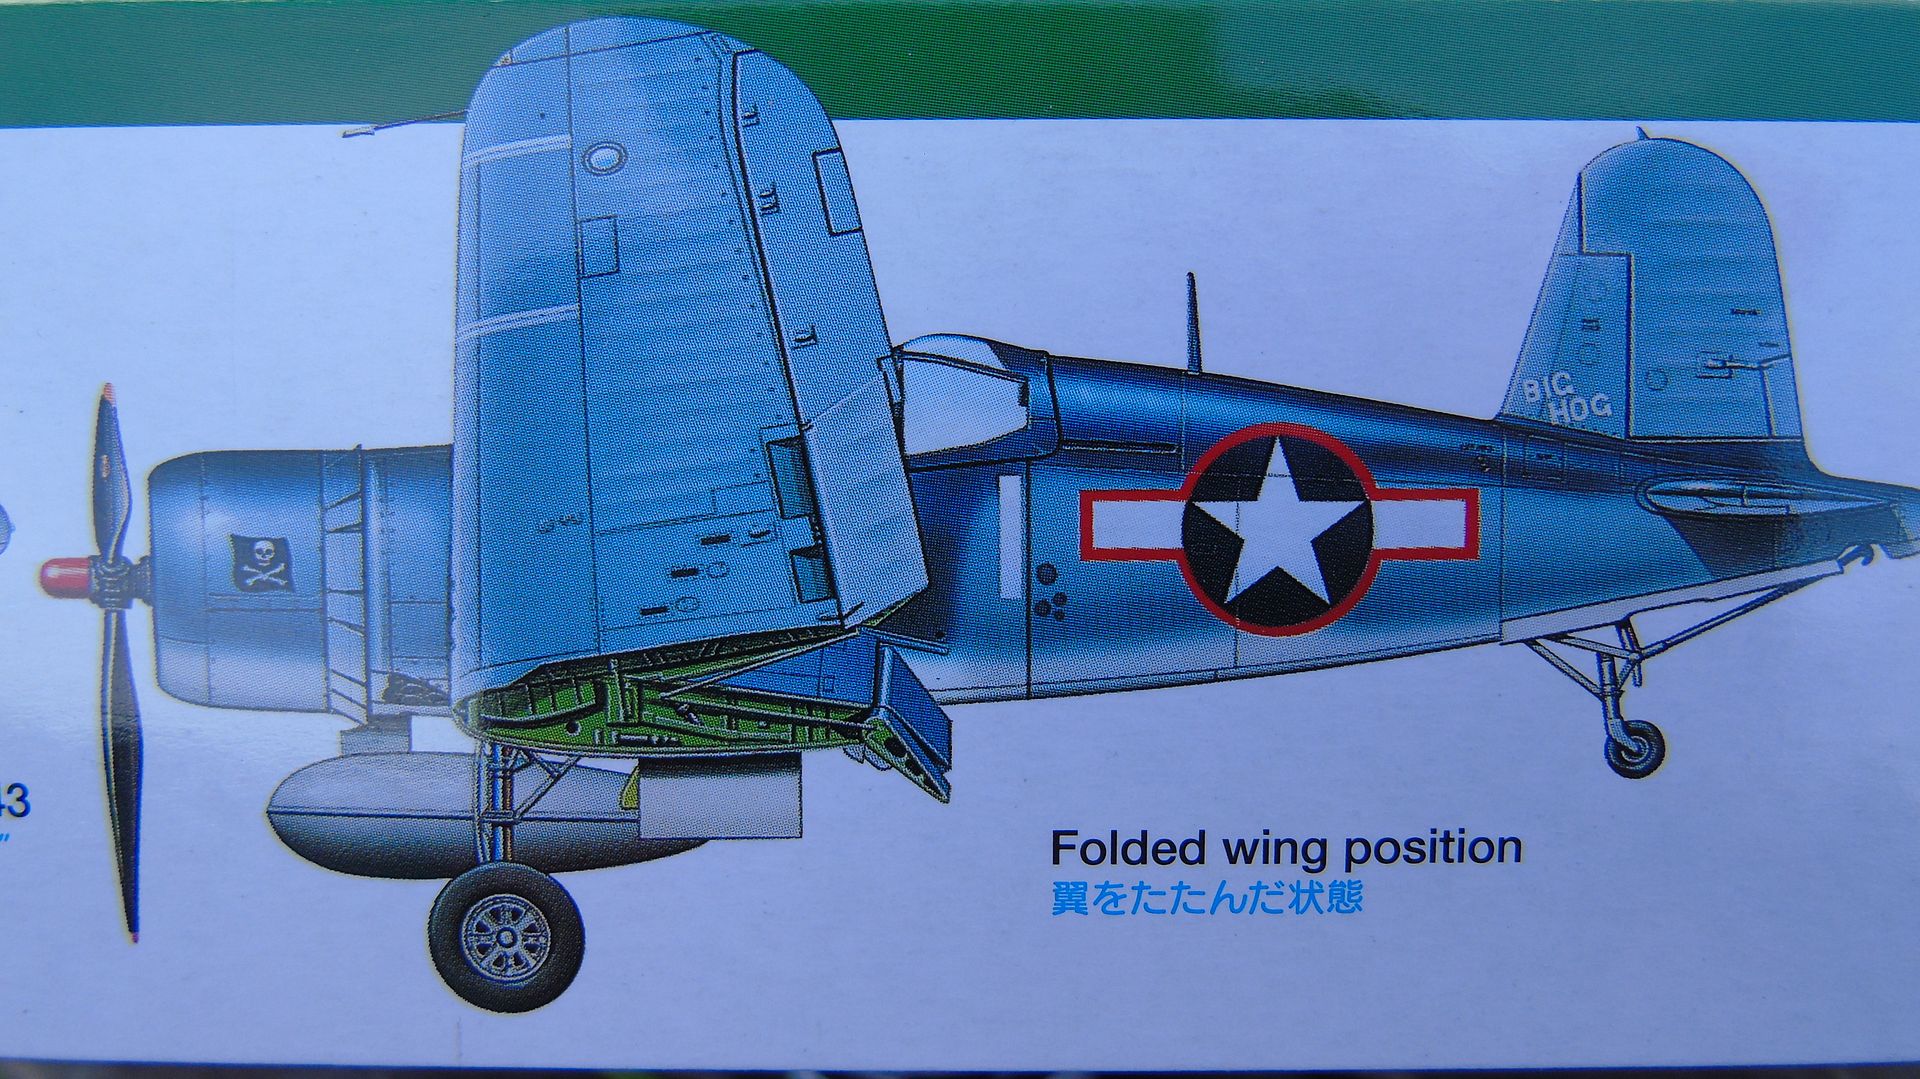
Picture 4: This kit has the option to have the wings folded which is a nice addition.
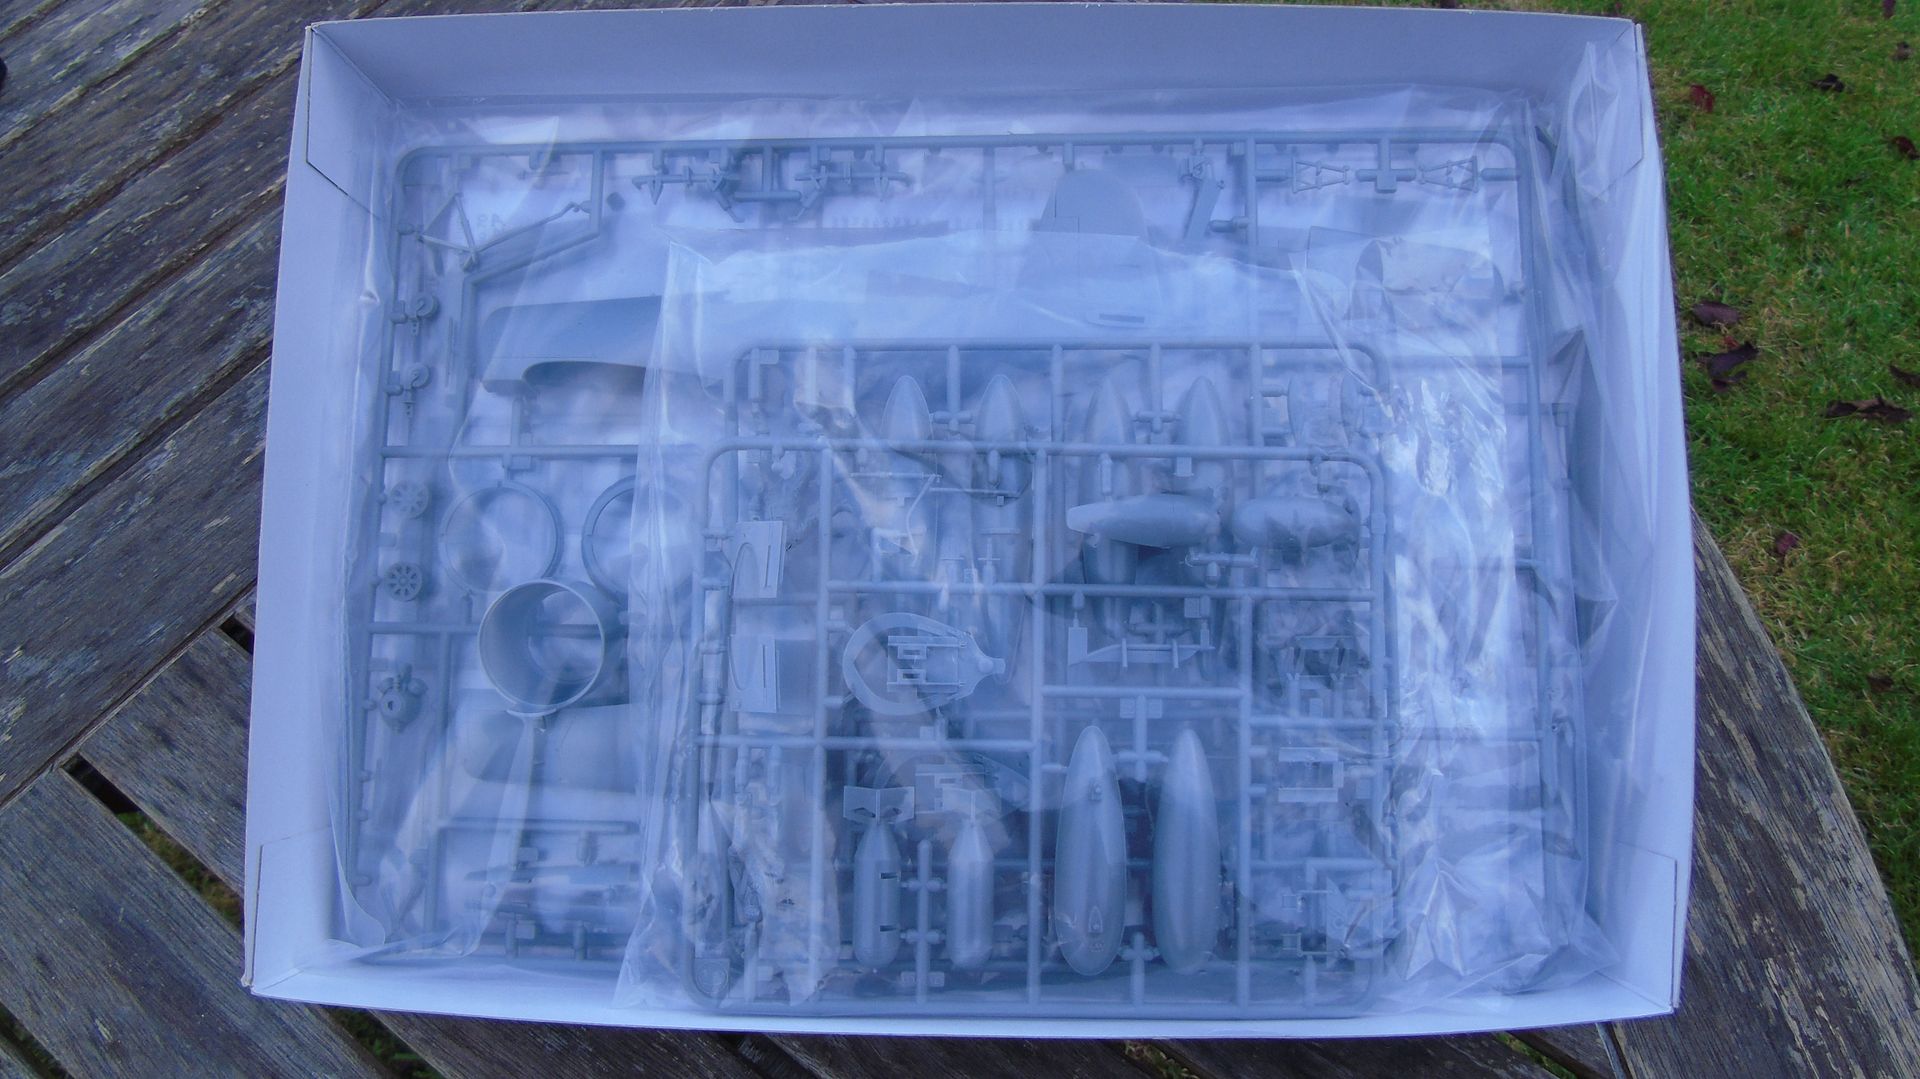
Picture 5: How the inside looks upon opening.
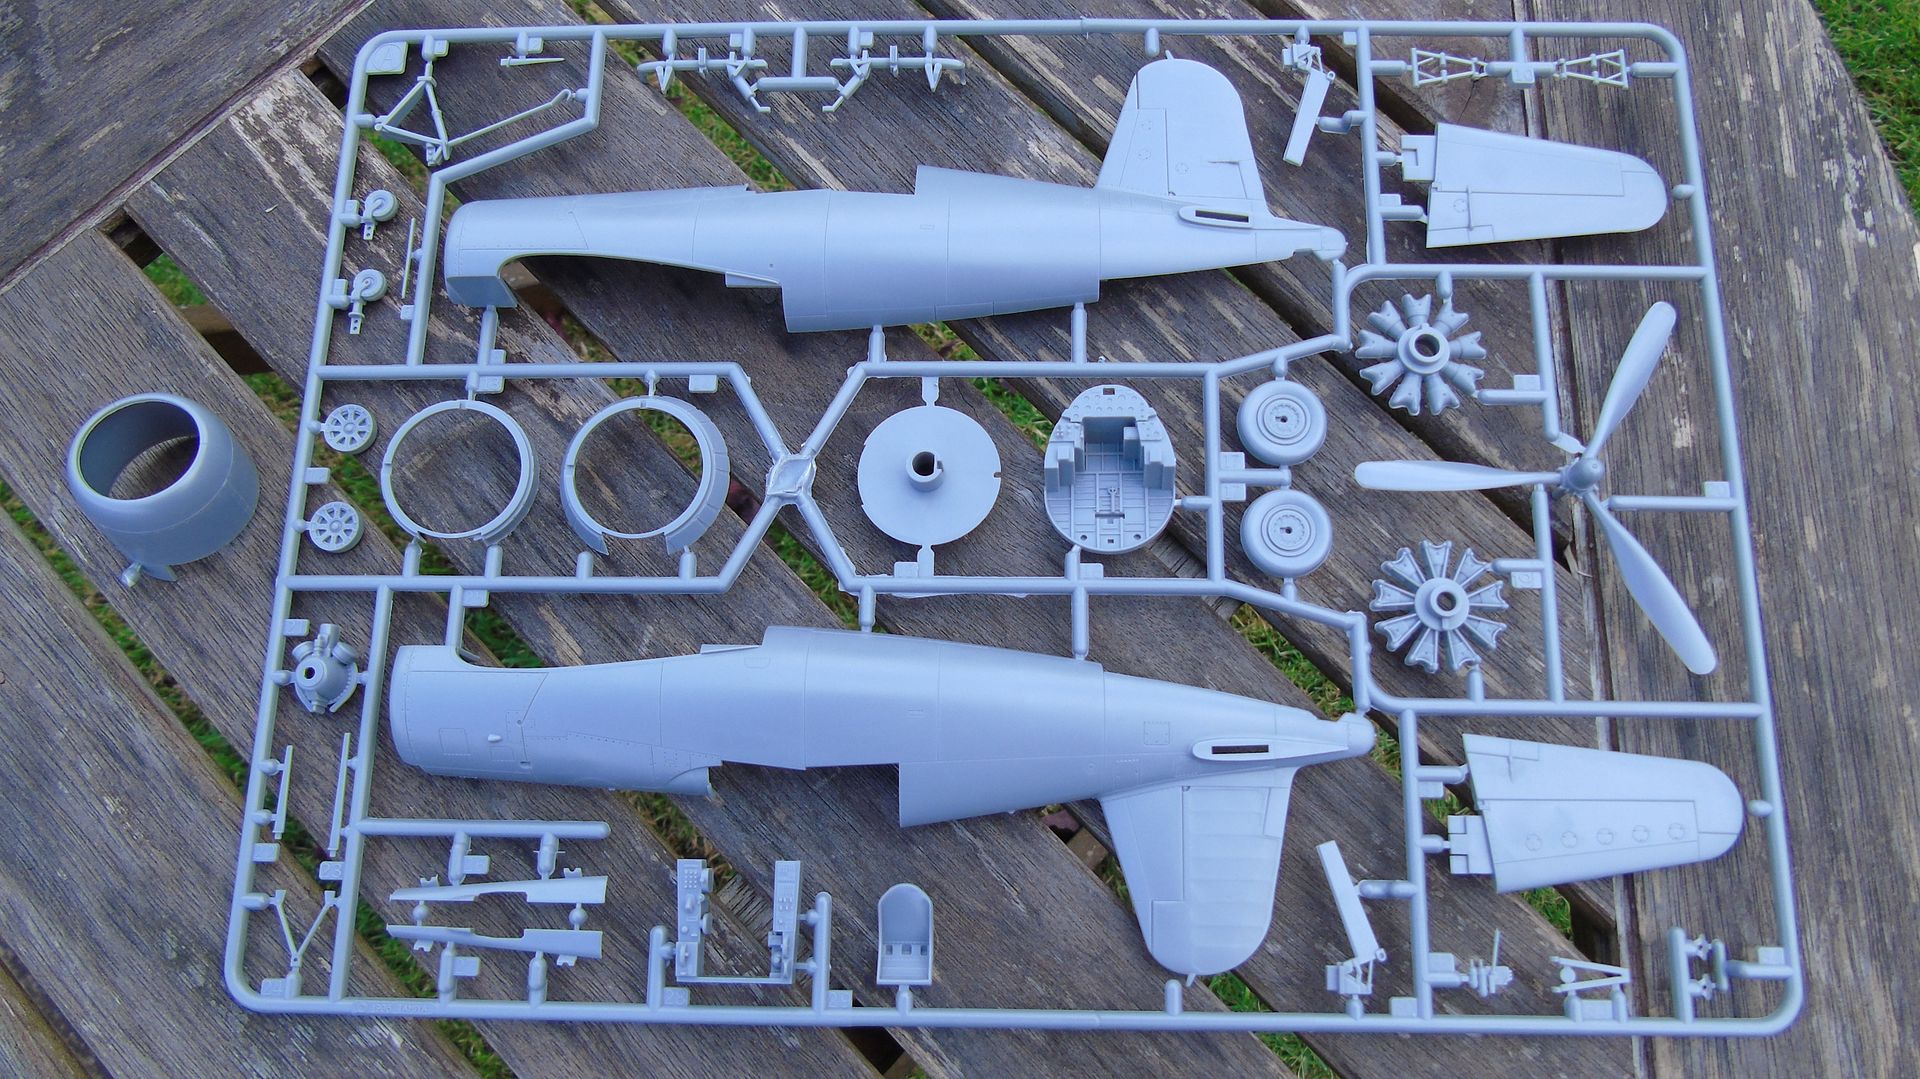
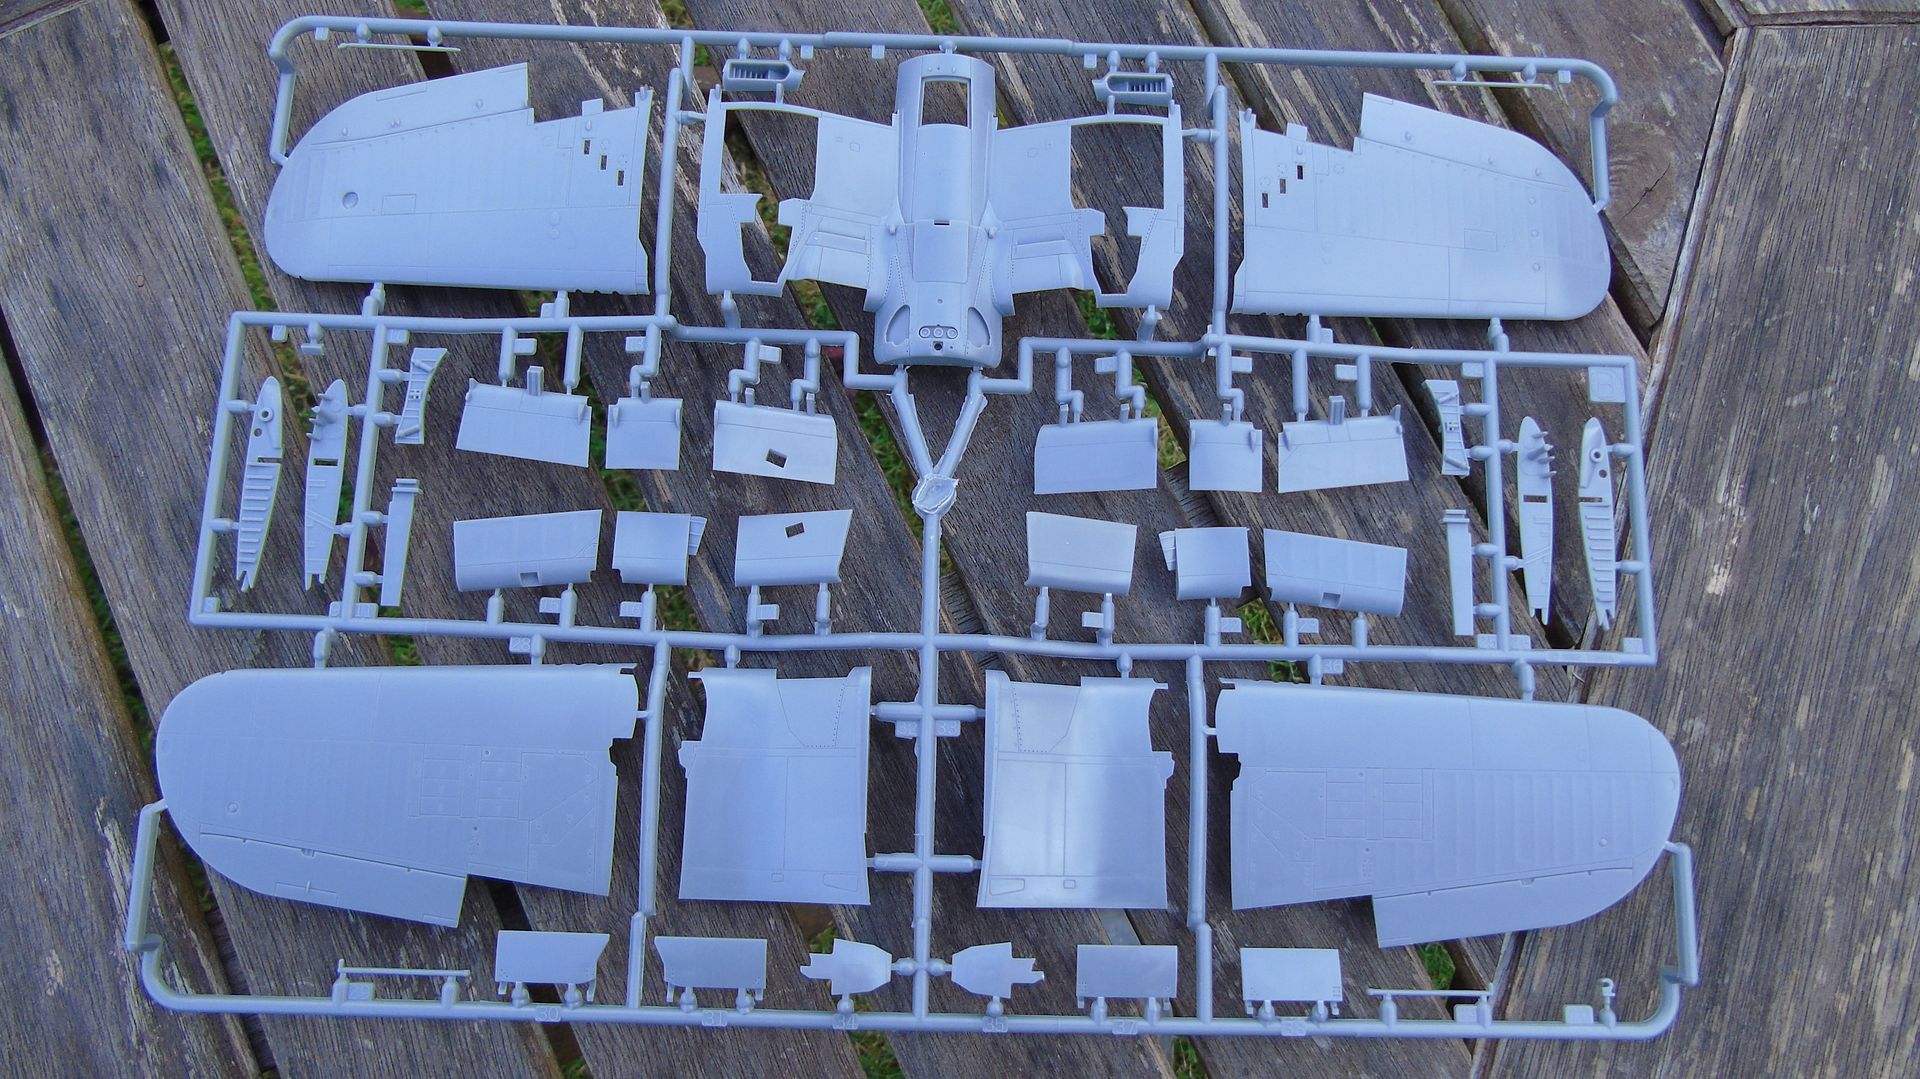
Picture 6: Sprue shot one.
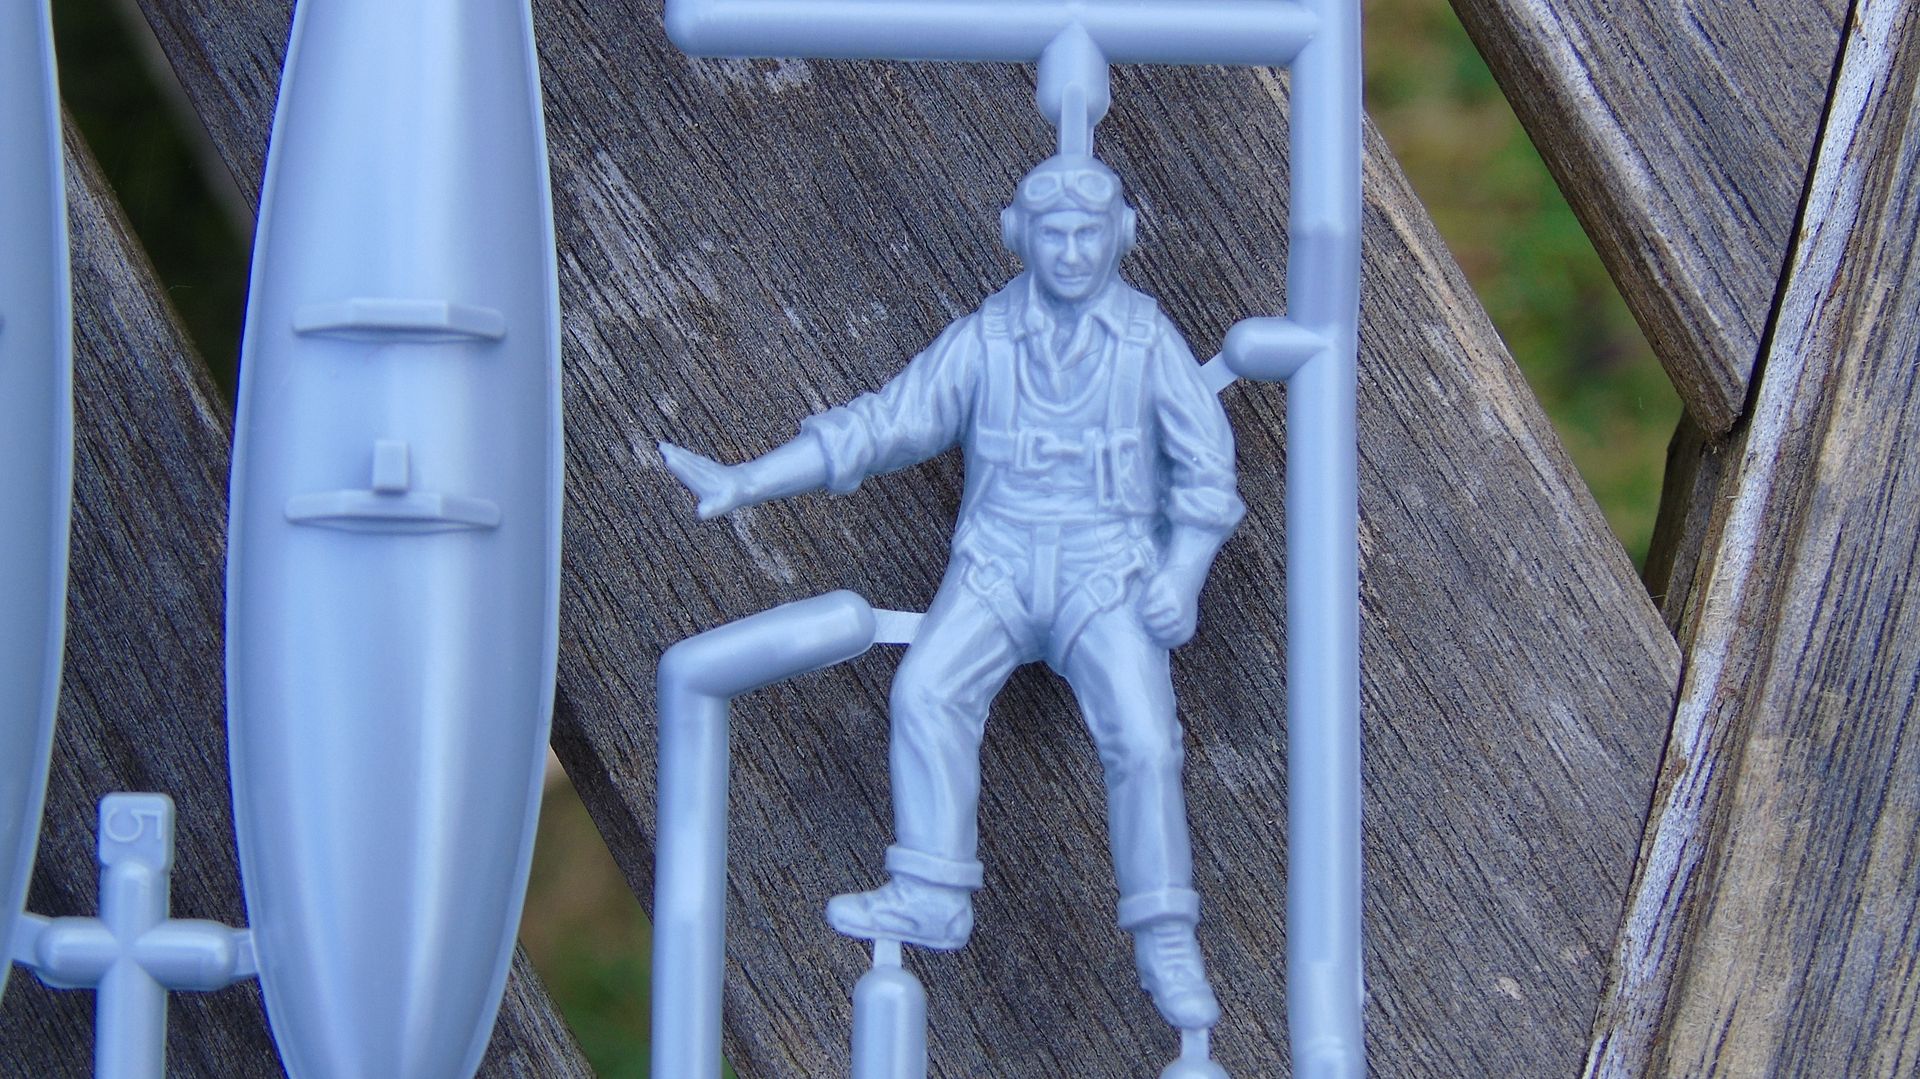
Picture 7: One of the two included figures.
Picture 8: Sprue shot two.
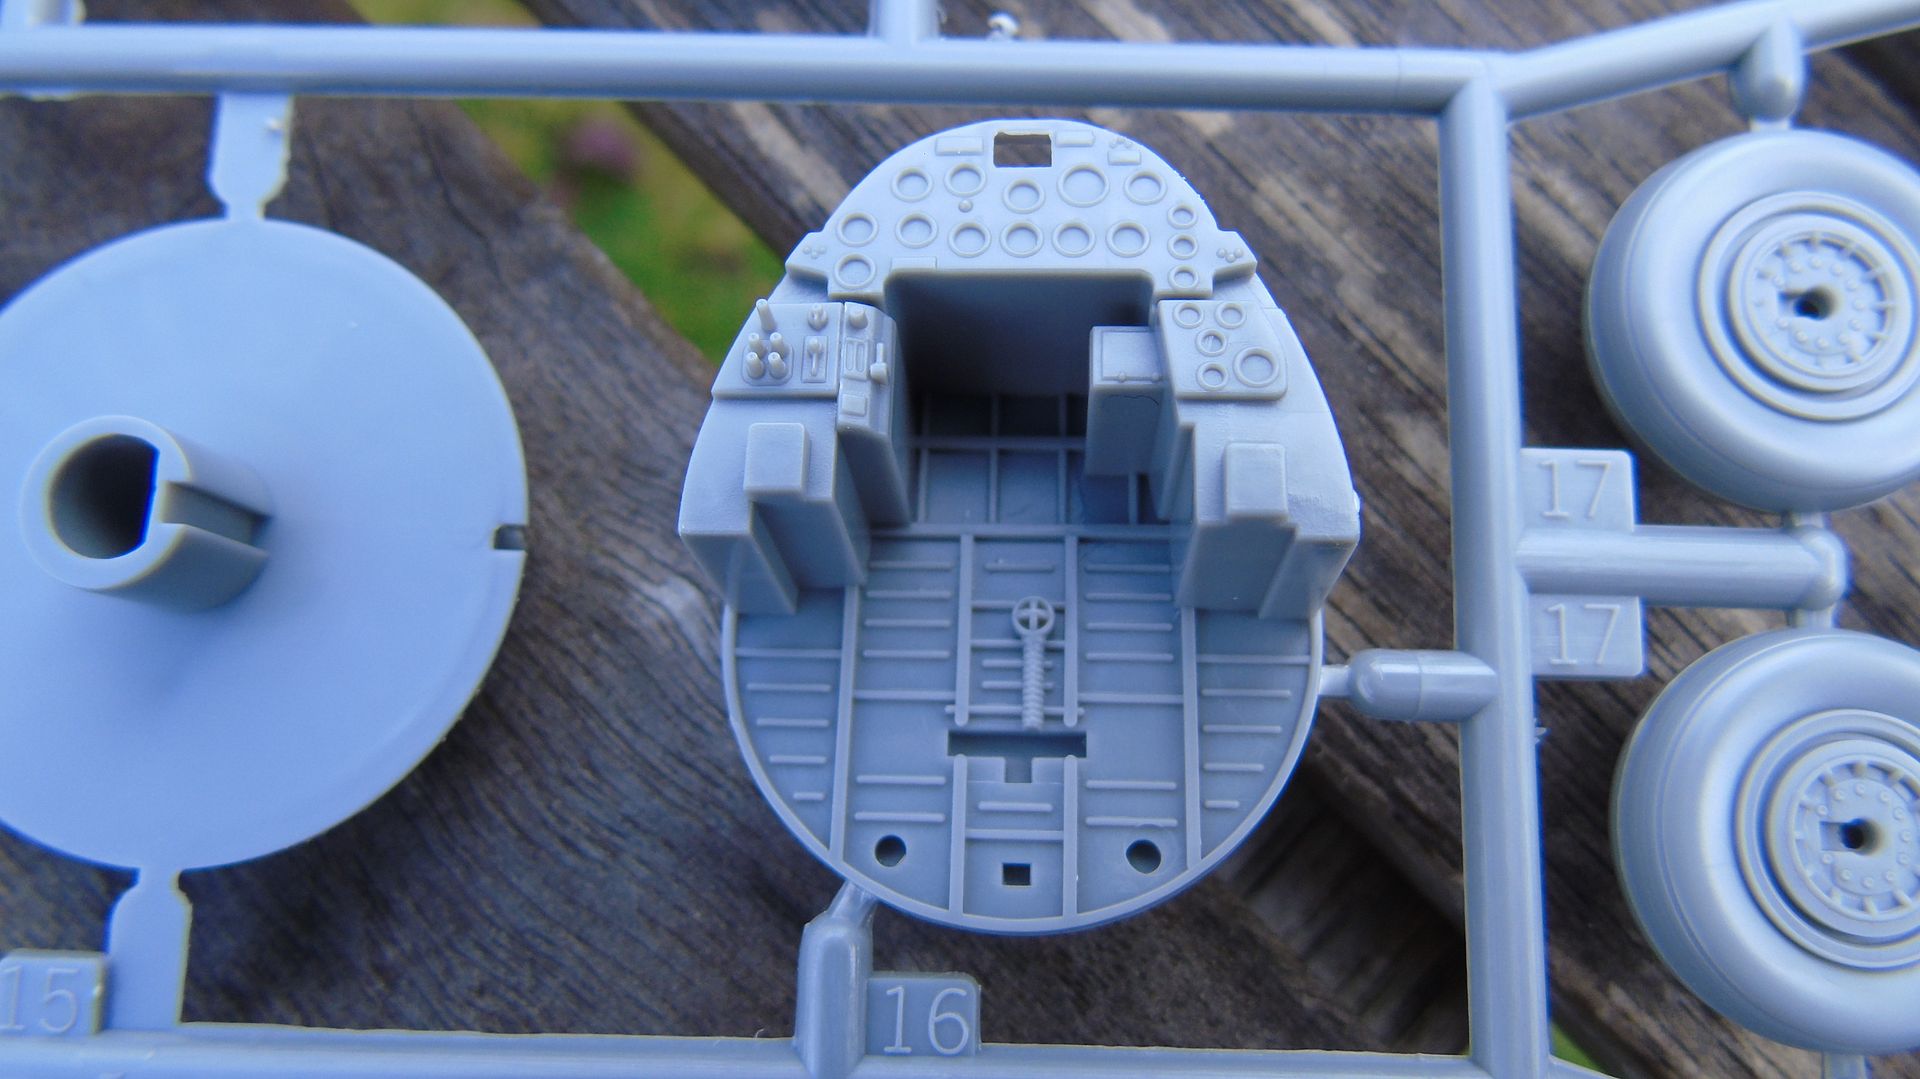
Picture 9: Lots of nice detail on the instrument panel and the rest of the cockpit.
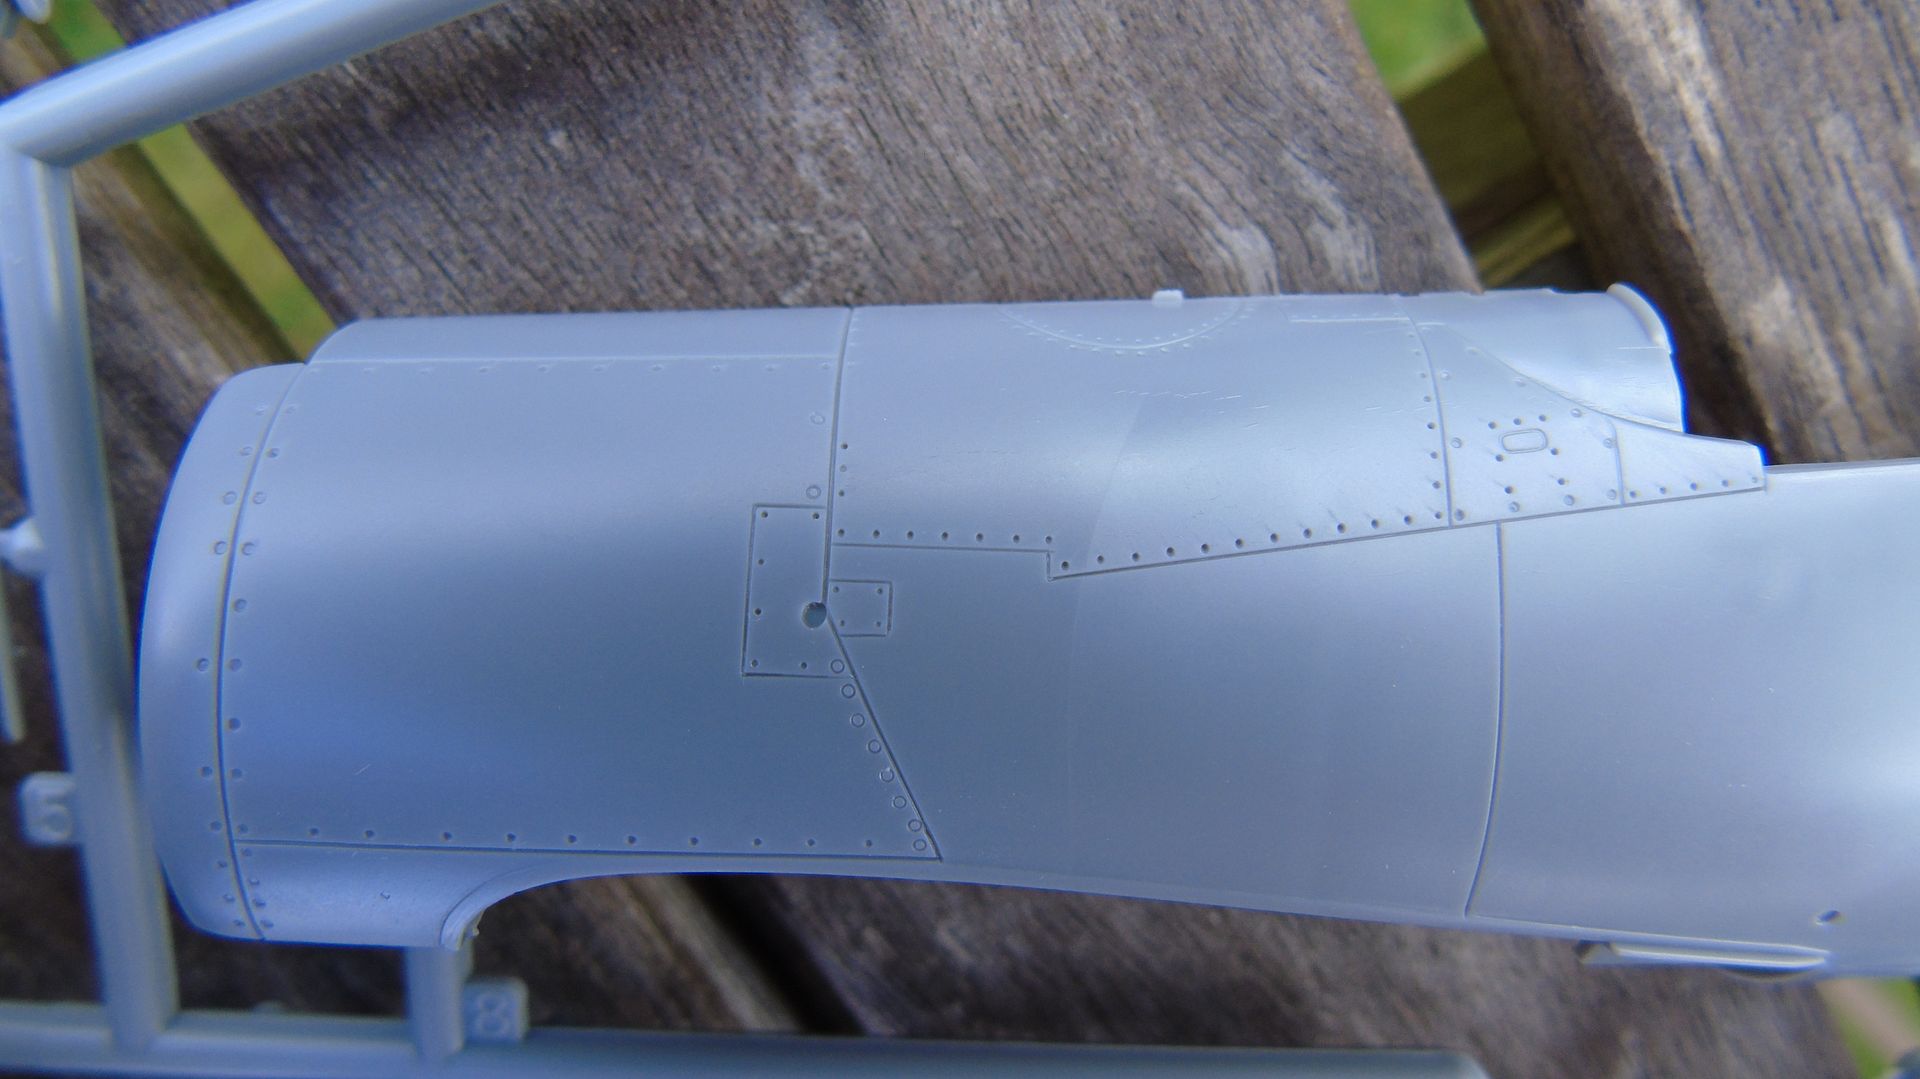
Picture 10: Rivet detail one.
Picture 11: Rivet detail two.

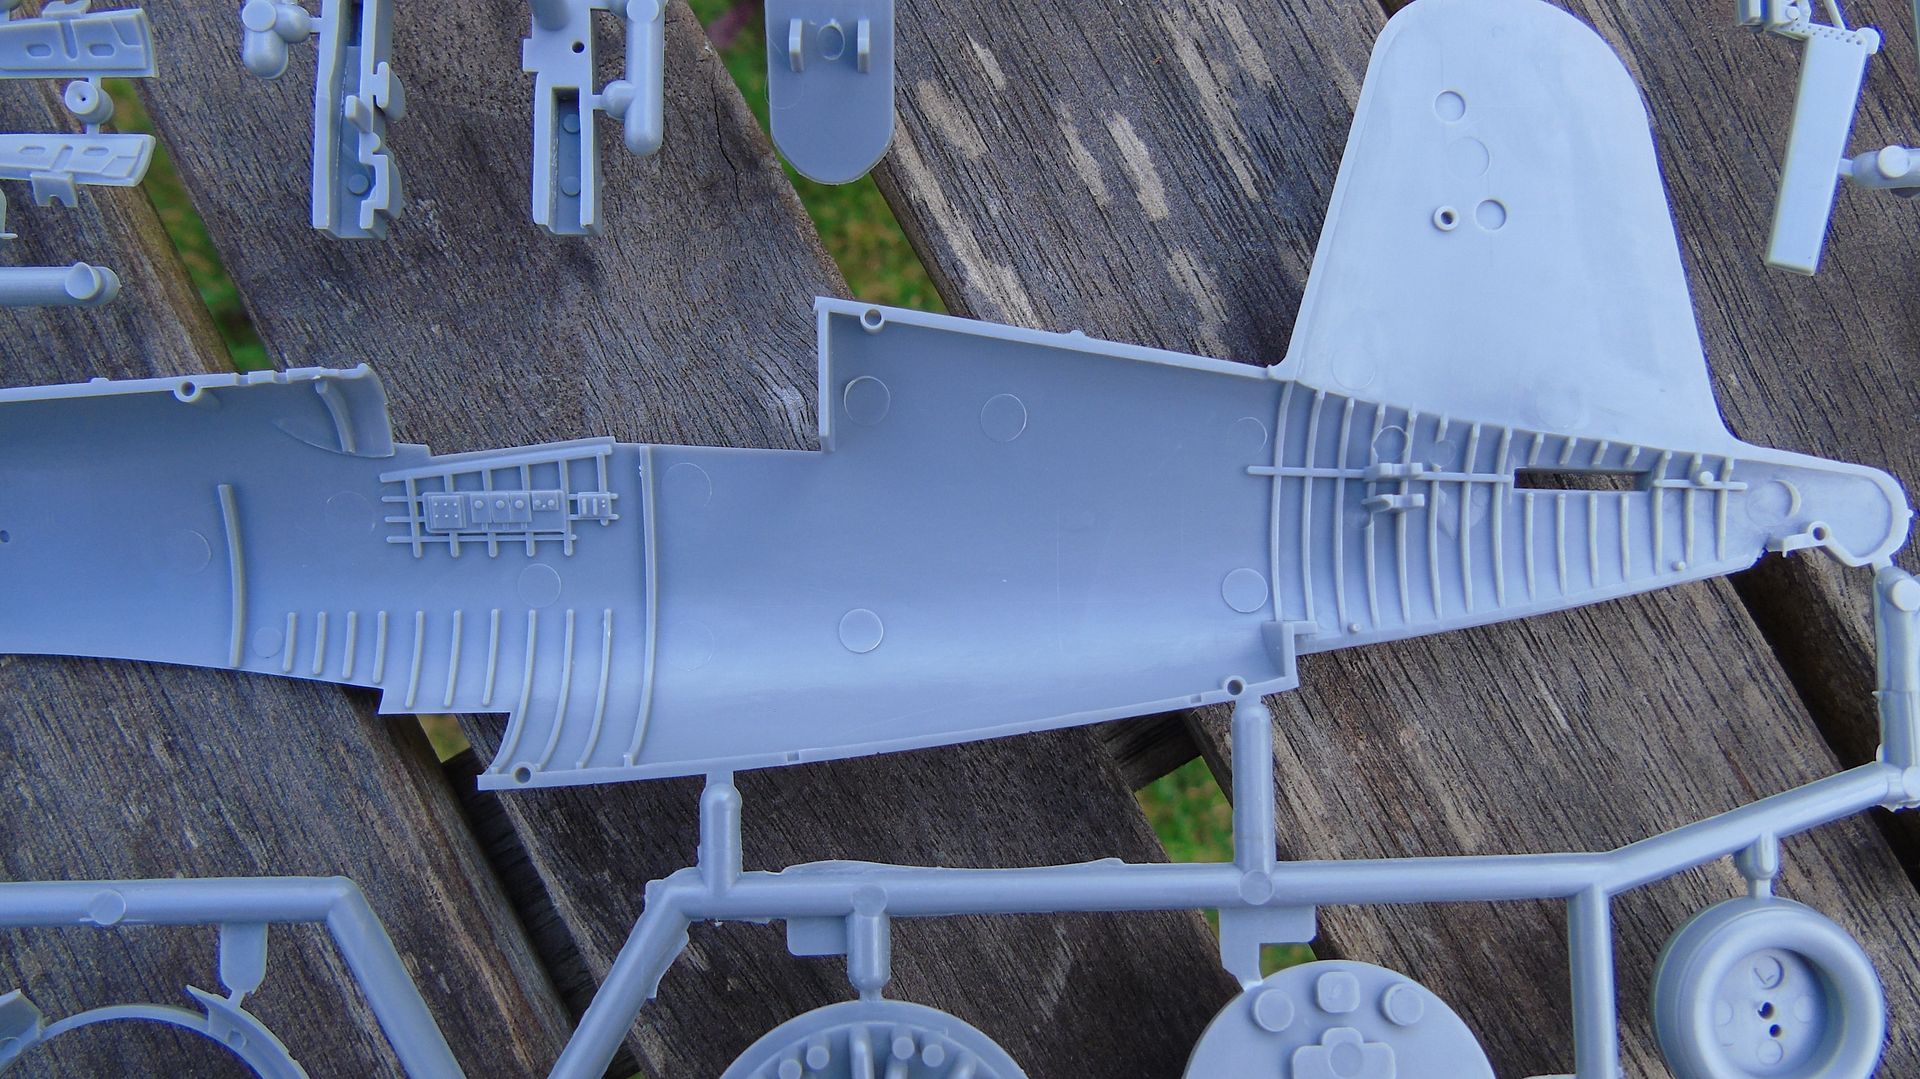
Picture 12: Fuselage internal details.
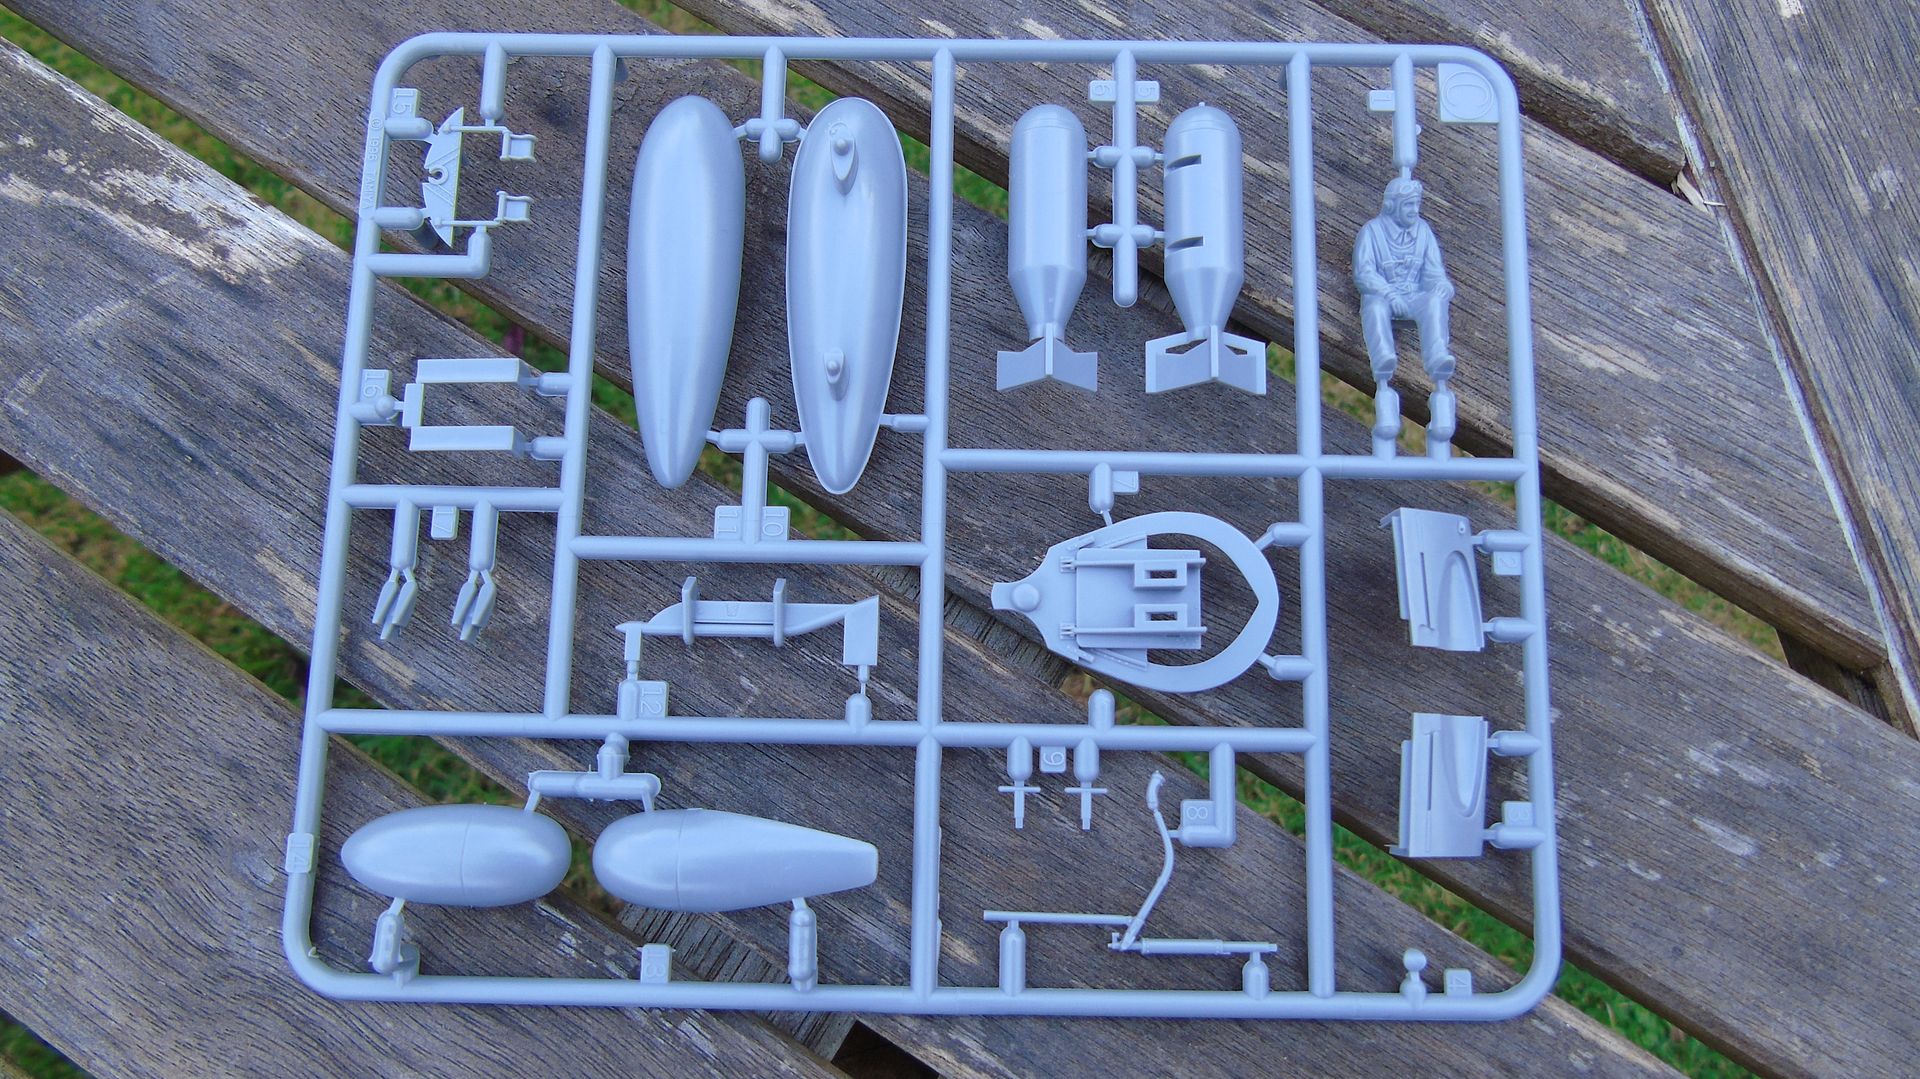
Picture 13: Sprue shot three.
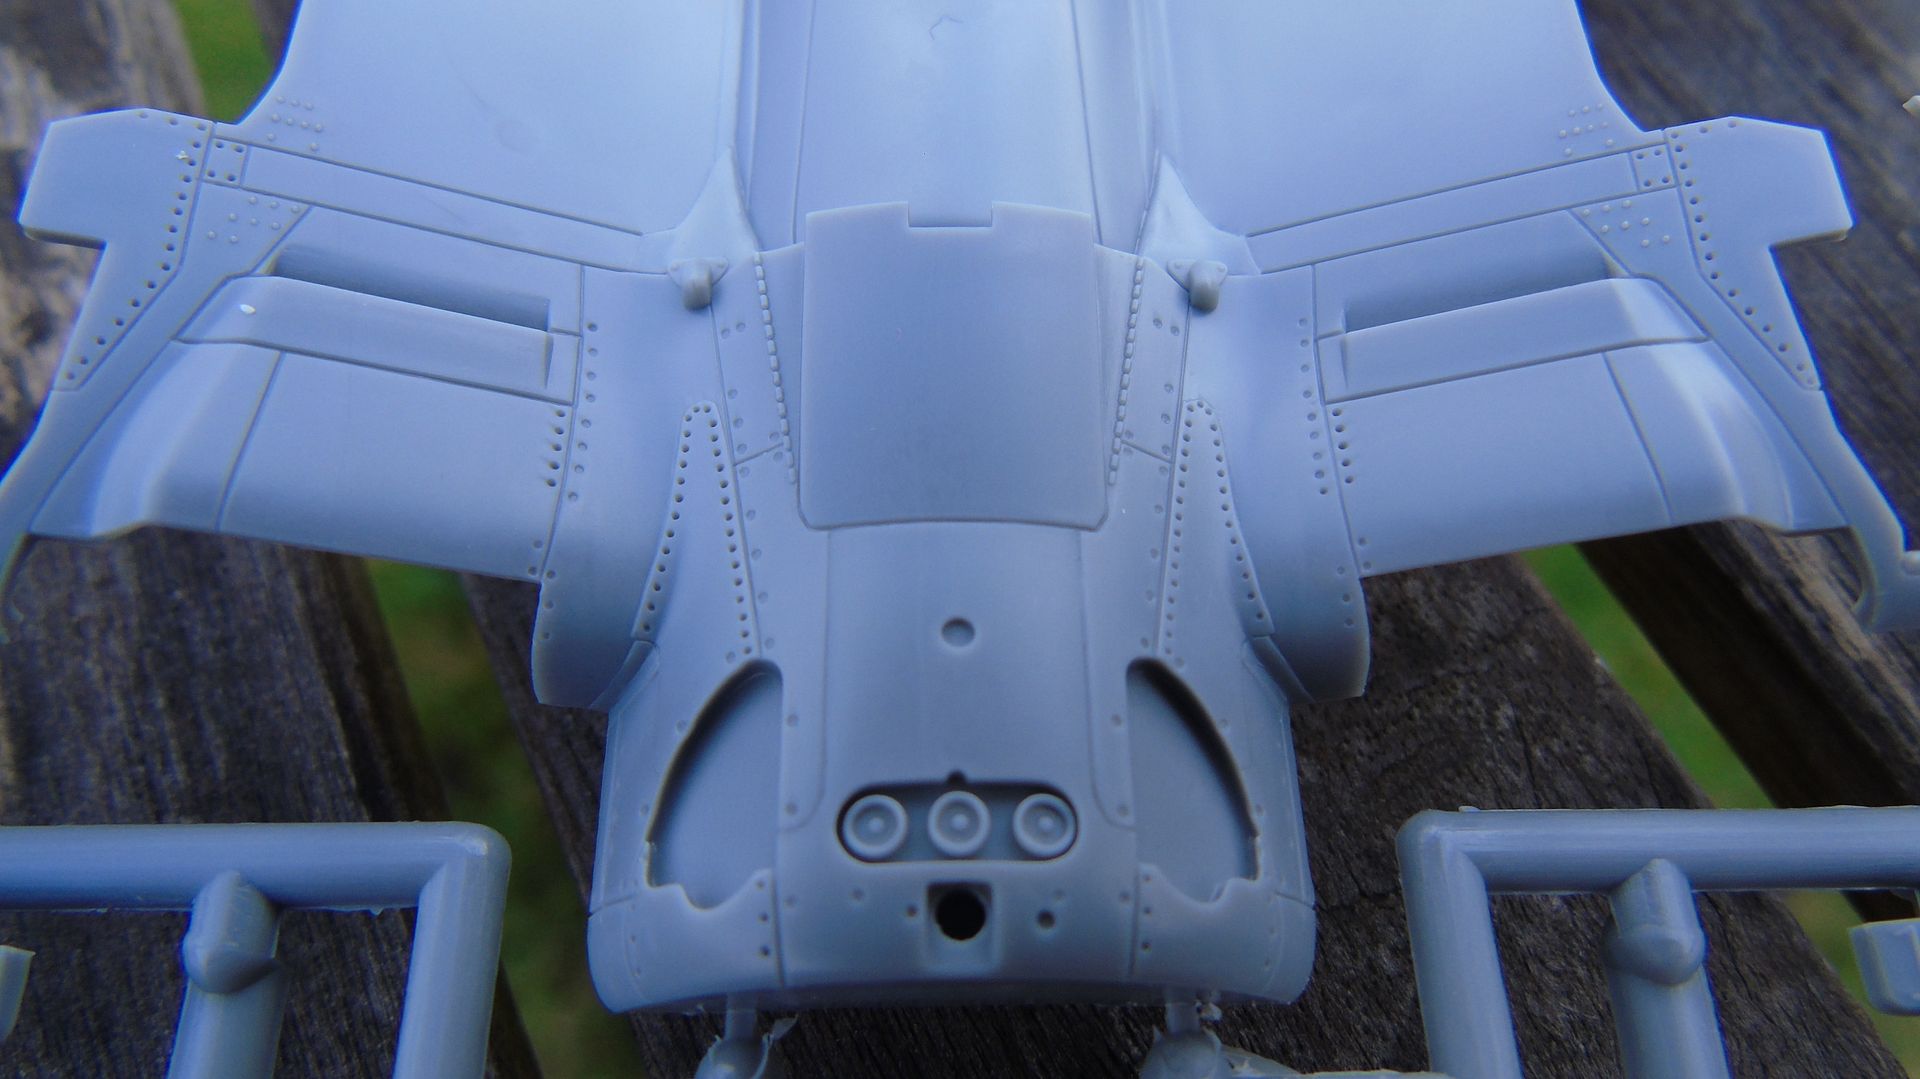
Picture 14: Underside rivet detail.
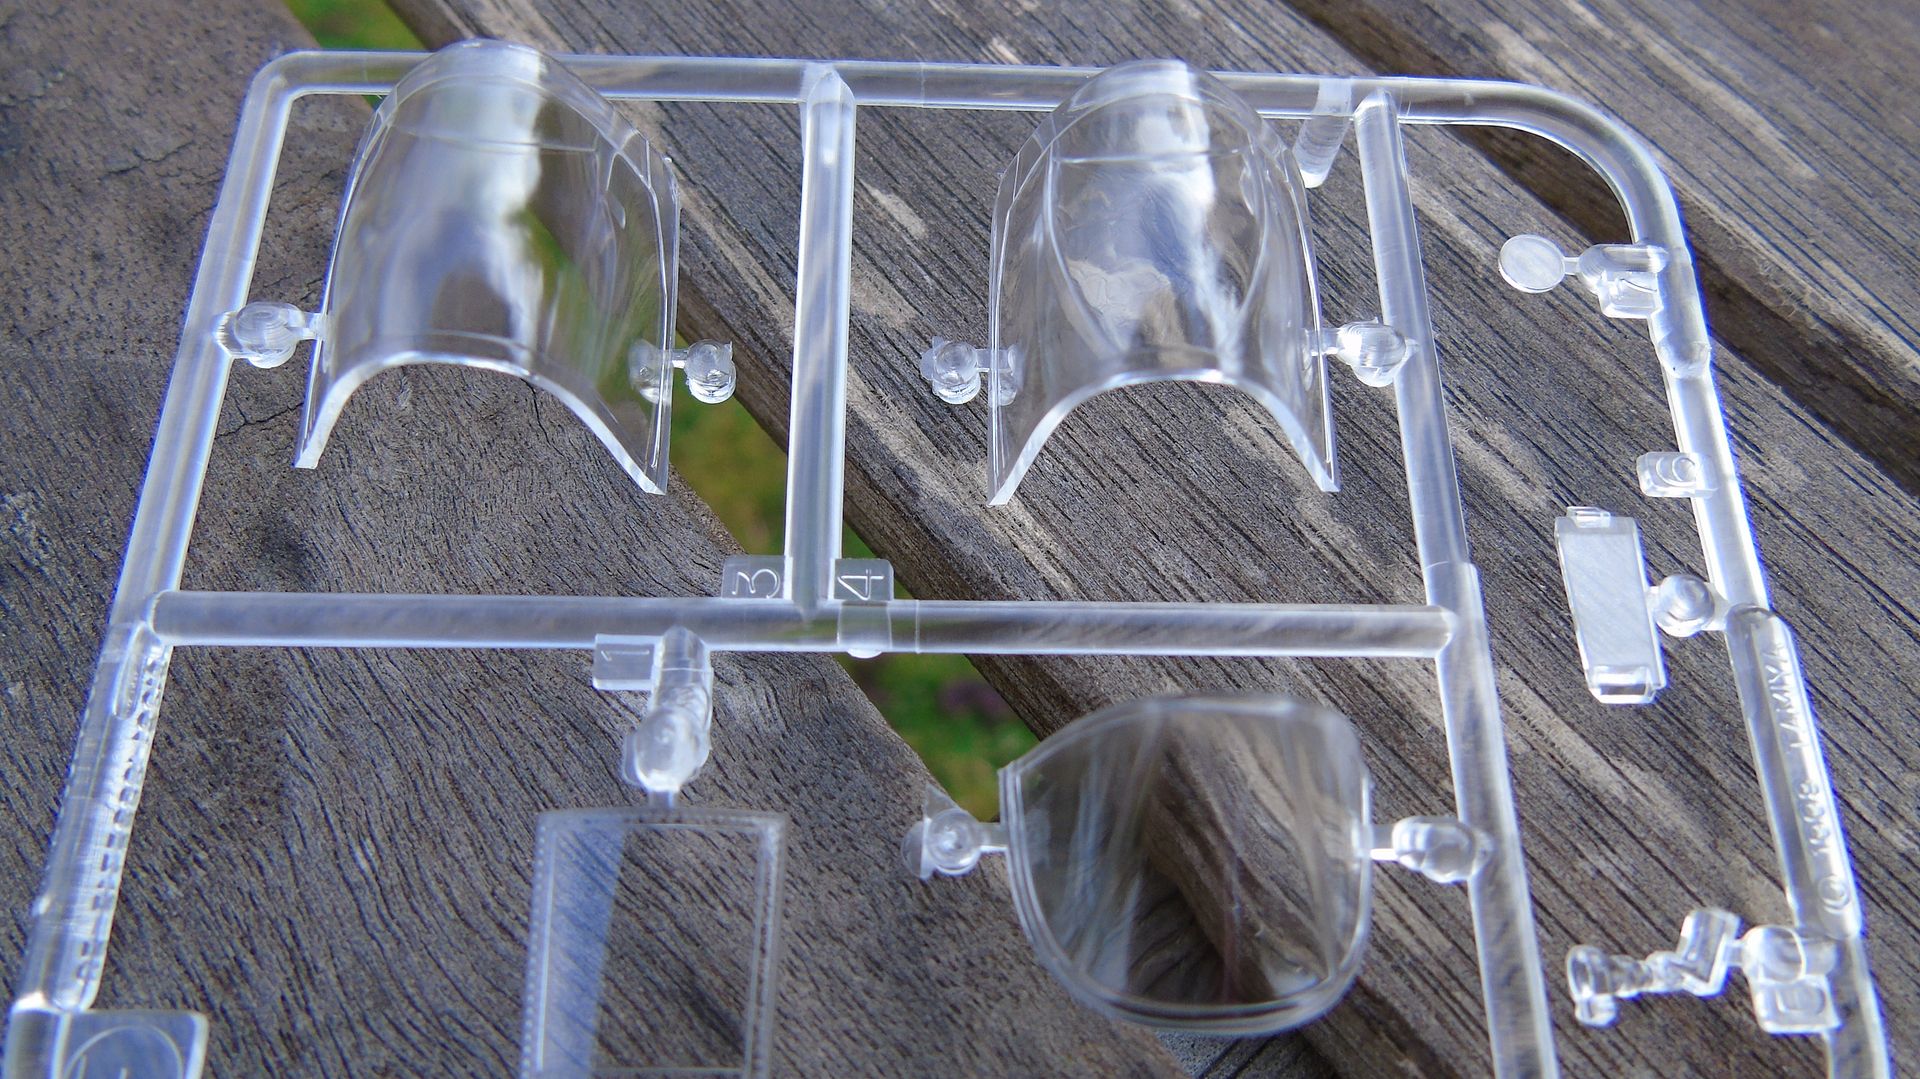
Picture 15: Canopy sprue.
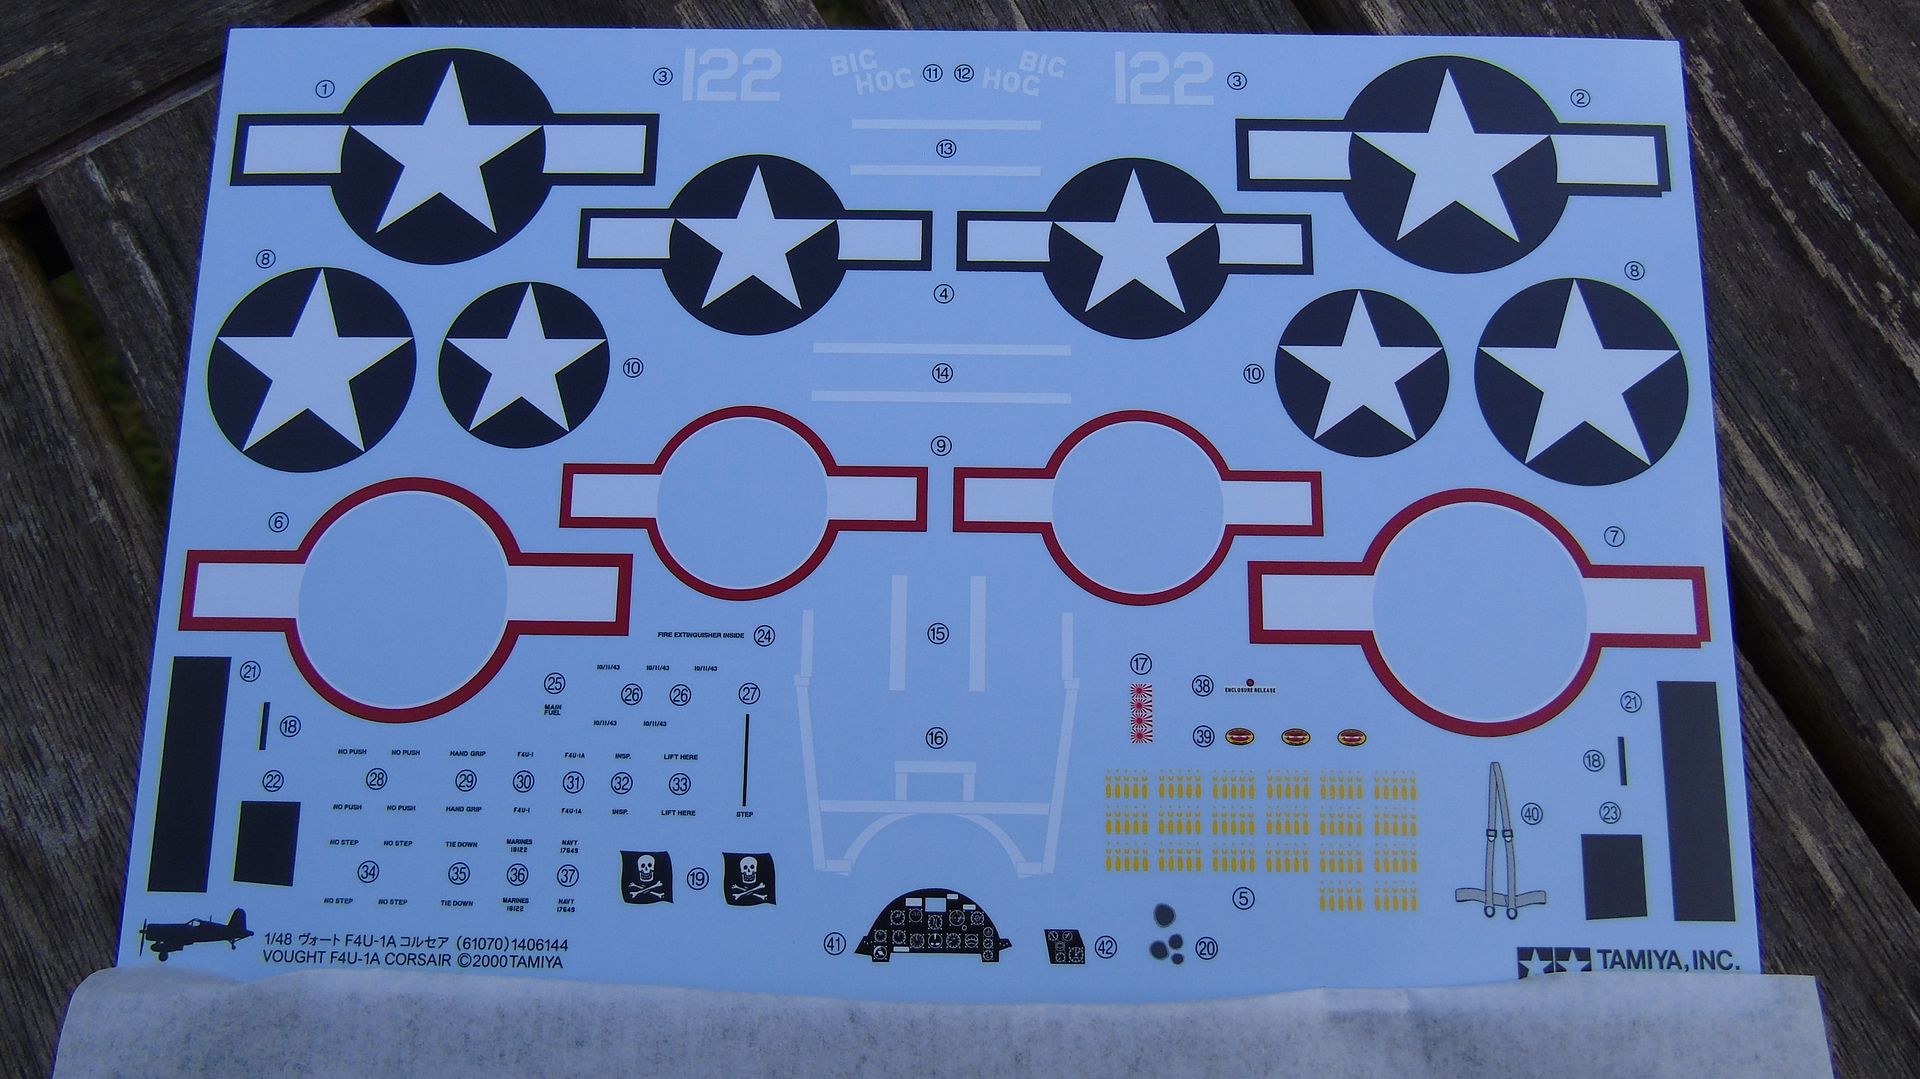
Picture 16: Decal sheet for the two decal options.
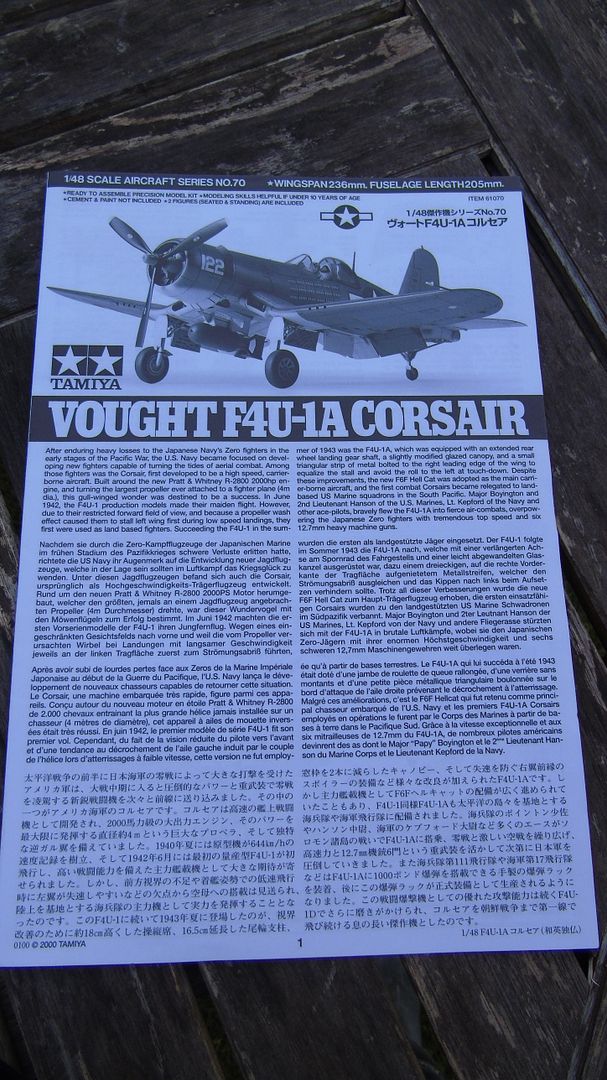
Picture 17: Front of instruction booklet.
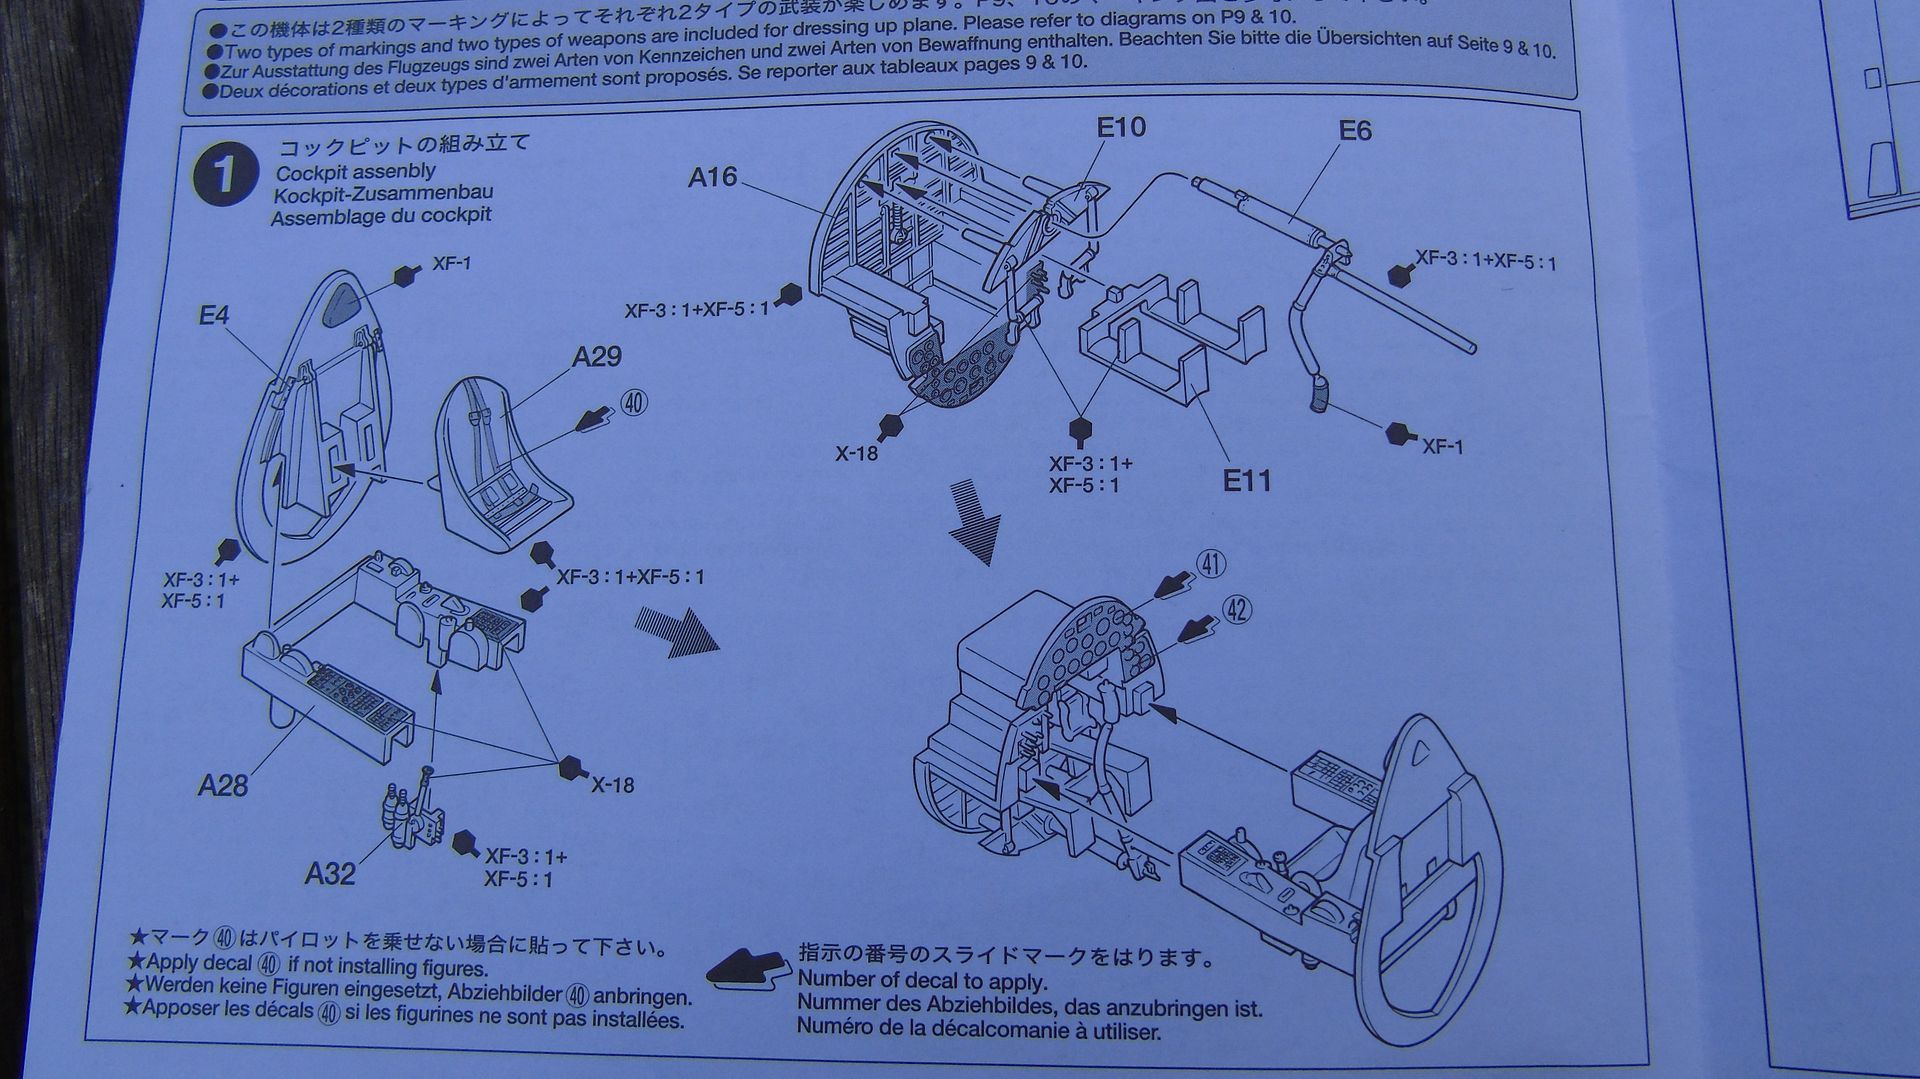
Picture 18: Build step example. (Annoyingly instructions come as fold out leaflet instead of a nicely stapled book)
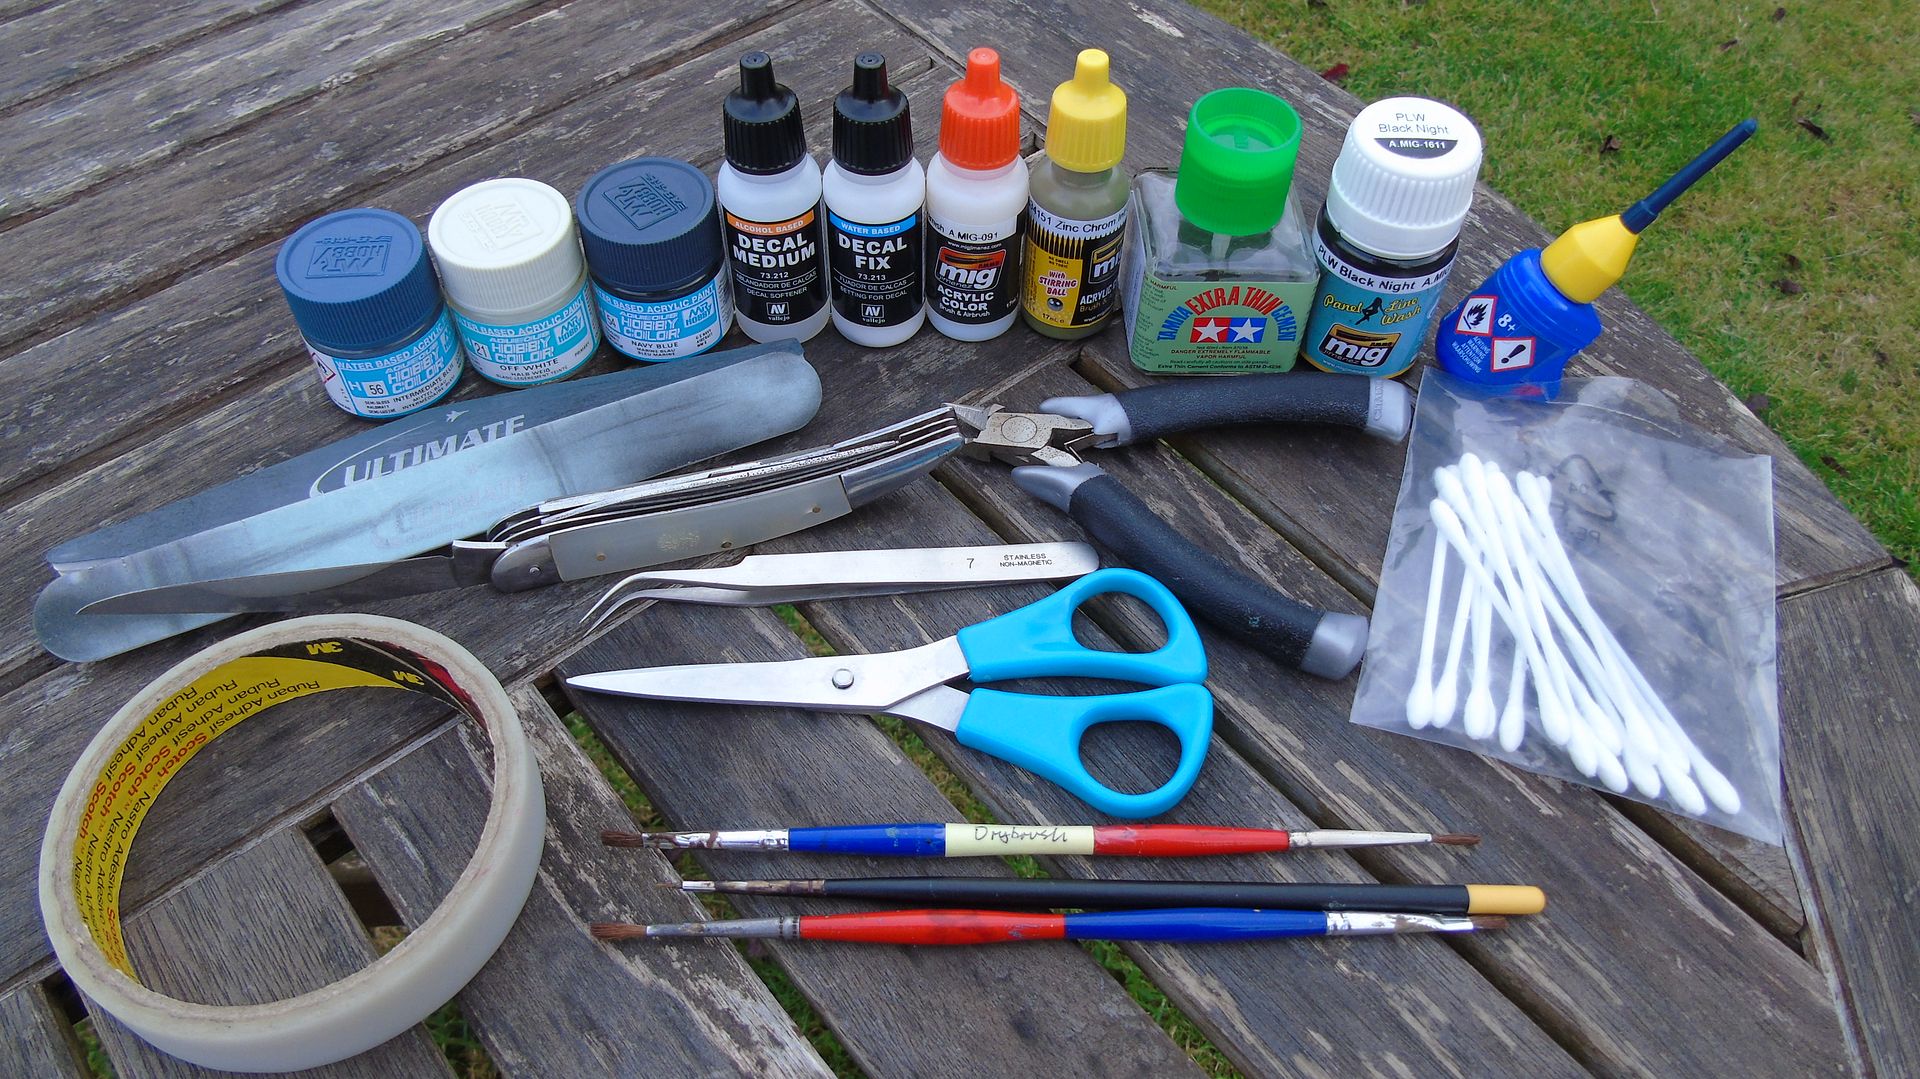
Picture 19: The majority of the main tools and paints I will be using.
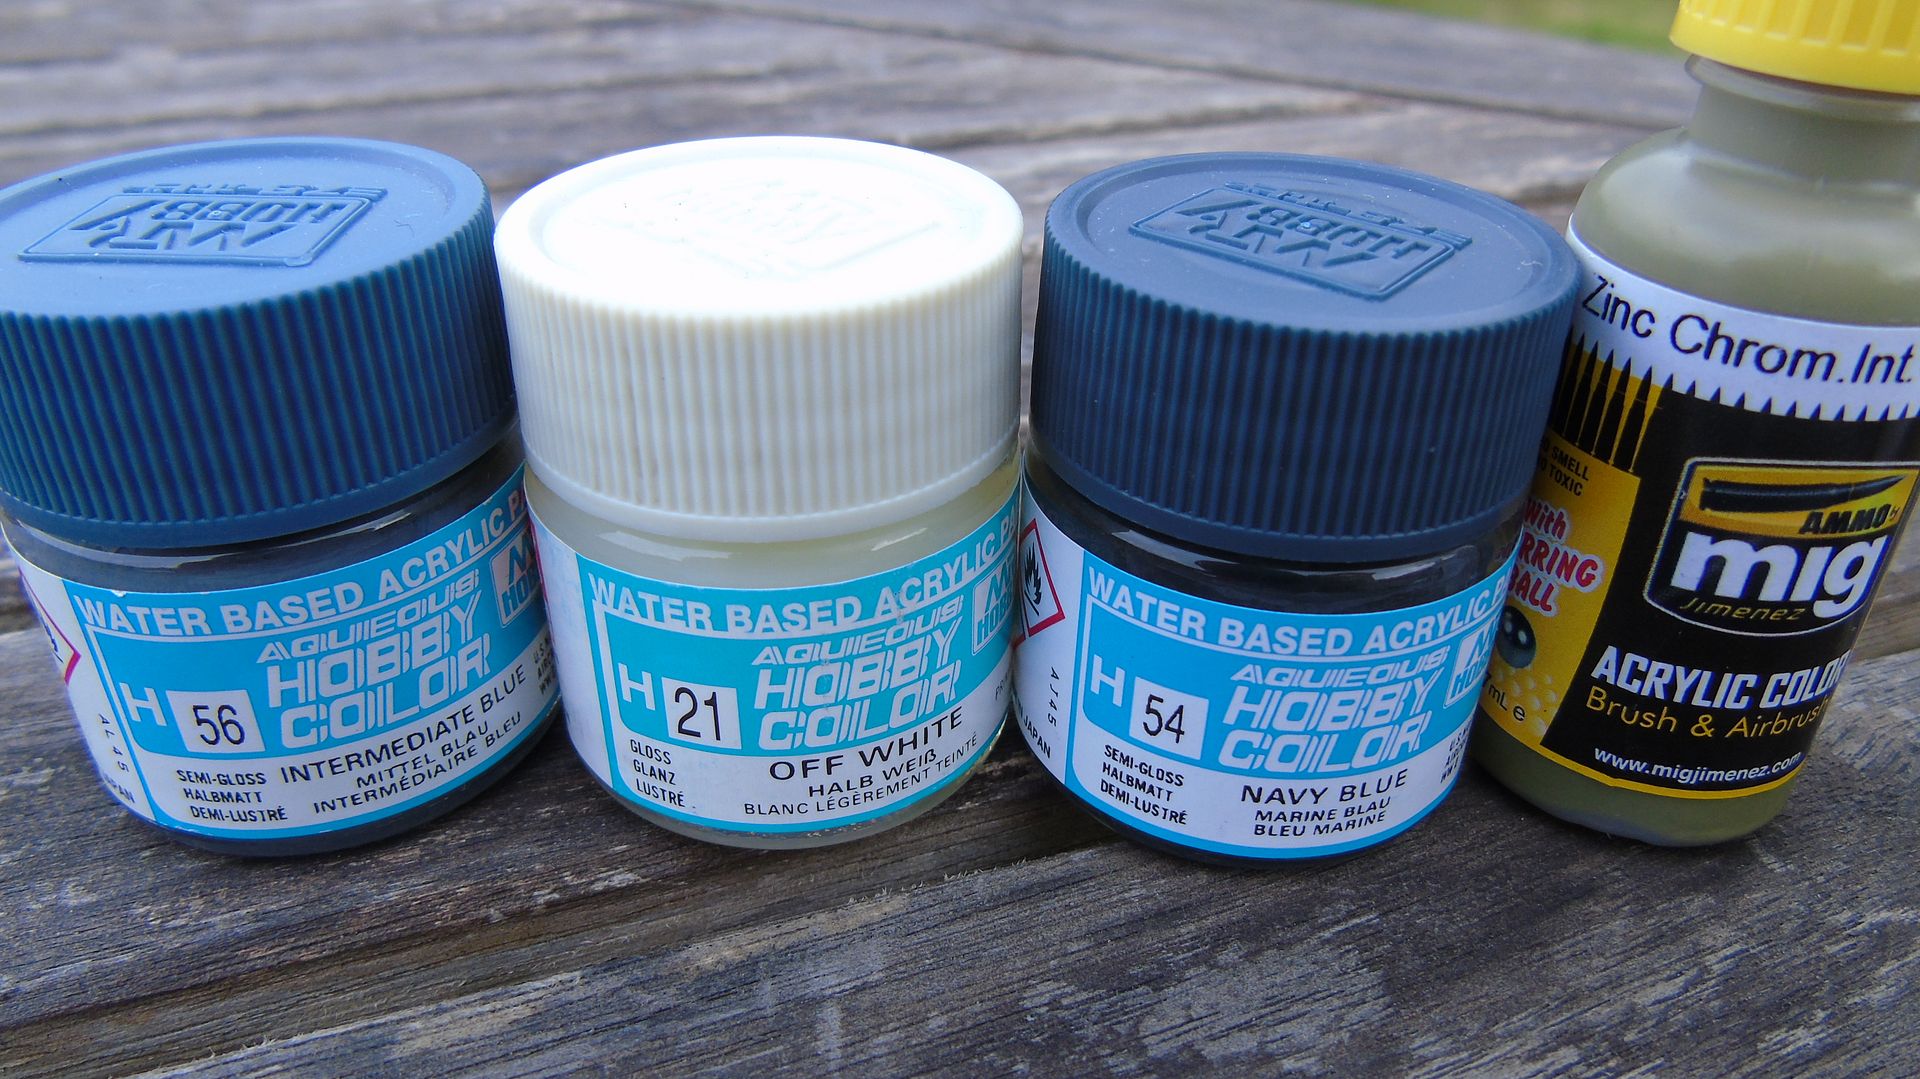
Picture 20: First time using these paints. From doing tests on my paint mule they look to be quite good.
Picture 21: Tamiya glue will be my main glue with the Revell only there as a stronger backup option for larger parts.

Picture 22: My main finishing products. This will be my first build with an enamel panel line wash. Looks good from paint mule tests.

If you would like to see a detailed In Box Review of this kit then please see below for a video I did on my Youtube channel Slade's Model Arcadia:
[youtube]DeSVtr6-glc[/youtube]
- - - - - - - - - -
I will now dedicate this section to a short but also in depth history of the aircraft including text, pictures and a video or two.
HISTORY: F4U CORSAIR
Picture 23: F4U Corsair in flight.

The American Vought F4U "Corsair" became the stuff of legend in its time aloft during World War 2 (1939-1945), the Korean War (1950-1953) and several French-related Cold War conflicts that followed. The design was attributed to Igor Sikorsky and Rex Beisel and went on to see production totals of 12,571 units with manufacturing ending in 1952 - not a bad total considering the aircraft was initially rejected by the United States Navy (USN). The F4U originally arrived as a USN carrier-based fighter design until difficulties in landing the aircraft on moving carrier decks led to its expanded use as a land-based fighter in the hands of US Marine aviators. While the United States Navy moved on to the equally-excellent Grumman F6F "Hellcat", the F4U continued to make a name for itself in the Pacific Theater - even earning the respect of its Japanese foes as one of the most feared combat aircraft in the region.
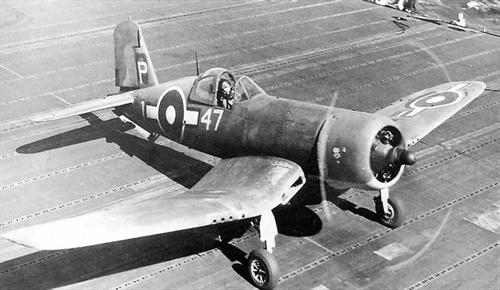
Picture 24: Carrier landing action shot.

The Corsair was born from a 1938 USN requirement calling for a new high performance carrier fighter and Chance Vought of United Aircraft returned with their V-166 model. Vought engineers handed their design the then- largest possible engine the compact airframe could handle - the experimental Pratt & Whitney XR-2800 "Double Wasp" of 2,000 horsepower. To this was added an equally massive 13ft tall three-bladed propeller assembly and the inverted "gull wing" arrangement was chosen to help the spinning propeller blades clear the ground and full-length main landing gear legs to be used. The engine was conventionally fitted at the front with the single-seat cockpit at amidships. The main wing appendages were seated ahead of centre while the fuselage was tubular in its general shape. The empennage consisted of a single, short (curved) vertical tail fin with low-set horizontal planes. The undercarriage was of the traditional "tail dragger" arrangement and wholly retractable. Original armament included 4 x 0.50 Browning heavy machine guns. Despite the inherent strong points in the F4U design, the aircraft held an obstructed forward view (due to the wing's location and long nose) and reduced visibility to the rear due to the raised fuselage spine. Pilots commented on the difficulties of cockpit access because of the unique wing bend.
Picture 25: The pilots of the early Corsair faced a number of issues while landing on a carrier.

Vought produced two prototype aircraft - V-166A and V-166B to which V-166A received the Pratt & Whitney R1830 Twin Wasp engine while V-166B was given the Pratt & Whitney R2800-2 Double Wasp engine. The USN favored the B-model prototype and placed its contract within months of Vought's submission. In development, the aircraft would be known as "XF4U-1".
When first tested in 1940, V-166B exceeded 400 miles per hour (403mph) and became the first American fighter to reach such speeds. First flight was recorded May 29th, 1940 (as the XF4U-1). changes were soon ordered. New armament was the call and this forced a relocation of wing fuel tanks to the fuselage. In turn, the set back the cockpit some three feet from the nose which generated all sorts of dangers for a pilot. In 1941, Vought was handed a serial production contract for 584 examples (F4U-1) by the USN. However, the initial production-quality airframe did not go airborne until June 25th, 1942. Carrier trials began in September and the aircraft was officially introduced into service on December 28th at a critical point in the Allied push to victory.
Picture 26: F4U prototype designated as the XF4U-1.

The inherent dangers of landing such a high-performance aircraft on a moving carrier deck prompted the U.S. Navy to delay shipboard use of the F4U. Instead, the aircraft was began operations as a land-based fighter with US Marine air group VMF-124 from land bases during February 1943 over Bougainville. In practice, the F4U made short work of the marauding Mitsubishi A6M "Zero" fighters - the pride of the Imperial Japanese Navy air service - as Zeros proved poorly protected, lacking armour along critical components and self-sealing fuel tanks. Additionally, American fighter aircraft were much improved over the pre-war models available in the initial Japanese assaults throughout the Pacific. Improved training and a better stock of seasoned pilots coupled to a fast and powerful fighter eventually helped to turn the tide of the Pacific War over time. indeed, the F4U proved itself the first Allied fighter to be able to counter the threat of the A6M Zero in the war - she could out-turn and out-dive most any enemy when called upon.
Picture 27: The main foe of the F4U, the Mitsubishi A6M2 "Zero" fighter.

In the following months, the US Marines took on even greater stocks of the new aircraft, such was their impression of the mount. Its versatility allowed it to be utilised to great effect as a ground attack fighter, outfitted with 8 x 5" aerial rockets or up to 4,000lbs of stores. Jettisonable fuel tanks served to increased overall combat ranges and bring the fight to the enemy wherever they would be found. Japanese Army forces grew so accustomed to Corsair strikes and their accompanying dive sound that they nicknamed the American aircraft "Whistling Death" (this sound was attributed to the rush of air at the cooler vents when in a dive).
Corsair pilots managed over 500 air kills by the end of 1943 and totalled some 2,140 enemy aircraft by the end of the war in August of 1945.The highest scoring ace of the U.S. Marine Corps alone became Major Gregory "Pappy" Boyington who managed 28 total enemy kills. All of these totals were made possible by the 64,000 sorties recorded by F4U airmen in the whole of the war. Allied pilots eventually earned an astounding kill ratio of 11:1.
Picture 28: Major Gregory "Pappy" Boyington sitting in his F4U.

The US Navy began trialling their Corsairs through squadron VF-12 in October 1942. VF-17 was stocked with the new fighters in April of 1943. Early USN use saw Corsairs operating from land bases as well until the kinks and training covered the aircraft as safe from launching and recovering from American carrier decks. Indeed the aircraft was given such nicknames as "Ensign Eliminator" and "Ensign Killer" for its tricky handling when on deck. Otherwise, it remained a powerful and fast fighter, regarded by many (even enemies) as the best naval fighter of World War 2. Such was the value of the aircraft that the U.S. Navy did not give up the F4U in a frontline service role until December of 1954.
While the US Marines enjoyed success with their Corsairs from land bases, the British Fleet Air Arm (FAA) fielded the mount in its initially intended role of carrier-based fighter. To fit aboard the space-strapped British carrier vessels, the Corsair received wings that were some eight inches shorter. British naval Corsair Mk IIs of No. 1834 Squadron were used in the April 3rd, 1944 attack on the German battleship Tirpitz. British airmen grew equally fond of their Corsairs.
Picture 29: A Royal Navy Fleet Air Arm Corsair Mk II sitting on the deck of a British carrier.
The history of the Corsair did not end with the final days of World War 2 for the type was pressed into service as a close-support platform during the upcoming Korean War (1950-1953). F4Us excelled in the role despite the arrival of jet-powered aircraft for they could loiter longer and fly lower under greater control than their fast-flying, fuel-thirsty brethren. Attacks came from 6 x heavy machine guns and 4 x 20mm cannons as well as rockets and conventional drop bombs. Amazingly, F4U Corsairs accounted for some 80 percent of US Marine and Navy ground strike missions during 1950. It was not uncommon for the propeller-driven Corsairs to also successfully handle the new jet-powered Mikoyan-Gurevich MiG-15 "Fagot" fighters emerging from the Soviet Union and fighting for North Korea. To the Corsair line was also added specialised night fighter variants which increased the usefulness of the family considerably.
During the First Indochina War (1946-1954), French aviators used the F4U against Viet Minh forces from 1952 to 1954. These were operated from land-based units and provided all manner of support for fighting French forces. Additional service saw Corsairs in action during the Suez Crisis (1956), the Algerian War (1954-1962) and Tunisia (1961).
Picture 30: A example of a French F4U as flown during the First Indochina War.

Beyond production by Vought - who struggled with the American military requirement during World War 2 - the F4U was produced by both Brewster (F3A-1) and Goodyear (FG-1). Marks began with the original F4U-1 (Corsair Mk I to the Fleet Air Arm) and these were followed by the late-first-batch F4U-1A (Corsair Mk II) and 700 Brewster-built F3A-1 (Corsair Mk III). Fighter-bomber forms then emerged as the F4U-1C (4 x 20mm cannon armament) and F4U-1D (P&W R2800-8W water-injected engine) which carried 2 x 1,000lb bombs or 8 x 5" rockets. The F4U-1P was a photo-reconnaissance mount. An experimental night fighter version became the X4FU-2. Another night fighter form was the F4U-2 based on the F4U-1. The final World War 2 Corsair model became the F4U-4 which appeared in late 1944. XF4U-2 was a late-war night fighter which served through VFN-75 and VFN-101.
The F4U-4C were 300 Corsairs outfitted with 4 x 20mm M2 cannons instead of the original 6 x machine gun armament. Additional night fighters emerged as the F4U-4E and F4U-4N. The F4U-4P was another photo-reconnaissance mount. Appearing in 1945 was the F4U-5 which arrived late in the year and thusly missed out on actions in World War 2 altogether. The P&W R-2800-32(E) engine outputted at 2,850 horsepower.
Picture 31: An F4U-4C as fitted with bombs and rockets.

The F4U-N was outfitted with radar and saw production reach 214 units. The F4U-5NL was developed as an arctic warfare variant evolved from the F4U-5N. The F4U-5P was an extended range photo-reconnaissance mount. The F4U-6 was a dedicated USMC ground attack variant which was eventually redesignated under the AU-1 marker. The F4U-7 was a French Navy-inspired development. The F4U-K and FG-1K both served as drones.
Special interceptor versions, particularly to deal with the rising threat of Japanese Navy kamikaze suicide strikes, became the F2G-1 and F2G-2. These were fielded with the P&W R-4360 "Wasp Major" 28-cylinder engine of 3,000 horsepower, nearly fifty percent greater power than the original Corsair product. Slight changes differentiated the two marks though neither ever saw combat in World War 2 with only ten examples emerging from testing and the war ending.
Beyond the United States, United Kingdom and France, the Corsair was in play with the Argentine Navy, the El Salvadorian Air Force, the Honduran Air Force and the New Zealand Air Force. The last known military-grade F4U was retired in 1979 with Honduras while New Zealand fielded the F4U across thirteen total squadrons from 1944 to 1949.
Picture 32: The last F4U. An example of a Honduran Air Force F4U serviced up until 1979.

Here is a nice short video of an F4U Corsair showing a flight demonstration and interestingly the wings folding out before take-off.
[youtube]FQxb-V-rZqA[/youtube]
This is a rather long but incredibly interesting video of the history of the F4U Corsair during WW2.
[youtube]veBLPWiYoOU[/youtube]
- - - - - - - - - -
Thank you to everyone who has made it this far on my first GB post. I am really looking forward to starting this build and will post my first update in the next few days or so
I would like to introduce my first ever GB project. It is a Tamiya 1/48 Vought F4U-1A Corsair and will be my first ever Tamiya Aircraft. I recently finished a Revell Bf109 G-10 which was a 1978 and was an absolute Bear of a build. It really sapped my plane mojo so I am hoping this will help to re-kindle some of it back. Having built many of Tamiya's vehicles I was very excited to get my hands on one of their aircraft and from looking at the sprues I can see why.
Anyway without further ado I hope you enjoy my build thread. I am certainly sure I will!
(Before I begin I would just like to apologise to 'onemac' for stepping on your toes slightly for building the exact plane that you are building however, I did the slightly silly thing of choosing my model before looking at what someone else was doing. I hope this will not cause too much of a problem)
The following pictures are of the obligatory un-started variety from the box as well as some more detailed shots of the sprues. The ones following those are of the majority of the paints and tools I will be using (I have only included the primary paints I will be using although I will be using other colours for some of detailed parts). The keen eyed among you may see that some of the tools I will be using are of course the famous Ultimate sanding sticks. This will be my first model using a proper panel line was and also my first using Mr Hobby Aqueous paints.
I would just like to add that as per the rest of the models I make, this aircraft will be entirely brush painted as I do not own an airbrush or have the money to buy one at the moment. I am planning to get one at some point however I will have to make do with brushes for now
Picture 1: Nice box art on this one. I always appreciate a piece of good looking box art.

Picture 2: Decal scheme 1.

Picture 3: Decal Scheme 2.

Picture 4: This kit has the option to have the wings folded which is a nice addition.

Picture 5: How the inside looks upon opening.

Picture 6: Sprue shot one.

Picture 7: One of the two included figures.

Picture 8: Sprue shot two.

Picture 9: Lots of nice detail on the instrument panel and the rest of the cockpit.

Picture 10: Rivet detail one.

Picture 11: Rivet detail two.

Picture 12: Fuselage internal details.

Picture 13: Sprue shot three.

Picture 14: Underside rivet detail.

Picture 15: Canopy sprue.

Picture 16: Decal sheet for the two decal options.

Picture 17: Front of instruction booklet.

Picture 18: Build step example. (Annoyingly instructions come as fold out leaflet instead of a nicely stapled book)

Picture 19: The majority of the main tools and paints I will be using.

Picture 20: First time using these paints. From doing tests on my paint mule they look to be quite good.

Picture 21: Tamiya glue will be my main glue with the Revell only there as a stronger backup option for larger parts.

Picture 22: My main finishing products. This will be my first build with an enamel panel line wash. Looks good from paint mule tests.

If you would like to see a detailed In Box Review of this kit then please see below for a video I did on my Youtube channel Slade's Model Arcadia:
[youtube]DeSVtr6-glc[/youtube]
- - - - - - - - - -
I will now dedicate this section to a short but also in depth history of the aircraft including text, pictures and a video or two.
HISTORY: F4U CORSAIR
Picture 23: F4U Corsair in flight.
The American Vought F4U "Corsair" became the stuff of legend in its time aloft during World War 2 (1939-1945), the Korean War (1950-1953) and several French-related Cold War conflicts that followed. The design was attributed to Igor Sikorsky and Rex Beisel and went on to see production totals of 12,571 units with manufacturing ending in 1952 - not a bad total considering the aircraft was initially rejected by the United States Navy (USN). The F4U originally arrived as a USN carrier-based fighter design until difficulties in landing the aircraft on moving carrier decks led to its expanded use as a land-based fighter in the hands of US Marine aviators. While the United States Navy moved on to the equally-excellent Grumman F6F "Hellcat", the F4U continued to make a name for itself in the Pacific Theater - even earning the respect of its Japanese foes as one of the most feared combat aircraft in the region.
Picture 24: Carrier landing action shot.
The Corsair was born from a 1938 USN requirement calling for a new high performance carrier fighter and Chance Vought of United Aircraft returned with their V-166 model. Vought engineers handed their design the then- largest possible engine the compact airframe could handle - the experimental Pratt & Whitney XR-2800 "Double Wasp" of 2,000 horsepower. To this was added an equally massive 13ft tall three-bladed propeller assembly and the inverted "gull wing" arrangement was chosen to help the spinning propeller blades clear the ground and full-length main landing gear legs to be used. The engine was conventionally fitted at the front with the single-seat cockpit at amidships. The main wing appendages were seated ahead of centre while the fuselage was tubular in its general shape. The empennage consisted of a single, short (curved) vertical tail fin with low-set horizontal planes. The undercarriage was of the traditional "tail dragger" arrangement and wholly retractable. Original armament included 4 x 0.50 Browning heavy machine guns. Despite the inherent strong points in the F4U design, the aircraft held an obstructed forward view (due to the wing's location and long nose) and reduced visibility to the rear due to the raised fuselage spine. Pilots commented on the difficulties of cockpit access because of the unique wing bend.
Picture 25: The pilots of the early Corsair faced a number of issues while landing on a carrier.
Vought produced two prototype aircraft - V-166A and V-166B to which V-166A received the Pratt & Whitney R1830 Twin Wasp engine while V-166B was given the Pratt & Whitney R2800-2 Double Wasp engine. The USN favored the B-model prototype and placed its contract within months of Vought's submission. In development, the aircraft would be known as "XF4U-1".
When first tested in 1940, V-166B exceeded 400 miles per hour (403mph) and became the first American fighter to reach such speeds. First flight was recorded May 29th, 1940 (as the XF4U-1). changes were soon ordered. New armament was the call and this forced a relocation of wing fuel tanks to the fuselage. In turn, the set back the cockpit some three feet from the nose which generated all sorts of dangers for a pilot. In 1941, Vought was handed a serial production contract for 584 examples (F4U-1) by the USN. However, the initial production-quality airframe did not go airborne until June 25th, 1942. Carrier trials began in September and the aircraft was officially introduced into service on December 28th at a critical point in the Allied push to victory.
Picture 26: F4U prototype designated as the XF4U-1.
The inherent dangers of landing such a high-performance aircraft on a moving carrier deck prompted the U.S. Navy to delay shipboard use of the F4U. Instead, the aircraft was began operations as a land-based fighter with US Marine air group VMF-124 from land bases during February 1943 over Bougainville. In practice, the F4U made short work of the marauding Mitsubishi A6M "Zero" fighters - the pride of the Imperial Japanese Navy air service - as Zeros proved poorly protected, lacking armour along critical components and self-sealing fuel tanks. Additionally, American fighter aircraft were much improved over the pre-war models available in the initial Japanese assaults throughout the Pacific. Improved training and a better stock of seasoned pilots coupled to a fast and powerful fighter eventually helped to turn the tide of the Pacific War over time. indeed, the F4U proved itself the first Allied fighter to be able to counter the threat of the A6M Zero in the war - she could out-turn and out-dive most any enemy when called upon.
Picture 27: The main foe of the F4U, the Mitsubishi A6M2 "Zero" fighter.
In the following months, the US Marines took on even greater stocks of the new aircraft, such was their impression of the mount. Its versatility allowed it to be utilised to great effect as a ground attack fighter, outfitted with 8 x 5" aerial rockets or up to 4,000lbs of stores. Jettisonable fuel tanks served to increased overall combat ranges and bring the fight to the enemy wherever they would be found. Japanese Army forces grew so accustomed to Corsair strikes and their accompanying dive sound that they nicknamed the American aircraft "Whistling Death" (this sound was attributed to the rush of air at the cooler vents when in a dive).
Corsair pilots managed over 500 air kills by the end of 1943 and totalled some 2,140 enemy aircraft by the end of the war in August of 1945.The highest scoring ace of the U.S. Marine Corps alone became Major Gregory "Pappy" Boyington who managed 28 total enemy kills. All of these totals were made possible by the 64,000 sorties recorded by F4U airmen in the whole of the war. Allied pilots eventually earned an astounding kill ratio of 11:1.
Picture 28: Major Gregory "Pappy" Boyington sitting in his F4U.
The US Navy began trialling their Corsairs through squadron VF-12 in October 1942. VF-17 was stocked with the new fighters in April of 1943. Early USN use saw Corsairs operating from land bases as well until the kinks and training covered the aircraft as safe from launching and recovering from American carrier decks. Indeed the aircraft was given such nicknames as "Ensign Eliminator" and "Ensign Killer" for its tricky handling when on deck. Otherwise, it remained a powerful and fast fighter, regarded by many (even enemies) as the best naval fighter of World War 2. Such was the value of the aircraft that the U.S. Navy did not give up the F4U in a frontline service role until December of 1954.
While the US Marines enjoyed success with their Corsairs from land bases, the British Fleet Air Arm (FAA) fielded the mount in its initially intended role of carrier-based fighter. To fit aboard the space-strapped British carrier vessels, the Corsair received wings that were some eight inches shorter. British naval Corsair Mk IIs of No. 1834 Squadron were used in the April 3rd, 1944 attack on the German battleship Tirpitz. British airmen grew equally fond of their Corsairs.
Picture 29: A Royal Navy Fleet Air Arm Corsair Mk II sitting on the deck of a British carrier.
The history of the Corsair did not end with the final days of World War 2 for the type was pressed into service as a close-support platform during the upcoming Korean War (1950-1953). F4Us excelled in the role despite the arrival of jet-powered aircraft for they could loiter longer and fly lower under greater control than their fast-flying, fuel-thirsty brethren. Attacks came from 6 x heavy machine guns and 4 x 20mm cannons as well as rockets and conventional drop bombs. Amazingly, F4U Corsairs accounted for some 80 percent of US Marine and Navy ground strike missions during 1950. It was not uncommon for the propeller-driven Corsairs to also successfully handle the new jet-powered Mikoyan-Gurevich MiG-15 "Fagot" fighters emerging from the Soviet Union and fighting for North Korea. To the Corsair line was also added specialised night fighter variants which increased the usefulness of the family considerably.
During the First Indochina War (1946-1954), French aviators used the F4U against Viet Minh forces from 1952 to 1954. These were operated from land-based units and provided all manner of support for fighting French forces. Additional service saw Corsairs in action during the Suez Crisis (1956), the Algerian War (1954-1962) and Tunisia (1961).
Picture 30: A example of a French F4U as flown during the First Indochina War.
Beyond production by Vought - who struggled with the American military requirement during World War 2 - the F4U was produced by both Brewster (F3A-1) and Goodyear (FG-1). Marks began with the original F4U-1 (Corsair Mk I to the Fleet Air Arm) and these were followed by the late-first-batch F4U-1A (Corsair Mk II) and 700 Brewster-built F3A-1 (Corsair Mk III). Fighter-bomber forms then emerged as the F4U-1C (4 x 20mm cannon armament) and F4U-1D (P&W R2800-8W water-injected engine) which carried 2 x 1,000lb bombs or 8 x 5" rockets. The F4U-1P was a photo-reconnaissance mount. An experimental night fighter version became the X4FU-2. Another night fighter form was the F4U-2 based on the F4U-1. The final World War 2 Corsair model became the F4U-4 which appeared in late 1944. XF4U-2 was a late-war night fighter which served through VFN-75 and VFN-101.
The F4U-4C were 300 Corsairs outfitted with 4 x 20mm M2 cannons instead of the original 6 x machine gun armament. Additional night fighters emerged as the F4U-4E and F4U-4N. The F4U-4P was another photo-reconnaissance mount. Appearing in 1945 was the F4U-5 which arrived late in the year and thusly missed out on actions in World War 2 altogether. The P&W R-2800-32(E) engine outputted at 2,850 horsepower.
Picture 31: An F4U-4C as fitted with bombs and rockets.
The F4U-N was outfitted with radar and saw production reach 214 units. The F4U-5NL was developed as an arctic warfare variant evolved from the F4U-5N. The F4U-5P was an extended range photo-reconnaissance mount. The F4U-6 was a dedicated USMC ground attack variant which was eventually redesignated under the AU-1 marker. The F4U-7 was a French Navy-inspired development. The F4U-K and FG-1K both served as drones.
Special interceptor versions, particularly to deal with the rising threat of Japanese Navy kamikaze suicide strikes, became the F2G-1 and F2G-2. These were fielded with the P&W R-4360 "Wasp Major" 28-cylinder engine of 3,000 horsepower, nearly fifty percent greater power than the original Corsair product. Slight changes differentiated the two marks though neither ever saw combat in World War 2 with only ten examples emerging from testing and the war ending.
Beyond the United States, United Kingdom and France, the Corsair was in play with the Argentine Navy, the El Salvadorian Air Force, the Honduran Air Force and the New Zealand Air Force. The last known military-grade F4U was retired in 1979 with Honduras while New Zealand fielded the F4U across thirteen total squadrons from 1944 to 1949.
Picture 32: The last F4U. An example of a Honduran Air Force F4U serviced up until 1979.
Here is a nice short video of an F4U Corsair showing a flight demonstration and interestingly the wings folding out before take-off.
[youtube]FQxb-V-rZqA[/youtube]
This is a rather long but incredibly interesting video of the history of the F4U Corsair during WW2.
[youtube]veBLPWiYoOU[/youtube]
- - - - - - - - - -
Thank you to everyone who has made it this far on my first GB post. I am really looking forward to starting this build and will post my first update in the next few days or so


