Evil Carrot's Flight Test
Posted: Thu Jan 05, 2017 6:39 pm
NOTE: This post is also an attempt at using images directly from my google account instead of using Photo-bucket-of-$#@%. Can you let me know if they show up correctly?
I've started building this big boy a while ago but I haven't gotten around to uploading any of it. Let's change that shall we.
Here's the big box:

Proof of it's state of unstartedness:


The fit seems okay but I have my doubts about the strength of the kit, so I decided to add a few reinforcements:


The cockpit of this kit is pretty terrible, there only is detailing on the front instrument panels and on the side consoles, everything else is flat. What's worse is a lot of the details don't match the decals you get for the cockpit. Combine that with me doing a bad job at using said decals and you get a pretty awful looking cockpit. I managed to fix some of it with gloss black paint. Also tried giving it a bit of a dusty look with Ultimate's light dirt. That didn't go too badly but all things considered I'm not very happy with the way it has turned out. Hopefully I can do a better job on the seats. Also an interesting design choice is that the front control stick is backwards if you follow the instructions. Had to cut it off the main part and turn it around. The result (still needs a coat of varnish):

And finally I also did some work on the seats. These are newer molds than the ones older boxings of this kit came with and they're not too bad compared to their real-life counterpart. Still severely lacking in detail though. Added some extra seat belts using Aizu masking tape and buckle-like thingies made from copper wire. Fixed them with white glue. On top of the seats I added pieces of paper tissue soaked with white glue to make them look more cloth-like in appearance:

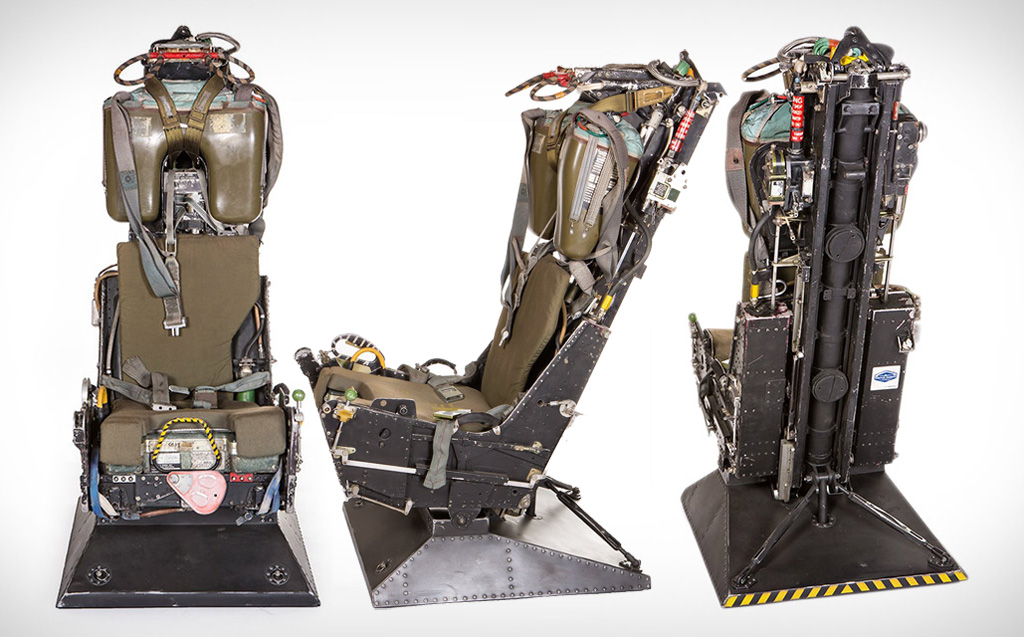
Will be adding some more belts next, hopefully I can get them to look a bit more like these:
I've started building this big boy a while ago but I haven't gotten around to uploading any of it. Let's change that shall we.
Here's the big box:
Proof of it's state of unstartedness:
The fit seems okay but I have my doubts about the strength of the kit, so I decided to add a few reinforcements:
The cockpit of this kit is pretty terrible, there only is detailing on the front instrument panels and on the side consoles, everything else is flat. What's worse is a lot of the details don't match the decals you get for the cockpit. Combine that with me doing a bad job at using said decals and you get a pretty awful looking cockpit. I managed to fix some of it with gloss black paint. Also tried giving it a bit of a dusty look with Ultimate's light dirt. That didn't go too badly but all things considered I'm not very happy with the way it has turned out. Hopefully I can do a better job on the seats. Also an interesting design choice is that the front control stick is backwards if you follow the instructions. Had to cut it off the main part and turn it around. The result (still needs a coat of varnish):
And finally I also did some work on the seats. These are newer molds than the ones older boxings of this kit came with and they're not too bad compared to their real-life counterpart. Still severely lacking in detail though. Added some extra seat belts using Aizu masking tape and buckle-like thingies made from copper wire. Fixed them with white glue. On top of the seats I added pieces of paper tissue soaked with white glue to make them look more cloth-like in appearance:
Will be adding some more belts next, hopefully I can get them to look a bit more like these:


