**Update** - Wheels Part Two.
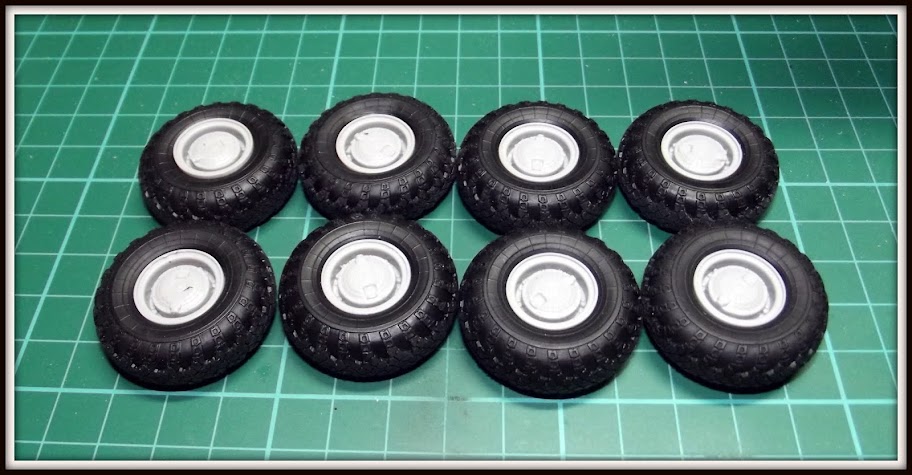
The tyres and hubs that make up the wheels in the kit are very nice indeed. The rubber tyres are nicely detailed. The only issue here is that these runner tyres when fitted to the vehicle, don't have the effect of the weight of the vehicle, i.e tyre bulge. I see that some people got for aftermarket resin wheels to get this effect. A few weeks ago when i was in WHSmiths, I spotted the January 2015 of Military Modelling International. It had an article on a BTR-6-PB build and I bought the magazine for inspiration among some other good info and articles.
In this BTR-60PB build article, the modeller had acquired the resin wheels but then decided to go for the kit parts. so to get round this issue of the tyre bulge, he mentioned (but did not demonstrate) putting a screw in through the tyre into the hub which creates the desired bulge. While I'm sure this is nothing particularly new to armour modellers, I thought I would go through step by step to show how I did it.
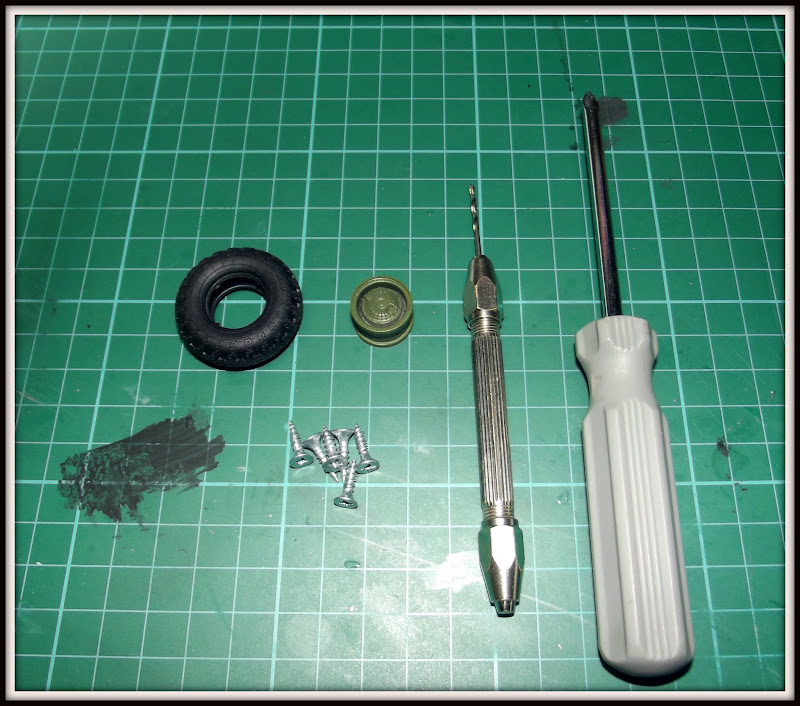
Step one
You need the hub, tyre, drill, screwdriver and screws. When it comes to the screws, they need to be not too long to go to the centre of the hub but long enough to allow the screw to grip. I had lots of leftover screws to choose from. The drill needs to be big enough so when inserting the screw, it does not split the hub but also allow enough plastic for the screw to bite into.
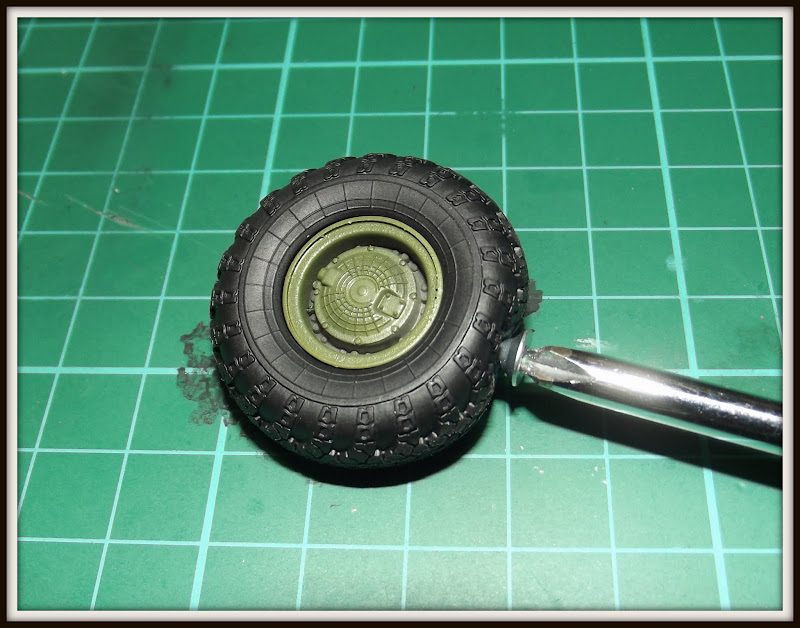
 Step two
With the tyre fitted to the hub, I selected to line up the drill with a square section on the hub. This way I know where the hole is going to be. Then centre up on the tyre and drill through the tyre until you can cut a mark in the hub.
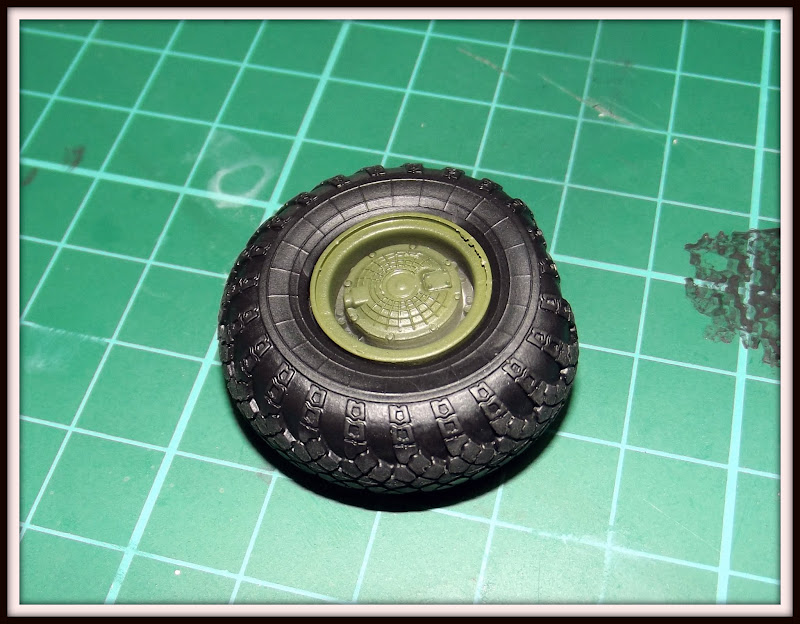
 Step three
Then remove the tyre from the hub. You should see the mark where the drill starting cutting into the plastic.
 Step four
Then use the drill to finish making the pilot hole. Put the screw into the tyre ready to screw in.
 Step five
Now use the screwdriver to carefully insert the screw into the hub using the square plate to line up the holes.
 Step six
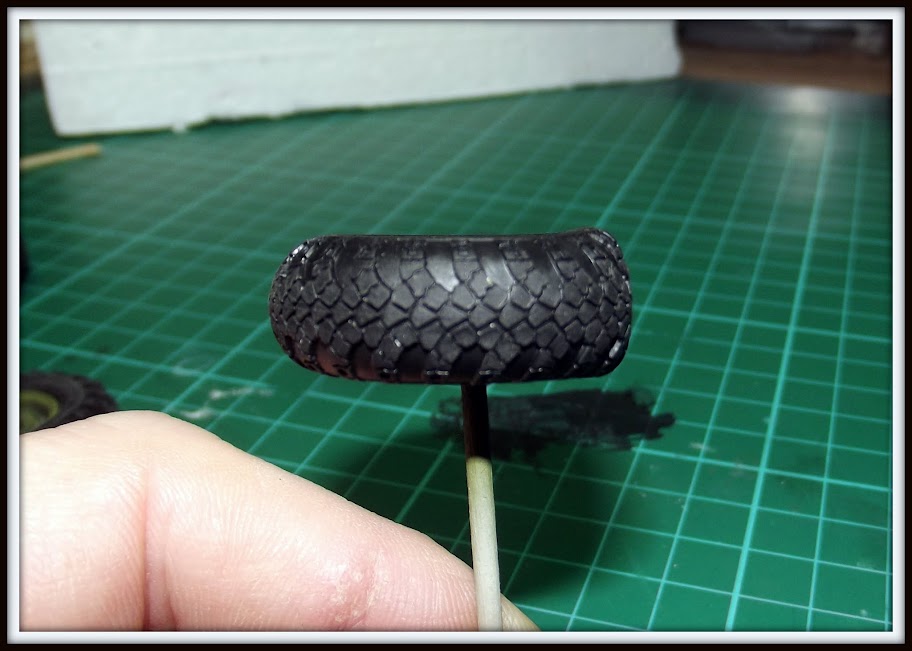
You just need to screw in far enough to get the required effect. I recommend spending some time getting everything to settle and line up correctly. A bit of fiddly around is required to ensure the bulge is realistic but ensure you don't end up with big gaps between the hub and tyre.
That's pretty much it. Take the time and the results are worth it.


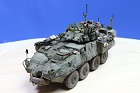
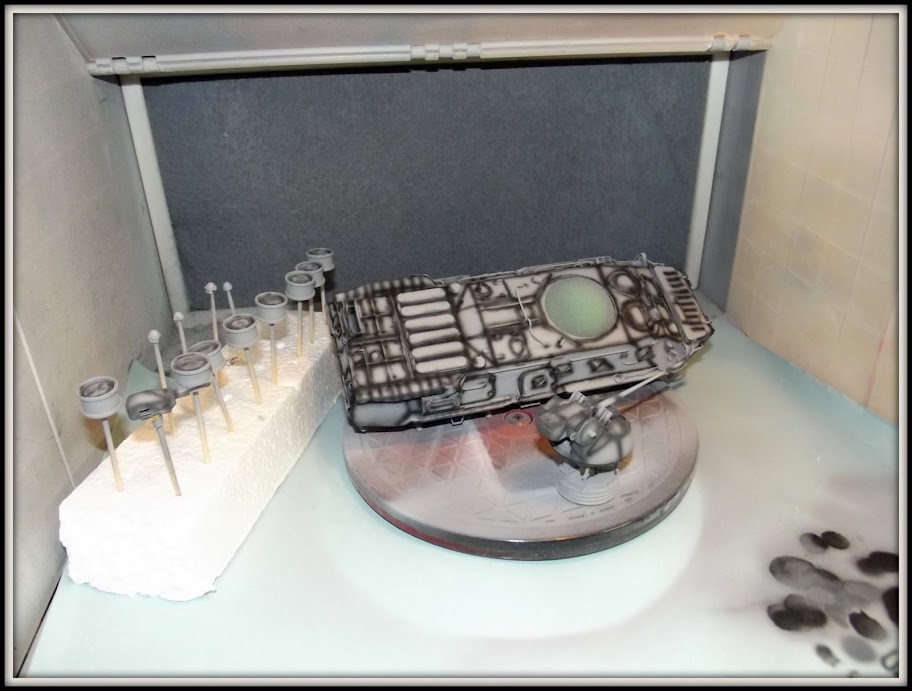
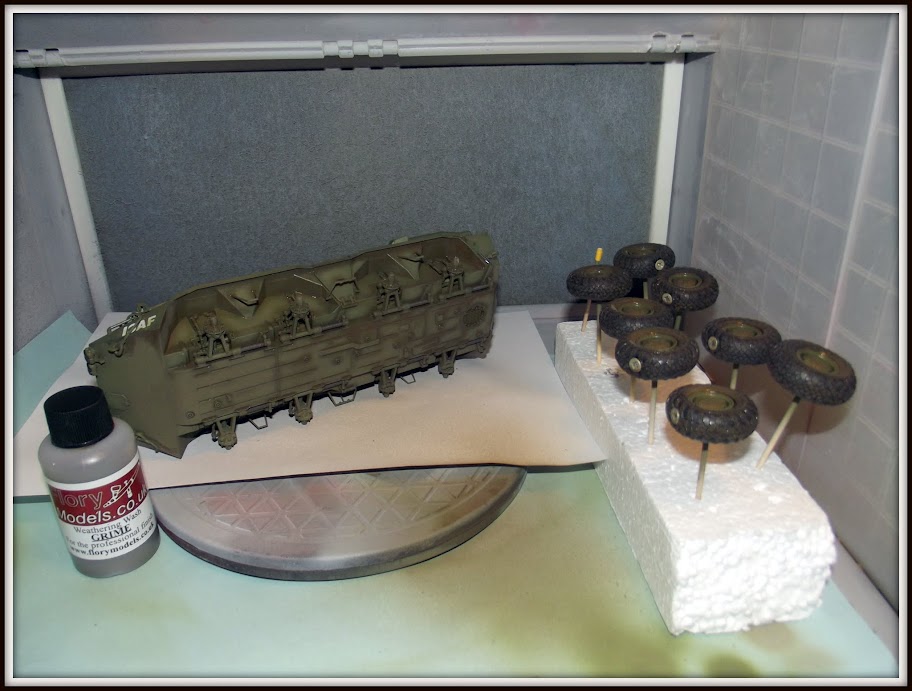
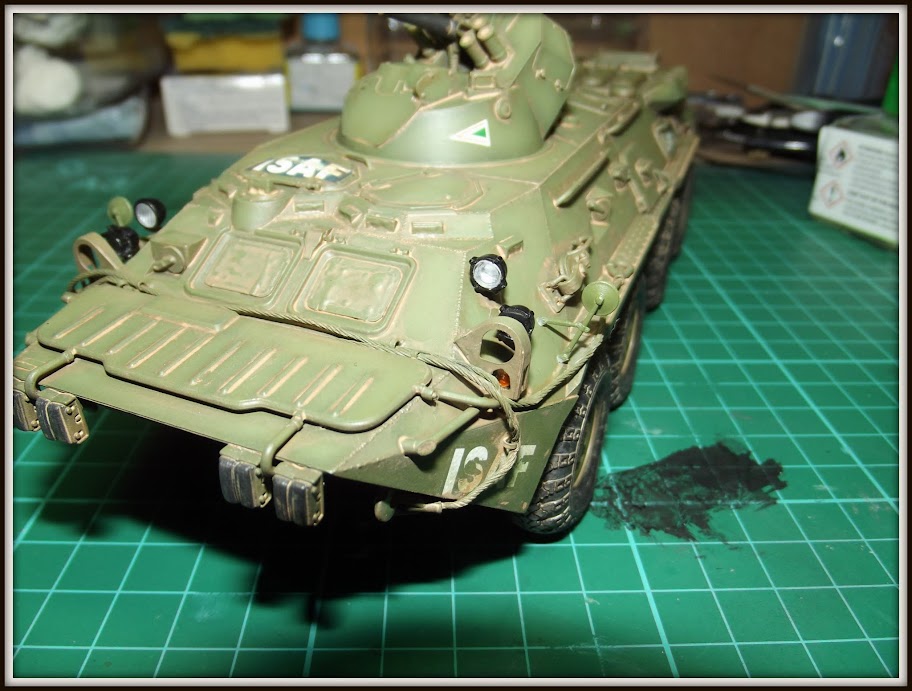
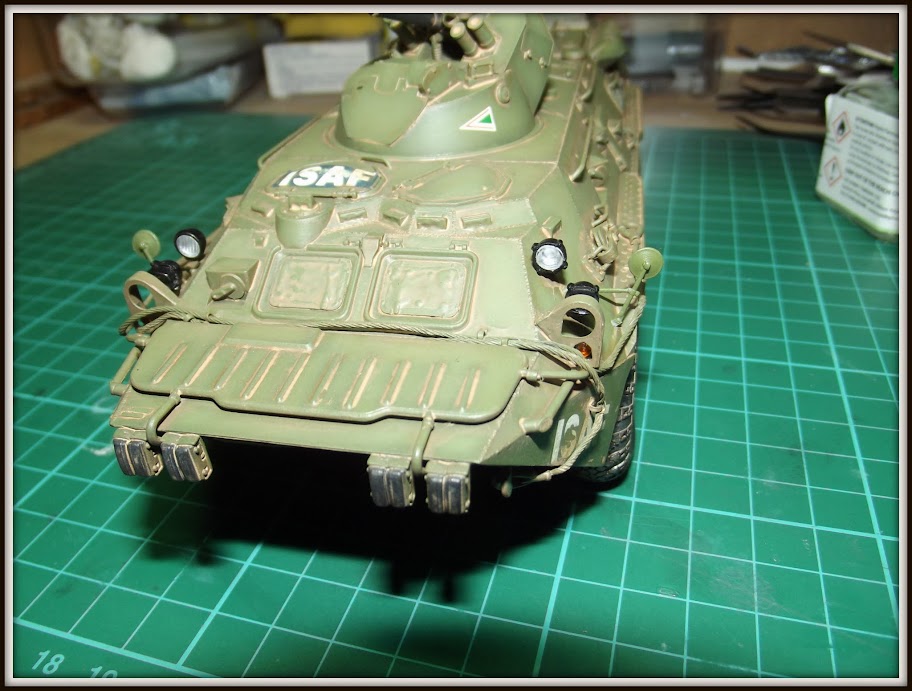
And here's some shots of the wheels fitted to the vehicle.