Page 1 of 1
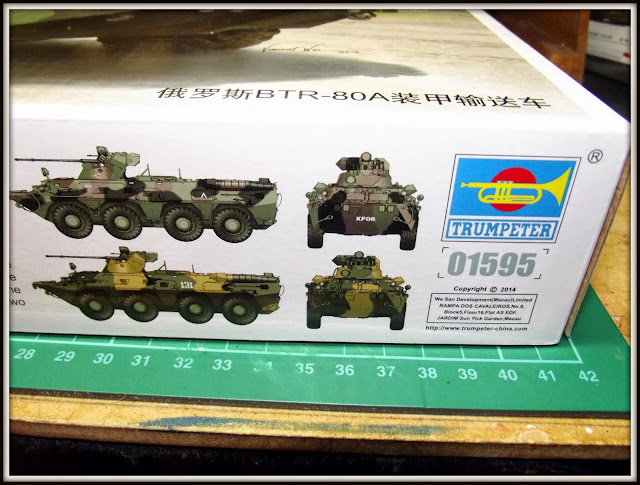
1/35 Trumpeter Russian BTR-80A APC
Posted: Mon Jan 19, 2015 3:27 pm
by plasmahal
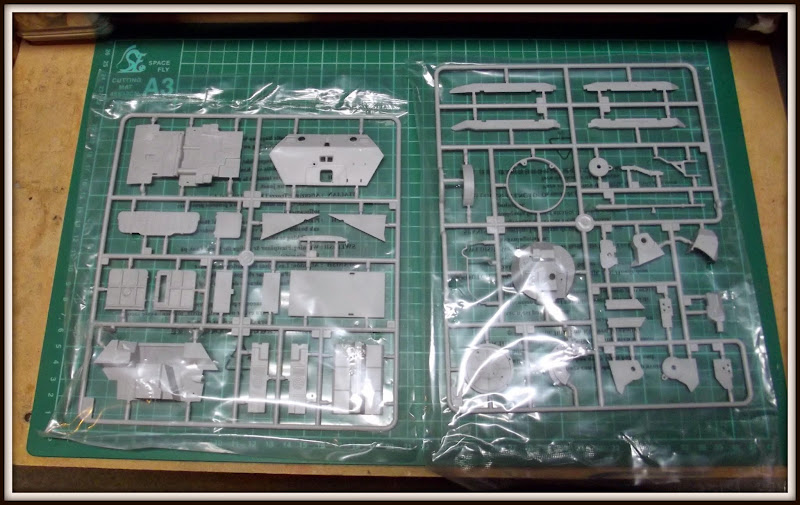
For my First entry in my first ISM GB, I'm doing my first armour build with the 1/35 Trumpeter Russian BTR-80A APC.
Background:
From Wikipedia, the free encyclopedia
The BTR-80 (Russian: бронетранспортер, BTR stands for bronyetransportyer, literally meaning "armoured transporter") is an 8x8 wheeled amphibious armoured personnel carrier (APC) designed in the USSR. Adopted in 1986 and replaced the previous versions, BTR-60 and BTR-70 in the Soviet Army. It was first deployed during Soviet War in Afghanistan .
BTR-80A (GAZ-59034) - IFV with 30 mm gun 2A72 and 300 rounds as primary weapon. The turret is called BPPU and is equipped with sights 1PZ-9 (day) and TPN-3 or TPN-3-42 "Kristall" (night). In production and service since 1994.
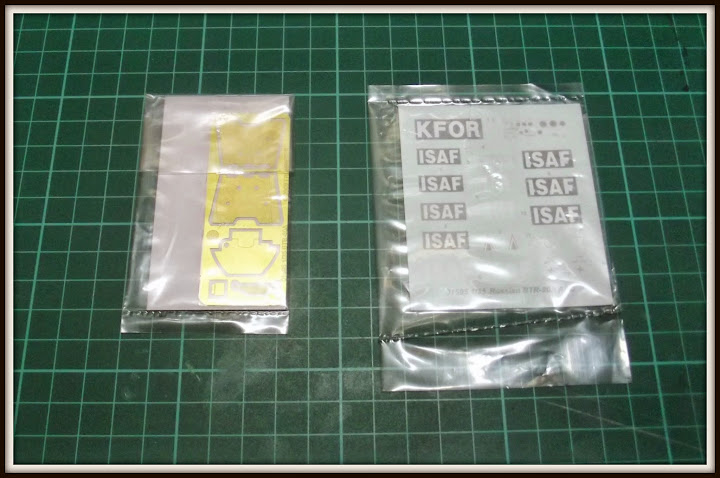
I will be doing the ISAF scheme from the paint schemes in the box.
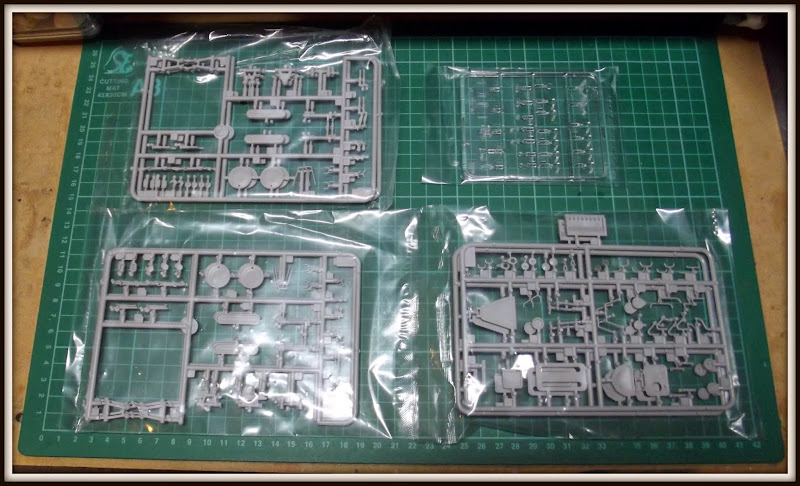
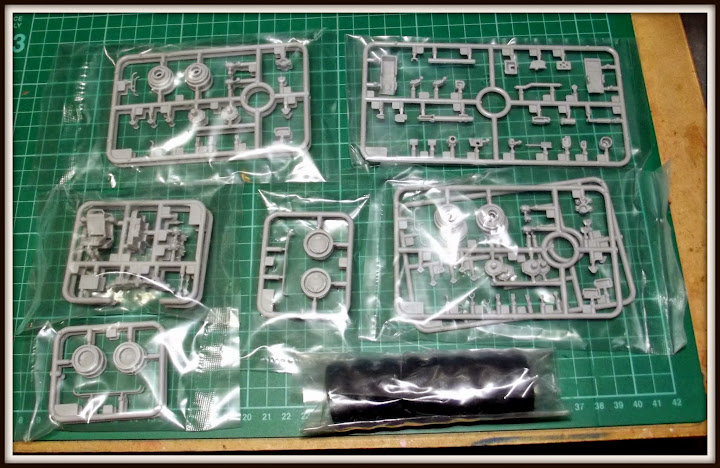
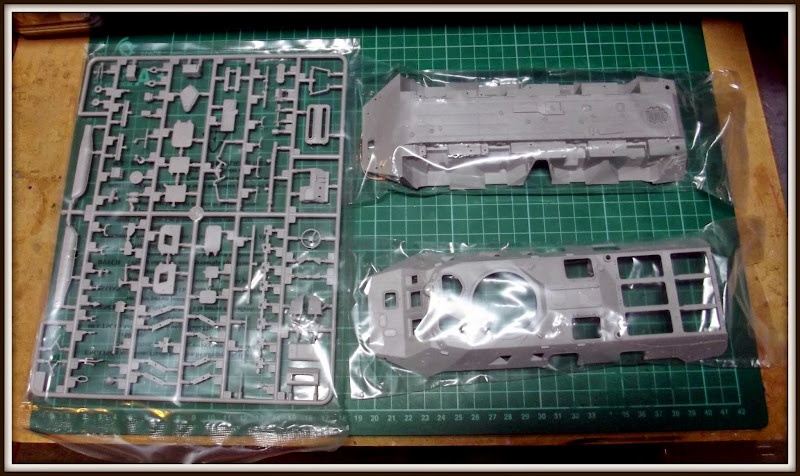
Starting shots:


Re: 1/35 Trumpeter Russian BTR-80A APC
Posted: Mon Jan 19, 2015 3:30 pm
by plasmahal
**Update** - Lower Hull Assembly.
I have made a start on the lower hull and suspension bits. I used tamiya extra thin for the plastic assembly and Rocket cyano for the photo etch.

Re: 1/35 Trumpeter Russian BTR-80A APC
Posted: Mon Jan 19, 2015 8:15 pm
by PaulAyrey
Great looking kit and a fantastic start!
Re: 1/35 Trumpeter Russian BTR-80A APC
Posted: Mon Jan 19, 2015 9:10 pm
by JediBoer
What a nice kit! Enjoy the build!

Re: 1/35 Trumpeter Russian BTR-80A APC
Posted: Wed Jan 21, 2015 11:24 pm
by plasmahal
**Update** Lower Hull Part Two.
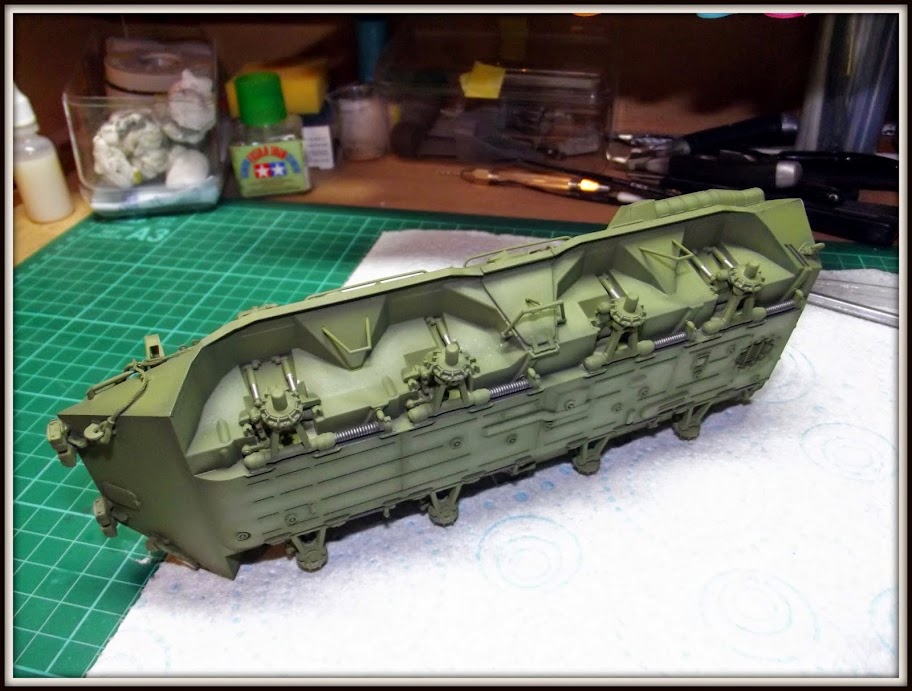
Ok, Over the last weekend I managed to progress and finish off the Lower hull and suspension components.

I'm not planning on doing a the full interior but just added the parts to full the floor and a supporting bulkhead.

Re: 1/35 Trumpeter Russian BTR-80A APC
Posted: Wed Jan 21, 2015 11:27 pm
by plasmahal
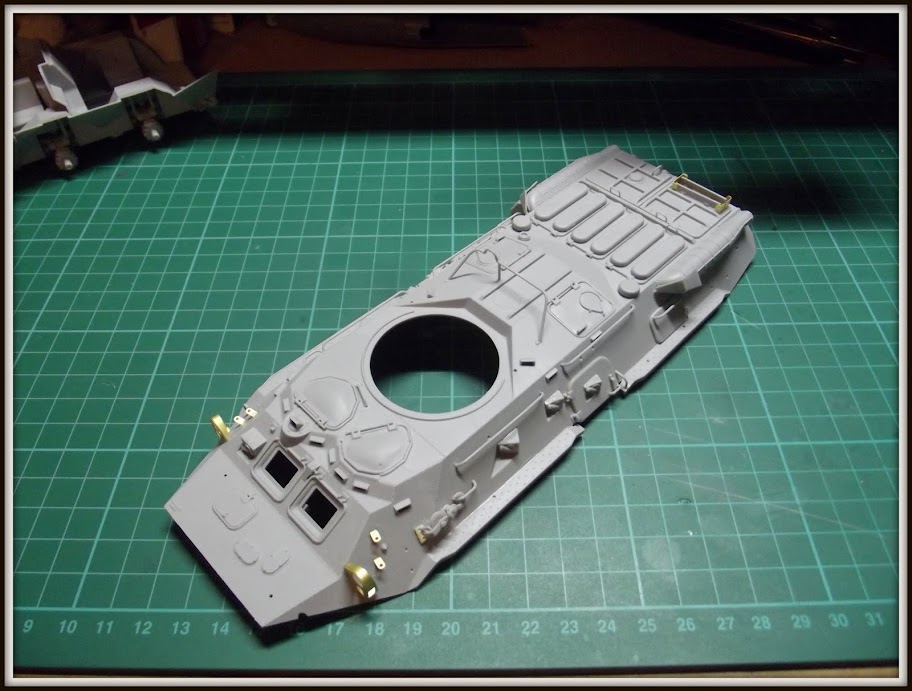
**Update** Upper Hull Assembly part One.
I have progressed now to start adding all the details to the upper hull. Lots of hatches and handles etc and some photo etch as well. Some of the finer parts I'm leaving off until the end as they will only get knocked off during handling and painting.

Re: 1/35 Trumpeter Russian BTR-80A APC
Posted: Thu Jan 22, 2015 7:24 am
by JediBoer
Looking great! Love the detail on the suspension!
Re: 1/35 Trumpeter Russian BTR-80A APC
Posted: Thu Jan 22, 2015 11:25 pm
by plasmahal
**Update** Upper Hull Assembly Part Two.
The upper hull is complete apart from the clear parts for the periscopes and the front windows.
I have also left the stowage items, lights and aerials etc off for now so they'll get added nearer the end of the build.
I ran some thinned micro crystal clear around the edges of the photo etch parts where they have been attached with CA. This will fill any small gaps and add some strength.
Re: 1/35 Trumpeter Russian BTR-80A APC
Posted: Tue Jan 27, 2015 1:32 pm
by plasmahal
**Update** Upper and Lower Hull Assembly Part One.
Over the weekend I managed to progress to getting both halves of the hull together. So far this has been the only negative point I have found about this as i needed much clamp-age to hold them together even after dry fitting and fettling with a sand stick. There were a few gaps to fill but they mostly not get seen once painted, weathered and the wheels are fitted.
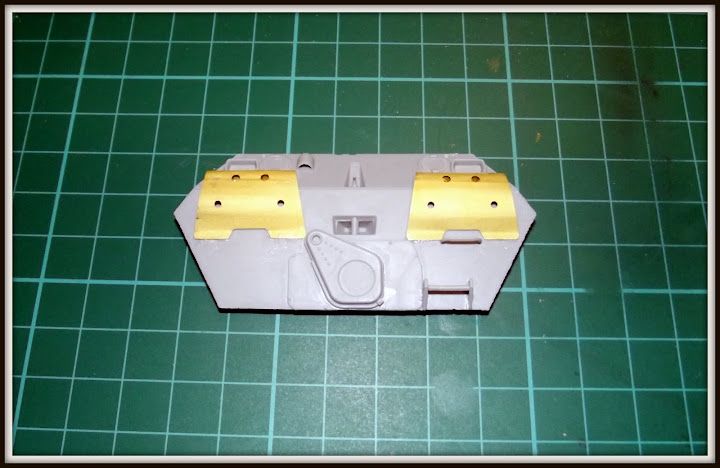
 Rear Bulkhead.
So while the hull assembly was clamped up, I moved onto the rear bulkhead assembly. More fun and games with photo-etch.
 **Update** Upper and Lower Hull Assembly Part Two.
With the hull assembled, the rear bulkhead was glued in pace, no major dramas here.

Re: 1/35 Trumpeter Russian BTR-80A APC
Posted: Tue Jan 27, 2015 1:37 pm
by plasmahal
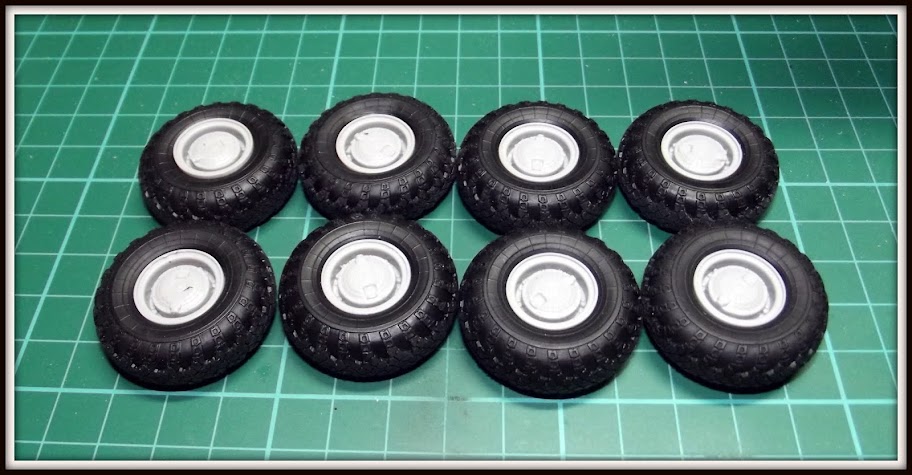
**Update** Wheel and Tyre Assemblies Part One.
All the wheel half hubs were carefully removed from the sprues and the attachment points cleaned off. The tyres did not much of a mold seam but I went over each one with a sanding stick to roughen them up.

Assembly was simply a ploy cap in the centre of the wheel hub and the two halves glued together. Then once dry the tyres are easily rolled onto the hubs.
Re: 1/35 Trumpeter Russian BTR-80A APC
Posted: Tue Jan 27, 2015 10:47 pm
by plasmahal
**Update** Turret and Gun assemblies.
Tonight I assembled the turret and gun assemblies. Some more photo etch going on here. All fairly straight forward.

And with the turret fitted into the main hull.


Re: 1/35 Trumpeter Russian BTR-80A APC
Posted: Wed Jan 28, 2015 3:08 pm
by JediBoer
Looking good!
Re: 1/35 Trumpeter Russian BTR-80A APC
Posted: Wed Jan 28, 2015 5:09 pm
by schweinhund227
Huh ! I am shocked !
I didn't even know Trumpy released that kit ?
weird !
Looks good though !
Thanks for sharing....
Re: 1/35 Trumpeter Russian BTR-80A APC
Posted: Thu Jan 29, 2015 9:41 pm
by plasmahal
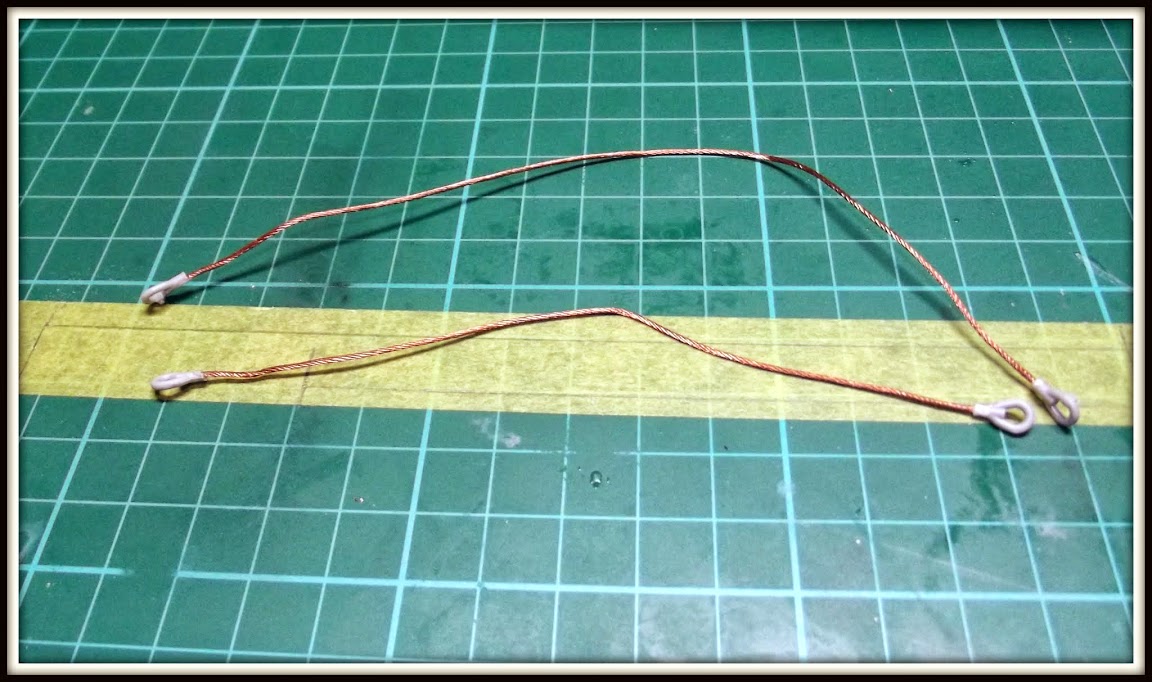
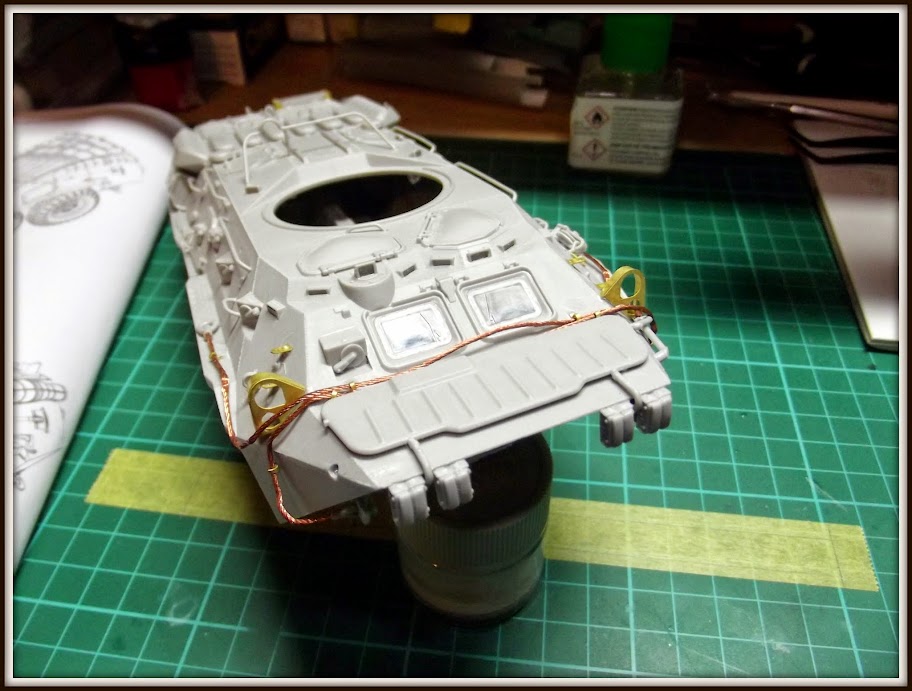
**Update** Tow Cables.
So, rightly or wrongly I opted to fit the tow cables now rather than later. I had visions of the small PE brackets pinging off and disappearing. I didn't want to mess up the paint job.
I laid down some tamiya tape and used a pencil to make lines to the lengths stated in the instructions. Then the supplied cable wire was cut to the required lengths, the end shackle eyes were super glued on and then a dab of PVA.
The cables were then careful attached to the front of the vehicle. Sure enough, no matter how gently I teased the wire on, 2 of the little PE brackets came off but were re-attached after the cables were fitted.
Re: 1/35 Trumpeter Russian BTR-80A APC
Posted: Sat Feb 07, 2015 4:57 pm
by plasmahal
**Update** - Priming.
The model was washed/cleaned and left to dry for a few days.
For primer, i decided to try something new. So after acquiring some MIG ammo grey polymer primer, I set up for priming.
Now, i usually use vallejo polyurethane primer which goes down real smooth and levels nicely but the downside is the time it takes to dry and cure.
This MIG primer is a little bit on the opposite side. It doesn't seem to go on too well or level at first. I found that it seemed to 'ball up' slightly and not level. The best approach was a very misty coat or two and then a heavy coat. It does then after a while seem smooth and level while it dries. The plus side, it dries so much quicker than the vallejo primer.

Re: 1/35 Trumpeter Russian BTR-80A APC
Posted: Sat Feb 07, 2015 5:01 pm
by plasmahal
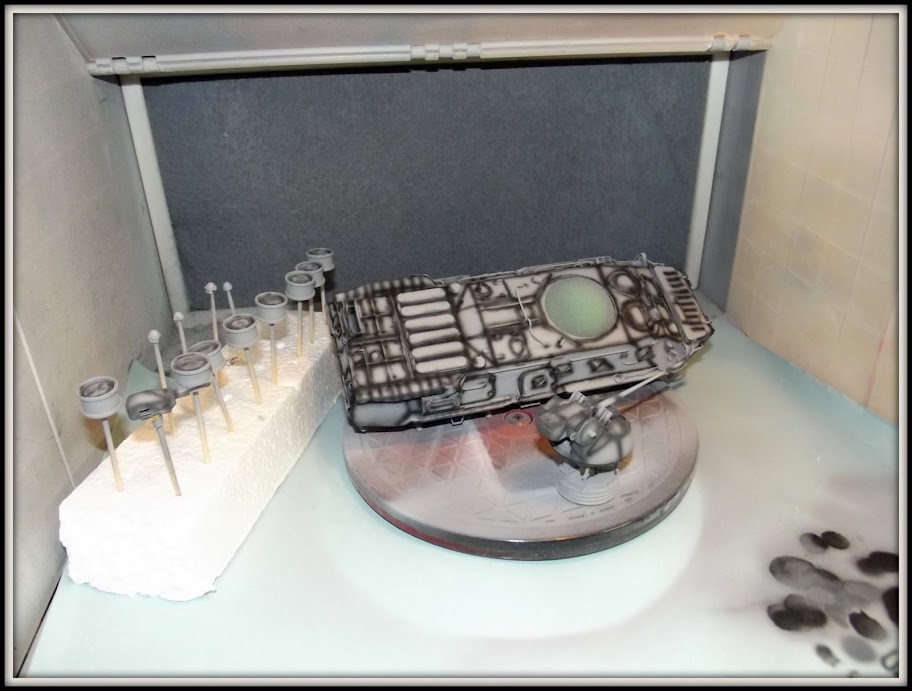
**Update** - Pre-Shading.
As it didn't take long before the model was safe to handle, I pushed on and did some pre-shading. I know it may not show through later on but I wanted to do it any way.

Re: 1/35 Trumpeter Russian BTR-80A APC
Posted: Sat Feb 07, 2015 10:36 pm
by Panzermeister36
Looks awesome

Great build! I've built their BTR-70 and it was super nice and the PE was superb - though mine didn't have those tow cable clamps

yowch!
Re: 1/35 Trumpeter Russian BTR-80A APC
Posted: Sun Feb 08, 2015 6:42 am
by PaulAyrey
Amazing. The detail looks wonderful. Keep up the good work.
Re: 1/35 Trumpeter Russian BTR-80A APC
Posted: Sun Feb 08, 2015 8:01 pm
by plasmahal
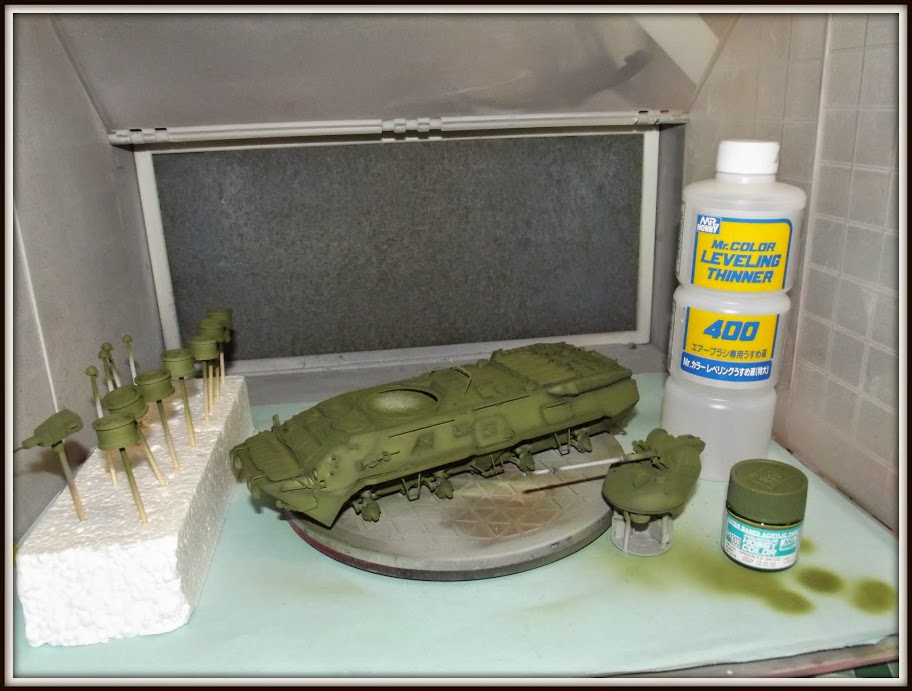
**Update** - Painting Part One.
Moving onto the main painting stage now. I used Mr Hobby Aqueous H303 as the main colour and thinned about 70/30 mr levelling thinners to the paint. A few light coats left the pre-shading showing through to the level I liked.
Re: 1/35 Trumpeter Russian BTR-80A APC
Posted: Sun Feb 08, 2015 8:10 pm
by plasmahal
**Update** - Painting Part Two.
Moving onto the second main painting stage now. I used Mr Hobby Aqueous H303 with Mr Hobby aqueous H1 white to lightly weather the paint work. Thinned about 80/20 mr levelling thinners to the paint. This was used on low pressure to then weather the paint in the centre of the panels. Doesn't show up well in the photos but I'm happy with it.


Re: 1/35 Trumpeter Russian BTR-80A APC
Posted: Sun Feb 08, 2015 10:39 pm
by DBMiller
You should be happy with it!
Re: 1/35 Trumpeter Russian BTR-80A APC
Posted: Mon Feb 09, 2015 7:14 am
by PaulAyrey
That green looks great, keep up the good work!
Re: 1/35 Trumpeter Russian BTR-80A APC
Posted: Tue Feb 10, 2015 10:10 pm
by plasmahal
**Update** - Painting Part Three.
After checking some reference photos, i noticed the front 4 lights were not green but black. So I corrected this by spraying them with Tamiya X-1.

Next was to finish of the main gun. This was first masked off.

This was then airbrushed with Tamiya XF-84, dark iron.

This was then dry brushed with Mr metal Iron.
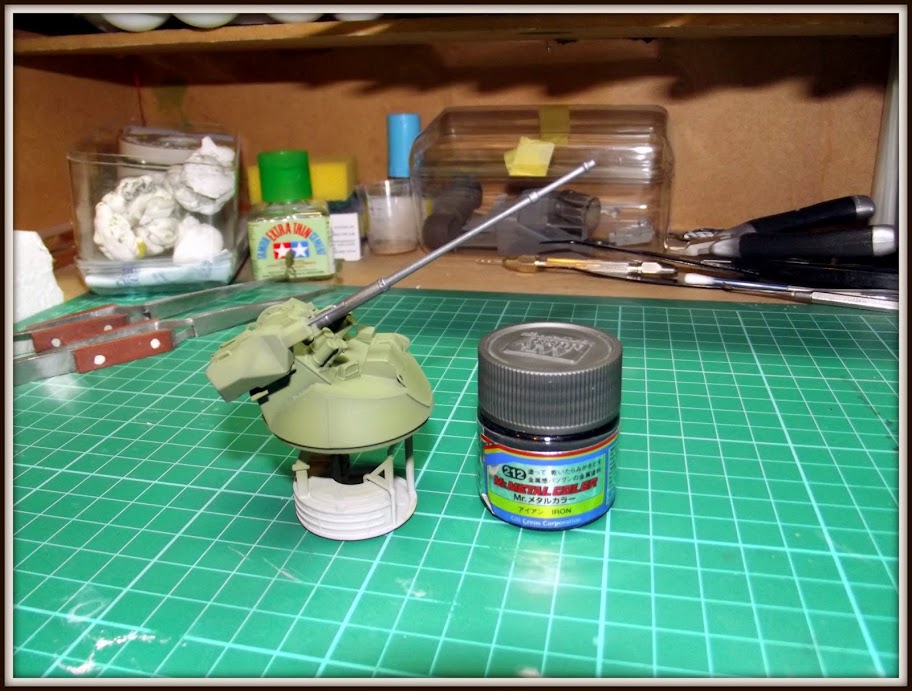
To finish of this painting stage, some of the springs and suspension parts were picked out with metallizers.
Re: 1/35 Trumpeter Russian BTR-80A APC
Posted: Tue Feb 10, 2015 10:19 pm
by plasmahal
**Update** - Decals Part One.
The model was given a couple of light coats of pledge floor wax. Once this had dried and hardened, I then applied the decals using micro set and sol. One advantage of this armour build was there were not many decals.


Re: 1/35 Trumpeter Russian BTR-80A APC
Posted: Wed Feb 11, 2015 4:24 am
by Panzermeister36
Lookin' awesome!

The pre-shading really shows through nicely
Re: 1/35 Trumpeter Russian BTR-80A APC
Posted: Wed Feb 11, 2015 12:45 pm
by schweinhund227
Very nice work.....
Keep it up !
Re: 1/35 Trumpeter Russian BTR-80A APC
Posted: Wed Feb 11, 2015 12:55 pm
by Goose
Very nice job so far!
Can't wait to see the oil step and the weathering end
enjoy!
Goose
Re: 1/35 Trumpeter Russian BTR-80A APC
Posted: Wed Feb 11, 2015 11:12 pm
by plasmahal
Re: 1/35 Trumpeter Russian BTR-80A APC
Posted: Thu Feb 12, 2015 6:18 am
by PaulAyrey
A fantastic piece of work so far, looking really good. Love the way you have worn the decals!
Re: 1/35 Trumpeter Russian BTR-80A APC
Posted: Sun Feb 15, 2015 10:42 am
by plasmahal
**Update** - Wheels Part Two.
The tyres and hubs that make up the wheels in the kit are very nice indeed. The rubber tyres are nicely detailed. The only issue here is that these runner tyres when fitted to the vehicle, don't have the effect of the weight of the vehicle, i.e tyre bulge. I see that some people got for aftermarket resin wheels to get this effect. A few weeks ago when i was in WHSmiths, I spotted the January 2015 of Military Modelling International. It had an article on a BTR-6-PB build and I bought the magazine for inspiration among some other good info and articles.
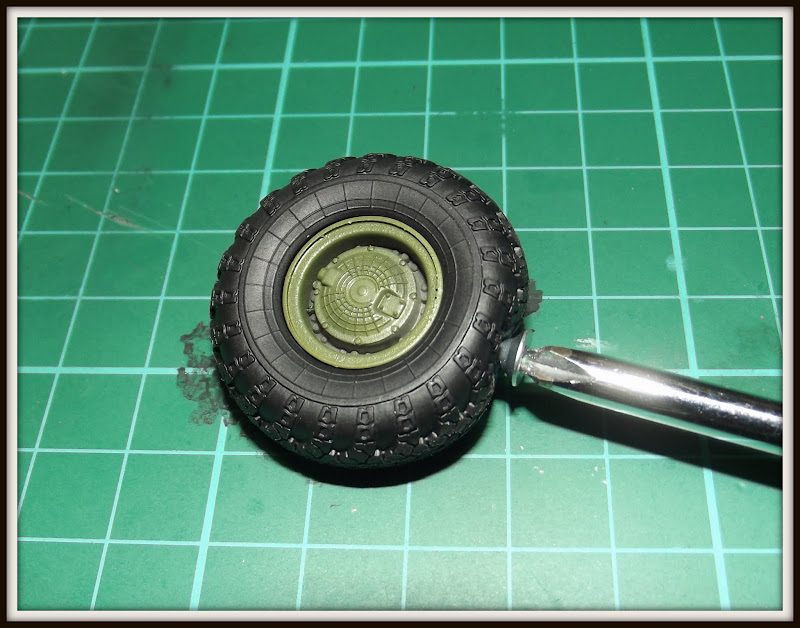
In this BTR-60PB build article, the modeller had acquired the resin wheels but then decided to go for the kit parts. so to get round this issue of the tyre bulge, he mentioned (but did not demonstrate) putting a screw in through the tyre into the hub which creates the desired bulge. While I'm sure this is nothing particularly new to armour modellers, I thought I would go through step by step to show how I did it.
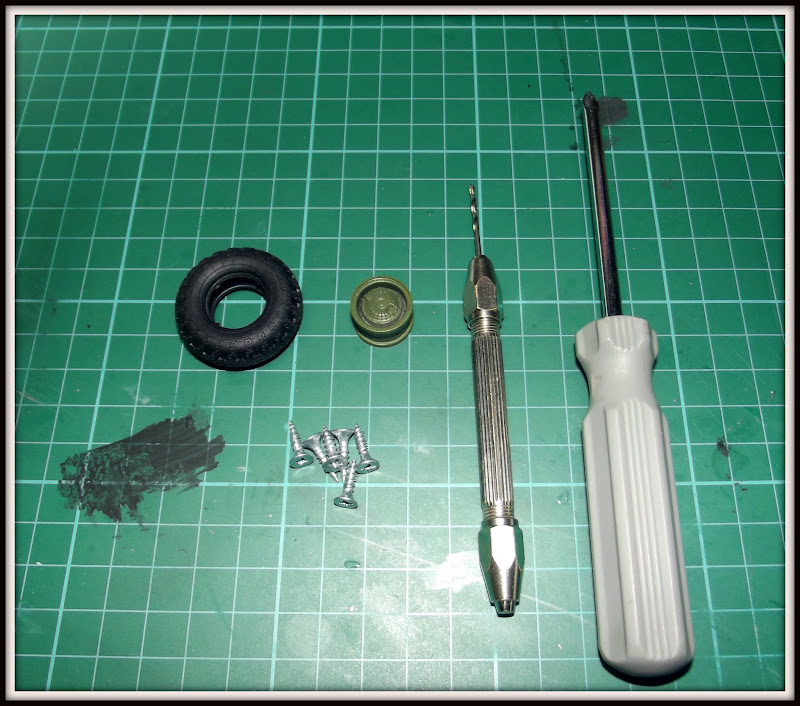
Step one
You need the hub, tyre, drill, screwdriver and screws. When it comes to the screws, they need to be not too long to go to the centre of the hub but long enough to allow the screw to grip. I had lots of leftover screws to choose from. The drill needs to be big enough so when inserting the screw, it does not split the hub but also allow enough plastic for the screw to bite into.
 Step two
With the tyre fitted to the hub, I selected to line up the drill with a square section on the hub. This way I know where the hole is going to be. Then centre up on the tyre and drill through the tyre until you can cut a mark in the hub.
 Step three
Then remove the tyre from the hub. You should see the mark where the drill starting cutting into the plastic.
 Step four
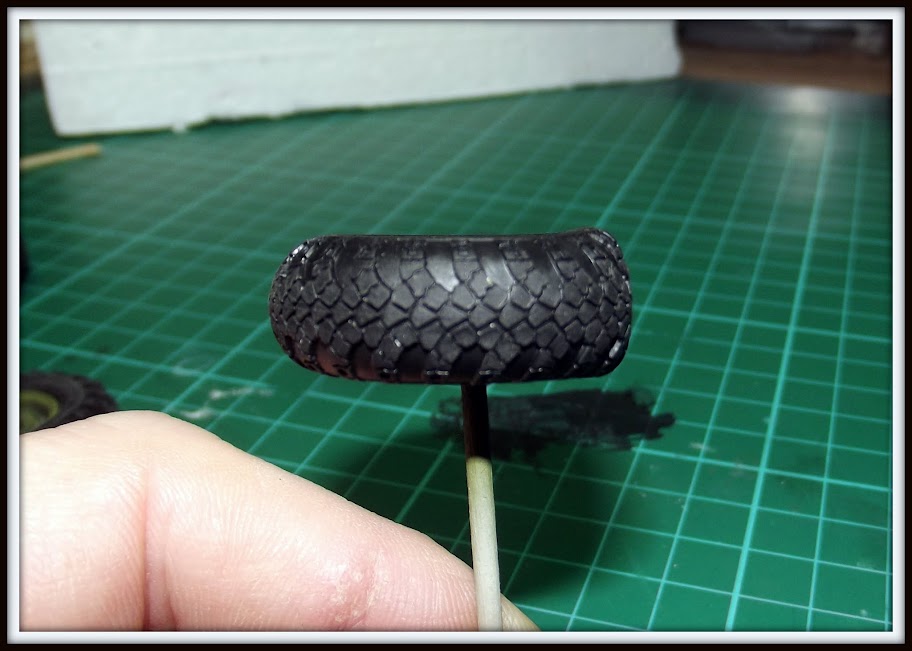
Then use the drill to finish making the pilot hole. Put the screw into the tyre ready to screw in.
 Step five
Now use the screwdriver to carefully insert the screw into the hub using the square plate to line up the holes.
 Step six
You just need to screw in far enough to get the required effect. I recommend spending some time getting everything to settle and line up correctly. A bit of fiddly around is required to ensure the bulge is realistic but ensure you don't end up with big gaps between the hub and tyre.
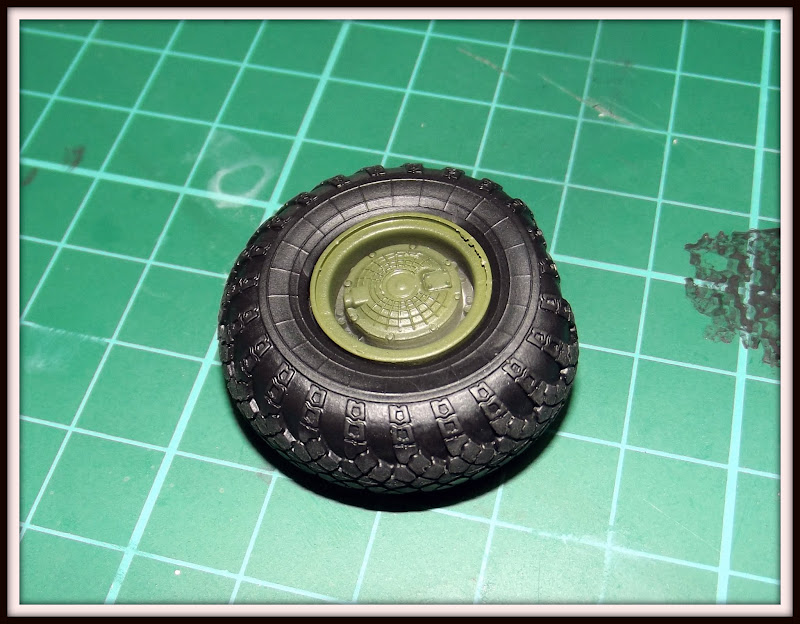
That's pretty much it. Take the time and the results are worth it.


And here's some shots of the wheels fitted to the vehicle.


Re: 1/35 Trumpeter Russian BTR-80A APC
Posted: Sun Feb 15, 2015 12:26 pm
by plasmahal
Re: 1/35 Trumpeter Russian BTR-80A APC
Posted: Sun Feb 15, 2015 12:31 pm
by plasmahal
**Update** - Weathering Part One.
Moving onto weathering now. I plan to do various stages of washes then move onto pigments.
Stage one was to airbrush on low pressure some grime was to the underside and the wheels.
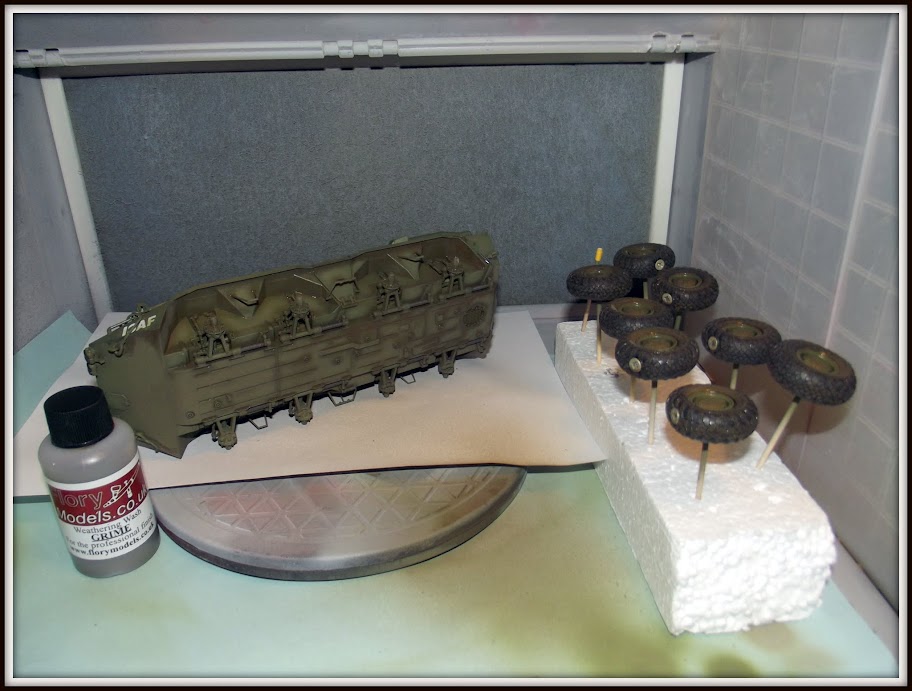
This was then cleaned up and sealed with pledge.

Re: 1/35 Trumpeter Russian BTR-80A APC
Posted: Sun Feb 15, 2015 5:58 pm
by Panzermeister36
Those tools look incredible
And awesome method of making a flattened look to the tires; it looks like the vehicle has some weight to it, very realistic! I've got their BTR-70 thats waiting for paint so I'll try that screw method out - thanks for sharing that!
Great work on the chipping, too. Can't wait to see the rest of the weathering!

Re: 1/35 Trumpeter Russian BTR-80A APC
Posted: Sun Feb 15, 2015 6:44 pm
by Tiger131
Looking super the colour is spot on and that wheel trick is the best tip of seen on this forum...keep the pics a coming
Re: 1/35 Trumpeter Russian BTR-80A APC
Posted: Sun Feb 15, 2015 6:59 pm
by plasmahal
**Update** - Weathering Part Two.
The next wash was applied liberally was a sand wash.

Then after a clean up, another sealing coat of pledge.

Re: 1/35 Trumpeter Russian BTR-80A APC
Posted: Tue Feb 17, 2015 9:18 pm
by plasmahal
**Update** - Weathering Part Three.
Another wash was applied, this time a combination of sand and light washes. This was cleaned up and the sealed.


I tried brushing on some MIG sand pigment but to be honest, it didn't float my boat. Didn't seem to add anything to the overall dusty weathered look I have.
I'm not sure if any pigments are required.
I'm at that point where I have to step back and say to myself 'I'm happy with that, it seems just right'.
However, a part of me thinks, 'Will it get better if I try some different pigments?'.
I would appreciate some feedback and advice please.
Re: 1/35 Trumpeter Russian BTR-80A APC
Posted: Tue Feb 17, 2015 10:38 pm
by plasmahal
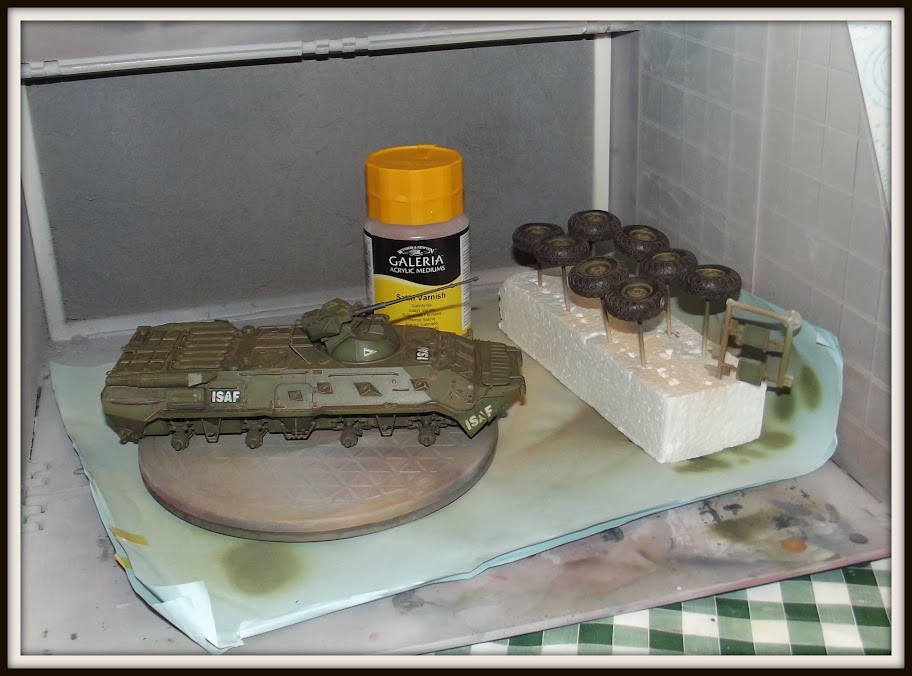
**Update** - Final sealing coat??.
Ok, the intention was always to finish off with a matt type coat. So I have sprayed W&N satin varnish at high pressure from a distance. This gives a nice matt look (despite the flash still making it look a little glossy when it isn't).
Re: 1/35 Trumpeter Russian BTR-80A APC
Posted: Tue Feb 17, 2015 11:09 pm
by Panzermeister36
Looking awesome
I like the sandy wash!
Maybe try some pigments on the bottom of the hull (if you've painted it) to see how it looks. That way you won't have to clean them off if you don't like the effect

Re: 1/35 Trumpeter Russian BTR-80A APC
Posted: Wed Feb 18, 2015 6:27 am
by PaulAyrey
Looking awesome. MIG pigments are great, I apply them over a matt surface, I often 'pre-dust' with a Tamiya paint which helps them adhere.
Re: 1/35 Trumpeter Russian BTR-80A APC
Posted: Wed Feb 18, 2015 3:10 pm
by schweinhund227
this is turning out very nice !!!
great weathering thus far ! Keep up the good work !
Re: 1/35 Trumpeter Russian BTR-80A APC
Posted: Sat Feb 21, 2015 5:19 pm
by plasmahal
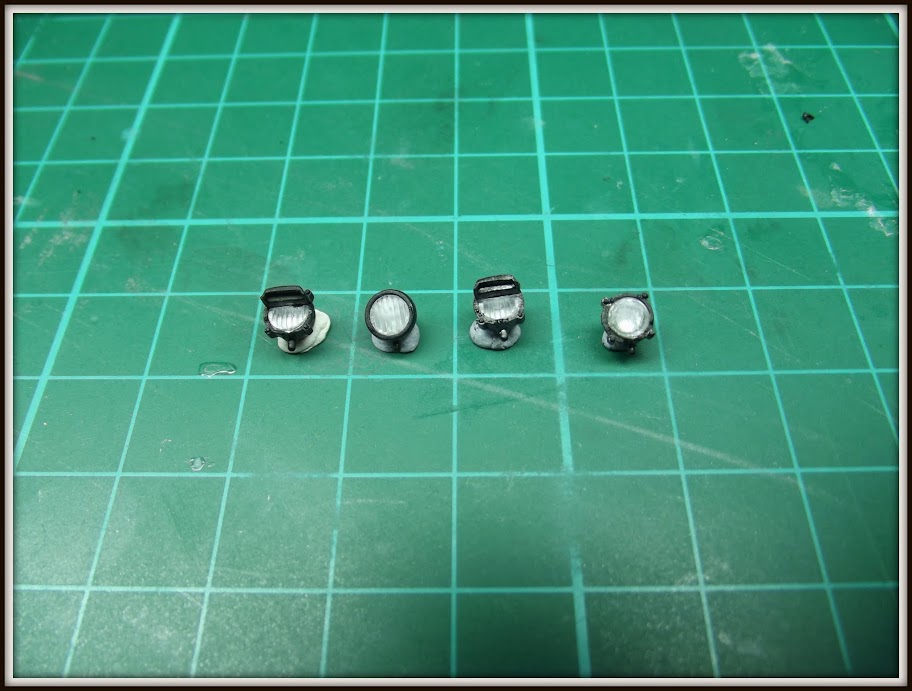
**Update** - Additional Equipment Part Two.
Been working the finishing touches today.
Progressed the light and indicators. Used Tamiya clear orange and red and also painted the backs of the lenses with aluminum metalizer.

Then got the lenses glued into the headlights and touched up with Tamiya X-1 where required.
Now with the rear lights fitted.

Now with front head lights and indicators fitted (just make the out behind the shroud).
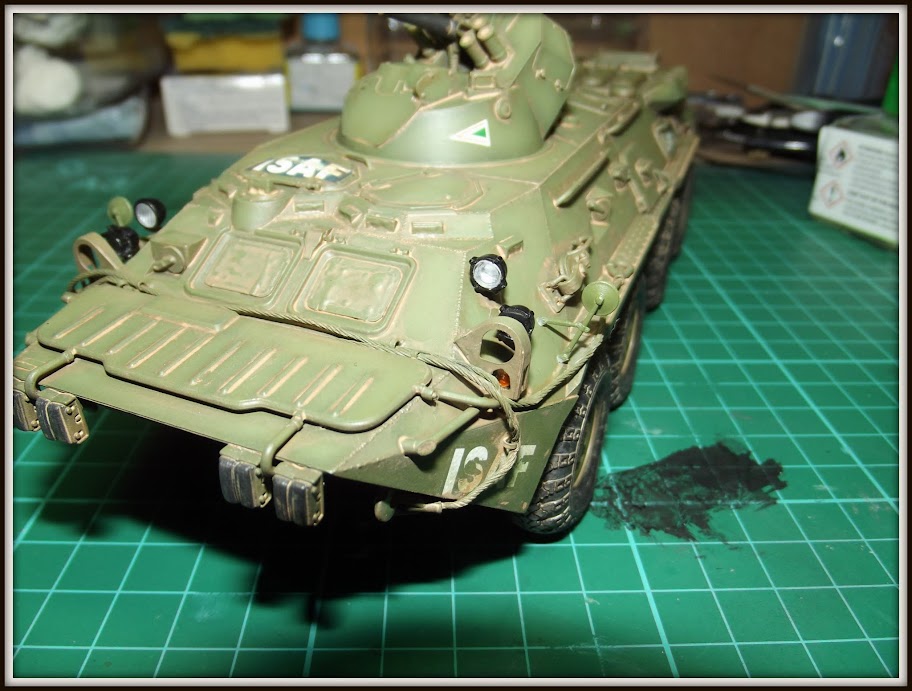
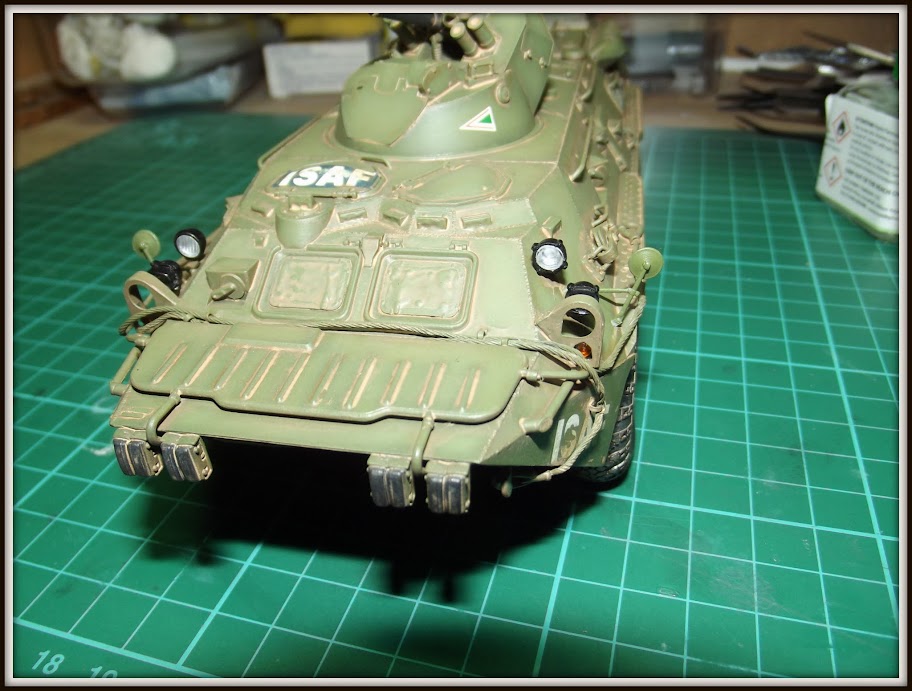
Just need to apply some weathering to blend in with the rest of the model.
Re: 1/35 Trumpeter Russian BTR-80A APC
Posted: Sun Feb 22, 2015 5:38 pm
by plasmahal
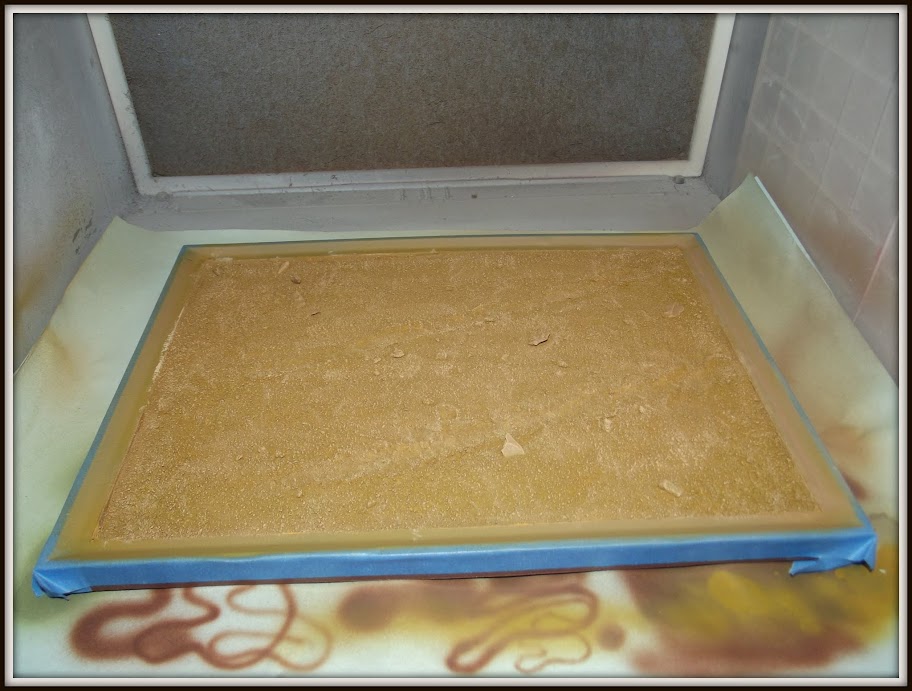
**Update** - Desert Base.
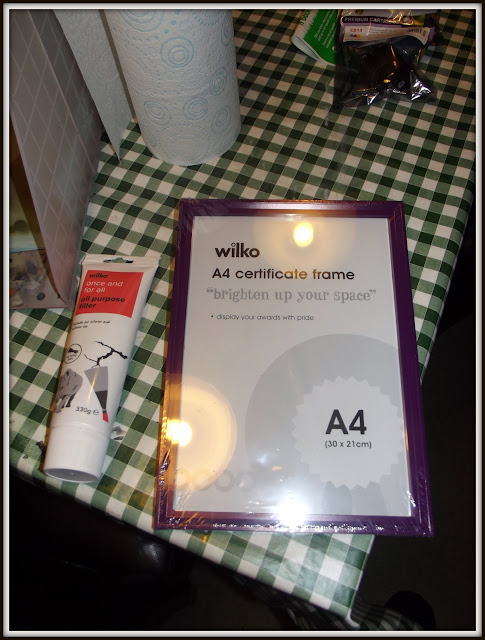
When I started this build I did not have any intention of doing a base. But as the build progressed, I felt that not to do a base would detract from the end product.
So I got some cheap supplies together. Bought a frame and polyfilla for under £5. Other materials I already had.

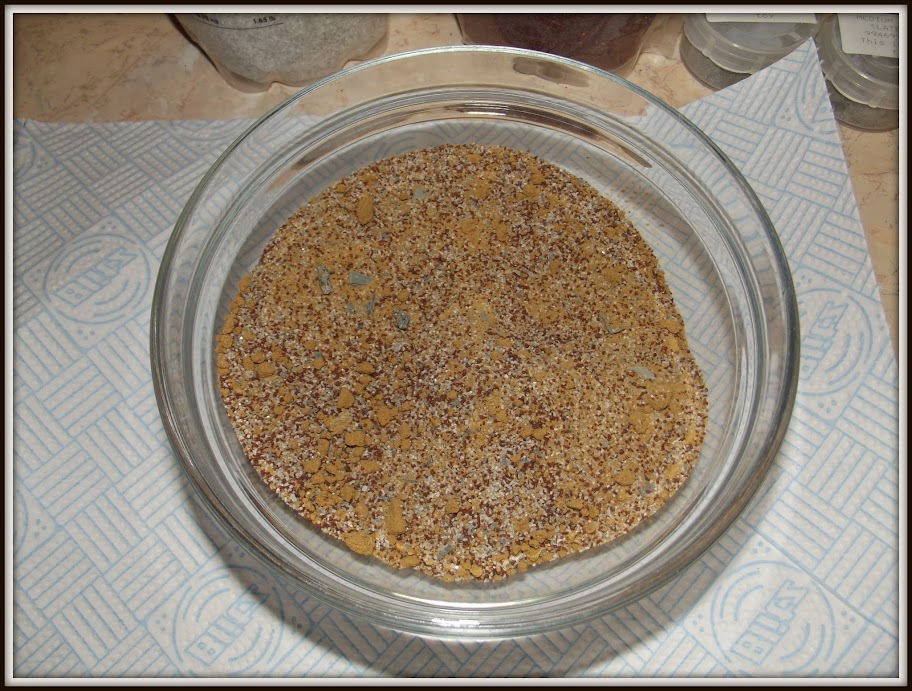
So using the available supplies, I mixed up some various grades of sand and some scenery rocks/slate.
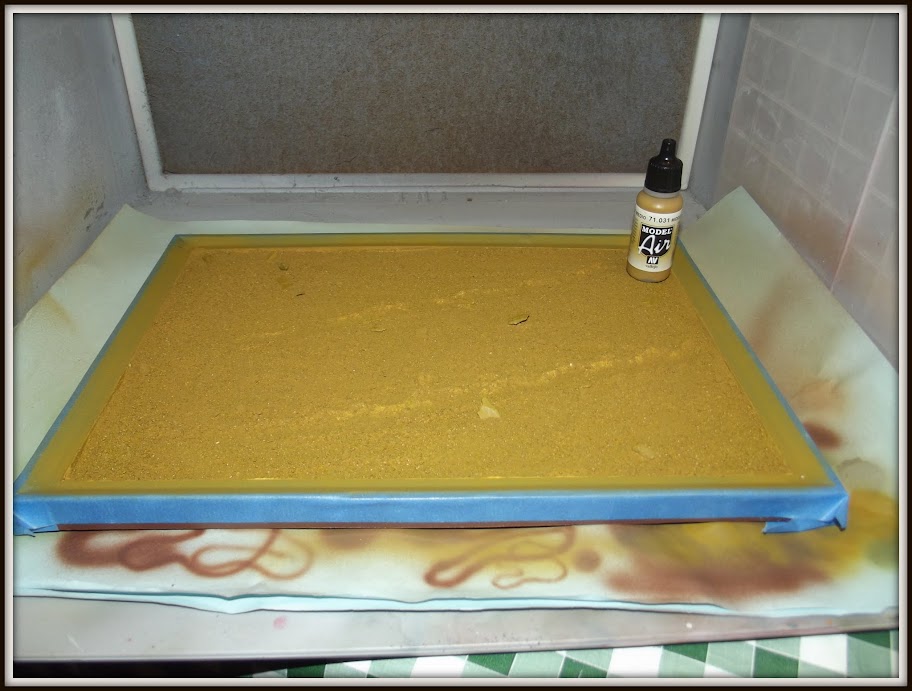
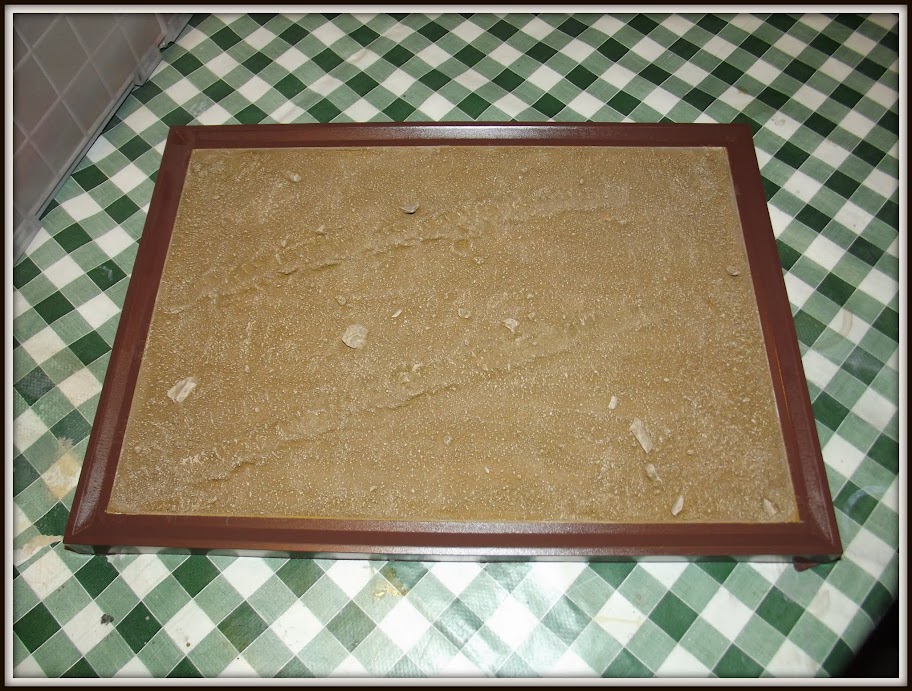
The frame was re-painted using Tamiya X-9 and left to dry and harden overnight.
Then the frame was masked up and the polyfilla applied to the inside of the frame with a spreader. Then the smoothed out with a little water. While this all still wet, the sand mix was liberally added.


This was then left to dry and harder overnight. The excess sand was the removed.
The sandy area was base coated with Vallejo air middle stone.
This was then dry brushed with vallejo model colour Iraqi sand.
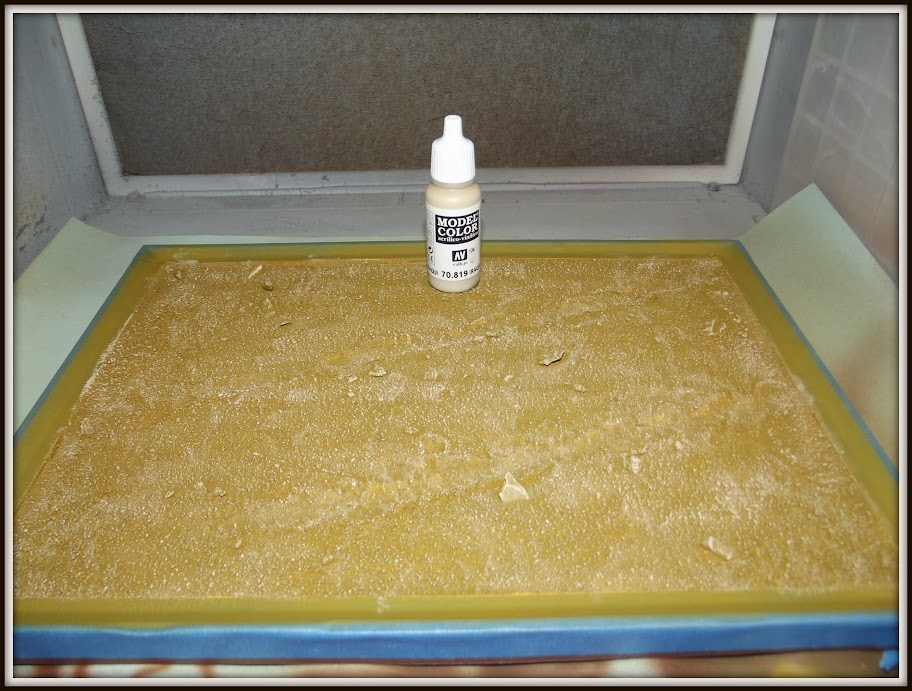
Then the base was hit with the same wash mixture (sand + light) as the model was.
After another round of dry brushing, here's the finished base.
Re: 1/35 Trumpeter Russian BTR-80A APC
Posted: Tue Feb 24, 2015 10:56 pm
by DBMiller
The base was a good idea! It came out great!
Re: 1/35 Trumpeter Russian BTR-80A APC
Posted: Thu Feb 26, 2015 6:15 pm
by PaulAyrey
Lenses look awesome!


